


_v3.png&w=256&q=75)
Soldering station with flexible brackets
Description This is a flexible and almost entirely 3D-printable soldering station. An essential companion for your soldering adventures.
Want to say thanks with a one-time donation? Make a PayPal donation here! Printing advices
Edit: A problem was resolved where, with some types of less flexible filament, the tweezer attachment piece tended to break.
- Layer height: 0.2mm;
- Infill: 15-20%
- No supports needed (except for the threaded piece that connects the bracket to the base. In this case it is best to print it with the sphere facing upwards, without supporting the thread but supporting the base of the hexagon)
- 4-6mm brim recommended
Extra components needed
-
Small elastics to allow the closing of the tweezers and insert them into the designated slots. https://amz.run/76Dl Image here
-
Screws M3x06/M3x08 to screw the tweezers onto its holder. Image here
Assembly
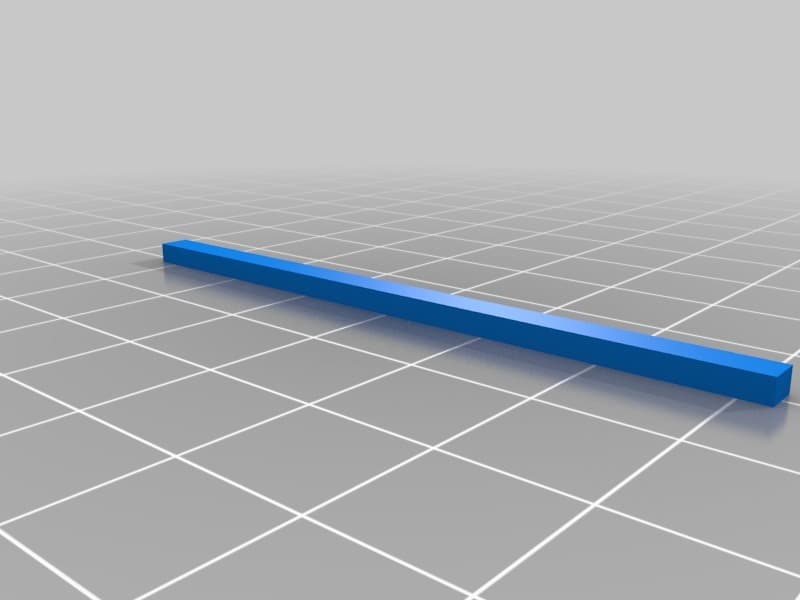
Each component of the arm should be interlocked with the one before it. It is possible to create arms of different lengths by simply varying the number of components assembled together. The topmost component will serve as the support to which the tweezers will be attached, and the farthest component on the arm will be the one with the threading that will be screwed into the base.
The tweezers are assembled by simply placing side A above side B and inserting the small printed cylinder into the hole.
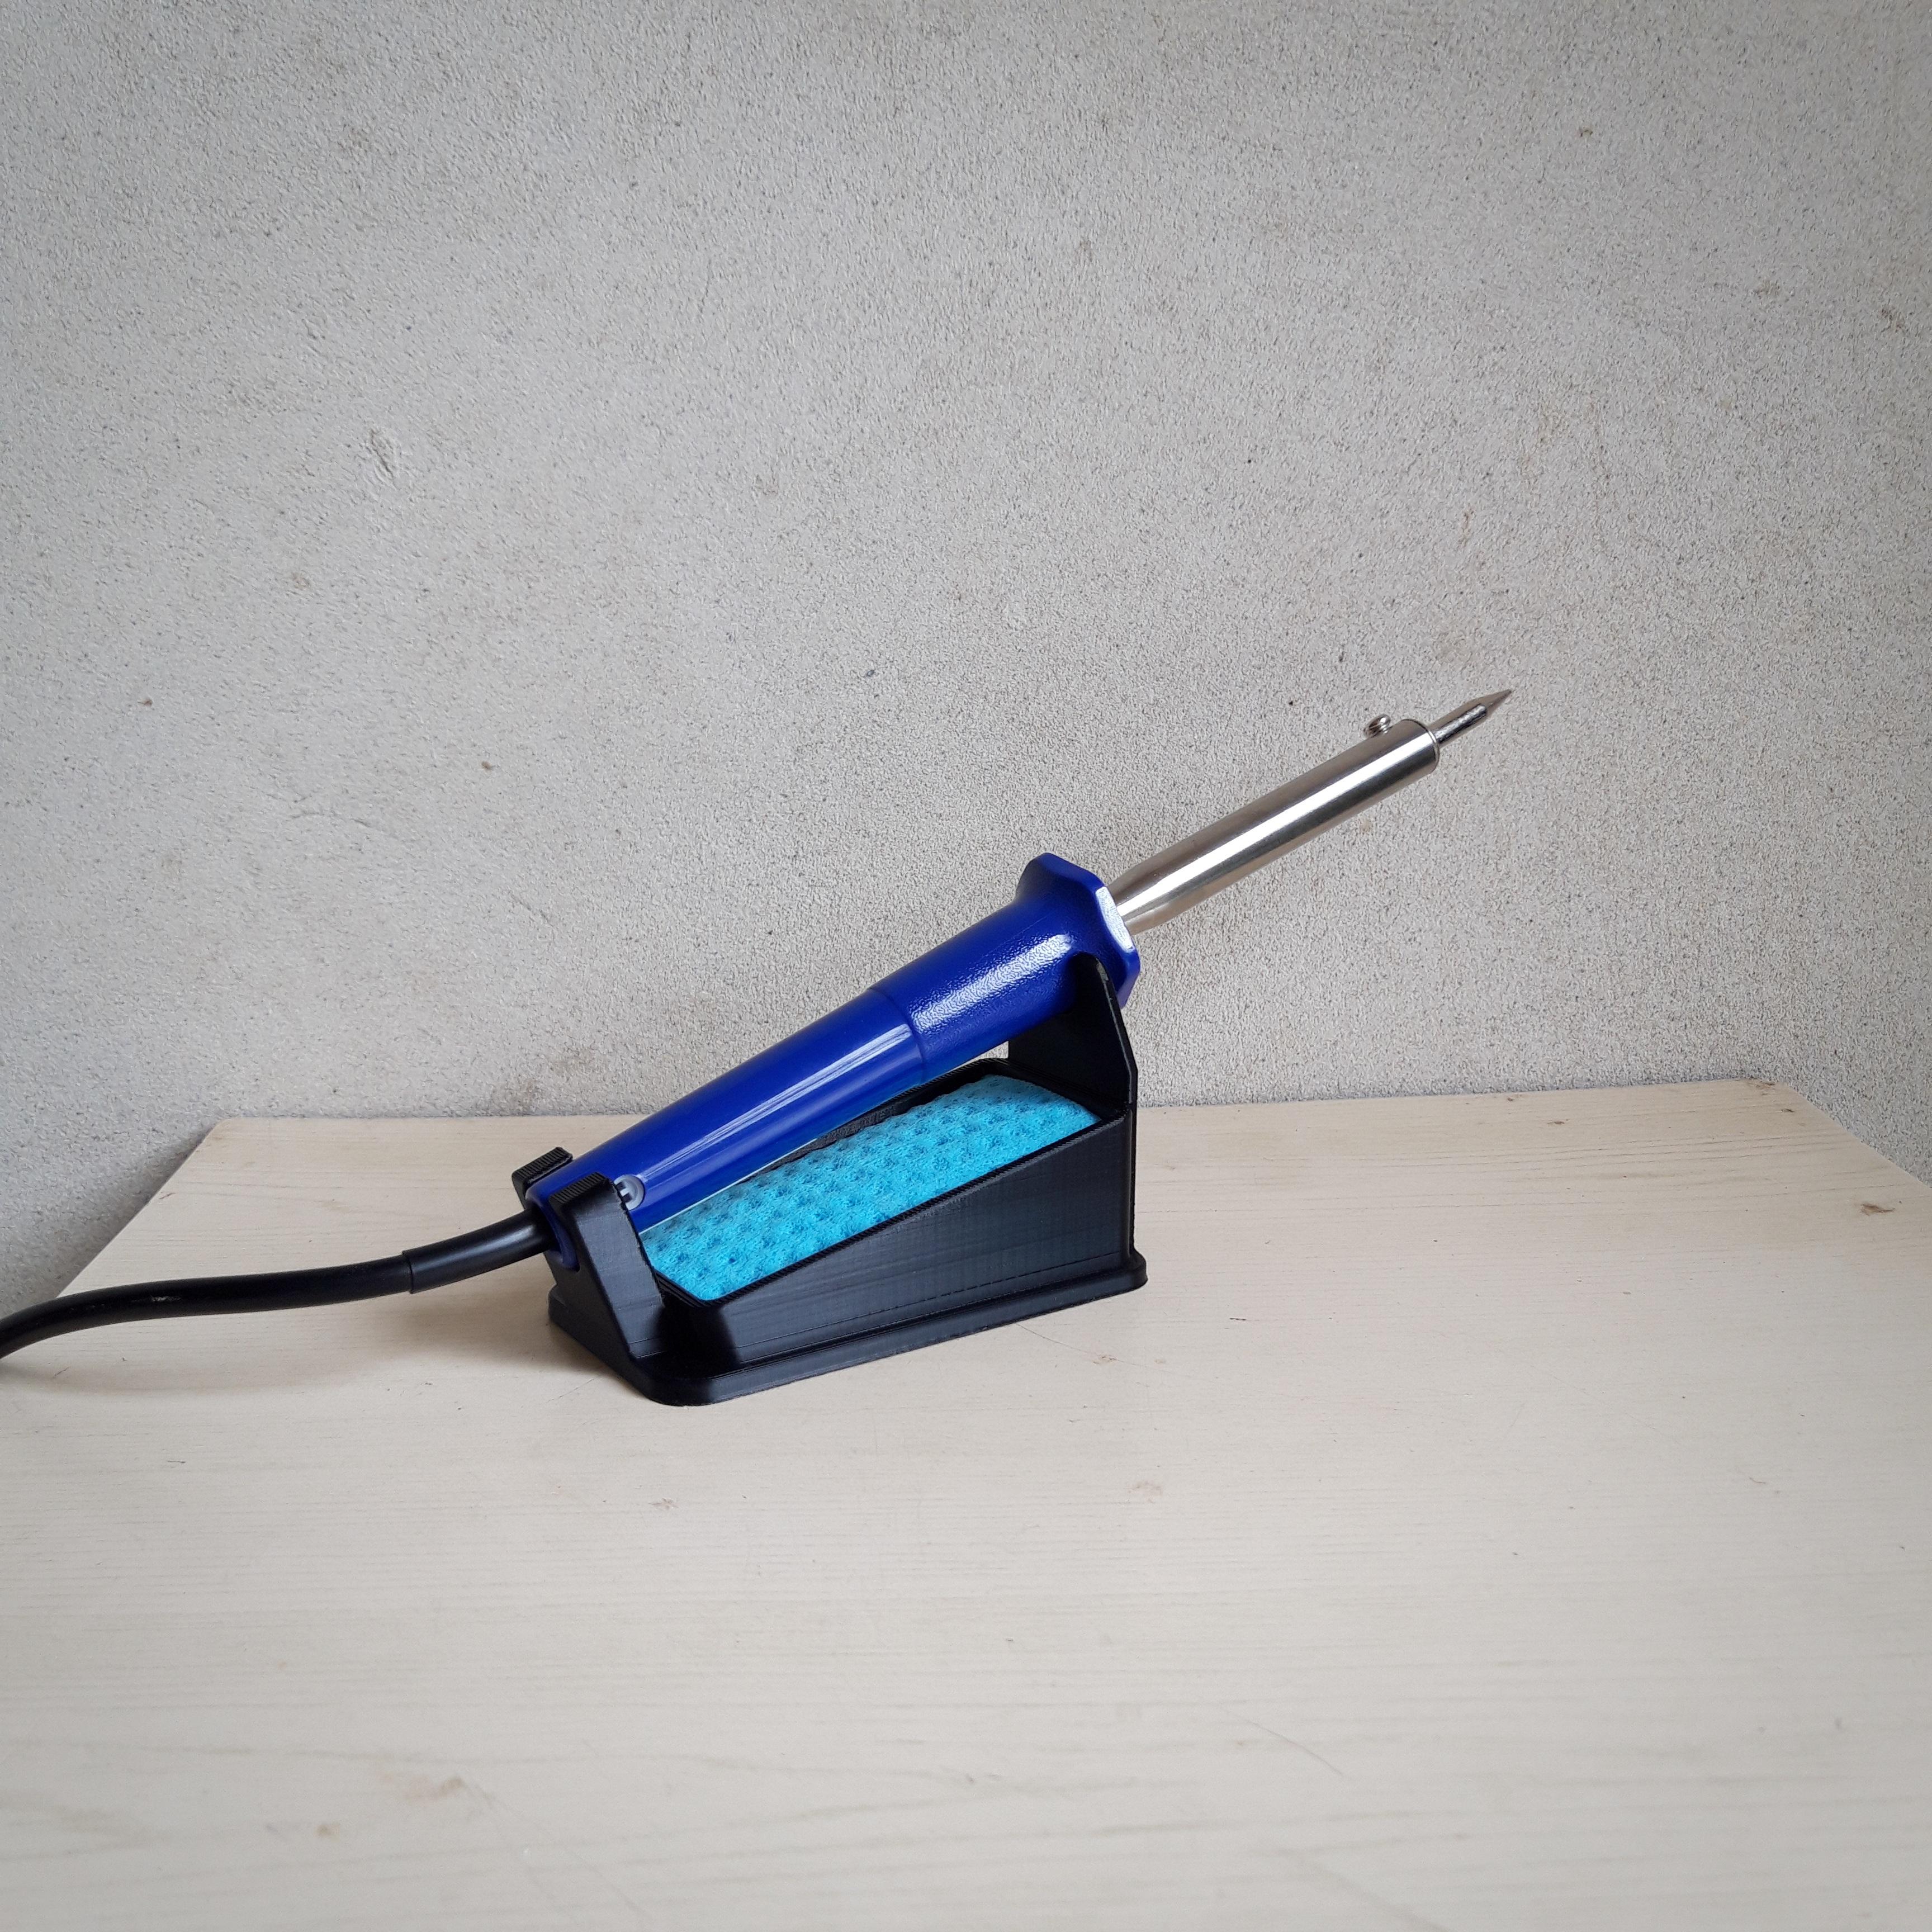
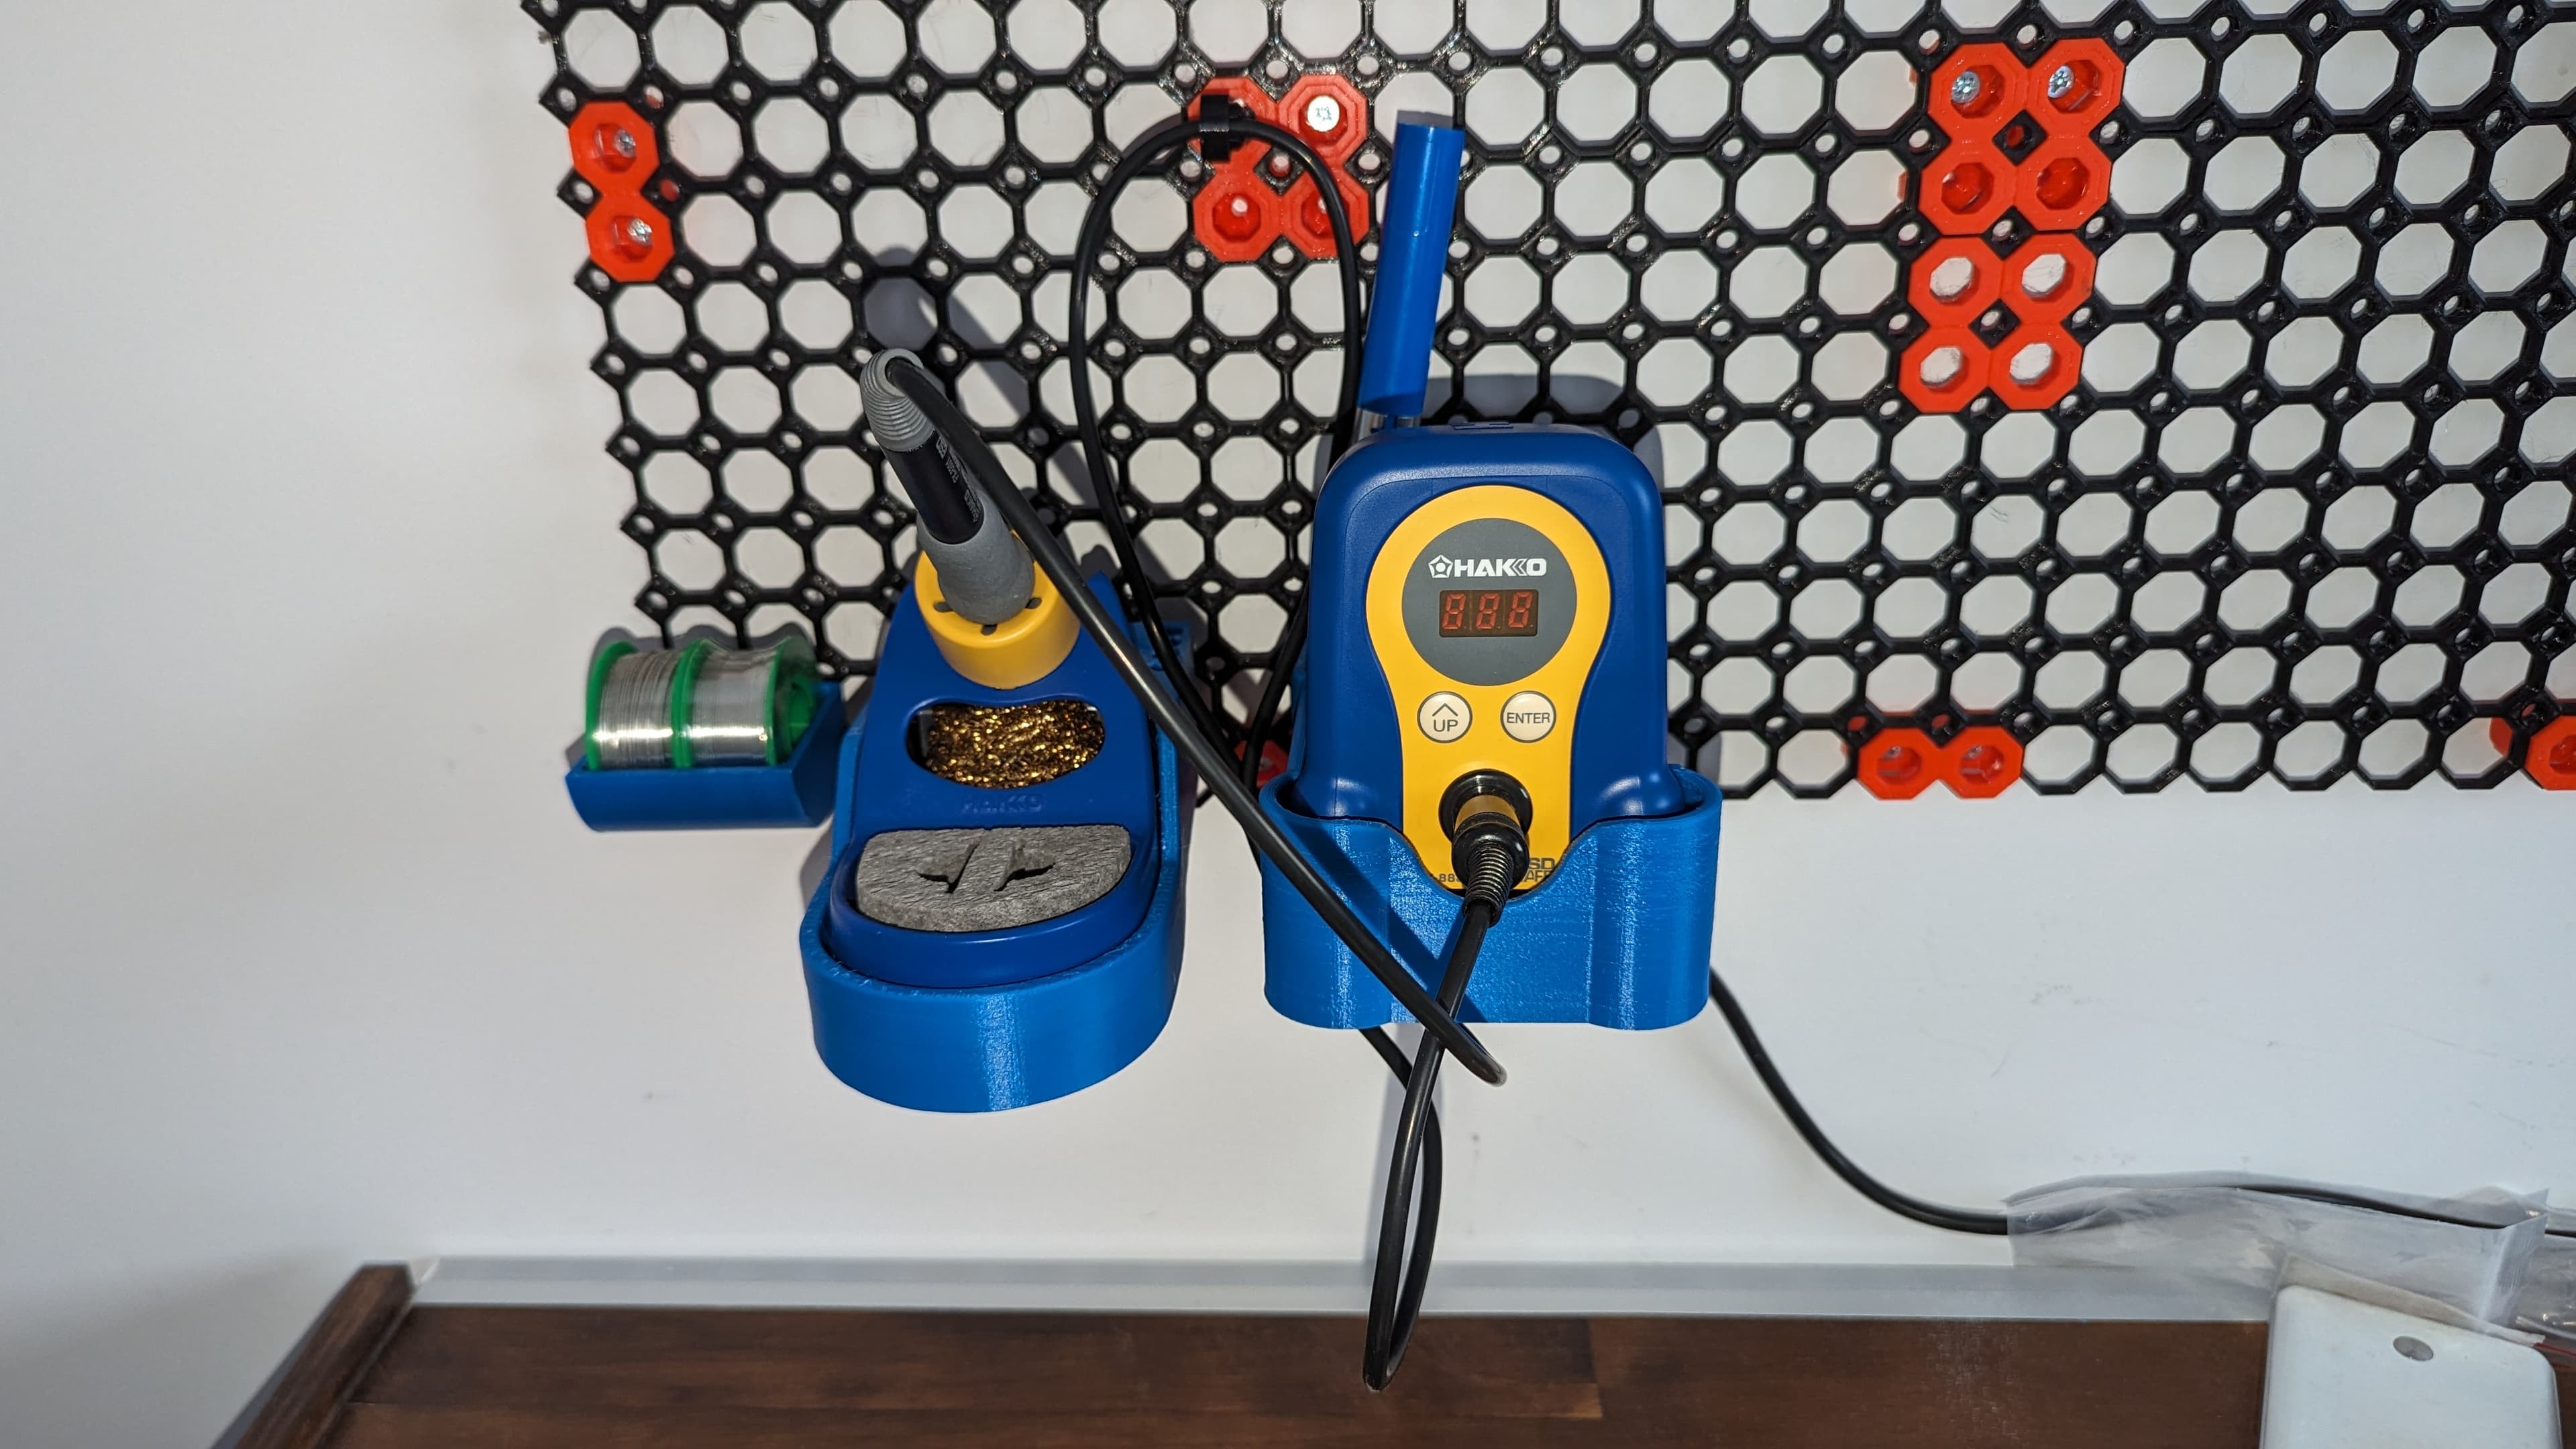
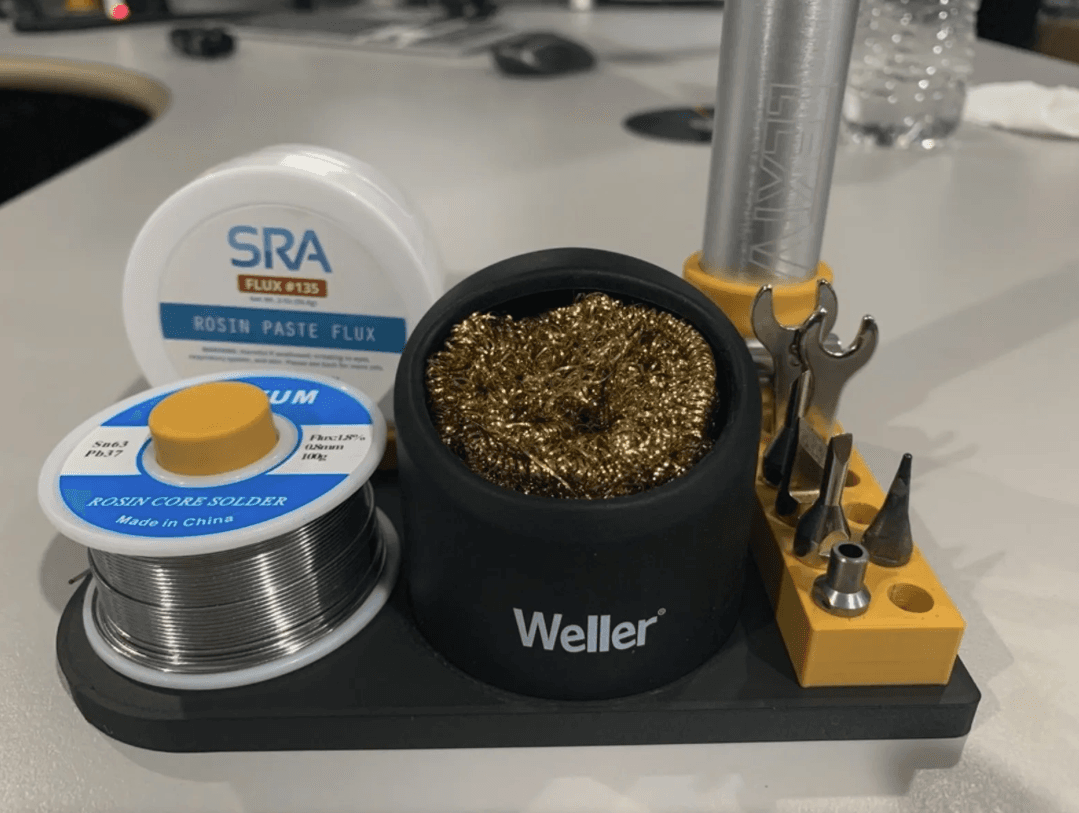
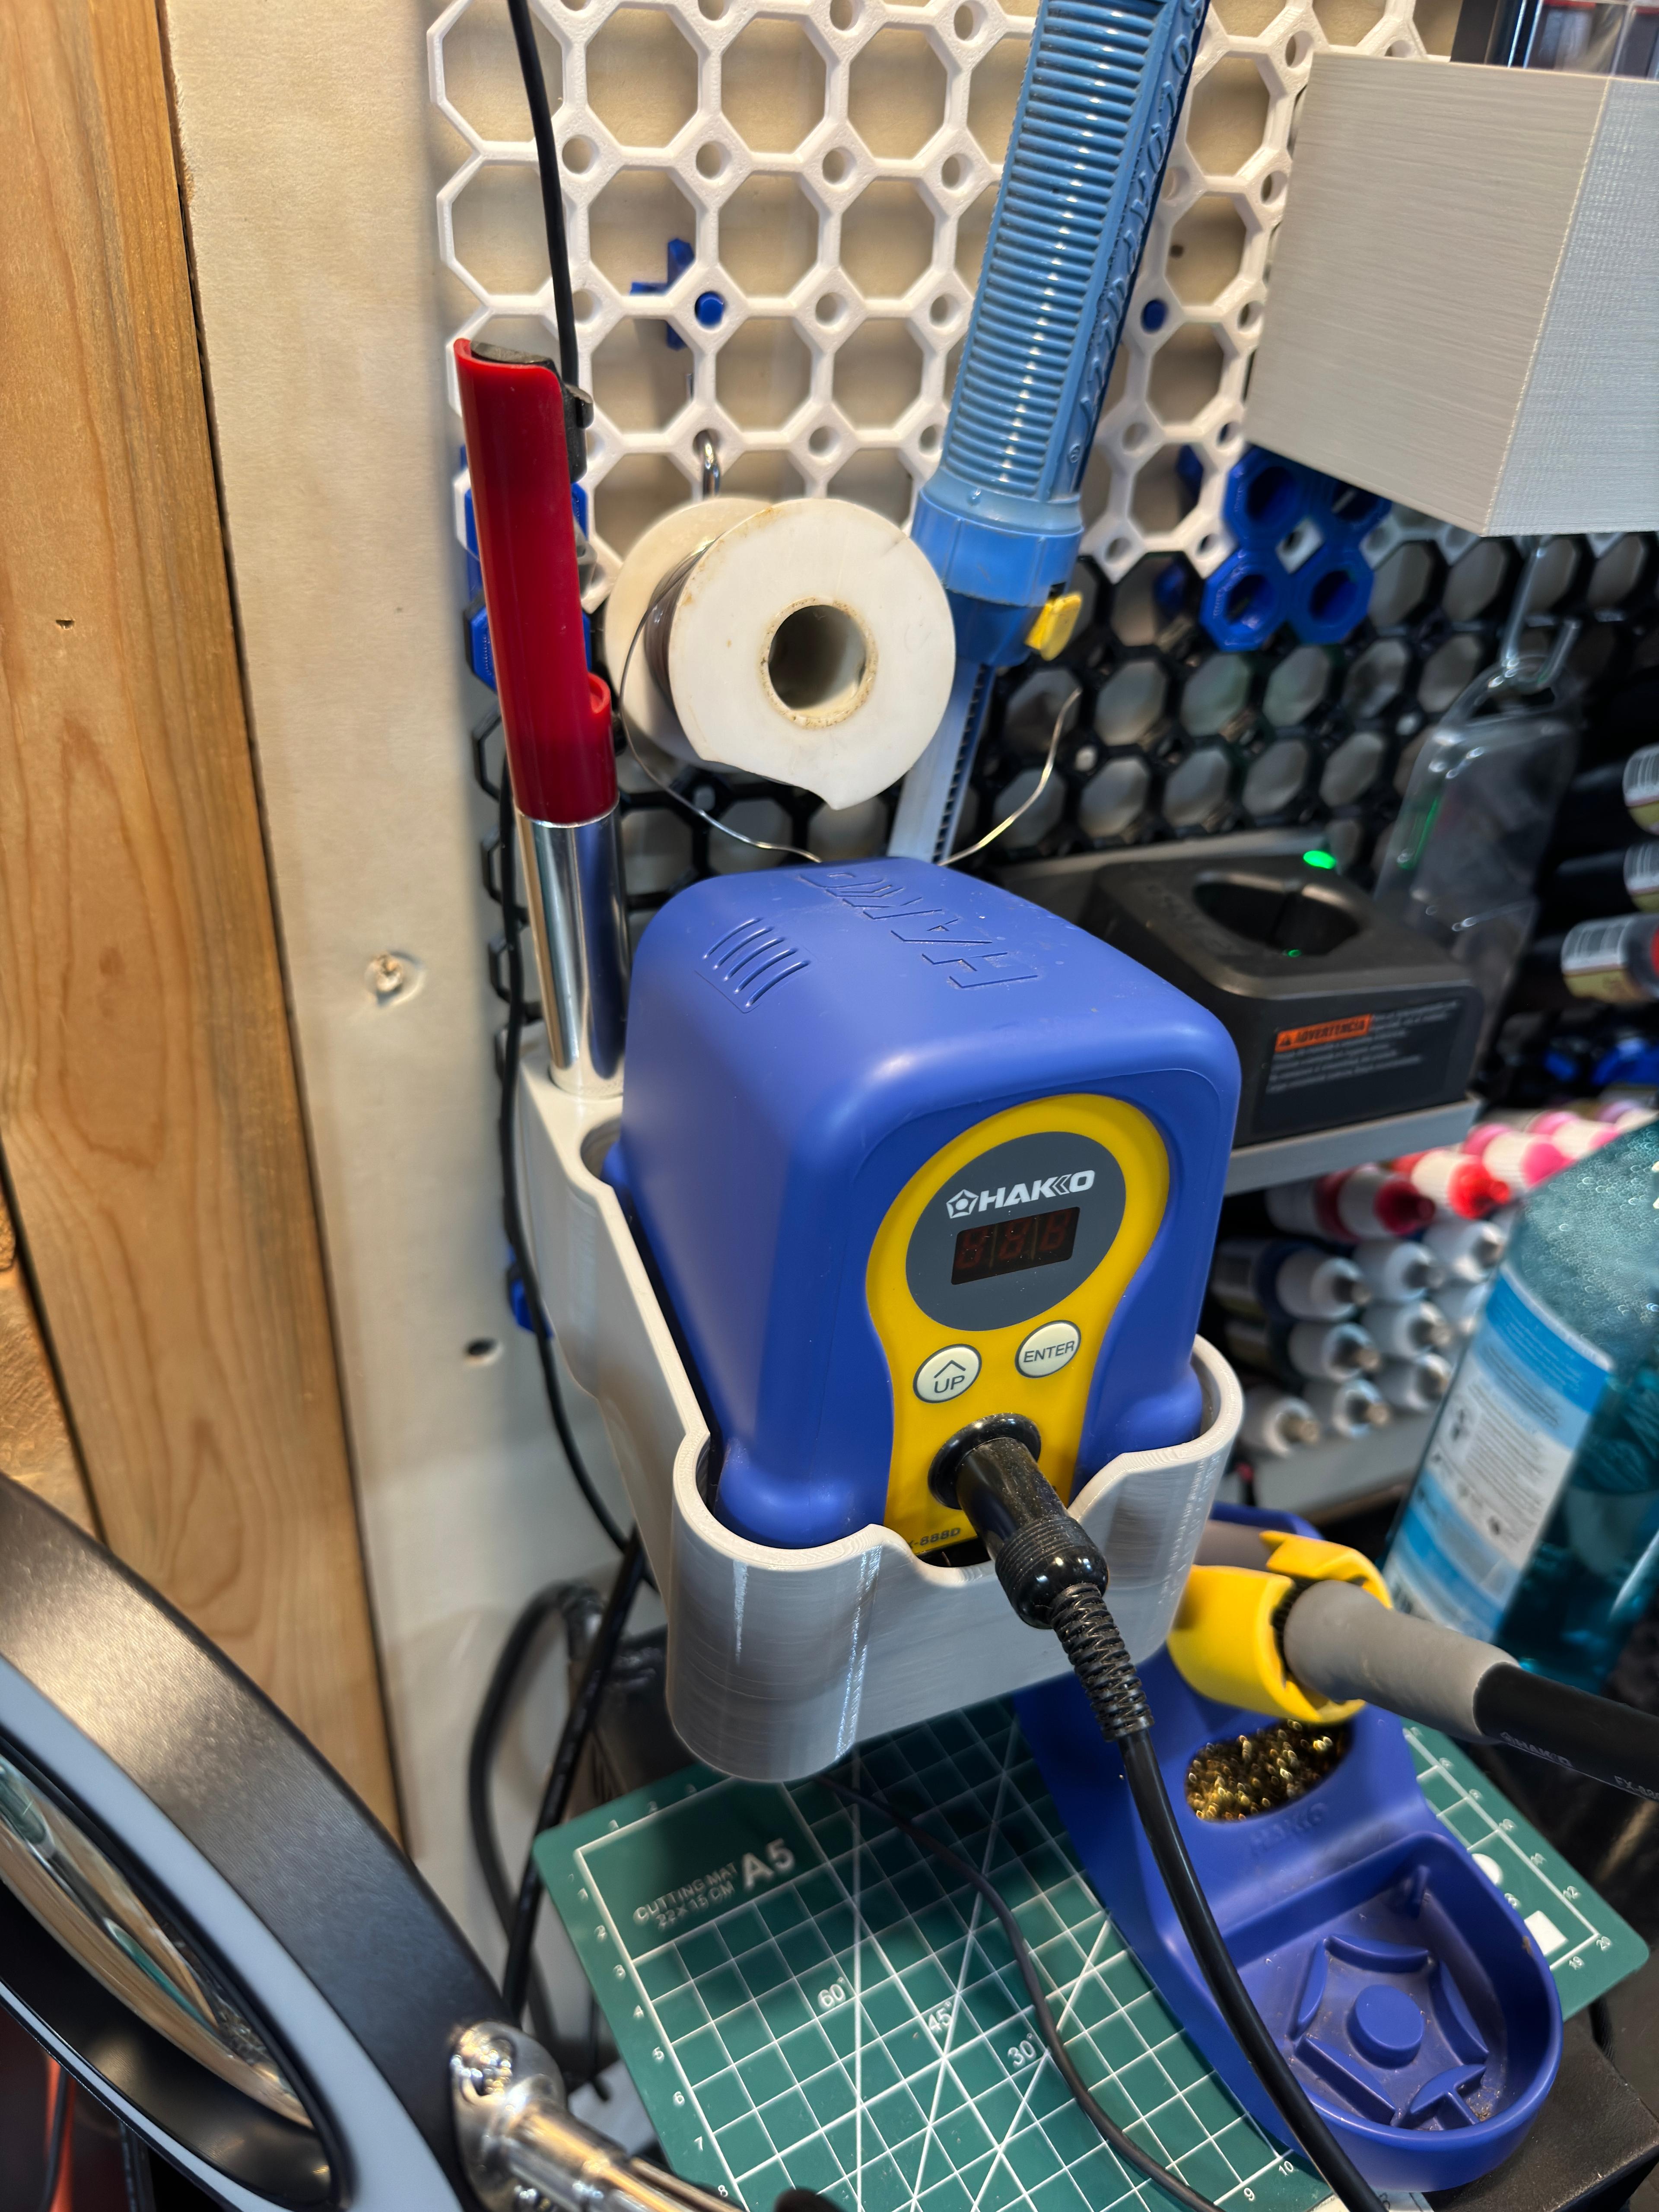
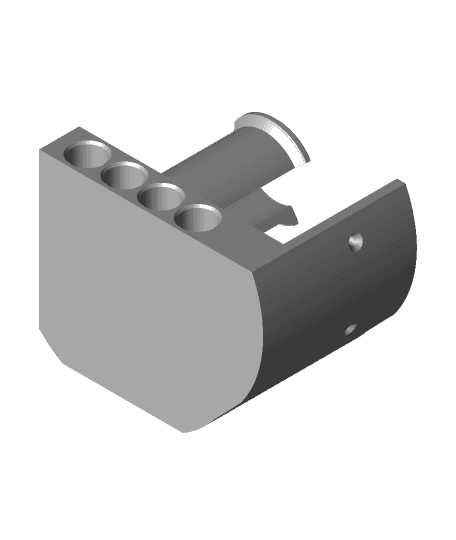
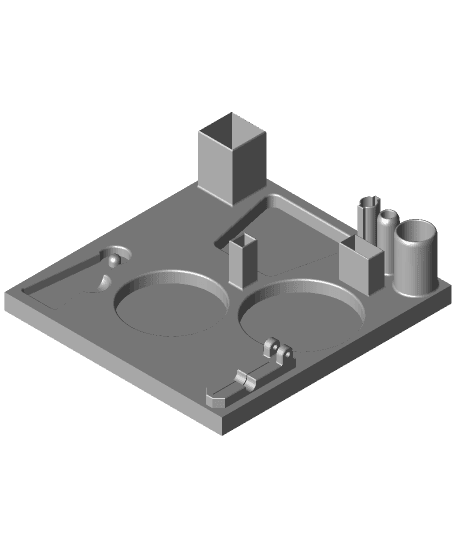
It is possible to mount a soldering iron holder using the hole provided in the center of the base.
Models are supplied already in the optimal printing position
It is highly recommended that the printer be well calibrated before printing this model.
Note: Don't be alarmed if the friction between the components feels too much; as you move the arms over time, it will become smoother.
Pinecil Soldering Iron Carry Case and Portable Solder Station
Halterung für Märklin Mobile Station 2 / 3 / Bracket for Märklin Mobile Station 2 / 3
Solder Tip Holder Gridfinity for Weller WE1010 soldering station
Soldering Station - Gridfinity

TS100 Soldering Station Setup
Solder station

Docking Station Brackets

Soldering station stand.stl

Hakko Soldering Station Multiboard Multiconnect
Gridfinity Solder Holder station
Hakko Soldering Station Holder for Multiboard
Soldering Station Butane
Quicko T12 LED portable soldering station STC
Remix of Hakko Soldering Station Holder for Multiboard: Uses MultiConnect

Gridfinity Solder Holder Station - Refined

Dewalt Soldering Station
Solder Station
Gridfinity 2x3 Solder Station base.stl
Solder Station Base.stl
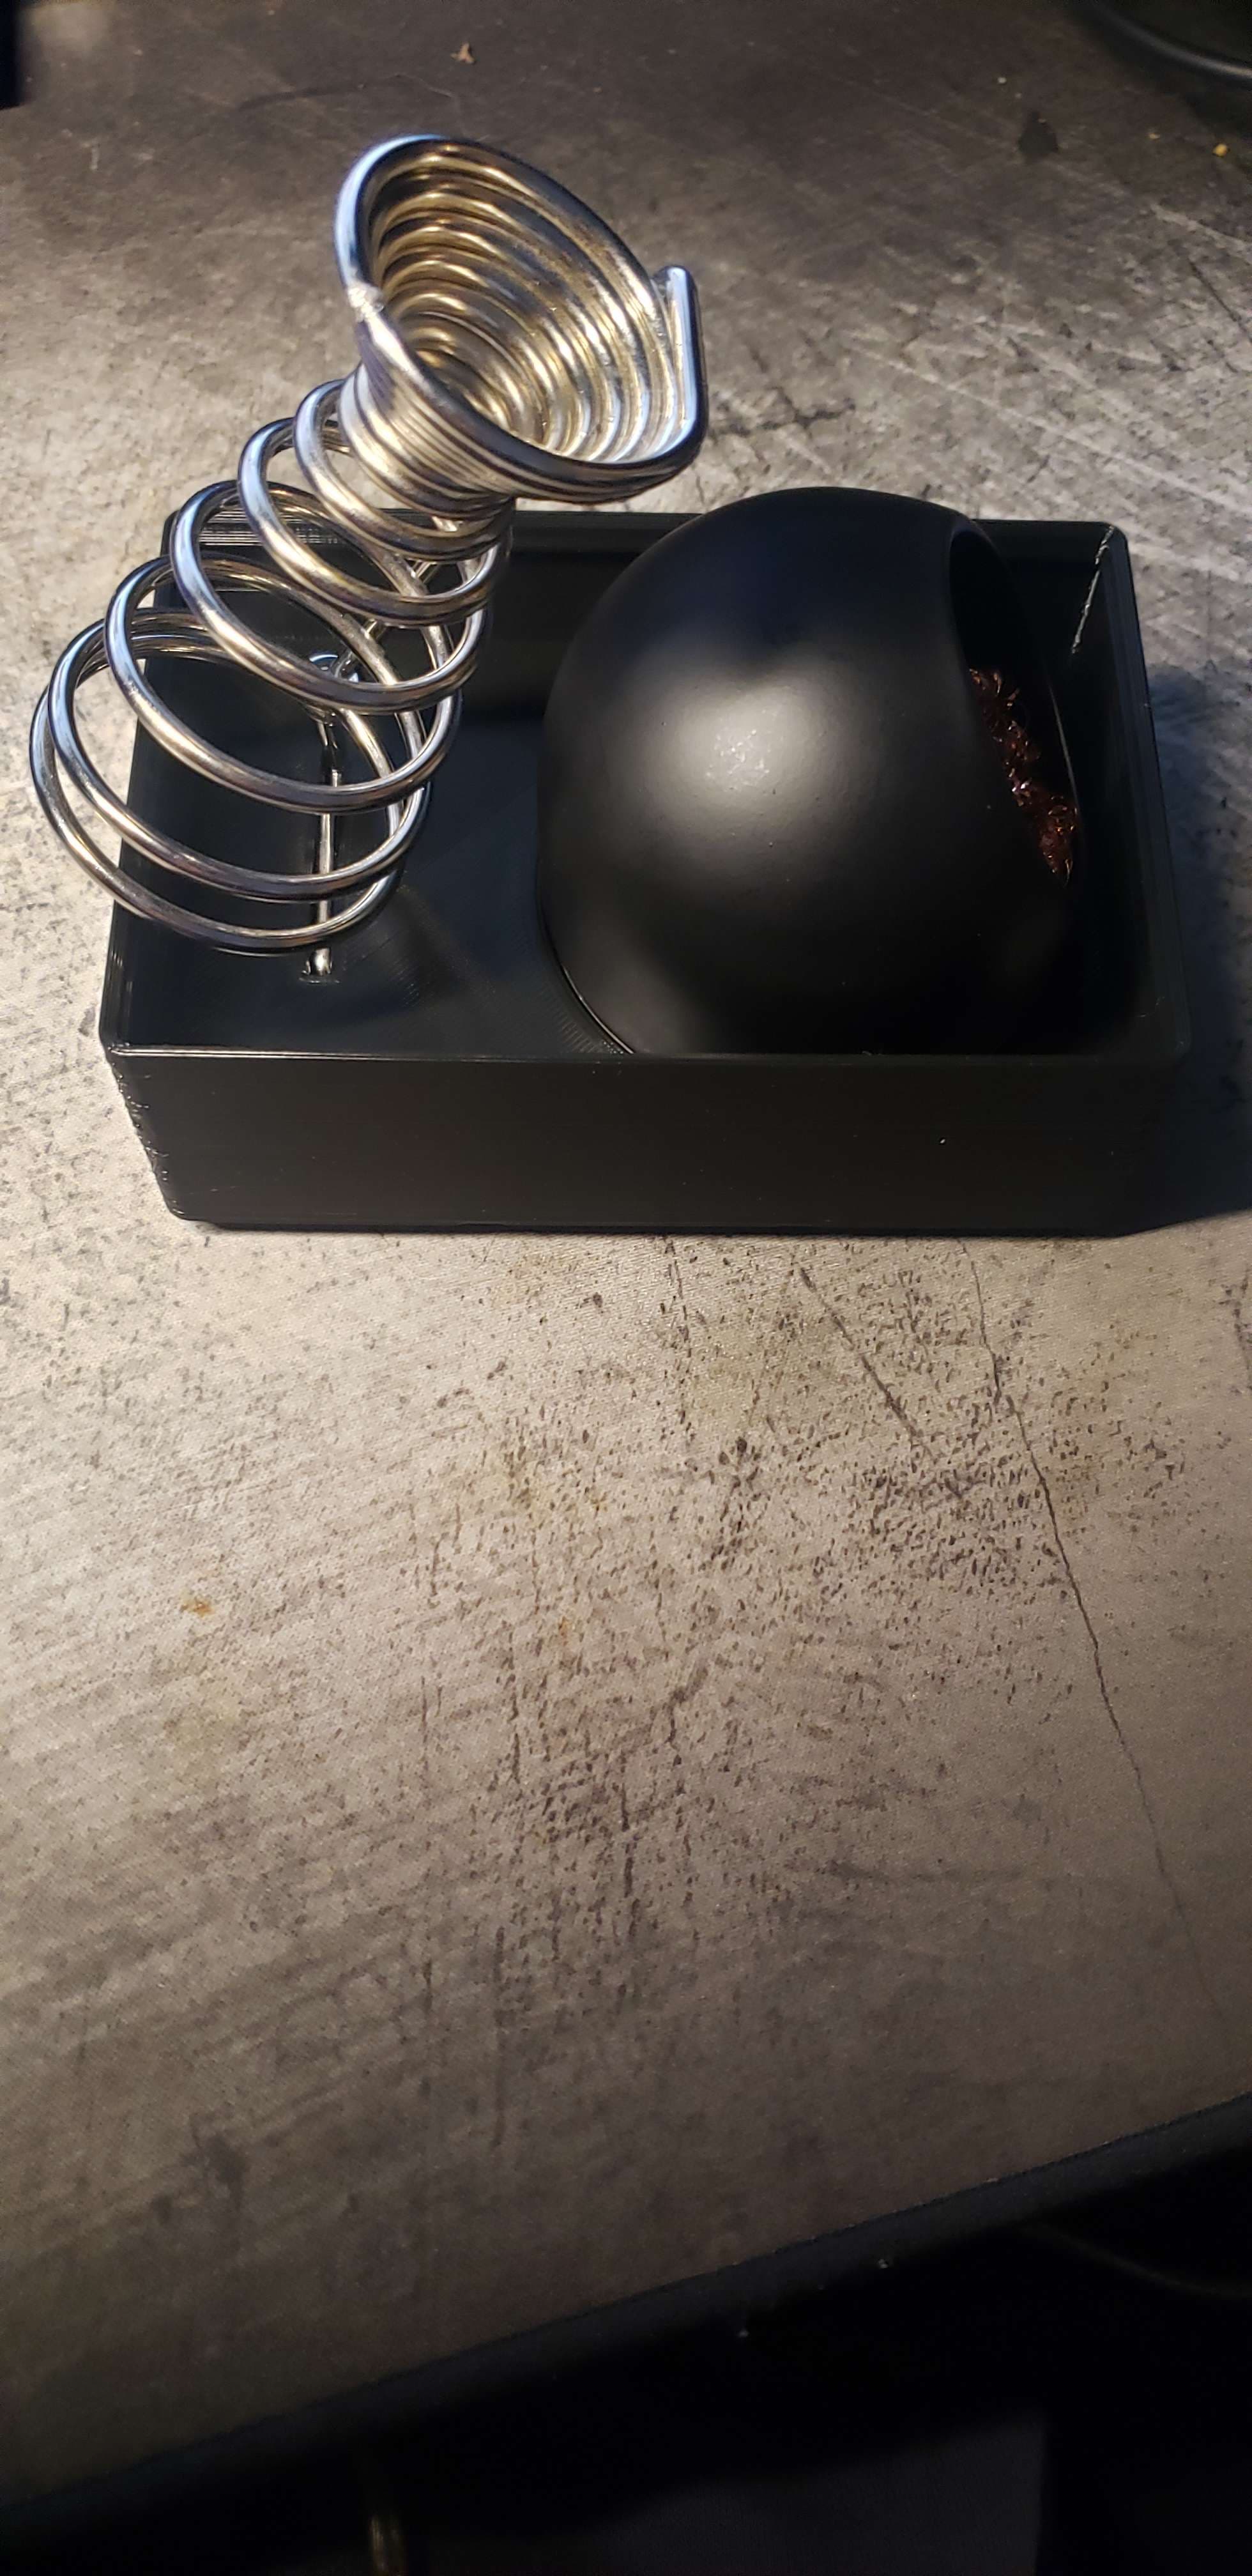
printed in petg and it sucks. made with 3 walls, making the thinner part solid, but still half of them cracked the rest wore out and have no friction in less than five minutes.. tpu didn't work either.. guess i will try pla????????????? oh and I modded the end to accept large alligator clips.. because plastic dosent hold up to copper plating heat up :P