


Gingerbread Cactuar
1 downloads · 3 years ago · This is a model inspired by an event boss in the FFVII Ever Crisis mobile game. For fans of the Fina
This is a model inspired by an event boss in the FFVII Ever Crisis mobile game. For fans of the Final Fantasy series it's highly specific to this one game, though the cactuar itself isn't. If any requests come for a regular cactuar version, I would be happy to oblige. There are multiple pieces to print, but assembly is pretty straight forward and only required to keep printing as simple as possible. *Edit, for some reason the present bag keeps not loading. Hopefully this edit will have it in there. **Edit, GBC main body V2 has been edited to change leg positioning and hopefully keep this model inspiring joy and nostalgia as it was intended. (Thanks for the feedback, wish everyone well.)
- The GBC Main Body V2 prints first along with the Cylindrical Peg and Present Bag. These 3 pieces can be press fit without glue by placing one present in each "glove" and then pressing down on the Present bag by the Cylindrical Peg. It will work like a wedge. However if glue is something one wants to use, there are two holes pre-made into the present bag to allow it to line up right.
- The GBC foot "rolls" into the Foot Adapter and is held in place by two different snap fittings. (My kids made a habit of snapping off one of them, so I implemented two that work in tandem or alone and if your tolerances are spot on or not.) No glue should be needed at all, but again can be used if wanted. The bottom snap can be pushed up from the bottom to facilitate the rolling action if tolerances are very tight.
- The Foot Adapter is placed into the Base (any version) by lining up the cylindrical hole with the cylindrical peg that is made onto the Food Adapter, then rocking the rest of the piece down into place. Should be fairly tight, but loose enough that the piece will rock back and forth. I made the design to be used with magnets, so the Foot Adapter was made with a hollow shank that also allows a Paperclip to be unfolded and placed through it and the base together. This will keep the piece from trying to come apart when people press against the magnets to make the Cactuar dance back and forth a bit.
- There is tight tolerance hole on the base for an 8mm Neodymium Magnet (can be found online or at Harbor Freight for those who have access to one) and another on the bottom of the Foot Adapter. The idea is to place the magnets into the holes with opposing poles to create magnetic repulsion resulting in that "mid-step" look and to allow kids to play with it and even try using it like a catapult. Once the 8mm Magnets are in place bigger/smaller ones can be placed on them to increase the magnetic pull/push as you wish. So it also doubles as fun science for kids if you so wish.
All summed up quickly at a glance:
- snap the cylinder peg into the back of the body 2.slide the present bag onto the cylinder while positioning a present box into each hand and pushing nearest the cylinder
- roll the body's foot into the foot adapter
- rock foot adapter into base
- place neodymium magnets and paperclip into base to better secure and add flair.
Gingerbread Cactuar
1 download · 3 years ago in and
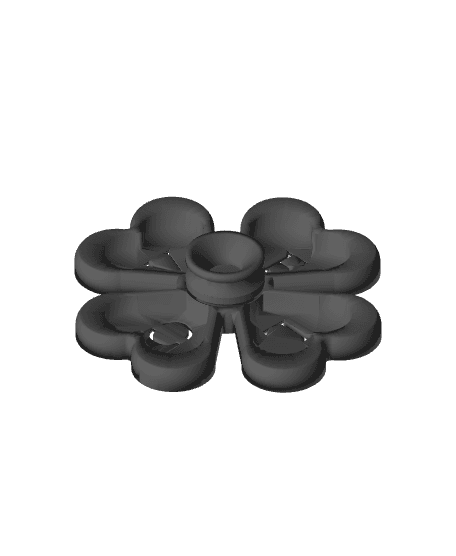
Heart Love Spinner with magnetic keychain holder.
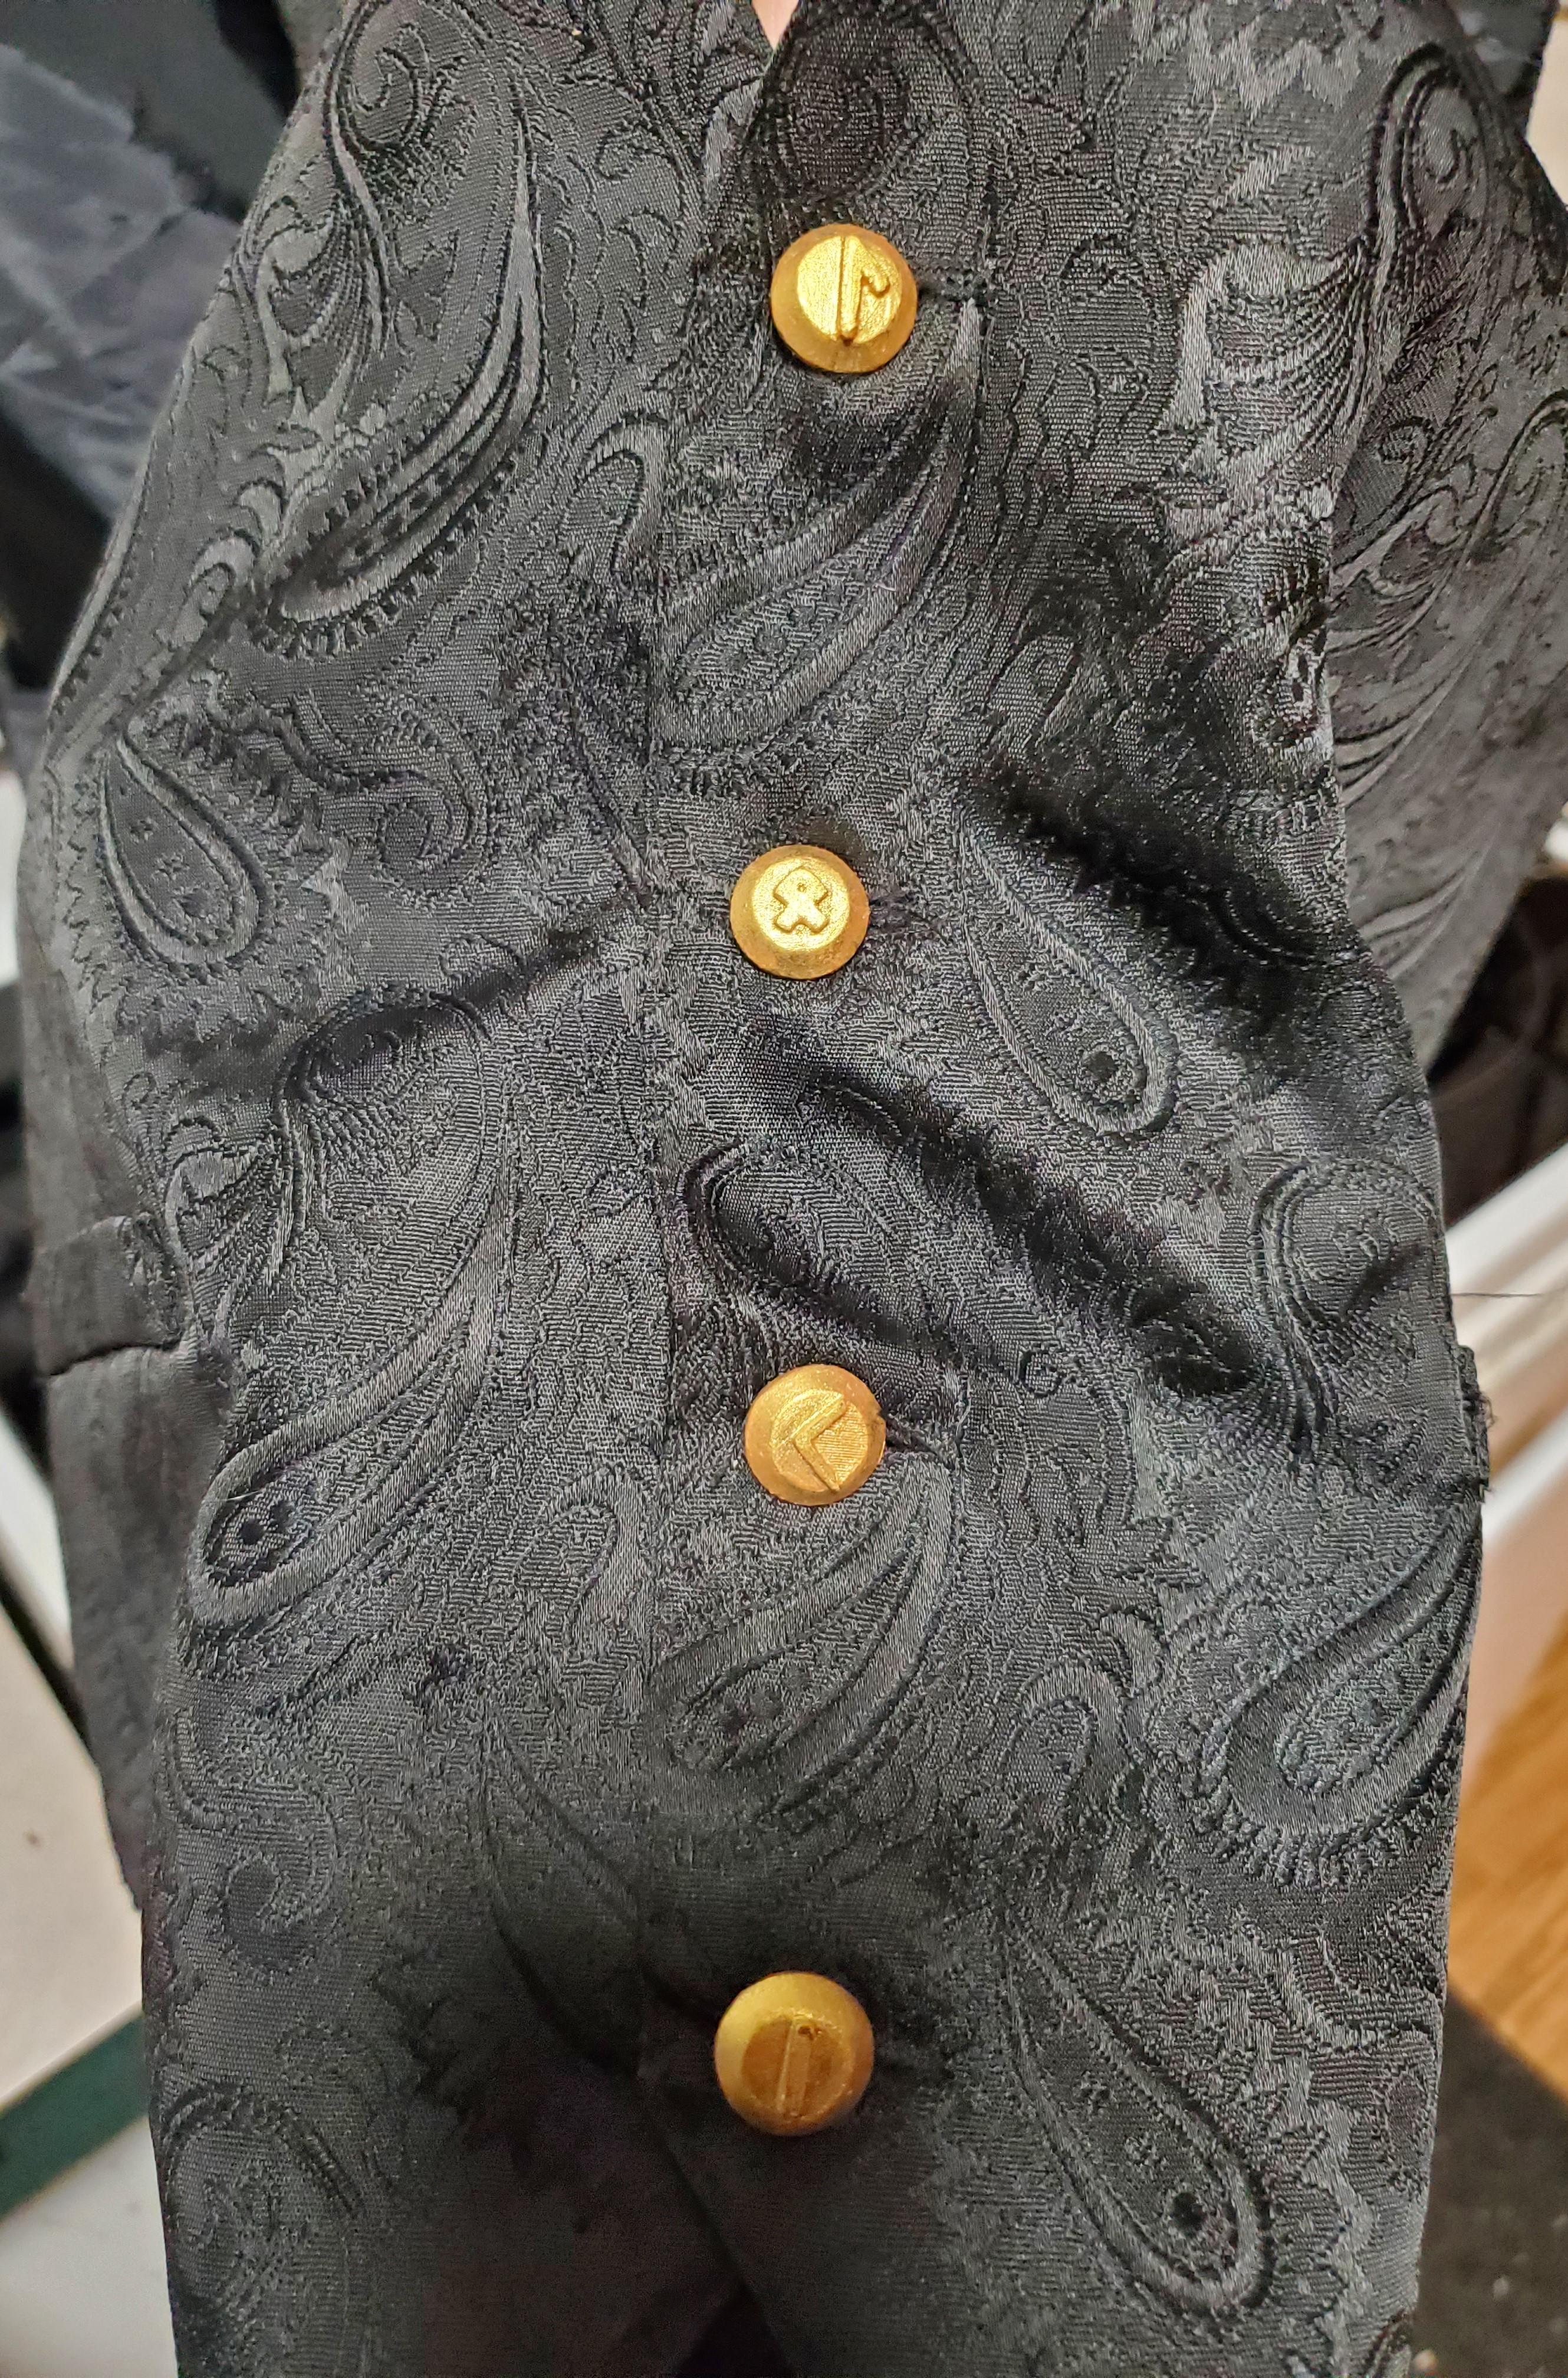
Loki Buttons for Cosplay
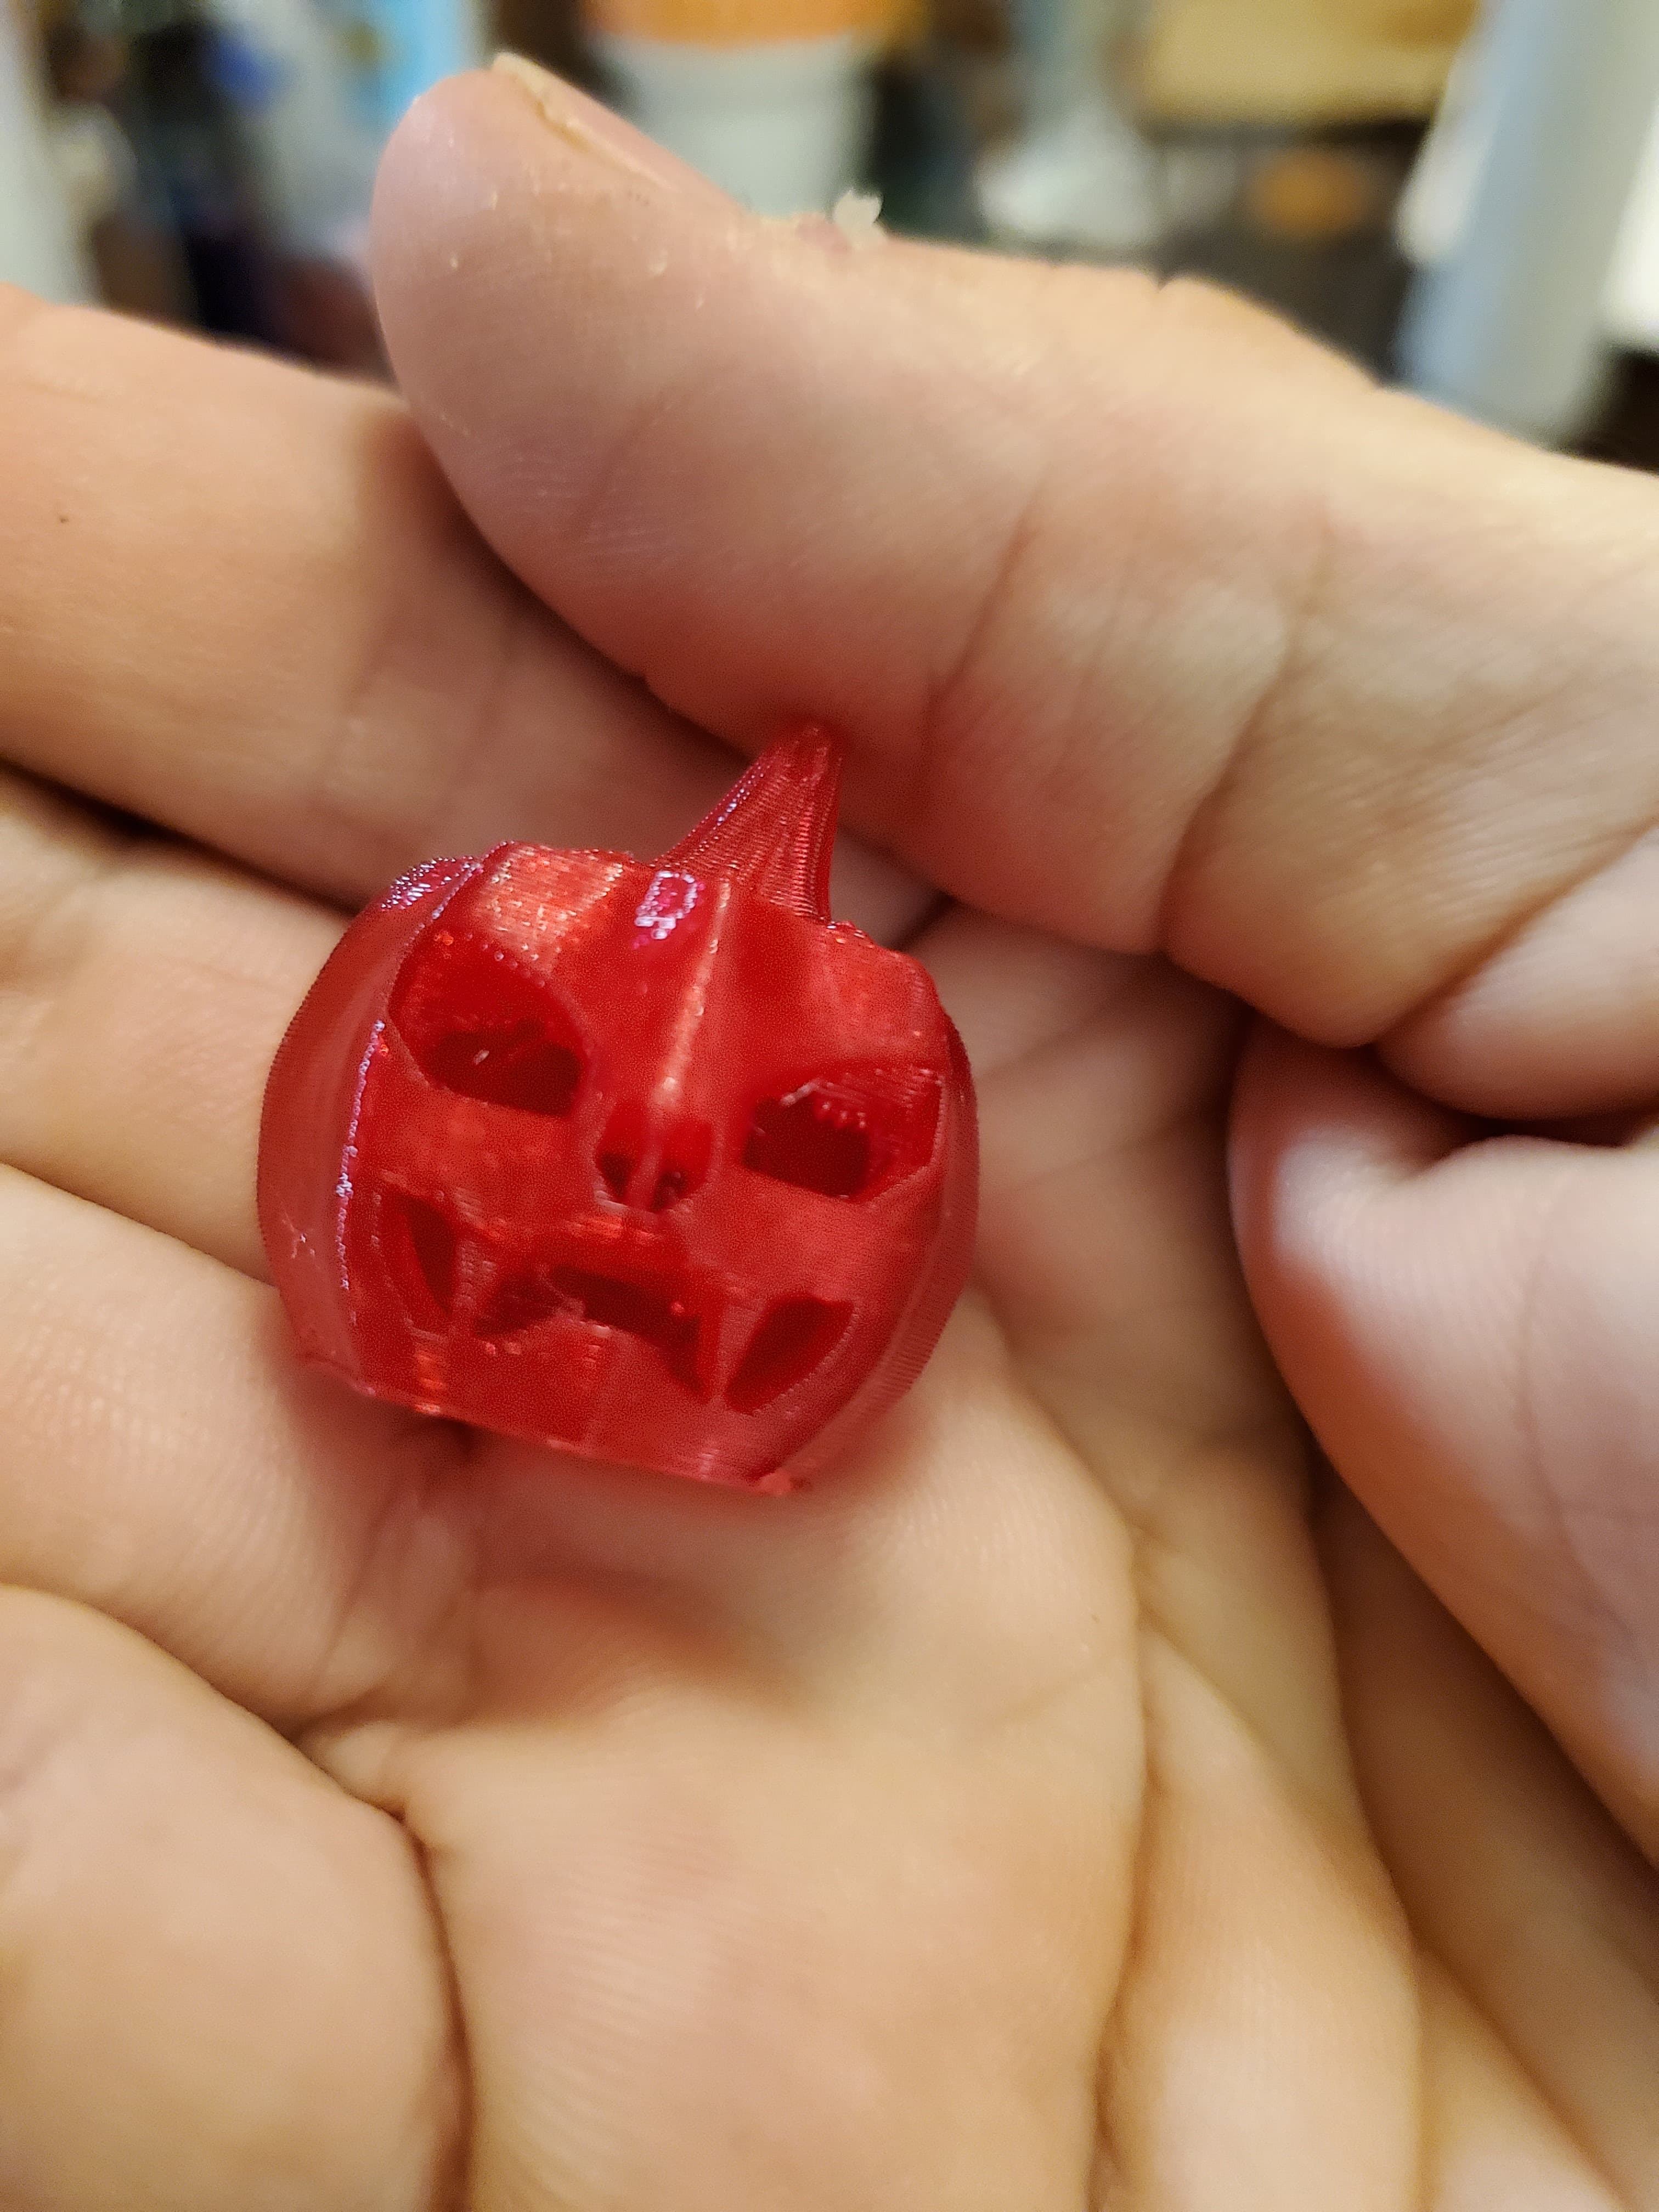
Battery Tealight Pumpkin Topper.3mf
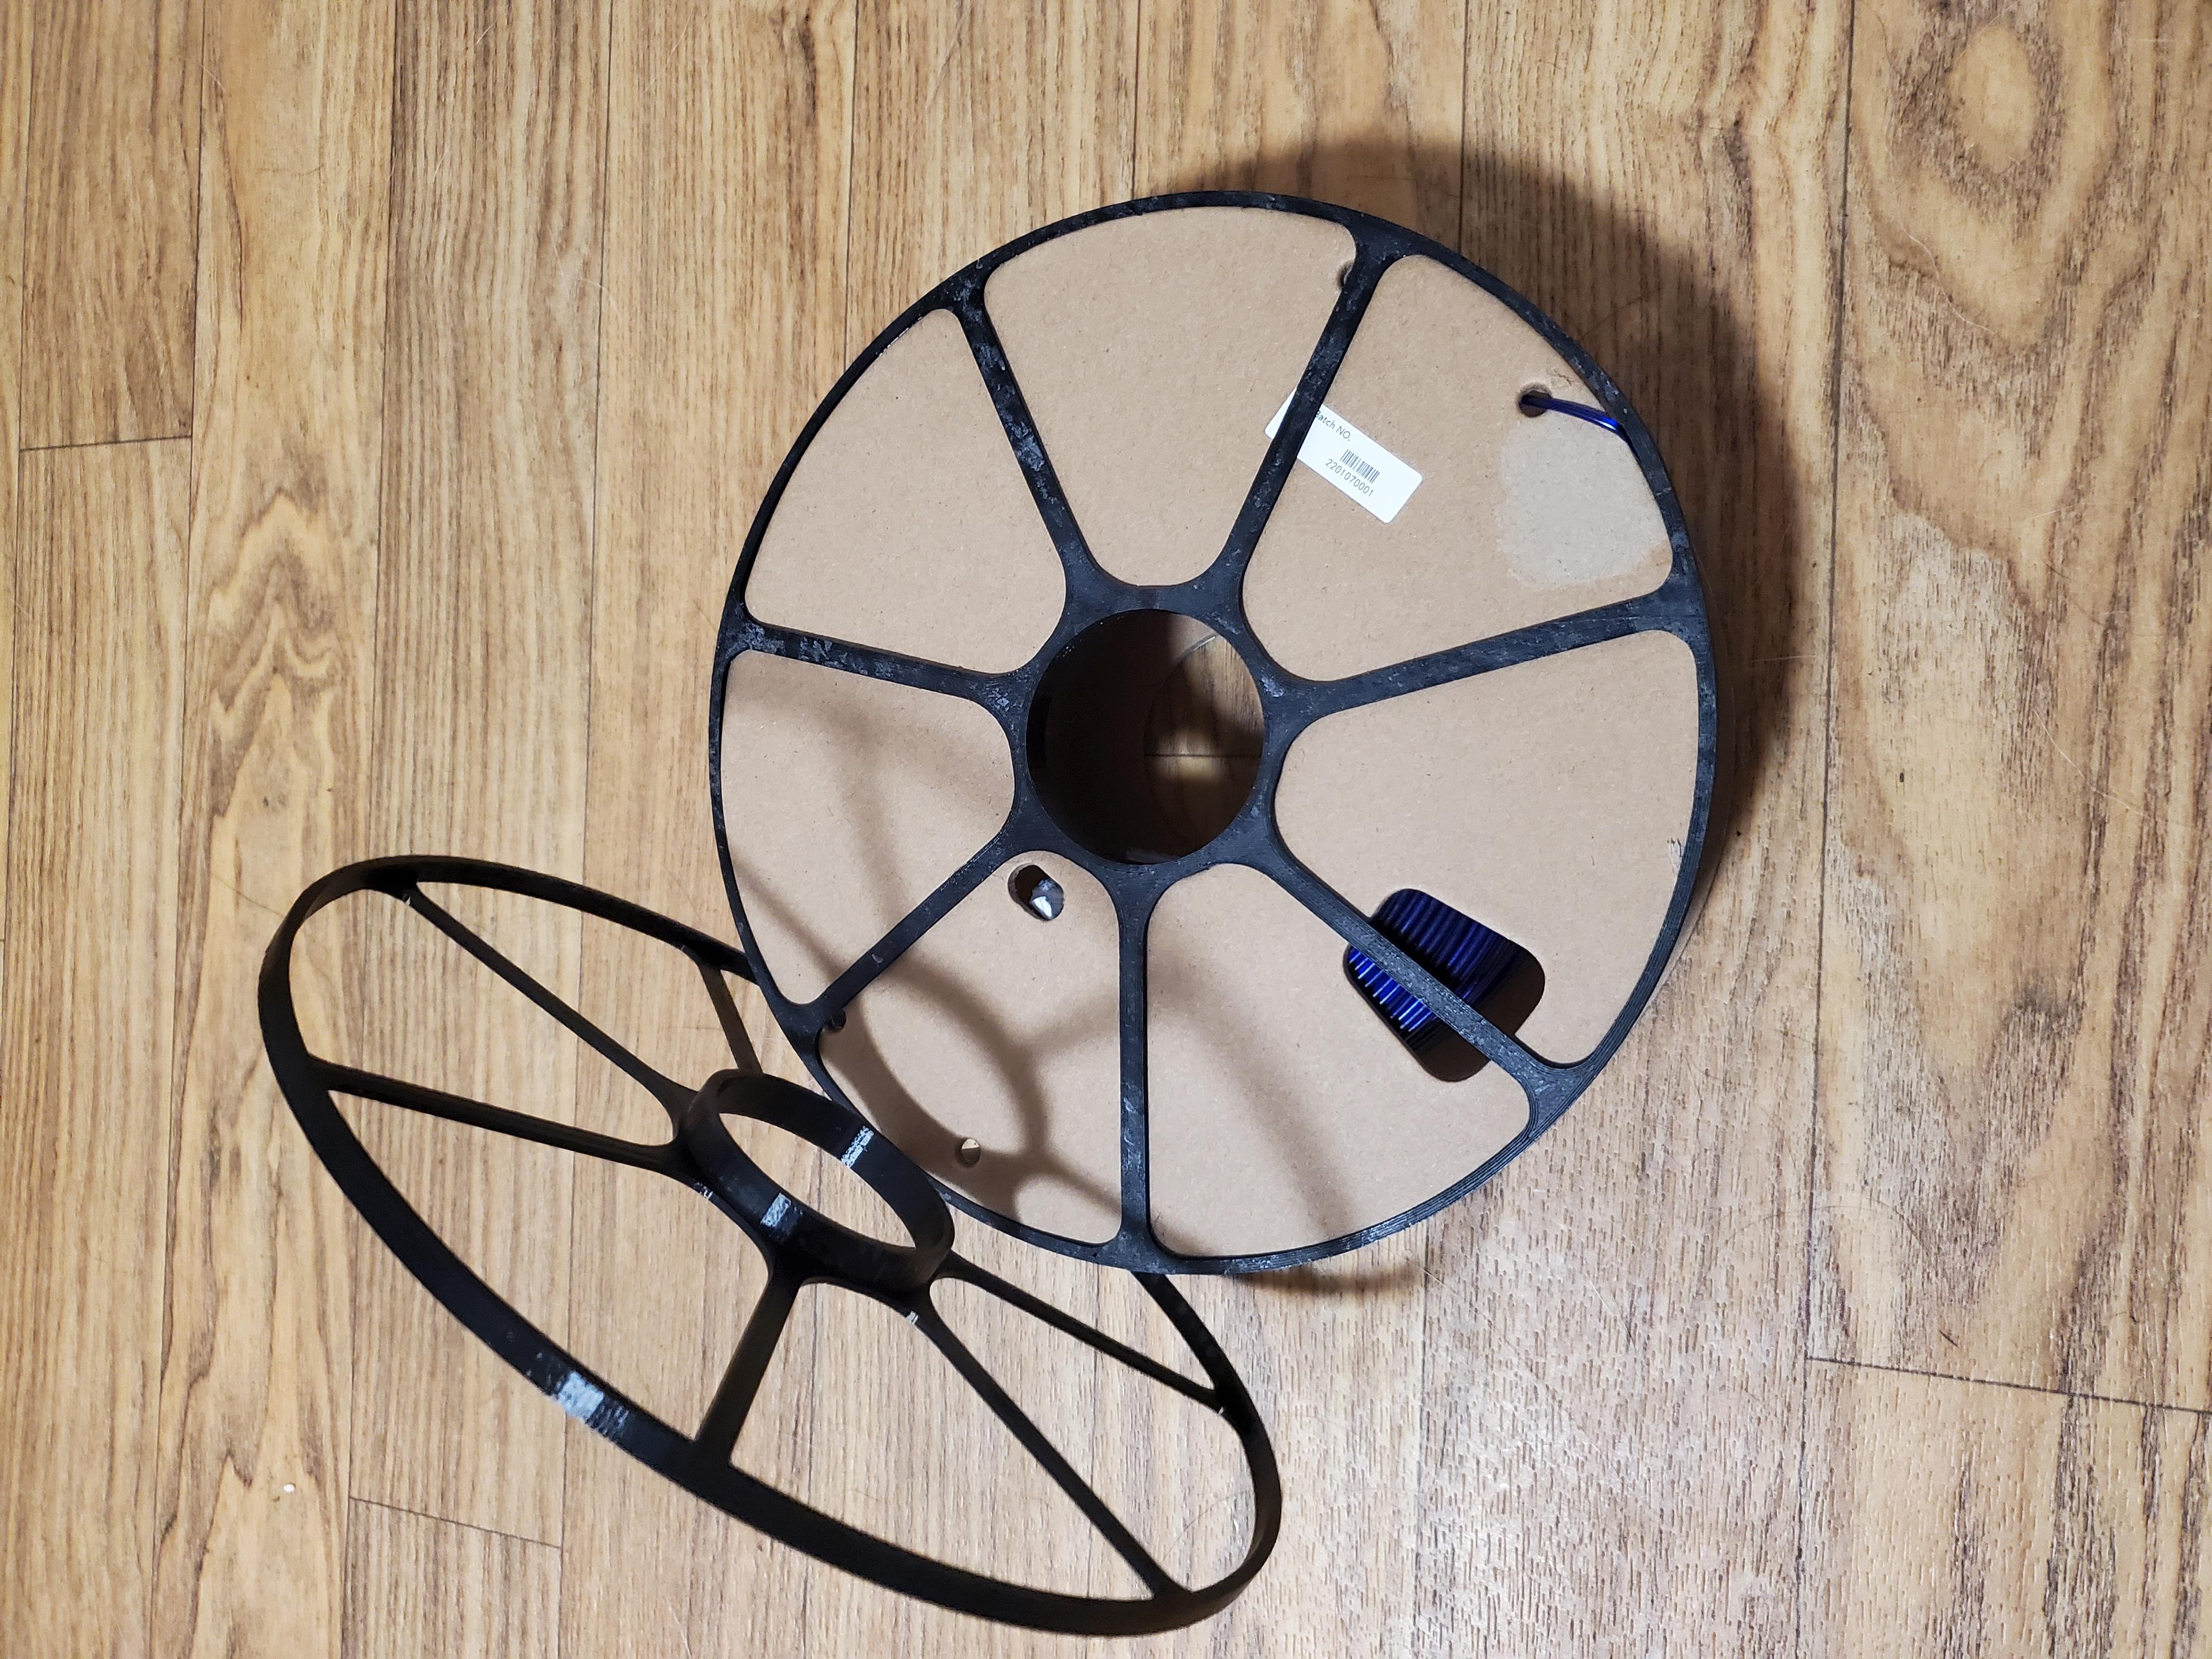
Inland Spool Adaptor v1, Sovol 3D Dryer.3mf
Humming Bird Base Cover and Changeable Flowers

Baby Gingerbread Cookie Dragon

Cookie Heart Dragon

Cookie Egg

Cozy Cabin - No AMS (or similar system) required
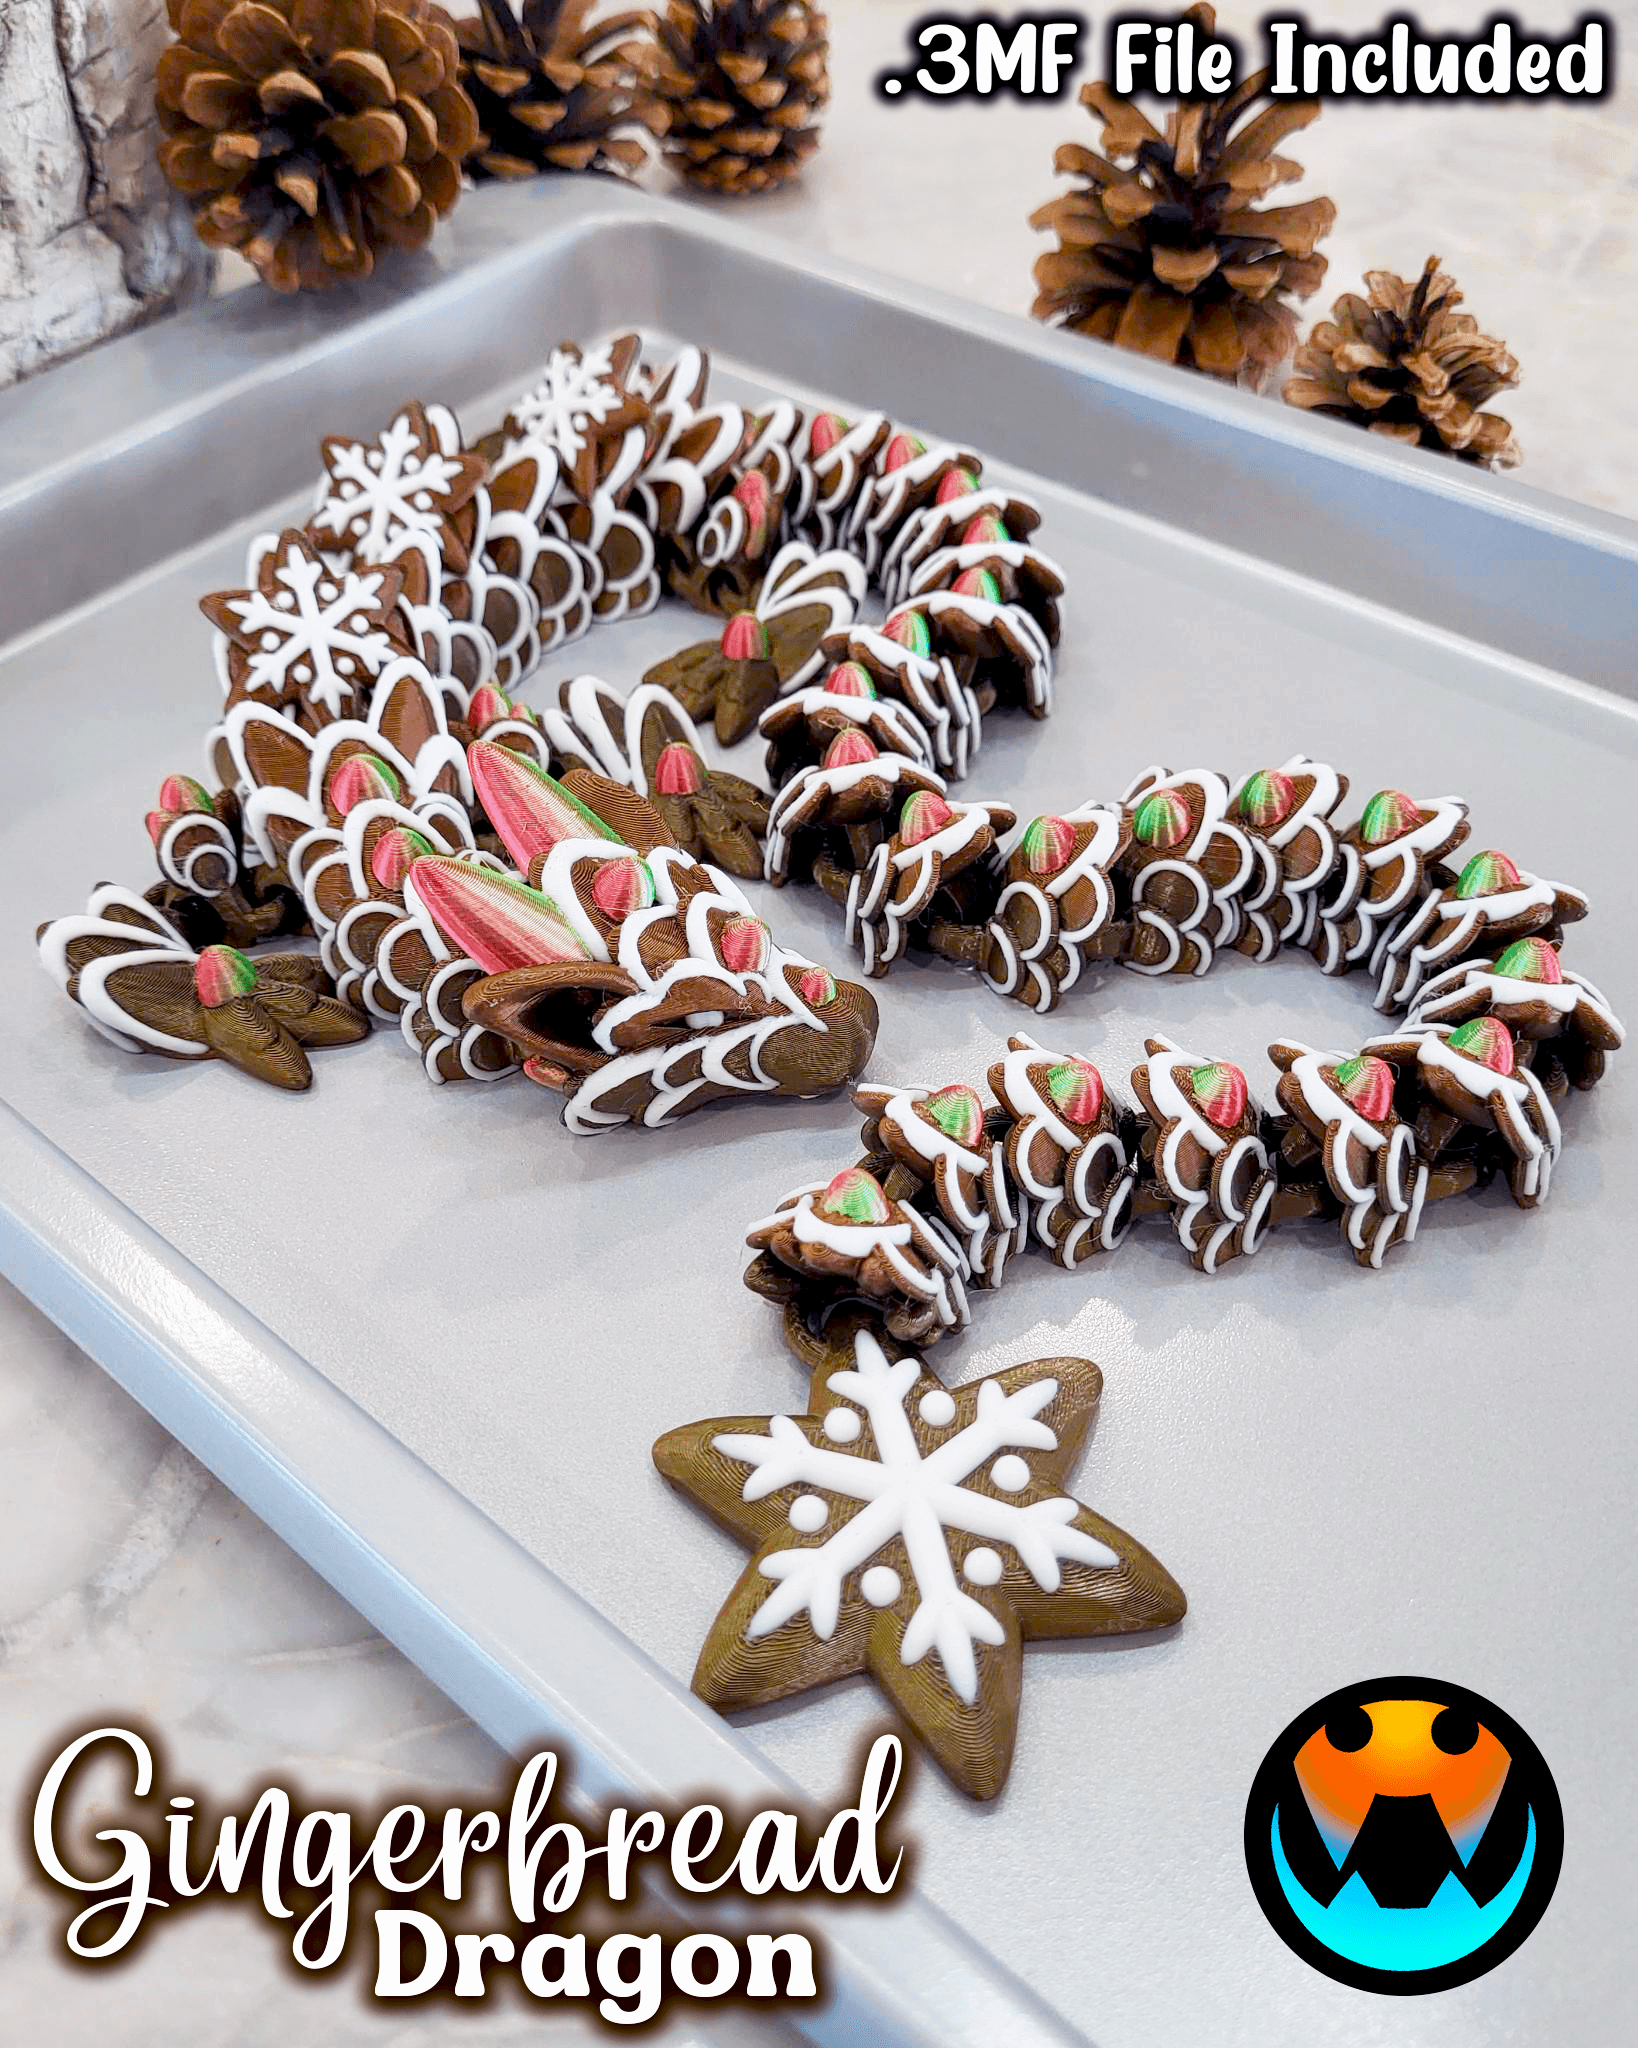
Gingerbread Dragon
Gingerbread Cookie Dragon

Gingerbread Cookie Tadling
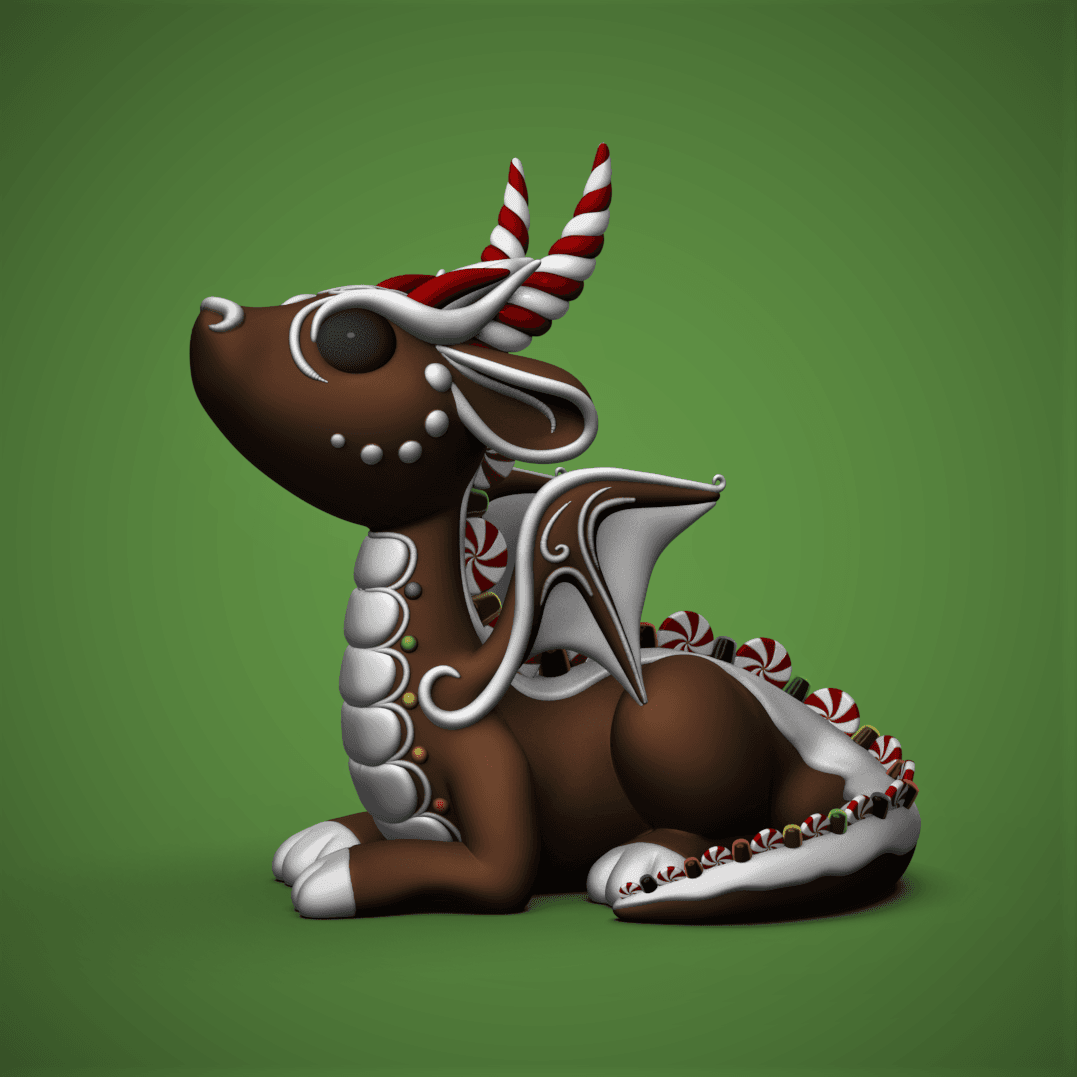
Ginger The Baby Dragon

Tiny Gingerbread Pals

Gingerbread Star Destroyer - Star Wars Christmas Kit | No Supports, No AMS, No Glue
Articulated gingerbread man

Gingerbread R2D2 Kit Card

Gingerbread Chunk - Christmas Kit | No Supports, No AMS, No Glue

Lovely Lighthouse - No AMS (or similar system) required
