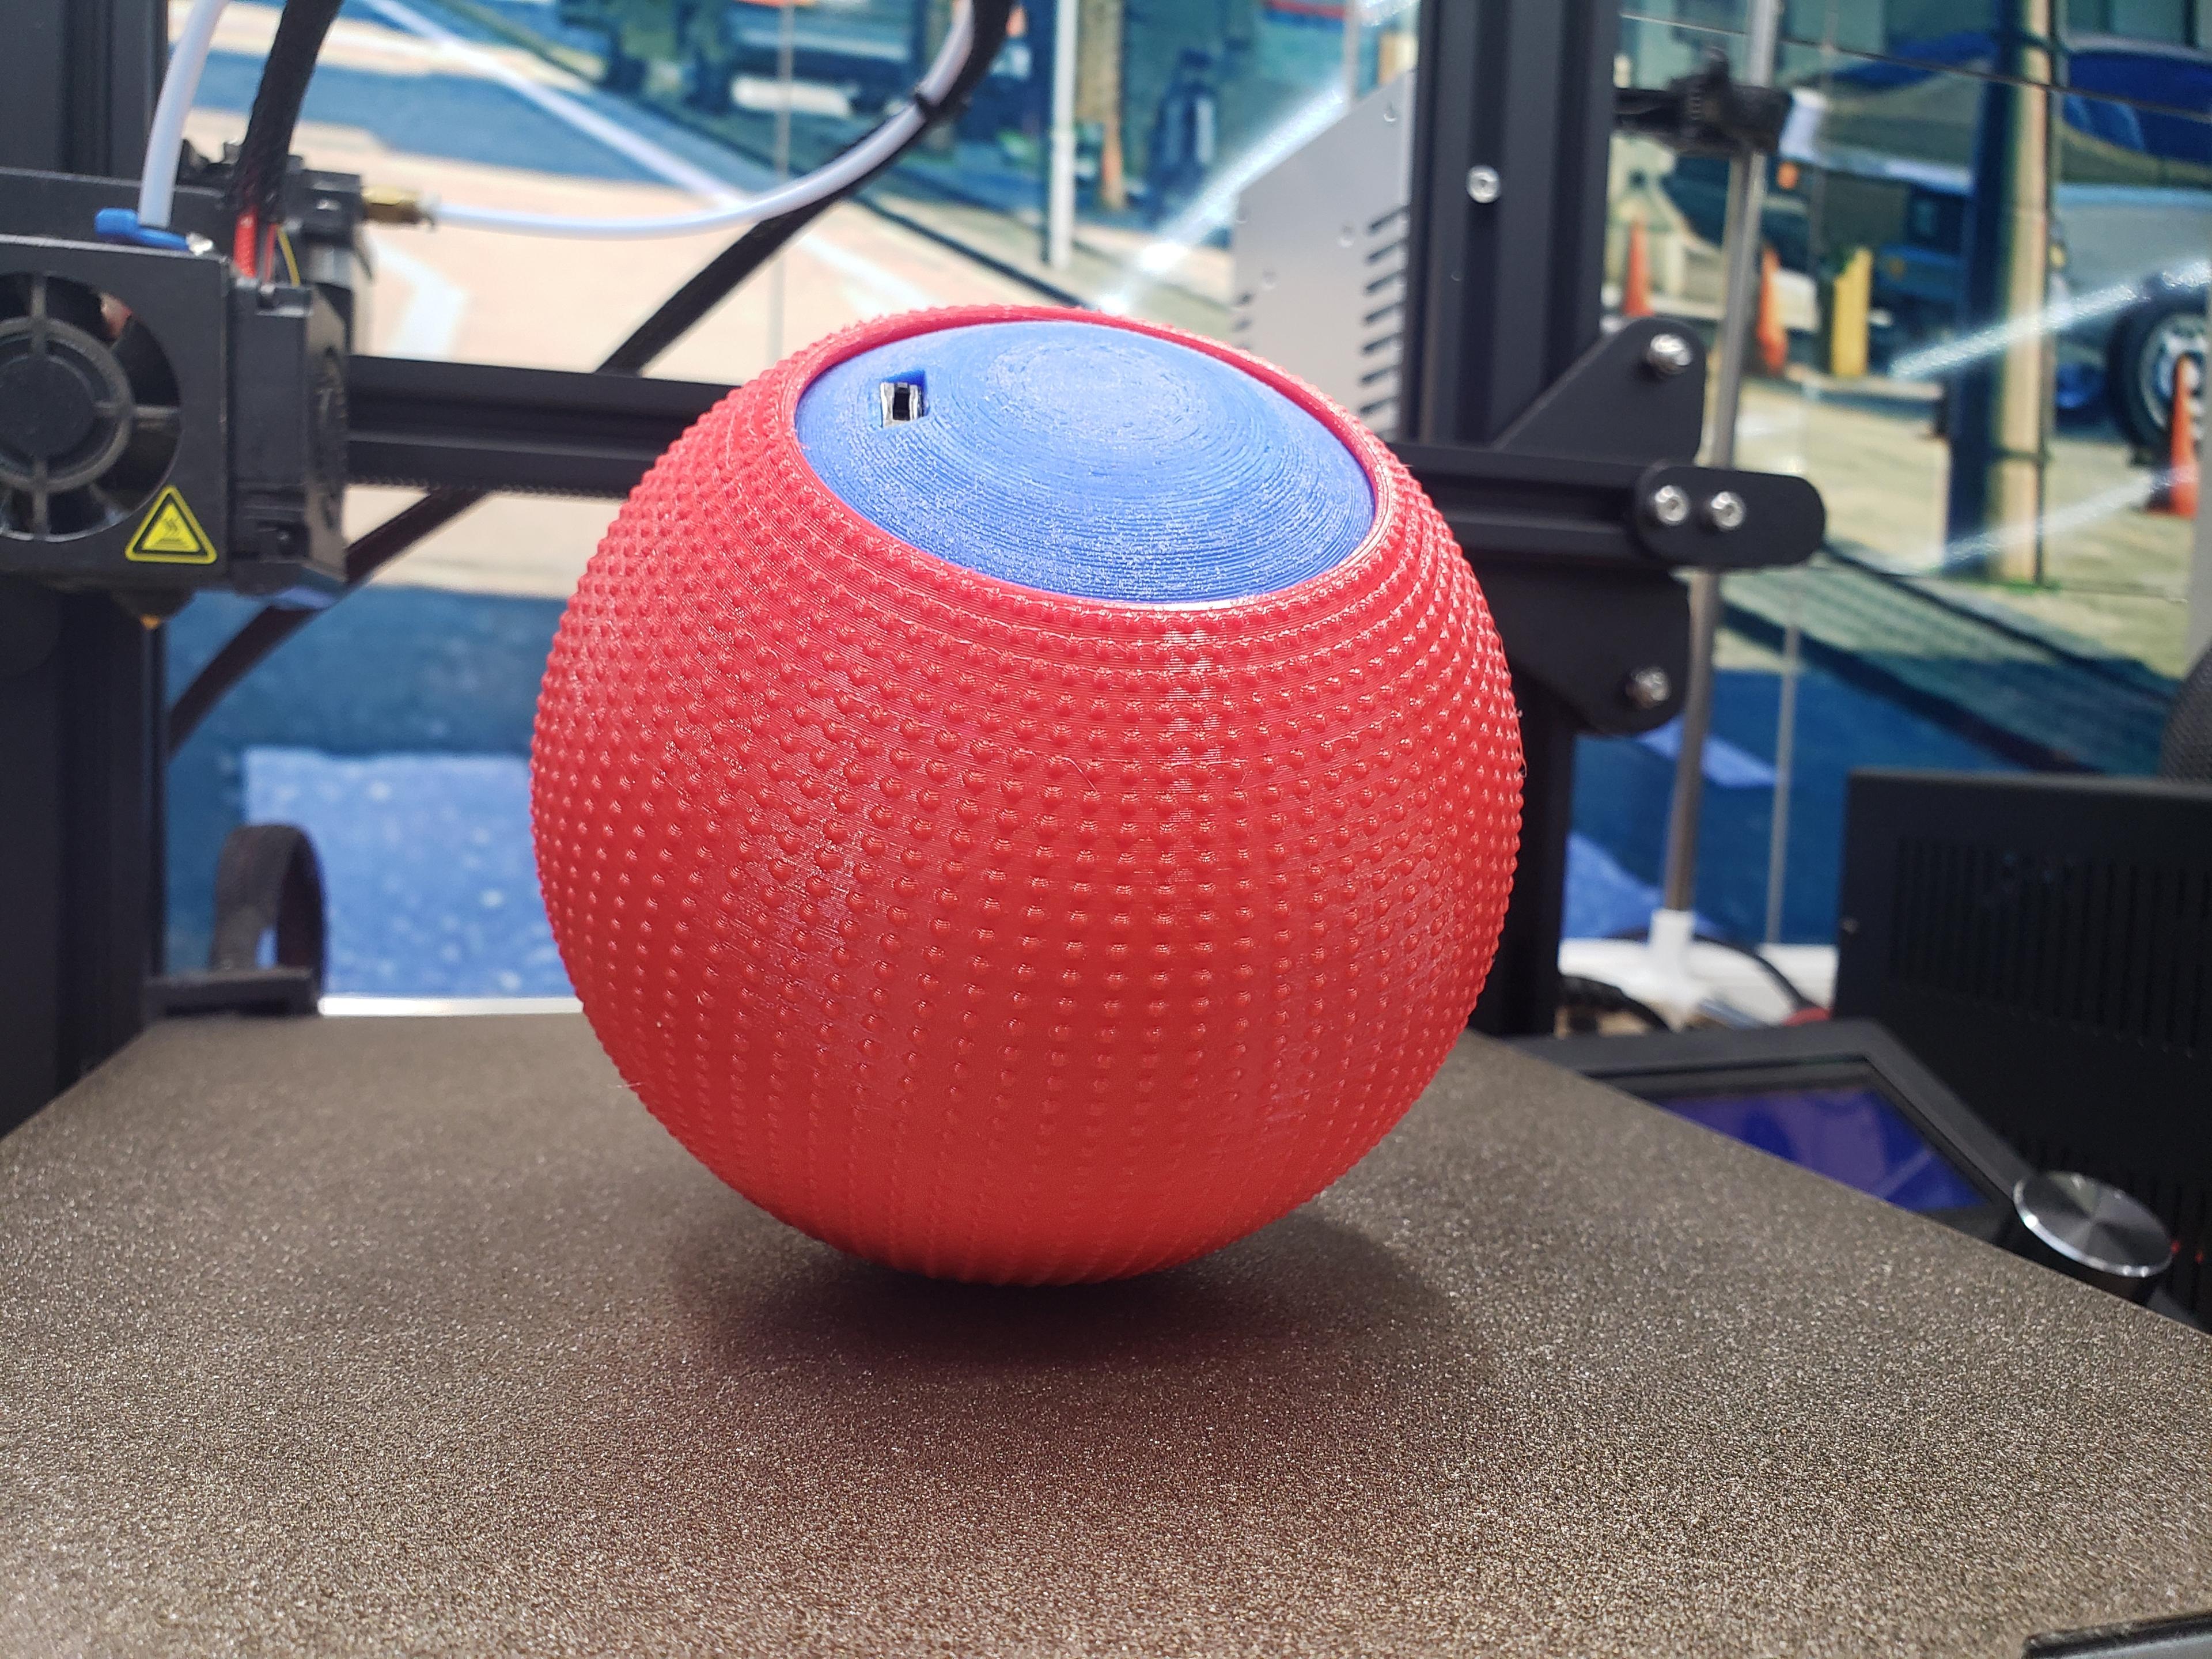
As seen on Shark Tank!
Shark Tank episode - https://www.youtube.com/watch?v=f-CM9hOxU30 Selling for $130 on Amazon - https://amzn.to/3qHZJZ9
Parts List: Small dc motor + 9V battery connector - https://amzn.to/44w88fY Slide switch - https://amzn.to/45UNaIR 9V Battery Electrical Wire ZipTie Solder + Soldering Iron Stainless Steel Nut Electrical Tape
Step One: Print Halves Printed in PLA using support. Tread printed in TPU without support. "TreadEasyPrint" prints easily without support but doesn't wrap all the way around the ball. "TreadUntested" wraps all the way around the ball but is more difficult to print. I suspect it may still print fine without support but I have not tested it.
Step Two: Assemble The Electronics To create the vibrating motor put a small amount of electrical tape around the shaft of the dc motor. Ziptie the stainless steel nut onto the shaft (I included a photo for reference). Assemble and solder the simple switch circuit (I included a photo for reference)
Step Three: Combine Print With Electronics The Vibrating motor and 9v battery should snap fit into the mounts. Before inserting them into the mounts lay down a piece of electrical tape over both mounts (I included a photo for reference). If you skip this step the motor and battery will vibrate against their mounts causing an unpleasant noise. Next combine the two halves of the ball and then insert the ball into the tread. Please be careful when inserting the ball into the tread. It may take some force so don't use anything sharp for leverage!


.png&w=3840&q=75)


