39 Likes55 DownloadsFebruary 16, 2024
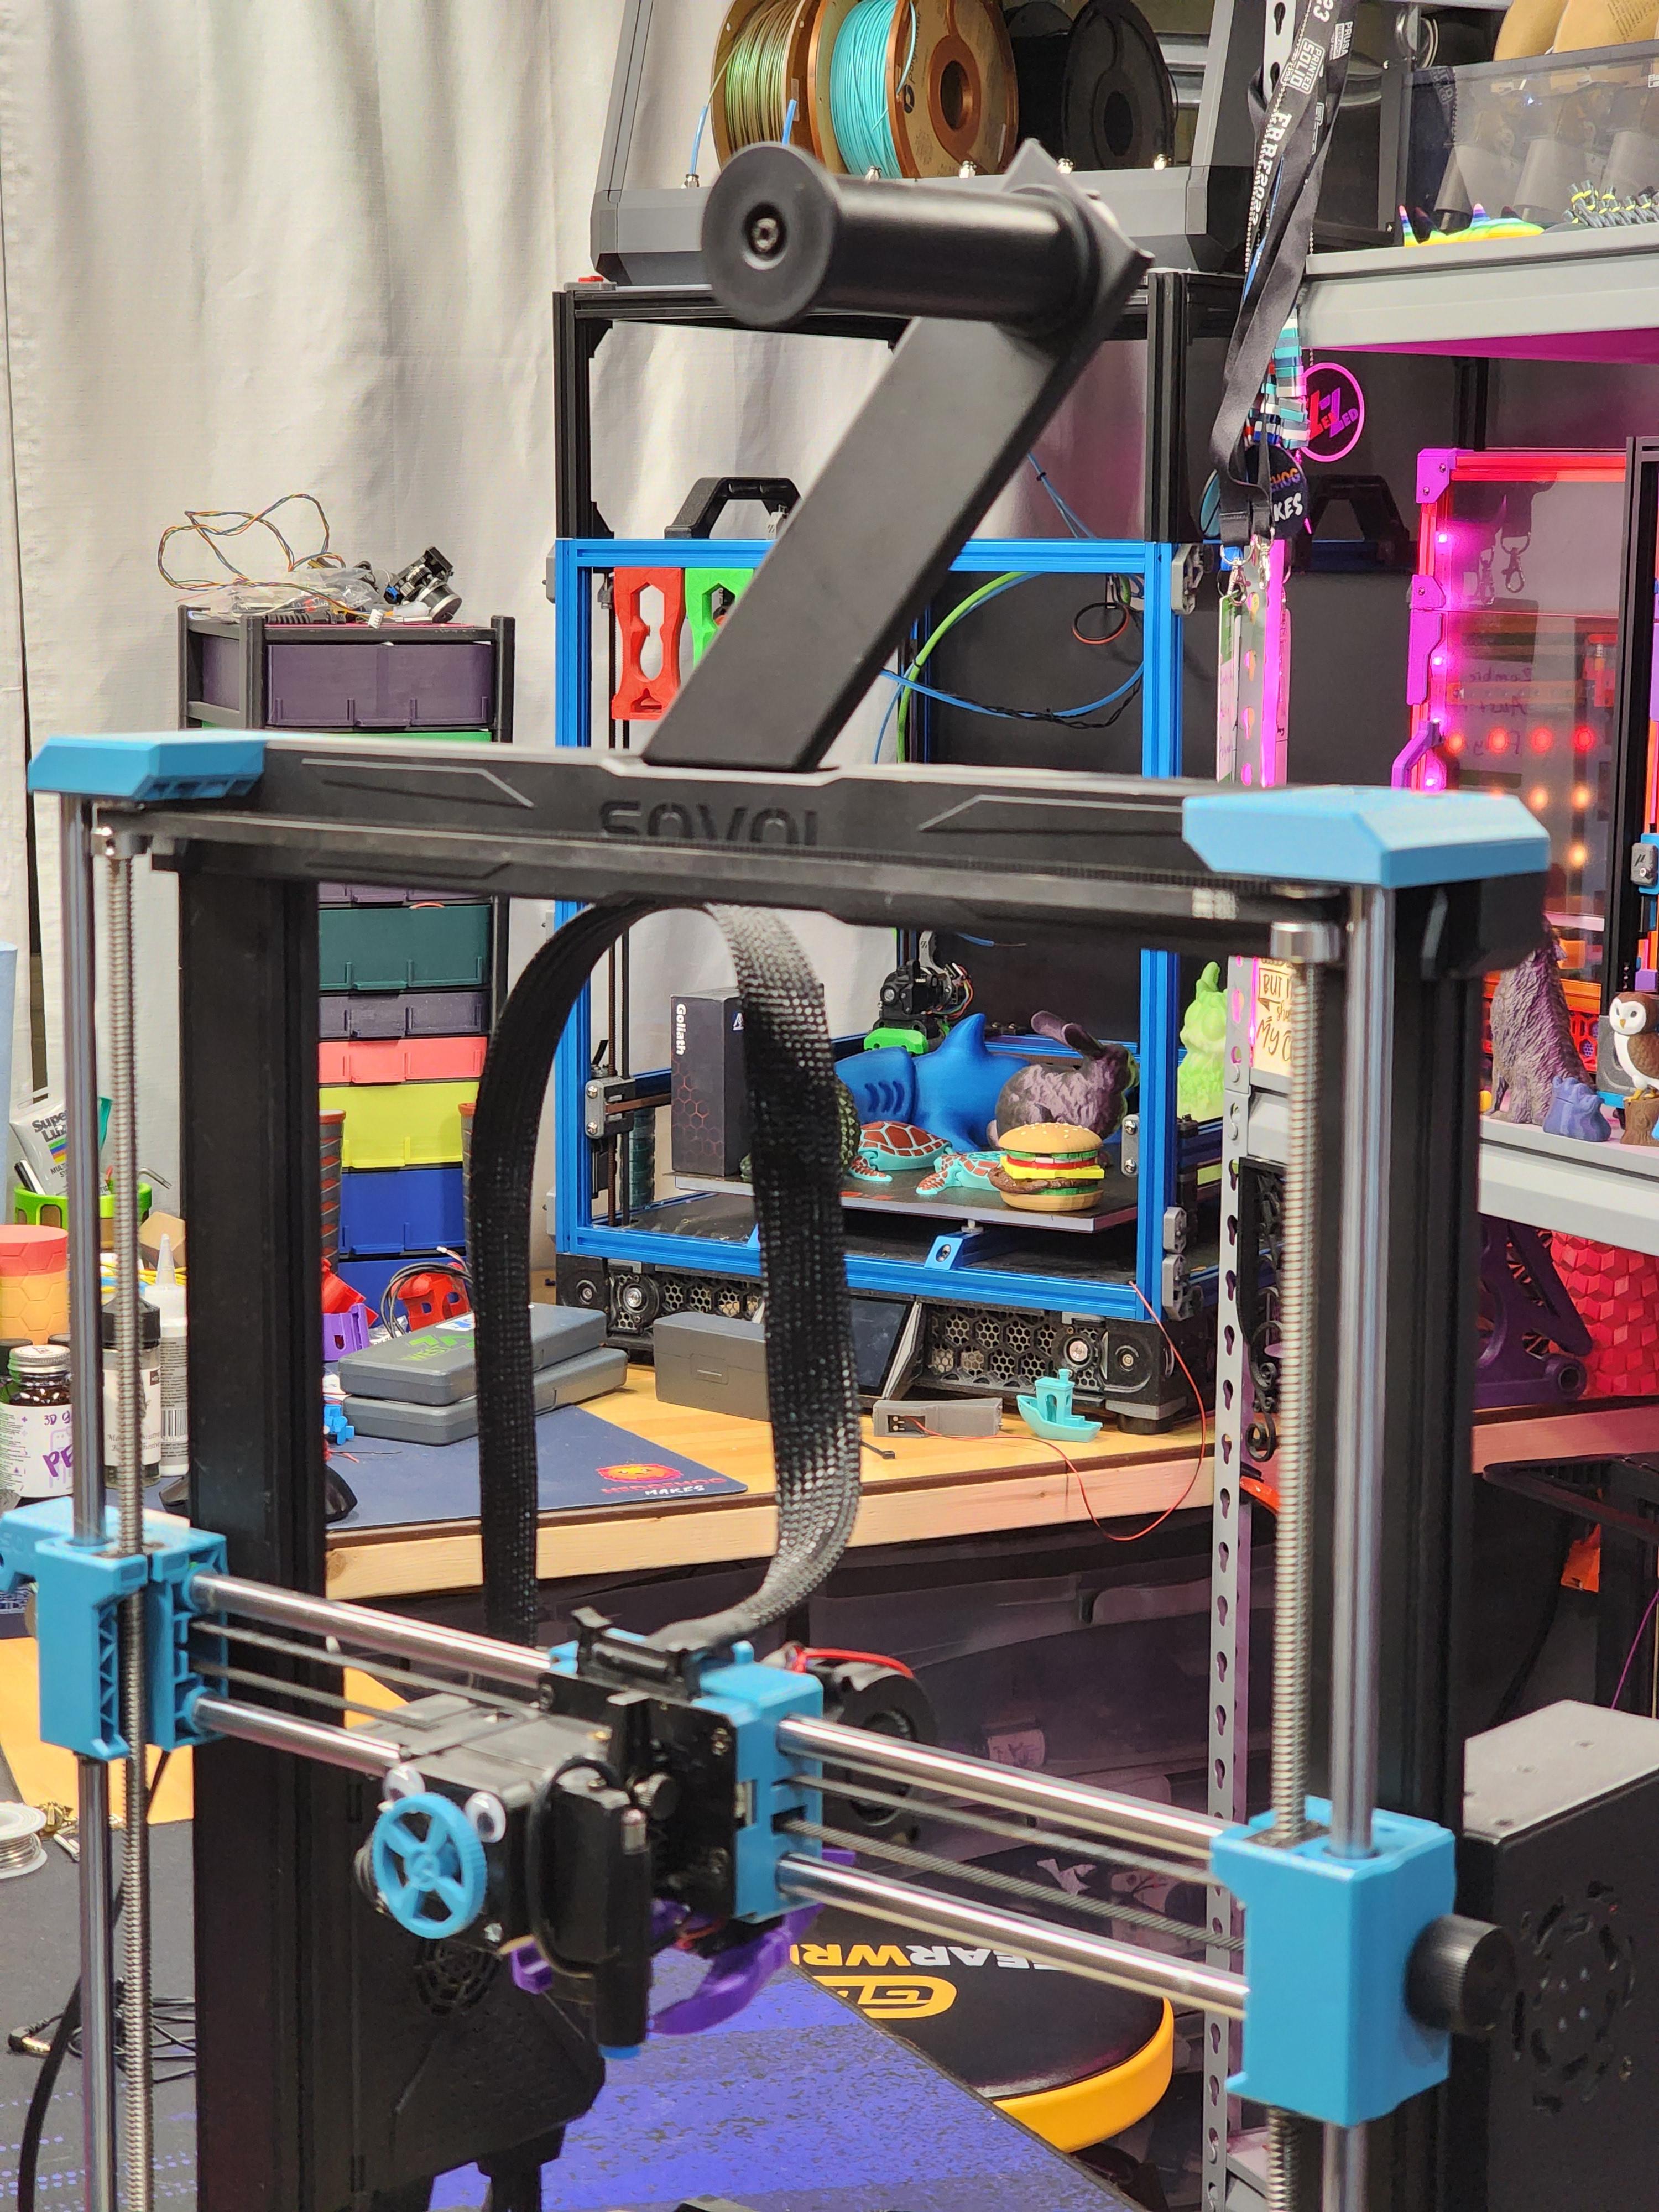
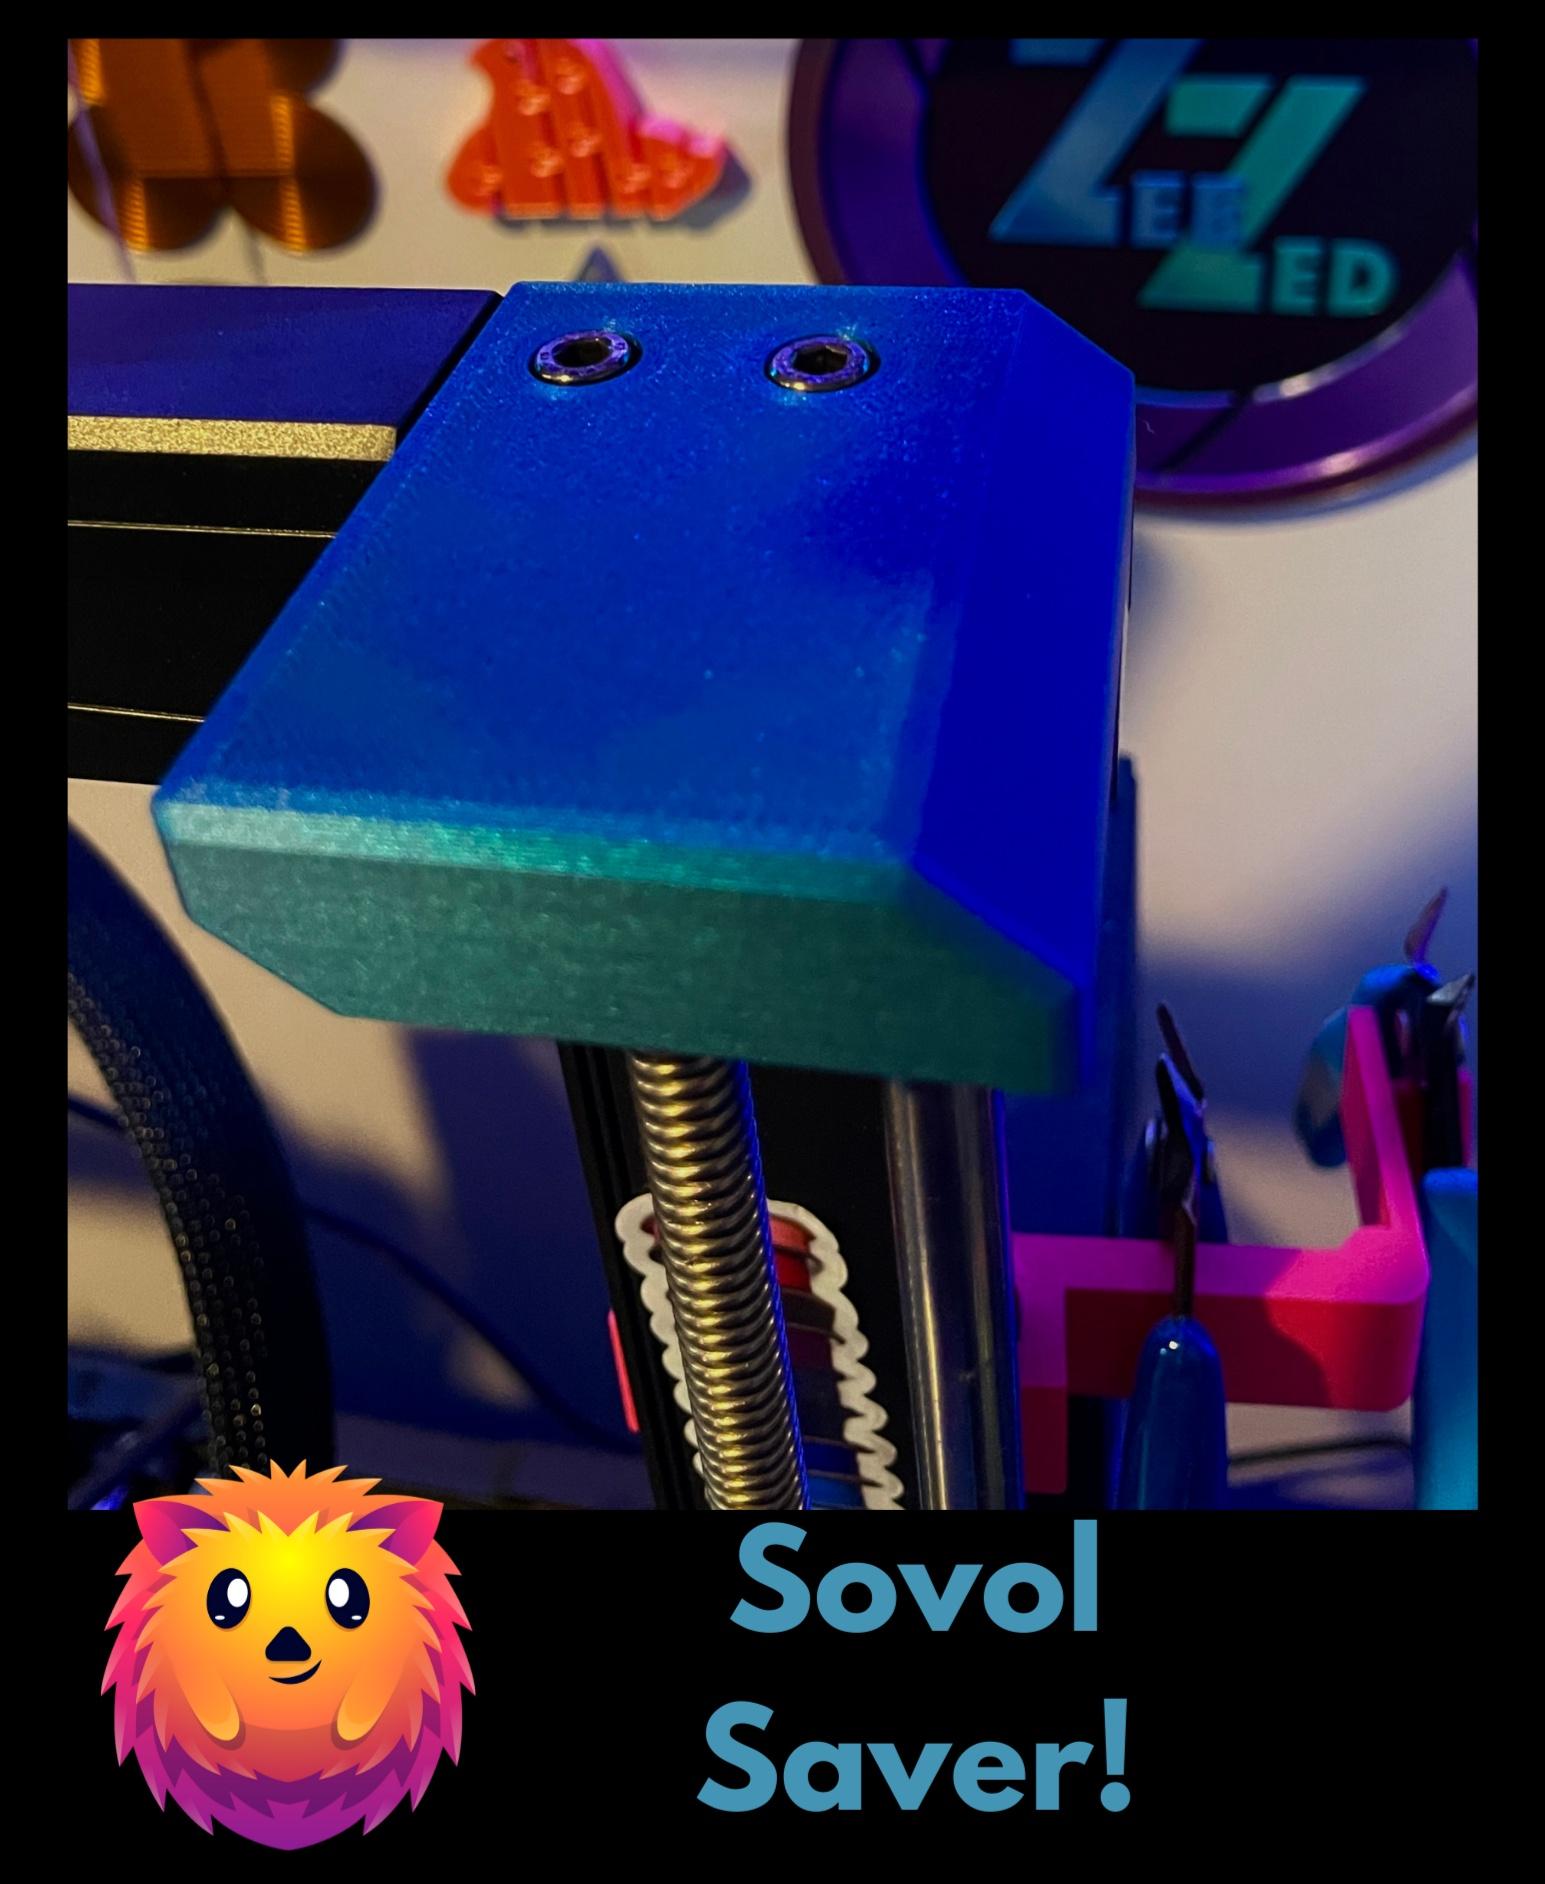
Introducing the new dual Z sync mod for your SV06 or SV06 plus! Tried of poor first layers because your Z won't stay synced? Install this simple mod and enjoy consistent first layers without needing to tram the X gantry every print. Recommended to print in PLA if printer is not enclosed.
BOM (affiliate links): 860mm closed loop GT2 belt (x1): https://amzn.to/4dAxLSG 8mm bore 20T pullies (2x): https://amzn.to/3y6ZpX5 20T idler 5mm bore (x1): https://amzn.to/3wmCuXg M5 screw set (20mm or 25mm needed): https://amzn.to/4bibqam
Easy steps:
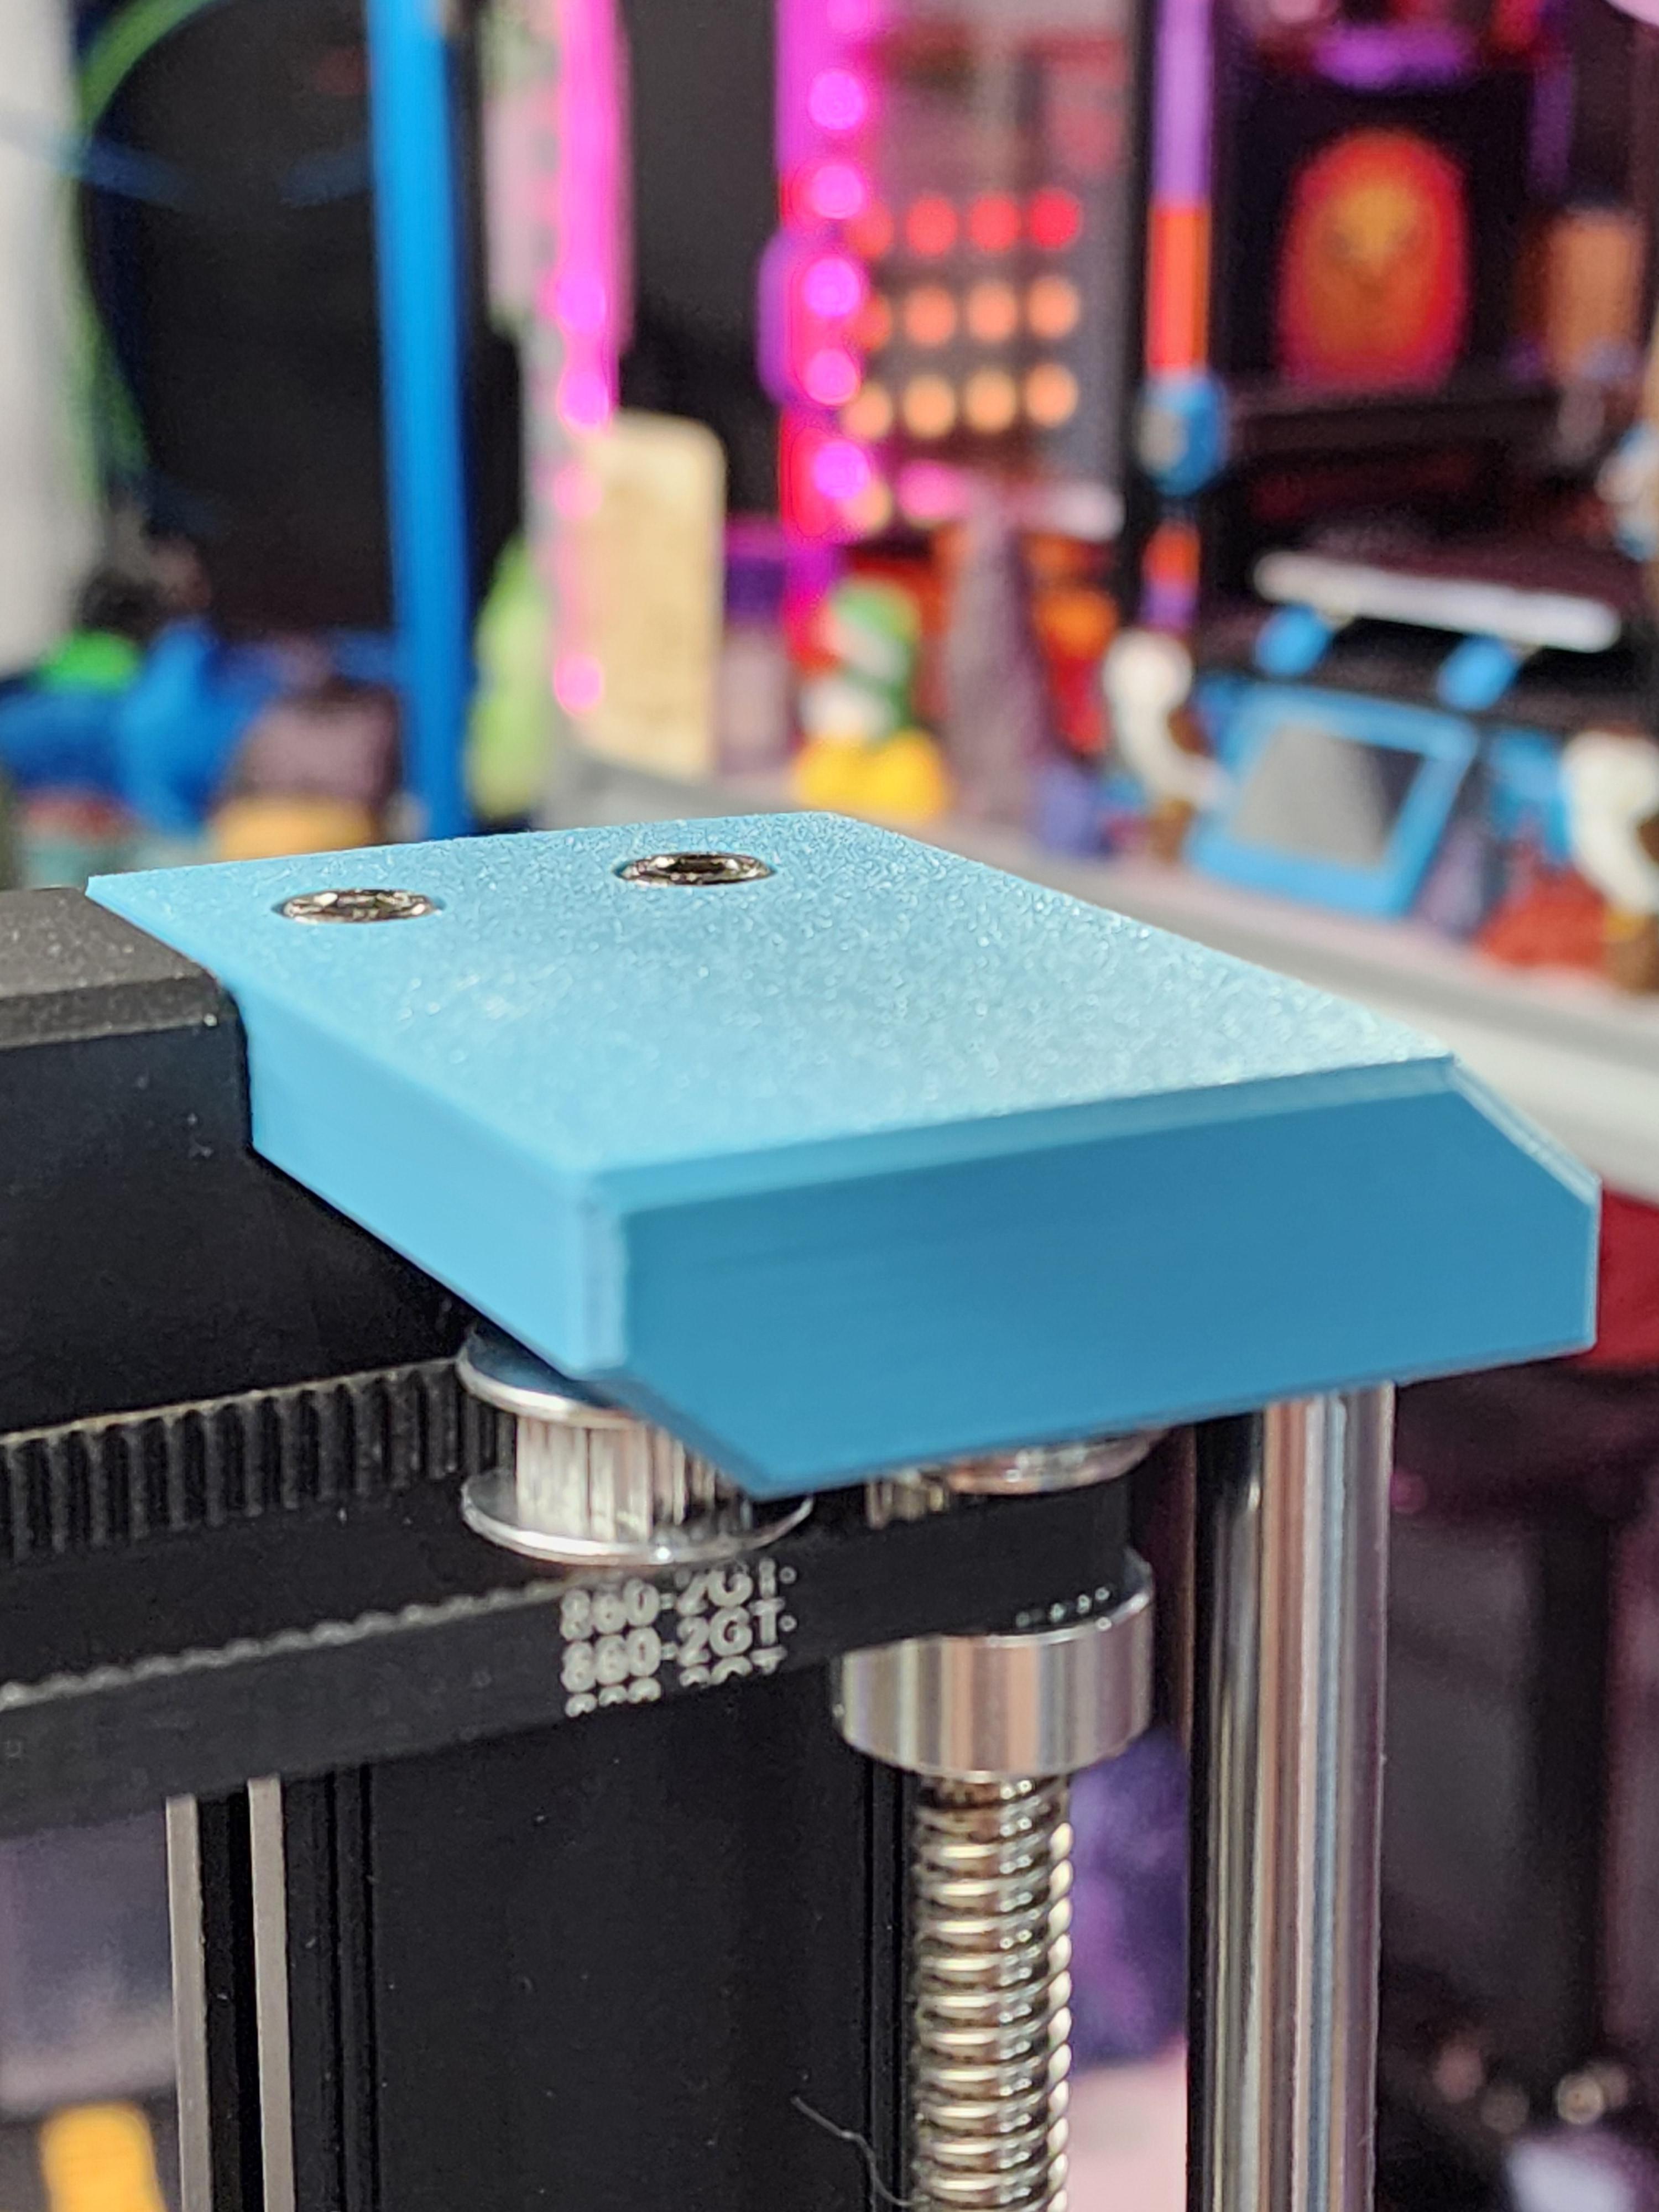
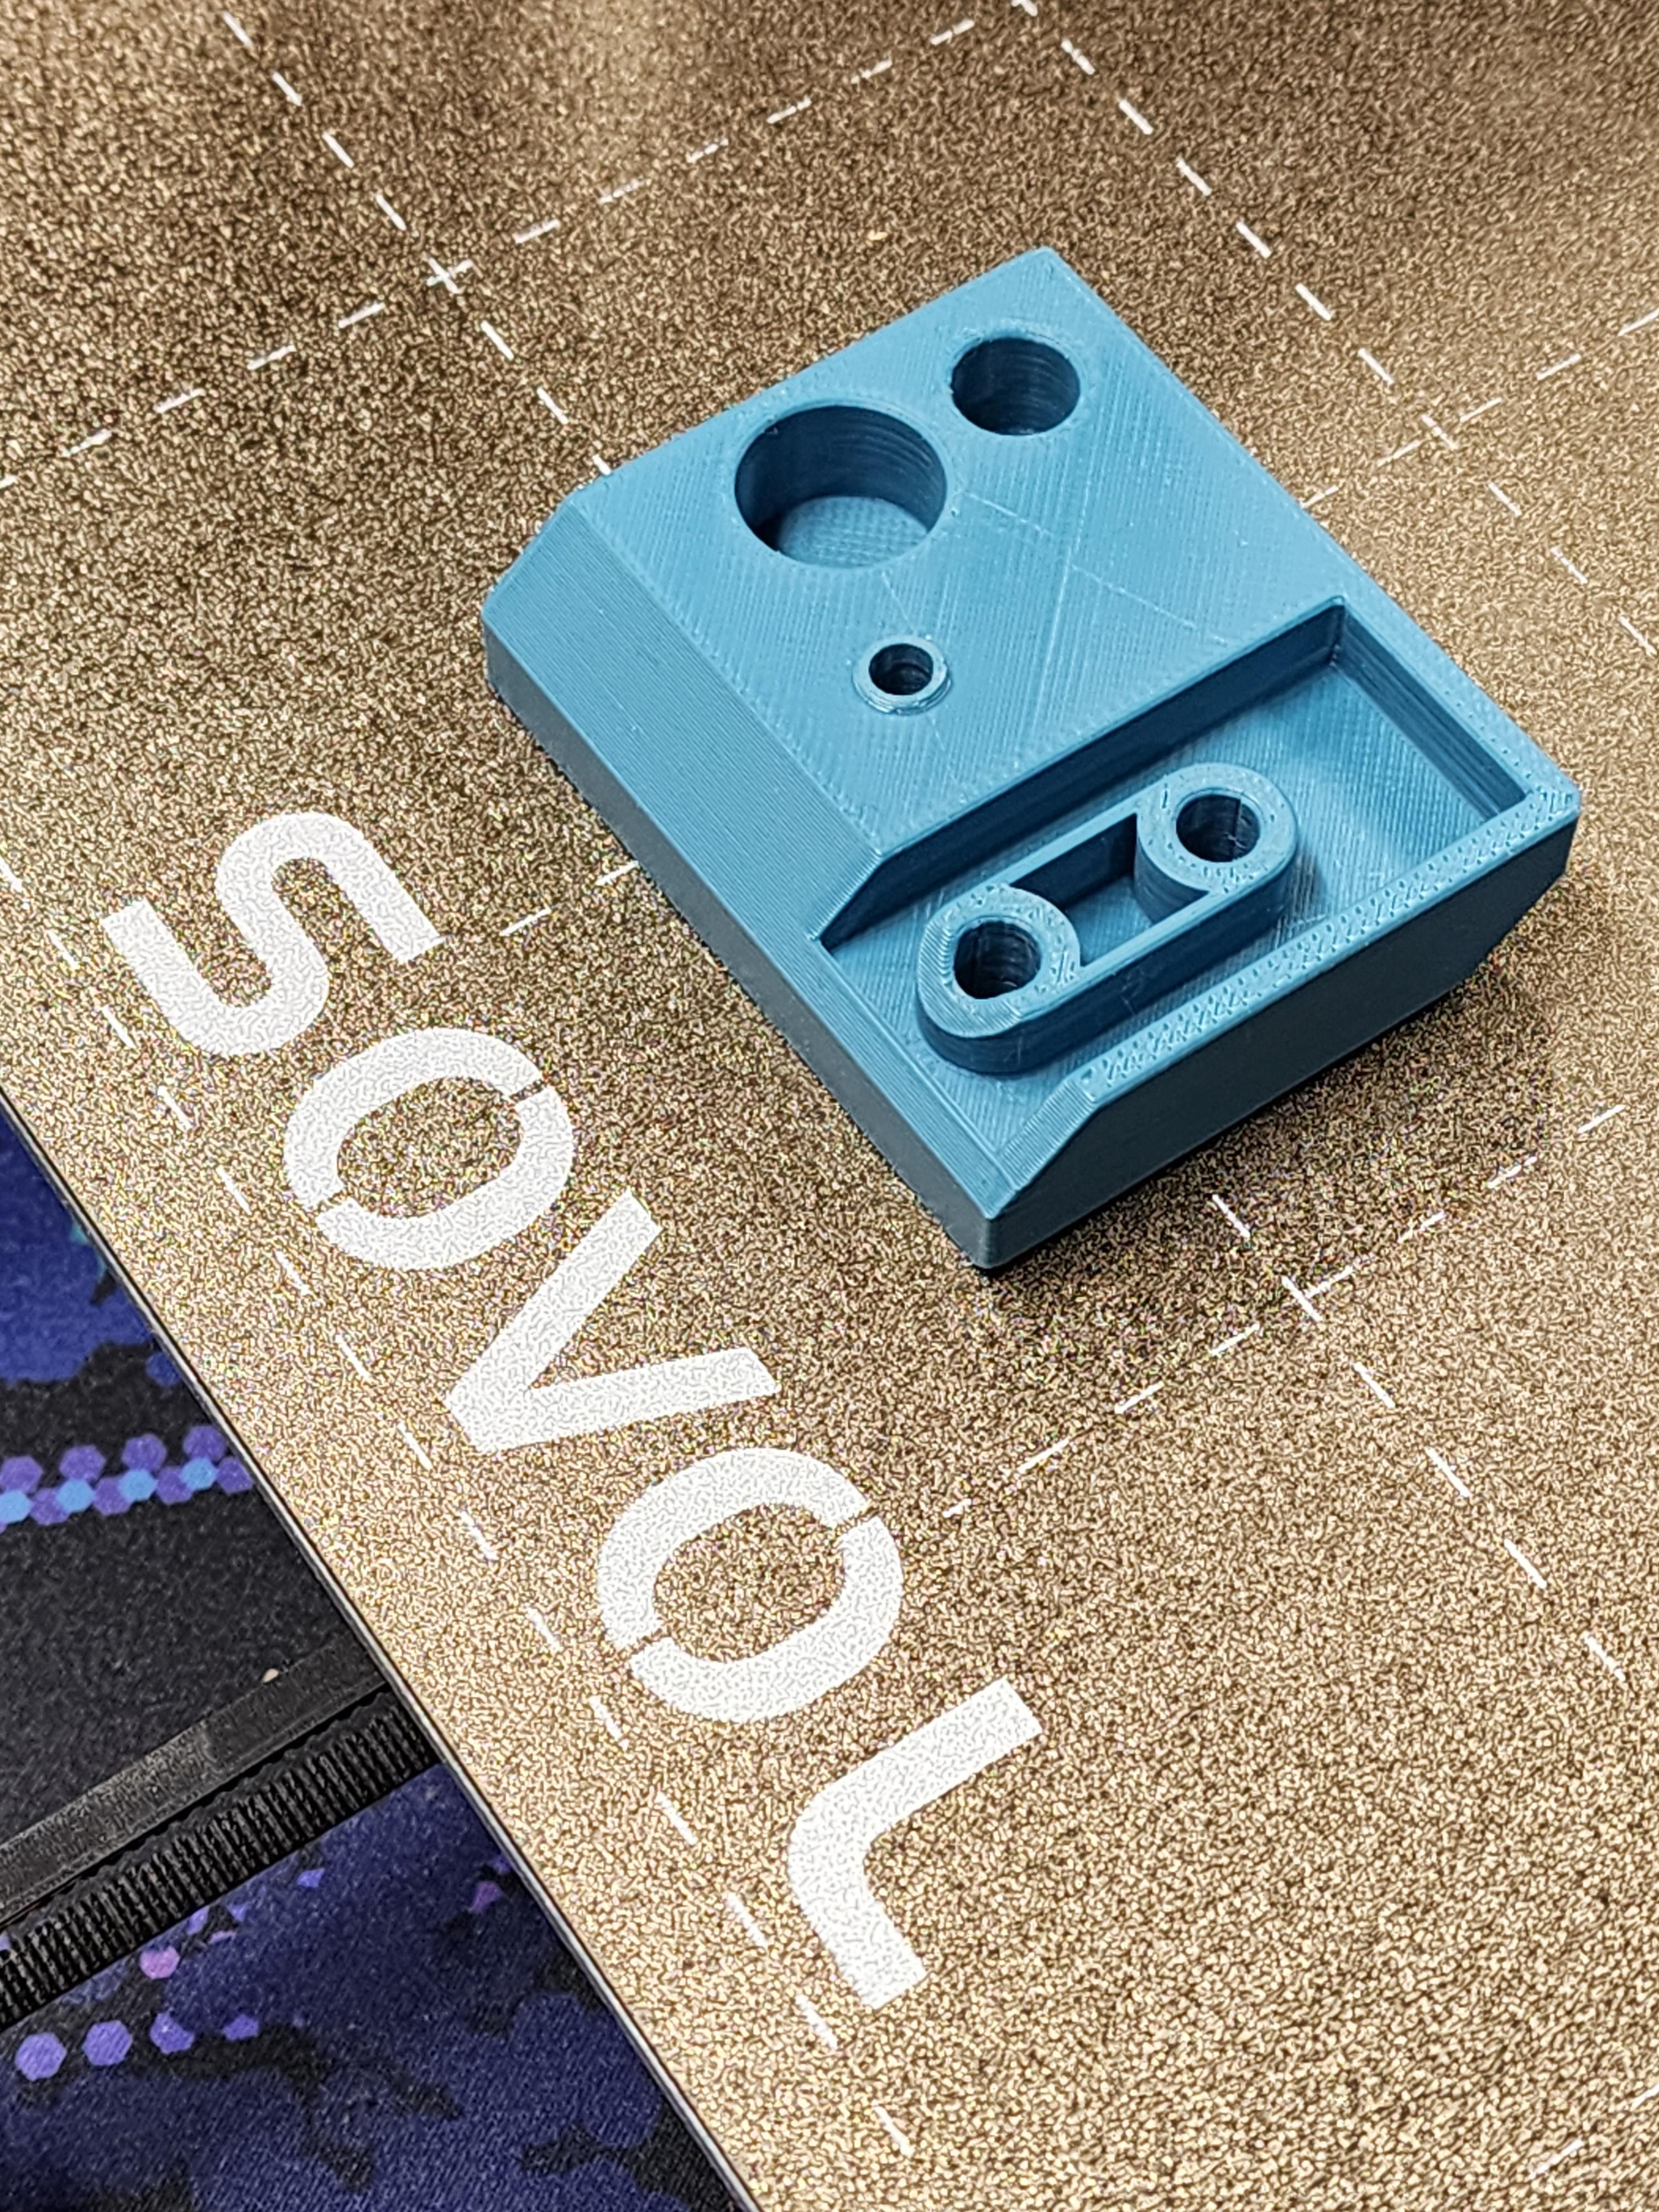
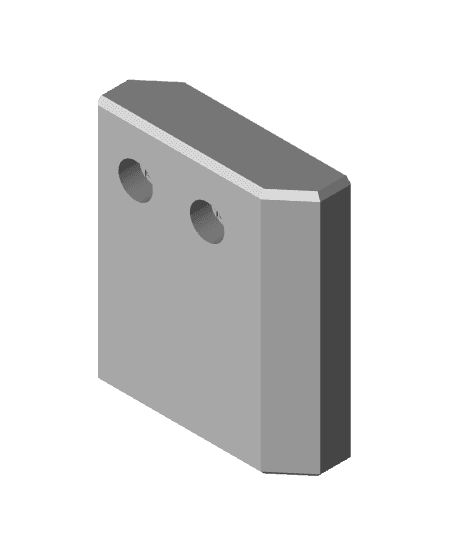
- Print the replacement top right part
- Remove both top plastic parts (careful for the small washer, don't loose it!)
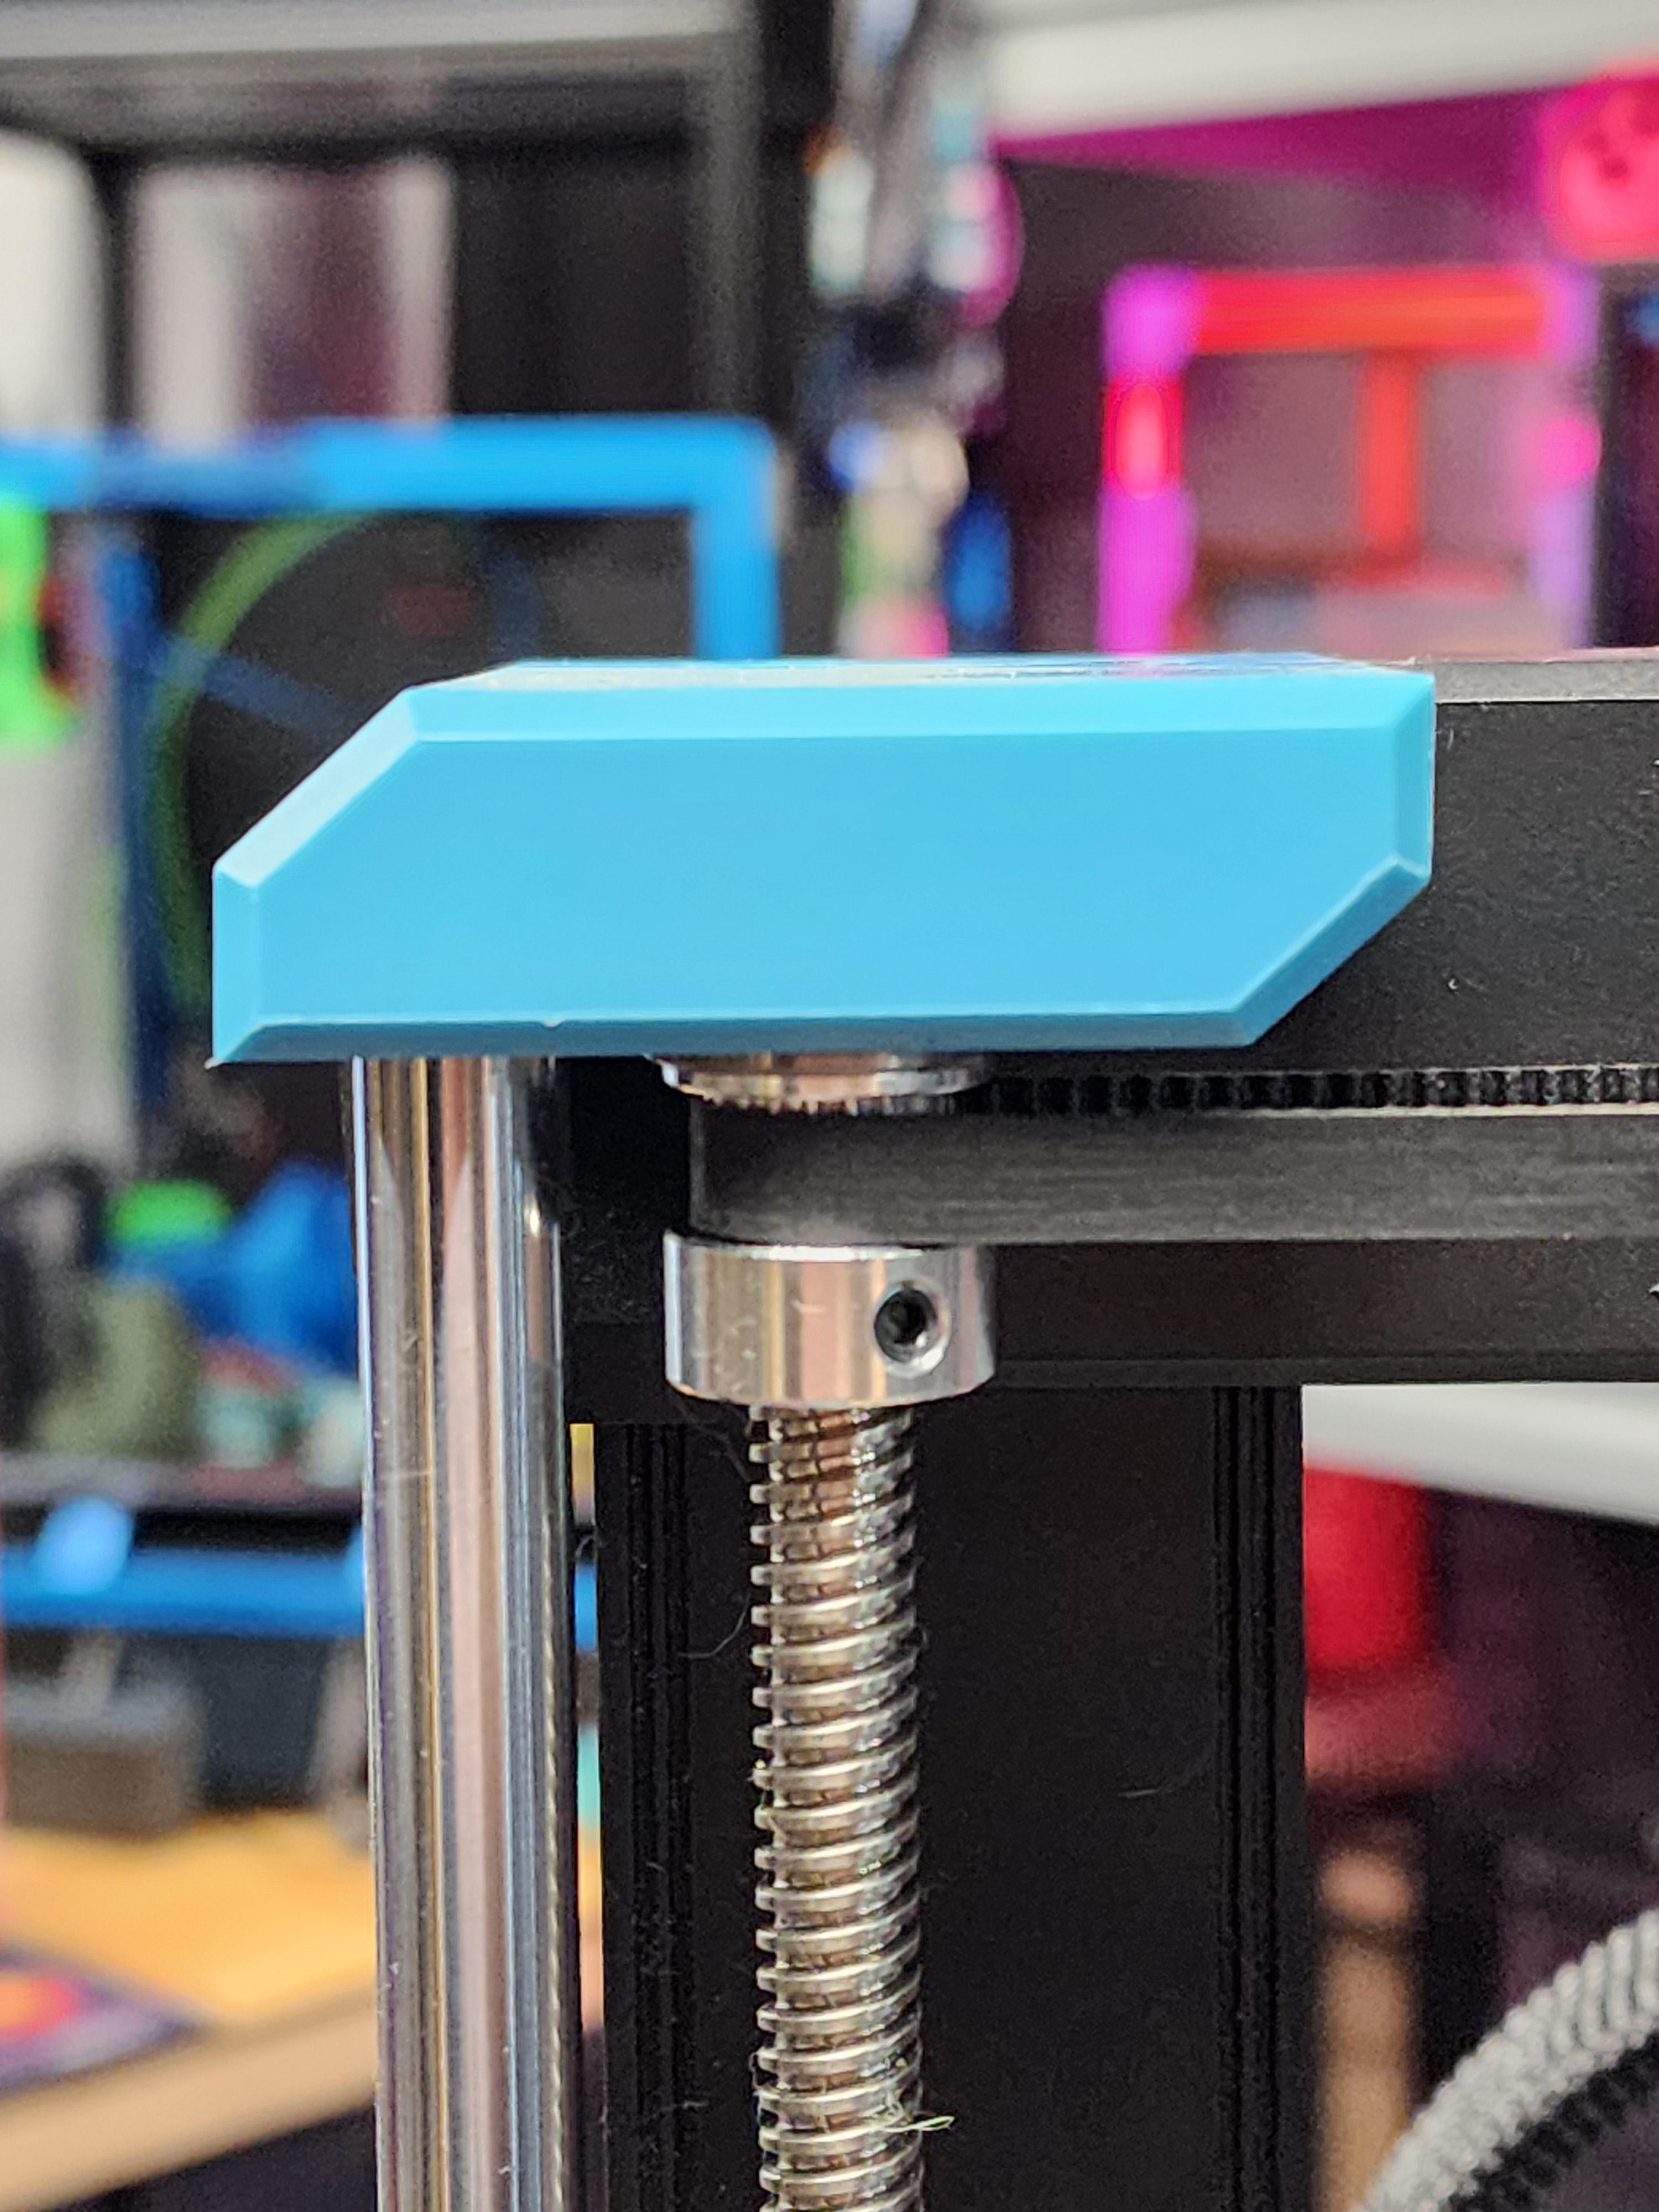
- Install both 8mm bore 20T pullies on the lead screws (position will be adjusted later)
- Screw on 20T idler to printed part (20mm or 25mm M5 bolt)
- Install GT2 belt (860mm for SV06 Plus,
730mm for SV06TBD) - Install right bracket, loop new belt around idler
- Install left bracket
- Loosen up both pullies and adjust up/down if needed. _ Note: If you cannot find a specific size belt, but one close to the correct size, I can edit the part_
Categories:
39 Likes55 DownloadsFebruary 16, 2024
39 Likes55 DownloadsFebruary 16, 2024