Nimble V1 adapter for Smart Effector
Model originally uploaded to Thingiverse at https://www.thingiverse.com/thing:2453322.
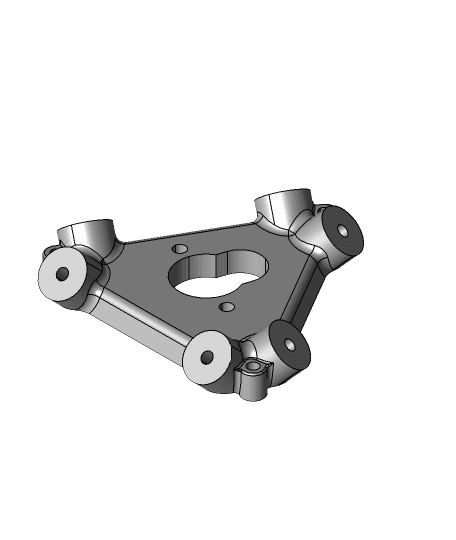
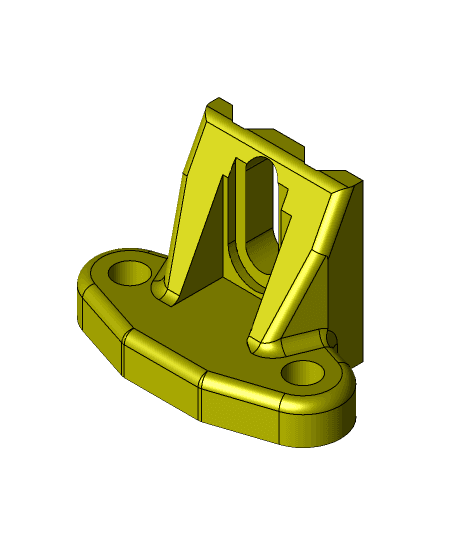
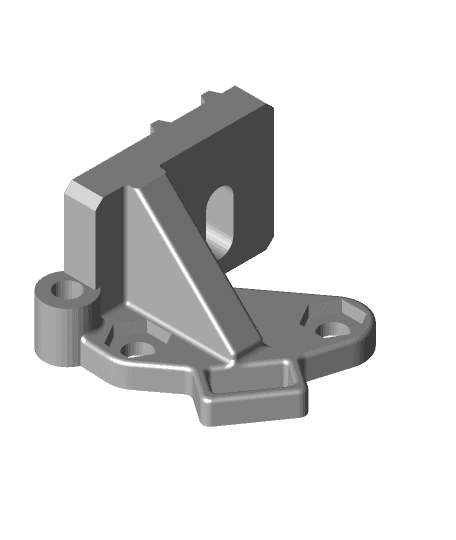
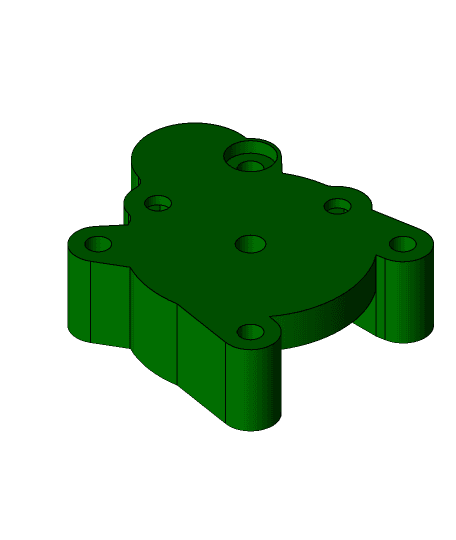
This adapter is specifically to mount the Nimble on the new PCB effector that Escher3D is developing with Think3dPrint3d. It uses a new hot end mount that is developed by E3D. Have a look at the new effector [here.] (https://duet3d.com/wiki/Smart_effector_and_carriage_adapters_for_delta_printer)
Simply bolt the adapter to the hot end mount and bolt the Nimble to the adapter.
In case your printer is in pieces, or you want perfect precision, you can also get this adapter via Shapeways.
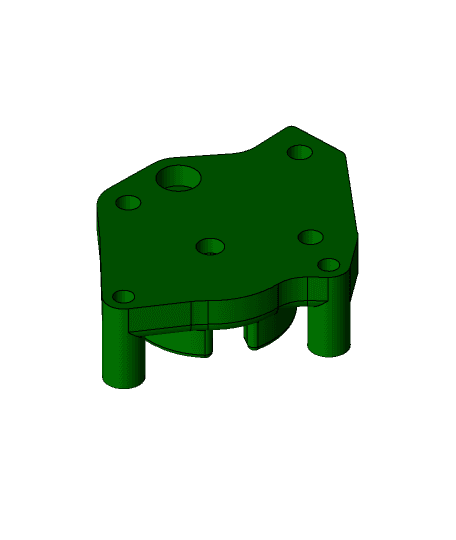
Edit 1:Added Version 2 to the models. The method of attaching the Hot end to the PCB effector has changed, so the mounting method of the adapter needs to change. It is now done with 6.6 mm standoffs. The adapter has 3 holes for M2.5 and the PCB has 3 2.9 mm holes. The adapter fits on top of the hot end and has a 5 mm deep hole in the bottom for the PTFE tube. This way you clamp the PTFE tube into the hot end when you bolt the adapter down. Alternate model has 3 integrated legs to make it easier to mount. Will be a bit more difficult to print, though.
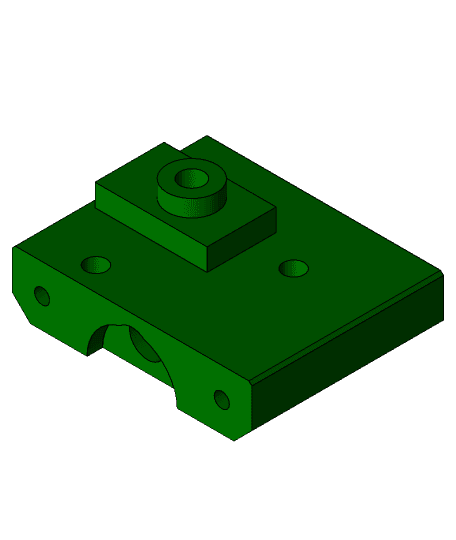
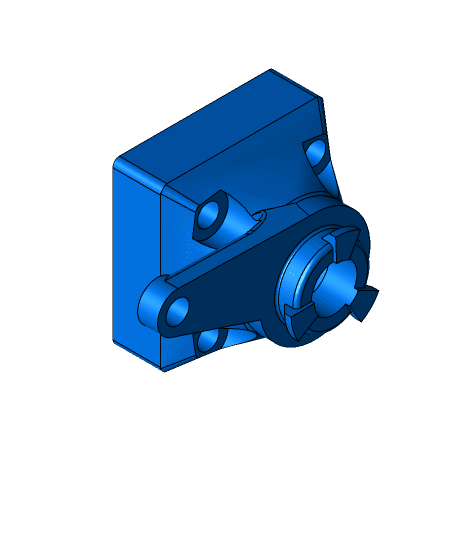
Edit 2:Added a little pipe holder for use with a Berd-Air like part cooling system. It is slightly off center to allow the LED in the corner to still shed some light on the printed parts. It uses the Magnetic ball bolts to clamp it to the PCB and has a little rest for the tubing. You can use a tie-wrap to clamp the tubing to the rest.
Edit 3:The standoff of 6.6 mm was not enough, needed to be 7.6 mm. So changed the files to reflect this and you now need version V2.1 is you want the integrated legs.
Edit 4:Added version V2.2. The only difference is that the leg closest to the 6 wire black plug is lowered to be below the latch or clip of the plug. Thus making it easier to unlatch and less prone to breaking. For now only the STL as the real fix (turn the plug around) is easy to implement and will be probably changed in future versions of the Smart Effector.
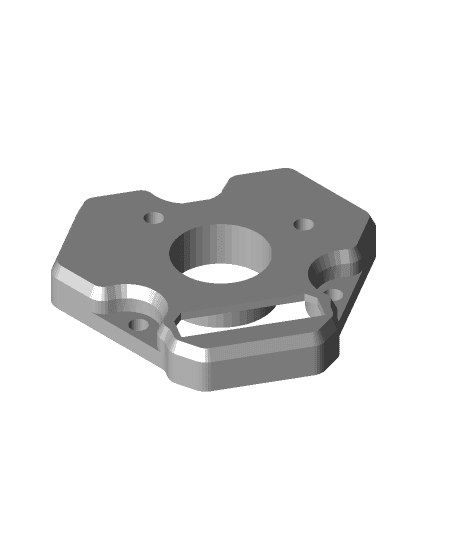
Edit 5:Added version V2.4. I followed DJDemonD's suggestion and added a 12 sided hole in the bottom to lock the hot end mounting nut in place. Here is DJ's mount: https://www.thingiverse.com/thing:2740387 Also added a split version, with Top and Bottom half, so it can be printed and then glued together. You will need to add a little support under one of the bolt holes. I didn't the Step files for that, as it is too easy to make that yourself.
Edit 5:Firebug alerted me to the fact that E3D now supply a plastic nut that is 17 mm wide across the flats, so I added a new Bottom Part and complete mount, to incorporate that change,
The Nimble ExtruderWith an installed weight of less than 27 grams on your carriage/effector the Zesty Nimble is smallest and lightest extruder you can buy, it has ample torque and can be mounted in multiple orientations.
The Nimble is available from Zesty Technology.
Nimble V1 Effector for Ultibots D300 with 55 mm spacing
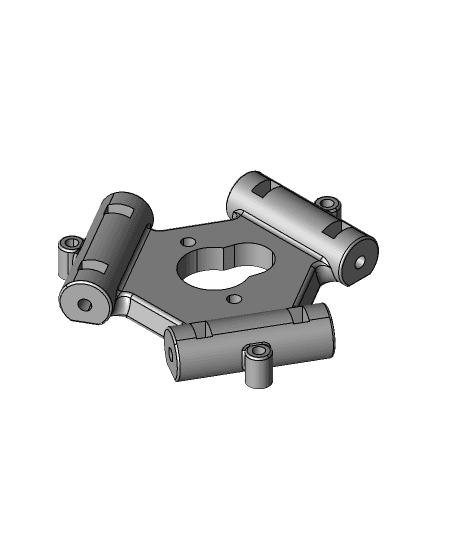
Nimble V2 Smart effector mount
Nimble V1 Kossel effector for magnetic ball joints including Fan Ears
Nimble V1 Kossel effector with 43 mm ball spacing

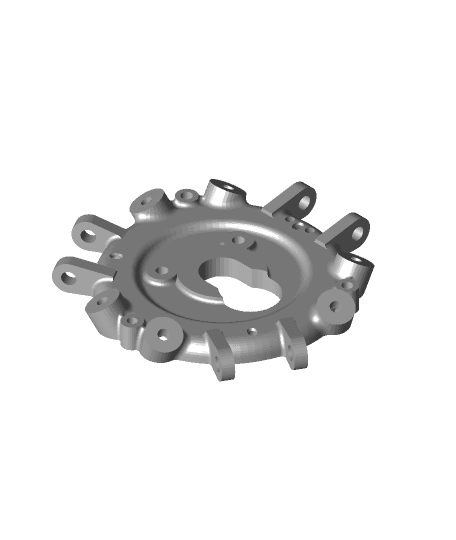
Magnetic Kossel Effector to mount a Nimble V1

Nimble V1 Peizoelectric sensor based effector for E3D V6
Flex (the Nimble V3) mount for the Smart Effector
Nimble V1 and Nimble V2 on the E3D Toolchanger
Flex (the Nimble V3) mount for the Smart Effector
HEVO Mount for the Nimble V1 and a V6

Mockup of the Zesty Nimble V1: Lightweight direct drive extruder
Nimble V1 Piezo Hotend z-probe for e3d v6 + Magnetic Delta Piezo Effector
Nimble V1 mount for the BLV printer
Kossel mount base for the Nimble V1
Nimble V1 and V6 mount for Creality CR-10
Simple adapter to mount a Nema 8 on a Zesty Nimble V1
Nimble V1 Mad Hatter a Rostock Max 3 adapter
Rostock Artemis mount for the Nimble V1
Mount for Nimble V1 on Tevo Little Monster