
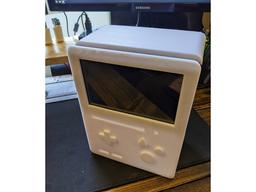
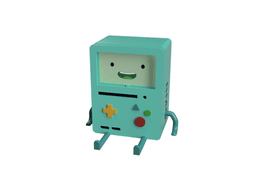
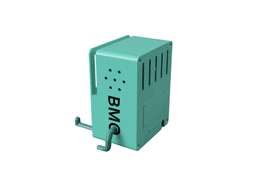

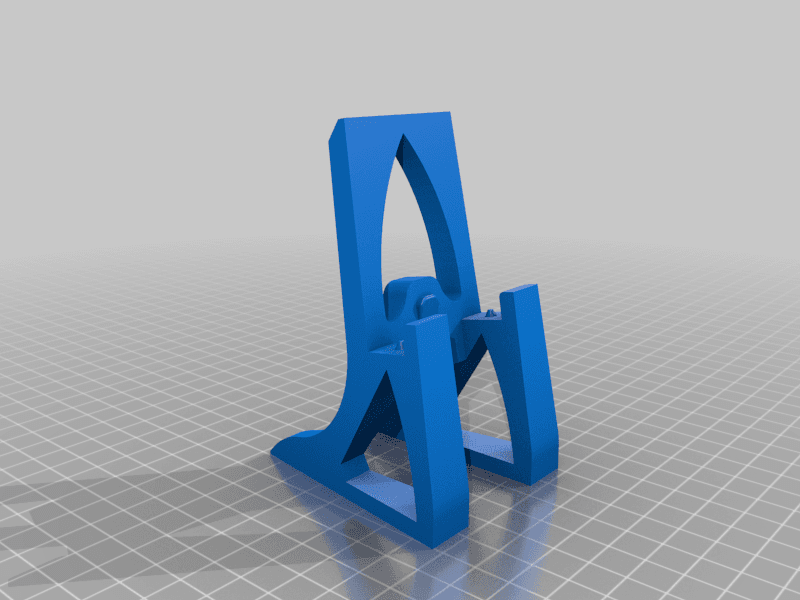
BMO Nintendo Switch Stand
About A BMO Nintendo Switch Stand.
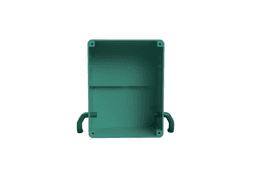
I've also include a body without the switch stand if you just want to make a BMO model.
These parts are provided free of charge under Creative Commons - Attribution - Non-Commercial - Share Alike license. This comes with out any warranty, guarantees, or liability for the files or parts produced with them. You are responsibly for assessing the strength and appropriate application of any parts produced with these files.
Parts to Print There are a few different options for different printers with different capabilities. Theres also some remixes that may make it easier.
The printed parts you will need are:
Set of arms and legs Back Body Body One Piece or Split Body Face (can be printed with buttons separately) Split Body Butt (can be printed in another 2 parts with the Butt_S models) This thing is huge, it will take ~1 roll of plastic to print. I printed with .4 layers, 25% infill, and 3 walls. . Because the print is so large, Id also recommend an enclosure. I've included one stl with corner hold downs since mine kept warping off the build plate.
The body contains a large bridge if you chose to print it without support. I suspect that some printers may not be able to do this (you can try this test). Cura seems to want to print it in mid air if you don't mess with the bottom layer directions, I had to set my "top/bottom layer directions" to [ 90, 0], this may depend on other settings so double check that its not printing in mid air. If your printer cant do this bridge I recommend printing the two BMO_Body_Split_Butt_S_Screen_Removed models.
Assembly Non-printed Parts:
4x M5x0.8 counter sunk screws (max 80mm long) 140mm x 80mm picture of BMOs face Extra Nintendo Switch charging cable if you chose to glue one in. Or a dock like this for hdmi. Sand and paint all the parts before gluing on parts..
The back is held on with the M5 counter sunk screws.
You can put a picture of BMO's face in behind where the switch goes so you'll see that when the switch isn't in the dock.
You can also hot glue in a charging cable. Id recommend tying a knot inside so it cant be pulled out.
if you printed the face separately glue that on.
I tried to find some thing to make the arms articulable but haven't found a good part yet. Maybe something like "Flexi Ties" but smaller, suggestions welcome.
Changelog 12/31/20: I realized that some of the parts are much larger than they needed to be so to cut down on plastic ive made the walls substantially smaller on the body. Ive also removed the parts without screens since they don't seem to really be useful. Renders have been updated. All parts with the body have been updated.
1/8/21: Fully Printed and tested. I didn't like how tight the fit for the switch is so I added .15mm in the gap.
Design Files Fusion 360 Files can be found here: a360.co/3007U21 Issued under the same license and terms.
Donate I'm a grad student at the moment just doing this for fun and sharing what I make. If you support my addiction to making things you can donate via paypal or venmo. I do not plan to charge for the models I make since I love the opensource community and think models should be shared openly. Thank you for your appreciation of my BMO model!
paypal
venmo
I have seen similar models for upwards of $20, if you were considering paying for those please instead consider sending some money to any of the following charities:
https://ablegamers.org/ https://www.aclu.org/ https://www.gamesaid.org/ https://www.eff.org/

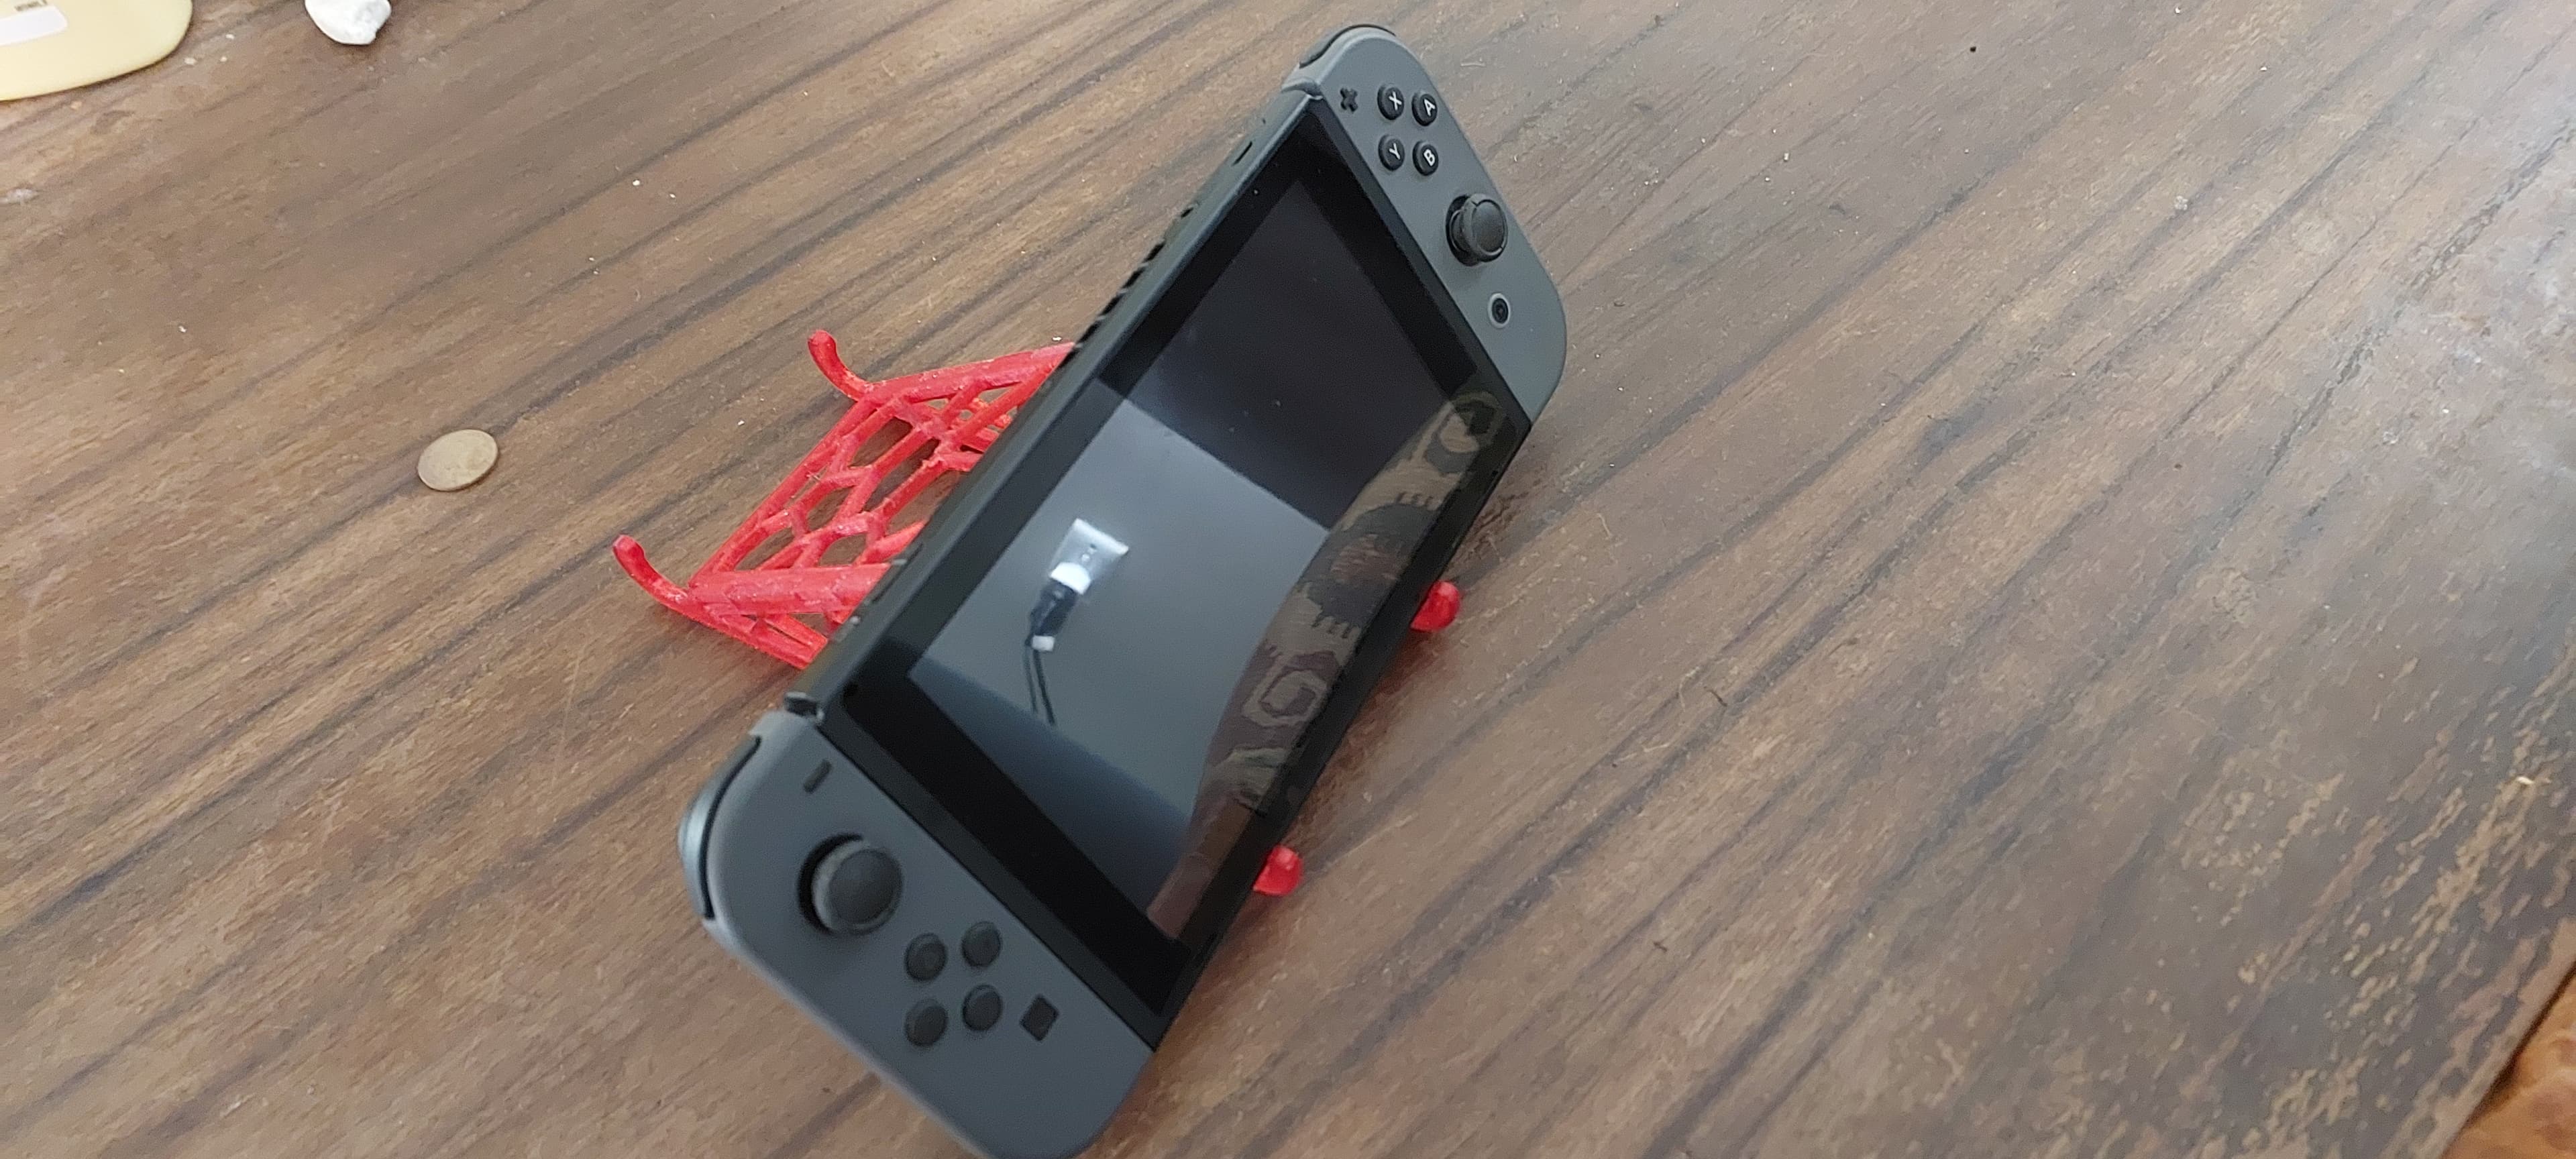
Nintendo switch / switch lite stand

Nintendo Switch Stand - Inspired by a Burger

Zelda Volcano Nintendo Switch Stand -Inspired by the game "Zelda - Links Awakening" - Fan Art

Kraken Nintendo Switch Stand - for OLED and Classic Version

Nintendo Switch Stand - Inspired by the floating Islands from "Legend of Zelda" - Fan Art

Nintendo Switch Stand - Inspired by a piece of cheese
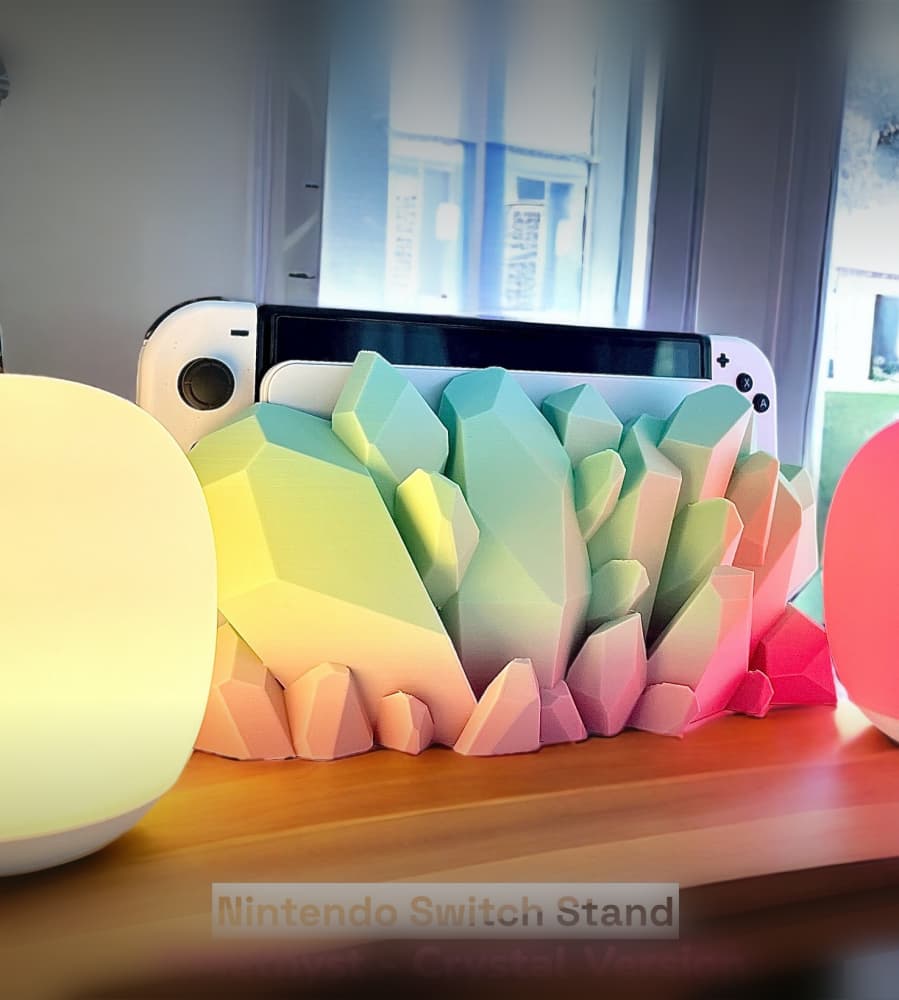
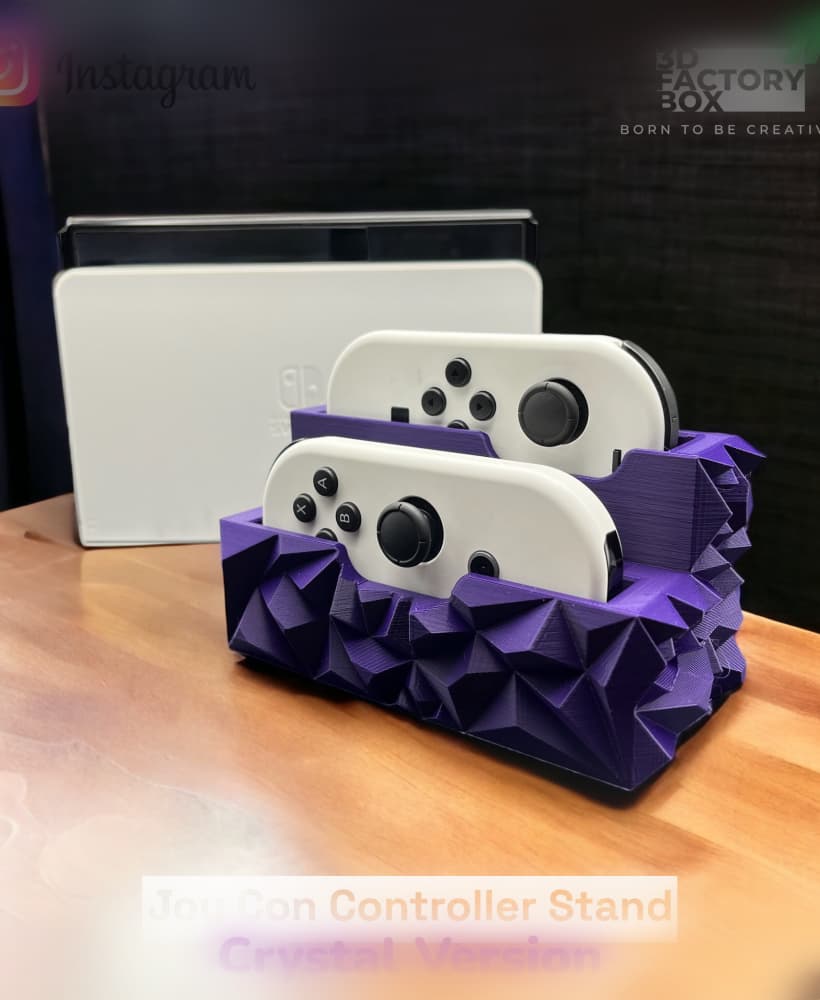
Crystal Stand for Nintendo Switch - for OLED version and Classic version
Foldable Nintendo Switch Stand

Nintendo Switch Stand set

3SDM 0.06-Inspired Nintendo Switch Dock Stand
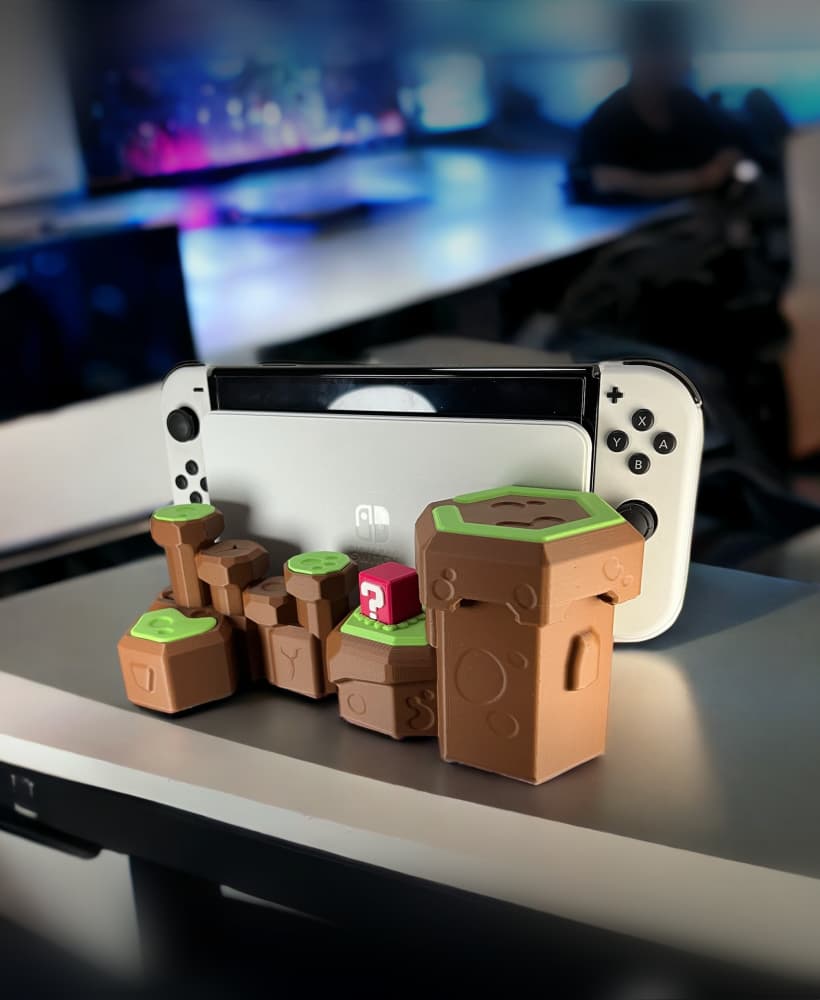
Nintendo Switch Stand - Inspired by "Mario Bros" - Fan Art

Mario Nintendo Switch Stand – Power Up Your Gaming Setup!

RPF1-Inspired Nintendo Switch Stand
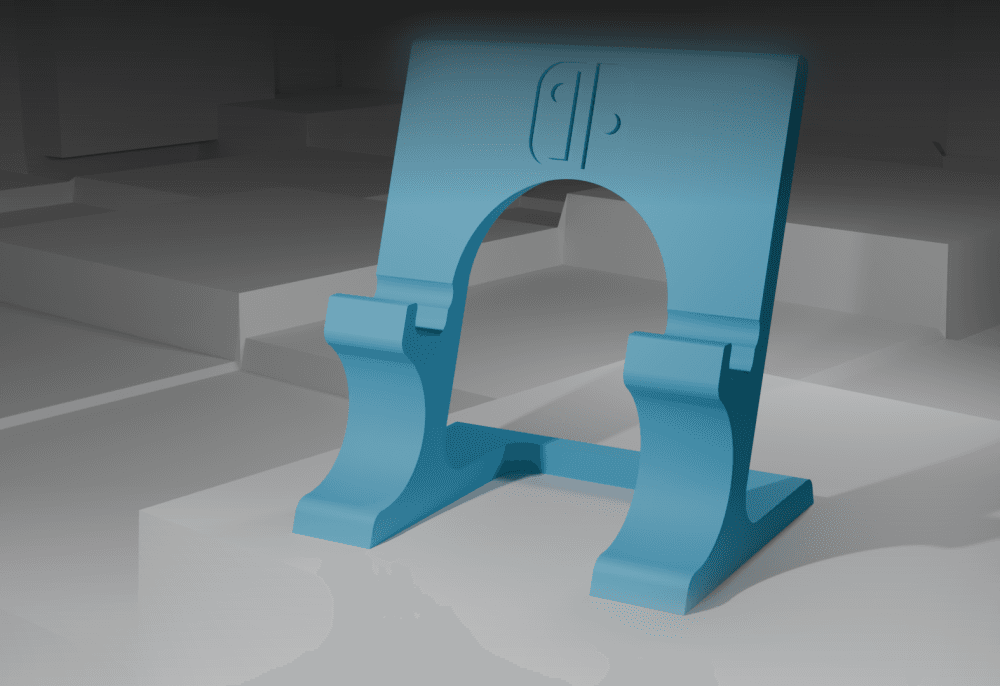
Nintendo Switch Stand
Phone, Tablet, Nintendo Switch Stand

Nintendo Switch Stand with Game Card Slots
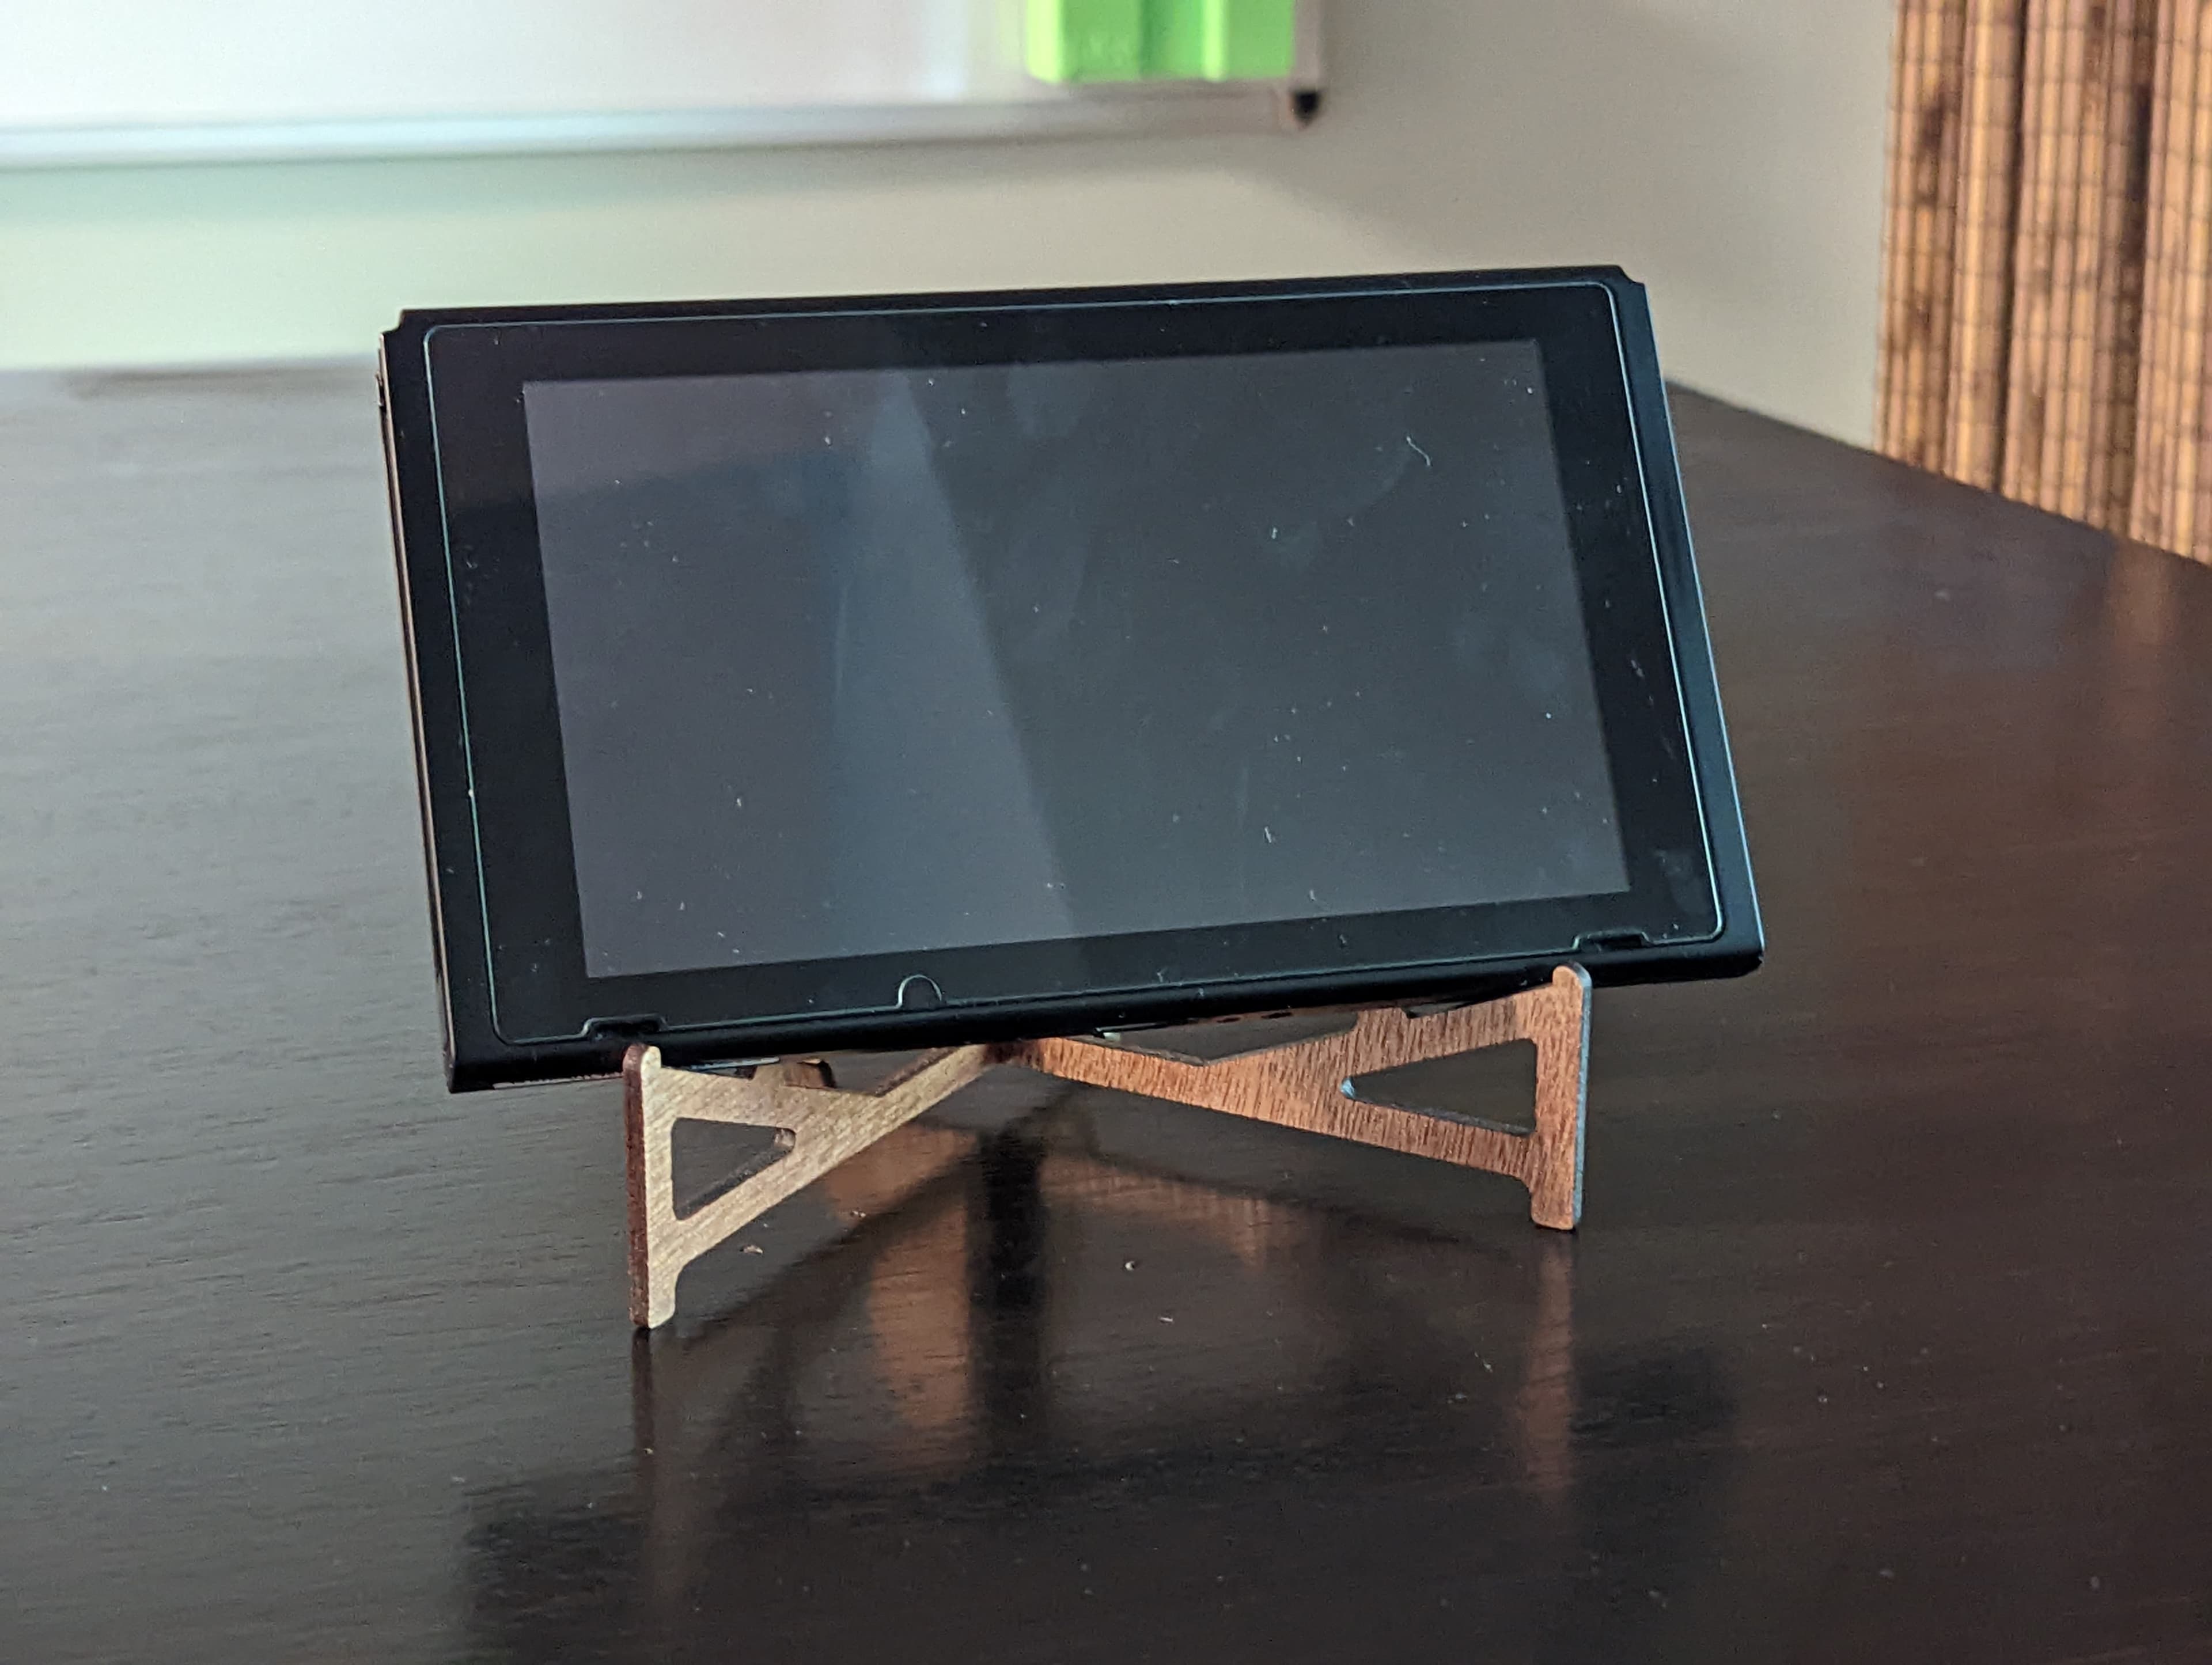
Laser-cut Nintendo Switch stand

3SDM 0.05 Nintendo Switch Dock Cover + Stand

Wild Western Diorama Stand for your Nintendo Switch
To someone who has printed this please help, can you please tell me the dimensions for this print. To contact me here's my discord: Marz #3424
What kind of support works best?