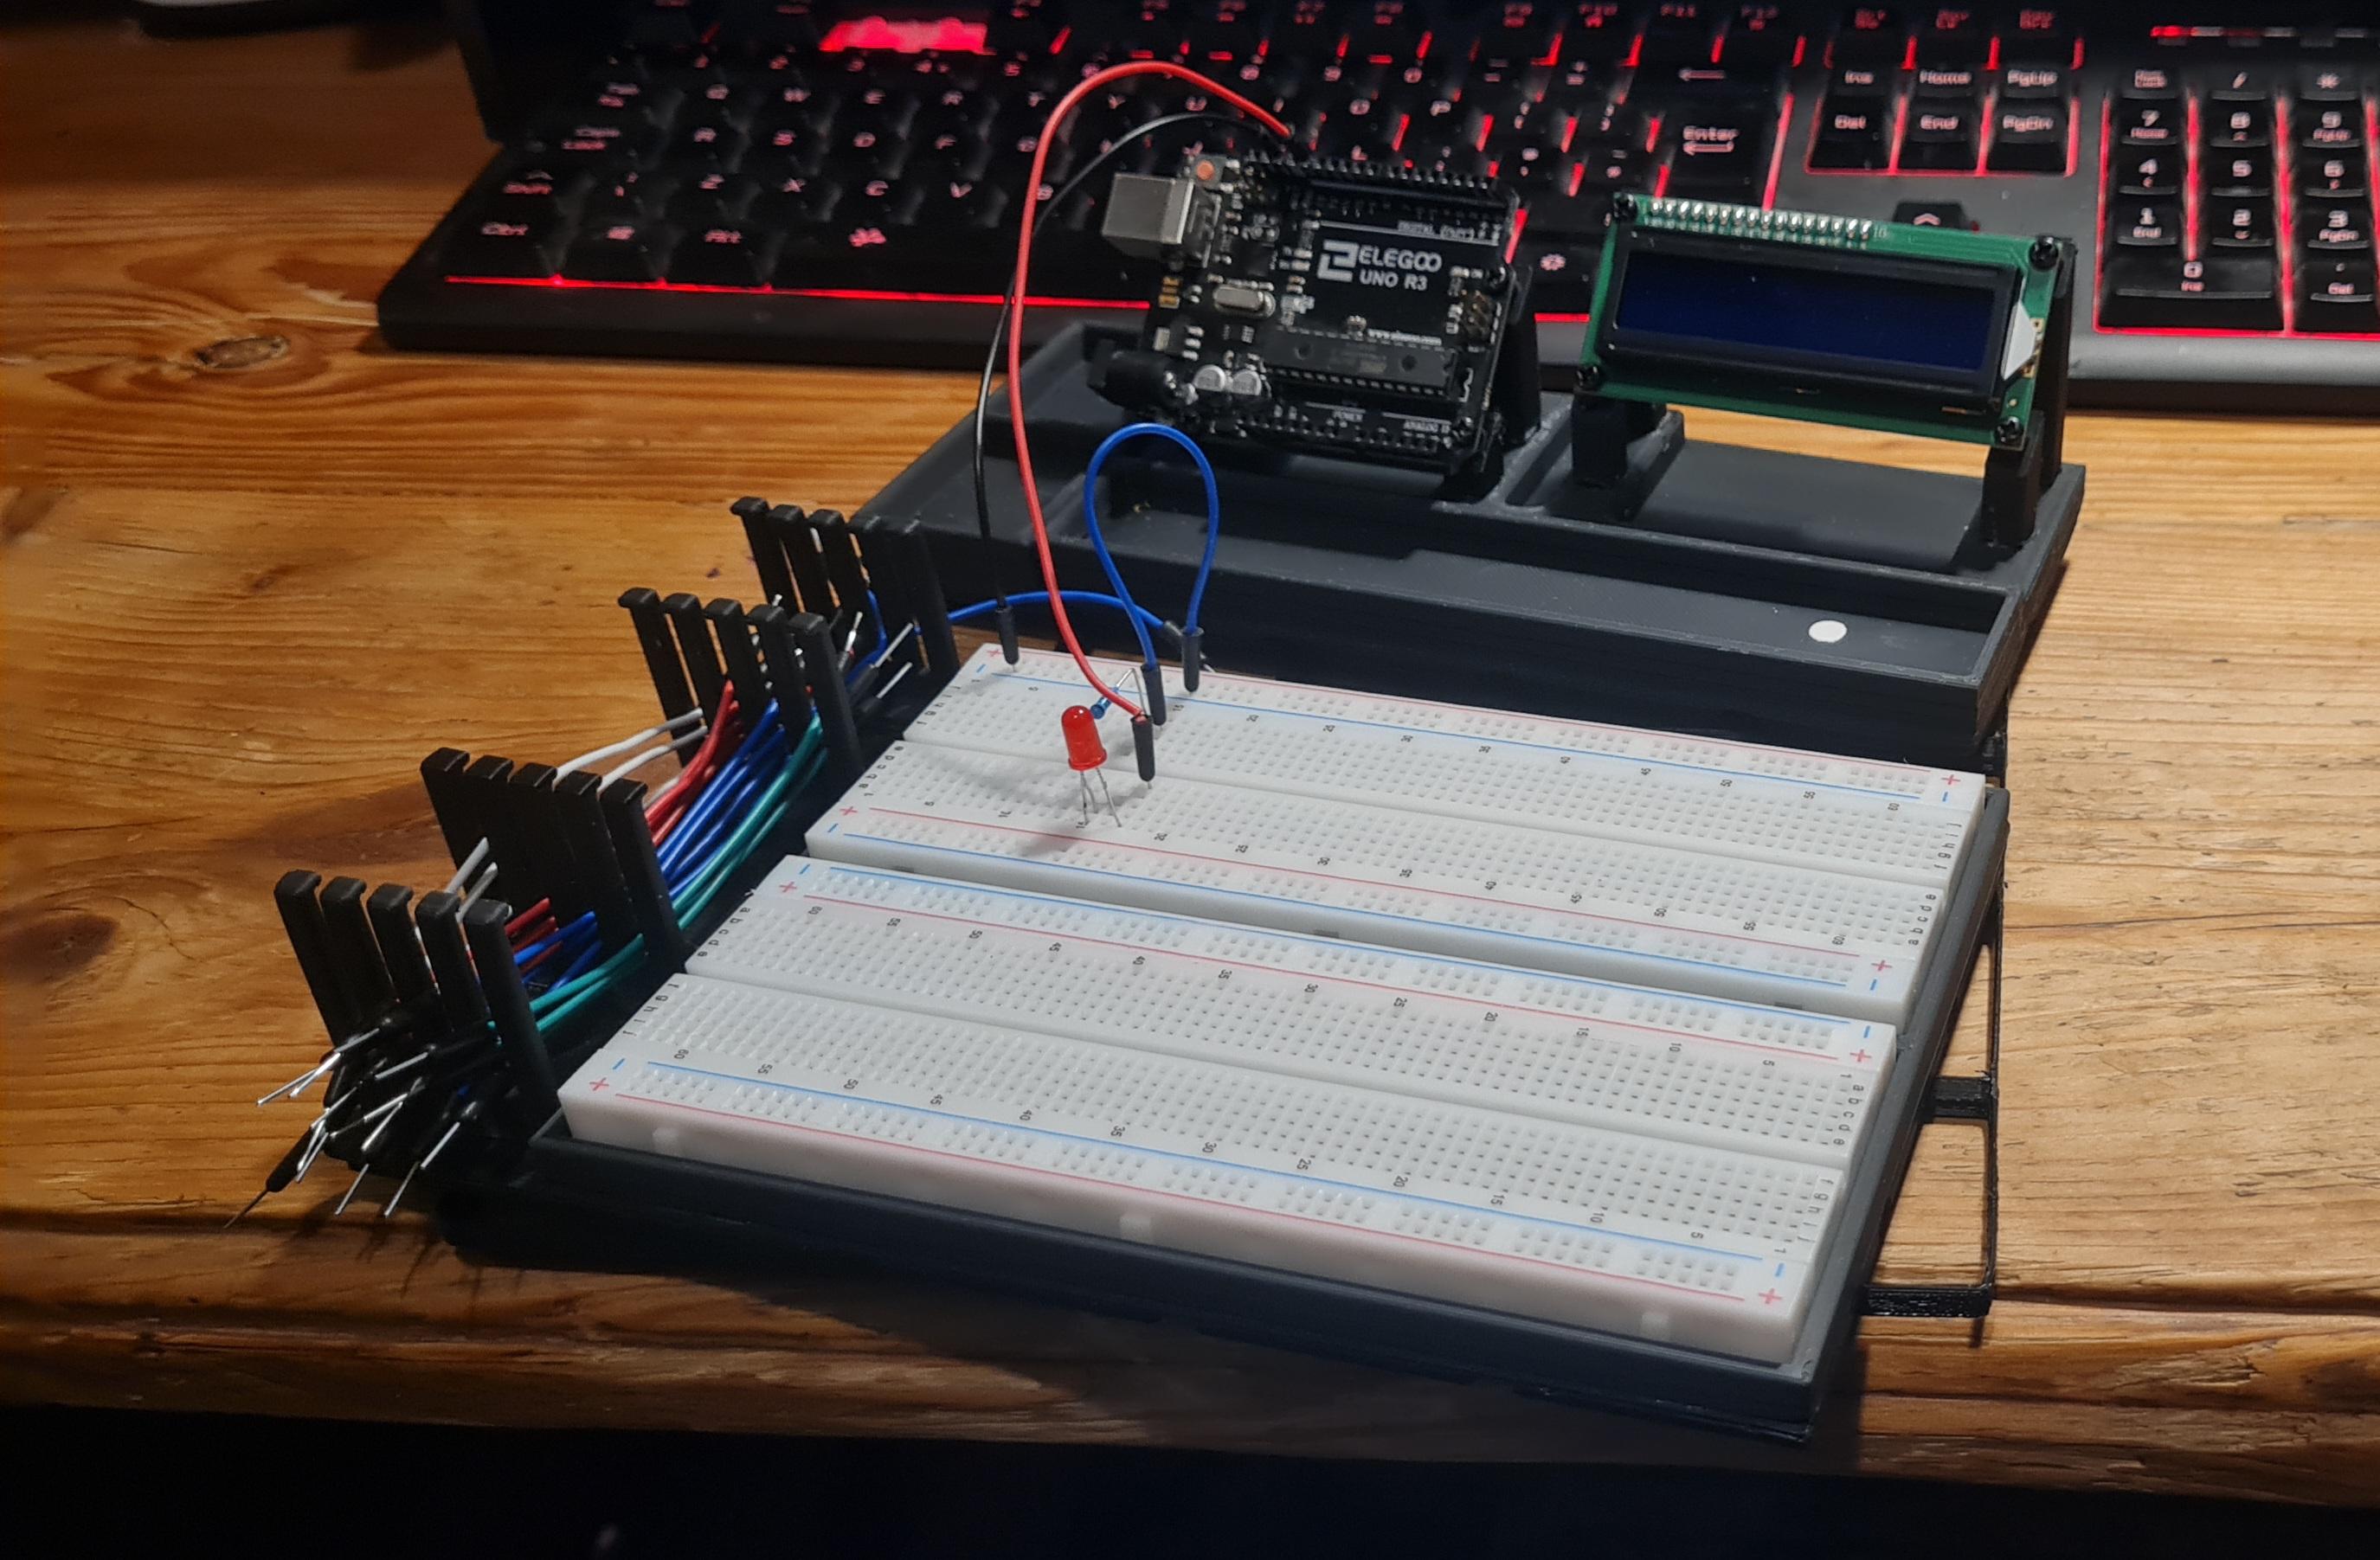
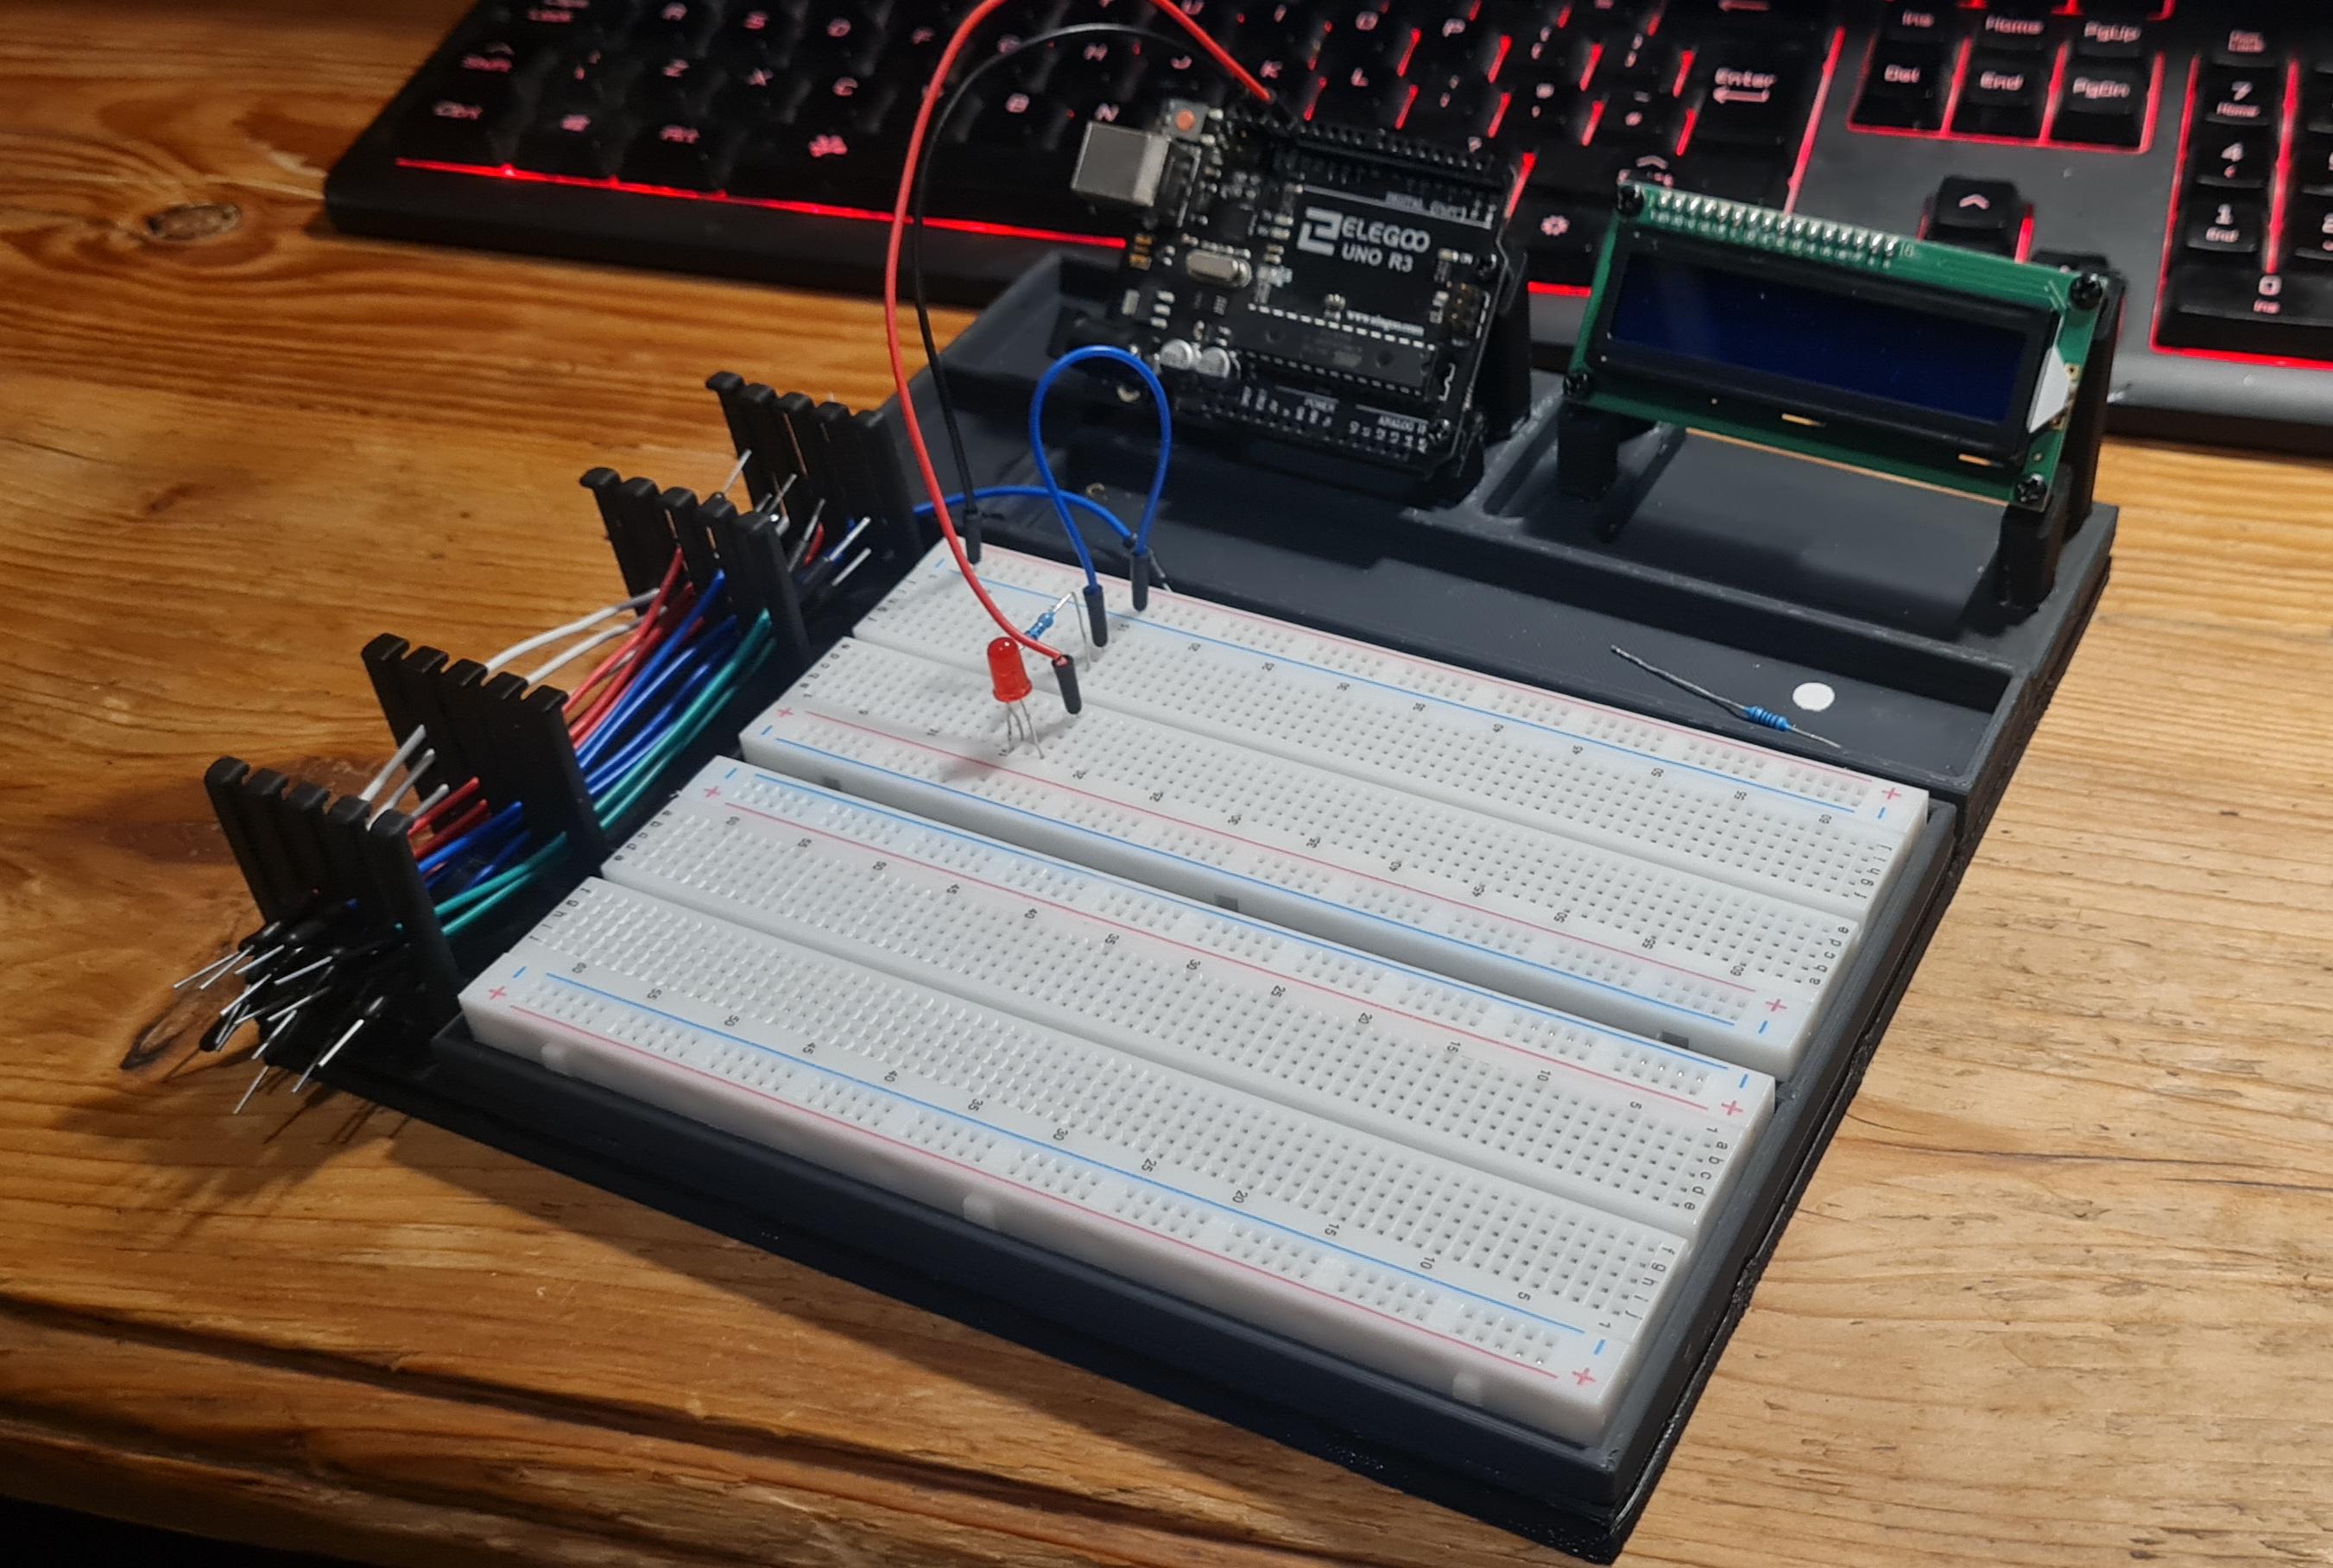
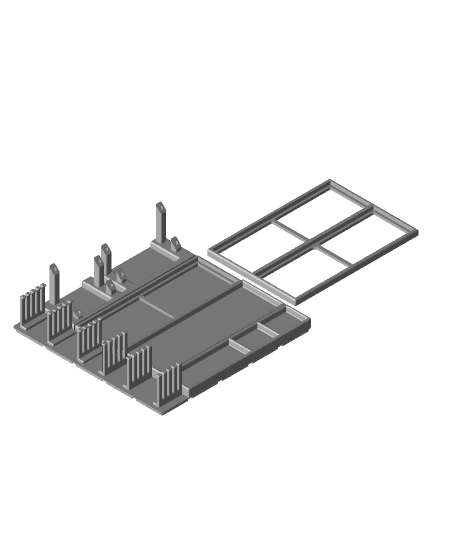
First off may I apologise for deleting the previous version but the files here at Thangs got a bit messy. I have been kit bashing an Arduino Uno Lab/Work Station/Learning Station that I think Gridfinity would be fantastic for especial as I am constricted to an Ender 5 Pro build plate of 220 x 220 x 300, and I say that tongue in cheek, build plate. Also, I must declare that I have been teaching myself how to use all the software from scratch to get the job done, so some of the models are a little scruffy because I couldn’t get them finished to a professional finish. This is apparent in the Fusion 360 and Sketchup models and the problems I had around the Mesh etc. But I will get there. I will where possible post the models in three formats, STL, Sketchup and F360 files.
All holes to accept various components may well need reaming out as apparently 3D Printers don’t replicate holes to the exact dimensions in the design, well in my case that is true. Now let us get onto the build…. I started originally with TAYLOR LOYKASEK's idea and designed version 1. This is Taylor's version. This was too big for the Ender 5 Pro. If memory serves me right just the top section was due to take 1 day and 9 hours to print. The various plates in the parts list were from the original designer of #Gridfinity Zach Freedman of Voidstar Lab on YouTube. Having found Gridfinity and loved his idea and energy, plus he's bit nuts I felt it was a good sign. Thangs is the home of Gridfinity Plates and adapters and many other fun, mad, and bad ideas can be found here. These parts are fantastic because in the free version of Fusion 360 (F360) you can adjust the whole thing by just amending a few numbers in the parameters. Some people use Openscad who are creating all kinds of parametric, I believe, ways of amending most of the basic Gridfinity elements which can be amended to your desire. Anyway, back to the Arduino Uno (Work/Learner/Education Station) or Lab as I am now going to refer to this design. The design of the Top Level of the Lab v is now complete…..ish. Are they ever finished? I have broken it into 3 main parts, this is mainly because of print times and the constraints of the Ender 5 Pro build plate previously mentioned. I then use Cura as my slicer. Below are the various parts and their components. If you find any missing let me know and I’ll get them up ASAP. The print time for this project is loooooooong, so don’t expect it to be a quick job.
Gridfinity-Arduino-Uno-Lab-Top Plate This consists of
- 1x 5x5 Gridfinity Adapter v10
- 1x Arduino Uno & LCD Sect v10
- 8x Pegs/Legs/Posts a. 3x Peg01 b. 1x Peg02 c. 2x Peg03 d. 1x peg04 e. 1x Peg05
These present the Arduino Uno and the LCD to the front at a 45-degree angle. They have M3 sized holes for heat press threaded inserts as the original design were slightly weakened by the screws being inserted.
I need to purchase a suitable soldering Iron and Turmberg3D - 5 x soldering iron melting aid for threaded inserts/melting nuts. But at this time funds are a bit tight so I will use my old iron.
The are 5 different Pegs, 01-05. The current design has square lugs on the base so that they can be glued in straight, and I have found that being square they are slightly more accurate. These are printed separately on their backs with a triangular infill of 50% and tree supports.
The tray design has been changed also. The Gridfinity-5x5-Adapter-v10 now has 6 locations for the Jumper Wire Comb. I will be using All 6 but that is a decision that each person can make themselves.
This was because I found the original small tray was hidden behind the Jumper Wire Comb and slightly awkward to get to. Also, longer Jumper Wires do interfere with anything in the tray.
By having the two trays (Tray-Large- v10 & 1x Tray-2+1-v10) you can decide whether you want to have two breadboards or one. I have found that currently I only need 1 Breadboard-x1-165 x 53. But if you prefer the original Breadboard-x2-165x53 v10 design then I have included that in the files.
- Gridfinity-5x5-Adapter-v10
- 1x Breadboard-x1-165x53 v10 or
- Breadboard-x2-165x53 v10
- 1x Tray-Large- v10
- 1x Tray-2+1-v10
- 1x Breadboard-x1-165x53 v10
- 6 x Jumper Wire Rack v4
- 1x Breadboard-x1-165x53 v10
- 6 x Jumper Wire Rack v10 Transport Tray This consists of
- 1x Gridfinity-ALab-Transport-Tray-v5
- 1x Gridfinity-ALab-Transport-Tray-Handle-v5


