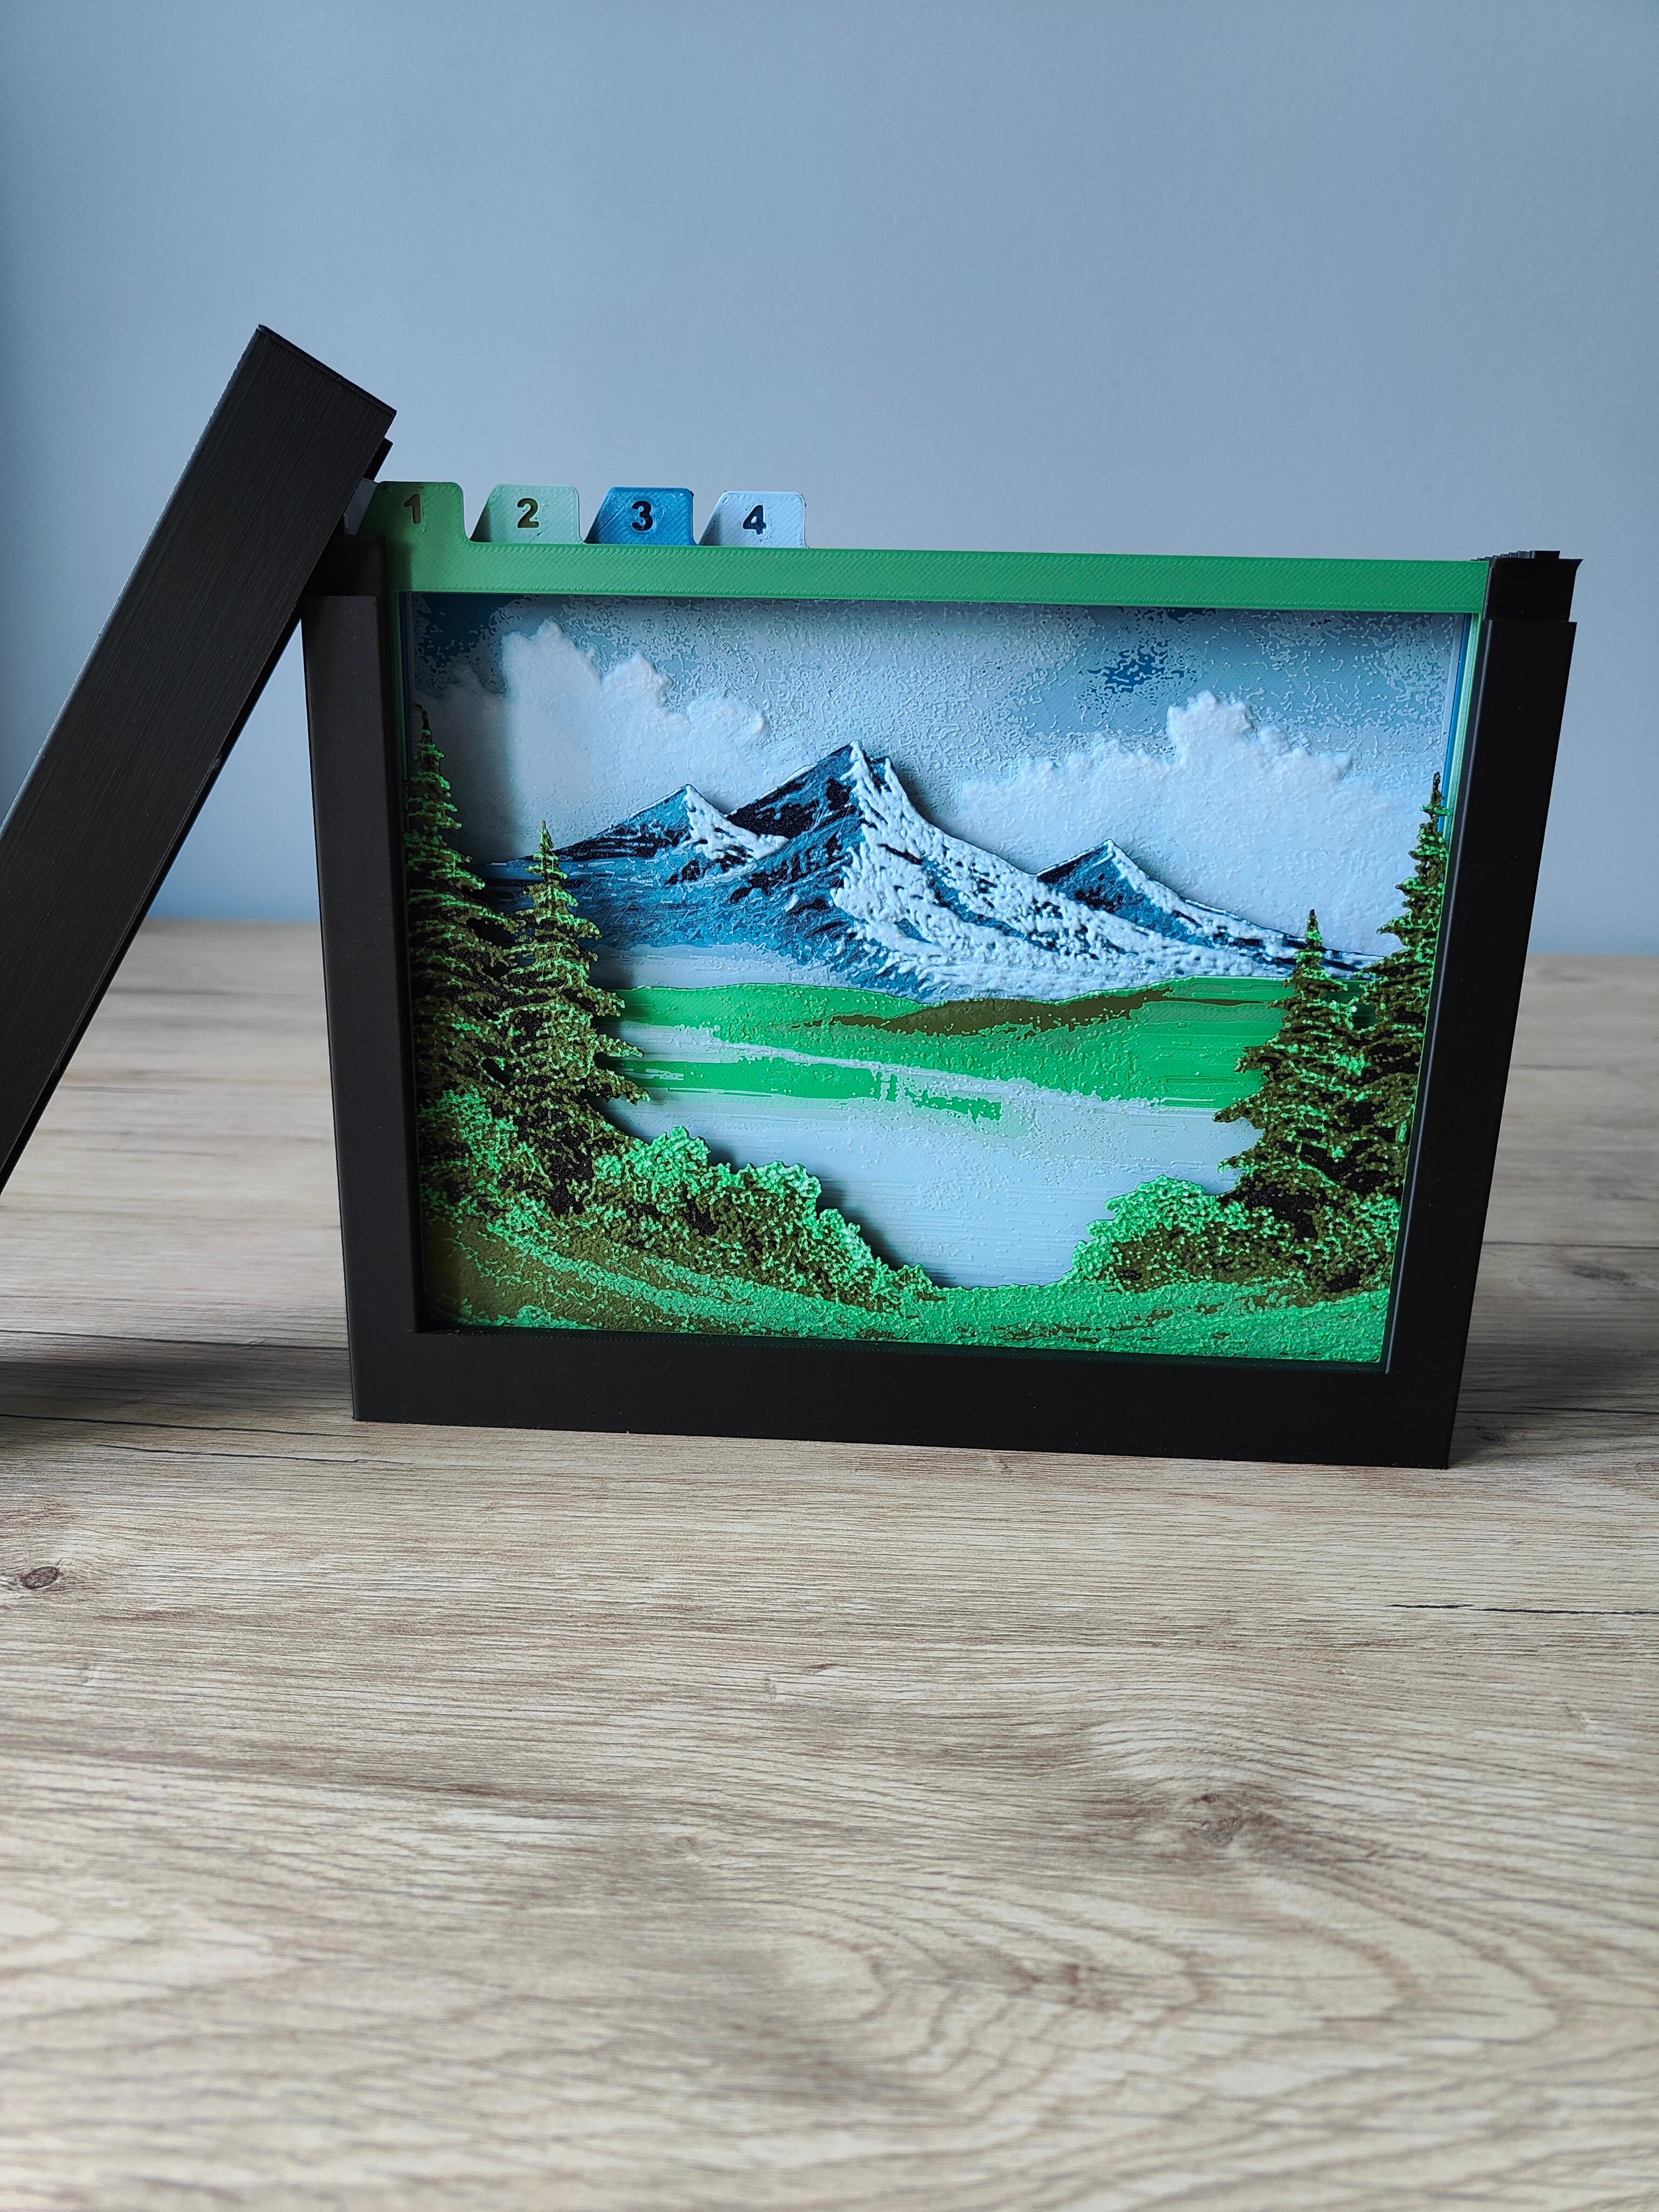
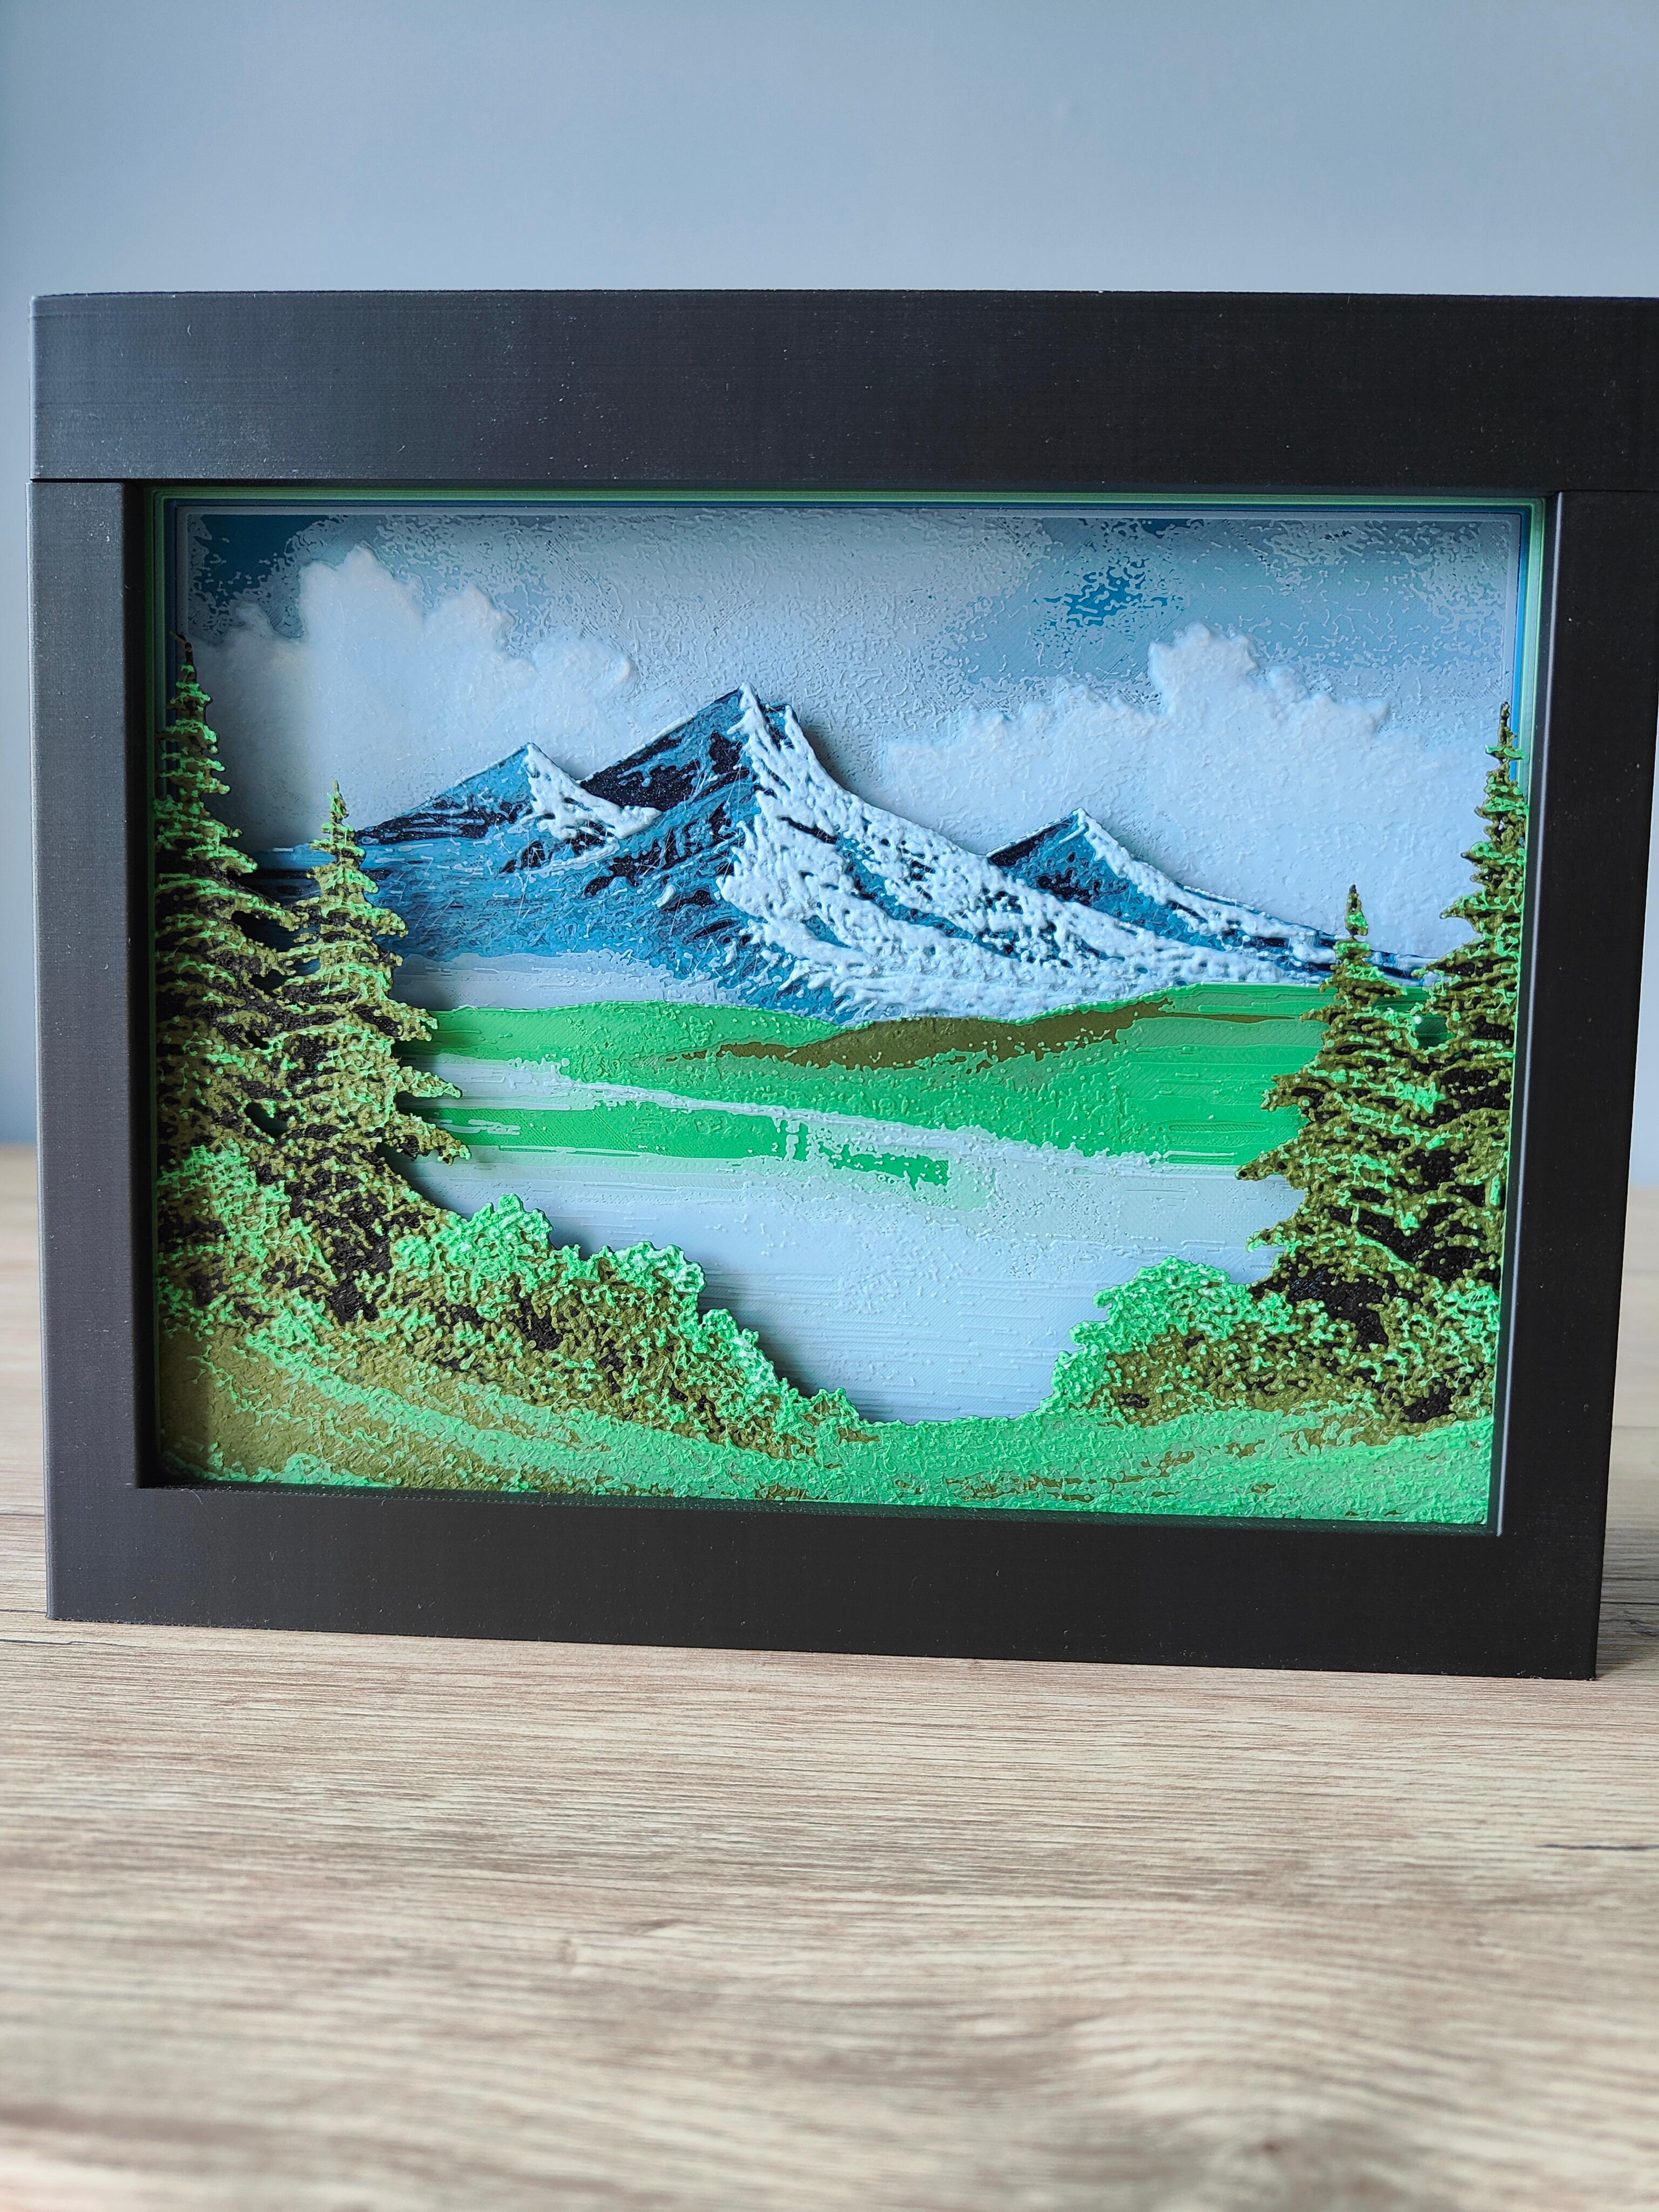
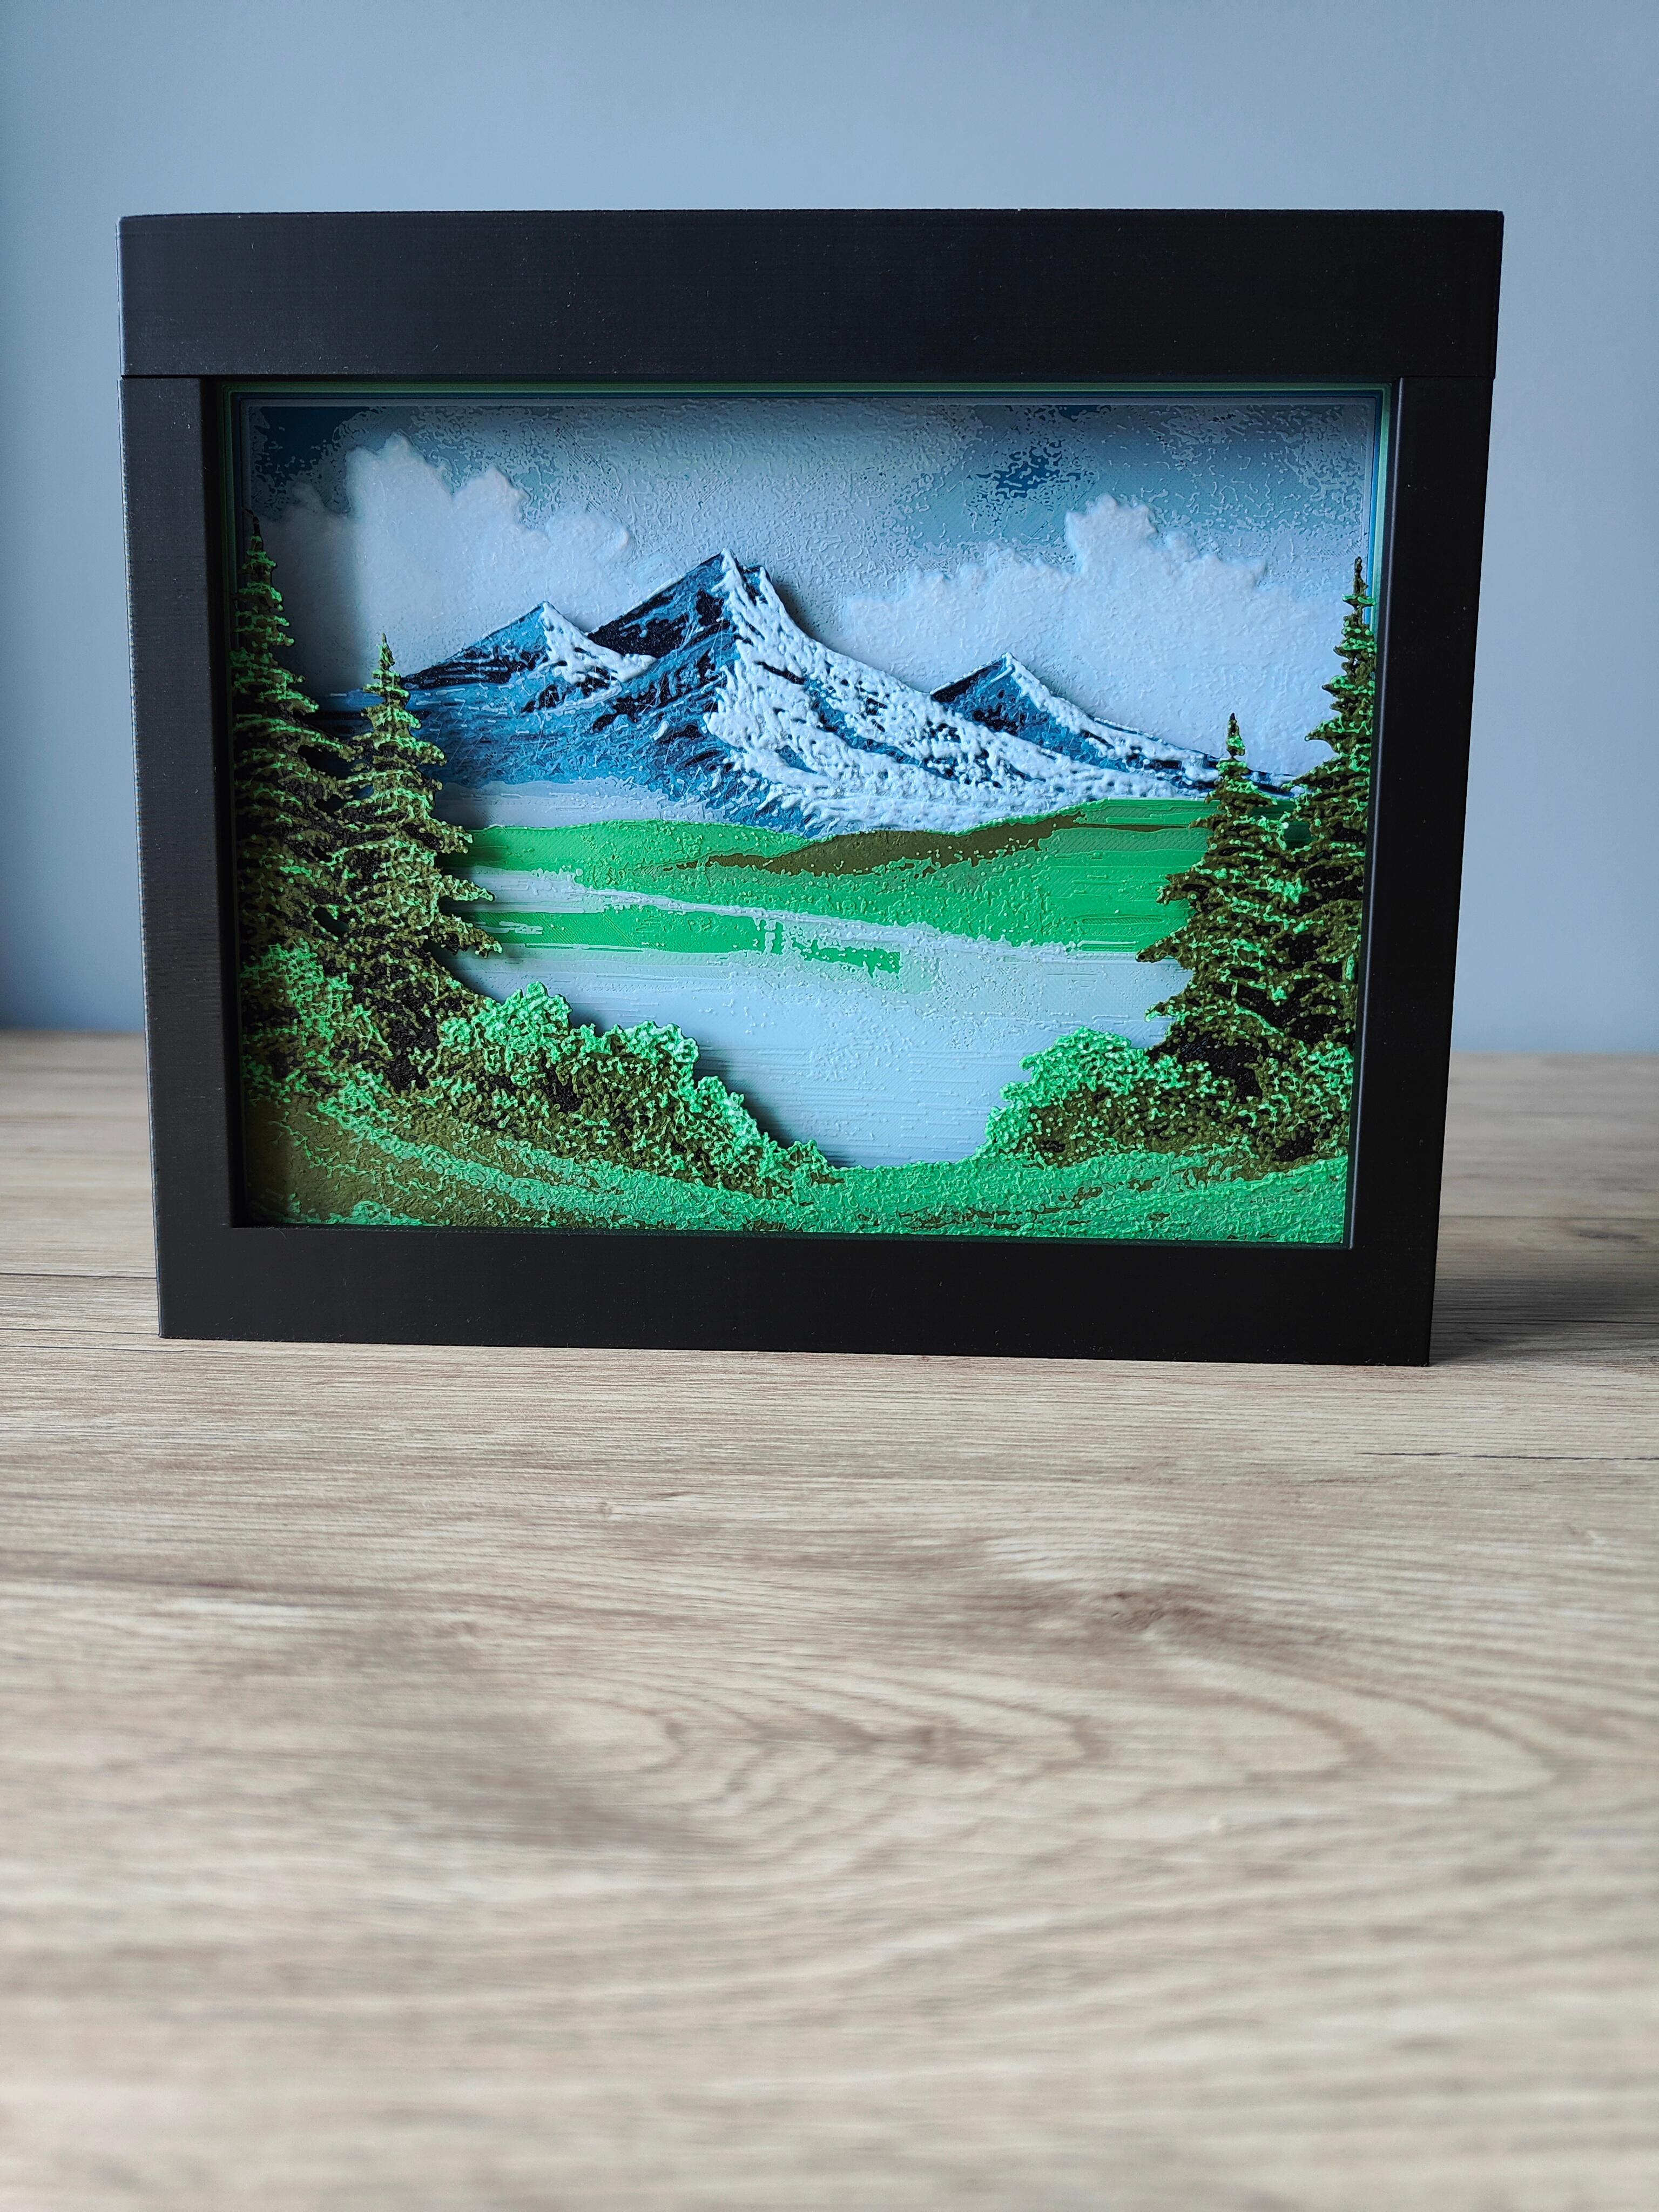
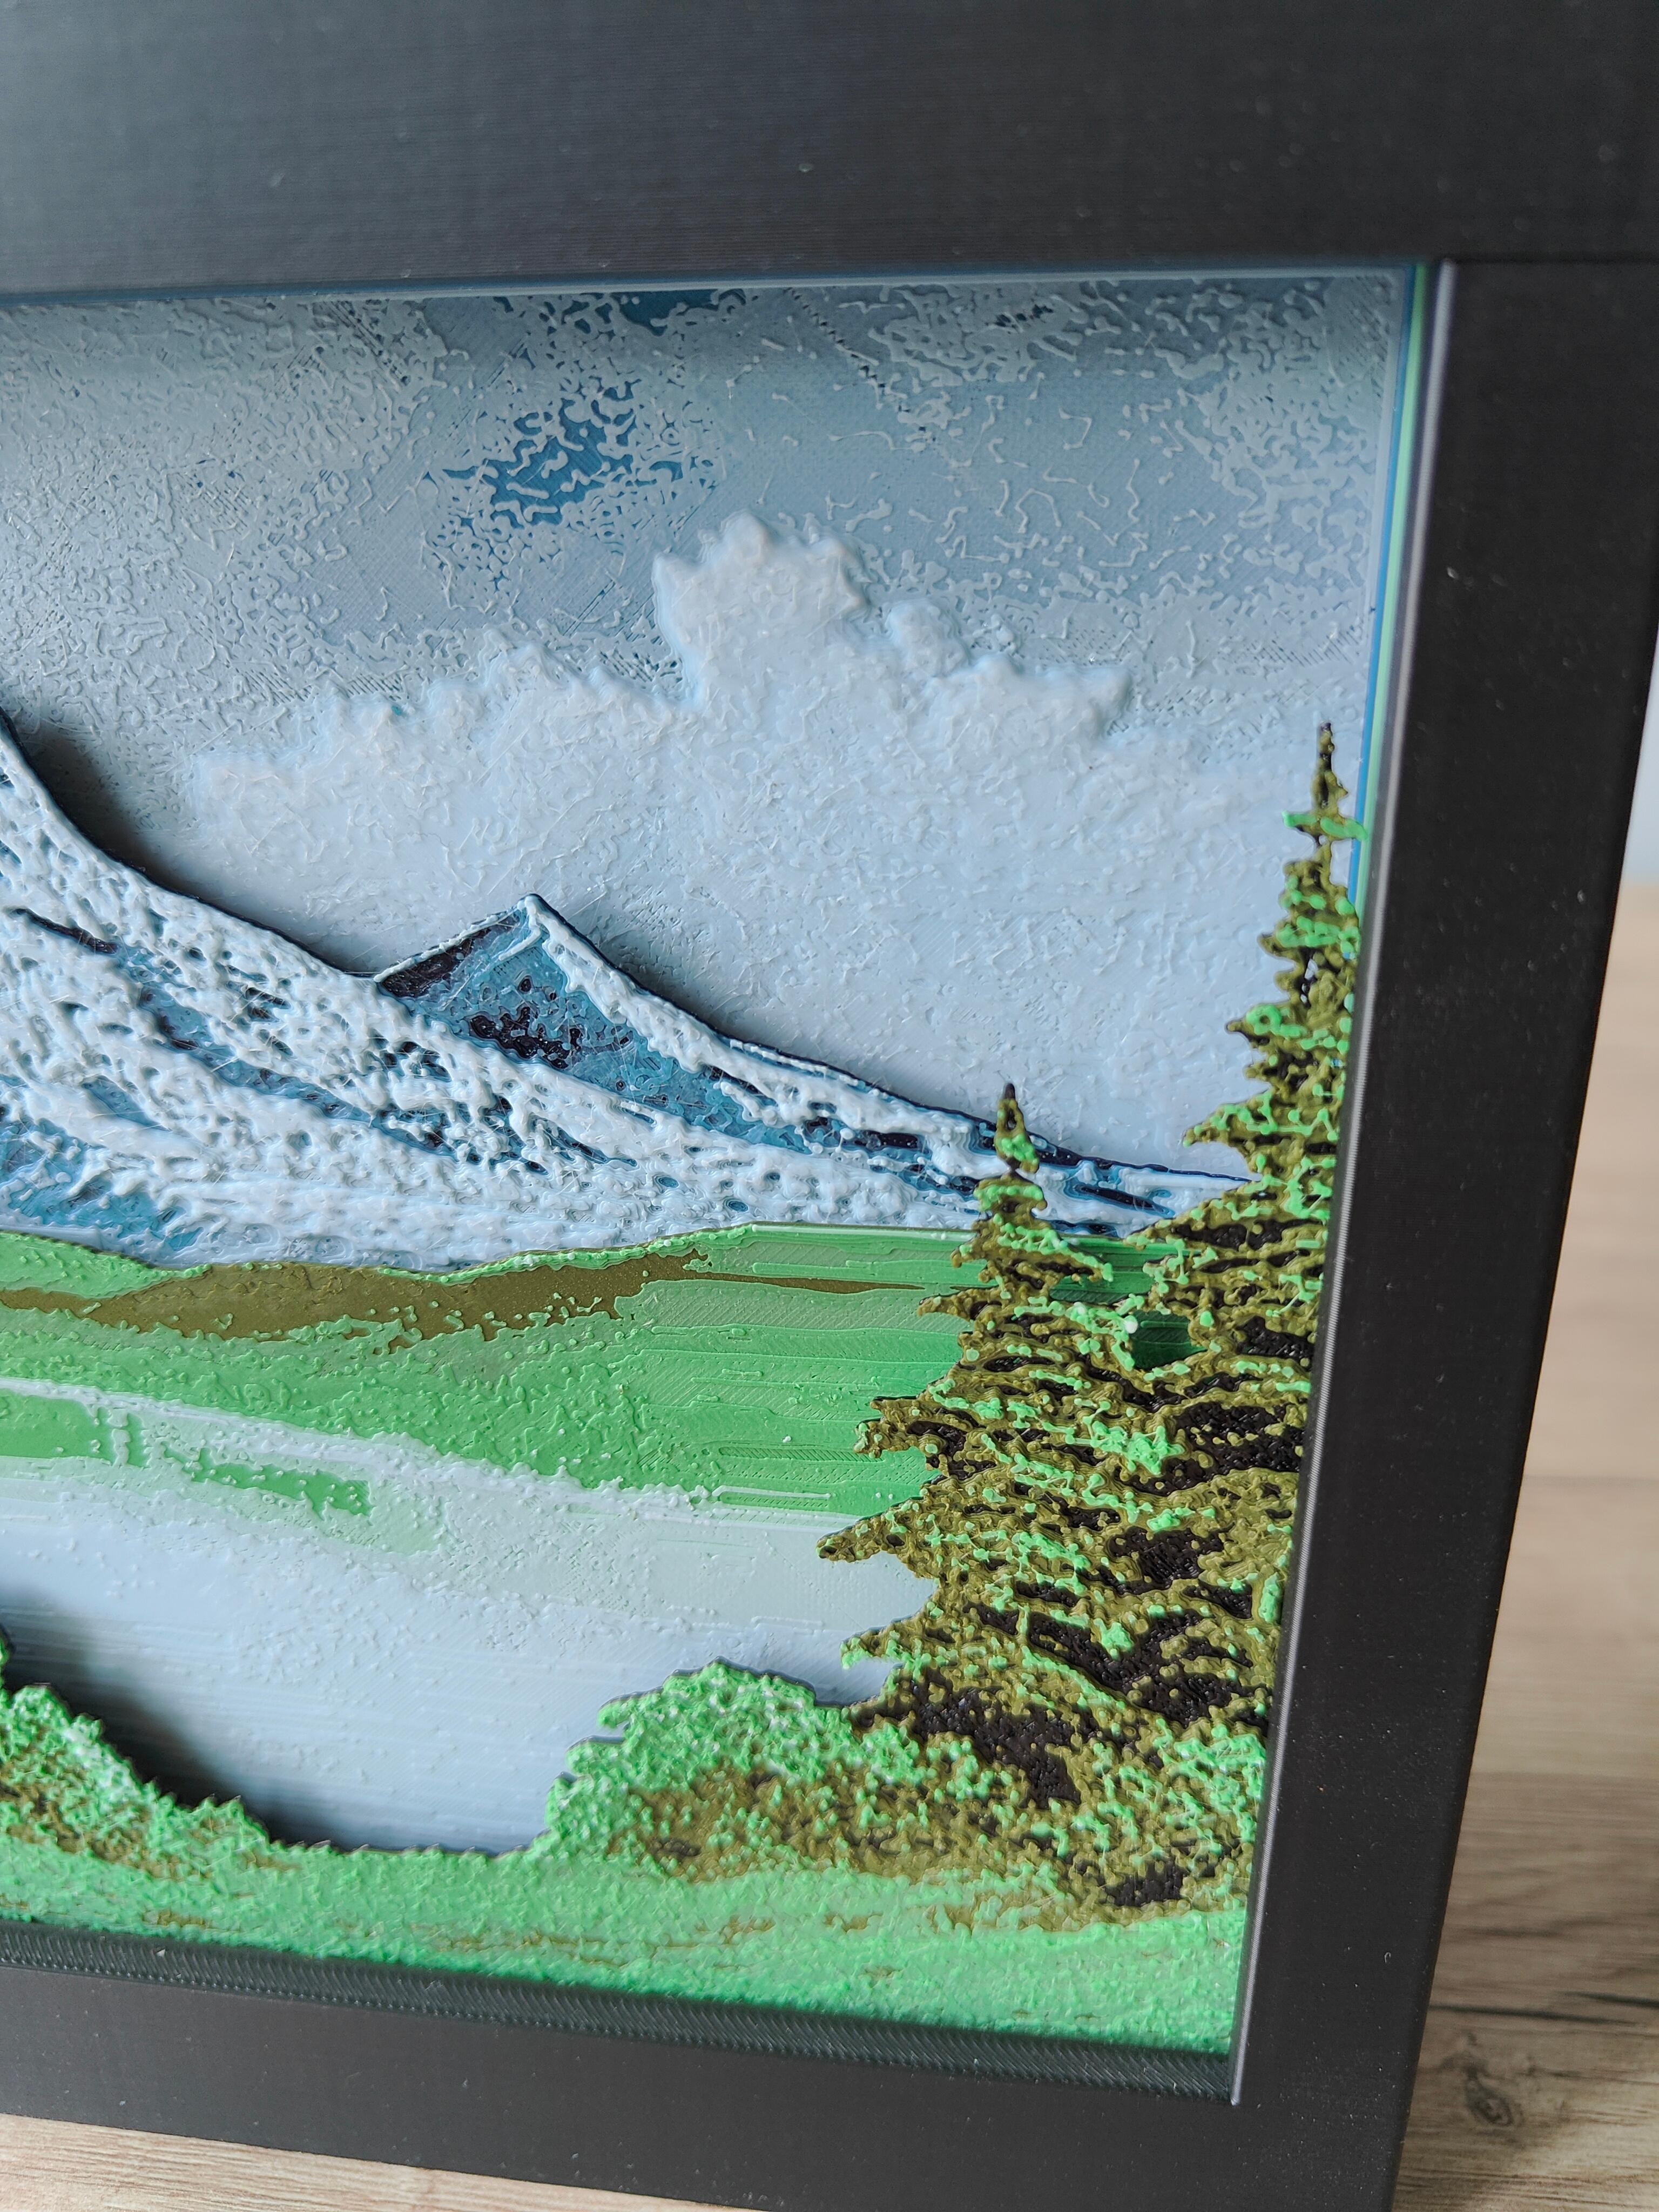
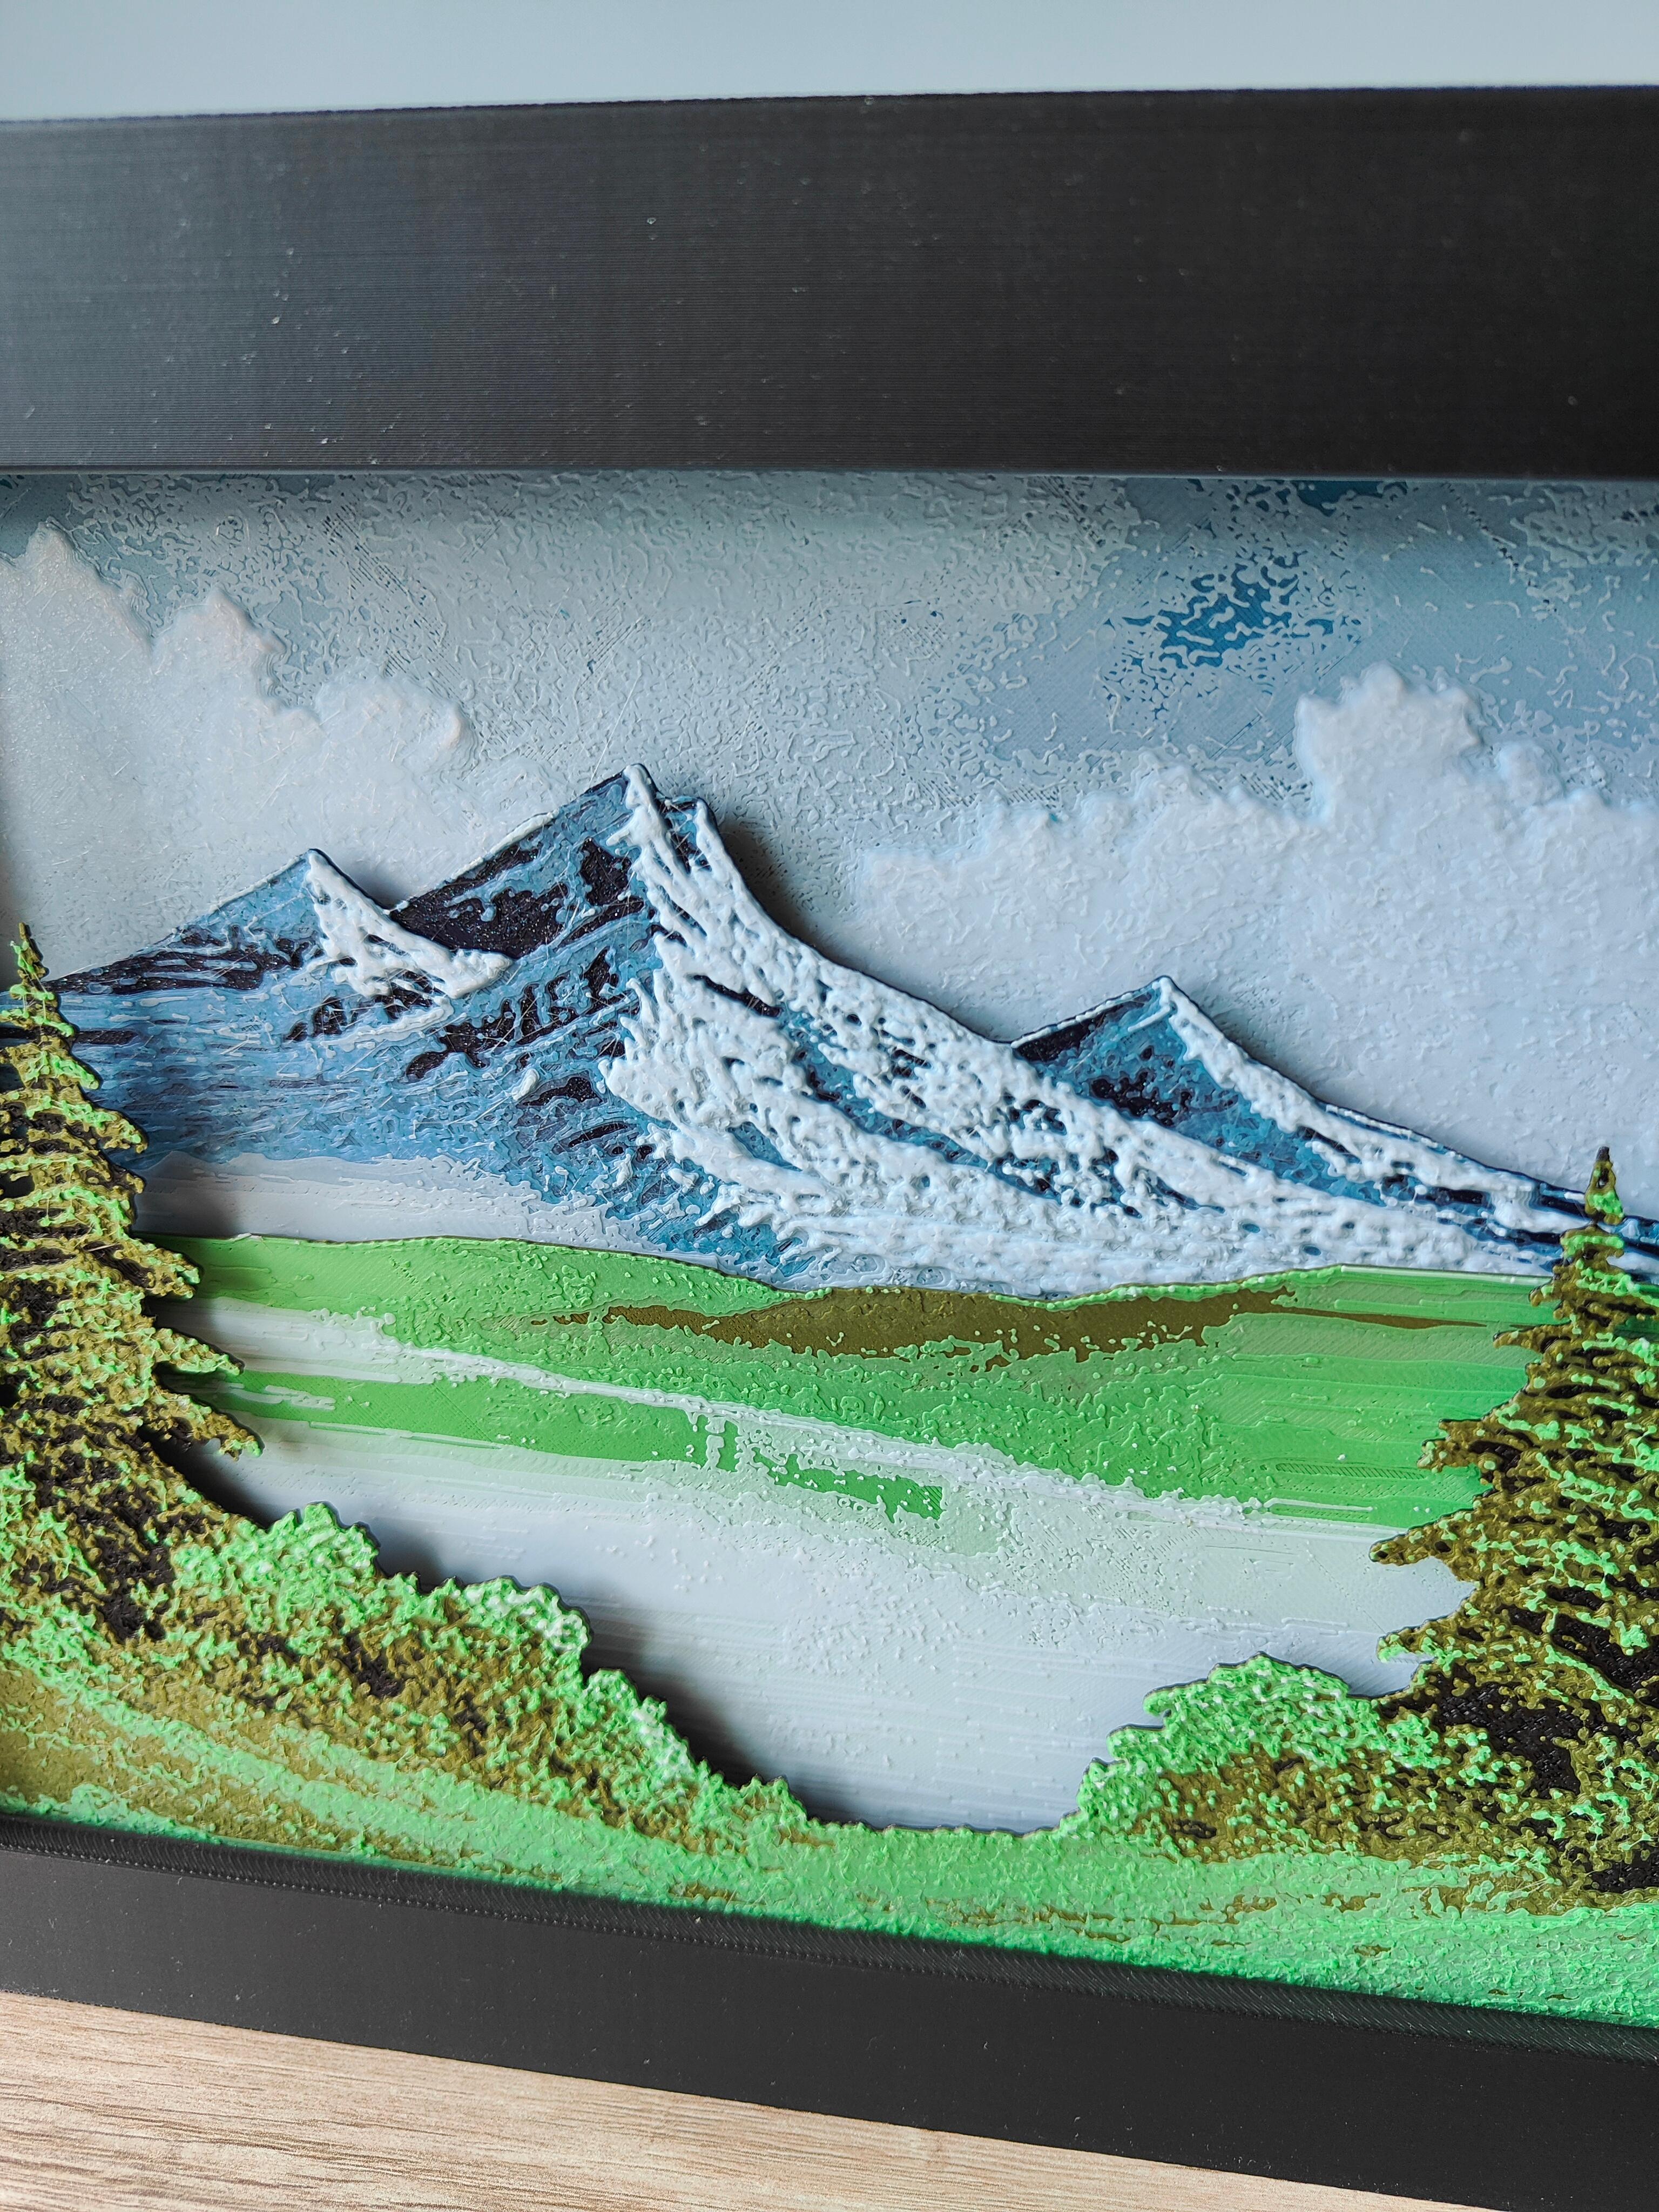
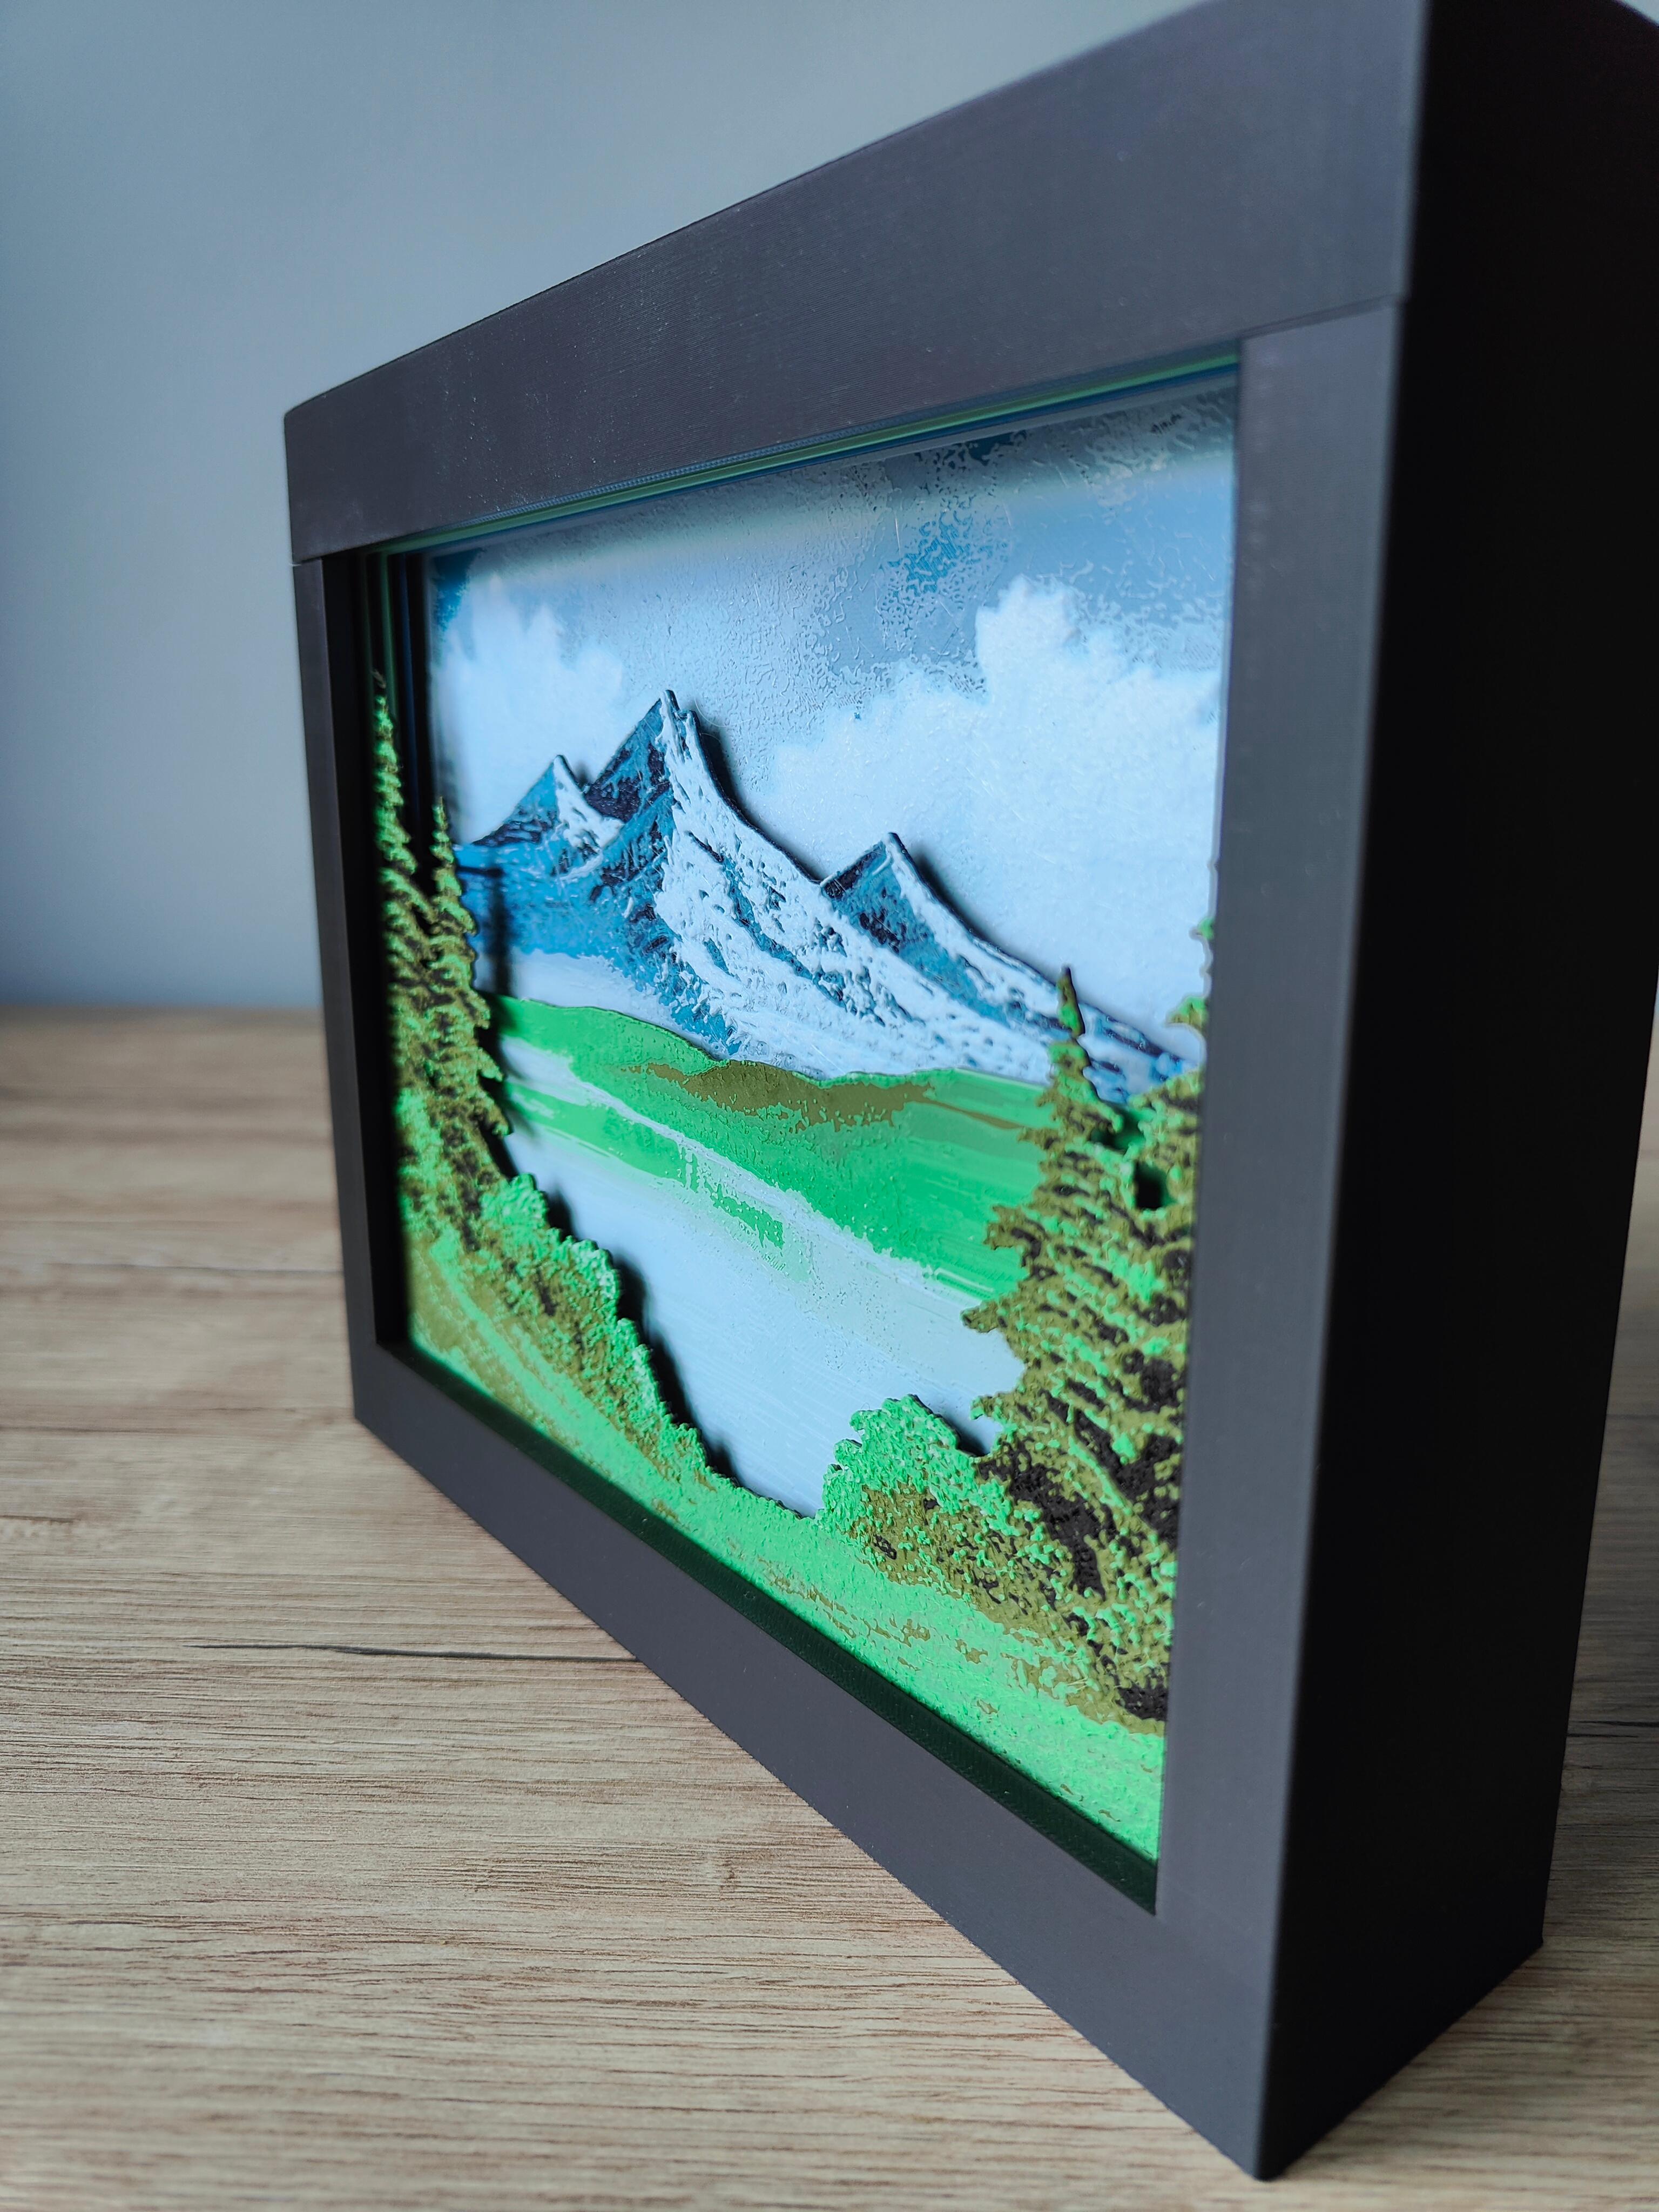
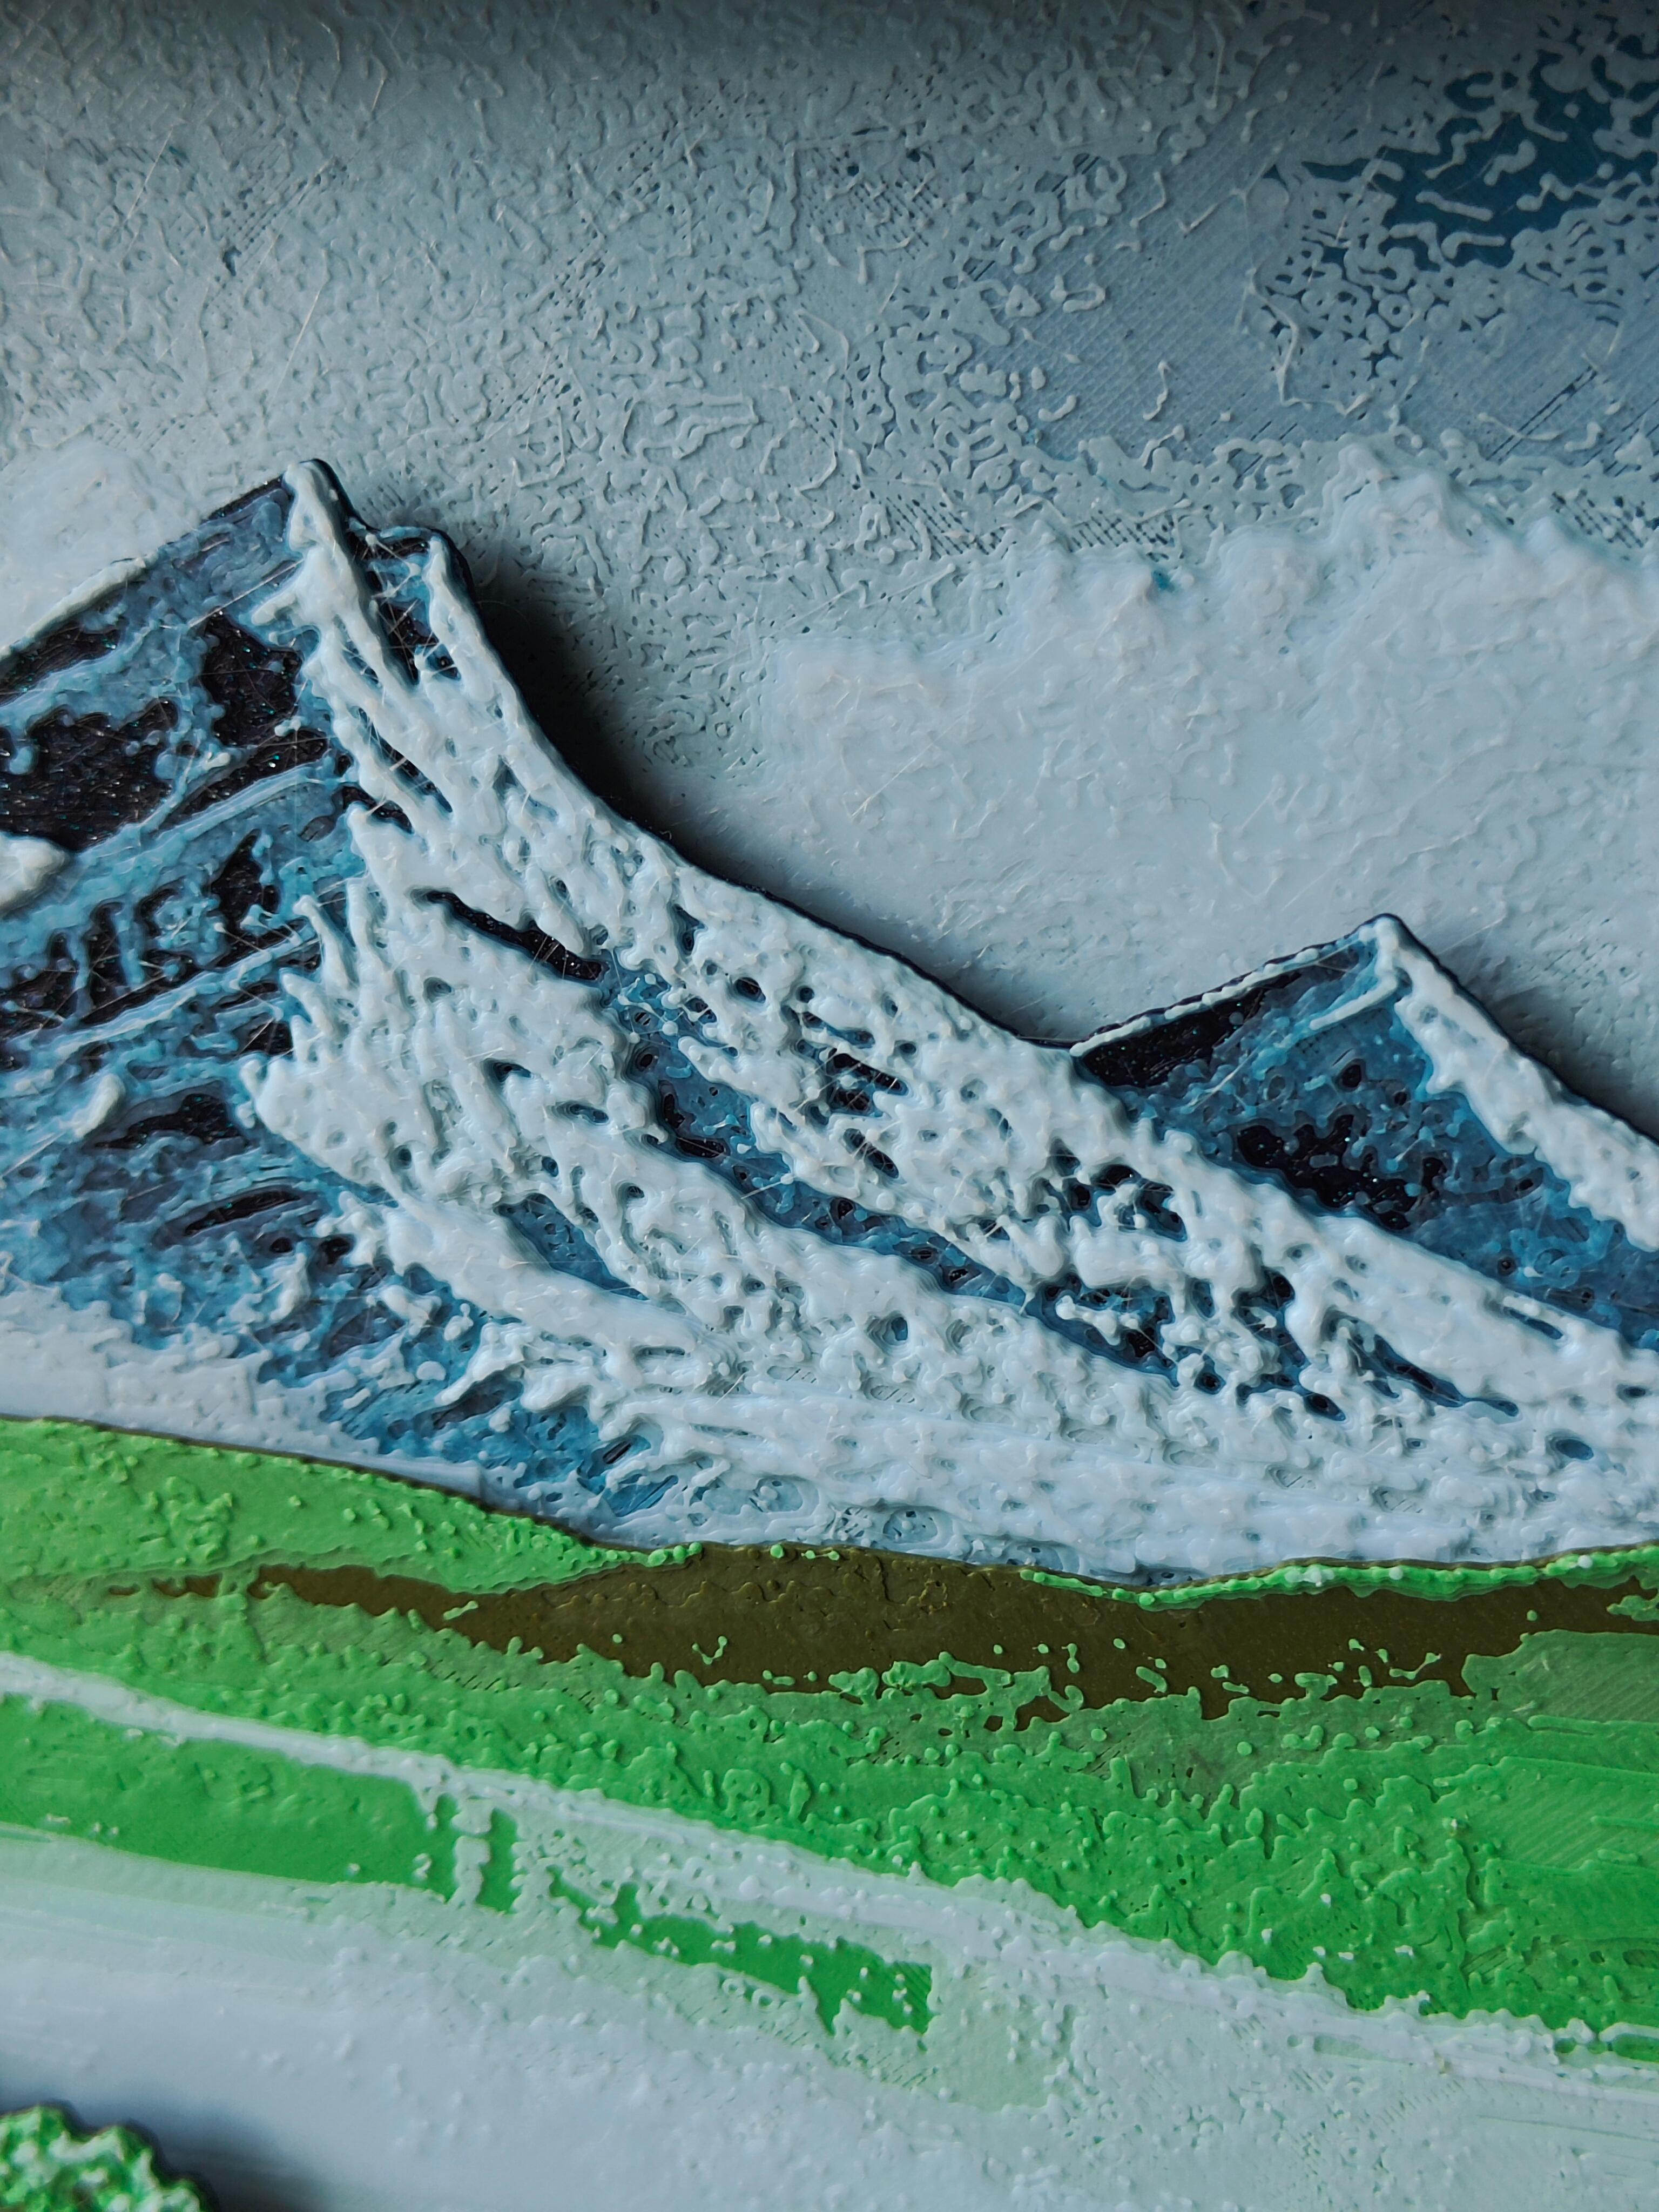
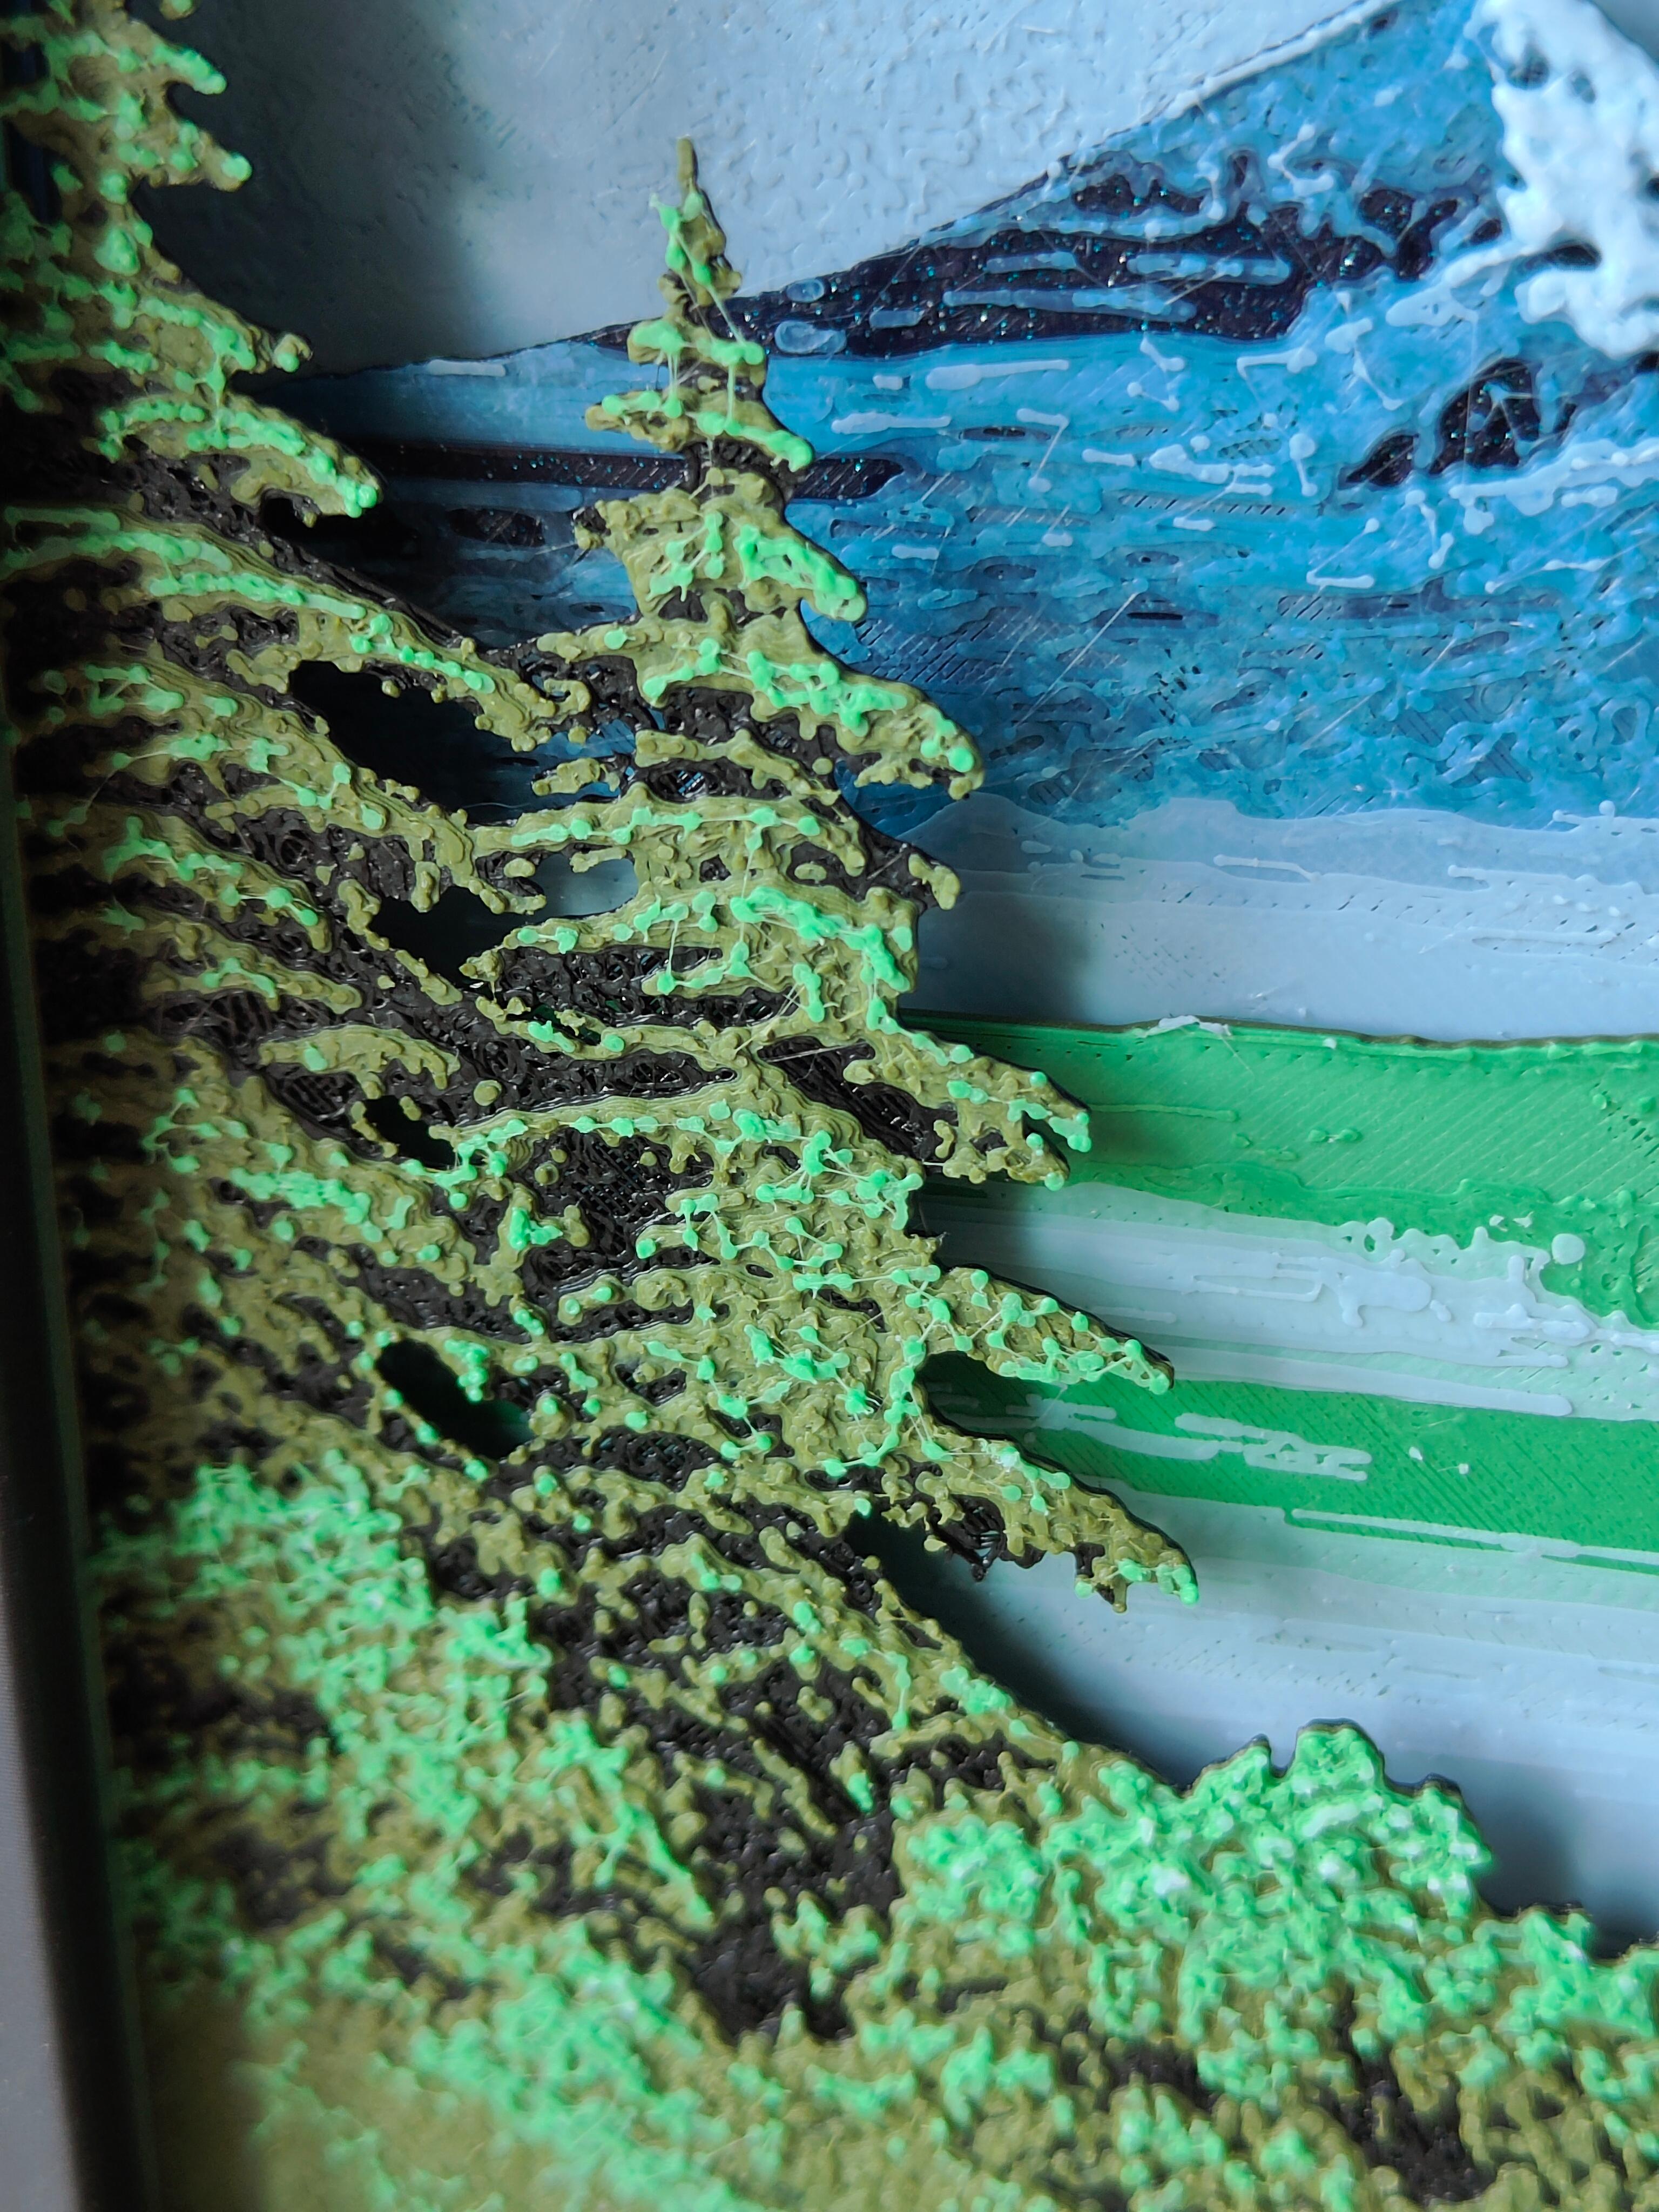
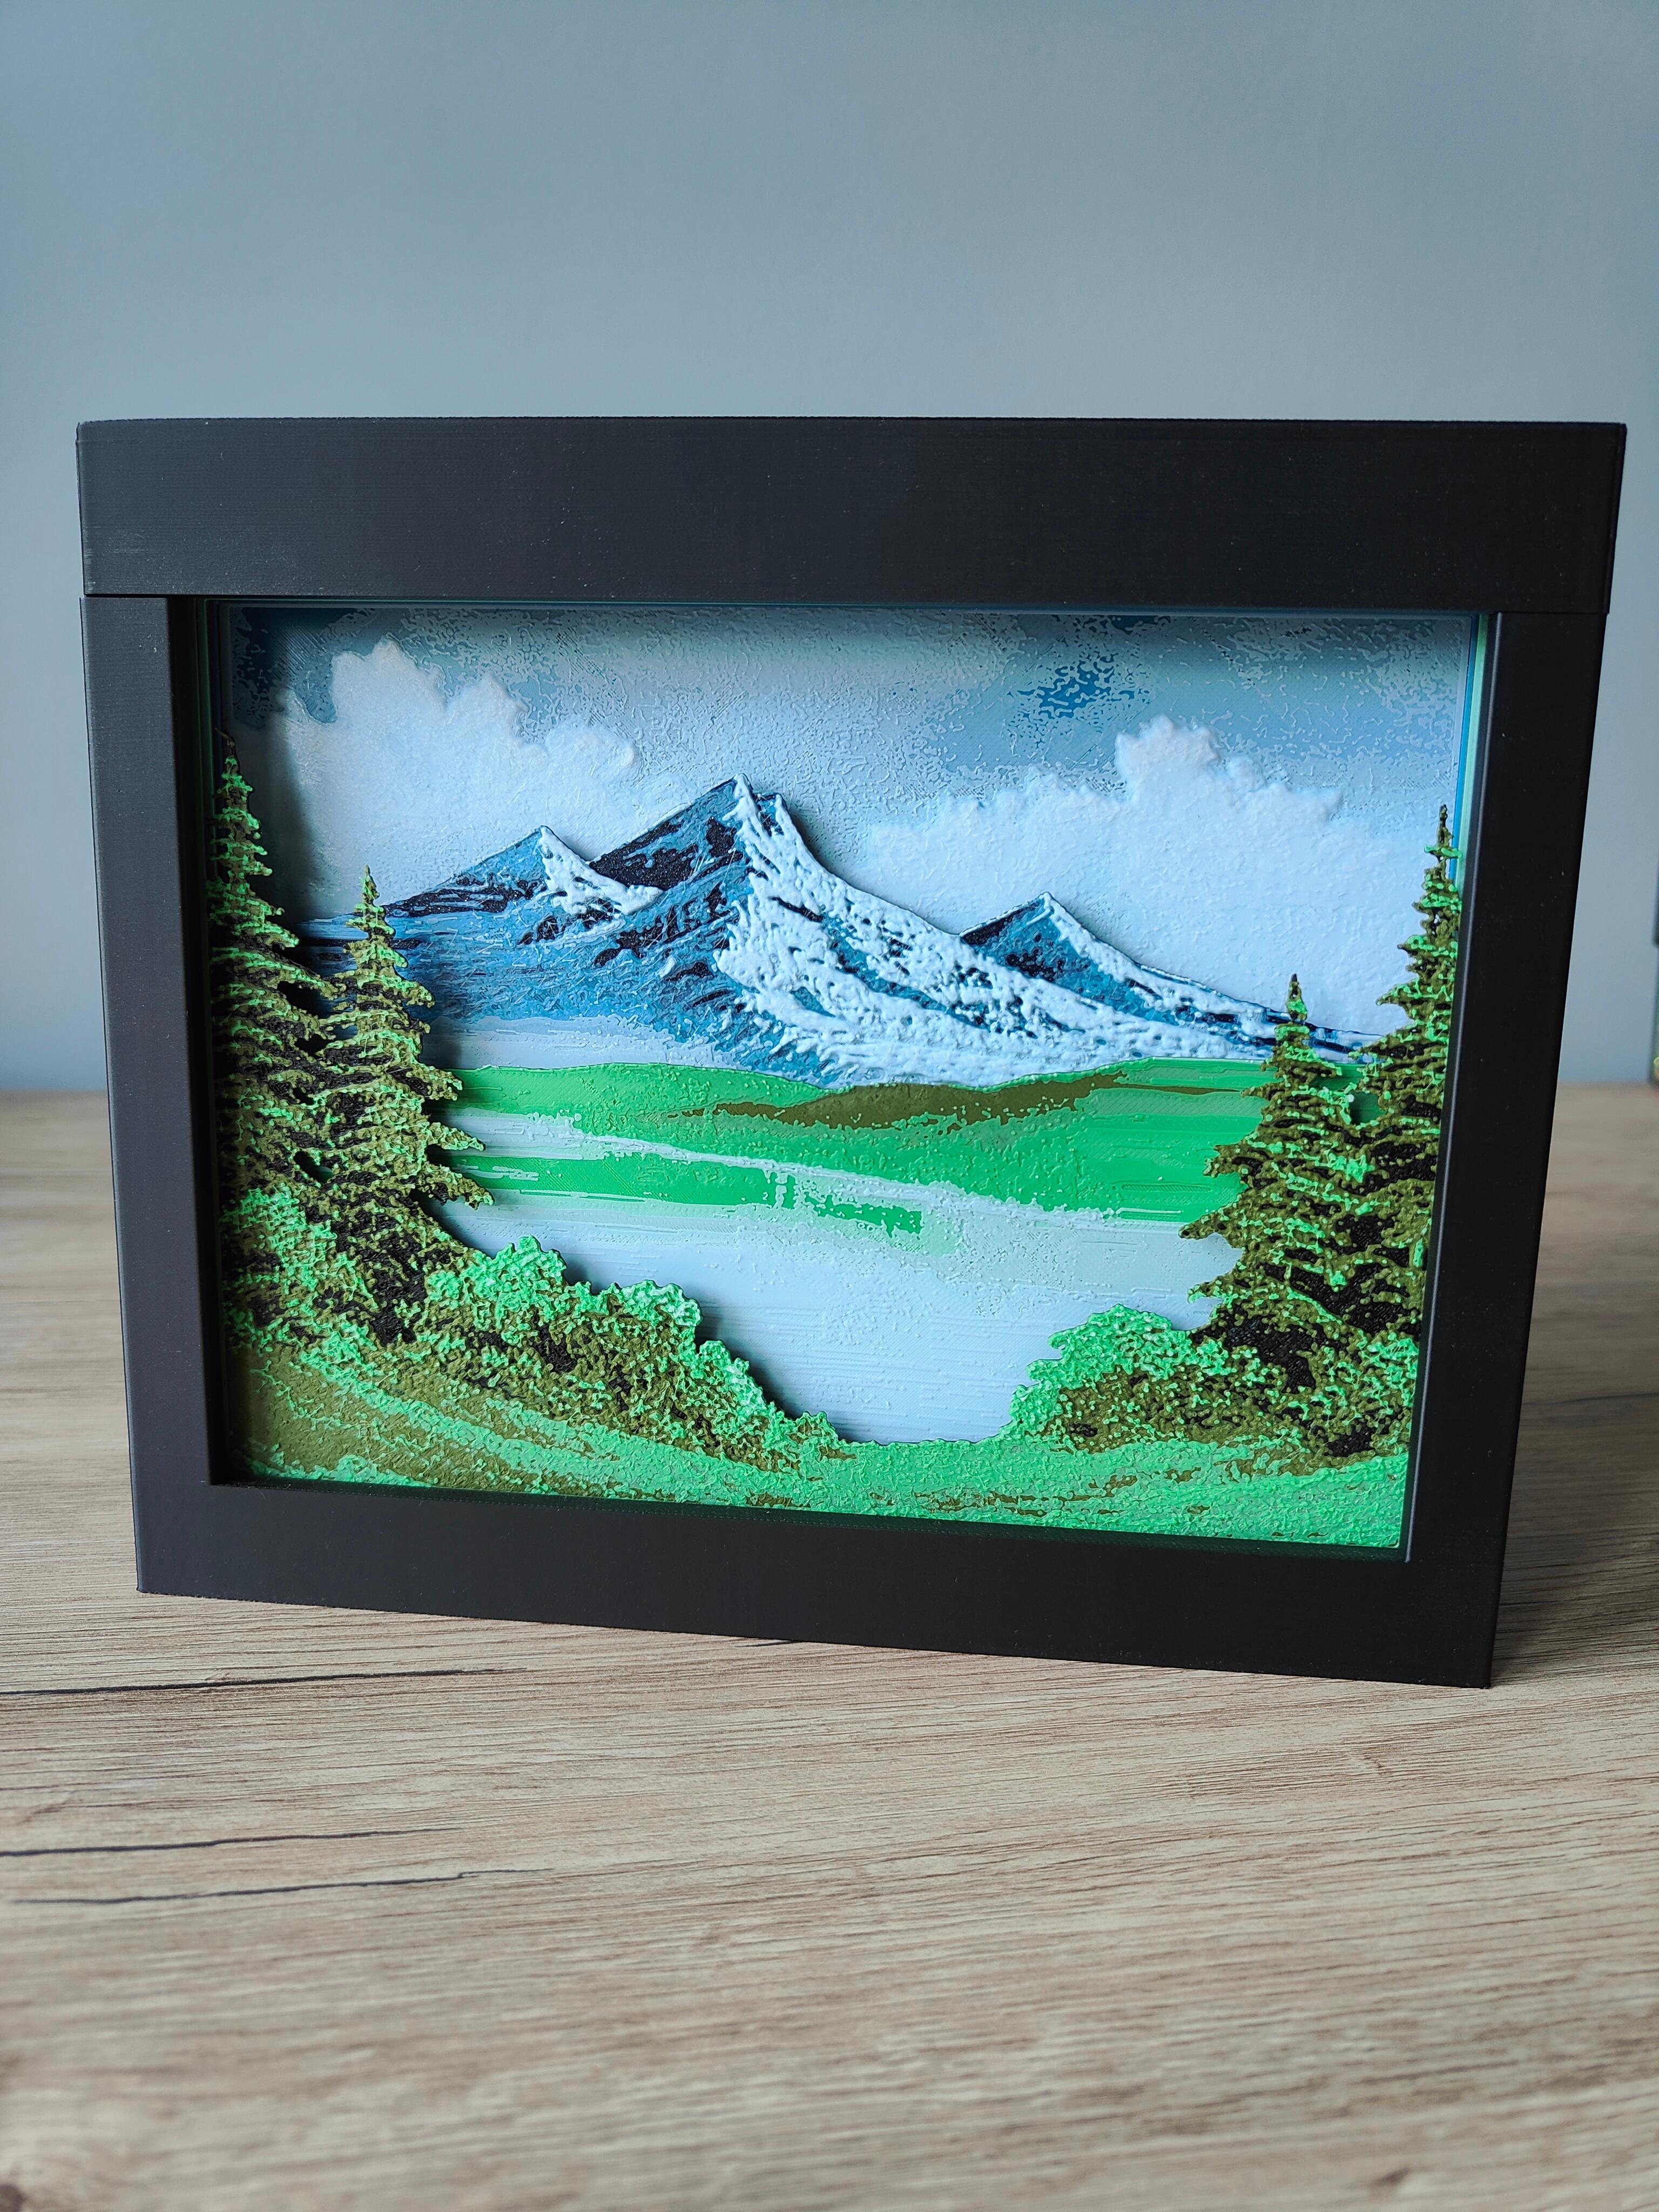
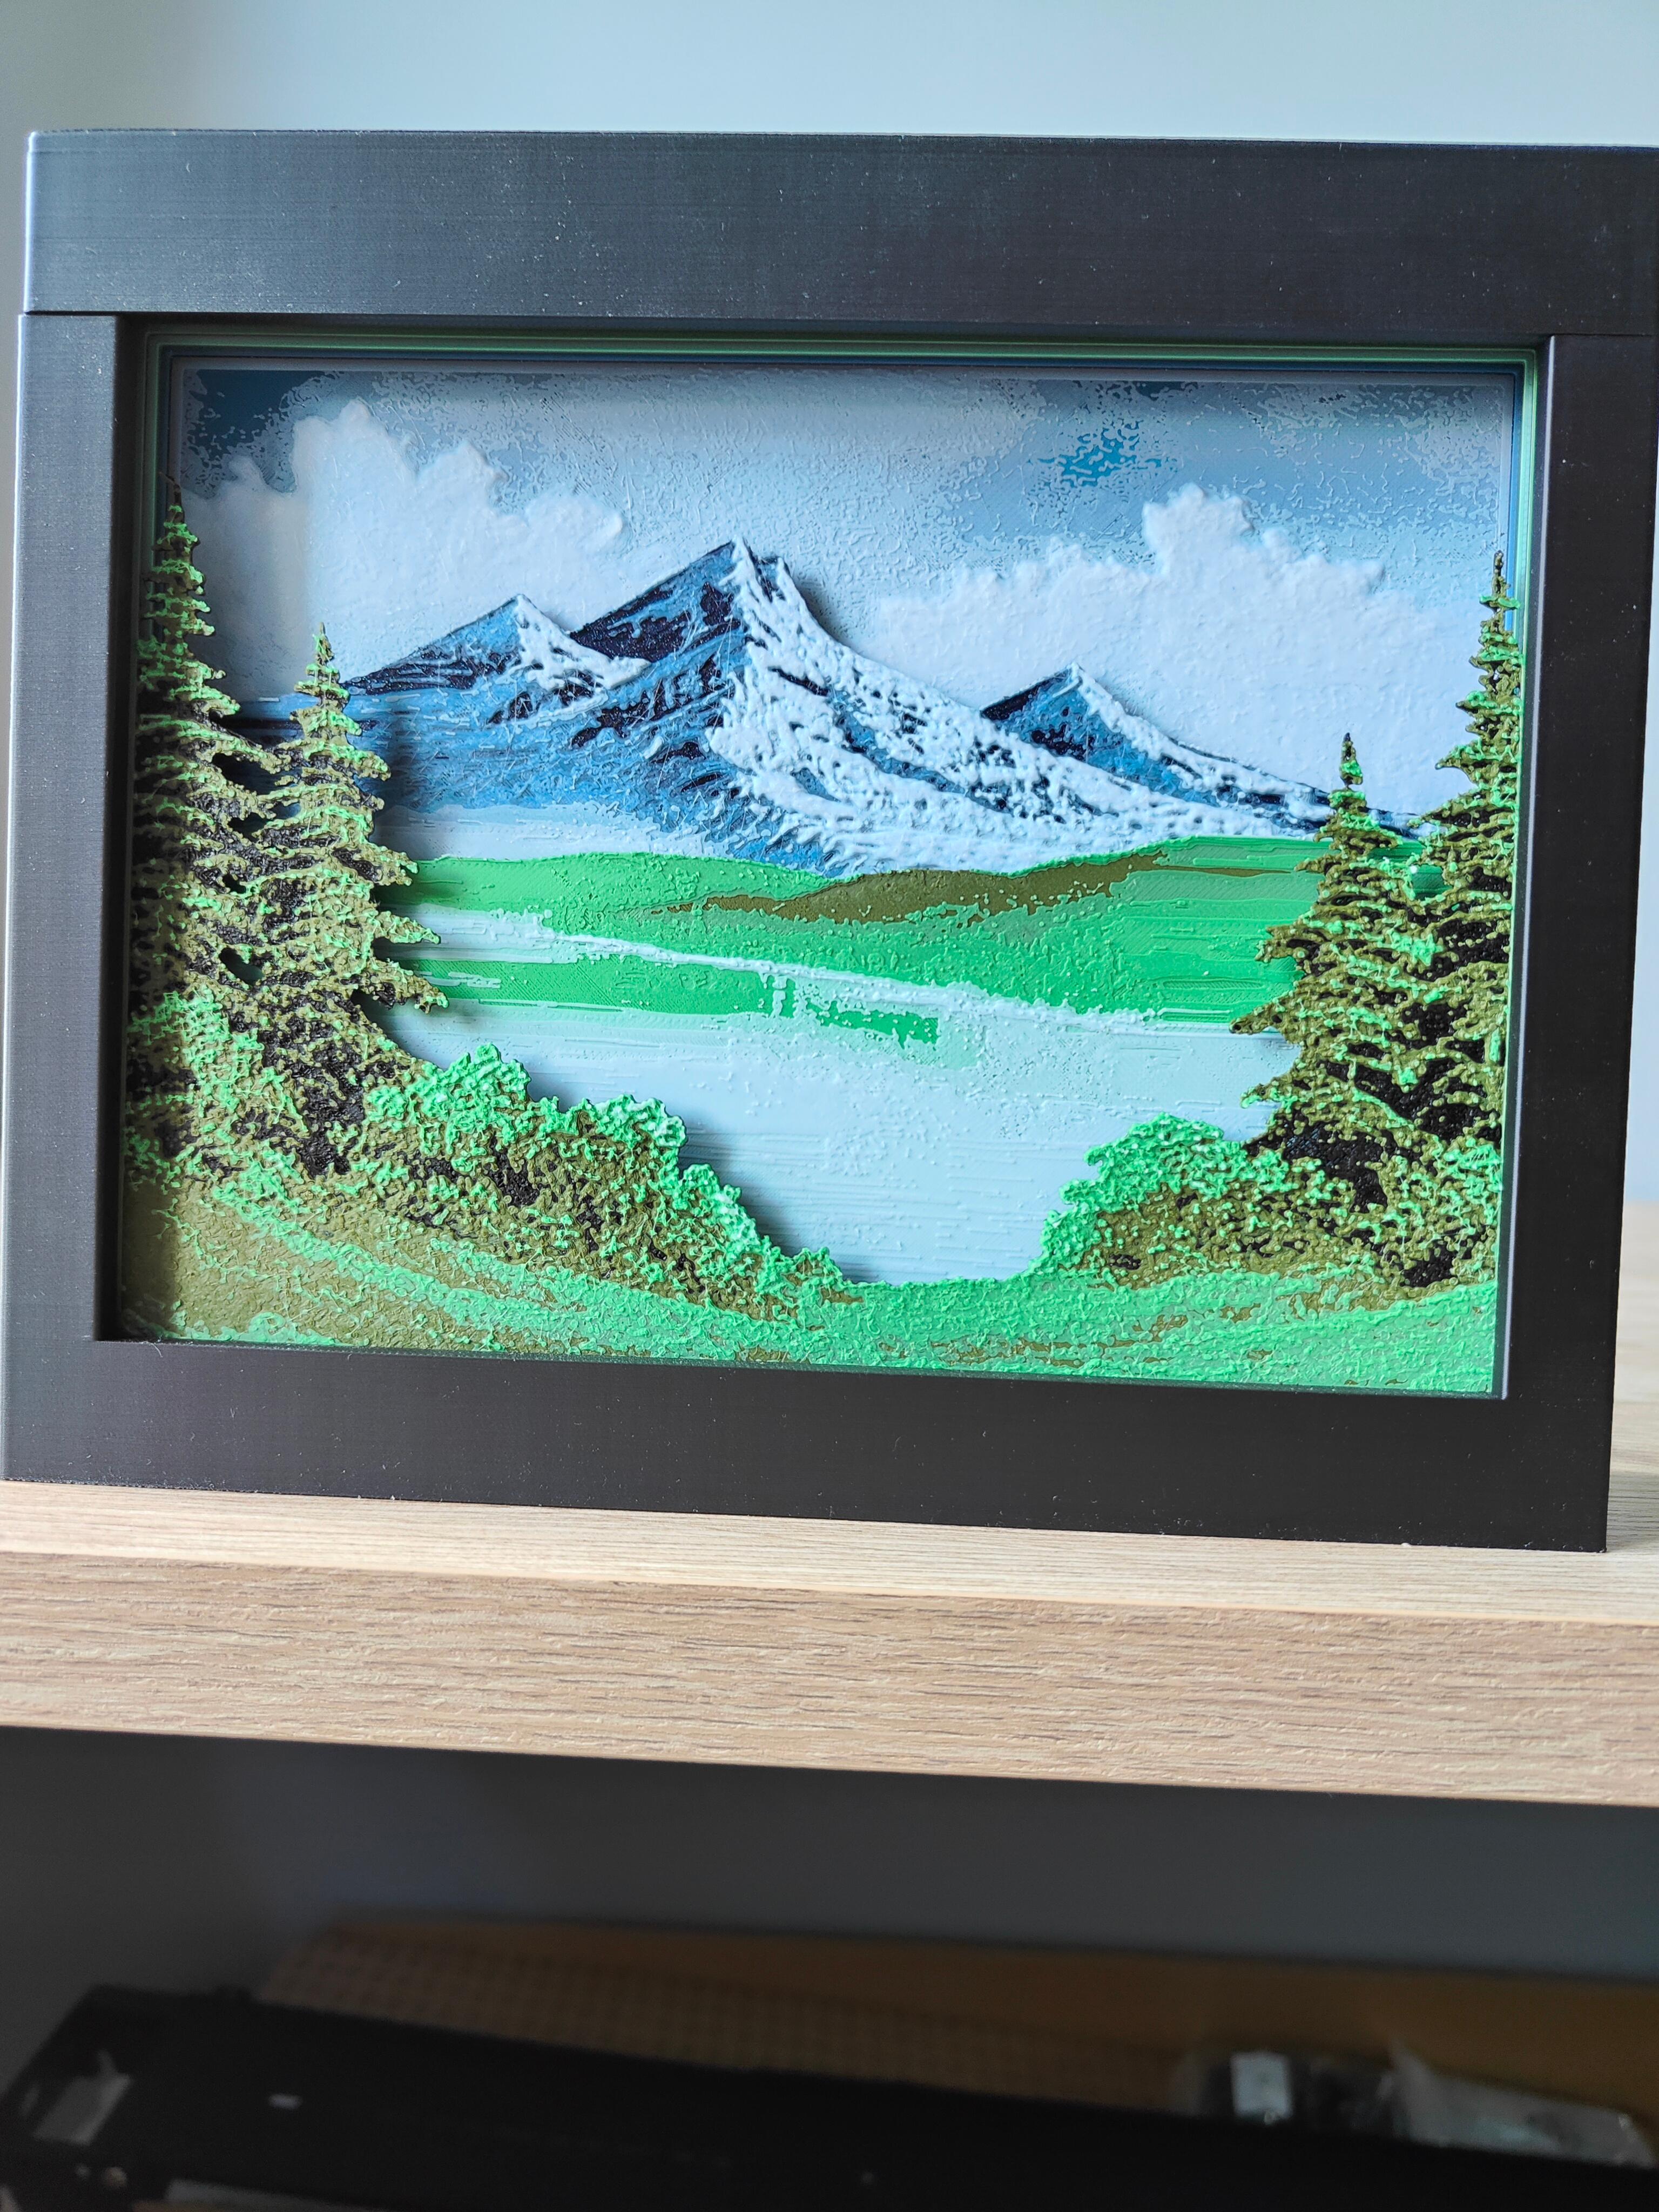
I think I finally reached my main goal that I've set out when I started creating the shadow boxes. I always wanted to create some beautiful artwork using 3D printers, and the shadow boxes are a perfect medium for that.
I was able to create some cool sets that I'm really proud of, but there were some limitations that held me back, like the amount of colors I was able to use when designing a 3D model and the added dificutly to create multicolor models that allows you to print them by only using color swaps (no AMS or MMU).
Then someone created an awesome piece of software called Hueforge. Hueforge takes an image or 3D model and allows you to "paint" using filament.
The moment I saw what Hueforge was able to do, I knew I had to use it to create truly awesome shadow boxes. After some trying and, mostly failing, I've finally found a way to merge Hueforge models with my shadow box plates
The result is this Bob Ross inspired shadow box set. I find it truly awesome and beautiful.
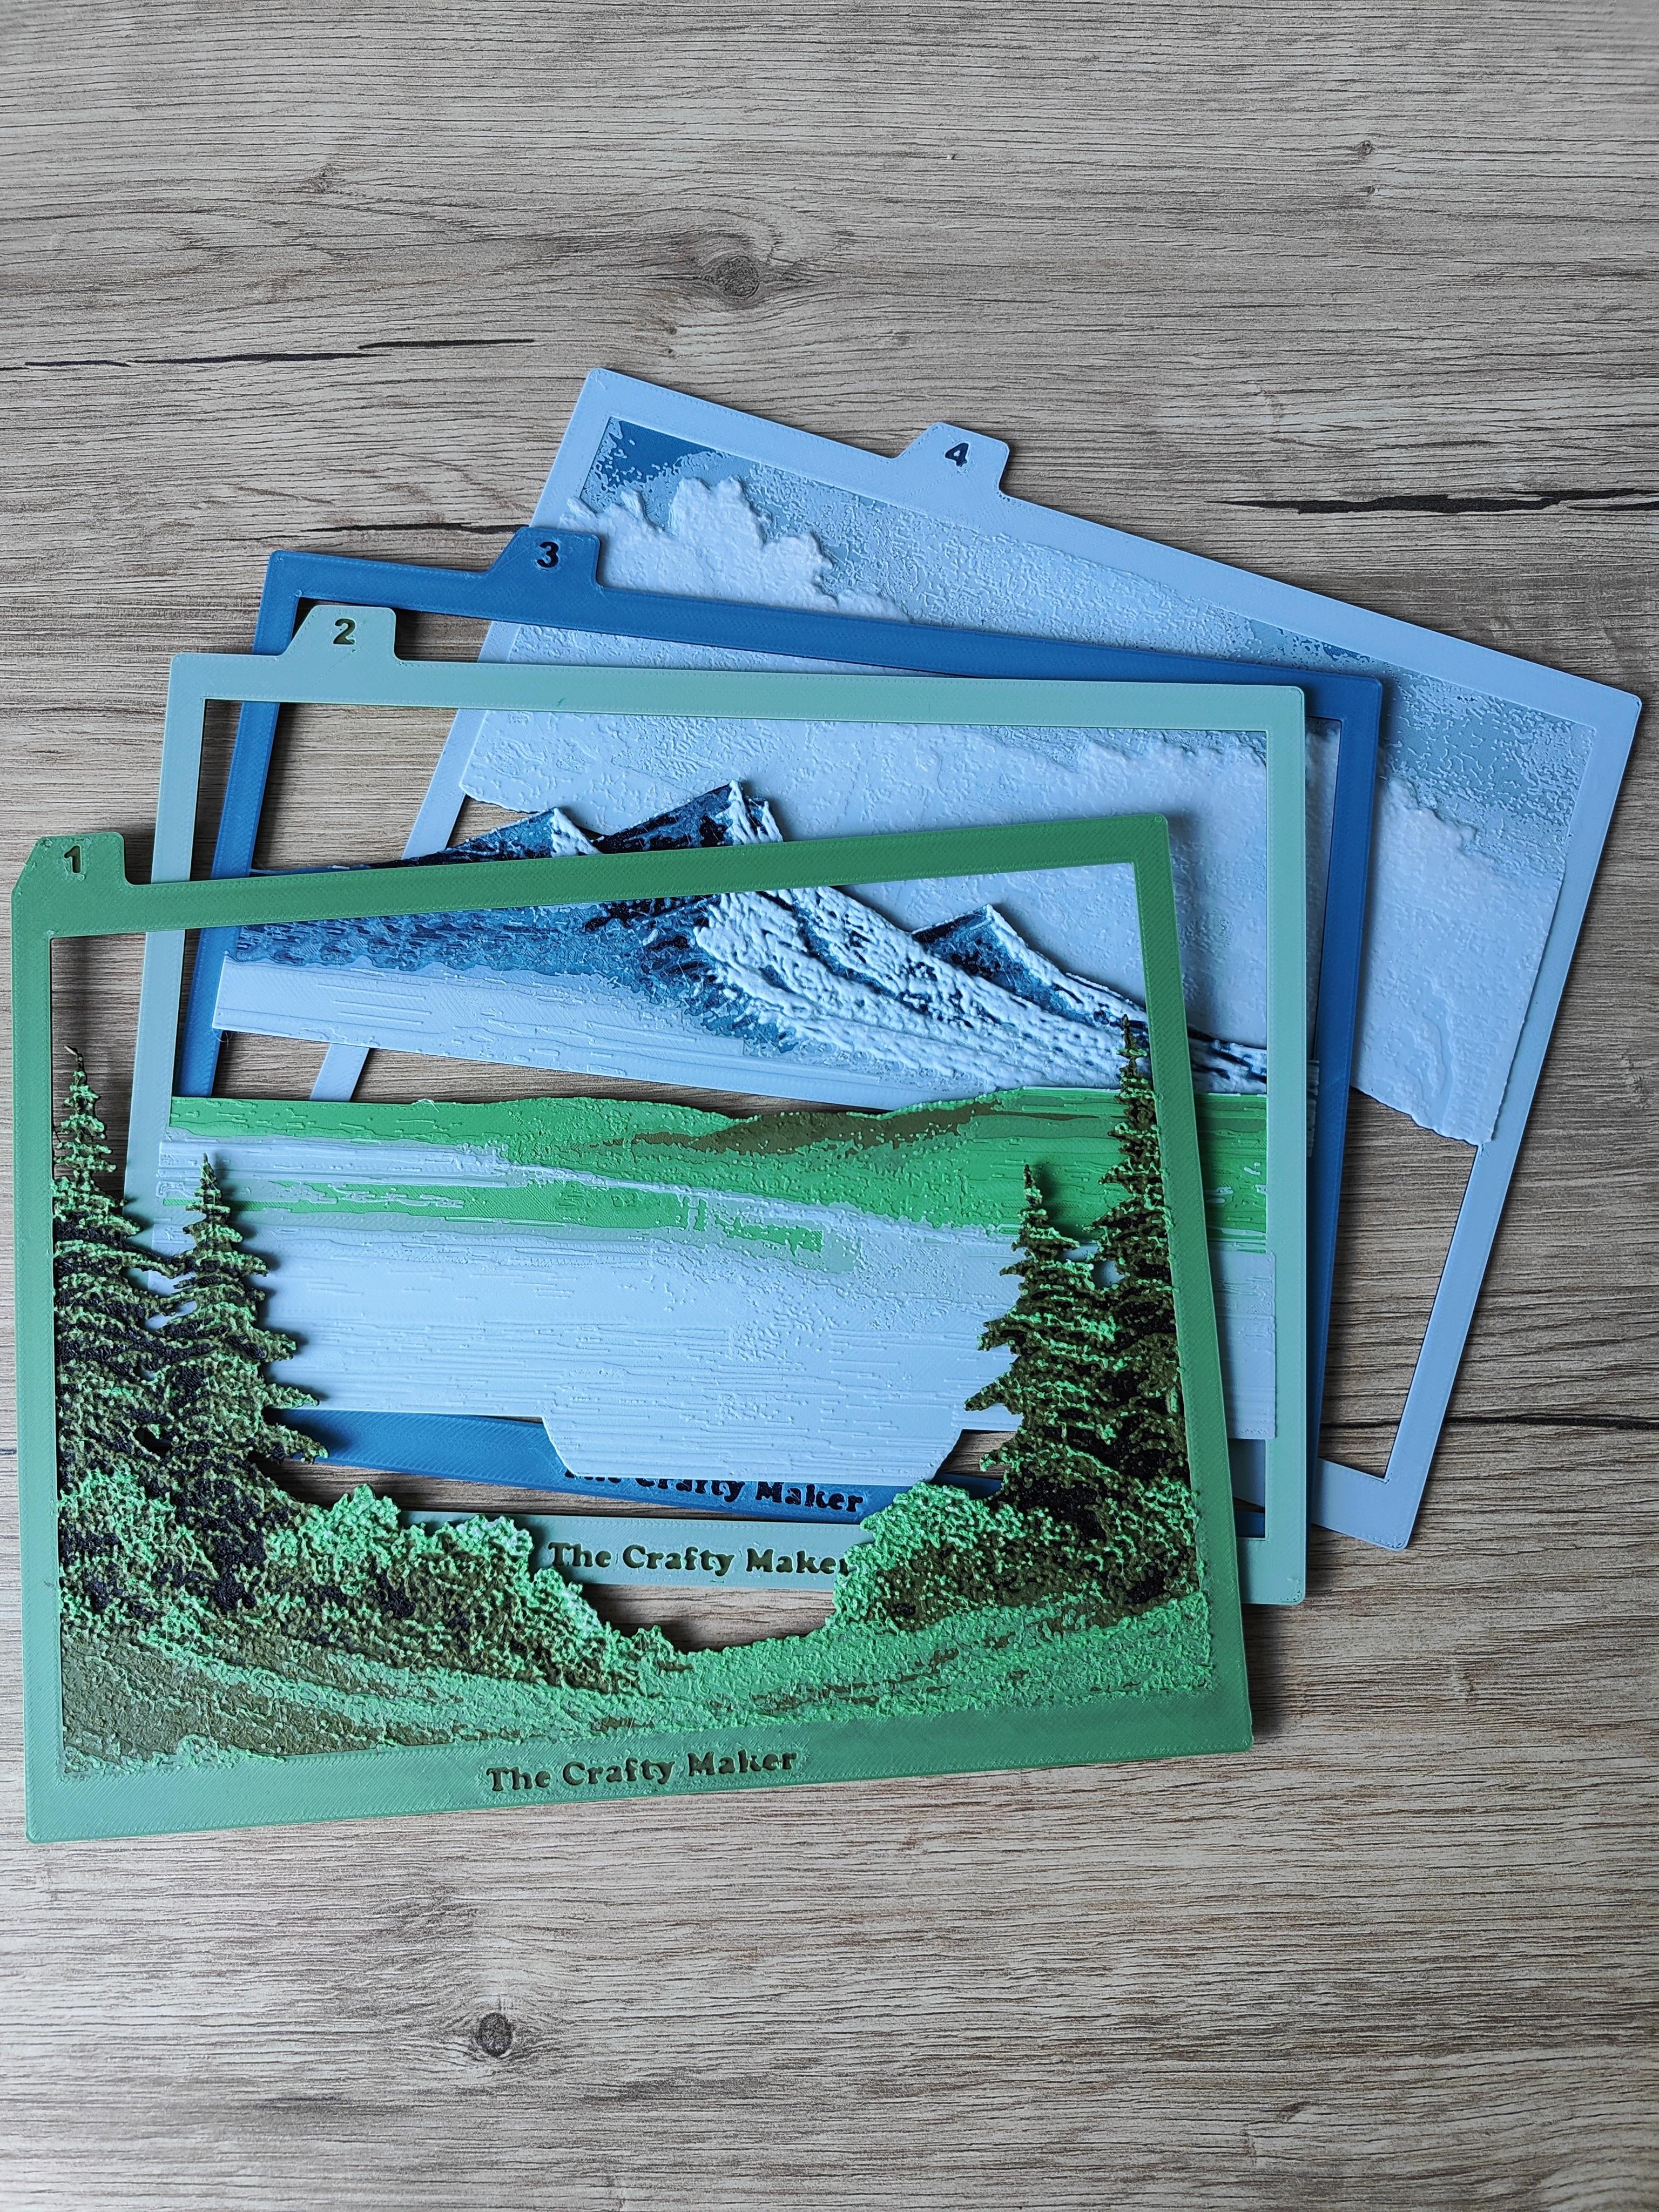
I've used the following colors:
Plate 1
- Start with Eryone PLA Black
- At layer #4 (0.48mm) swap to PolyMaker PolyTerra Army Dark Green
- At layer #10 (0.96mm) swap to PolyMaker PolyTerra Army Forest Green
- At layer #15 (1.36mm) swap to Sunlu PLA+ White for the rest.
Plate 2
- Start with PolyMaker PolyTerra Army Dark Green
- At layer #7 (0.72mm) swap to PolyMaker PolyTerra Forest Green
- At layer #11 (1.04mm) swap to 3DJake ecoPLA Pastel Blue
- At layer #14 (1.28mm) swap to Sunlu PLA+ White for the rest.
Plate 3
- Start with PolyMaker PolyLite Galaxy Dark Blue
- At layer #9 (0.8mm) swap to Geeetech Water Blue
- At layer #12 (1.04mm) swap to 3DJake ecoPLA Pastel Blue
- At layer #18 (1.52mm) swap to Sunlu PLA+ White for the rest.
Plate 4
- Start with PolyMaker PolyLite Galaxy Dark Blue
- At layer #6 (0.64mm) swap to Tinmorry Sky Blue
- At layer #9 (0.88mm) swap to 3DJake ecoPLA Pastel Blue
- At layer #14 (1.28mm) swap to Sunlu PLA+ for the rest.
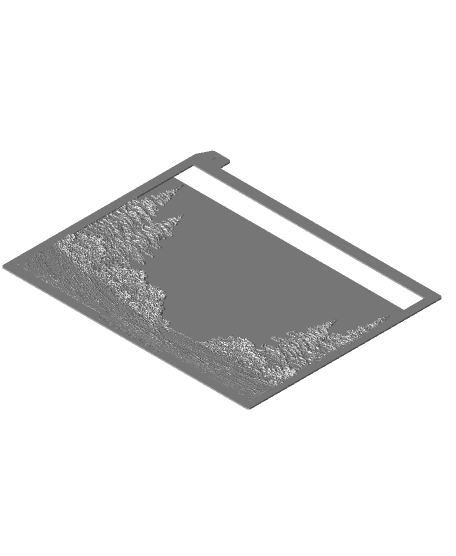
It consists of 4 numbered plates.
You can find the box to display this set here
Since these are rather complex STL files, slicing can take a while.
Print settings
- Layer height of 0.08mm with a base layer of 0.24mm
- No supports
- 100% infill
- Arachne wall generator recommended
- Outer brim recommended
- The STL's contain a very thin layer where the empty space should be. This is an artefact that Hueforge leaves in the STL. The slicer will ignore it when slicing.
ALL The Crafty Maker designs are protected by Copyright Law. By downloading, YOU HAVE NO RIGHT to sell any digital files or reproductions from those files. If you want a commercial license to LEGALLY SELL 3D prints, you'll need a The Crafty Companion subscription.
