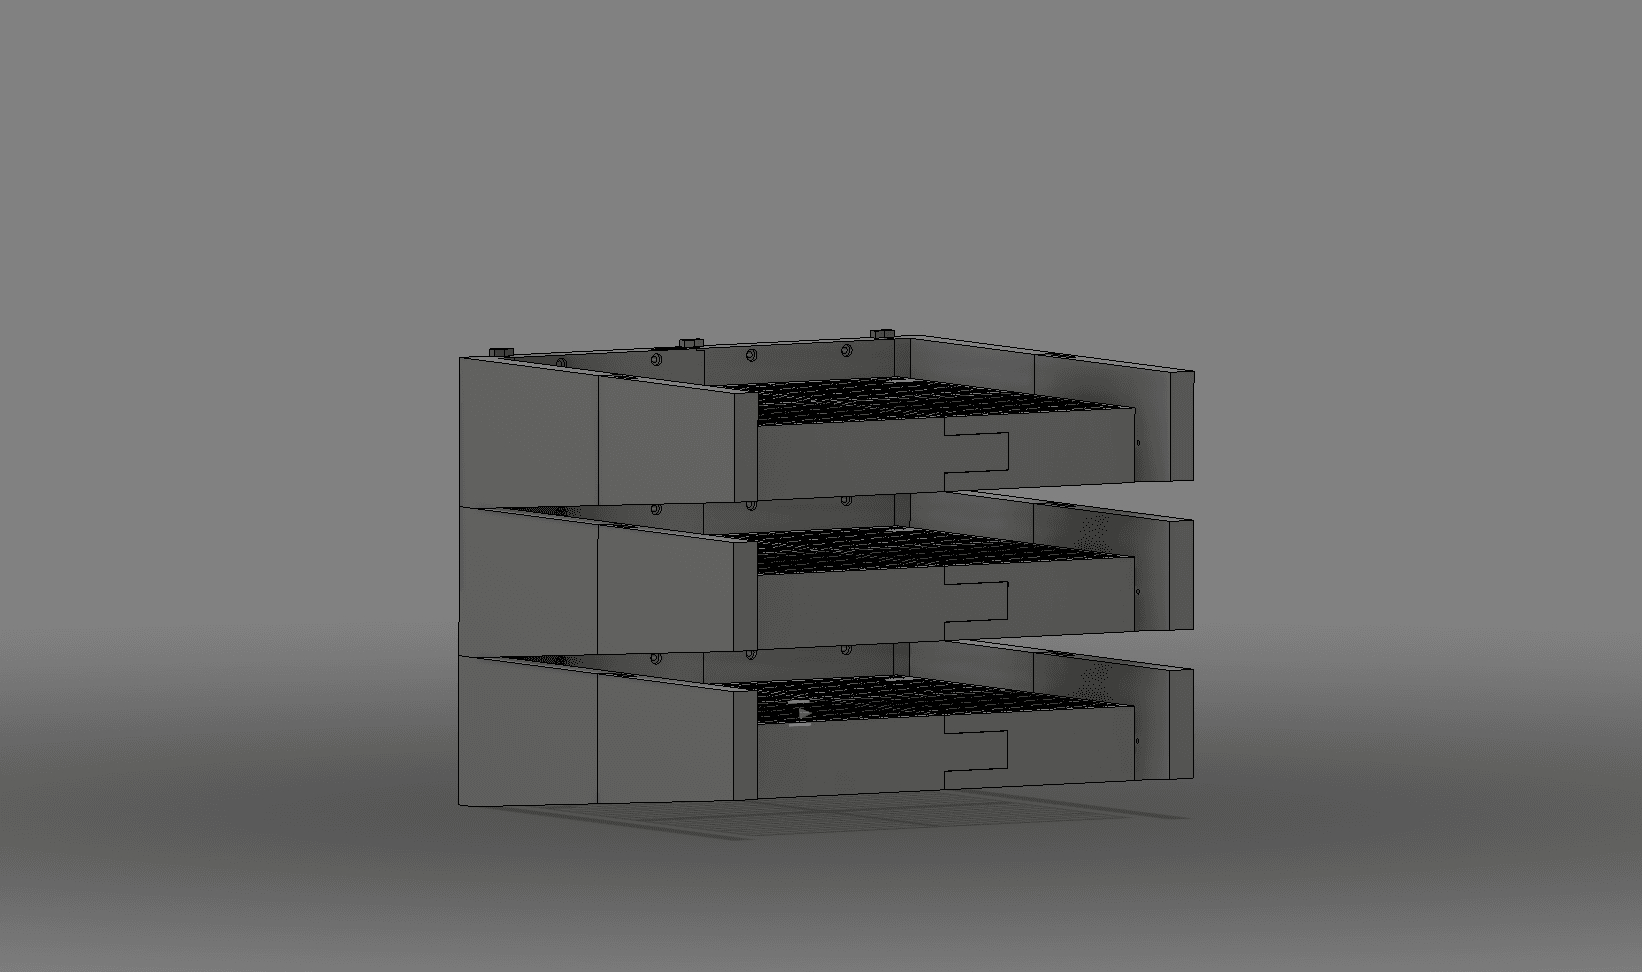
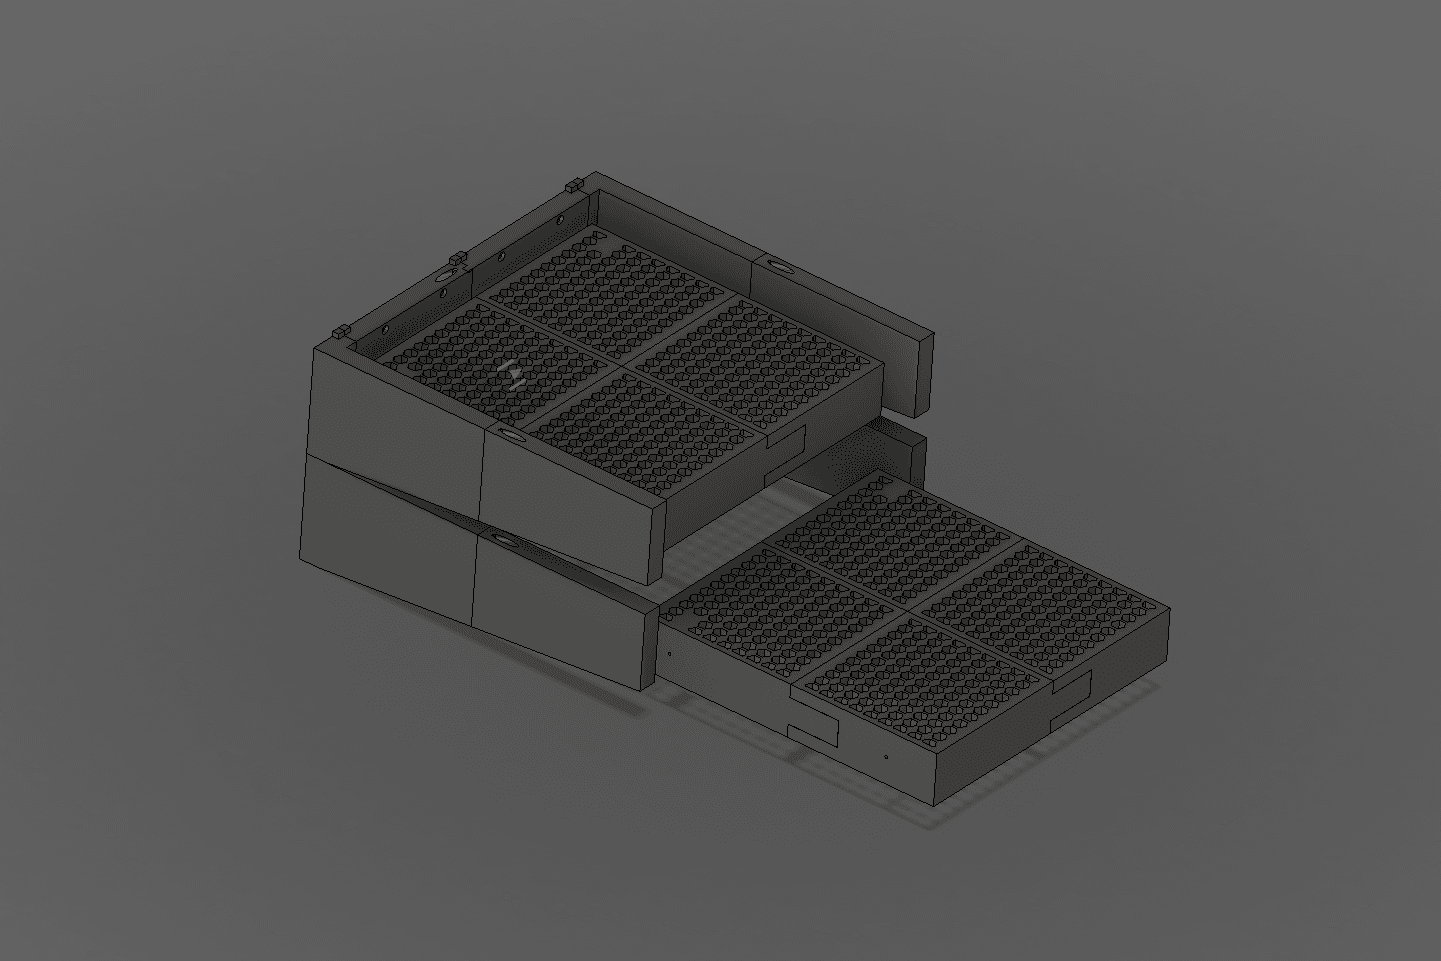
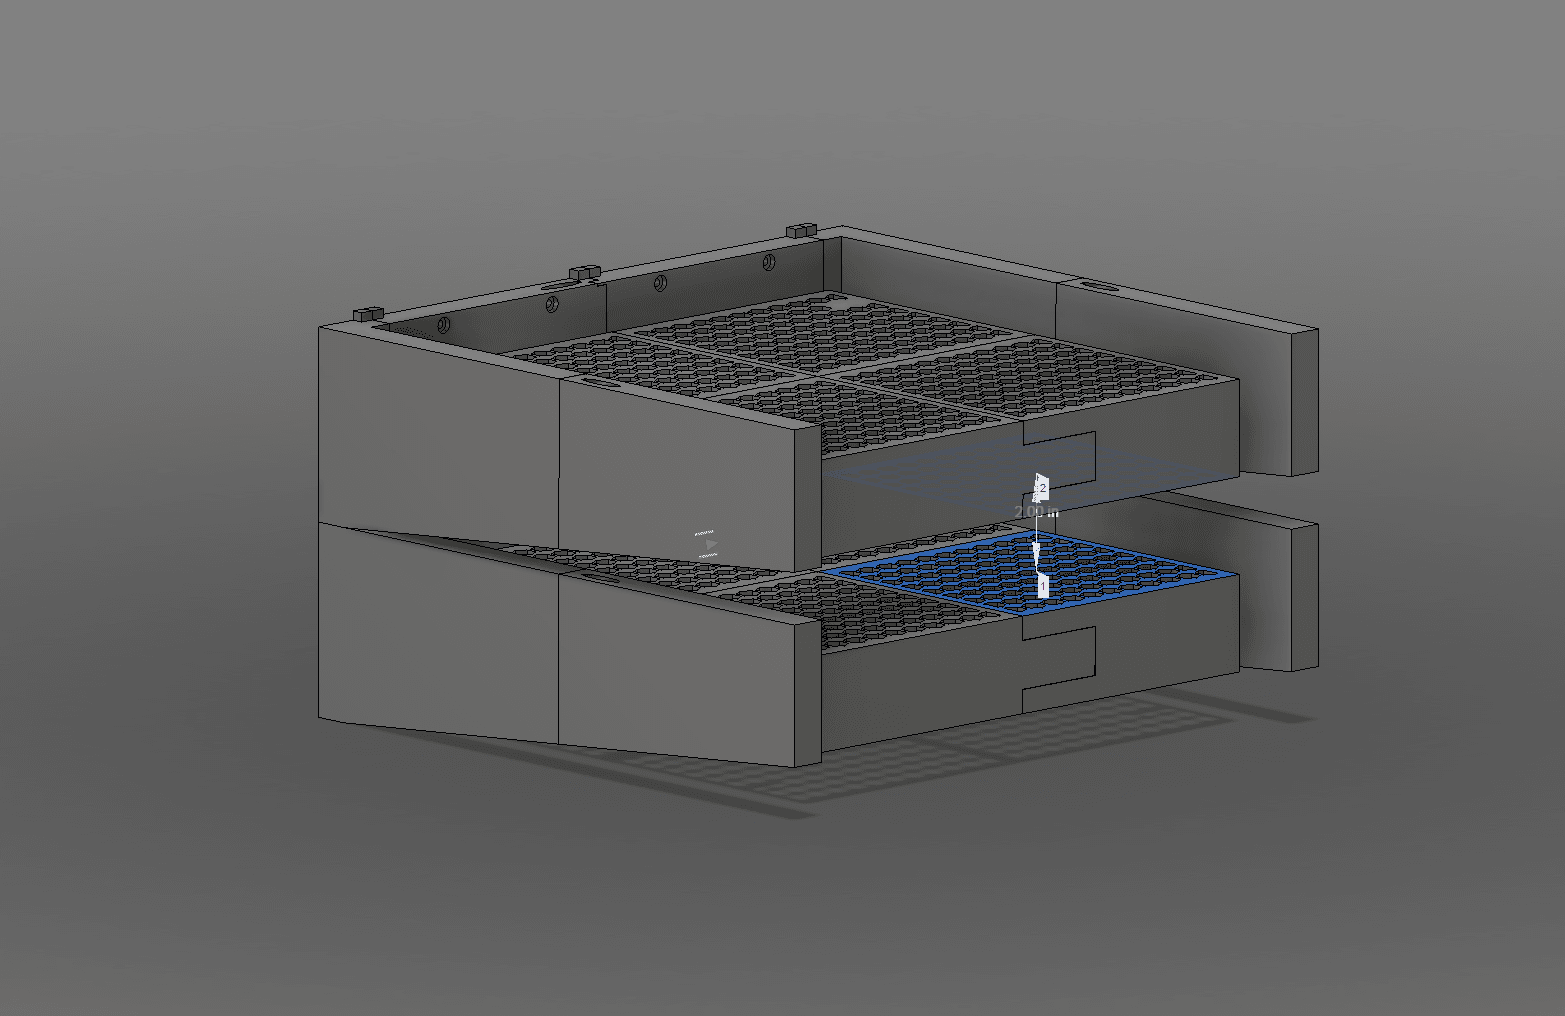
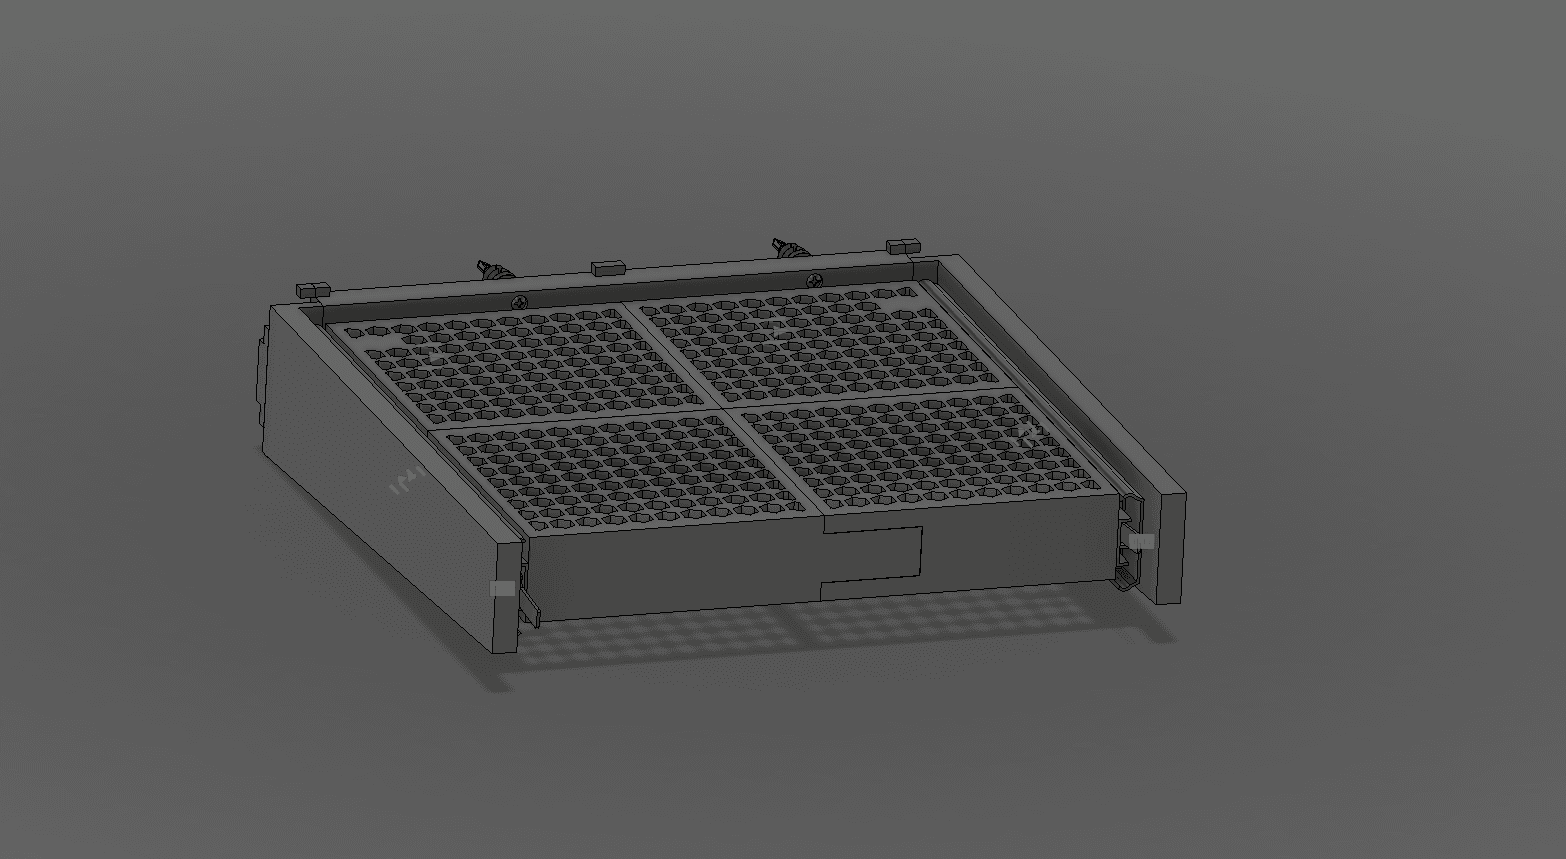
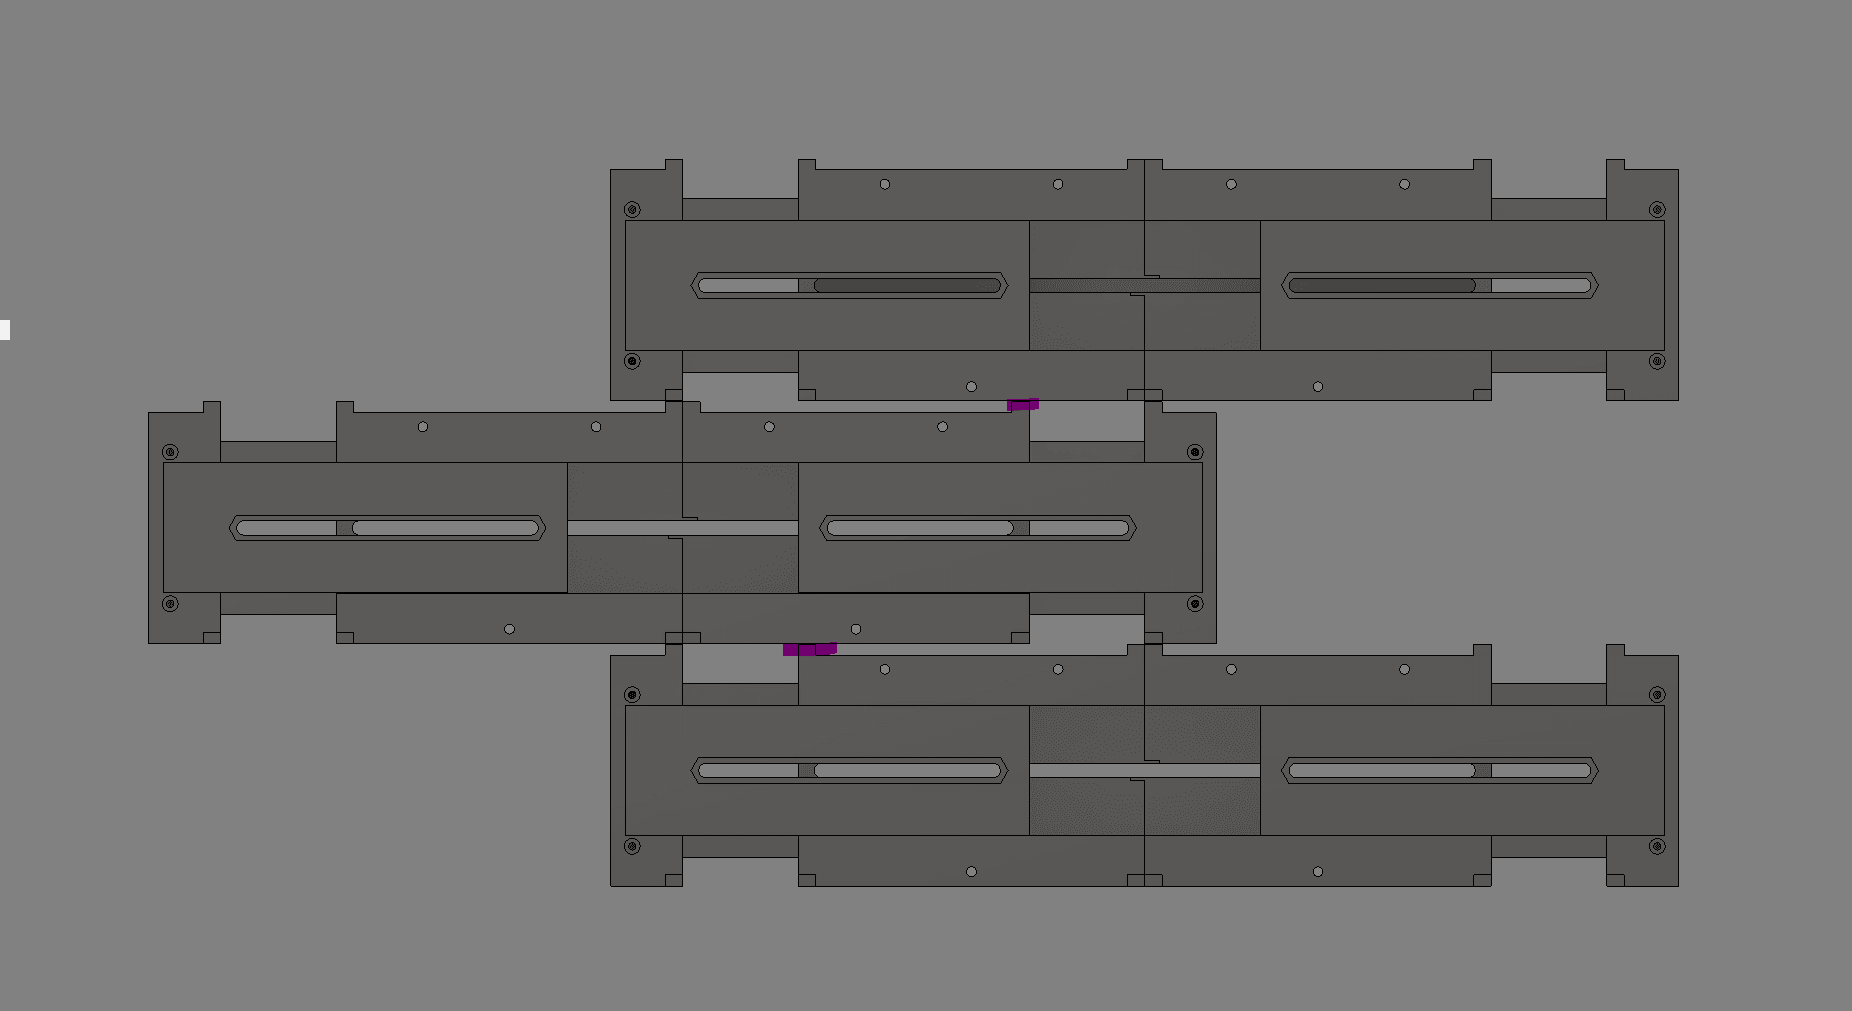
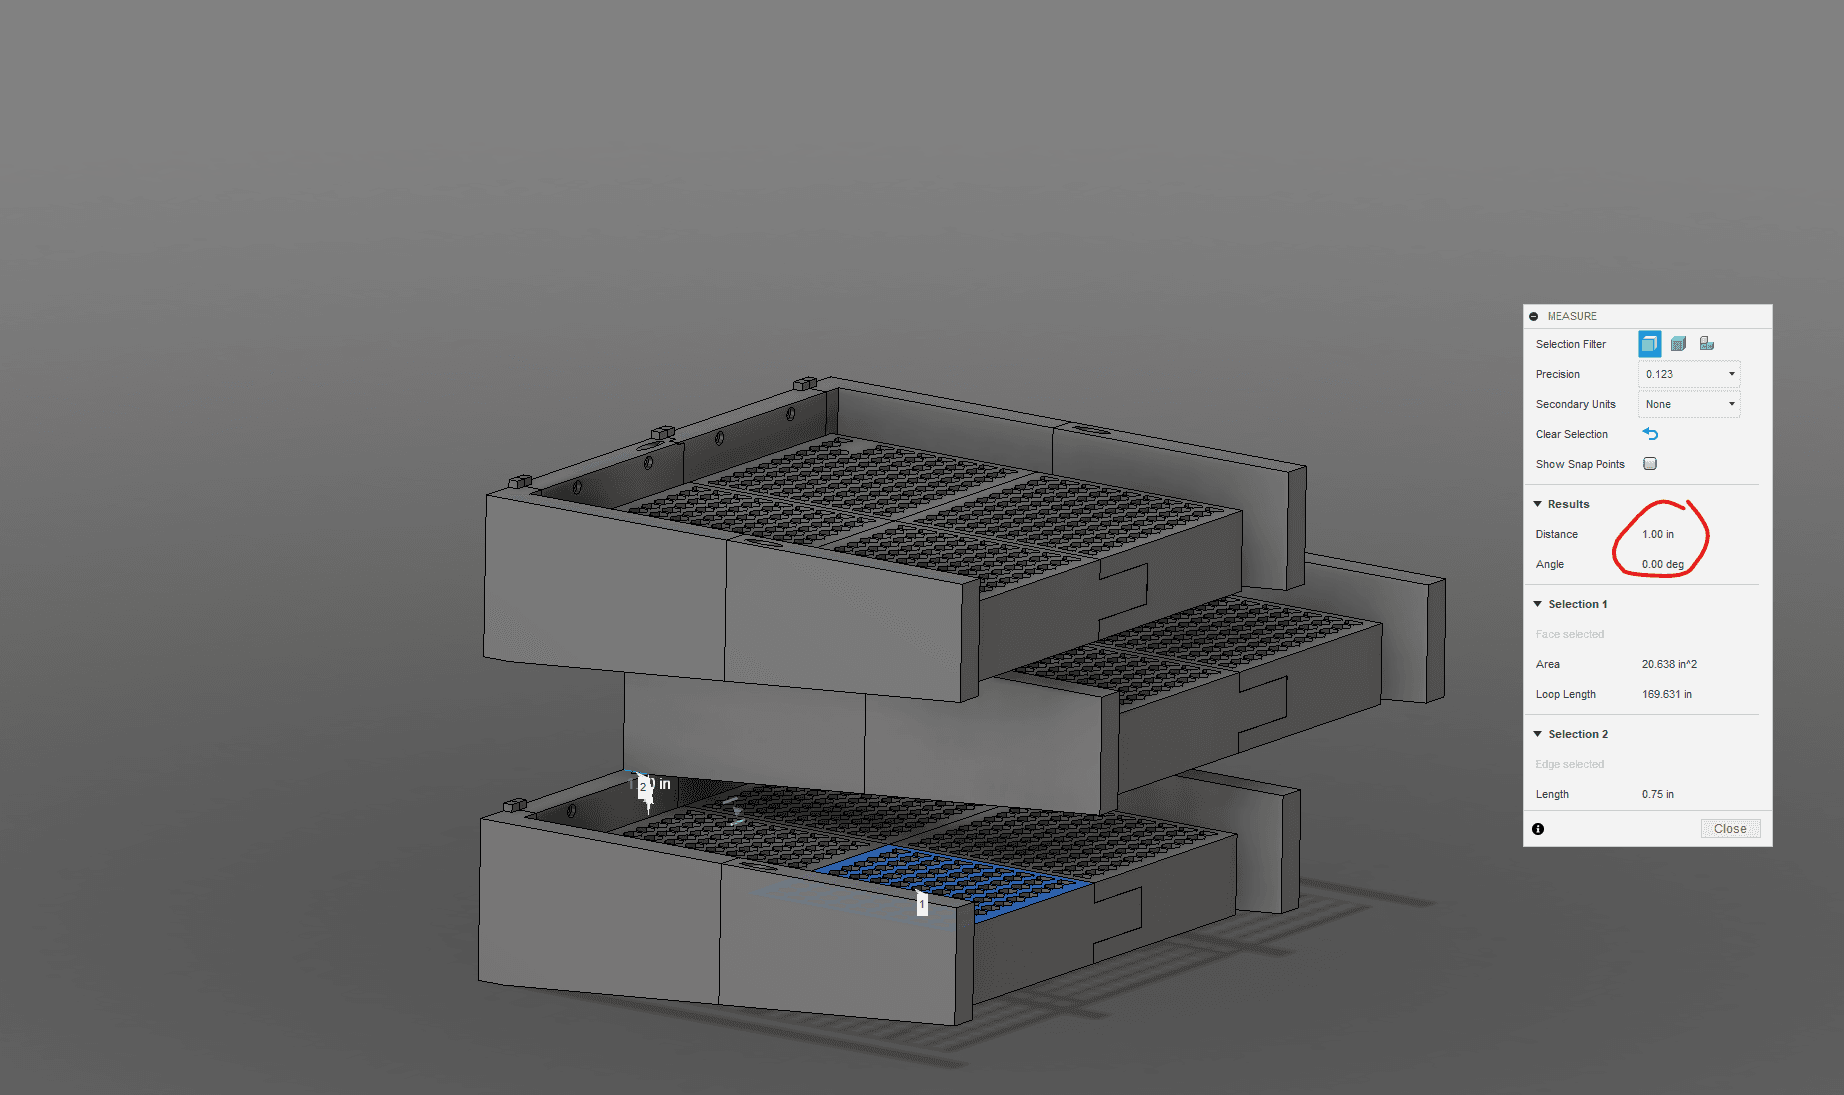
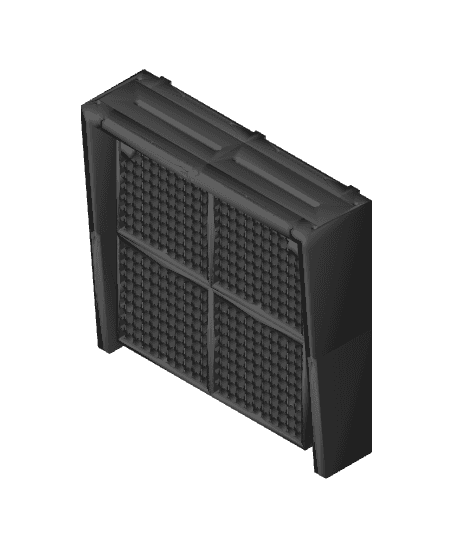
I haven’t printed these yet but, it should be good. I used the same tolerances from all of my other prints and haven’t had an issue. I also tried to account for any possible shearing issues with the trays but, I know a few people will have some input and I’m all ears. Everything was designed with smaller printers in mind and I also designed the main bracket so that you can easily align more computers, or offset them. If you decide to offset and you extend the racks more than the stock 12”, you’ll need to trim the highlighted tabs reflected in the photos. Space between trays when stacked inline vertically is 2”. When offset the distance between the upper racks arm and the tray below is 1”, please make sure you’re planning ahead. For the infill: Do what you want, apparently anything over 20% is a waste, but, if you were able to “isolate” all of the tapped holes to insure a solid wall around the screws, it might be a good idea. Minimum tray width is 12” Maximum tray width is 22”
The slides that I used for design reference extend 12” total. Tray mods are in 2 inch increments and the tray mods that include the cut outs are for 92mm X 92mm dc fans. The 16” tray will need ¾” screws for the rear of the sliders, because the fans are closer to the walls of the tray. I think they’ll work just fine though. All files are included, to include the Fusion360 files. The parts that I used from McMaster-Carr are listed below: 6603A34_Lock-Open Lock-Closed Drawer Slides 66615A28_Female Drilling Anchors 90385A348_Rounded Head Thread-Forming Screws 90627A125_Steel Rounded Head Thread-Forming Screws 90627A127_Steel Rounded Head Thread-Forming Screws 92220A184_Alloy Steel Low-Profile Socket Head Screw 94846A201_Medium-Strength Steel Thin Hex Nut 96001A164_Torx Plus Rounded Head Thread-Forming Screws
I’m currently trying to incorporate wiring channels and a mounting spot for an 8 channel PWM fan hub, which is just insets for magnets.
UPDATES!!!!
Changed some tolerances and added a BUNCH of new trays. The trays with fans now have wiring channels and you can use either a 4-pin, 6-pin, 9-pin, and 12-pin female JST-XH socket’s. I know the wiring channels could be better/different but, this is what you get. If you have an idea, change it, or let me know what you’re thinking.
One last thing, I noticed my STEP and STL weren't opening, it's on Fusion 360. Either way, those files kinda messed with THANGS somehow and I couldn't remove the files. So I deleted that model and started over. If you got any files from the previous model that won't open, sorry. I think it's fixed.
