


.webp&w=256&q=75)

Ring Lamp
Overview.
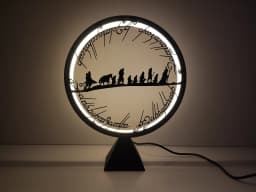
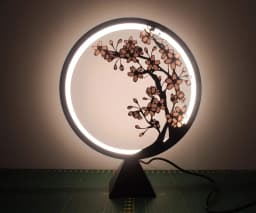
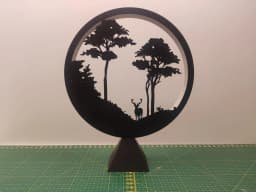
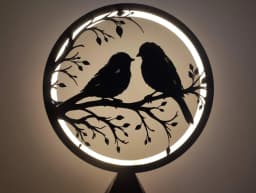
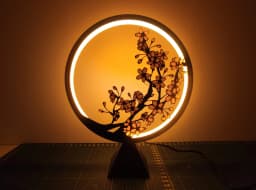
A Ring Lamp that can be changed to different situations. I designed base with various panels which can adapt to various style and occasion. You can simply change color of it as well as pattern on it, by changing color of diffuser and changing different panels.
WARNINGS
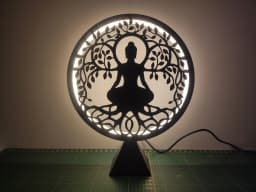
Led strips can emits some heat depends on what type of led you and voltage you use. In my case temperature of Main Ring achieve 60 °C . Due to this I recommend use filament that can resist that temperature especially for Main Ring. I tested ASA and it works well. Other high temperature filaments should work too (ABS, PETG but I didn't test it) PLA in this case can bend over time especially if you use heavy panel like budha.
So in summary I tested and recommend :
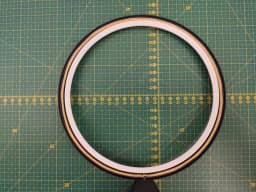
Main Ring - ASA
Base, Diffuser - PLA
Panels- ASA ( PLA is possible but can bend )
If you want change panel, always wait to cool down the ring lamp, otherwise PLA cover can bend during take off.
Electric parts you need.
The easiest way is to buy electrical parts designed specifically for The Ring Lamp. Provides easy installation without the need for soldering.
It is available on Amazon
(Dimmer version) https://amzn.to/4e8mgSj (On-Off switch version) https://amzn.to/3ZNb0q4
You can also search for each part separately. You will need led stripe - best are LED COB 8mm charger for LED strip dc connector - I used 2.1/5,5 mm , the diameter of the mounting hole is 11.5 mm OFF-ON switch or dimmer
Printed Parts
Main Ring, Base and Panels can be printed in draft mode 0.28-0.30 mm layer height with no issue.
Diffuser should be printed with 0.2 mm layer height.
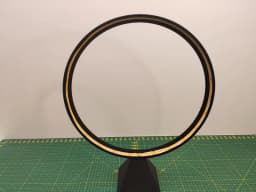
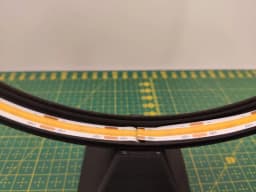
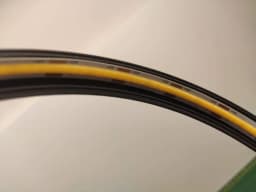
1.After print, glue led strip to inner side of Main Ring Start from hole on bottom side 2. Put Main Ring into base. It should fit tight without glue. 3. Insert the electric part into the base and connect them by soldering 4. Insert Diffuser to Main Ring”. The Main Ring has a groove into which the Diffuser should be inserted and sit steadily. The flat side to the back. 5. Insert Panel into Main ring. The Panel has cuts at the bottom to avoid cutting the cables
Have fun
Ring Lamp

Christmas Panels for Ring Lamp
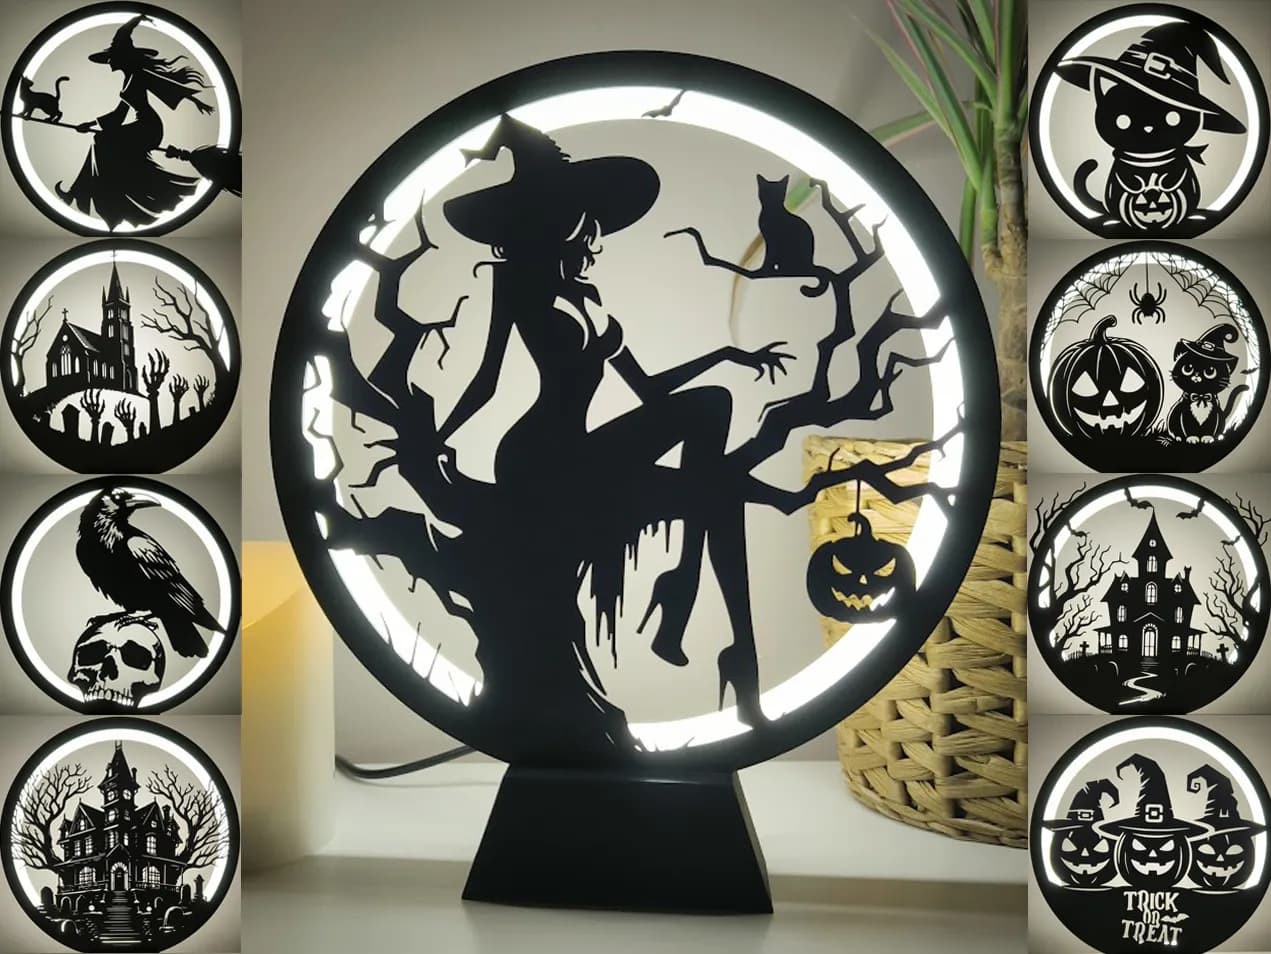
Ring Lamp II with Halloween Panels

Valentine's Day panels for Ring Lamp

LED Ring Lamp

LED Ring Lamp

LED Ring Lamp

LED Ring Lamp

LED Ring Lamp

LED Ring Lamp

LED Ring Lamp

LED Ring Lamp

LED Ring Lamp

LED Ring Lamp

LED Ring Lamp

LED Ring Lamp

LED Ring Lamp

LED Ring Lamp

LED Ring Lamp

LED Ring Lamp
