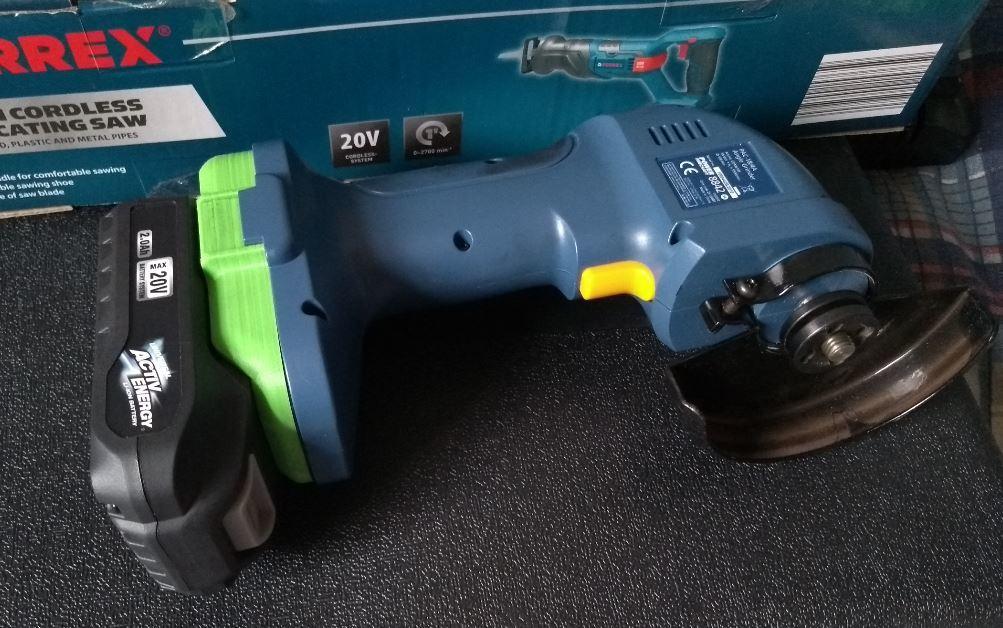
Ferrex 20v battery To Powercraft (and maybe others) adapter.
bySagittario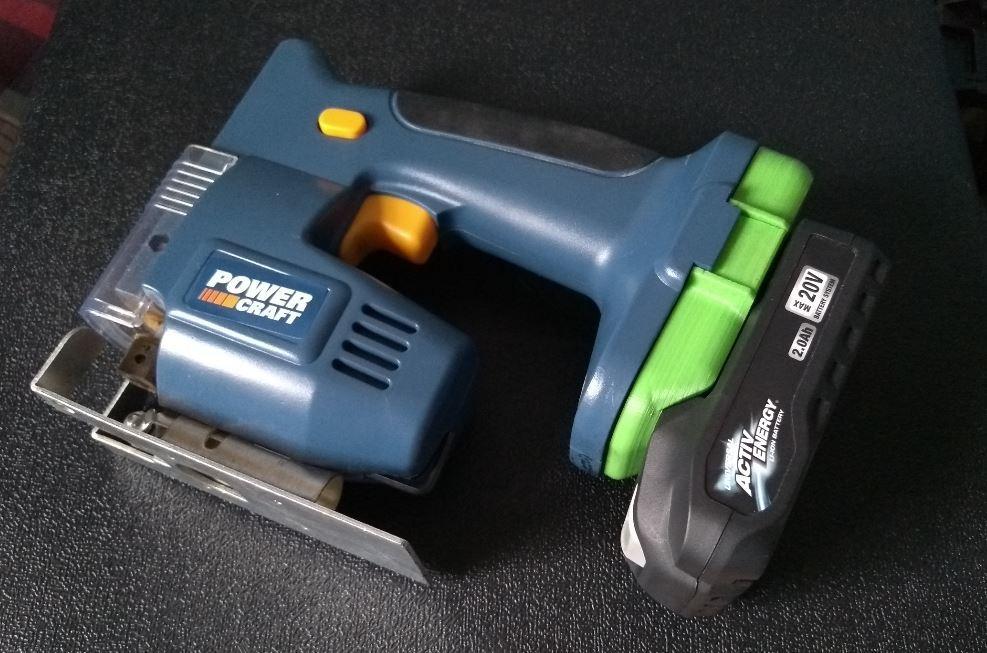
Model originally uploaded to Thingiverse at https://www.thingiverse.com/thing:4588849.
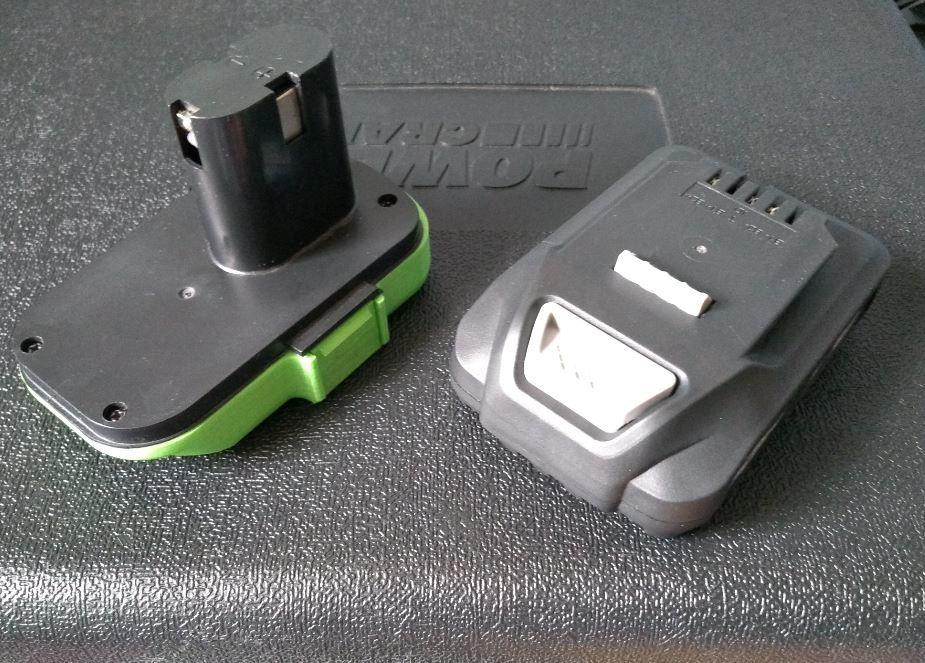
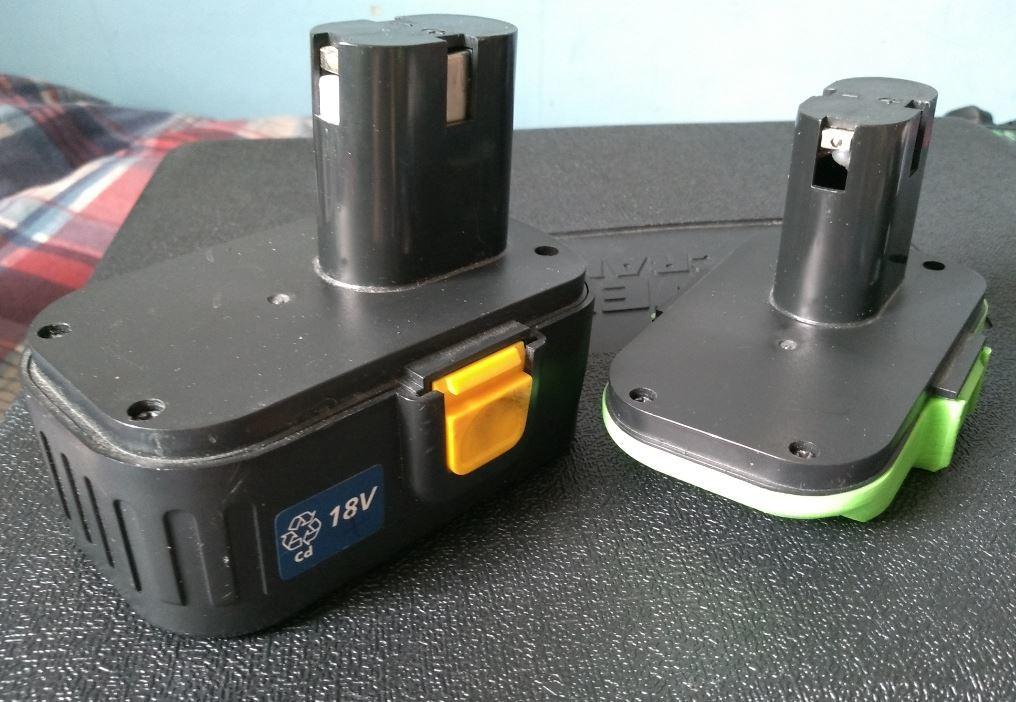
This is an adapter to allow a 20v Aldi 'Activ Energy' to connect to other power tools. I have made the battery connector part which can be screwed (with the original screws from the original battery in my case)
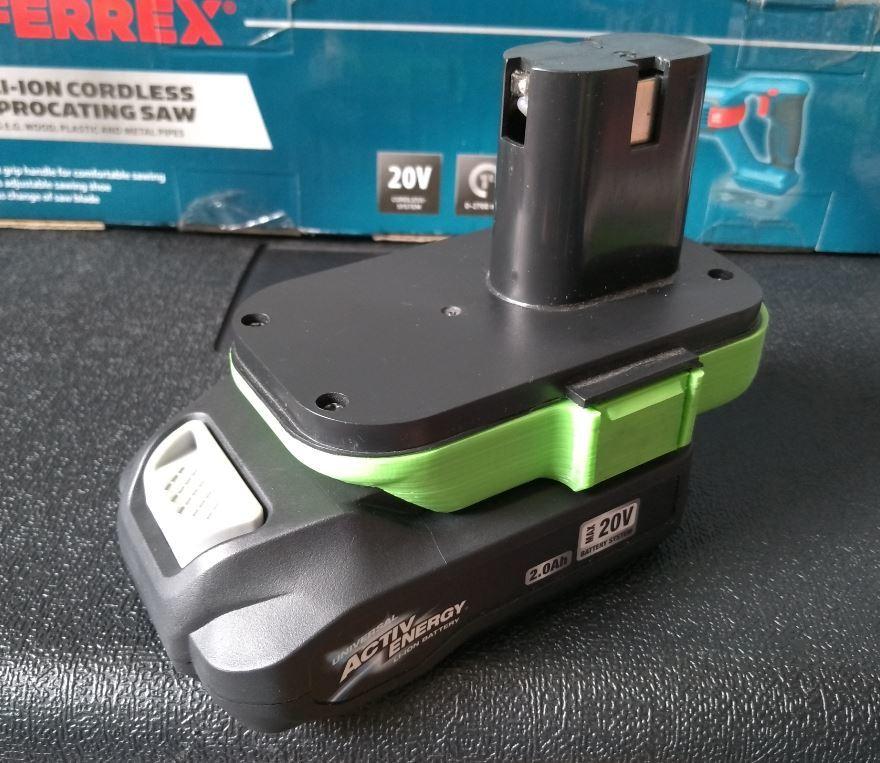
The adapters v1 and v2 differ only where the battery is positioned relative to the adapter.
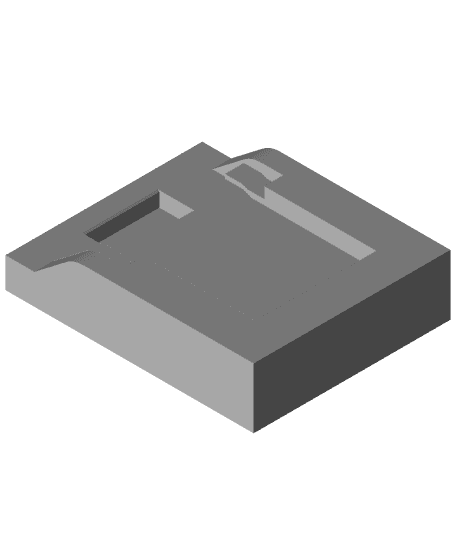
I've also included a template stl for the battery connector part alone in case anyone is interested in making this fit other power tools.
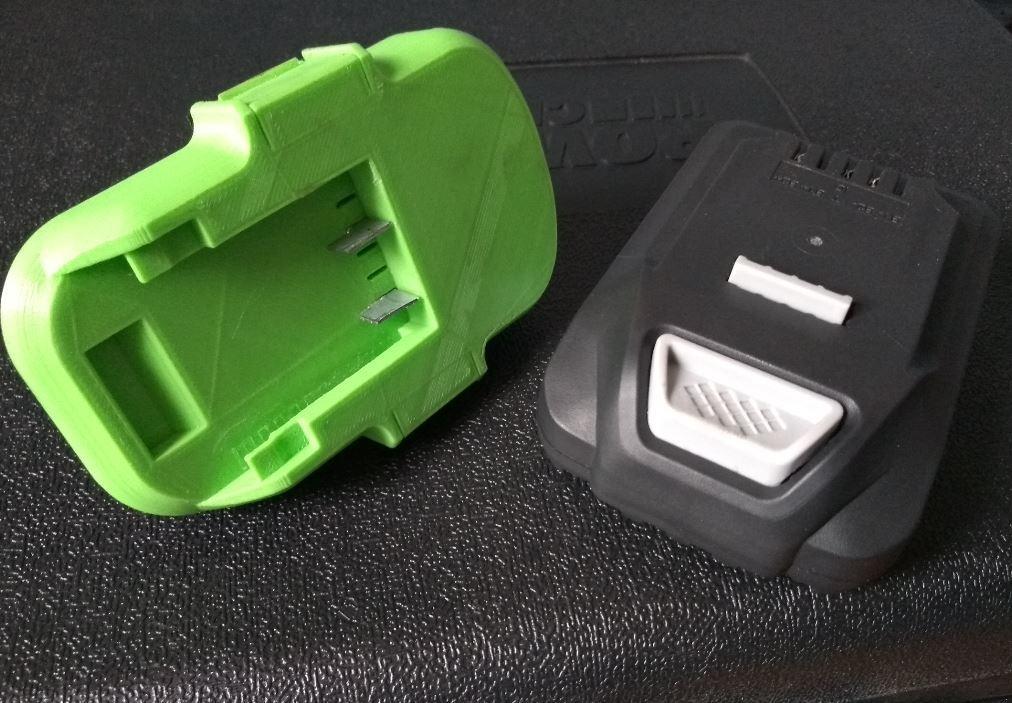
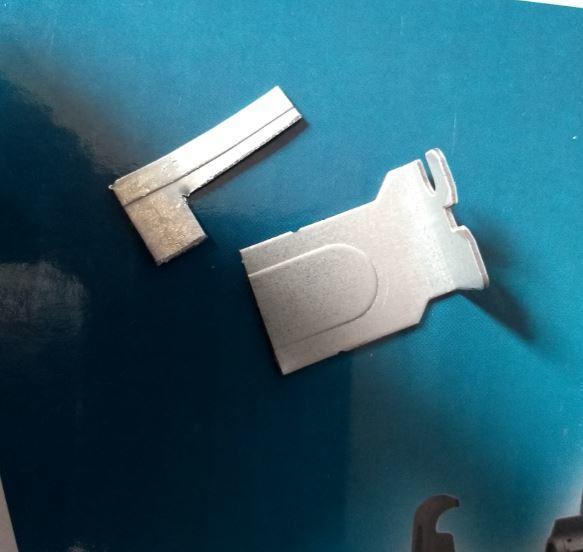
There is a stl for the metal contacts which is the only other part you will need to make this work. I cut the contacts from an old computer backplate and filed to deburr them before fitting into the 3d printed part. They can be pressed in or lightly tapped in with a small hammer.
One of the pictures shows the contacts pressed into the correct holes, Which are 2 (Ground) and 5 (20v) These outputs are written on the battery as B2- and B2+.
The top part of the original battery with the contacts removed from the battery pack and wires soldered for the power, then secured in the top of the original part with hot glue (be careful with polarity when soldering) and the other ends of the wires soldered to the upper side of the pressed in contacts. The top part is then screwed to the 3d printed part.
Holes are not included so that this can be fitted to different upper parts so make the top skin thick enough.to self tap, 1.2mm seems fine.
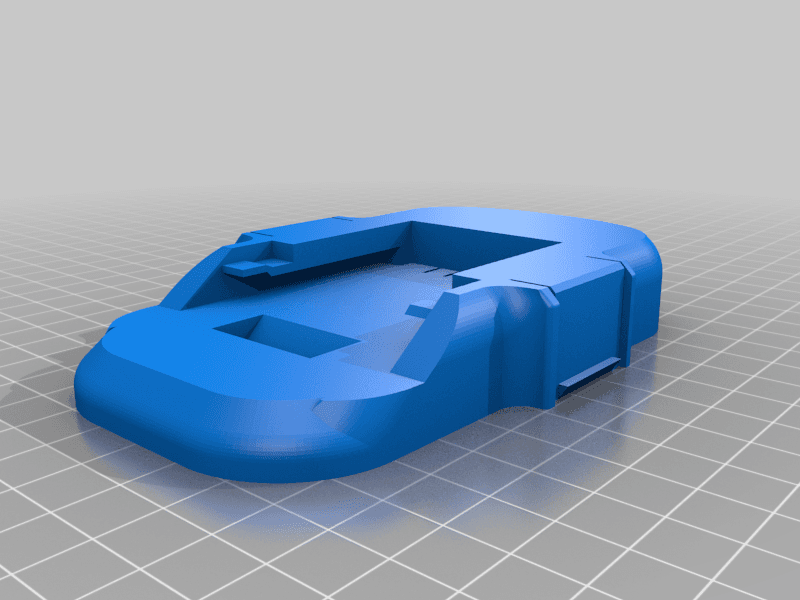
You need to print the battery adapter with support everywhere. this is to support the slide slots, but some support may block the clips that secure the adapter to the power tool, so these will need removing too.
If I've missed anything here that the pictures don't explain then by all means let me know in the comments,