Model originally uploaded to Thingiverse at https://www.thingiverse.com/thing:4768368.
Updated! including extra pictures showing where to pry using a small flat blade screwdriver, and roller position.
You only need to release right hand side to release roller.
This isn't necessary the best way to disassemble, but it worked for me.
Reassembly after fitting, use small screwdriver to expand the frame slightly while pressing roller assembly back into place.
I have done two of these now with 100% success.
Old roller picture also added, one was so soft, a light press of a screwdriver put a groove in it.
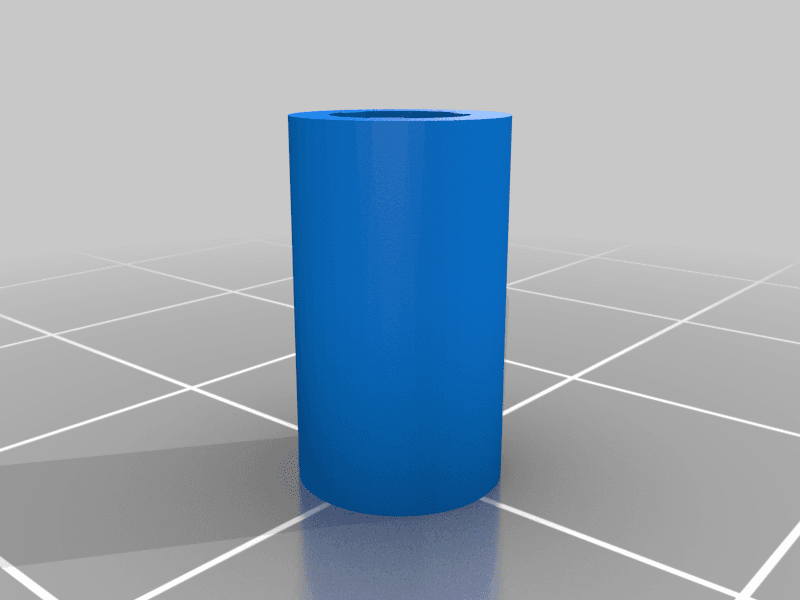
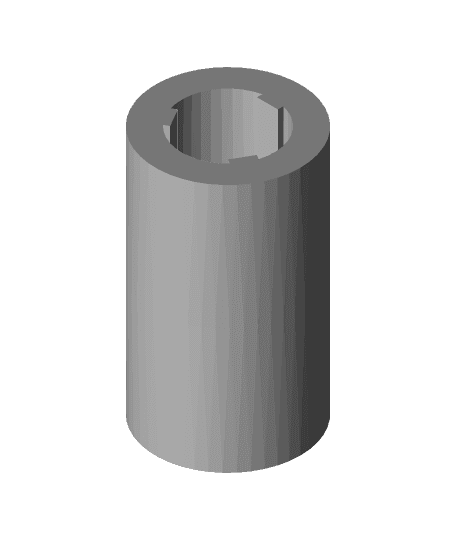
This is a replacement feed roller for a printing calculator.
The original roller had degraded over the years, and had the consistency and appearance of soft liquorice and could not be made to turn at all.
So I made this model and printed it in TPU which works very well, much better than expected.
Make sure to trim any "elephant's foot" lip off the roller before fitting if needed.
The gear shaft that fits into the roller is all one piece, when you pull it out, it releases the remains of the roller, you can then put the new roller in it's place and slide the gear shaft back in, through the roller, just bear in mind it might need twisting slightly to align with the three grooves in the roller.

