This is guide for making timelapses with a smarthone,
Quick video about it
https://www.tiktok.com/@plastic3d/video/7056076238909132037?is_copy_url=1&is_from_webapp=v1&lang=en
i've been using this method for 1year+, inspired from Isaac's video, see it here: https://www.youtube.com/watch?v=u6nh2hHMK0E&t=30s
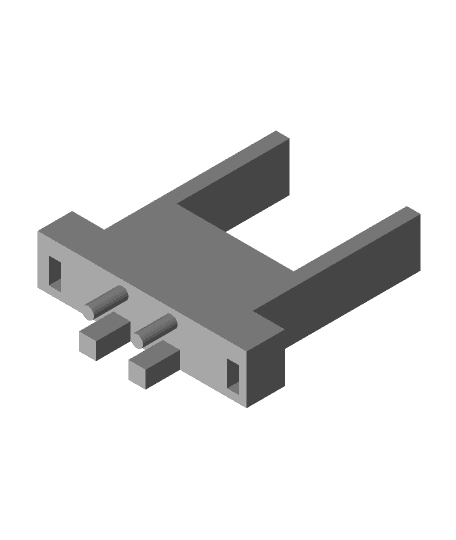
You will need -old headset with call answer button or volume up/down -limit switch -male dupont wires for easy contacting&soldering
Basically we're gonna use the heaset module for the ''answer call'' or ''volume up/down'' function . When in a camera app those commands should trigger the shutter -solder the wires on the limit switch (NO)
plug the headset in a phone and with the limit switch being pressed , take the other 2 ends on the dupont wires and try finding the right contact & solder it. ( most of the times it's the 2 pins on the button )
install this on the x axis and search for the position where it makes the click and the release of it. write those positions as 'press switch and release'
Next you will need to set up your g code to go in that specific spot at every layer change: Go to Cura-extensions->Post Processing->Modify Gcode-> INSERT at Layer change
-after the layer change insert the following gcode
G91 ;relative positioning G1 E-3 F2500 ;Retract up to 6mm G90 ;Absolute positioning G0 X230 Y160 F9000 ;Move X near trigger switch and centre Y axis G1 X233 F9000 ;Press switch G4 P25 ;delay for 25ms G1 X230 F9000 ;release switch G4 P1200 ;delay for 1200ms for the picture to be taken
Modify the X233 and X230 with your own positions.
You should now be ready to try it out for the 1st time. if you have interess about this i will make a more detailed guide with more procedural tips&tricks
