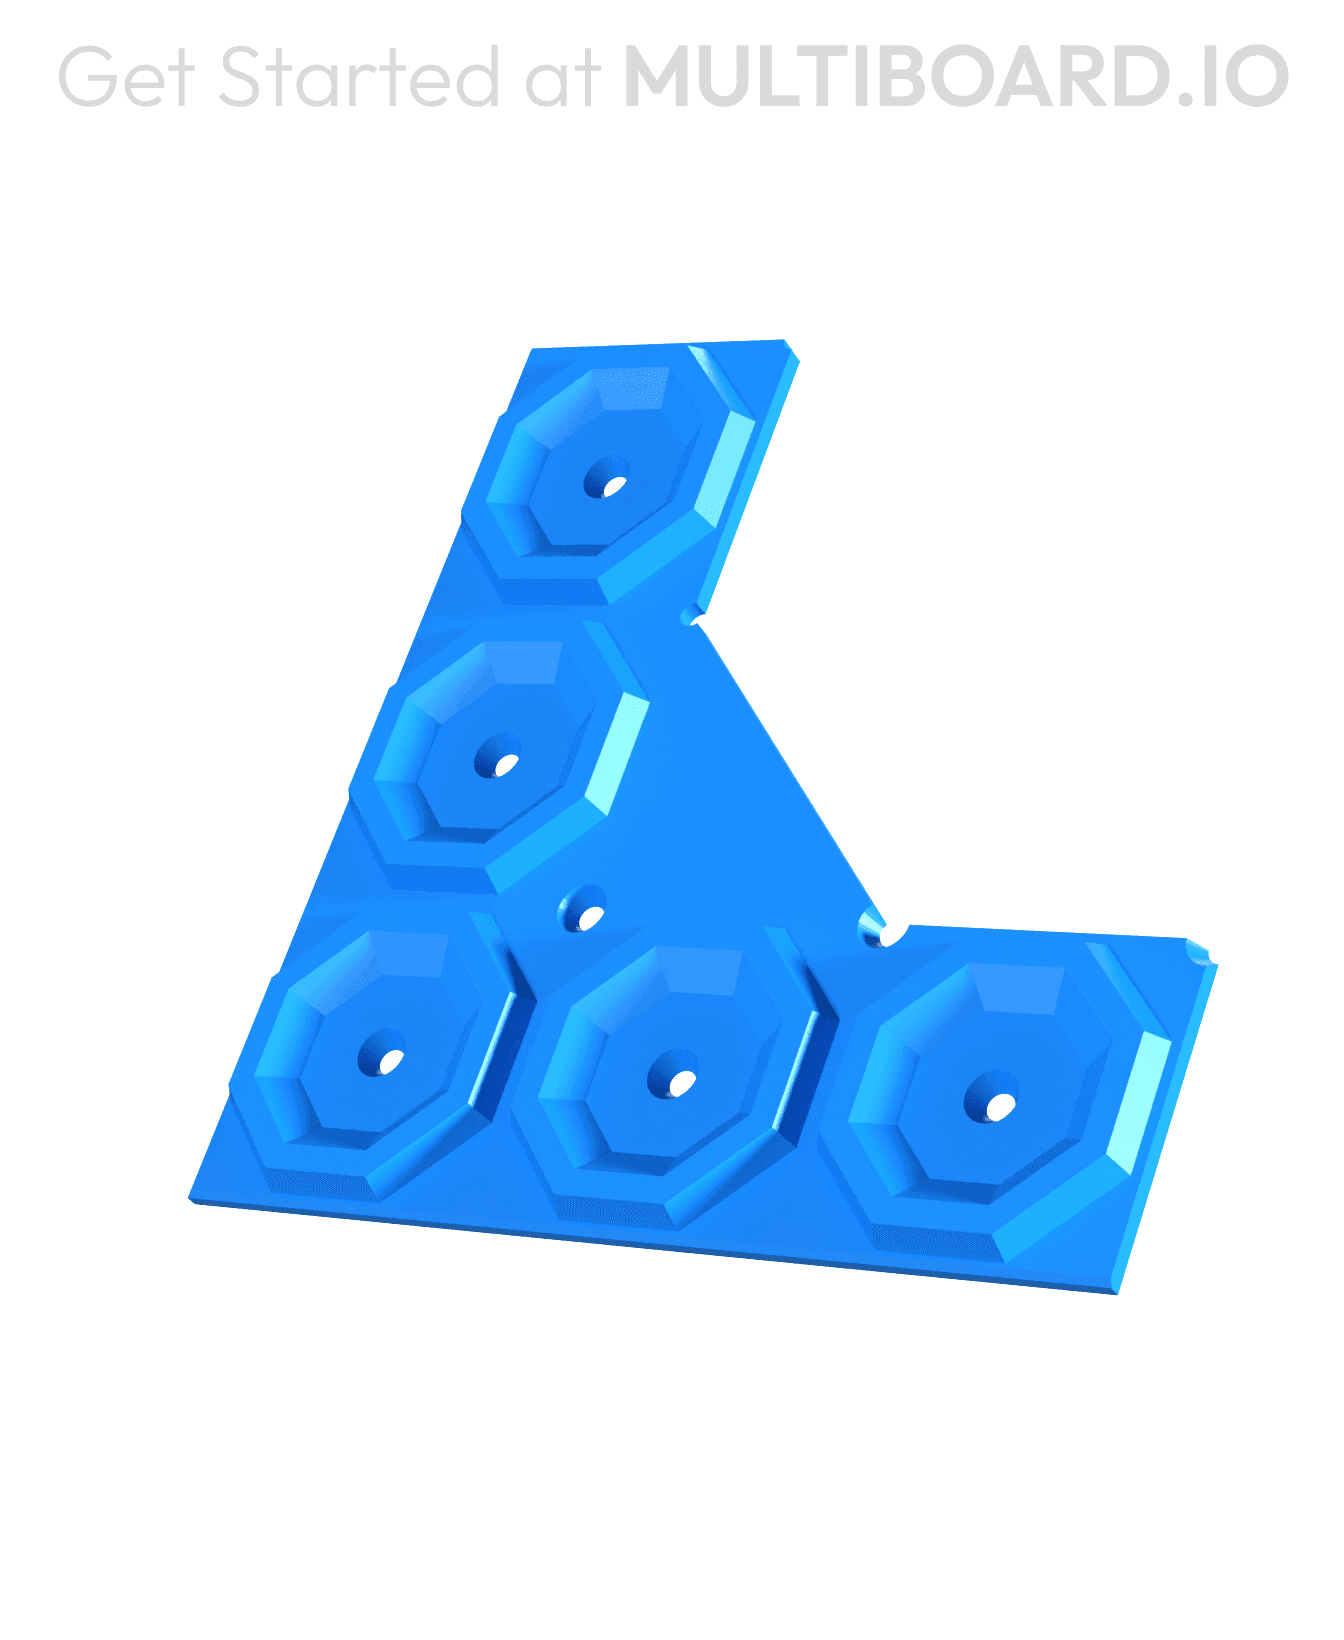
The “Mounting Installation Tool” helps you locate the holes you will need to drill to mount your first tile.
Place on the corner on the back of your tile, then place them on the wall, make sure it’s level, then use the holes are reference points to drill.
Learn more about this part at https://multiboard.io/knowledge-hub
Printing Guidelines:
The printing orientation is as provided in the file. The print has been designed to be “3 wall perimeters” in wall thickness. Printed at a layout height of 0.2 mm. It doesn't need printing supports. Use the default 15% infill. This part has been designed with a tolerance of 0.25 mm. Your printer will need to be able to bridge gaps of up to 30 mm for some designs.
—
This object is part of Multiboard, a FREE "all in one" organization system with 700+ parts, that combines pegboard holes, honeycomb snaps, Gridfinity like bins, threads, brakes, and much more.
Explore and build the coolest, most adaptable workshop at https://multiboard.io


