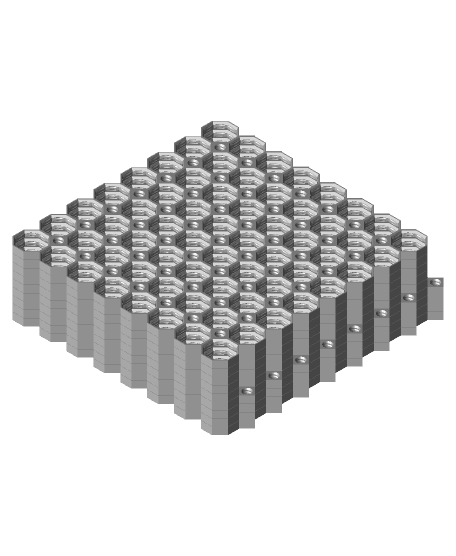
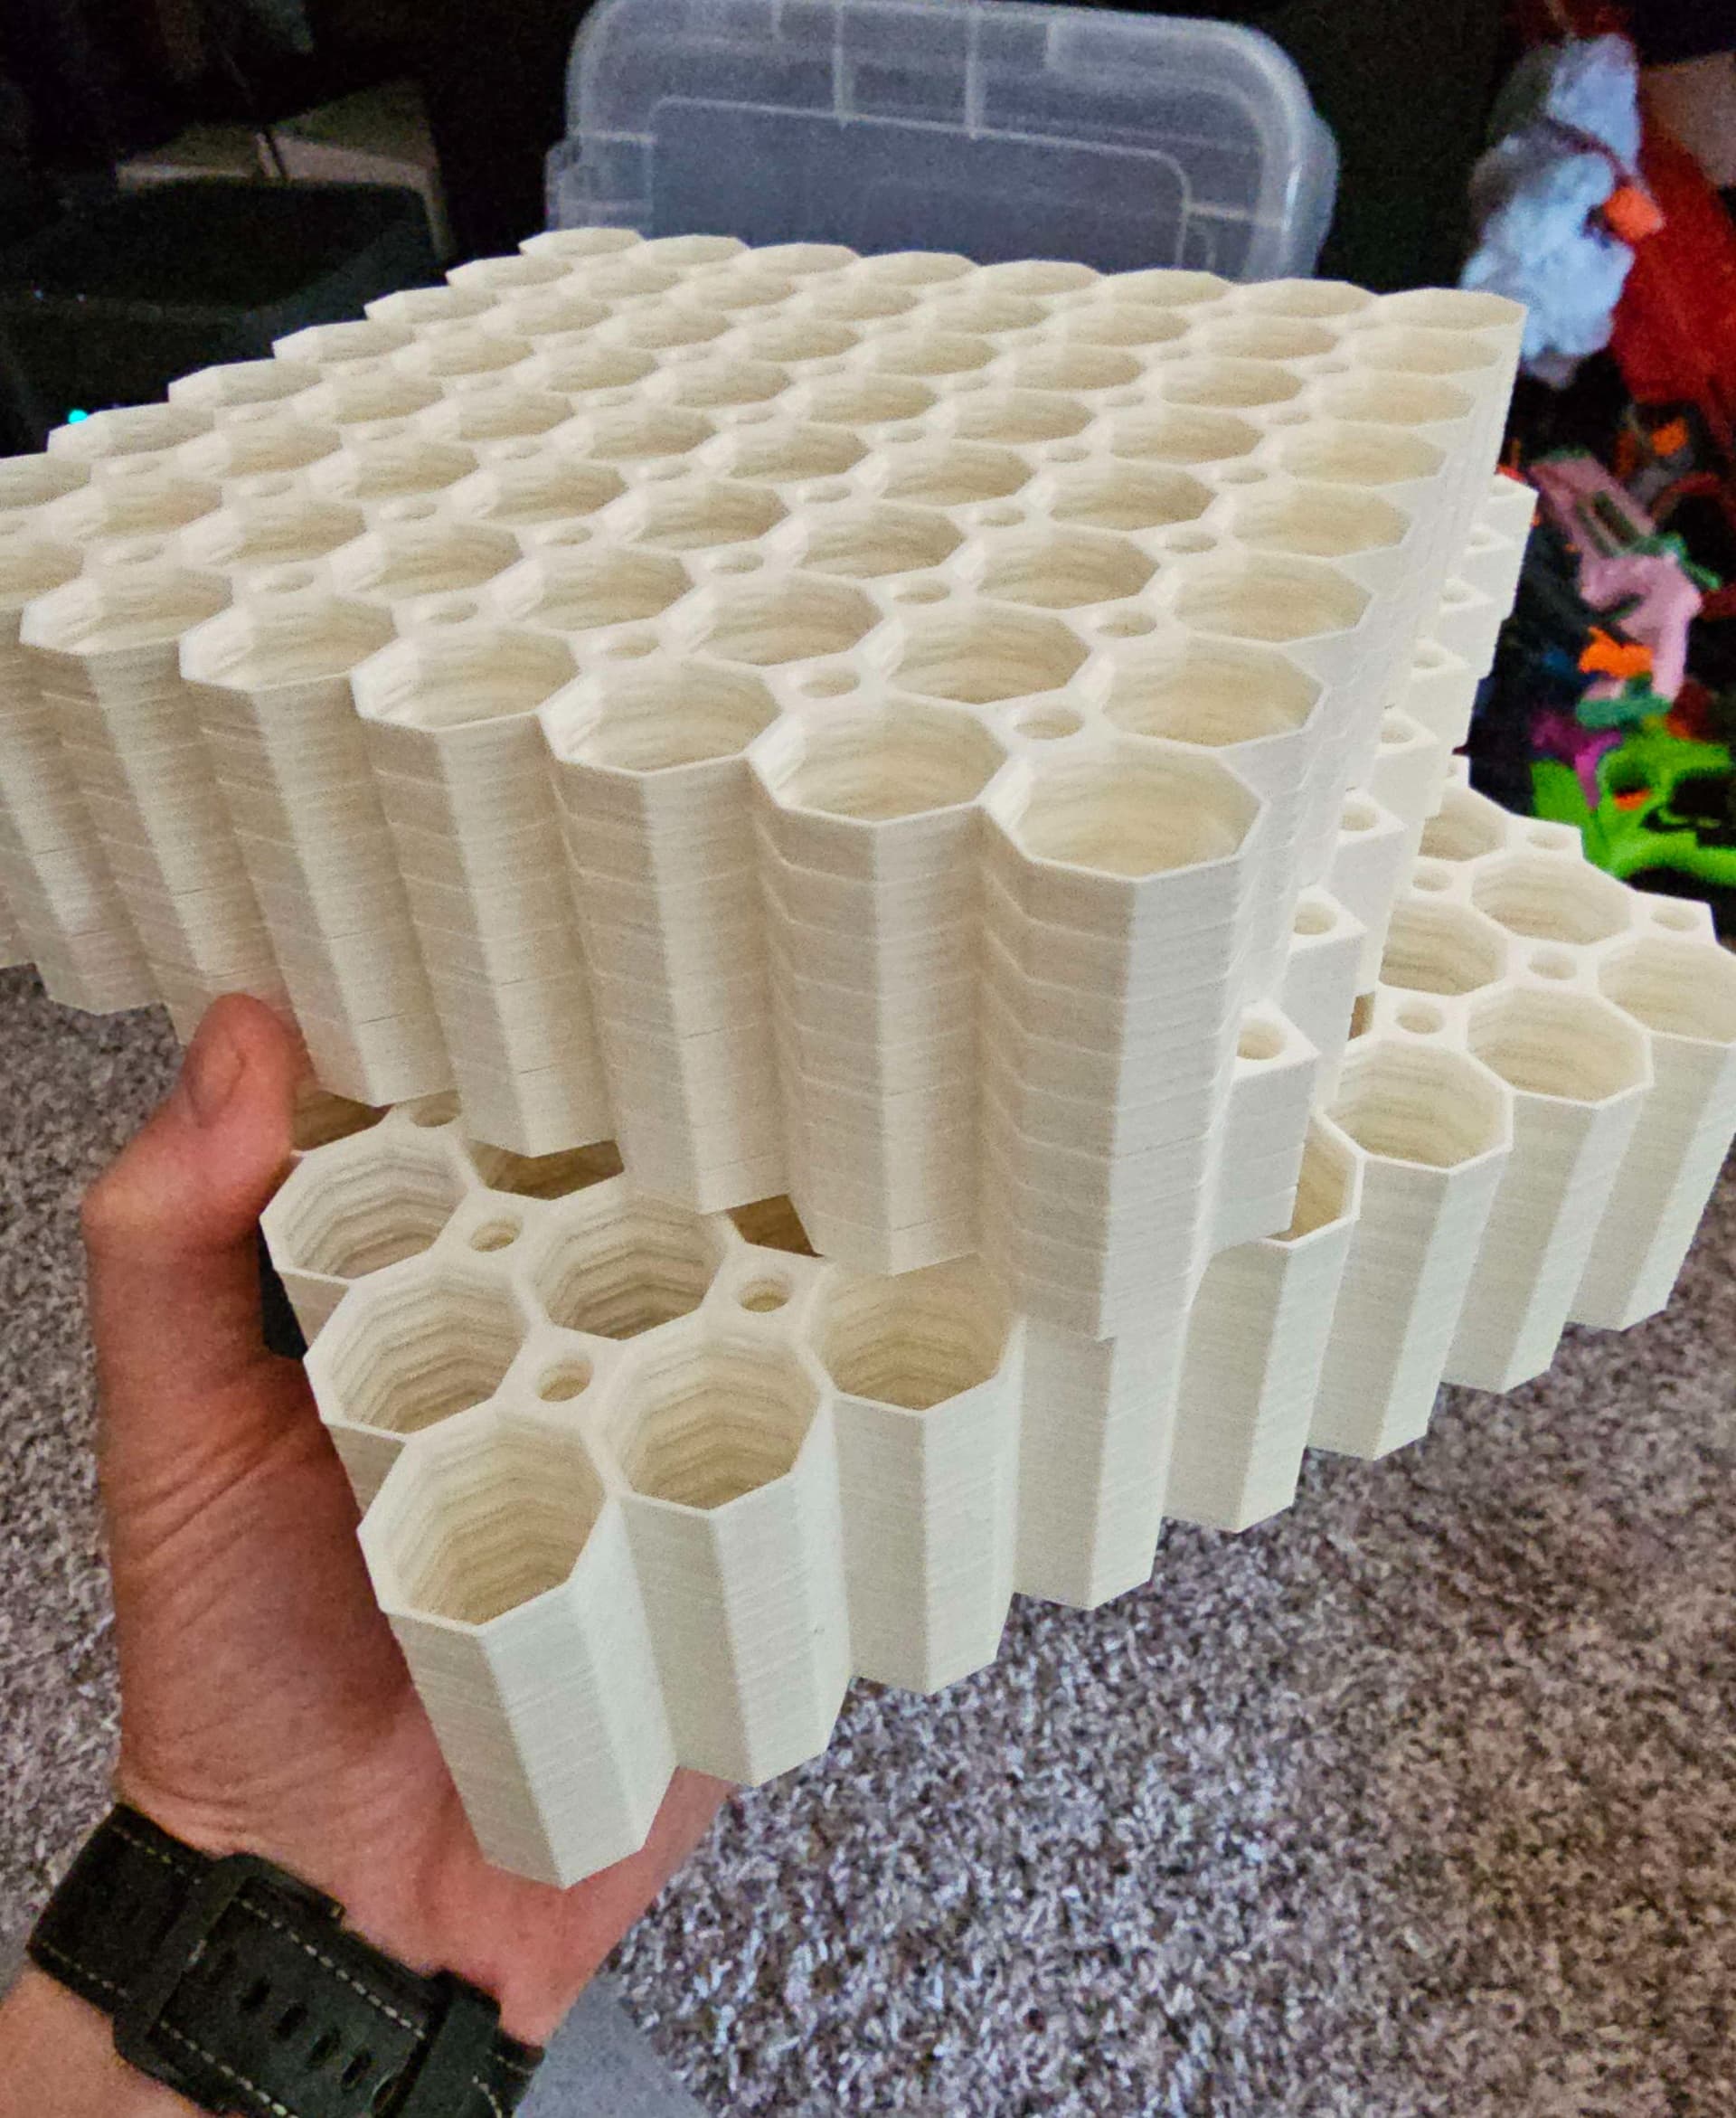
This stack creates a 3x3 Board that is 600x600 mm or 23.6x23.6 inches.
The stack is made of 4 Core Tiles, 4 Side Tiles, and 1 Corner Tile. Each Tile is an 8x8 (approximately 200x200 mm).
The Tile layout is as shown in the images.
These Tiles can be mounted to the wall using these pre-made mounting packs:
- 3x3 Board - Offset Snaps - Screw-On Mounting Pack
- 3x3 Board - Offset Snaps - Command Strip Mounting Pack
Learn about other mounting options at https://multiboard.io/knowledge-hub
Printing Guidelines
Stack Prints are parts that are printed on top of each other. This stack print uses the "Ironing" method, click here to watch a video tutorial about it.
The printing orientation is as provided in the file. Make sure the downloaded files are .STL.
Printer Settings: Turn on "ironing" for top surfaces. Set seam position to "random" for more strength (optional). Use 3 perimeter wall thickness, 0.2 mm layer height, 15% infill, and no supports. Apart from that, use your printer's default settings.
Also, keep in mind that one side of the tiles aren’t going to come out as nice as printing individually (in case you want to use them double-sided).
Test out Ironing Stack Printing using this test file: https://than.gs/m/977033
If Ironing Stack Printing doesn't work for you, then try out Multi-Material Stack Printing.
For more information about printing options and guidelines, click here.
This object is part of Multiboard, a FREE and ridiculously modular organization system with thousands of parts for creating the most adaptable workspace possible. Learn more and find ALL the parts at https://multiboard.io


