Aperture #3DPNSpeakerCover
This is my main submission for the #3DPNSpeakerCover Competition! Not sure how it appears in other time zones, but I've submitted this at 4 am -ish BST so was within the PST deadline!
This was one of those, brainwave in the middle of the night kind of ideas which I had to try! A lot of prototyping and finessing later and I'm very pleased with the final result!
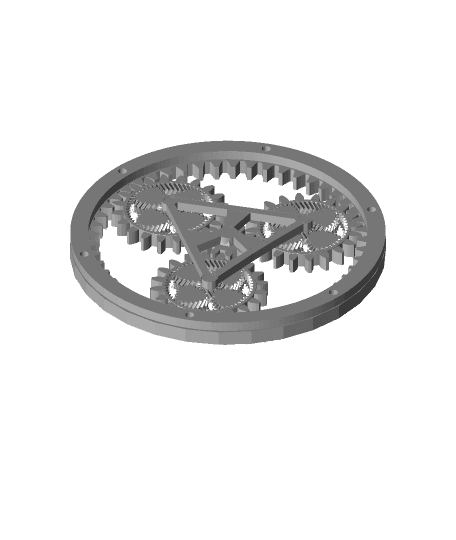
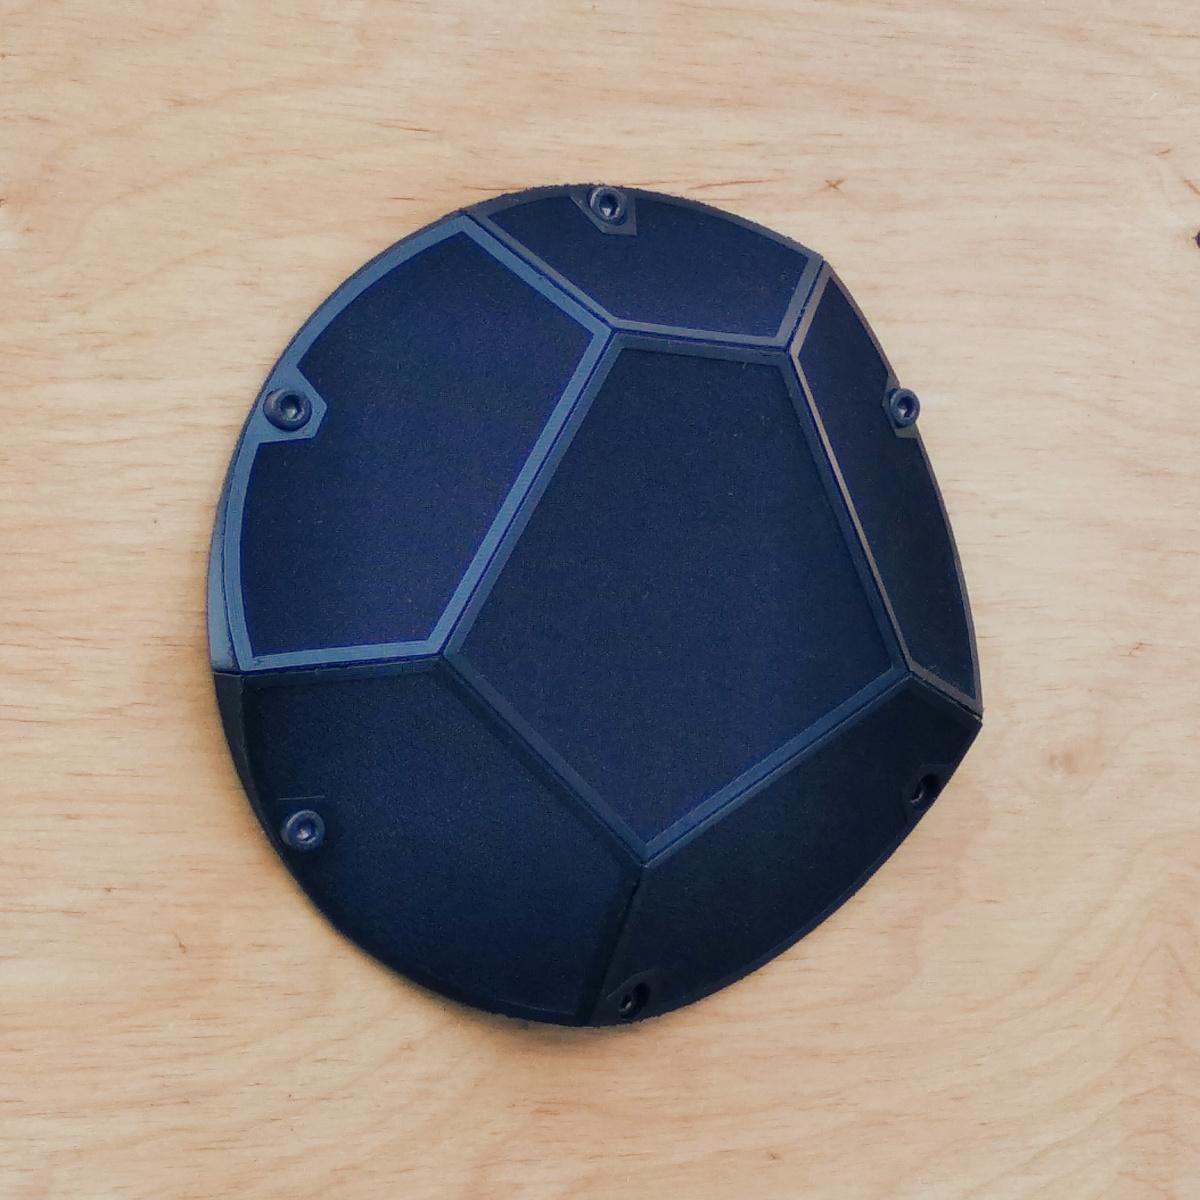
This design incorporates an aperture-like gate that opens and shuts in front of the Voronoi-patterned grill. After assembly (see demo video link below) the print is simply screwed to the front of the speaker.
By moving two opposing fins or using the gear ring you can move all 6 fins simultaneously to open and shut the gate in a very satisfying action.
My aim was to have a sleek and hidden mechanism with a strong aesthetic, that makes a show of revealing what lies behind it.
My hope is that you'll be able to adjust the fins to play with the sound or at the very least just have fun playing with the mechanism! It is very satisfying.
Follow this link to my Instagram to see it get put together and also see it in action! https://www.instagram.com/p/CNRK2LmLJYS/
Look out for any other additional posts I do about it too - I'm definitely going to do a couple more!
This is the first 3D printing competition I've ever entered and I've got to say it was a lot of fun!!
Make sure to read all the assembly instructions on each component for the best operation!
To complete the model you will need:
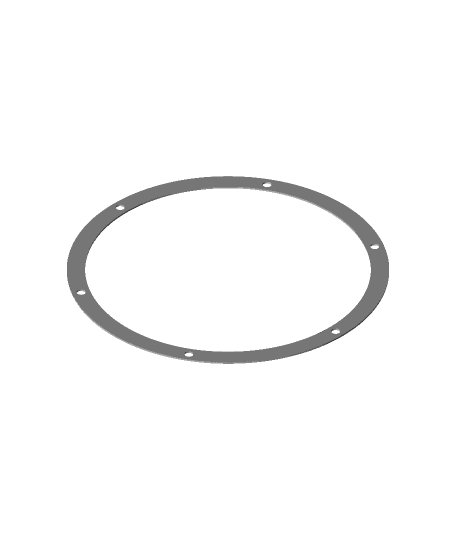
x1 Base
- Should work straight off the print bed
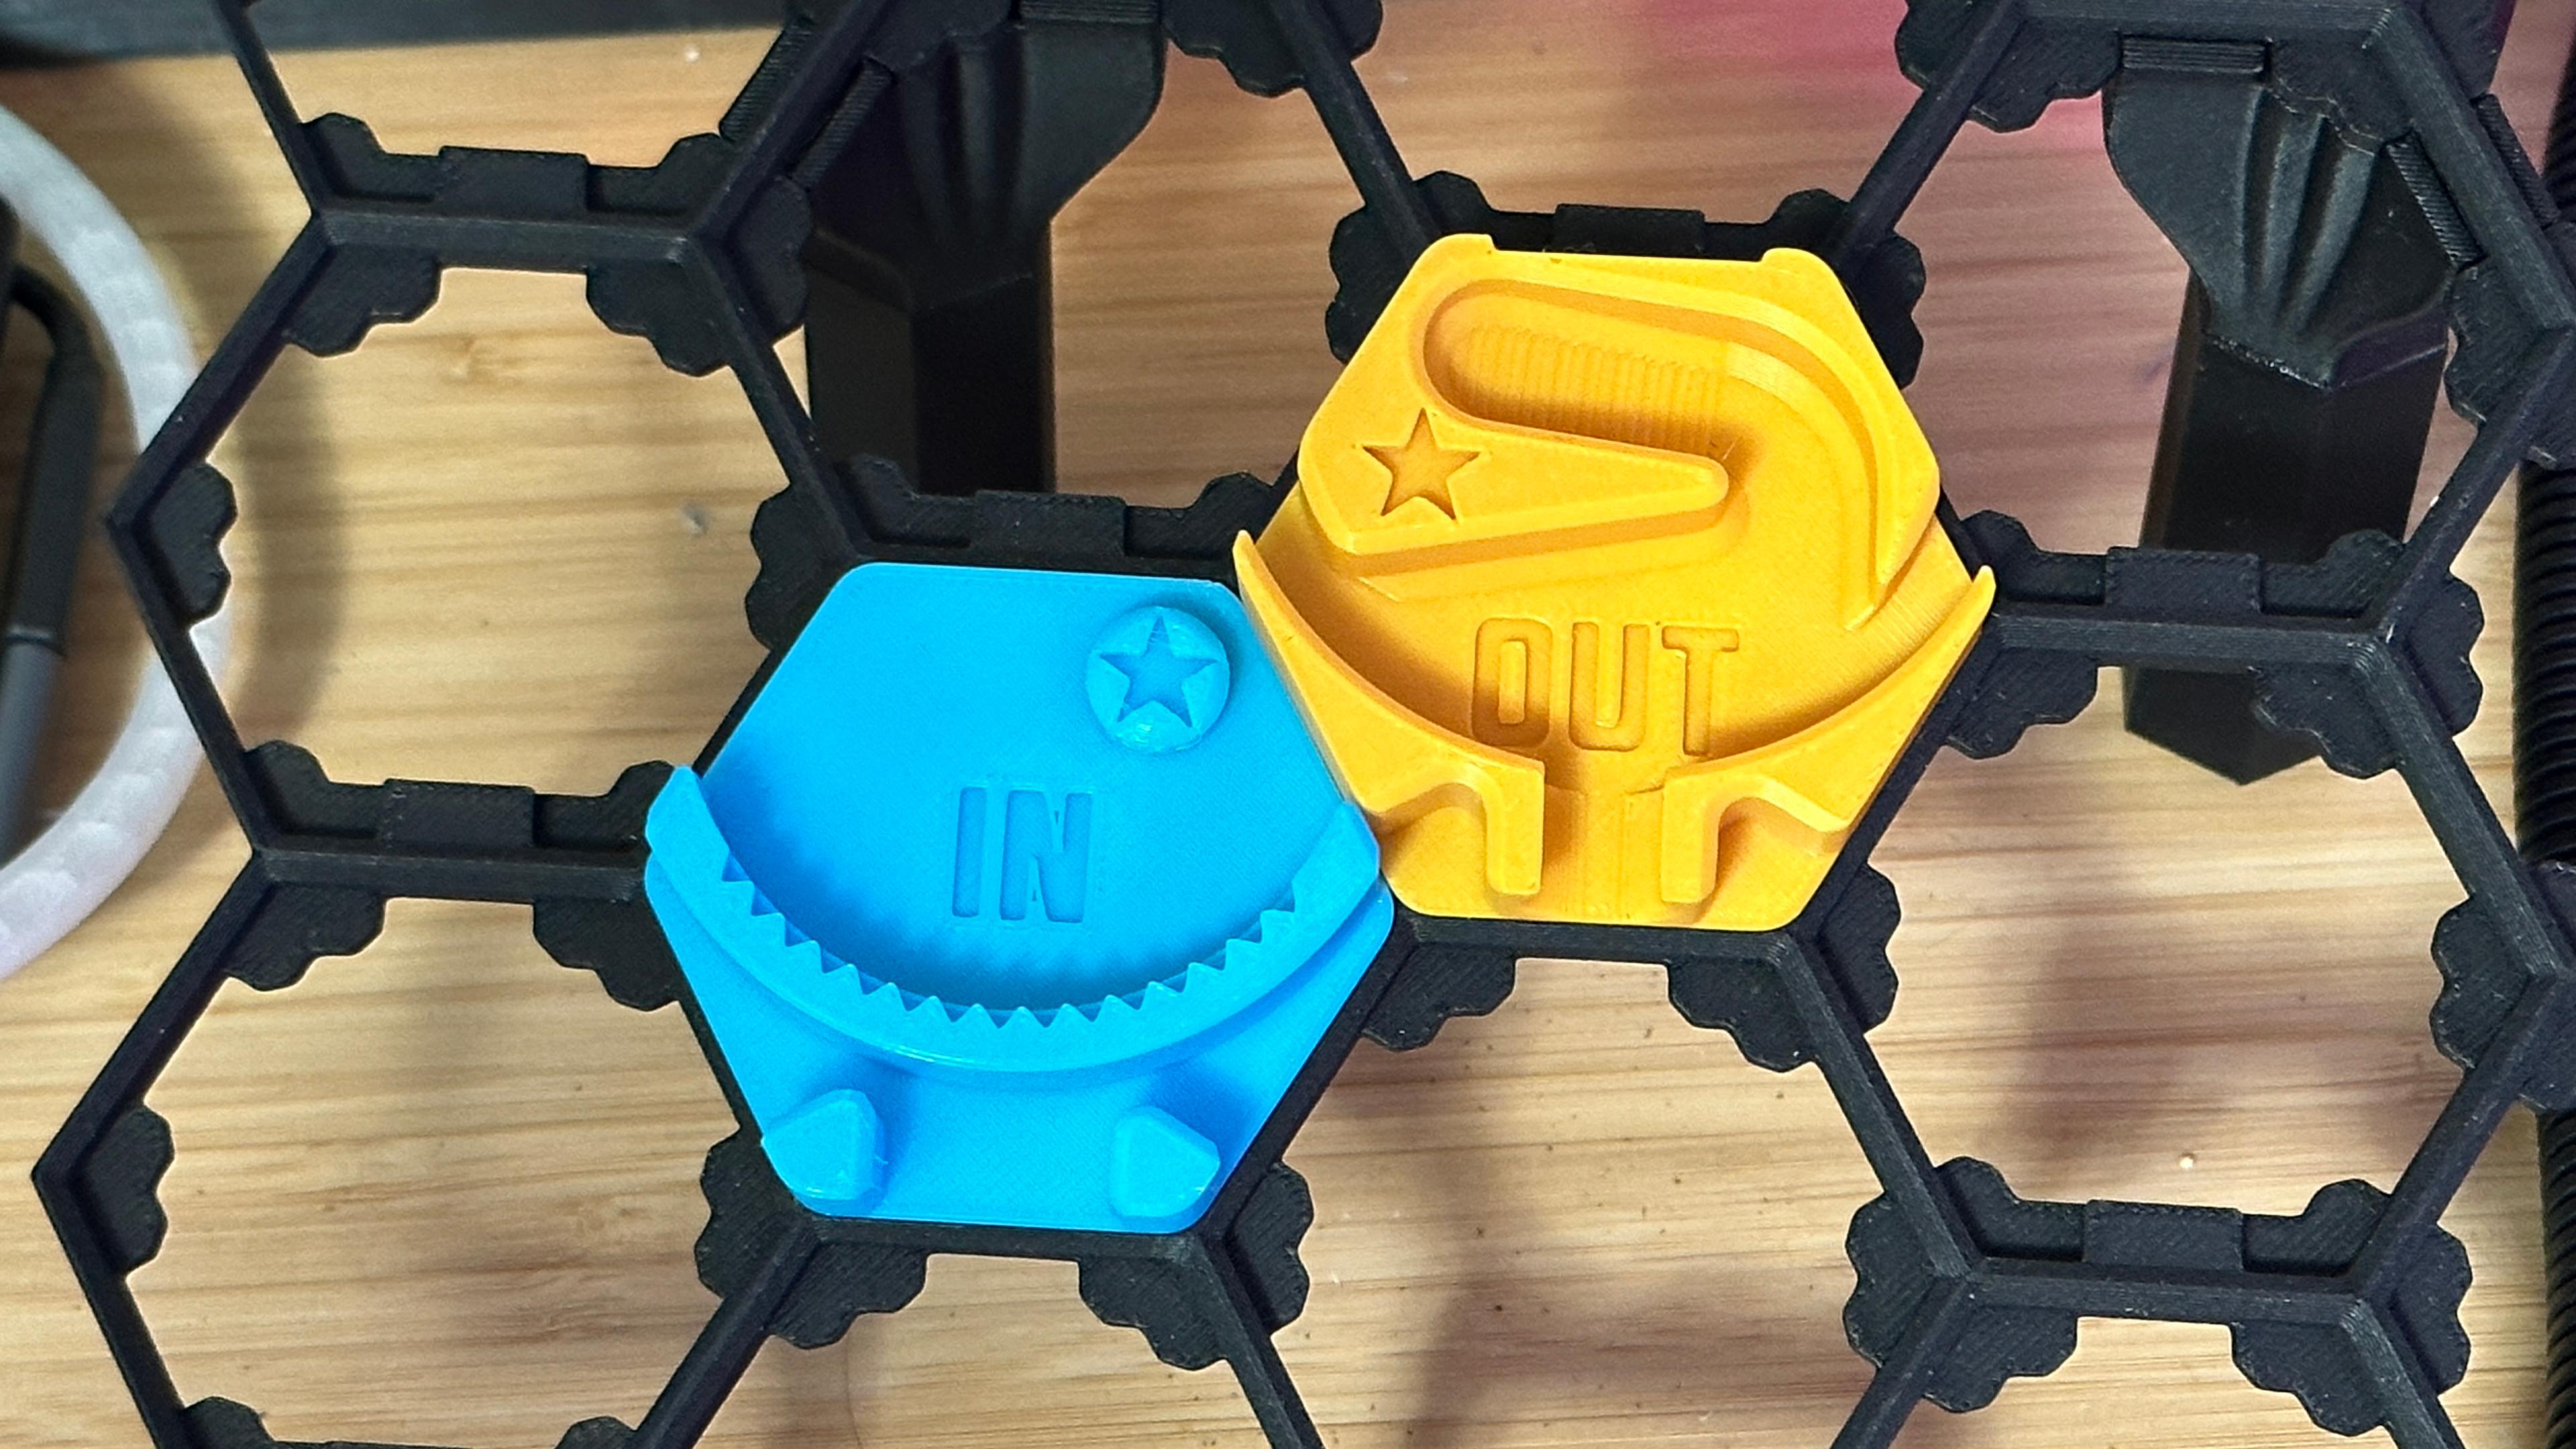
x6 Fins
- There are six different fins to print to match the grill design on the base. Screw these to the corresponding holes on the base using the hinge pins.
x6 Hinge Pins
- You can screw these in with a large flat head, a coin about 25mm in diameter and 2mm thick or, what I opted for, the little pressed metal spanners that come with the Creality machines (or similar). I've provided two different tolerances. The pin should wedge in tightly to the fin but still allow the fin to spin freely and with very little force. The pin needs to spin with the fin otherwise it means its catching on the base and will eventually unscrew itself. Try V1 first but if catching or too tight, try V2.
x1 Drive gear
- It will take a bit of moving around but should slot on over the top when everything else is assembled. Rotate all the fins to their closed position and take the time to get it just right and do not try to force it on. Provided two different tolerances, try V1 first, but if way too loose try V2.
x6 Spacers
- Optional but thought they might be handy for clearance and also might be good to print in TPU to dampen vibrations from the speaker itself.
My print settings for all the parts were (.4mm nozzle):
.25mm layer height .65mm line width 4 walls 4 top/bottom layers 15% infill No supports needed!
I used a skirt for most of the parts as there's quite a lot of surface area but should also work fine with a brim! Just might need some more cleanup to make sure it works smoothly :)
You'll need a print bed of at least 250*250mm (I printed on my CR10S).
Contact me from my Thangs or Insta accounts if you have any troubles with the printing, assembling, or mechanics of the model :)
I've used the Speaker housing STL From Simon A linked in Joels main competition video (this one: https://tinyurl.com/m5ajb27s) for the mock-up visual. Please tell me if I can't use these on here and I'll take that model down straight away :)
See the Competition video here: https://www.youtube.com/watch?v=qAYv9M7_4WM&t=167s
Aperture #3DPNSpeakerCover
PhasePlug_Grill_001.png&w=3840&q=75)
#3DPNSpeakerCover Hi-Fi(ve)PhasePlug_Grill_001.STL
.png&w=3840&q=75)
Sunflower Lamp
Hextraction Portal Tile: Special RMRRF 2023 Edition!

Plain Seashell for Remixing
3D Printing Nerd Speaker Cover Template

Akıncı UAV.STEP
Aperture Science Weighted Storage Cube
Aperture Science Weighted Companion Cube
Aperture Laboratories key chain, earring, dogtag, jewlery
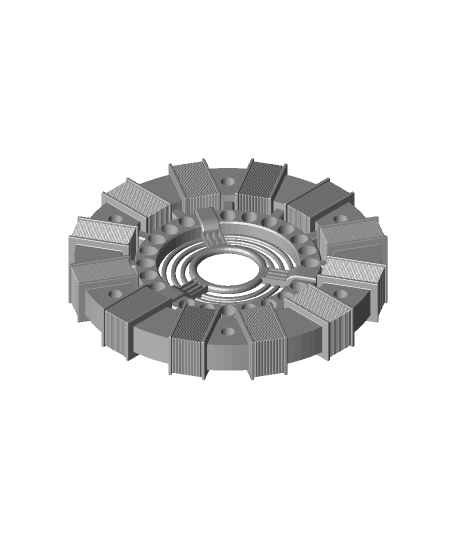
#3DPNSpeakerCover Iron Man Arc Reactor
Portal key chain, earring, dogtag, jewlery
#3DPNSpeakerCover speaker cover colosseum

#3DPNSpeakerCover Speaker grill simple
#3DPNSpeakerCover Print on fabric - Fold in place

Ring Elevator Box

SPAGHETTI TOWER.3mf
RASA 8 and C8 Hyperstar cable router and aperture mask
#3DPNSpeakerCover Octopus Splash Cover
Aperture laboratories science key chain, earring, dogtag, jewlery, logo