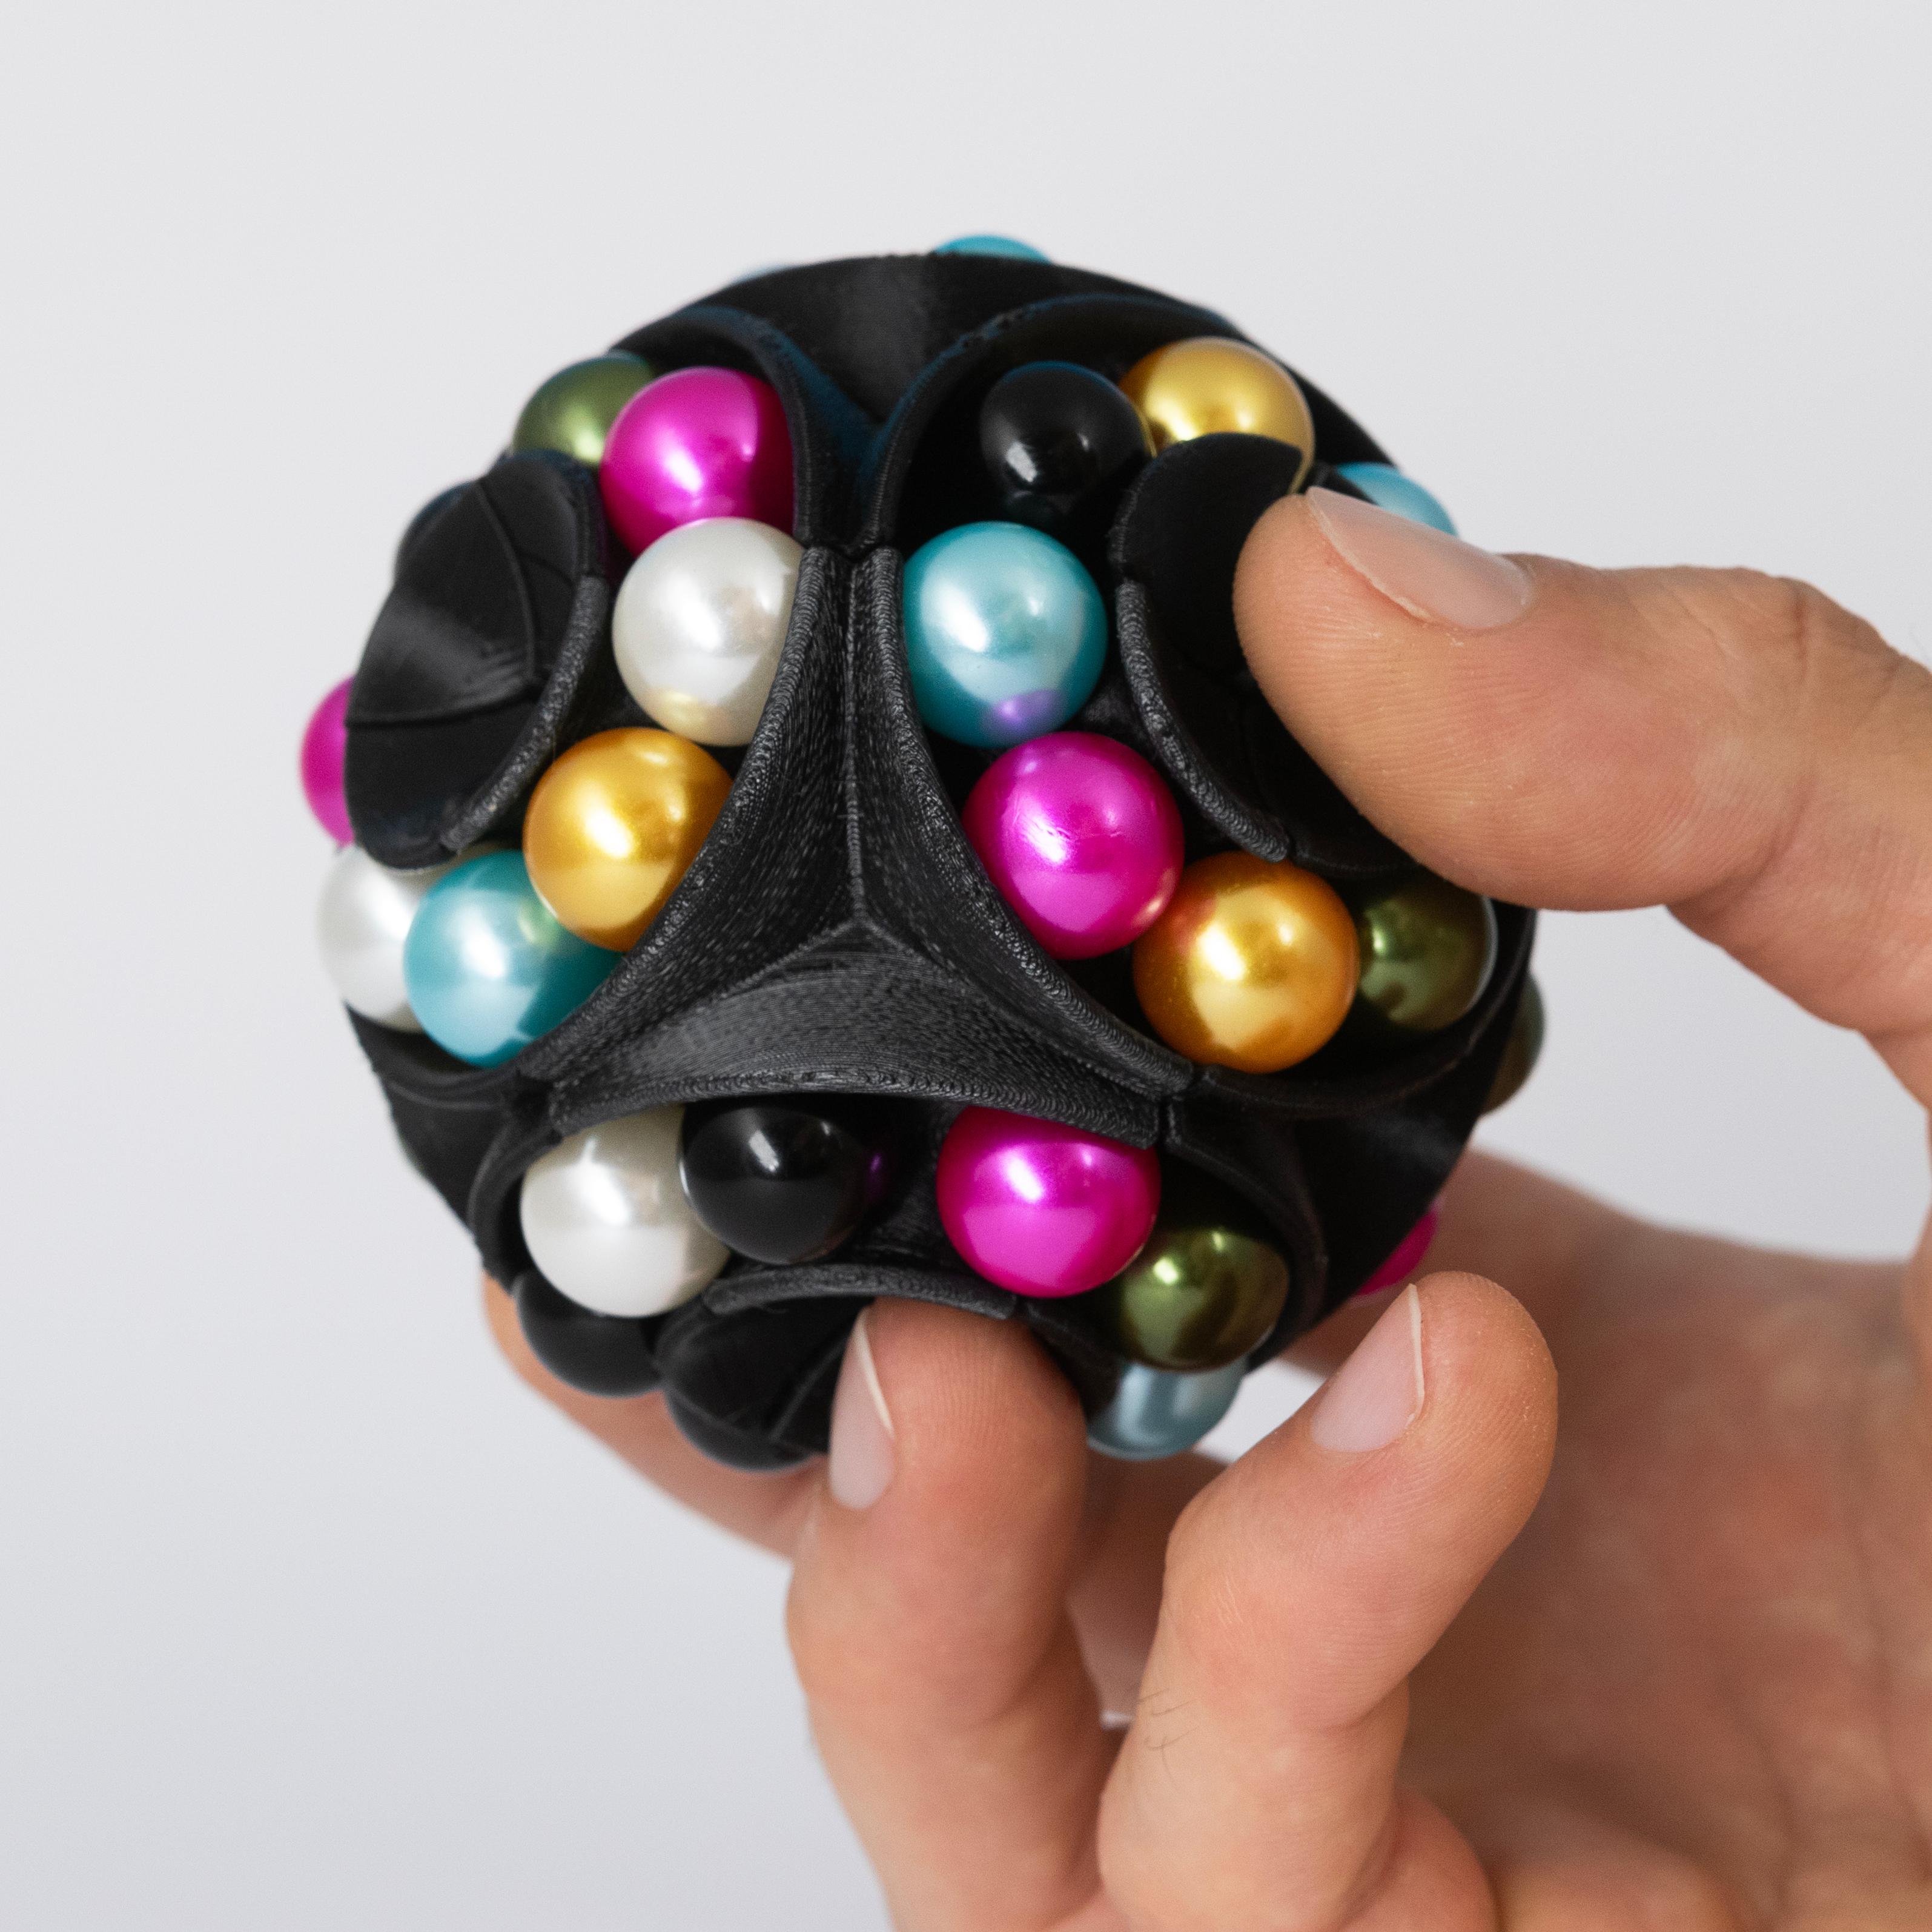
Donut Factory Puzzle (Deconstructed) // 2x2 Twisty Marble Puzzle (24mm inner cube)
byMake AnythingMake AnythingDonut Factory Puzzle (Deconstructed) // 2x2 Twisty Marble Puzzle (24mm inner cube)
What's better than a donut? SIX donuts!
There's a lot going on in the Donut Factory. Twisting, spinning, snapping... the feel is satisfying, but trying to solve this tricky puzzle might leave you frustrated!
This 'Deconstructed' version is the same as the original, but with a sleek, refined exterior
Assembly
This puzzle is built around a tiny 24mm 2x2 puzzle cube. You will have to remove the keychain part.
Print 8 copies of the included STL. No supports are required, but the overhangs may warp a bit on some printers, so you may want to include a wide brim and increase Z-retraction height for travel moves in your slicer settings.
After printing, use flush cutters to remove the brim and flat bottom.
Magnets are optional, but highly recommended since they improve the puzzle action and make assembly easier as well. You will need 48 3mm x 6mm neodymium magnets. I used E6000 adhesive to glue them into place. Each face has 2 magnets. Make sure the left holes all have the same polarity, and the right holes all have the opposite polarity. Also make sure the magnets are flush to the face. It can help to use the corner of a table or some tool to press the magnets into place. Allow the glue to dry before moving forward.
Next, glue 7 of the 8 sections onto the internal 2x2 cube. Use only enough adhesive to connect the print to the corner of a cube. If too much glue smushes out, your puzzle may not rotate!
Once the 7 parts are in place, load up the marbles. This puzzle was designed for use with these 14mm ABS no hole beads (true dimensions closer to 13.6mm). The easier way to add the marbles is to rotate individual halves 22.5 degrees so the tracks form an S-bend, so you can add all the marbles of one color (8 marbles per ring). Watching my assembly video might make this easier to understand!
After loading the 3 rings opposite of the missing piece, fill the top rings, including the final corner, and then glue that into place.
The magnets will help hold the parts together while drying, but I like using 0.25" x 4" Grifiti Silicone Bands to compress the parts as well.
Once the glue is dry, you can remove the bands, and give the puzzles some good twists to rub off any excess E6000 between the faces.
That's it. The Donut Factory is complete!
Sources for Non-printed Parts
24mm 2x2x2 Cube
14mm no hole ABS beads
or these Chinese Checkers Beads on
6mmx3mm Neodymium magnets
*Since this puzzle uses so many magnets the N35 strength ones are sufficient. N52 might be slightly overkill and pricey
E6000 Craft Adhesive
Silicone Bands for Assembly
Alright, get to work. These donuts aren't going to make themselves! Enjoy :)


