
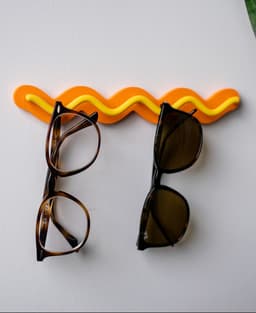
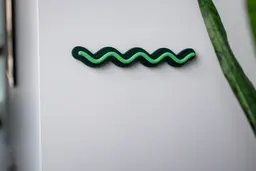


Sunglasses Holder - The Ripple Rack
The Ripple Rack holds up to 4 sunglasses (or jewelry, anything light and hangable).
It prints in 5 parts:
- The base
- The rack
- Three pegs
The pegs should be glued into the base, then the rack is glued onto the pegs.
Supports Supports are necessary for the keyhole slots. We used tree supports and they come out pretty easily. We recommend removing the supports asap after the print is done. They're much easier to remove if they haven't cooled down.
Scaling I wouldn't recommend scaling this one since the keyhole slots for the screws are designed specifically for #8-10 x 1 in screws and anchors.
Orientation The base should have the keyhole slots facing up. The rack should have its flat side on the build plate. The pegs print flat with long side down on the plate (this is the strongest orientation).
Print Settings .2mm layer height 15% grid infill 2 walls Mouse ear brims on the rack
Filament & Hardware Filament: Bambu Lab Matte PLA Hardware: #8-10 x 1 in screws and anchors
Filament and non 3D printed items for this model can be found on my Amazon Storefront, linked here: https://bento.me/loftedgoods


Sunglasses Holder - The Ripple Rack
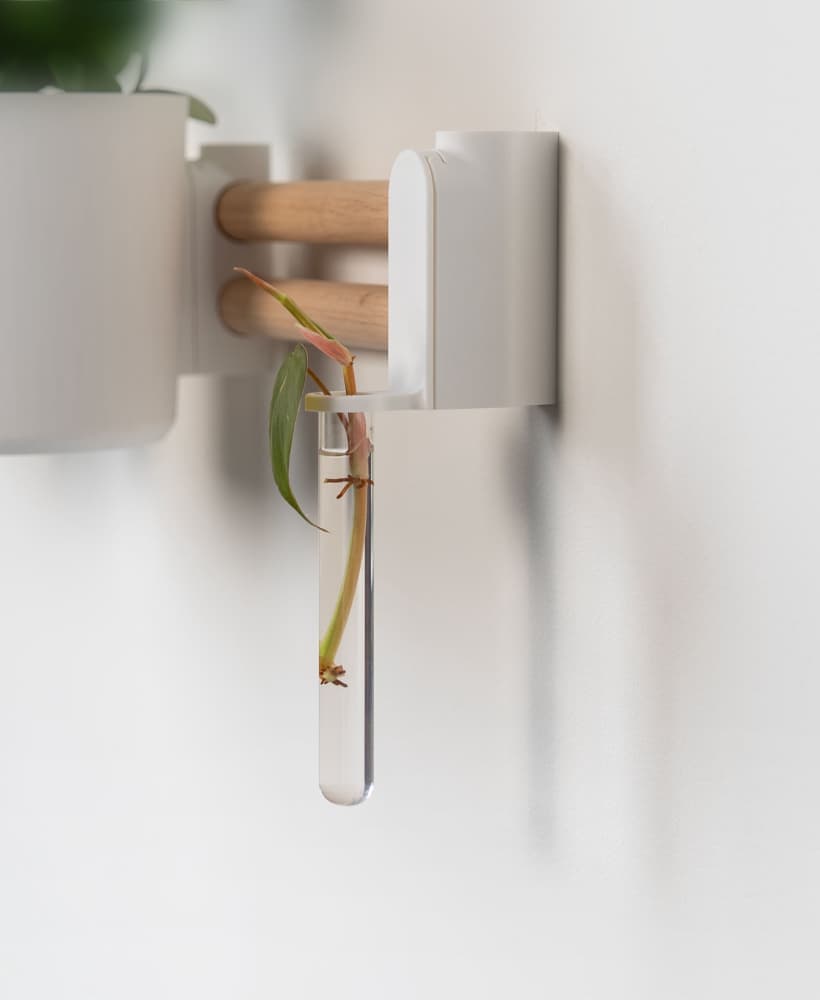
Propagation Mount for The Rail

Dovetail Mount for IKEA SKADIS

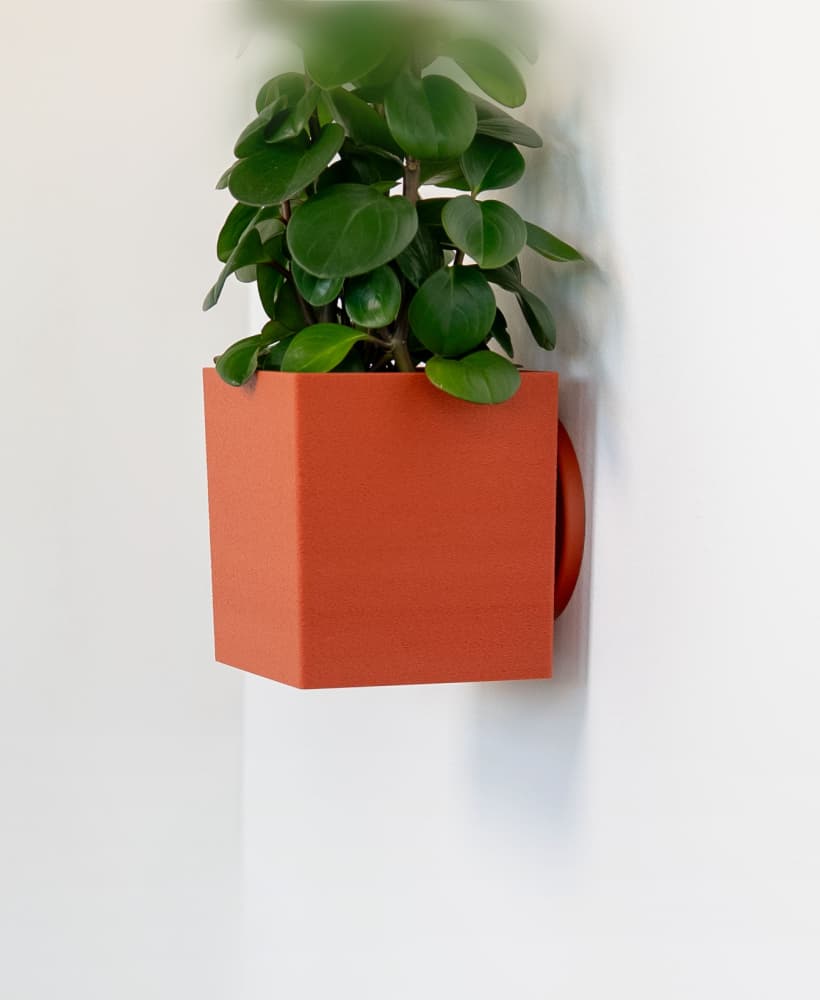
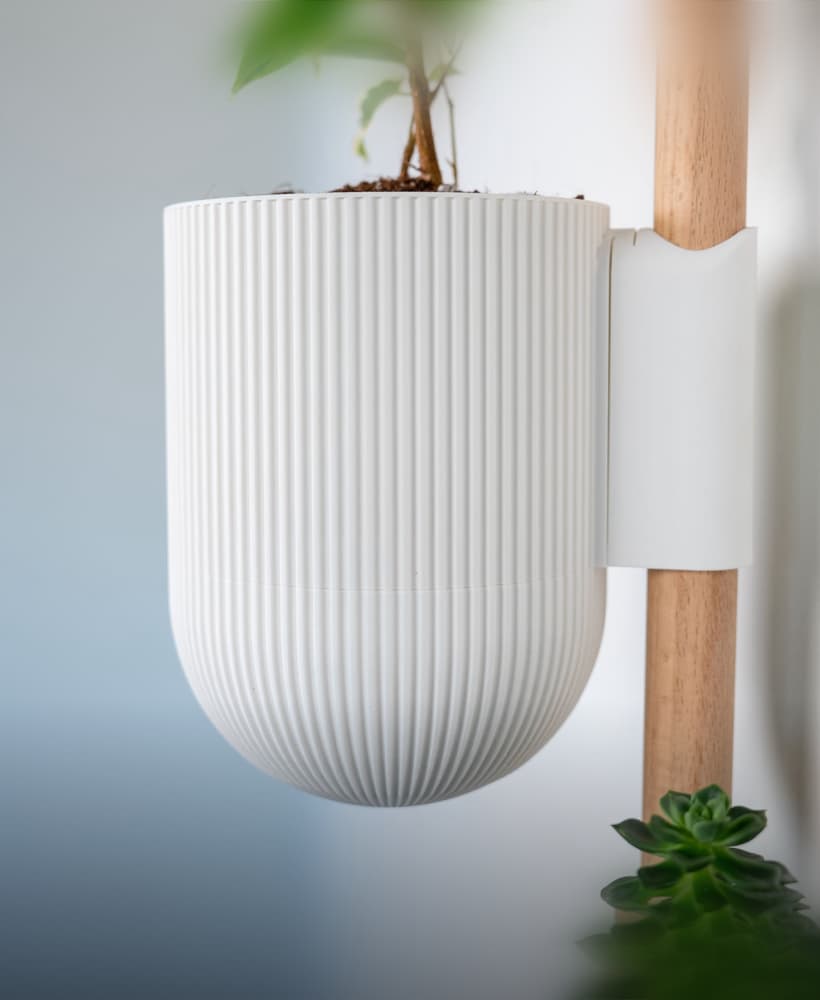
Half Dome Wall Planter

Square Bubbles Planter

Plastic Bag Dispenser

Heywood Wall Planter v2
Square Tapered Planter

Catchall for The Horizontal Rail

Sunglasses Holder for The Horizontal Rail

Shelf for the Horizontal Rail
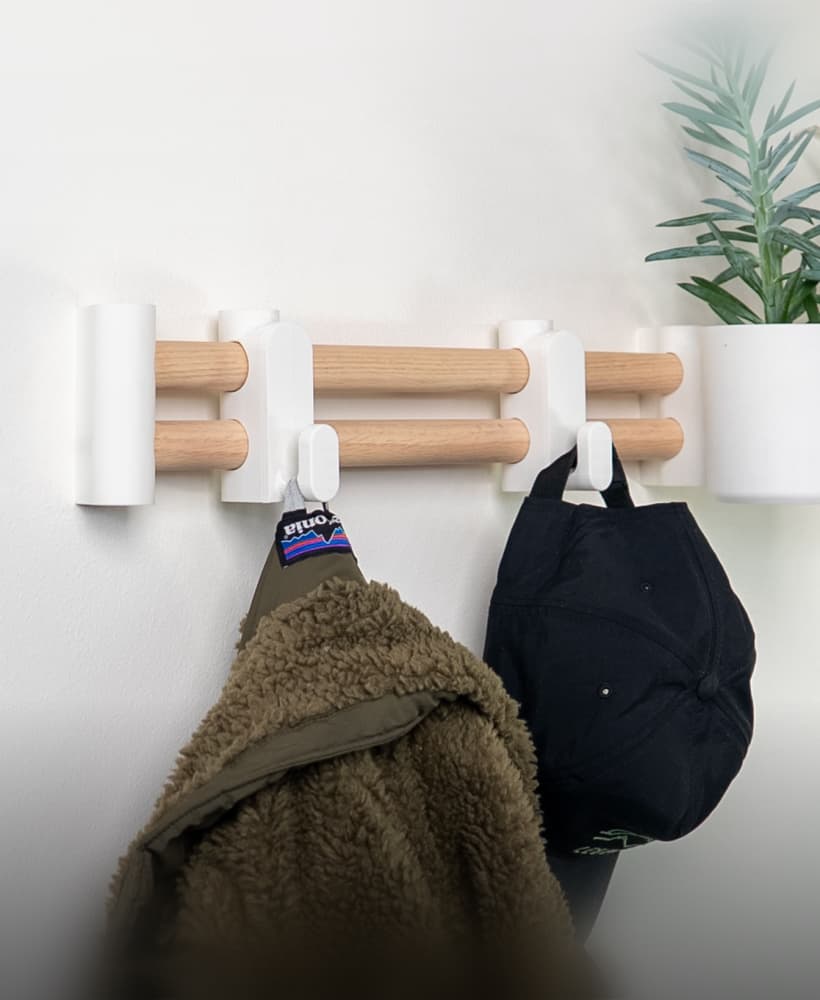
The Rail - Coat Hook
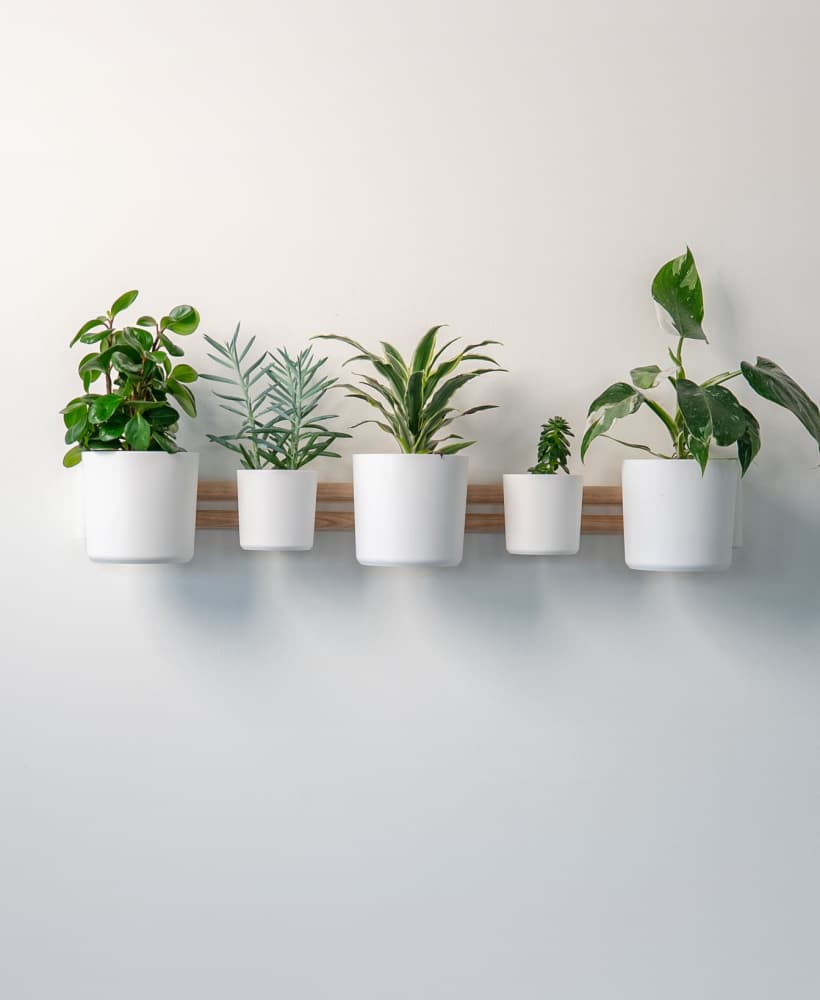
The Horizontal Rail

Scales Planter with Hidden Drip Tray

The Rail Tripod V2

Tripod Lamp

The Rail - Tripod Attachment
The Rail - Ira Planter

The Rail - Storage Bins
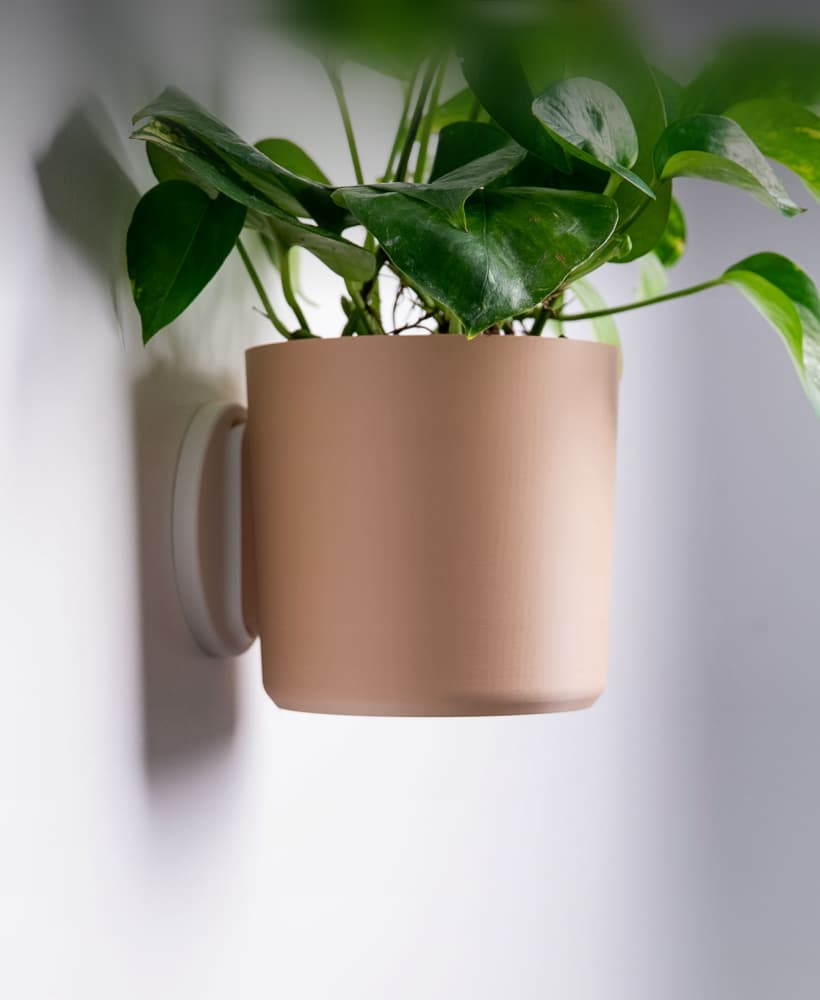
Wall Planter with Hidden Drip Tray - LG03
