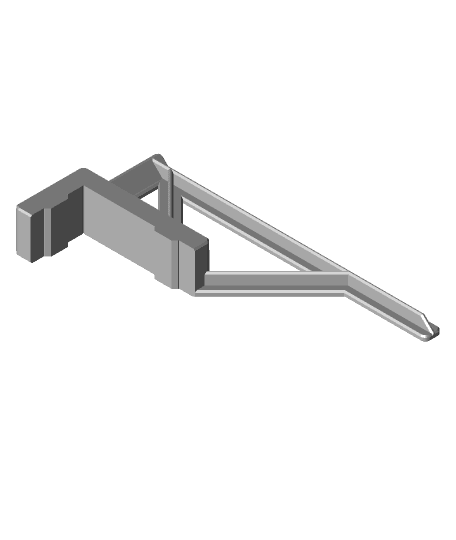
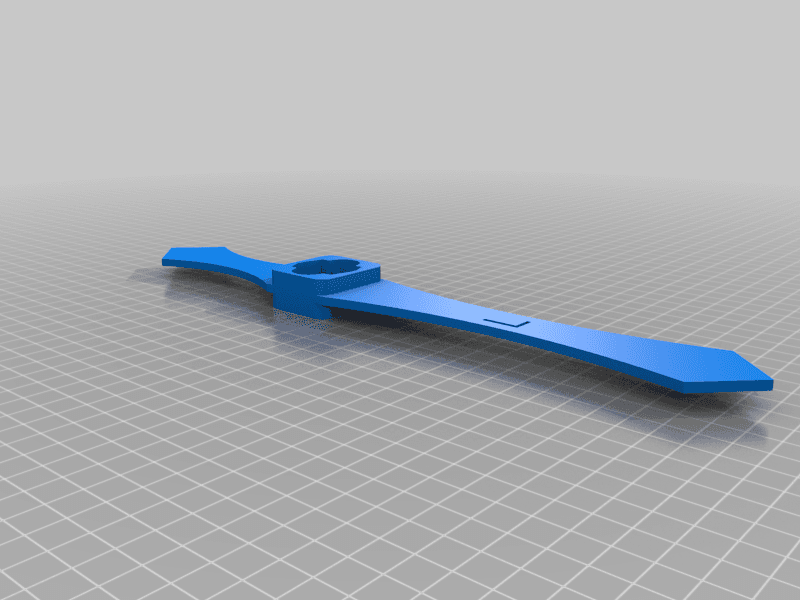
Prusa Y rail alignment tool
Model originally uploaded to Thingiverse at https://www.thingiverse.com/thing:2865191.
Although I designed this tool to align the Y rods on my Prusa MK2 Bear modification, it can work equally as well on the Original Prusa MK2.
Why do you need this alignment? If the Y rods are not parallel and properly separated, stress will be put on the Y rod bearings which will cause them to loosen and wear prematurely. Also, the stepper motors may lose steps because of the stress. In addition, if the rods are not in alignment with the frame, then the firmware needs to make calculations to compensate, which is not the best way to get things square.
How do you use the Y Alignment Tool (from now on referred to as ‘YAT’)?
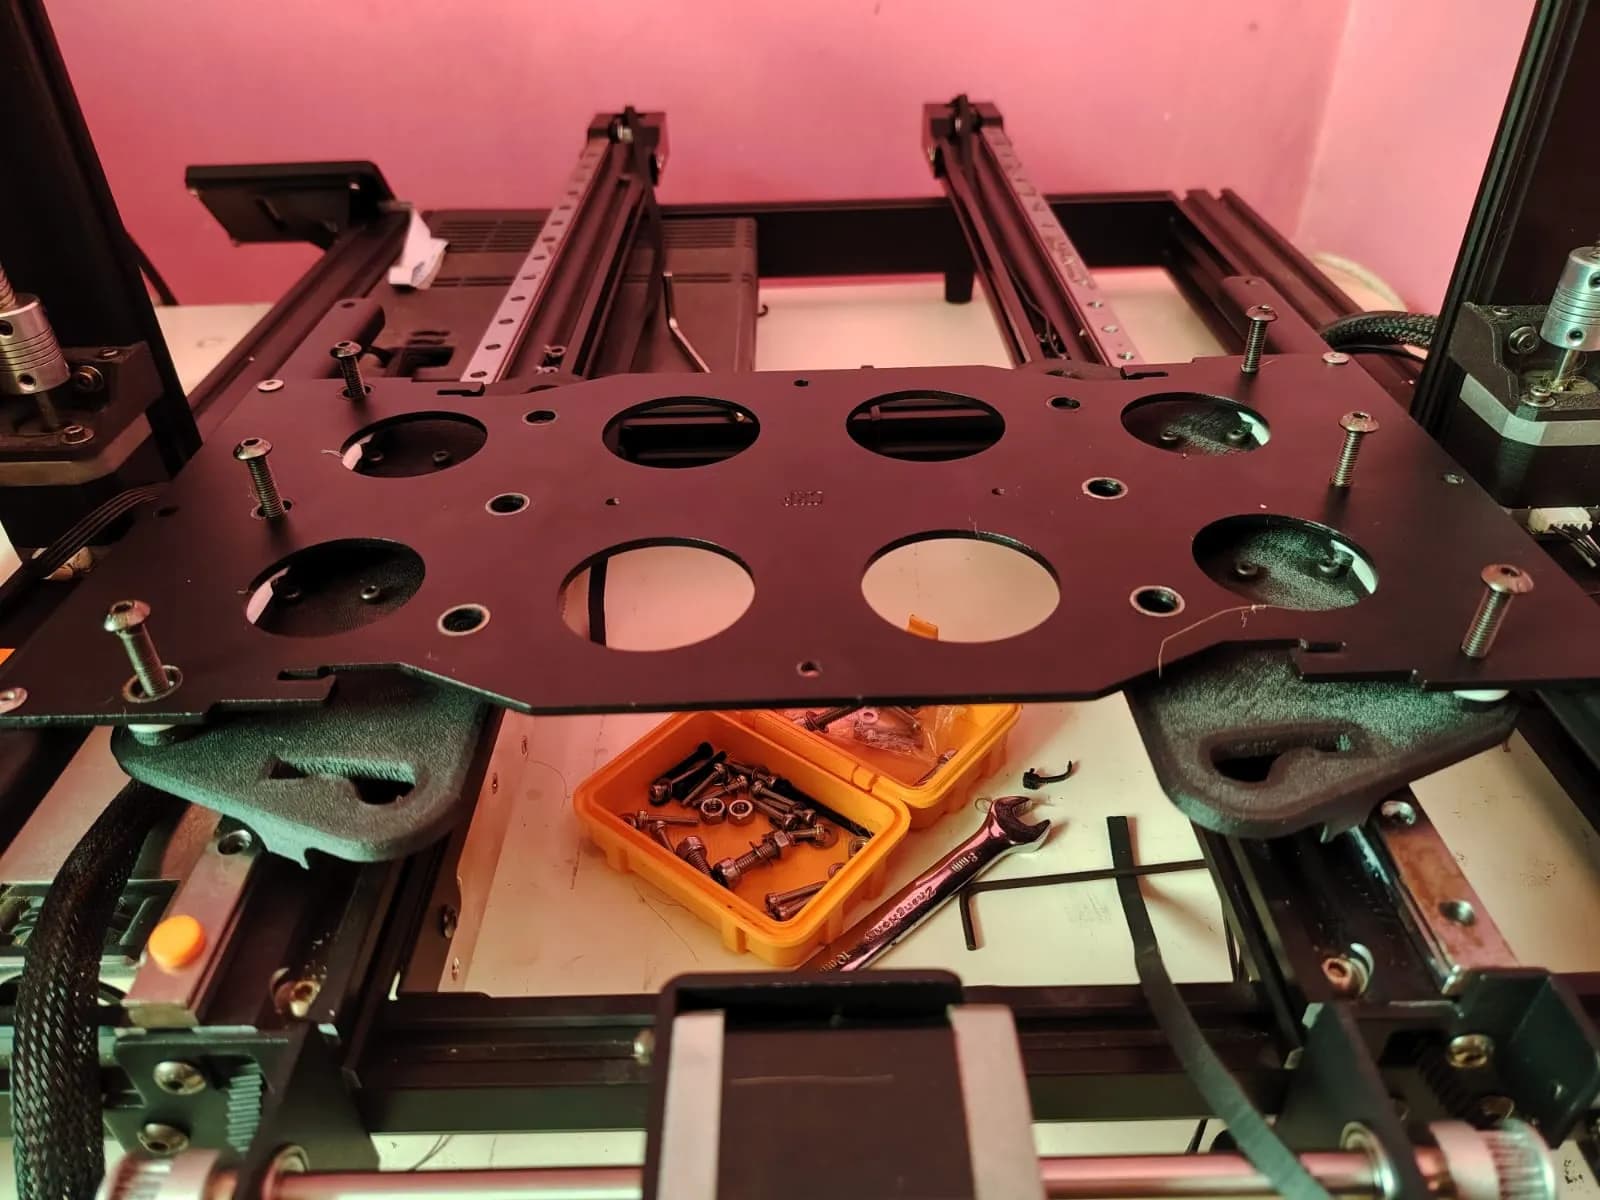
First, attach your front left corner Y rod mount in the position suggested by Prusa or the Prusa Bear. This will act as the reference point for all other points. The other three Y rod mounts, with rods attached, should be able to more freely.
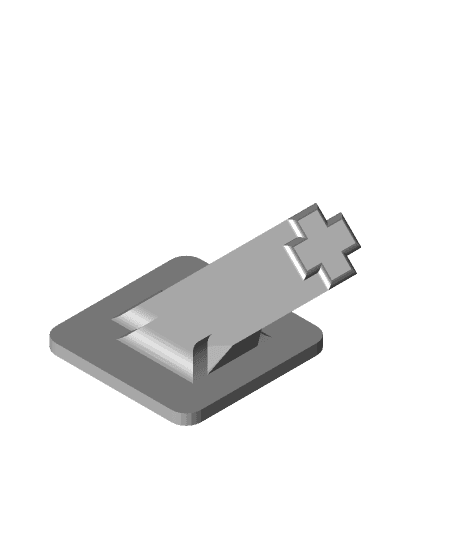
Second, you snap the YAT onto the top farthest point of the Y rods, just short of the Y rod mounts. Now, you need to square the Y rods to the frame. This is done by looking down on the bed and seeing if the frame is square with the marking on the bed. See picture #2. This alignment by sight might seem crude but is actually very accurate. When you move the connected Y rods from side to side, the alignment with the bed lines will change. Very little movement is needed to make a noticeable change. When the alignment is square, fasten the back two Y rod mounts to the frame.
Now remove the YAT from the back rods and connect it to the top front of the Y rods close to the Y rod mounts. The remaining right front mount should still be loose and move freely. With the YAT in place, fasten the right front Y rod mount to the frame. You should now have a perfect alignment. To check your work, you need to run the ‘Prusa XYZ calibration’ which is found in the 30.1.2 or newer firmware. When the firmware calibration has finished, the results are stored. You can see the results on the LCD screen. Look under: LCD Menu - Support - XYZ cal. details. If you need further help, see this Prusa web page which explains the XYZ Calibration details.
https://help.prusa3d.com/l/en/article/PBlnvMN6pt-xyz-calibration-details
Rail alignment tool x 2.stl

Y-Belt Alignment Helper for Prusa MK3 Bear Upgrade
Y-Rod Alignment Helper for Prusa MK3 Bear Upgrade

Chain alignment tool
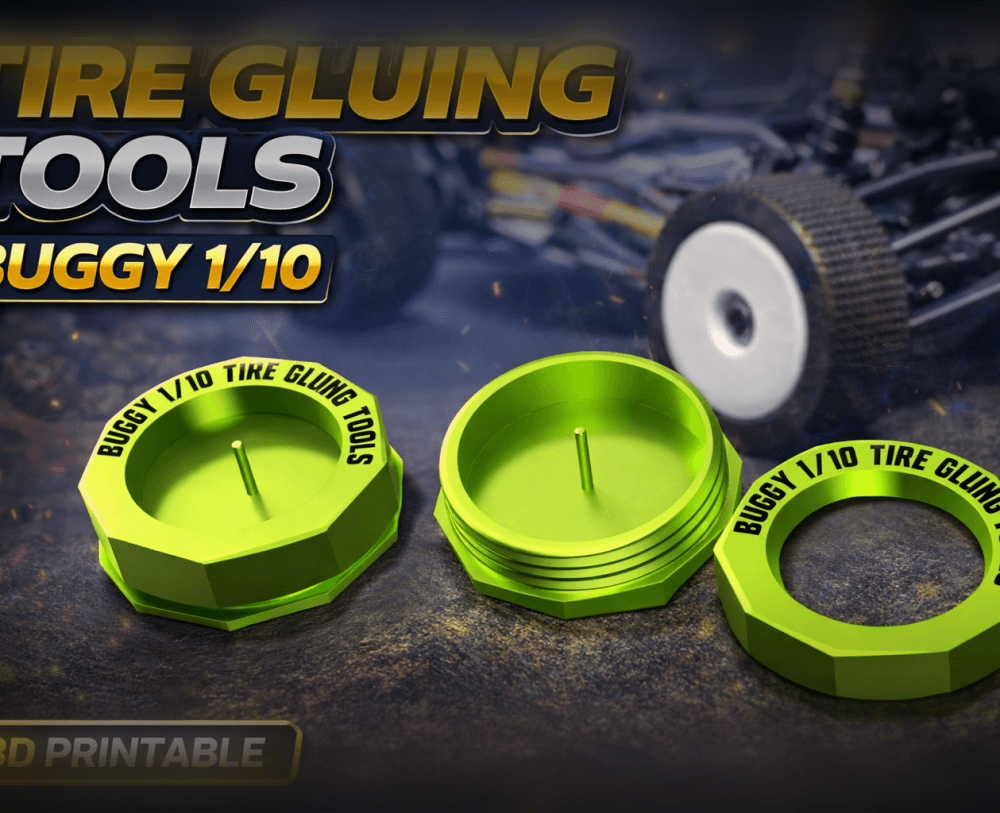
RC Buggy 1/10 Tire Gluing Tool – Precision Tyre Alignment Jig (Easy & Clean Gluing Tool)
Wolf Garten Tool Rail Holder
MGN12 2040 Carriage Stop-Linear Rail Alignment Tool.stl
Decora Alignment Tool

Linn Tonearm Collar Alignment Tool

HSW Installation alignment tool
Anycubic Kobra Max Extrusion Channel Covers

Tormach 440 ATC Spindle Alignment Tool
Kobra Max Linear rail y axis upgrade

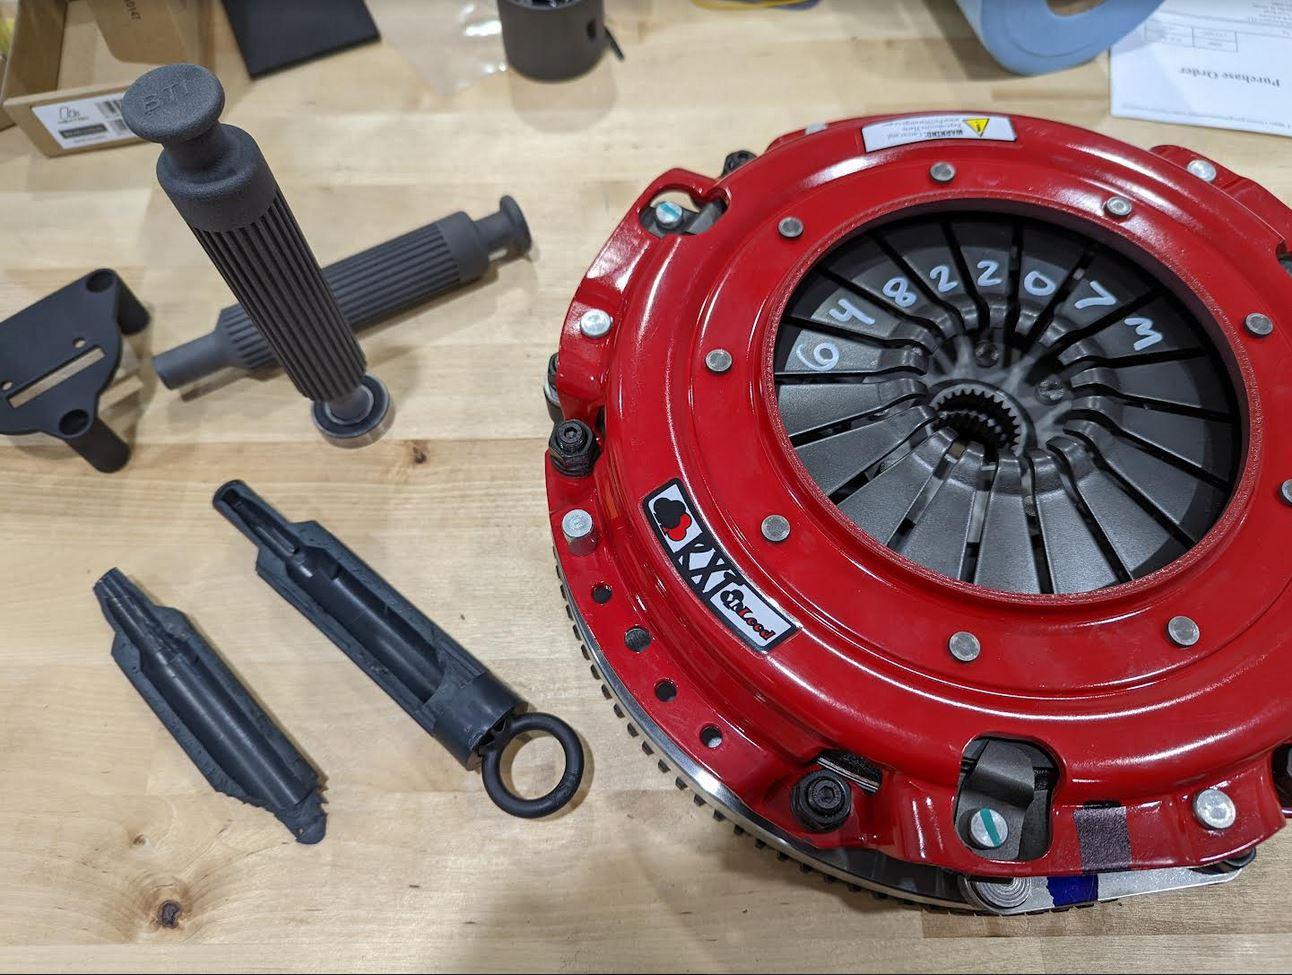
Universal Clutch Alignment Tool

Bicycle Handlebar Alignment Tool for MTB, Road bikes

Window rail alignment part
crankbrothers cleats alignment tool

MGN12 Aligning Tool
Clutch alignment tool - Fiat Grande Punto 1.2 8v