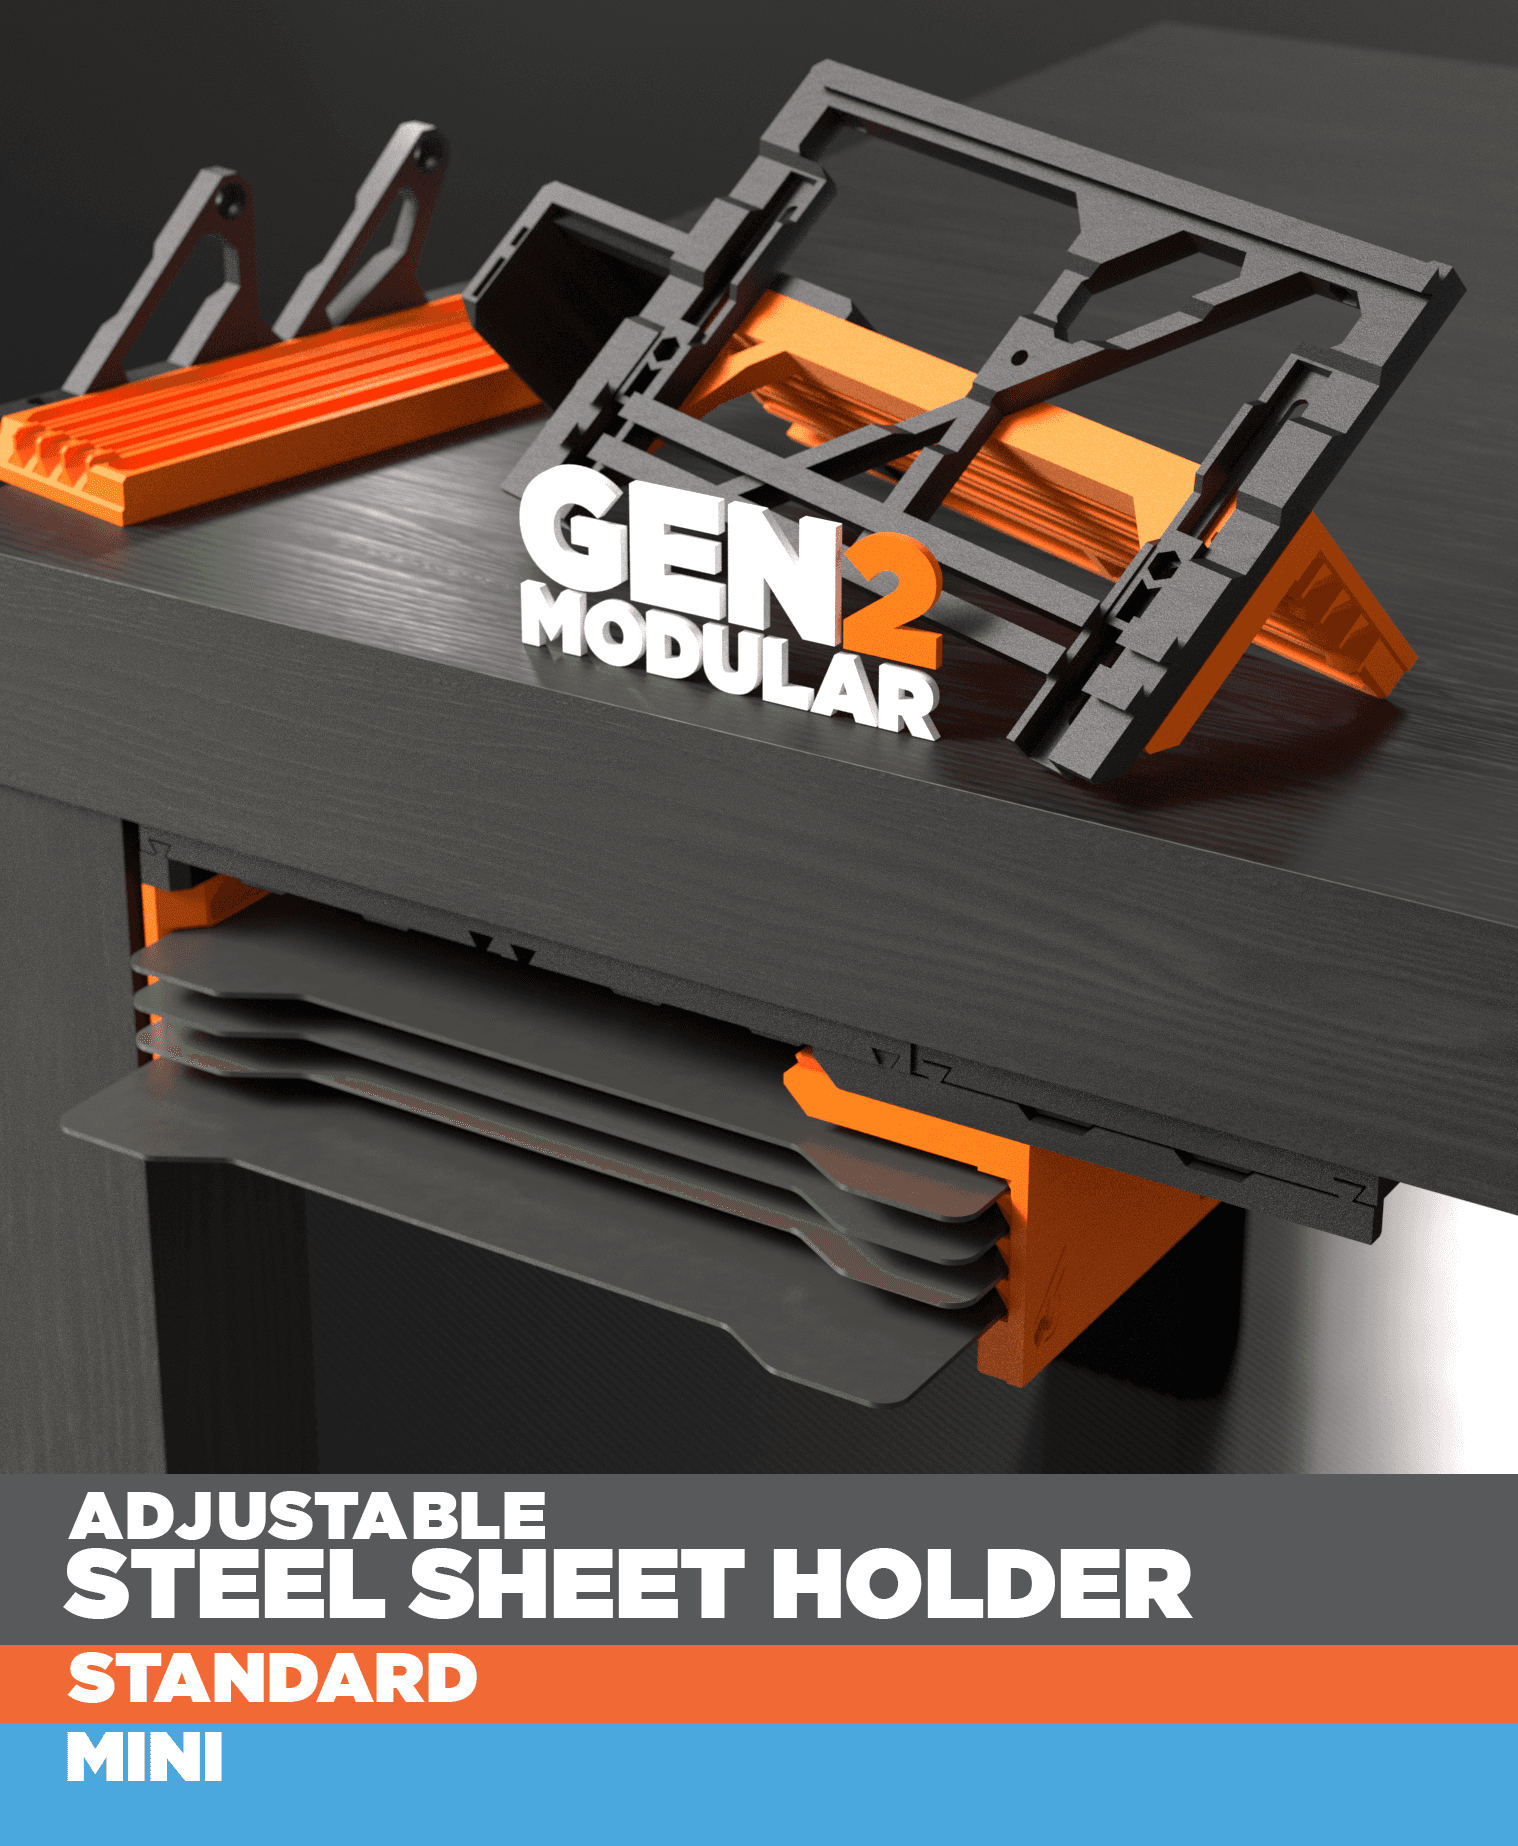
GEN2 Adjustable Steel Sheet Holder
| Visit JERRARI.com for a complete look at the GEN2 collection
Modular solution for storing steel sheets under your enclosure or table top. This version if FULLY ADJUSTABLE in width and depth
Supported Printer Sheet Sizes: Prusa Mini, Bambu Lab A1 Mini, and others withing the size range specified.
Minimum sheet size: 175mm wide x 160mm depth Maximum sheet size: 245mm wide x 235mm depth
This model is part of my GEN2 Modular Rail System and is compatible, stackable, and swappable. This model works well under GEN2 storage drawers as an example. If you have a smaller printer the GEN2 Modular Mini Edition Lack Enclosure Drawers are also compatible with it as well.
HARDWARE • Screwdriver • Countersunk woodscrews: (Metric: 4x25mm to 4x16mm) or (SAE: #6 or #8 up to 1" long) • Drill bit that is smaller diameter than the wood screws • Pen, Marker, or Scratch Awl • Magnets (Optional): 10x5x2mm or 10x2mm • M3 nuts • M3 Screws M3x8 - M3x10
SEE VIDEO FOR WALKTHROUGH INSTRUCTIONS
Note: You can also add magnets to the sliding backer slots to create mild attraction to hold steel sheets in place.
INSTALLING RAILS IF NEEDED
• The GEN2 Adjustable Steel Sheet Holder requires 3 rail units. The easiest way to add 3 units is by printing a Gen2 Rail Double Rail and a Gen2 Rail Single.
• Use templates to mark the hole locations on the surface you are mounting the desired sized rail to.
• Drill out marked locations using a drill bit smaller than the diameter of the wood screw you will be using.
• Prep the rail for installation by installing M3 nuts into the hexagonal holes. You can use a M3 screw to position and tighten the nut in place.
• Install the rail using wood screws, use at least 4 screws on the outer corners to mount the single rail and and 6 to mount the double rail. (extra screw holes are available if you plan to stack more than 2 rows of drawers or contents of heavier than normal weight.)
RECOMMENDED PRINT SETTINGS Filament: PLA (PETG or ABS for heavier duty storage) Nozzle Size: 0.4mm Print Height: 0.2-0.35mm Infill: 10-20%

.jpg&w=3840&q=75)
.jpg&w=3840&q=75)

