

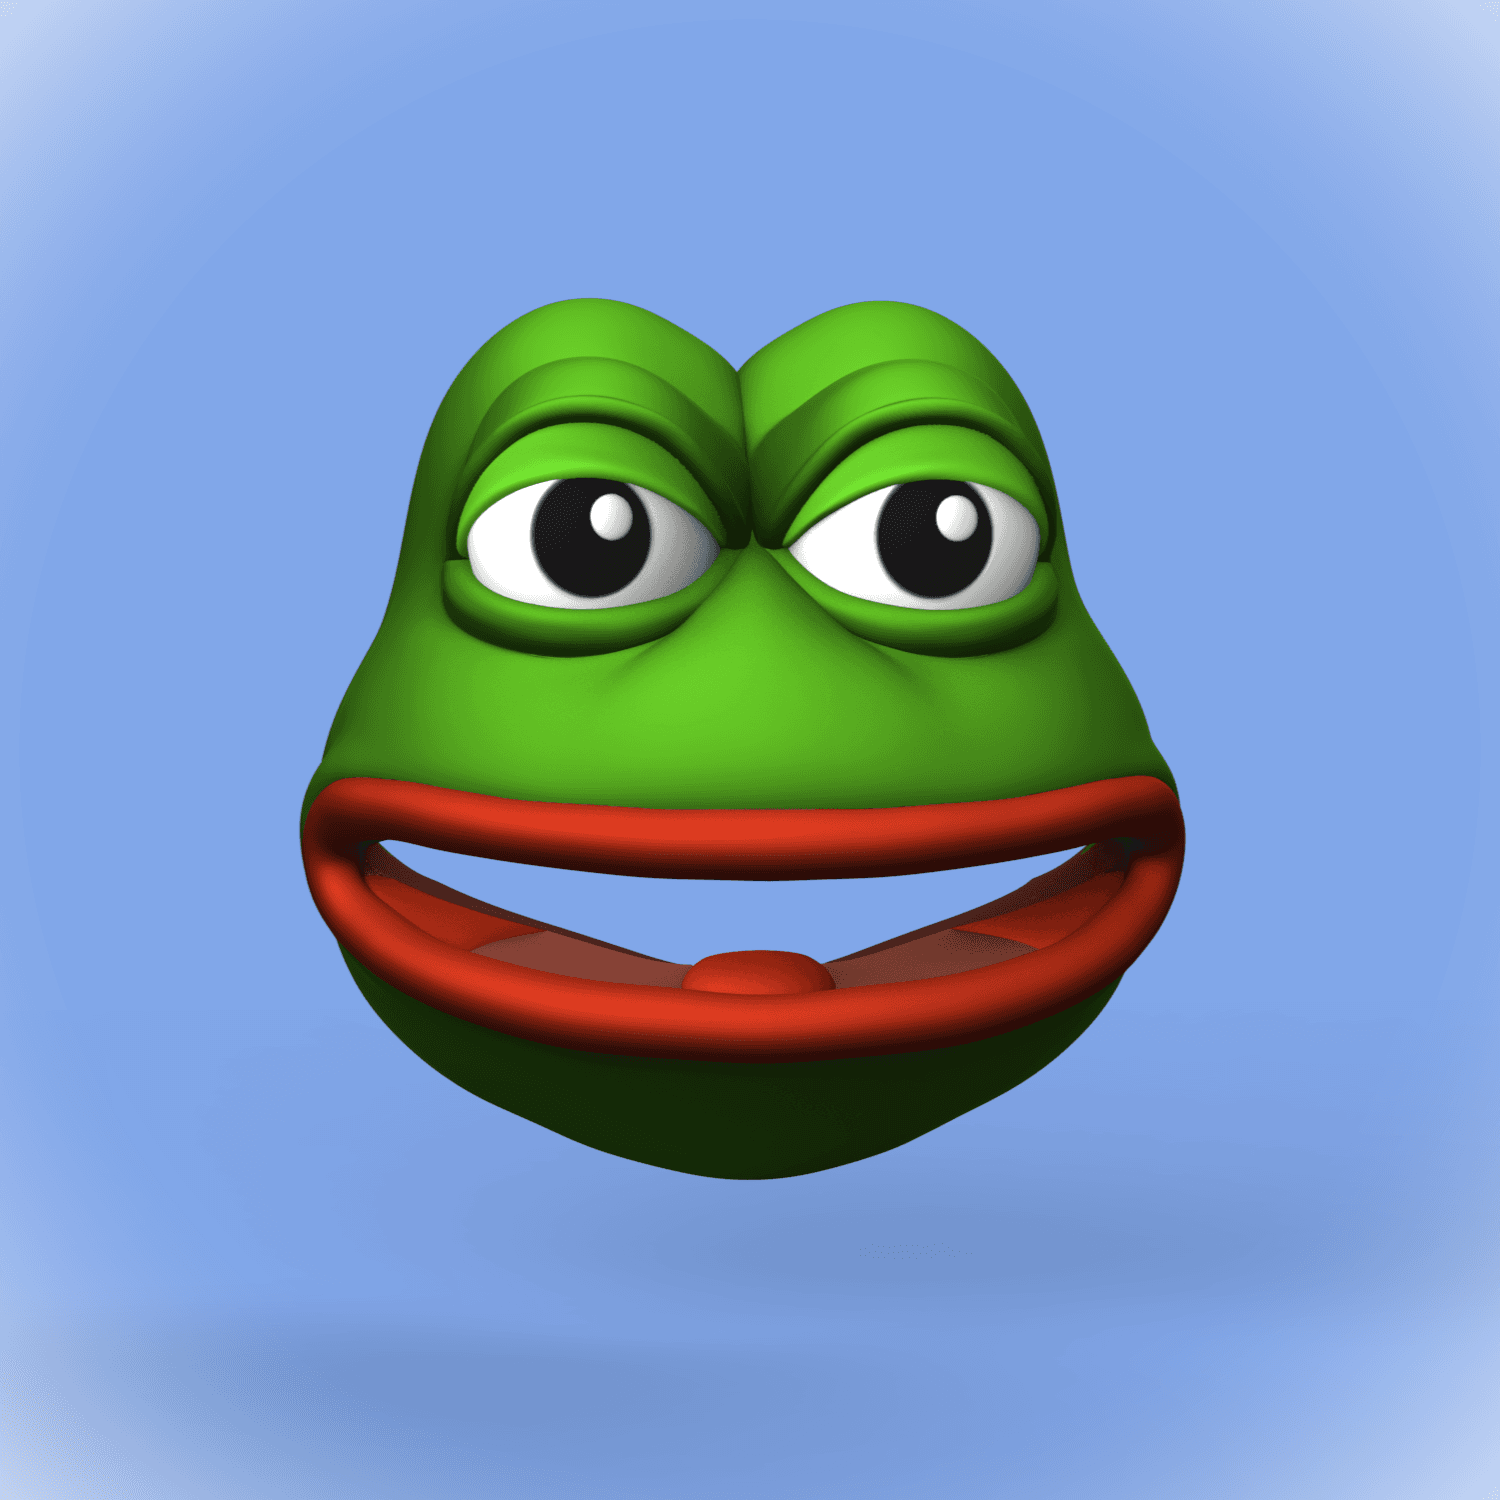
Cheeky Frog Mask #HalloWearables
With this entry I hope to enter the #HalloWearable (#HalloWearables) contest orchestrated by Zack Freedman. Cheeky frog mask:
The theme of this contest is pretty clear, however since I live in Europe I am not very familiar with the honored American tradition of Halloween. So I used this video to get more familiar with the concept and base my entry on: https://www.youtube.com/watch?v=V4rUiV_Hh74 [College Humor's girls's costume warehouse.]
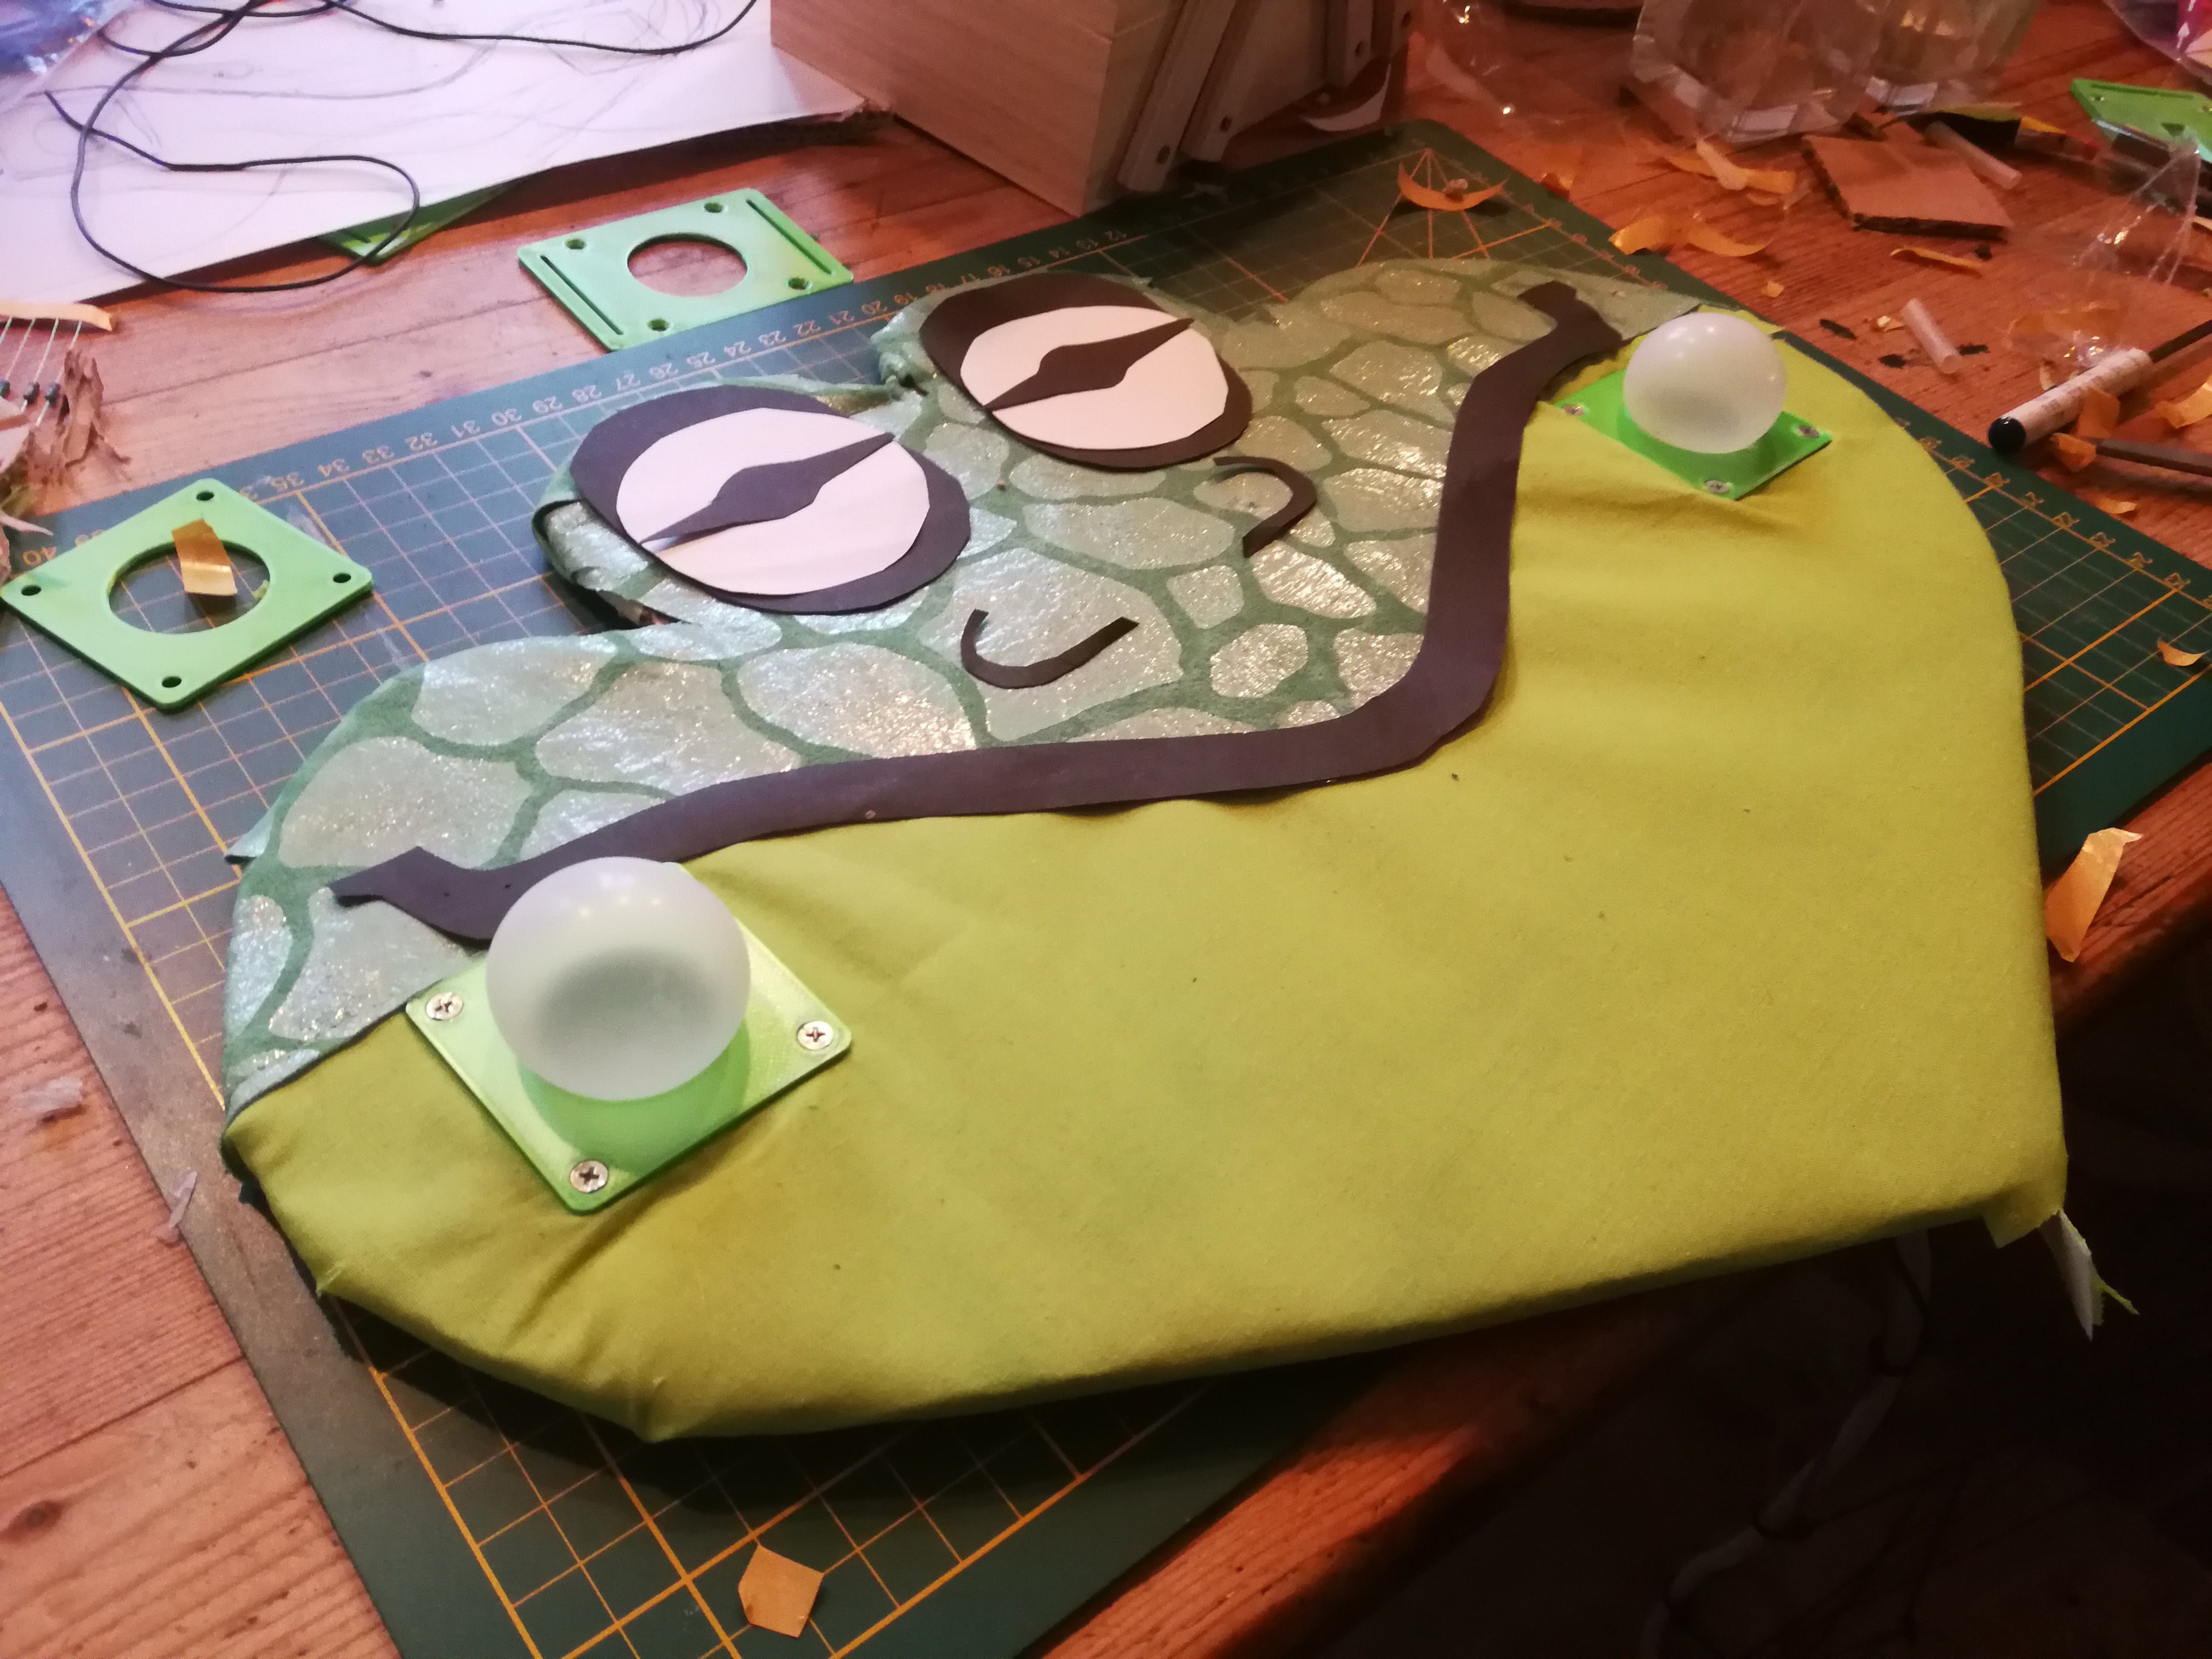
It turned into a frog mask with moving cheeks that can change color using NeoPixels. The cheeks are soft robotic bubbles made from flexible silicone. You can use the 3D files in this project to print the molds and scaffolds. The molds you use to make the bubbles and the scaffolds are to hold them in place and allow for (hand)sewing on fabric.
Making the bubbles for the frog cheeks is very manageable and would highly recommend giving it a try. Since working with silicone is really fun and it makes for a great material to have in your arsenal. Though I have to admit as the date of the honored American tradition of Halloween came closer the panic started attacking me. The complete frog mask turned out to take a lot of steps and I used some stuff from previous projects to get it running. It also dawned on me that there are a lot of different ways to accomplish this project, so if you do decide to make it yourself feel free to stray from the taken path.
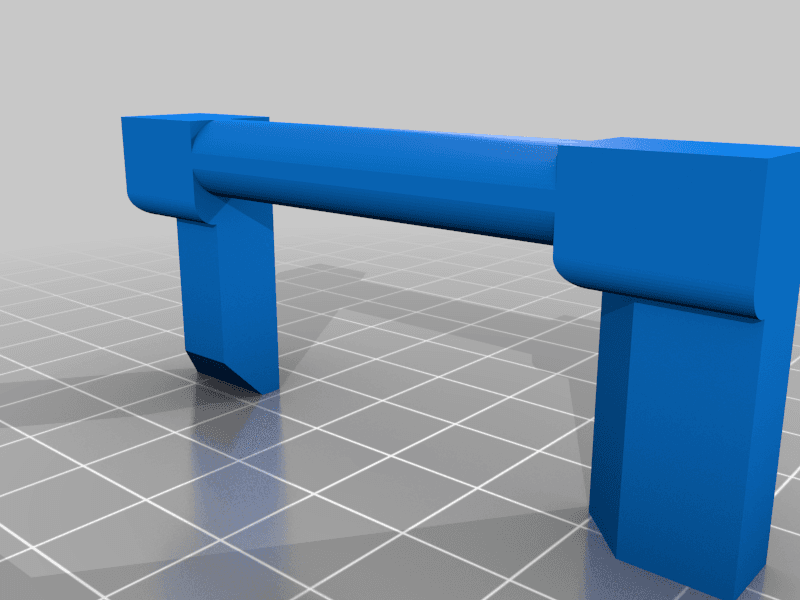
The cheeks works by using DC airpumps to inflate a cavity inside a silicone square. Since the silicone is very flexible and the top layer is thin it allows for a bubble to be formed. But silicone is also elastic you it pops back once the air is let out via a solenoid. The solenoid and airpump are both controlled via a microcontroller.
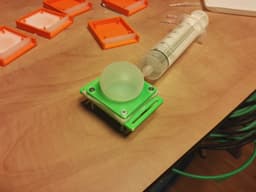
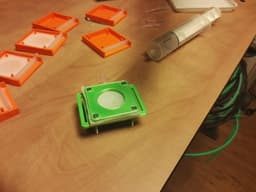
When making the bubble you can cast the top part first by placing the bubble_component (with air inlet attached) in the center and wait for it to cure. Afterwards remove the silicone top part and swap the bubble for the cross so you can cast a "flat" bottom part. After curing this glue the to together with more silicone (on the edges). Use a cut of hypodermic needle to supply air to the bubble via the air inlet after top and bottom part are now 1 part.
In my opinion the settings for the scaffold are not super critical. Printing the mold needs a bit more detail (not excessively) since it has parts that need to fit into each other. Print settings: Scaffold Infill: 20% Infill pattern: cubic Layer Height: 0.35 mm FAST (you can use 0.15mm OPTIMAL for smoother finish of course) Material: PLA
Mold Infill: 50% Infill pattern: cubic Layer Height: 0.20mm NORMAL Material: PLA use brim when printing the 4 pillars
Design files are written in OpenSCAD and can be found here: https://github.com/Inne-Lemstra/Cheeky-Frog It takes some getting used to (my code) but you can change the dimensions of the bubbles pretty easily to fit your project better.
BOM and assembly instructions (TBD) can be found here: https://hackaday.io/project/182443-cheeky-frog-mask
Control system used can be found here: https://hackaday.io/project/181411-bornhack-bubble-badge
Video of the mask in action: https://vimeo.com/641035920
Cheeky Frog Mask #HalloWearables

Cheeky Frog with Wolverine Costume - Claws and Middle Finger Versions / 3MF Included / No Supports

Cheeky Frog St Patrick's Day / 3MF Included / No Supports
.png&w=3840&q=75)
Cheeky Frog Middle Finger / Peace With Santa Hat / 3MF Included
Cheeky Frog Figurine Holding a Heart / 3MF Included / No Supports
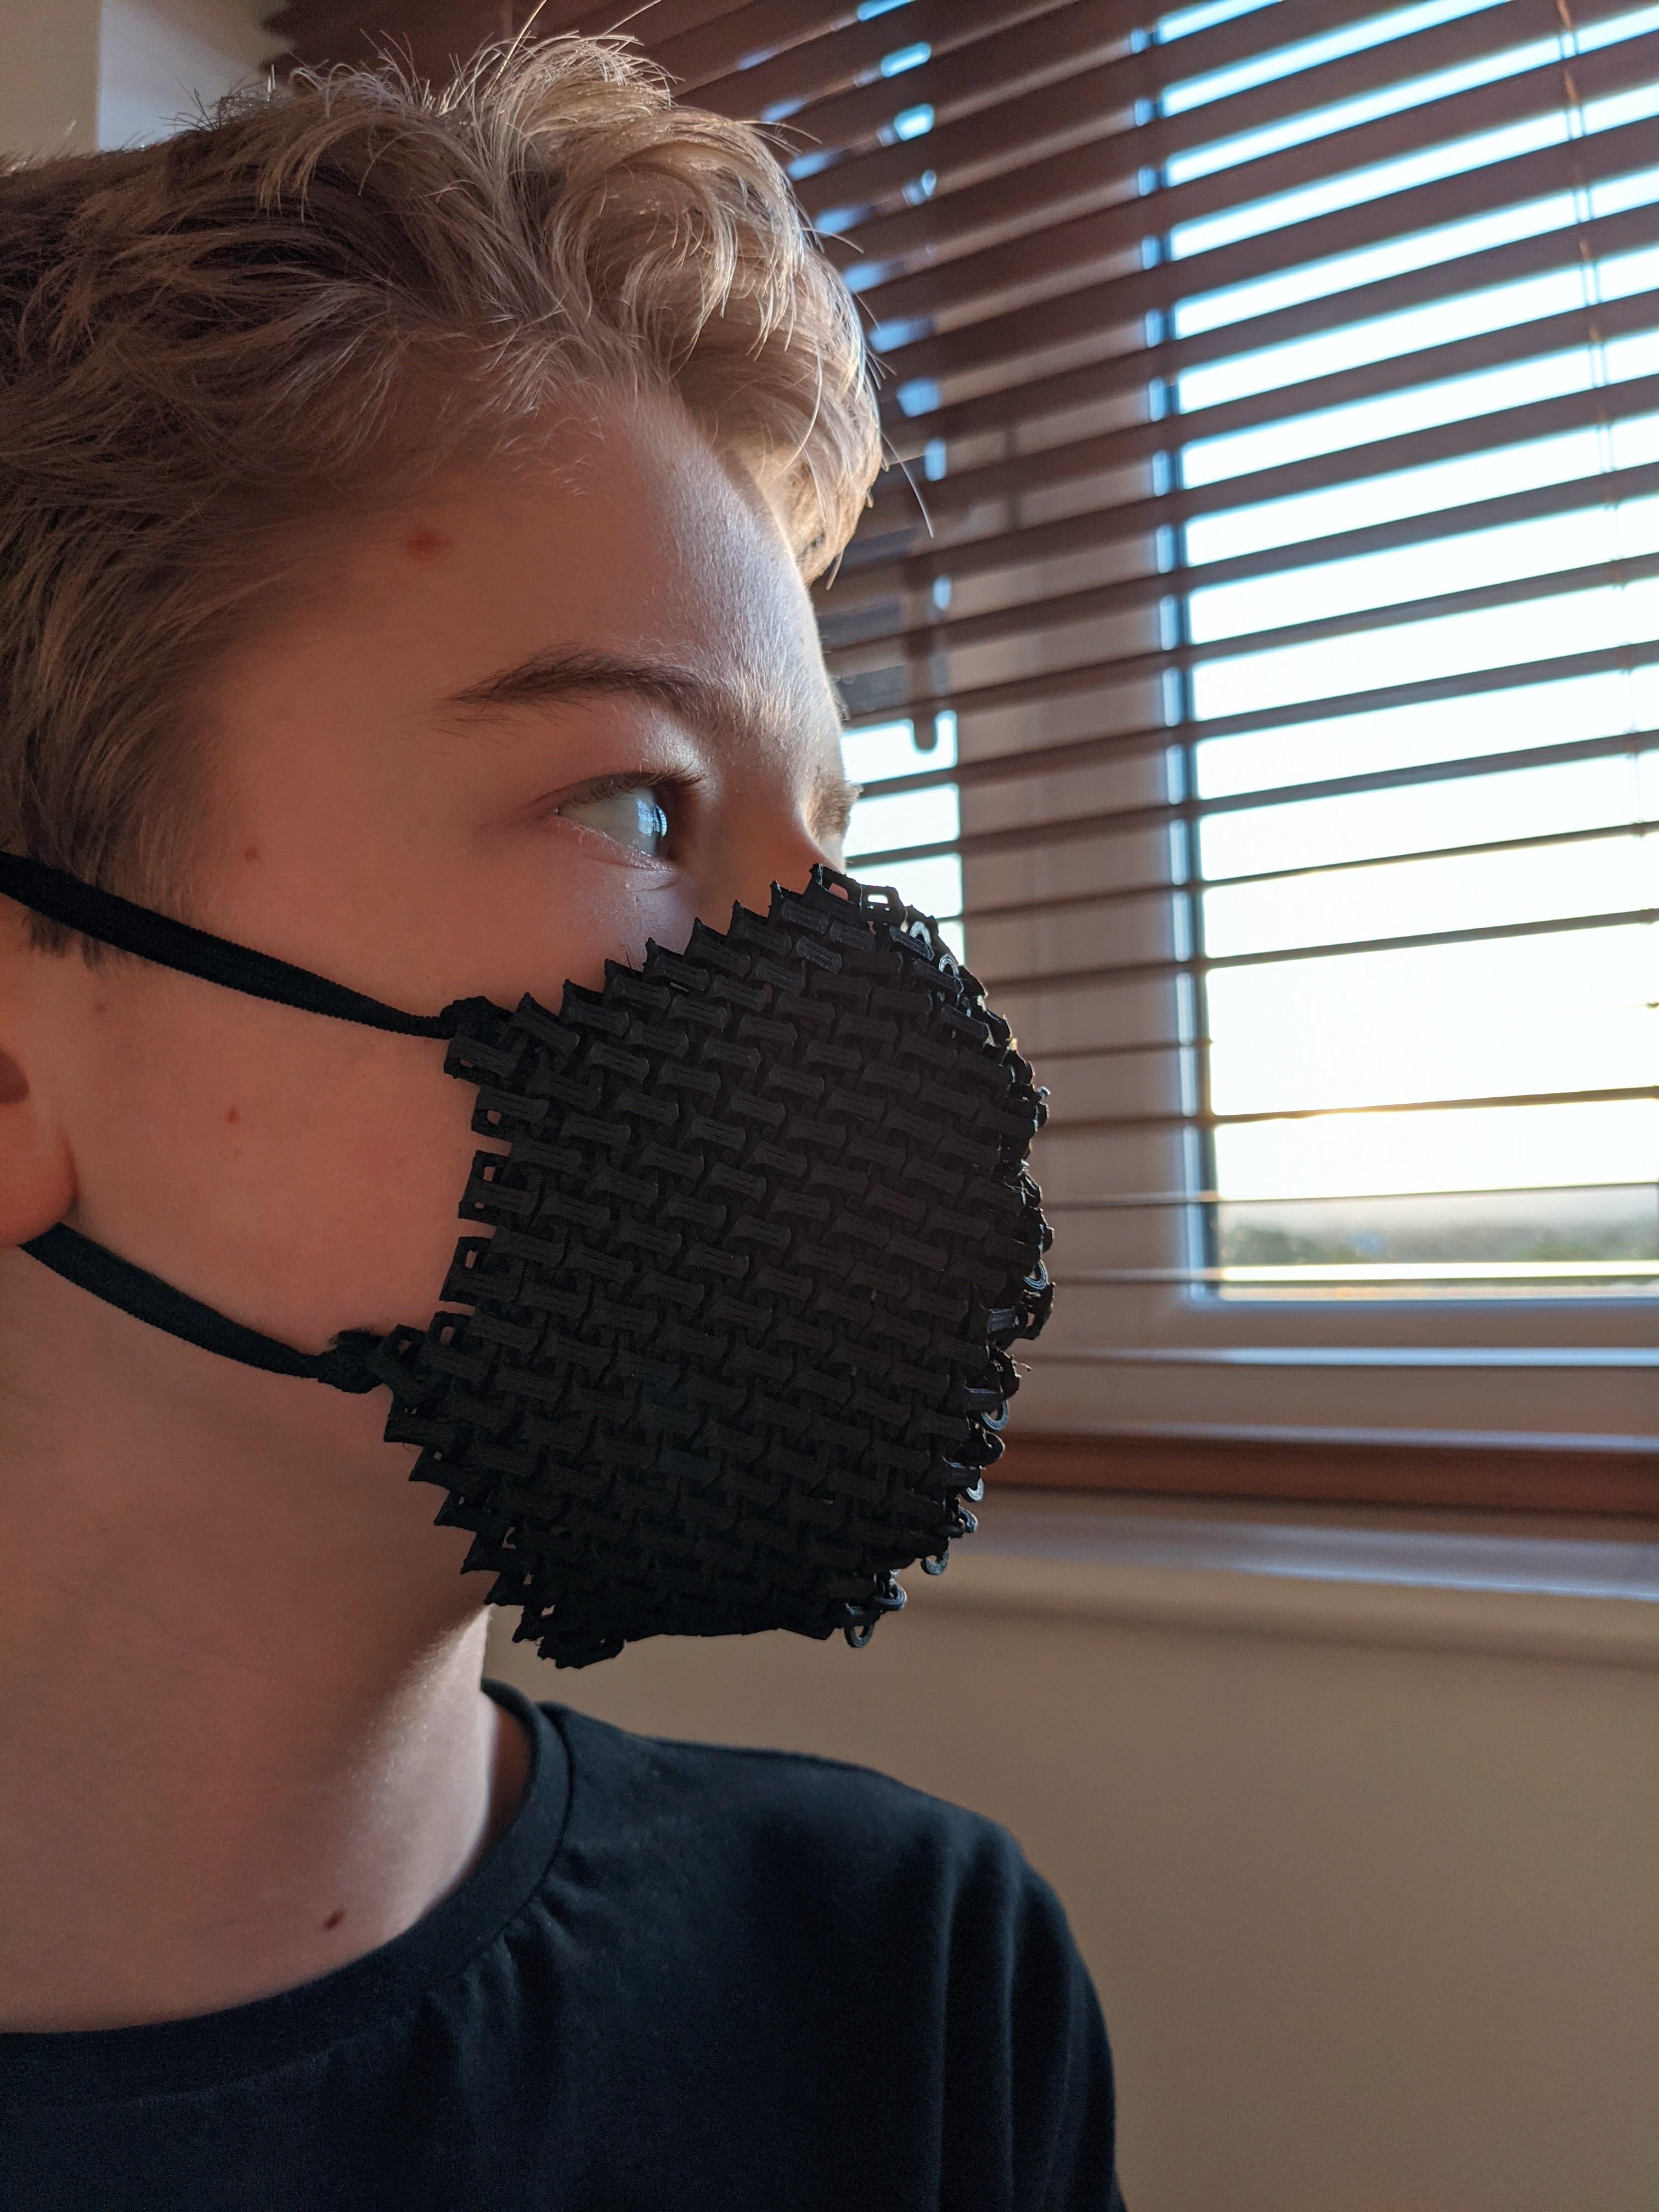
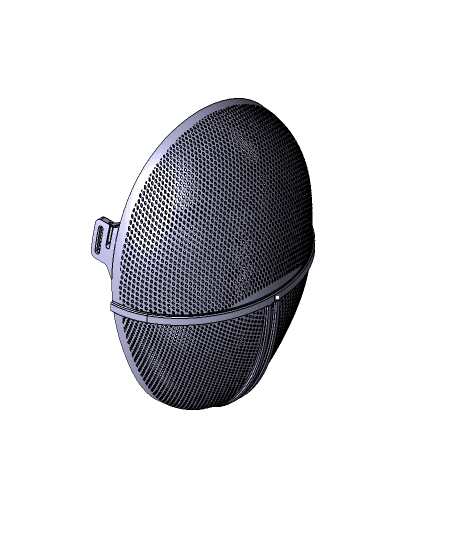
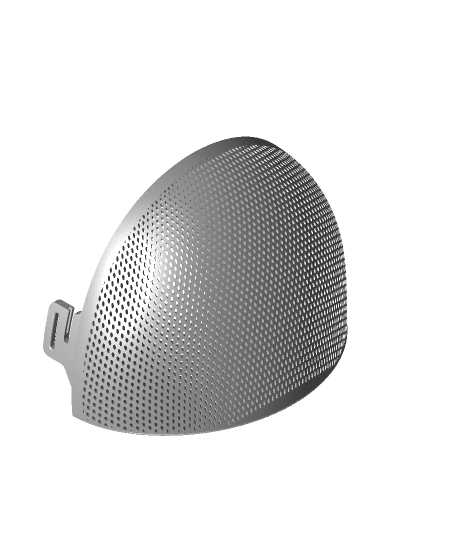
Chainmail cosplay mask #Hallowearables
.png&w=3840&q=75)
Cheeky Frog Middle Finger / Peace Missile-Toad / 3MF Included
Squid Game Soldier Mask
Squid Game Mask
Squid Game Mask STLs
Wendigo Mask 2
Wendigo Mask Fangs
Pepe Mask/Wall Art -"Croak" (Sculptober Day 8)
Wendigo Mask Part 1

FlexiSlugs Masked Mercenary - Flexi Articulated Chibi Slug STL
Wendigo Mask (Organized)

Hear No Evil Frog
Mischievous & Adorable Stitch Collectible Art
SoundMask v0.16

Pixel pup - territory
