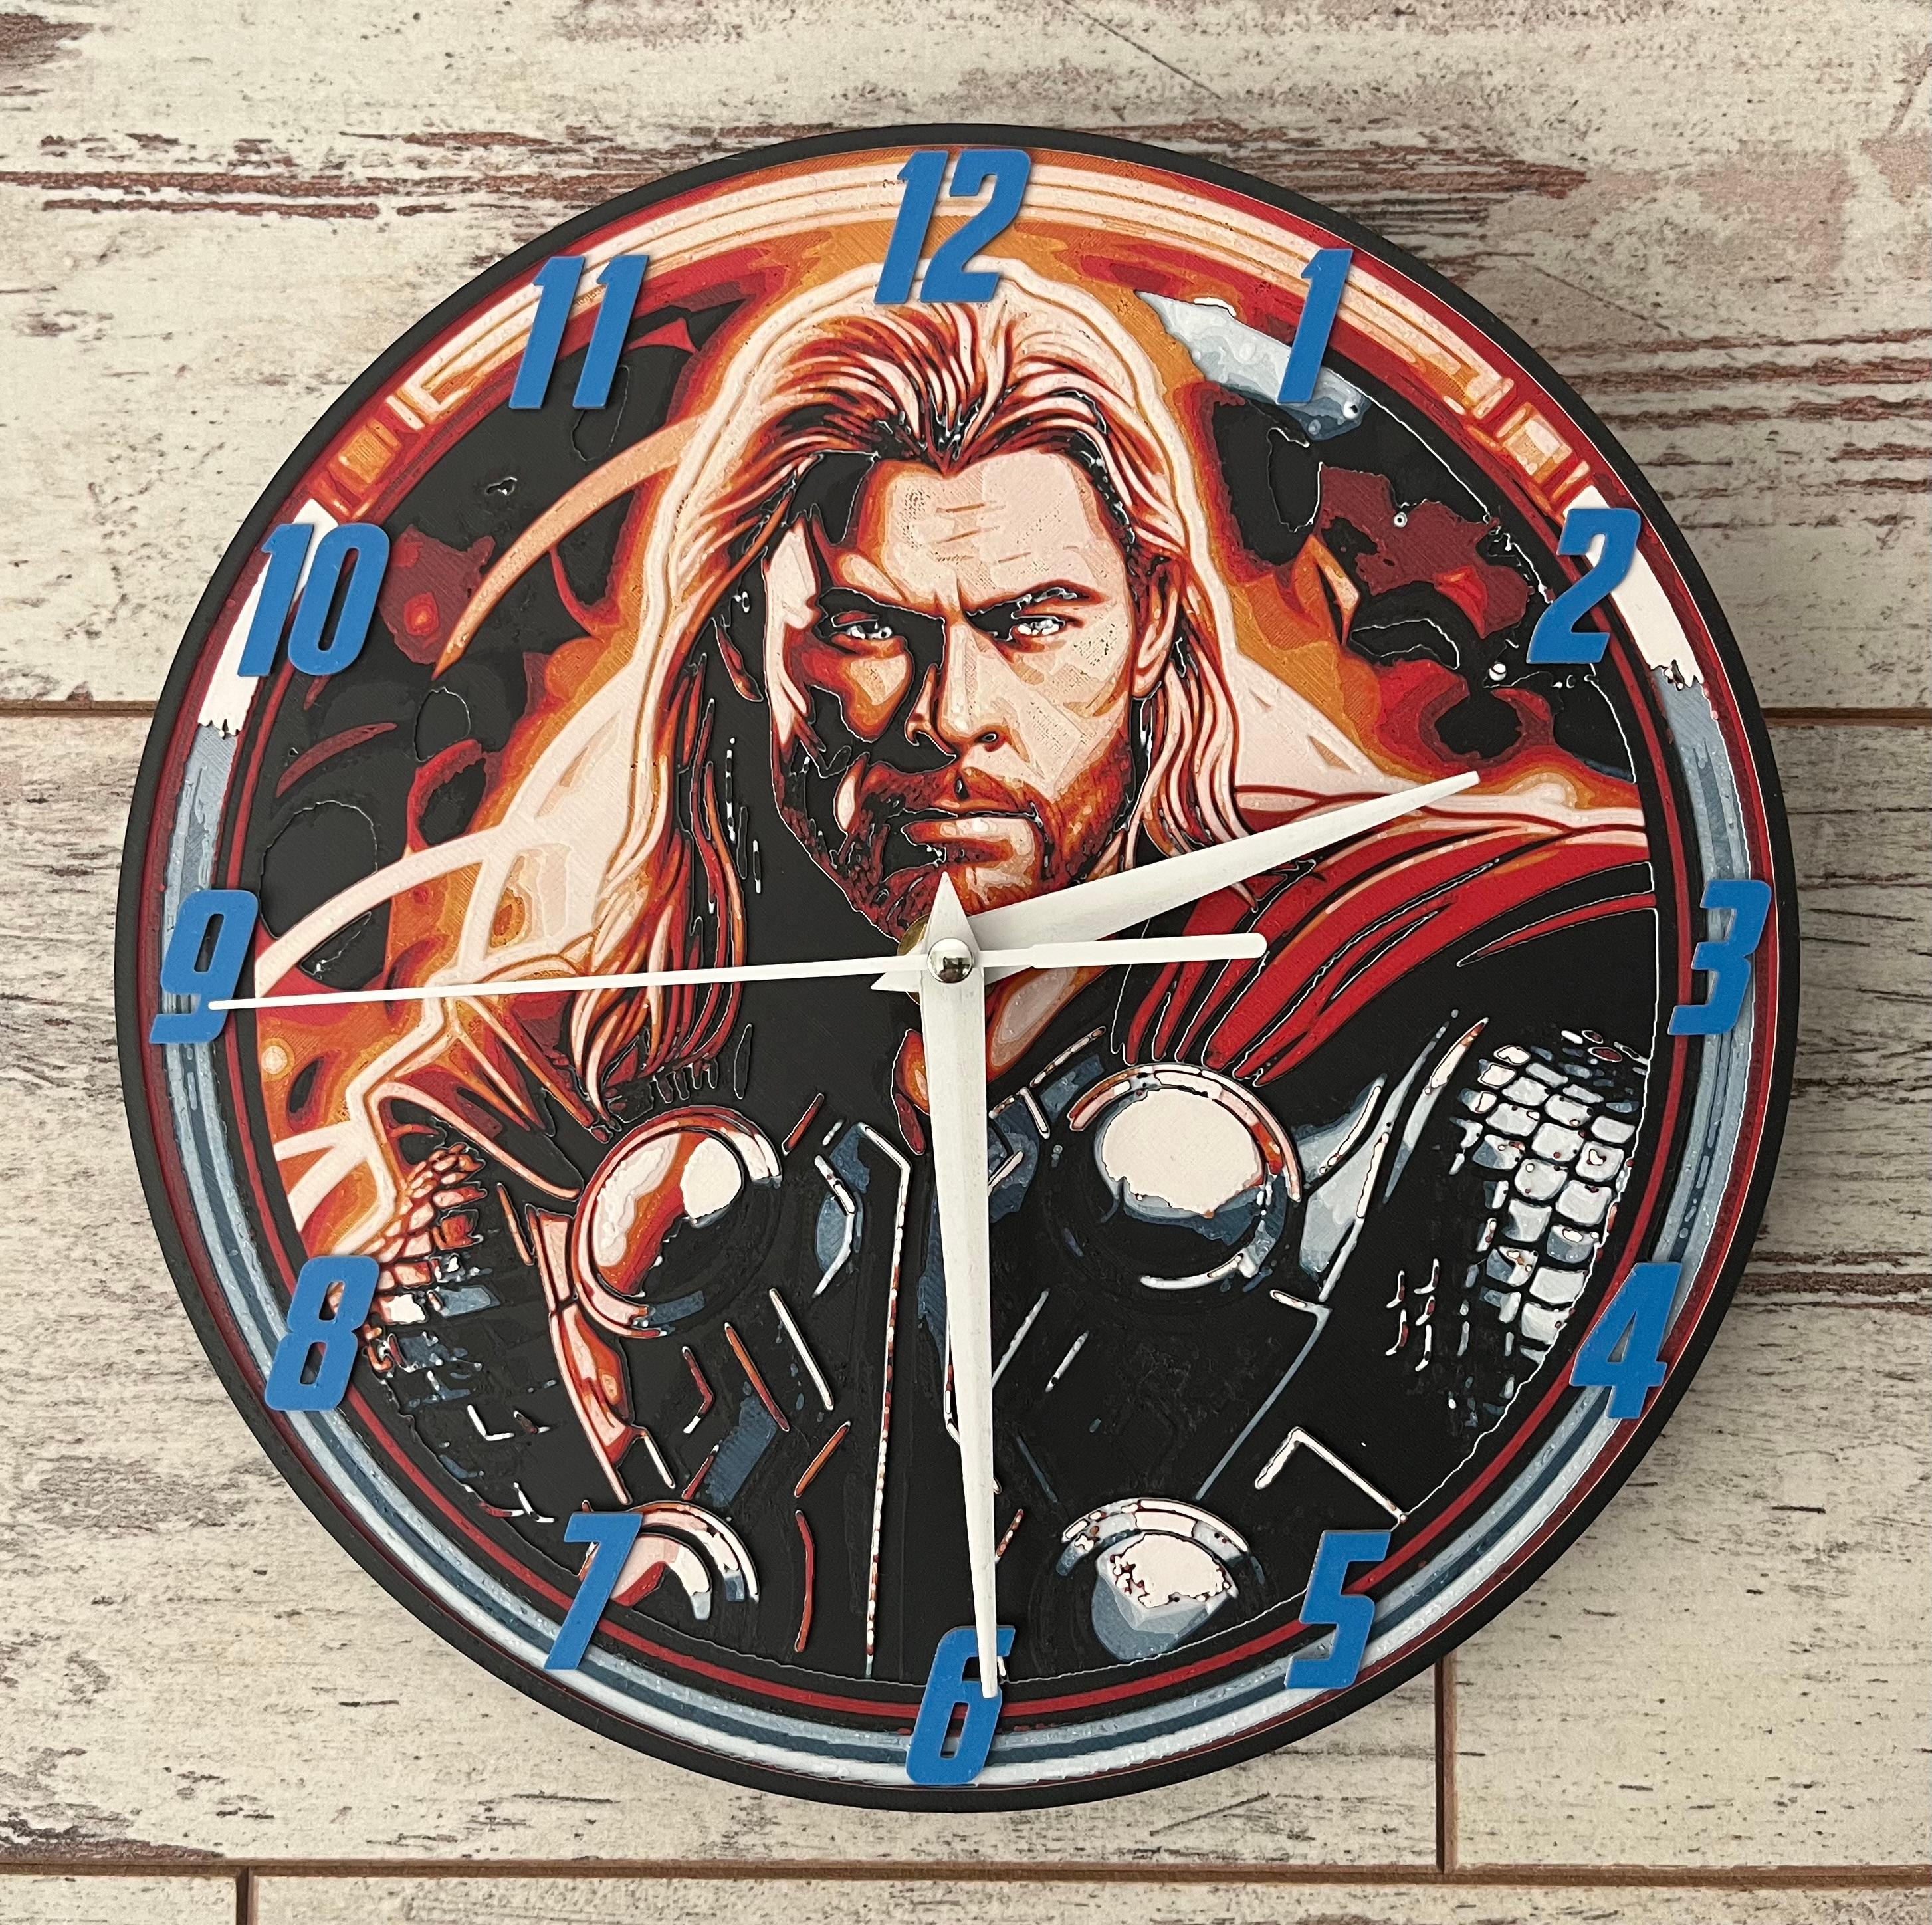
5 Color HueForge model. 'Thor Clock' filament painting made using Bambu filaments.
if you are not familiar with printing at really fine layers such as 0.04 you will need to lower the print speed on printers like the Bambu
(I recommend the following speed settings for the Bambu with 0.04 layers, inner walls, outer walls and gap infill - 200mm/s, sparse infill, internal solid infill and top surface - 150mm/s)
Print at 100% infill with a layer height of 0.04mm with a base layer of 0.24mm
Filaments Used: PLA Bambu PLA Matte Charcoal Transmission Distance: 0.6 PLA Bambu PLA Matte Marine Blue Transmission Distance: 2 PLA Bambu PLA Matte Ivory White Transmission Distance: 4 PLA Bambu PLA Matte Scarlet Red Transmission Distance: 1.5 PLA Bambu PLA Basic Yellow Transmission Distance: 5
Swap Instructions: Start with Charcoal At layer #10 (0.6mm) swap to Marine Blue At layer #11 (0.64mm) swap to Ivory White At layer #19 (0.96mm) swap to Charcoal At layer #22 (1.08mm) swap to Scarlet Red At layer #25 (1.2mm) swap to Yellow At layer #27 (1.28mm) swap to Ivory White for the rest. At Layer #36 (1.56mm) swap to Charcoal for the border
At layer #41 (1.76mm) swap to Marine Blue for the numbers (clock with numbers)
This is a filament blending model, I would recommend trying to match the td as close as possible if not using the exact filaments to get the best results
Use the exact numbers in your slicer to match up properly.
The Model is designed to print with 0.4 nozzle.
If re-scaling model make sure not to alter the Z height of the model
ALL Ian Smalley's designs are protected by Copyright Law. Downloading does not give you permission to use the files or physical prints for financial gain. If you want a commercial license to Legally sell prints from my designs, you will need a SELLER subscription.
add a negative cylinder to the Centre of the model in slicer to create the correct size hole for your movement or alternatively mark the Centre at the rear and drill the required size hole.
Link for the movement that I used is listed below but any standard movement will be fine (be sure to check the size of the hands)
https://www.amazon.co.uk/dp/B0BBLXG55S?psc=1&ref=ppx_yo2ov_dt_b_product_details
.png&w=3840&q=75)

