
Lithophane Pencil Cup
Model originally uploaded to Thingiverse at https://www.thingiverse.com/thing:2837999.
This pencil cup holder is based off my original "Small Lithophane Lamp" thing, found here: https://www.thingiverse.com/thing:2624346
After printing a few lamps, I realized that these could make nice pencil cup holders as well. You could also put a tea light in for a cool effect. The original lamp design is nice, but this is much simpler and no electronics are required. I am printing these out for another STEM class that I am teaching on 3d printing, for Eastwood Middle School in May, 2018.
I improved the design from the original lamp. The lid fits much better on the top, and no glue is needed to keep everything in place.
Instructions:
- Print out 4 Lithophanes, using the instructions below, ensuring you have the proper size. I usually print two blanks for the sides, and two with logos for the front and back. Do whatever you think you will like.
- Print out the Base. No supports needed, use 40% infill.
- Print out the Lid. Rotate in your slicer 180 degrees so the cutout side is printing face up. No supports needed, also use 40% infill.
- Slide the Lithophanes into the frame. Put the lid on top. If the lid isn't fitting well, try to rotate it. It should go on pretty easily, but it will stay once it is put on. Don't force it.
<b>Instructions for the Lithophane (same as the lamp version):</b>
Find a picture that you want to use for your Lithophane. This image needs to have the correct dimensions to ensure that the Lithophane will fit. Please note, the dimensions of your image needs to be exactly 491(w)x658(h) pixels. If your image size is different, it may not fit in the frame. Most image software allows you to change the dimensions of your "canvas" to achieve the proper dimension. I have provided a blank image, open it up by navigating via the Thingiverse thumbnails. Right Click/ Save As to use it (it has the correct dimensions).
Go to the 3dp.rocks site. http://3dp.rocks/lithophane/ Go to the "settings" page and make the following changes:
Maximum Size (MM) - change to 75 Border (MM) - change to 3 Thickness (MM) - confirm it is 3
The other default settings should be fine. Next, go to the Images tab, upload your image. After that, go to the model tab, and press the "download" button.
Please note: the final dimensions of the Lithophane are 56(w)x75(h)mm, which includes a 3mm border around the entire lithophane. Repeat step 2 above until you have all your images created. Feel free to also use the "blanklithophane.stl" if you want a lithophane that has nothing on it. You can also use this STL to double check that you have the correct size by loading it in your slicer, and stacking it on top. The dimensions (including the border) should be the same as the Lithophane you are printing.
Use your slicer to print the Lithophanes. I recommend using 100% infill for anything with a picture on it. You can use 20% infill if you are just printing the blank.
Lithophane Pencil Cup

Organic VaseNO AMS
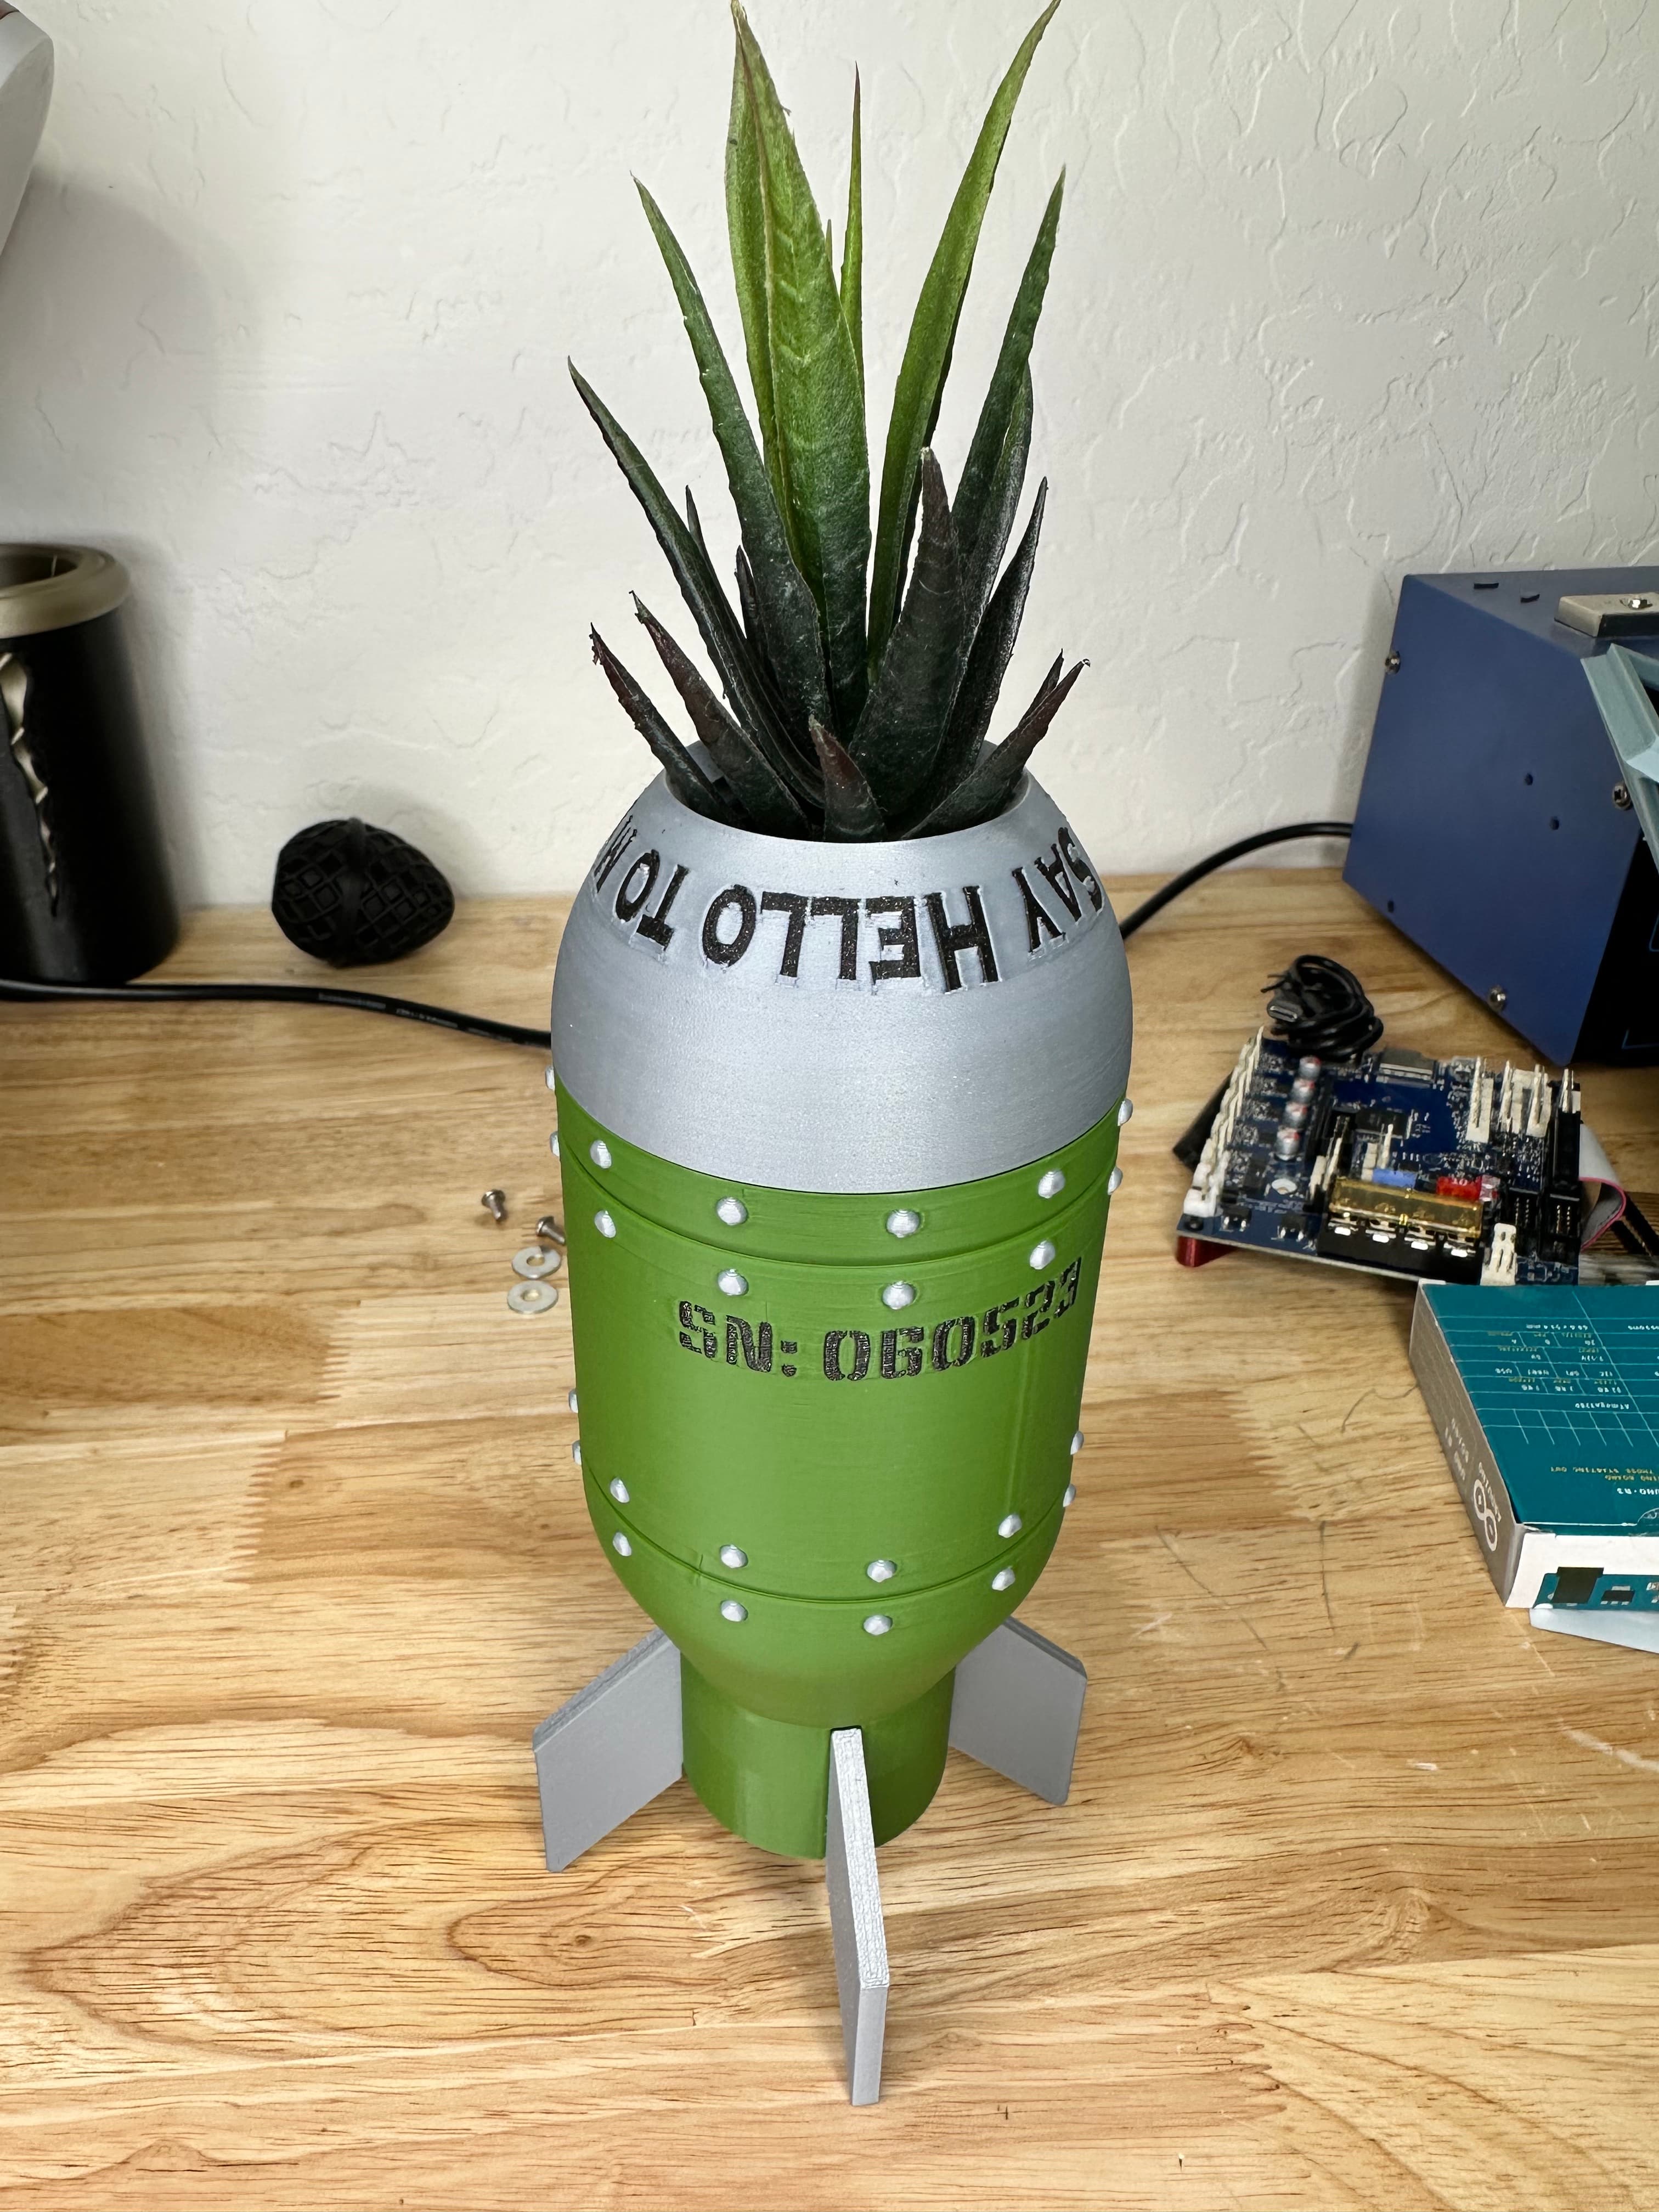
Make PEACE Bomb Succulent Pot, Pen, Pencil cup, Tool Cup! #FunctionalArt

Pokeball Pencil Cup, Pokeball Pencil Holder
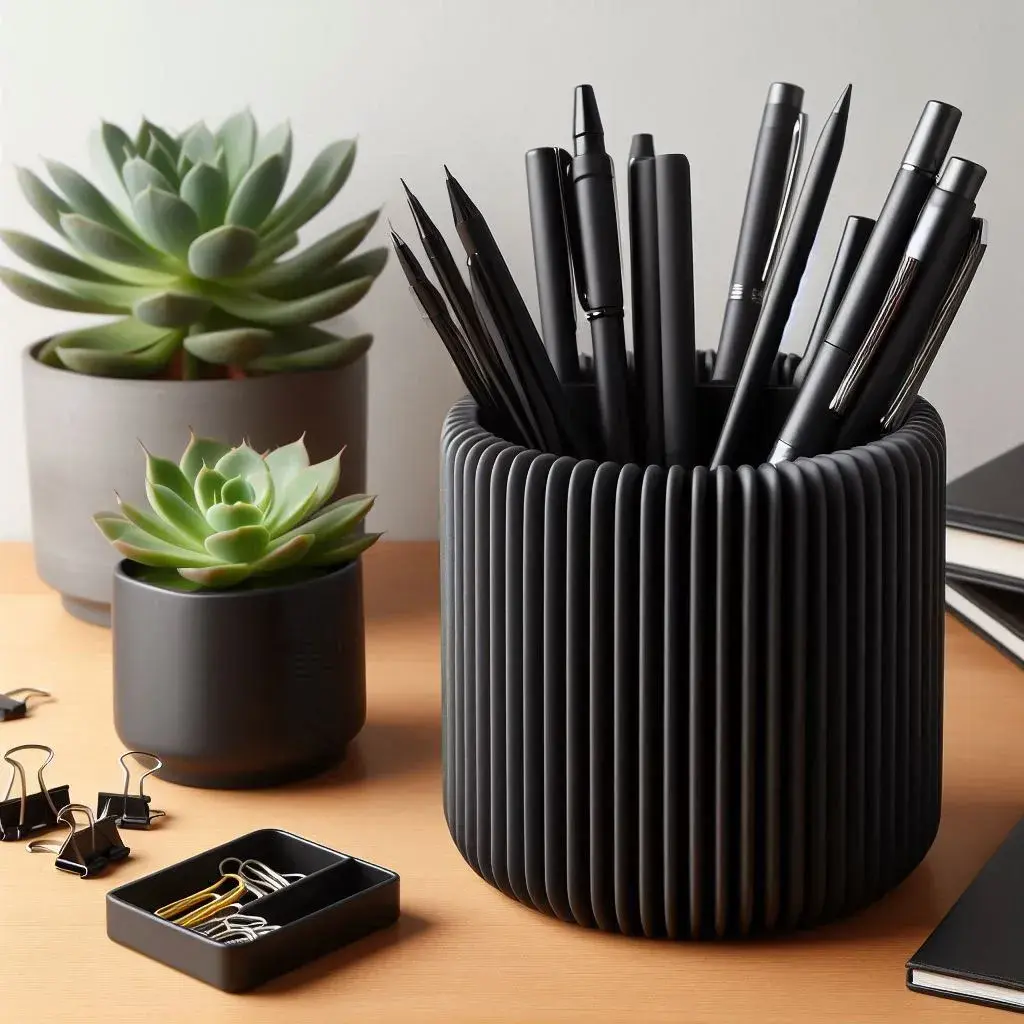
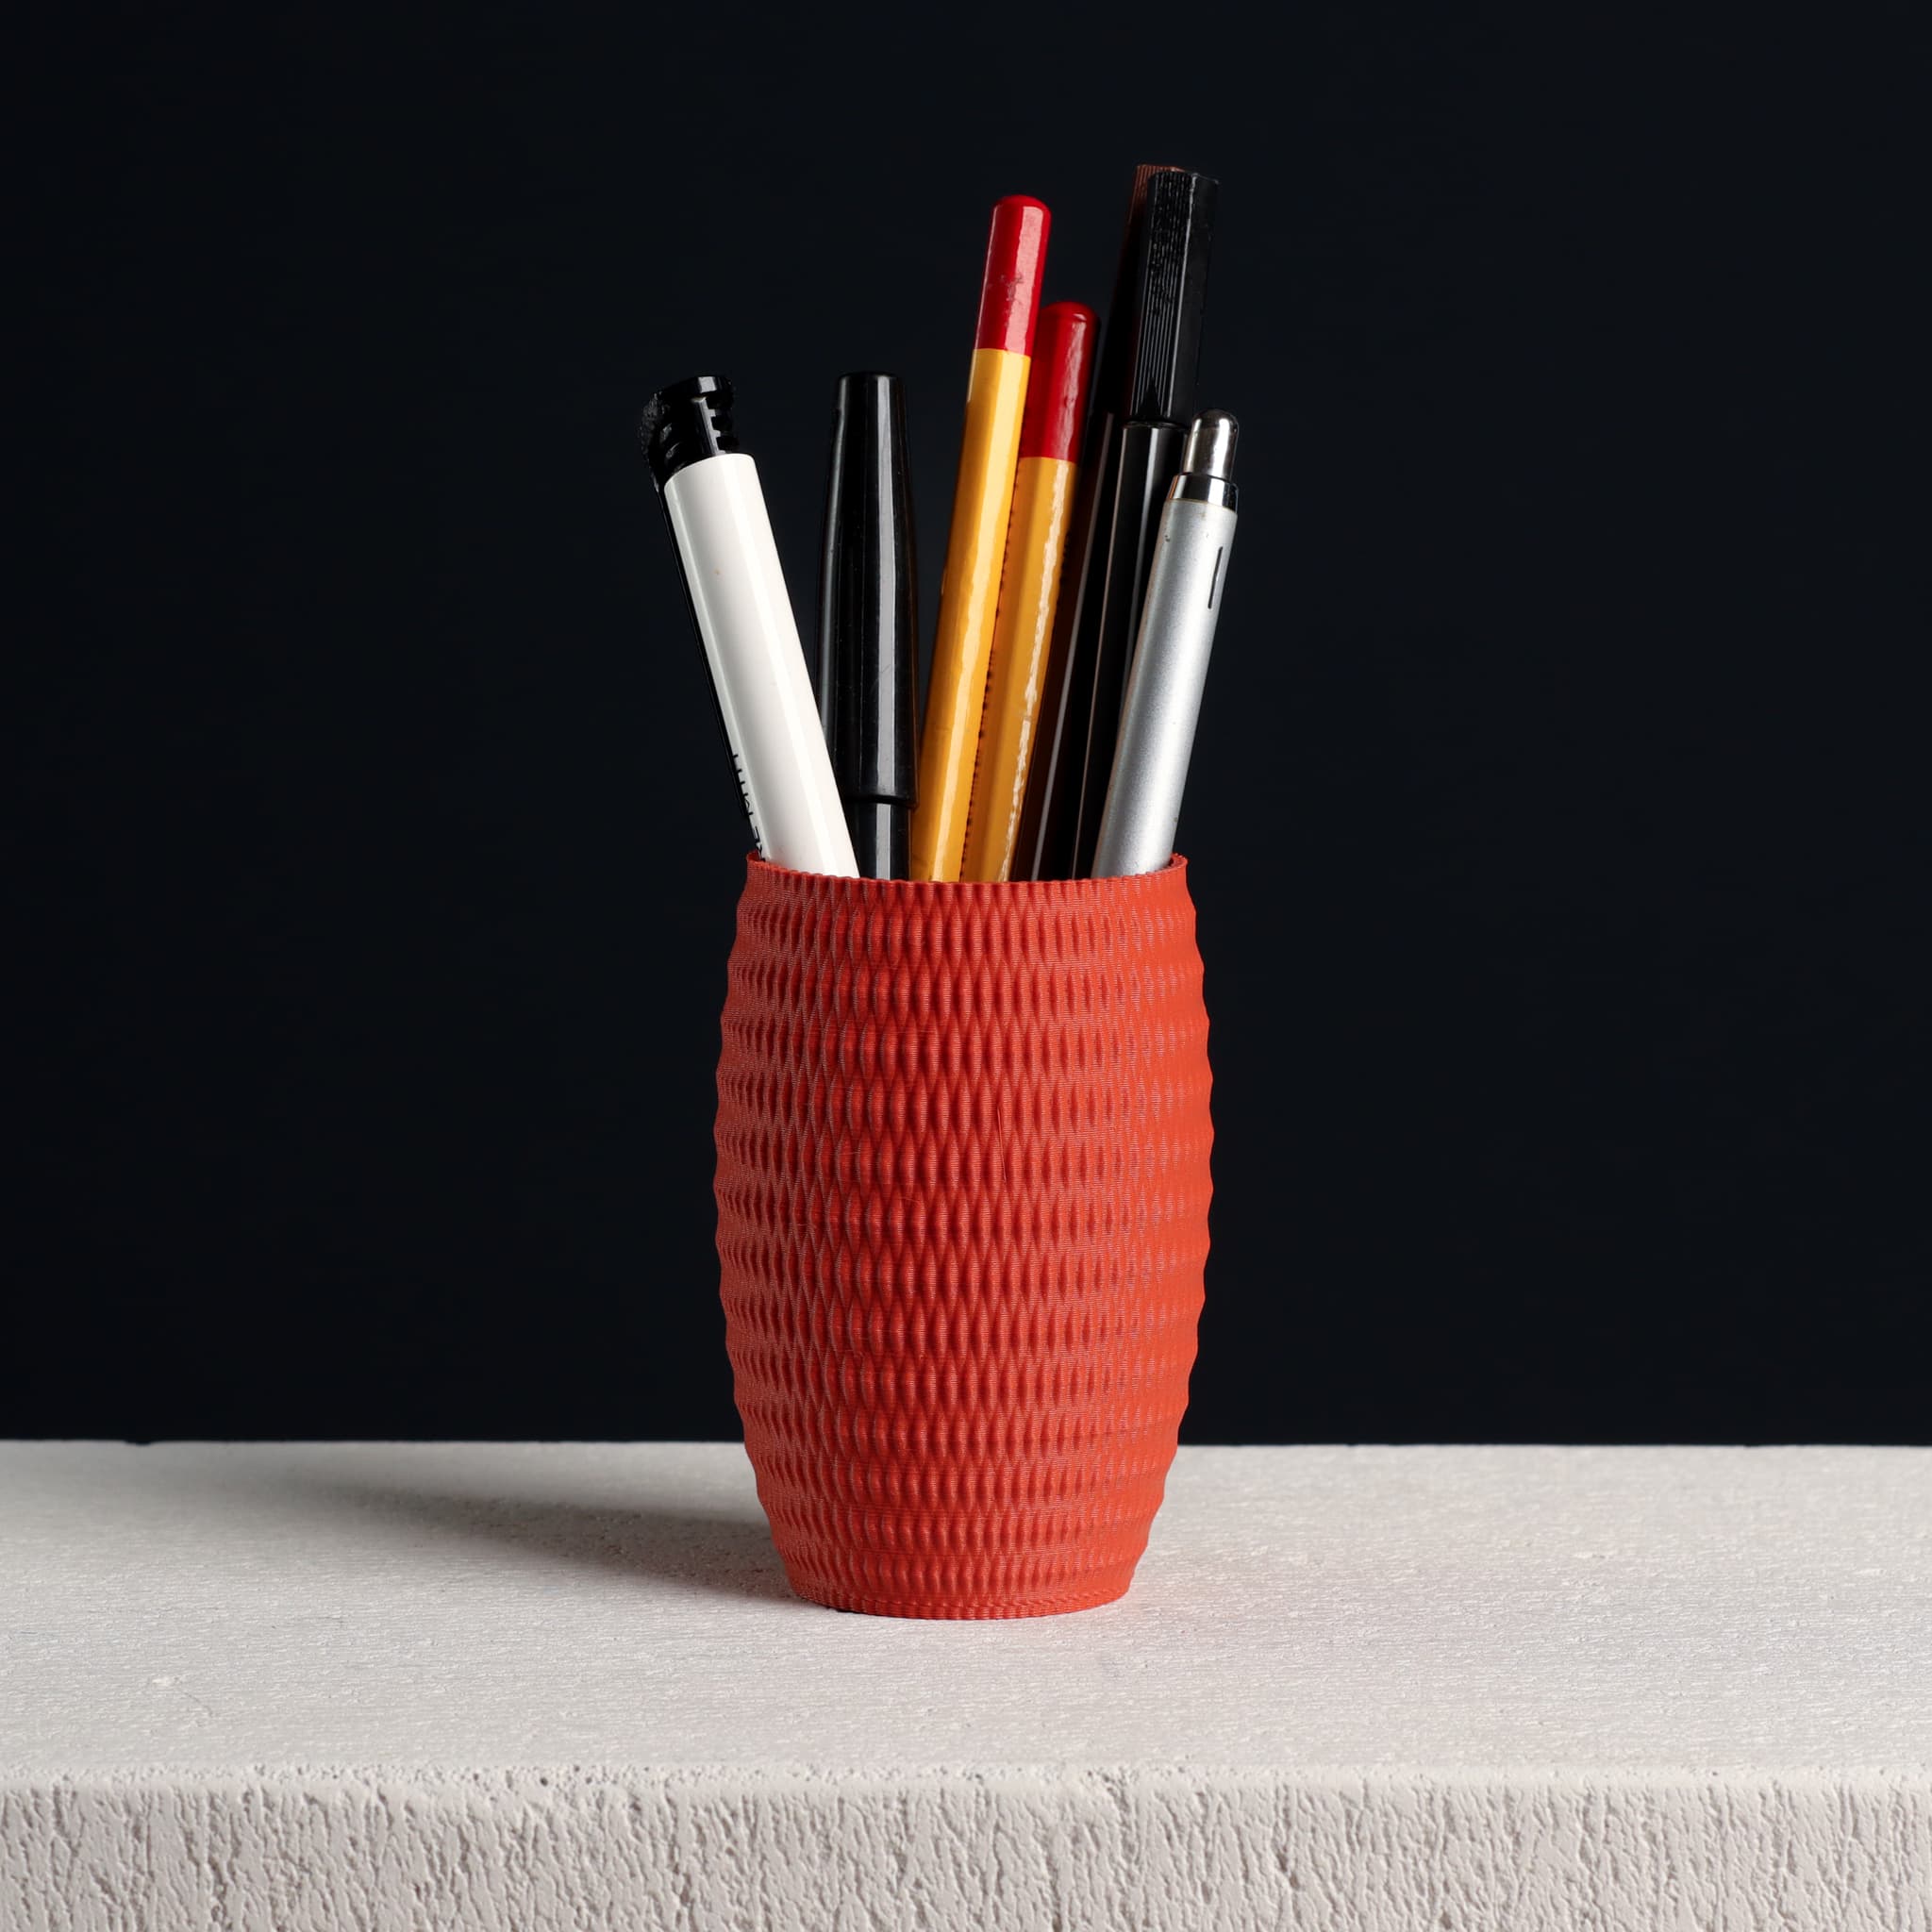
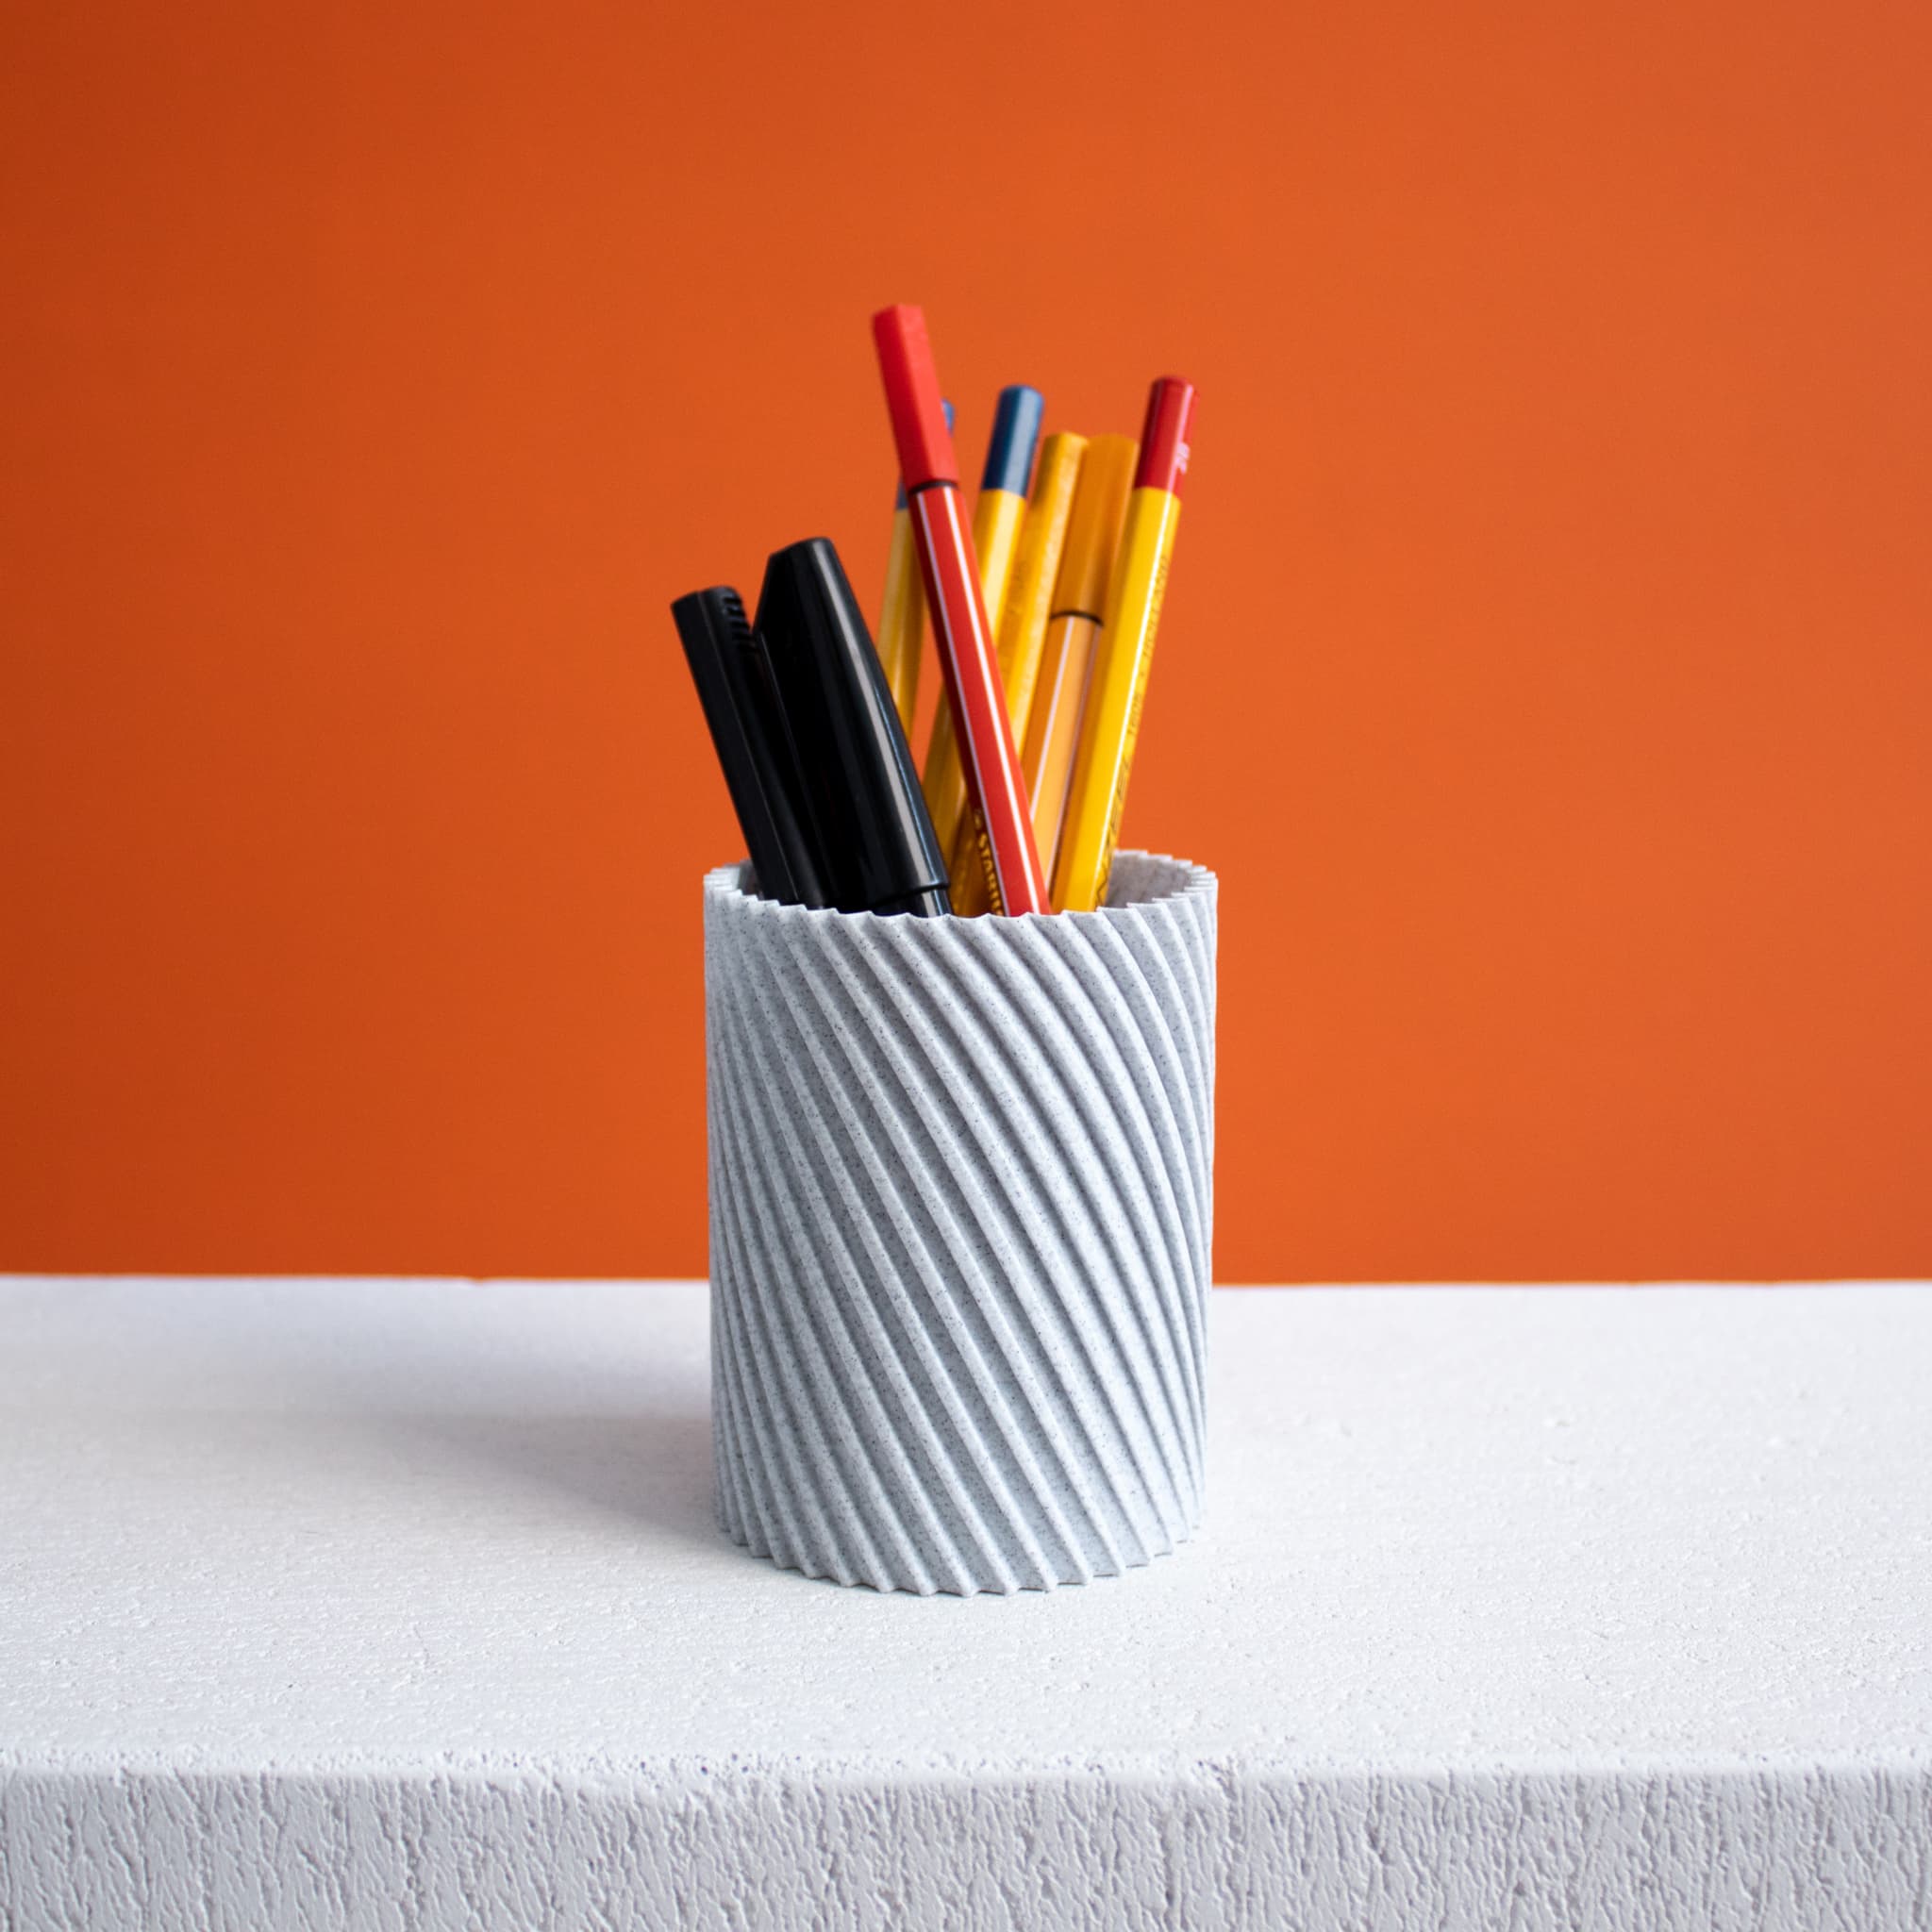
Modern Design Ribbed Pencil Holder, Pencil Cup
Modern designed Ribbed Pencil Holder, Pencil Cup
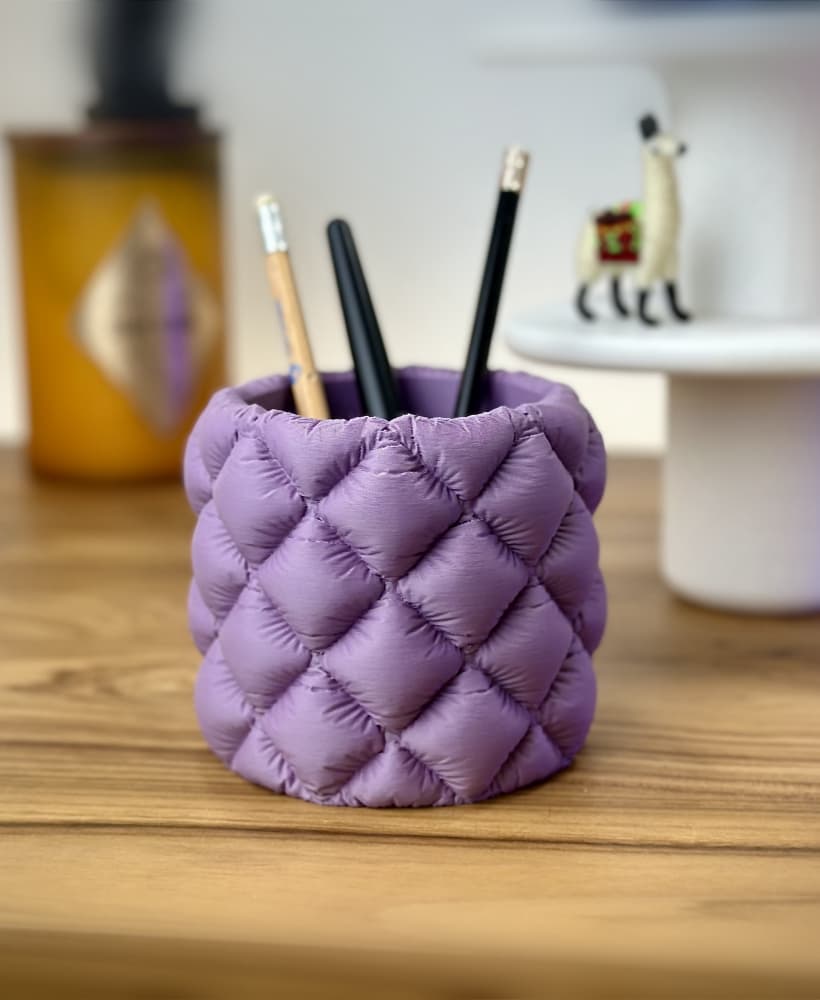
Air Hugger Pencil Cup
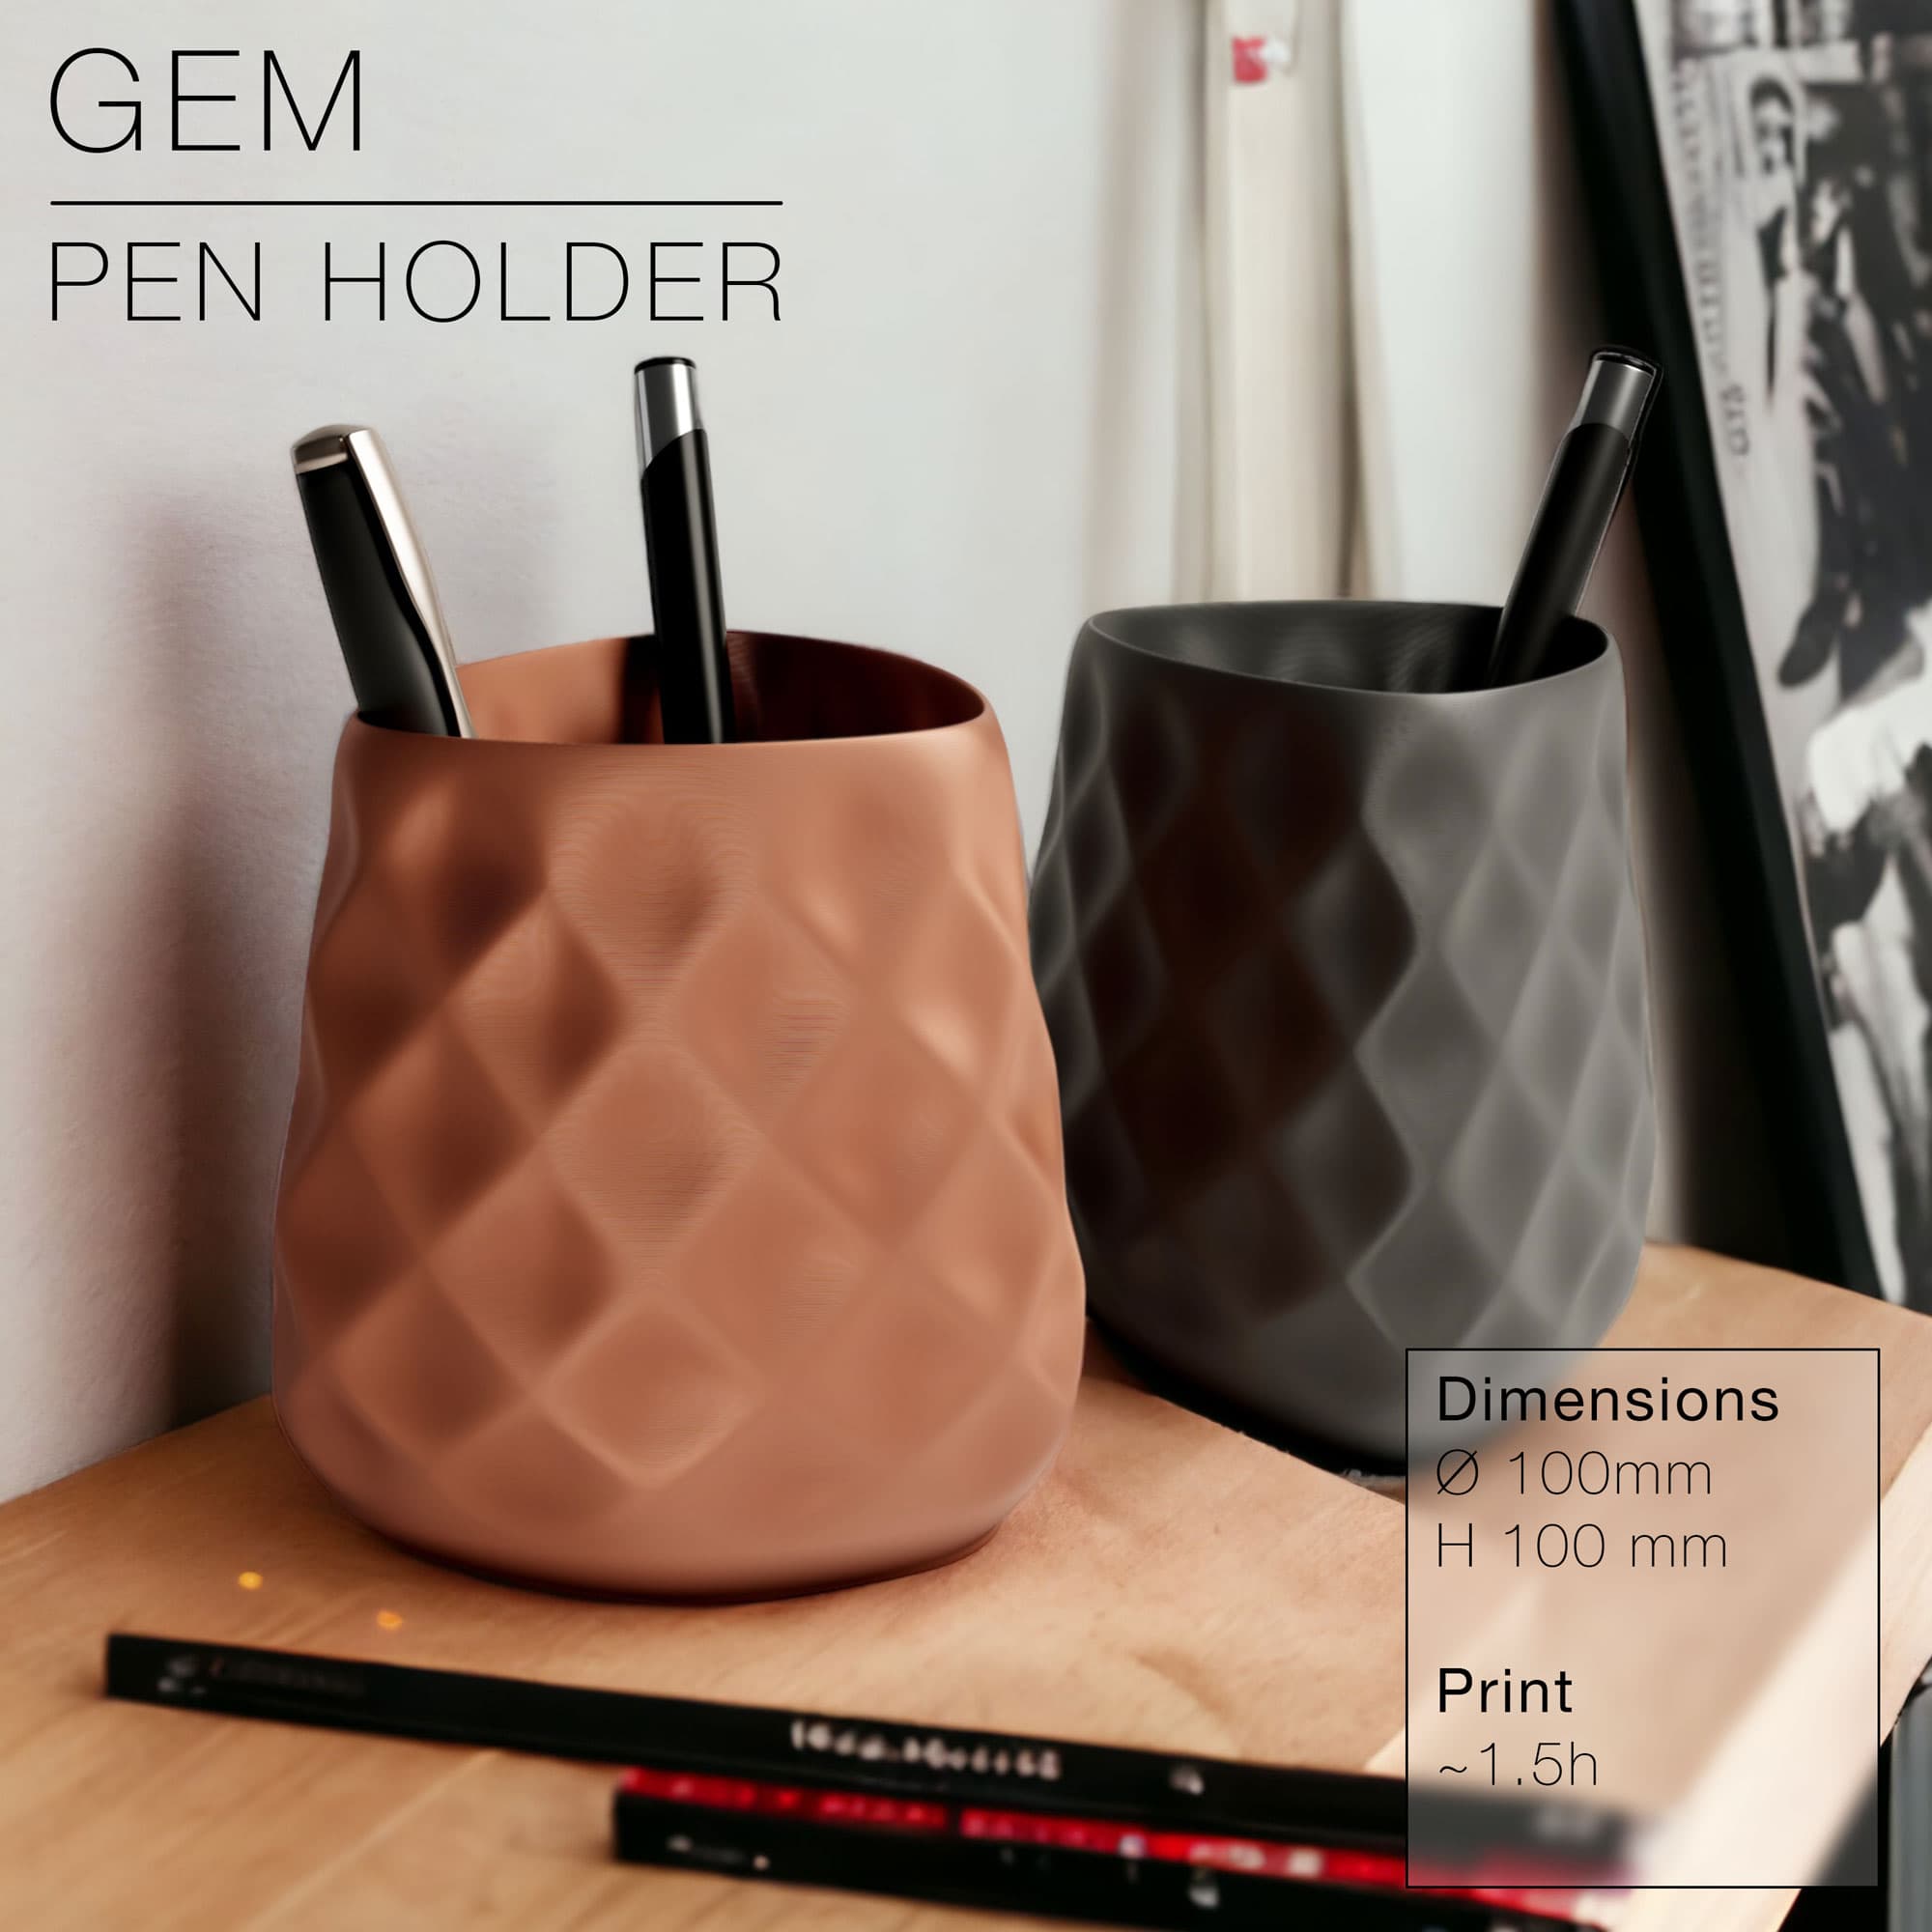
GEM | Pencil Cup

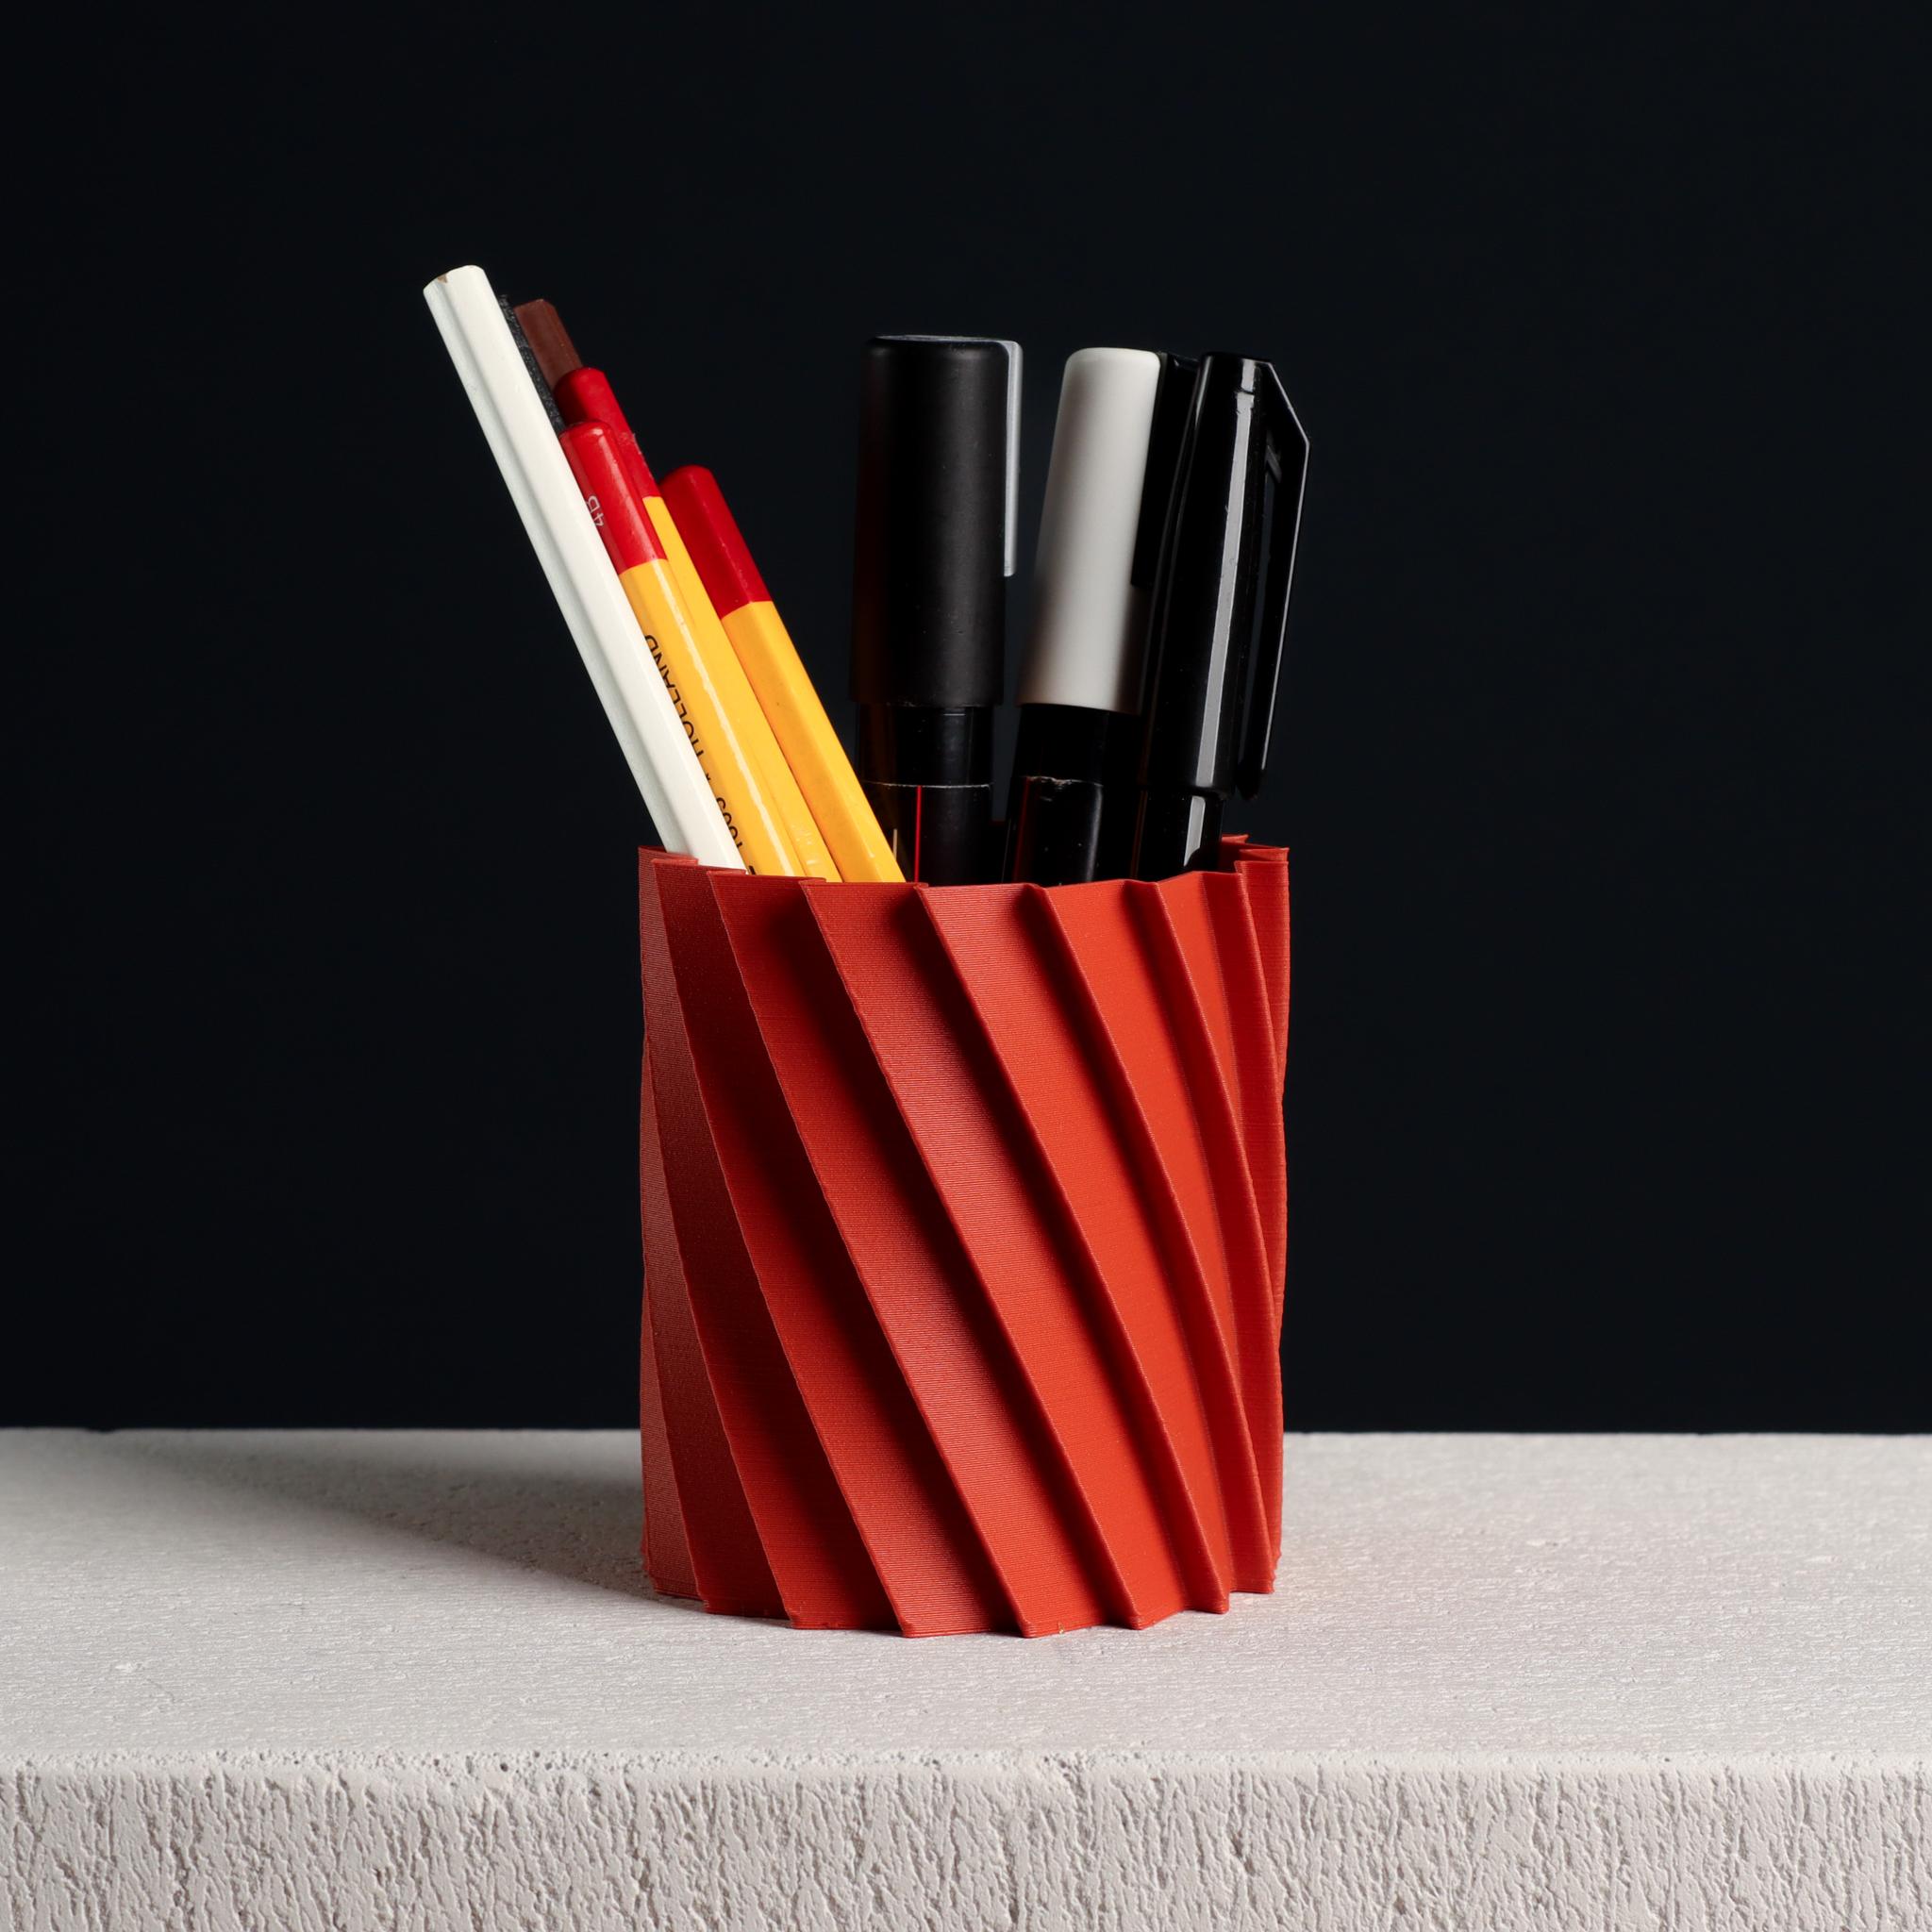
Cup 004 - Spiral Ribbed Desk Organizer / Modern Vase / Pencil Cup
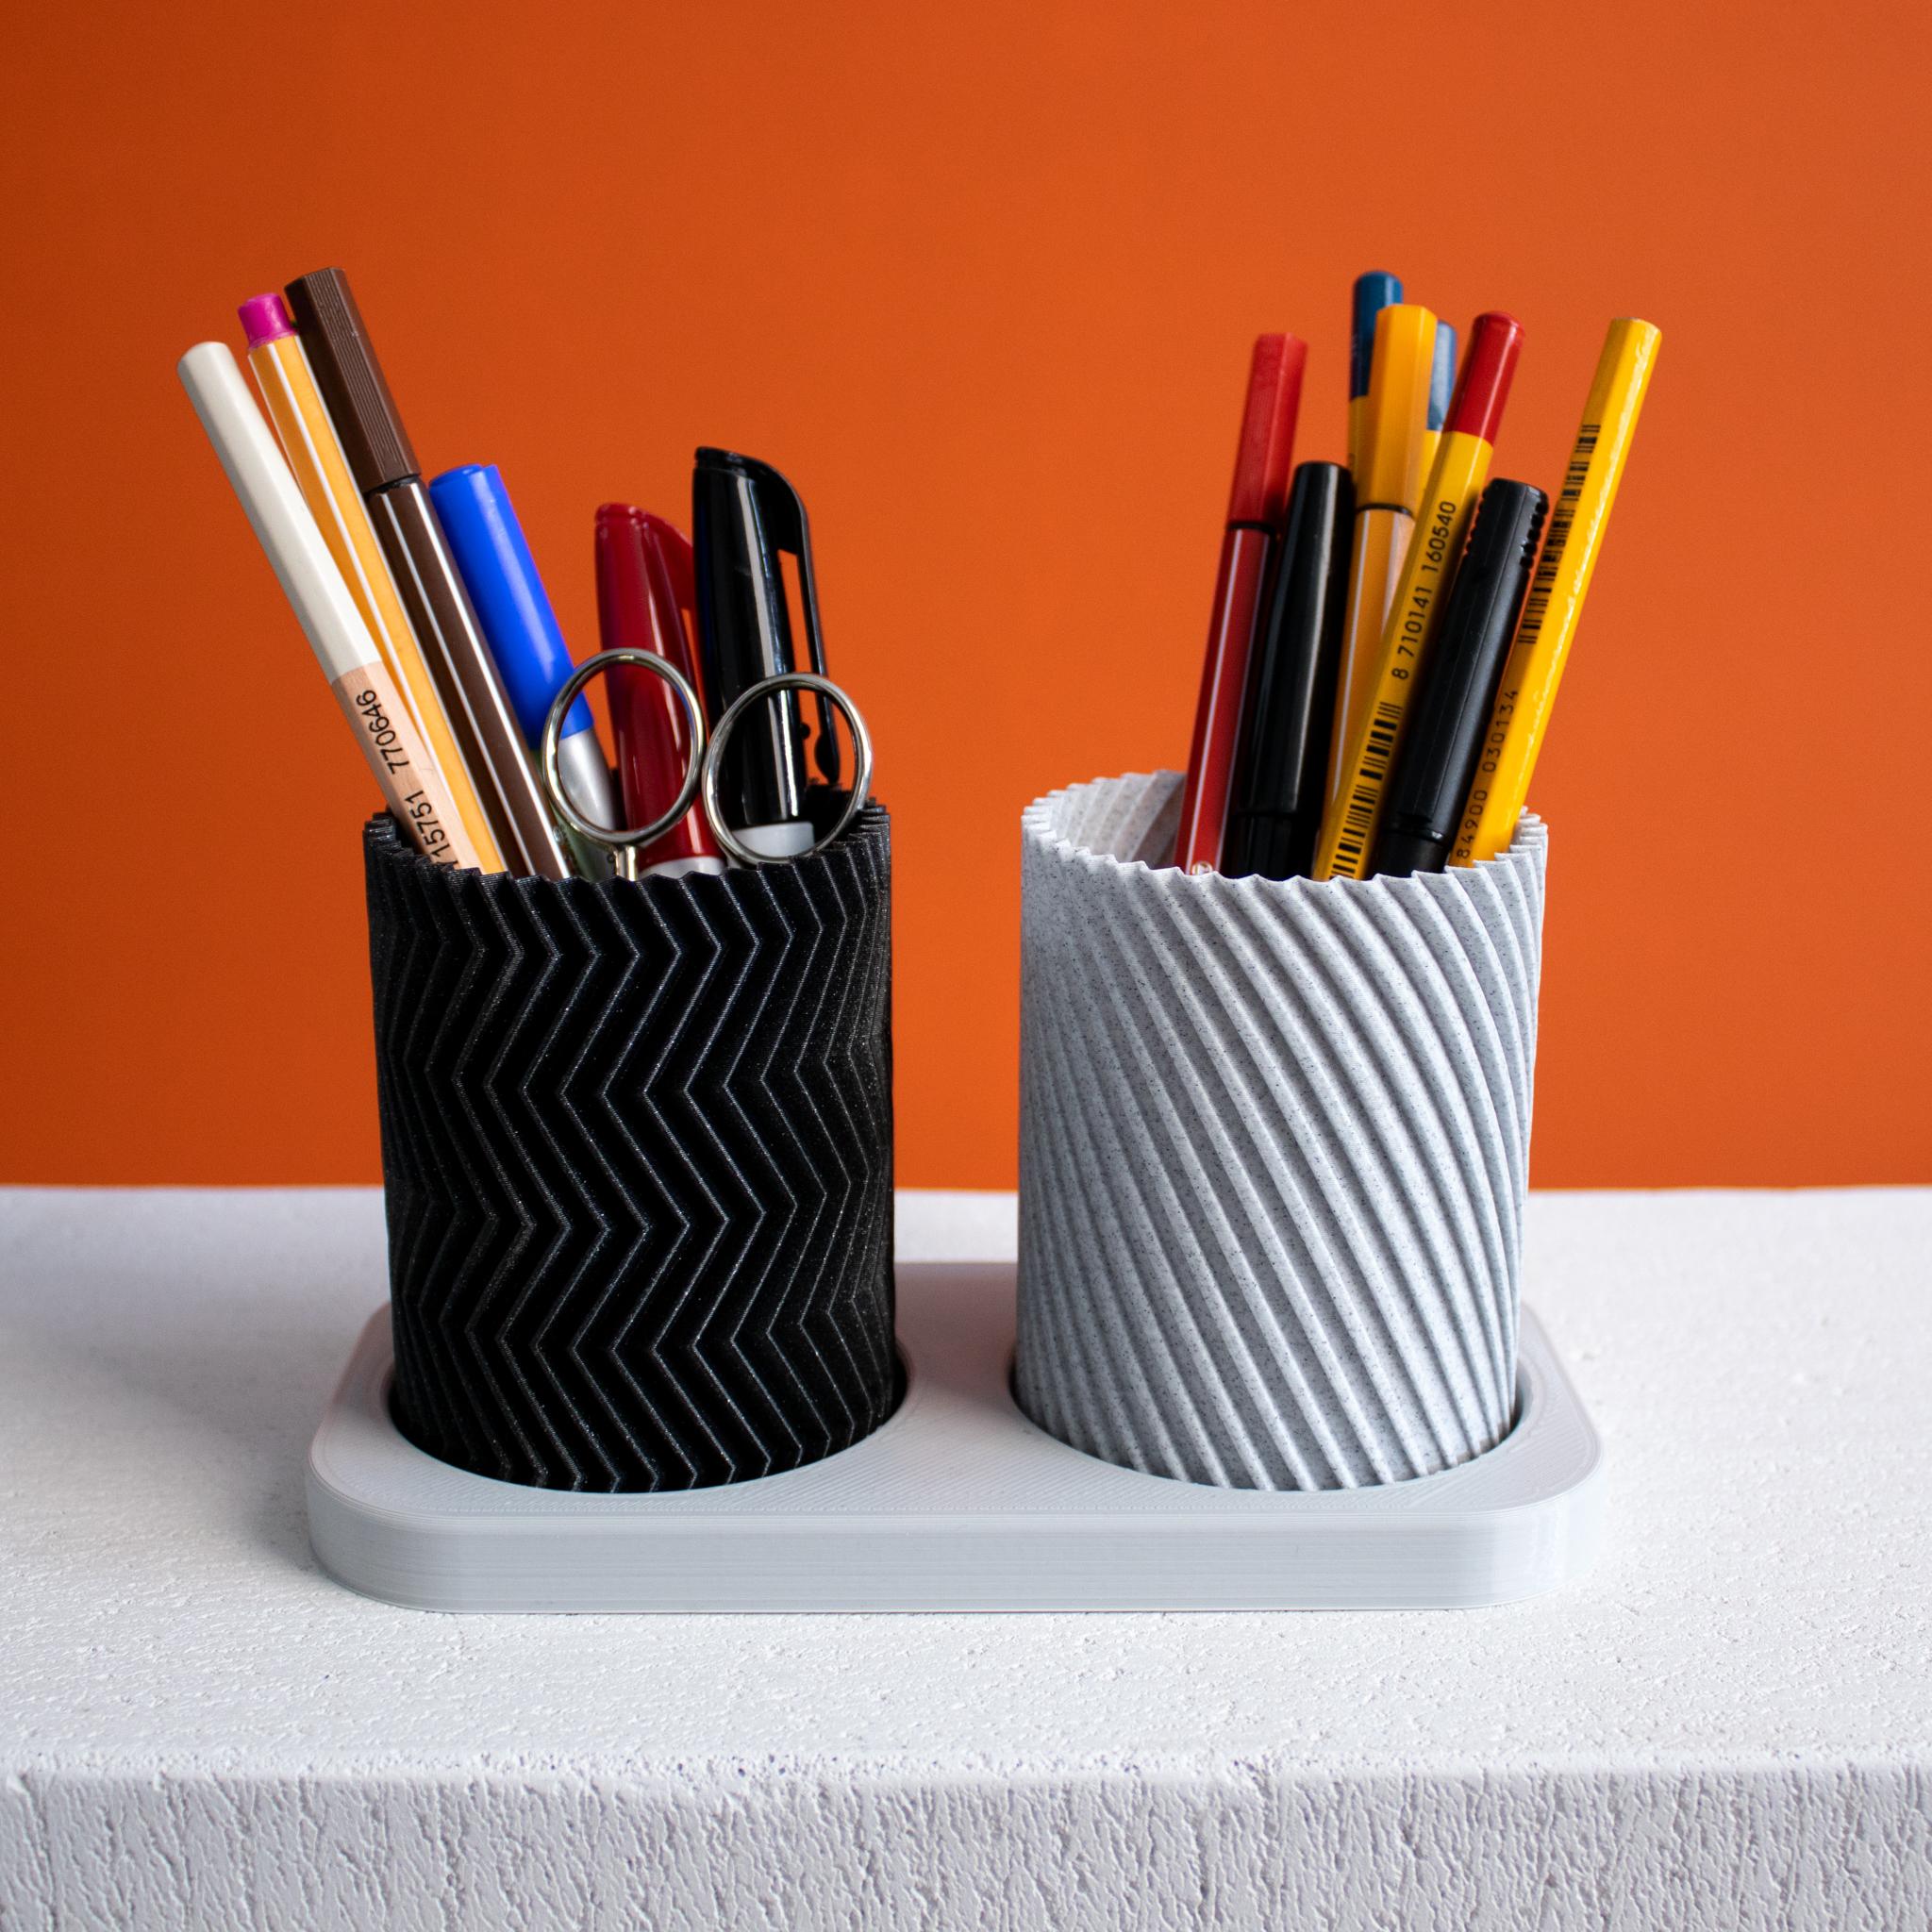
Desk Organizer Set, Twisted & Zigzag Pencil Cups | Vase Mode
Textured Pencil Cup, Office Organizer (vase mode)
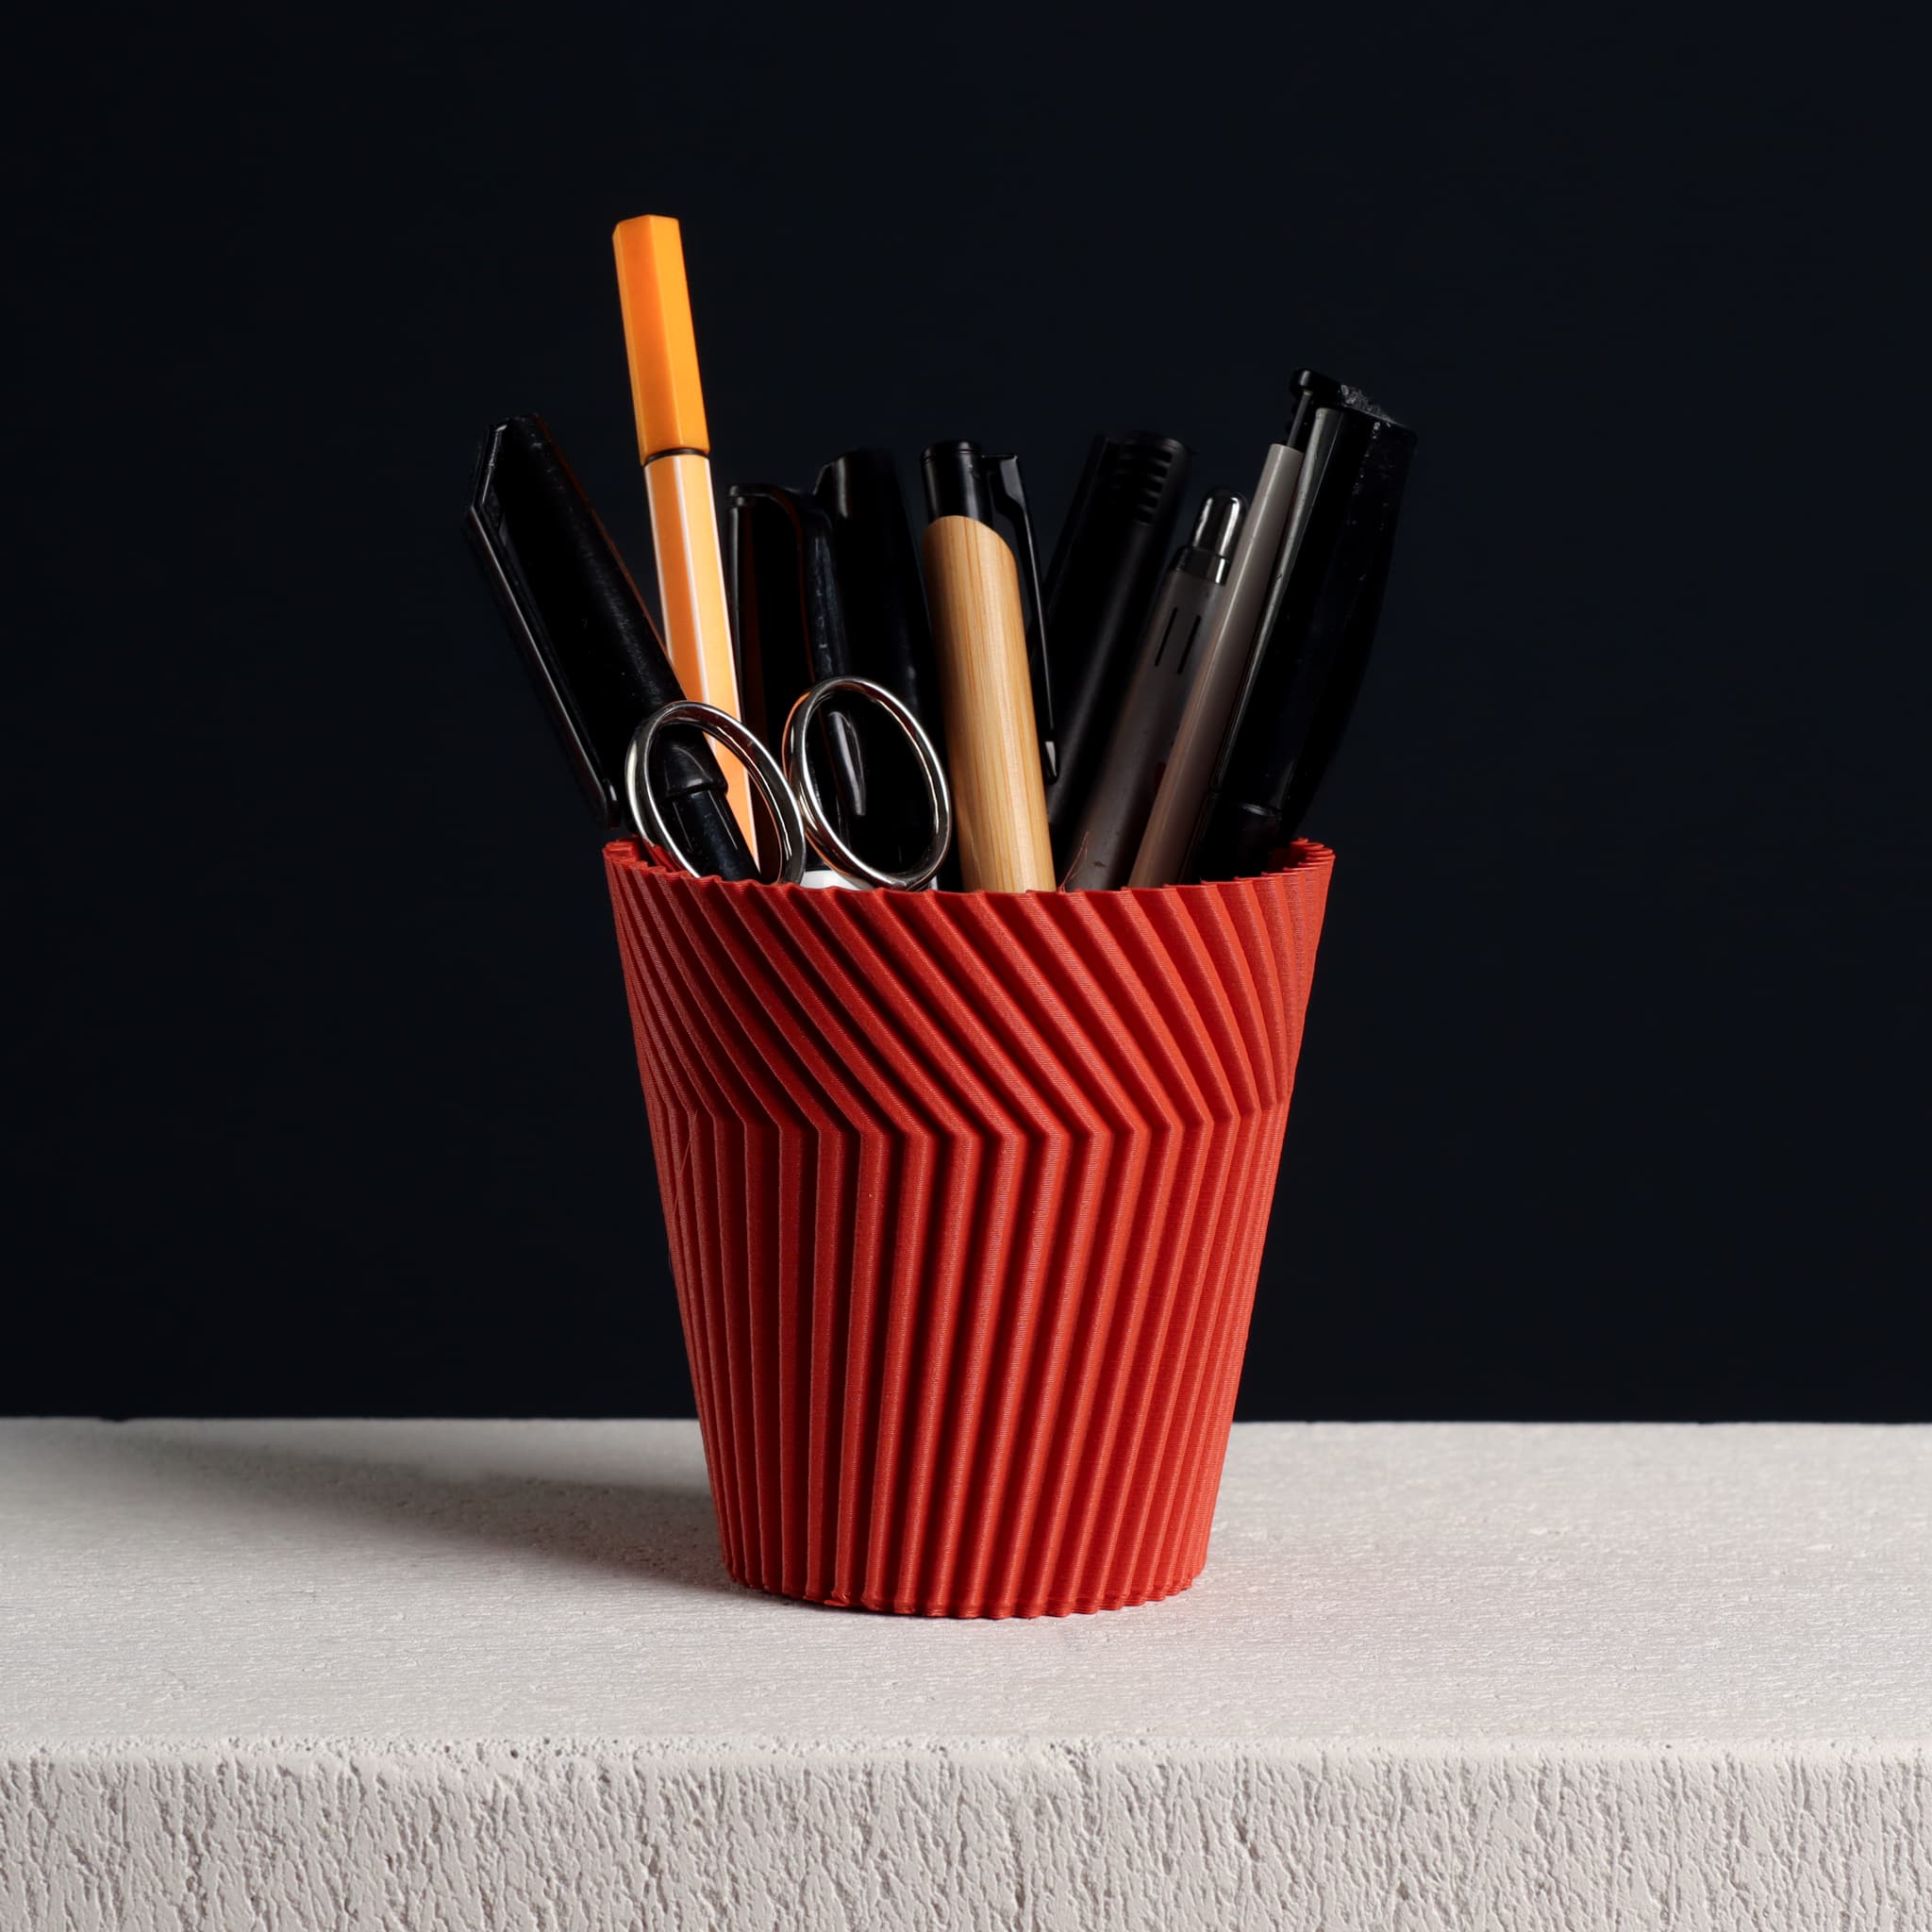
Angled Pencil Cup, Desk Organizer (Vase Mode)

Pencil Cup - MagSquares
Twisted Pencil Cup, (vase mode & shelled)
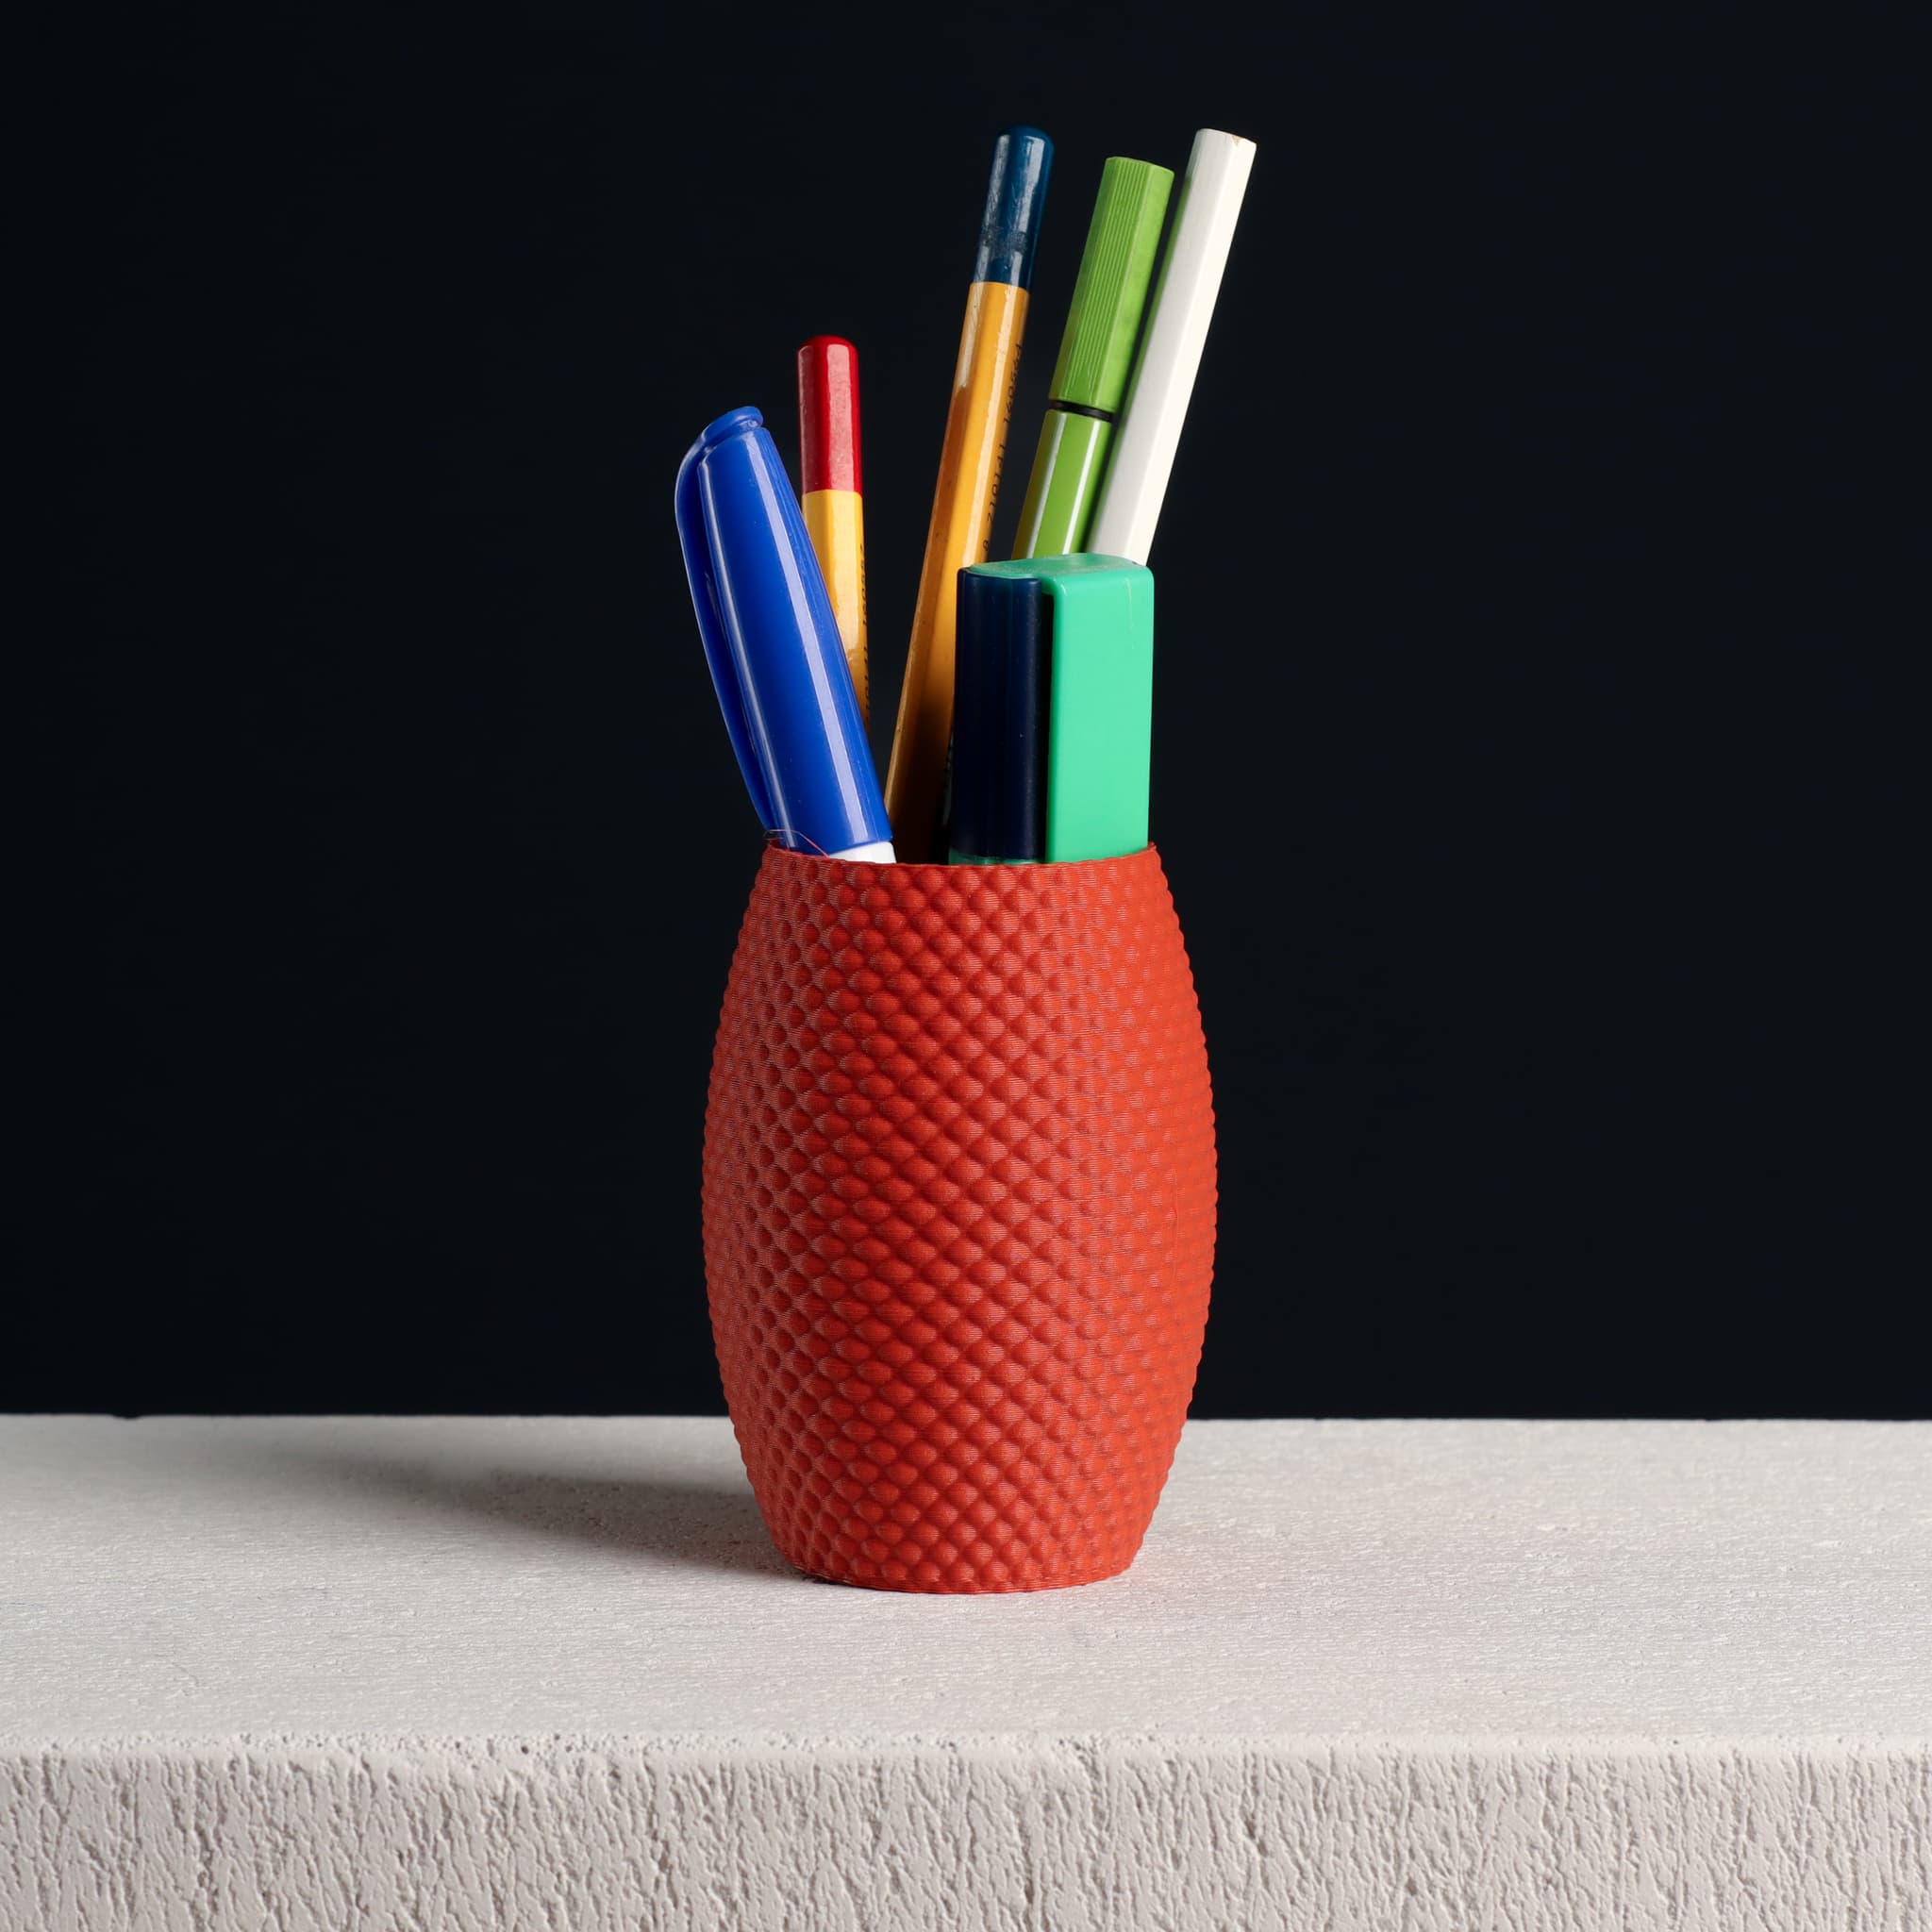
Bubble Pencil Cup, Desk Organizer (vase mode)
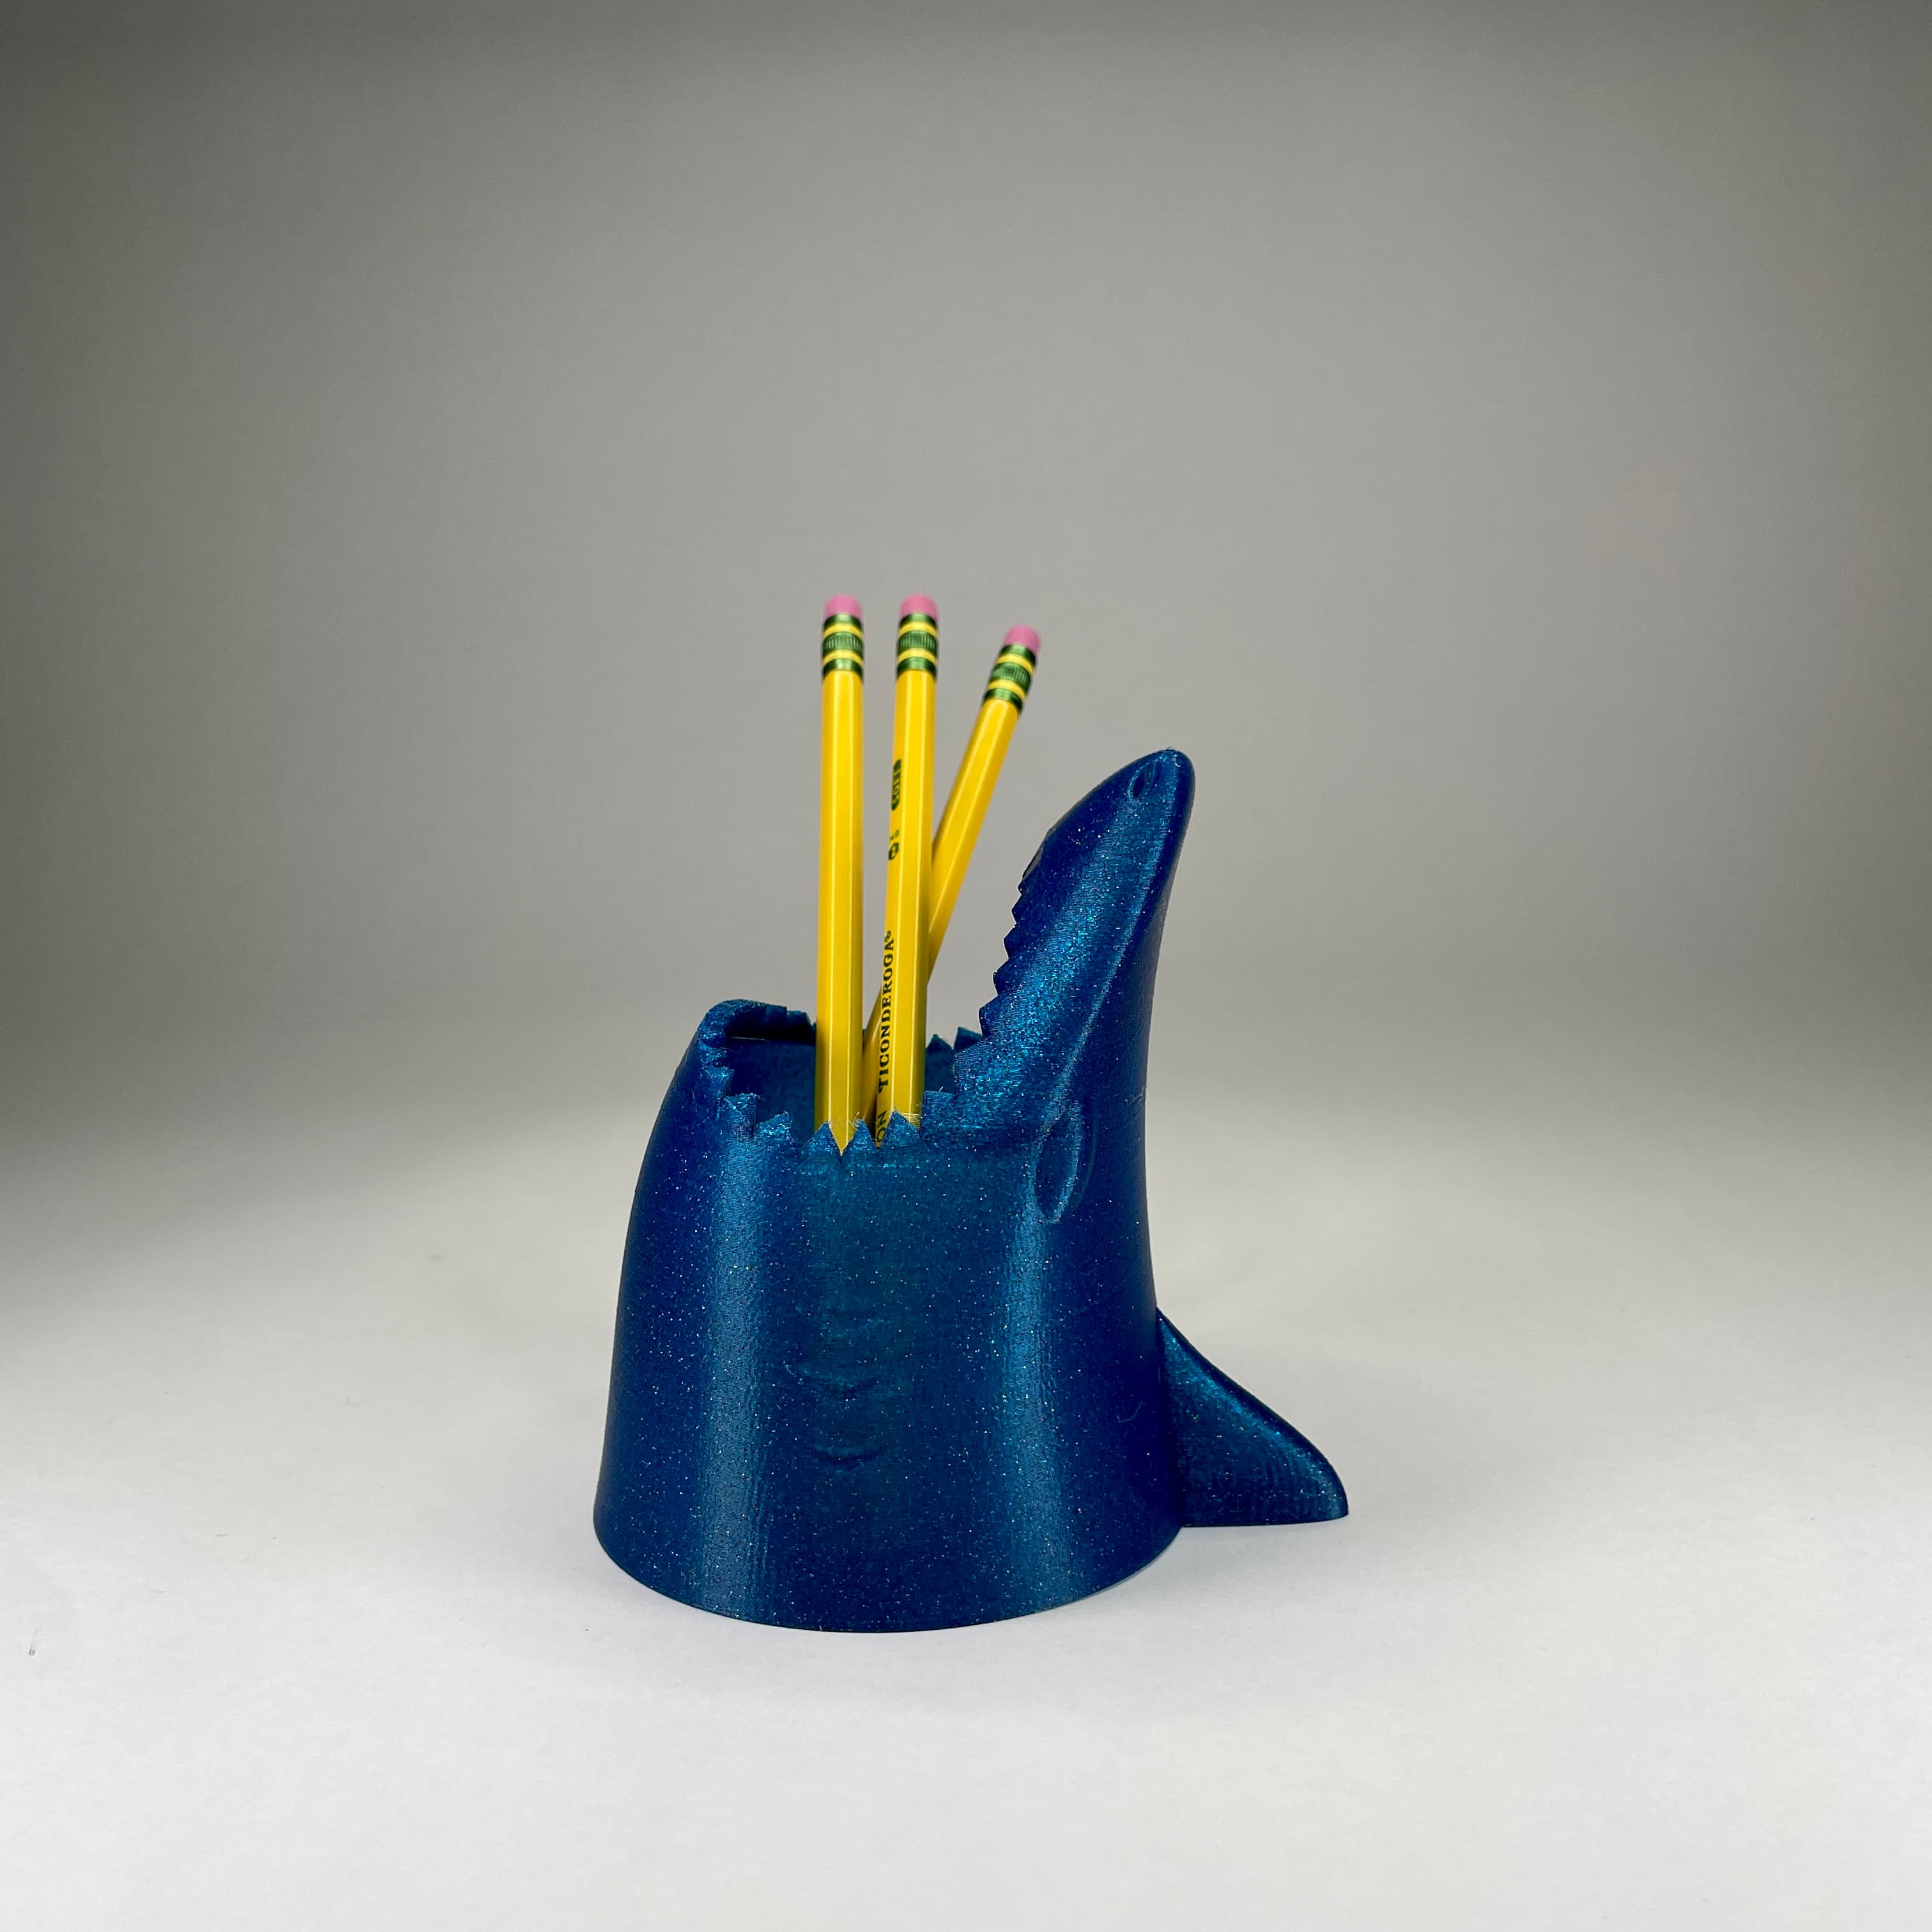
Organic Organizers: Shark Pencil Cup
Abstract Pencil Cup
Twisted Pencil Cup

Lighthouse Ocean Wave Desk Pen Cup Pencil Holder
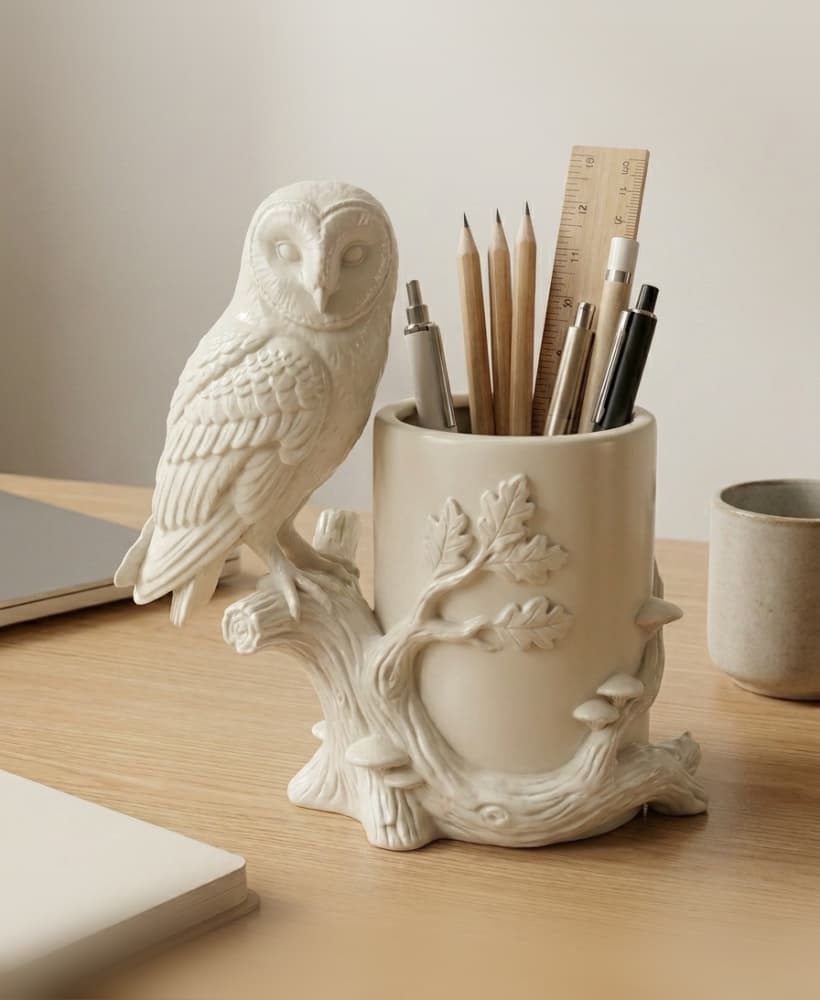
Grandmillennial Barn Owl & Oak Branch Pencil Cup
