
Canopy for X Frame Quadcopter
Model originally uploaded to Thingiverse at https://www.thingiverse.com/thing:2704469.
I designed this canopy at the request of a local FPV pilot. It is intended to be printed with a flexible filament (see print settings for more info). The canopy is designed for an X style racing frame. and should work regardless of prop size (4" or 5"). It should work on just about any frame. This canopy comes in two parts:
Part 1: pod_base.stl - this base will fit over a single stack FC/PDB/ESC. It has notches cut out of the corners so wires can fit, and an ESC plug can route out the back.
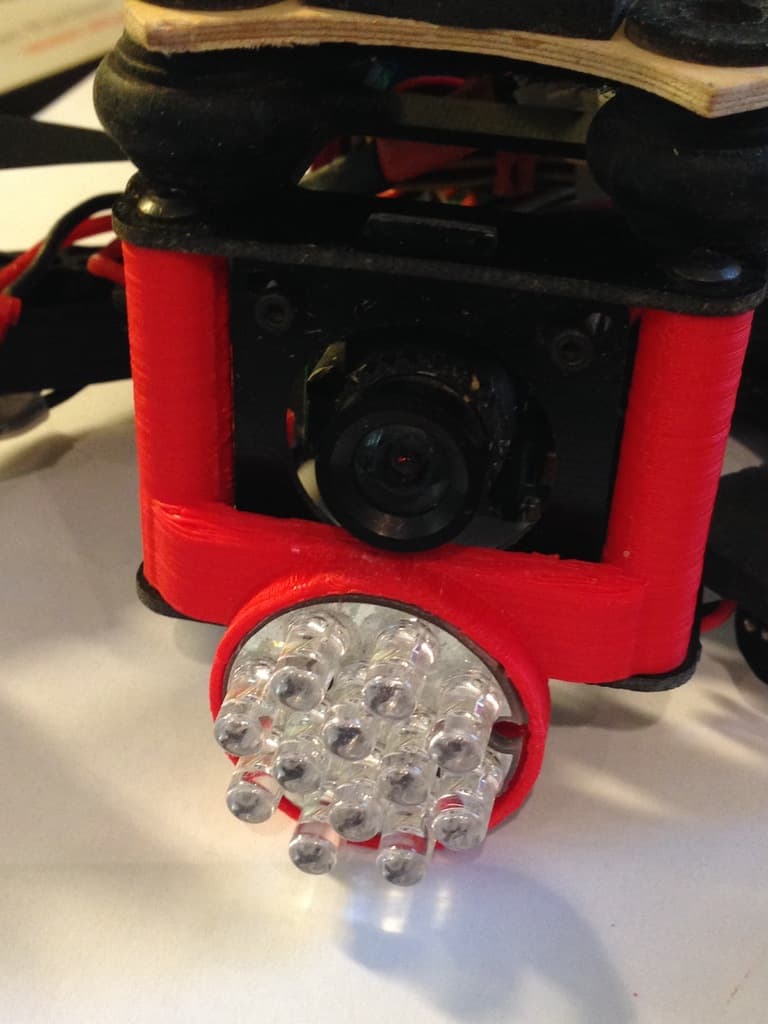
Part 2: pod_camera.stl - this will fit a runcam swift or similar size camera. Since the sides are flexible, it should accommodate a fairly wide range of cameras. The runcam swift is approximately 24x24mm square, so anything around that size (give or take a few mm) should work. The canopy is also designed to hold an Eachine VTX03. It should fit pretty snug in place and still provide access to press the button.
Instructions:
-
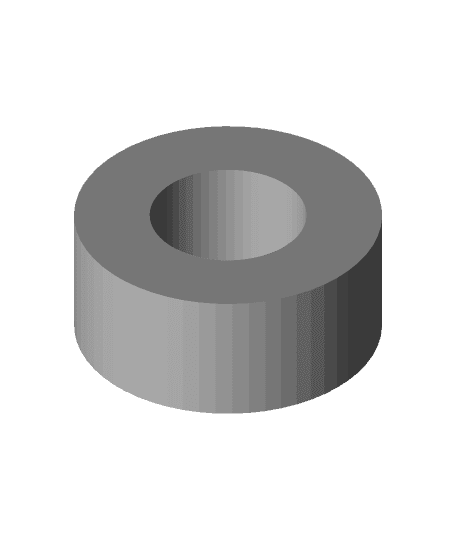
Mount your PDB up with a small spacer. Aim for about 16mm in total height you should be fine. You can go smaller or larger, but the pod base may not fit as well. When mounting your PDB, I recommend using 25mm m3 screws. That length should give you enough room for the base and the canopy, with a little room on top for nylocks/lock nuts.
-
Make sure you solder all the wires you are going to need (ESC, Battery Connector, Motors, Receiver, Video Transmitter, Camera).
-
Slide the canopy over the screws. Tuck in all your wires and anything else (such as your radio receiver) so it stays under the canopy. Route the wires for the video transmitter and fpv camera, as well as anything else you might be putting in the canopy.
-
I recommend putting some glue on the Eachine vtx03 where the antenna is, before placing it in the canopy. This will help ensure it stays on. The vtx03 should stay seated, but you may also want to glue it in place with some hot glue or Shoegoo.
-
Screw the FPV camera in from the sides. Adjust the angle. You should be able to angle it up to 60" or so with the cut out. If the screws are a bit loose, you may be able to use some spacers to help.
-
Place the canopy on top of the base. The screws should line up. Secure the canopy with m3 lock nuts.
Enjoy!
Canopy for X Frame Quadcopter

WINGX MPC CANOPY FRAME
90mm printed quadcopter frame for br1103 motors
Led Support for Diatone DIY FPV250 V2 Mini Quadcopter Frame Kit G10 250mm

Classic Picture Frame 150mm x 150mm

Classic Picture Frame 150mm x 100mm

Animal Crossing House Bank

Simple Picture Frames

200 x 200mm Modular Picture Frame for Hueforge - TRI TRACK

150 x 150mm Modular Picture Frame for Hueforge - TRI TRACK

300 x 300mm Modular Picture Frame for Hueforge - TRI TRACK

233 x 233mm Modular Picture Frame for Hueforge - TRI TRACK

350 x 350mm Modular Picture Frame for Hueforge - TRI TRACK

320 x 320mm Modular Picture Frame for Hueforge - TRI TRACK

200 x 200mm Modular Picture Frame for Hueforge - GENTLE KNOLL

150 x 150mm Modular Picture Frame for Hueforge - GENTLE KNOLL

100 x 100mm Modular Picture Frame for Hueforge - GENTLE KNOLL

233 x 233mm Modular Picture Frame for Hueforge - GENTLE KNOLL

320 x 320mm Modular Picture Frame for Hueforge - GENTLE KNOLL

100 x 100mm Modular Picture Frame for Hueforge - TRI TRACK
