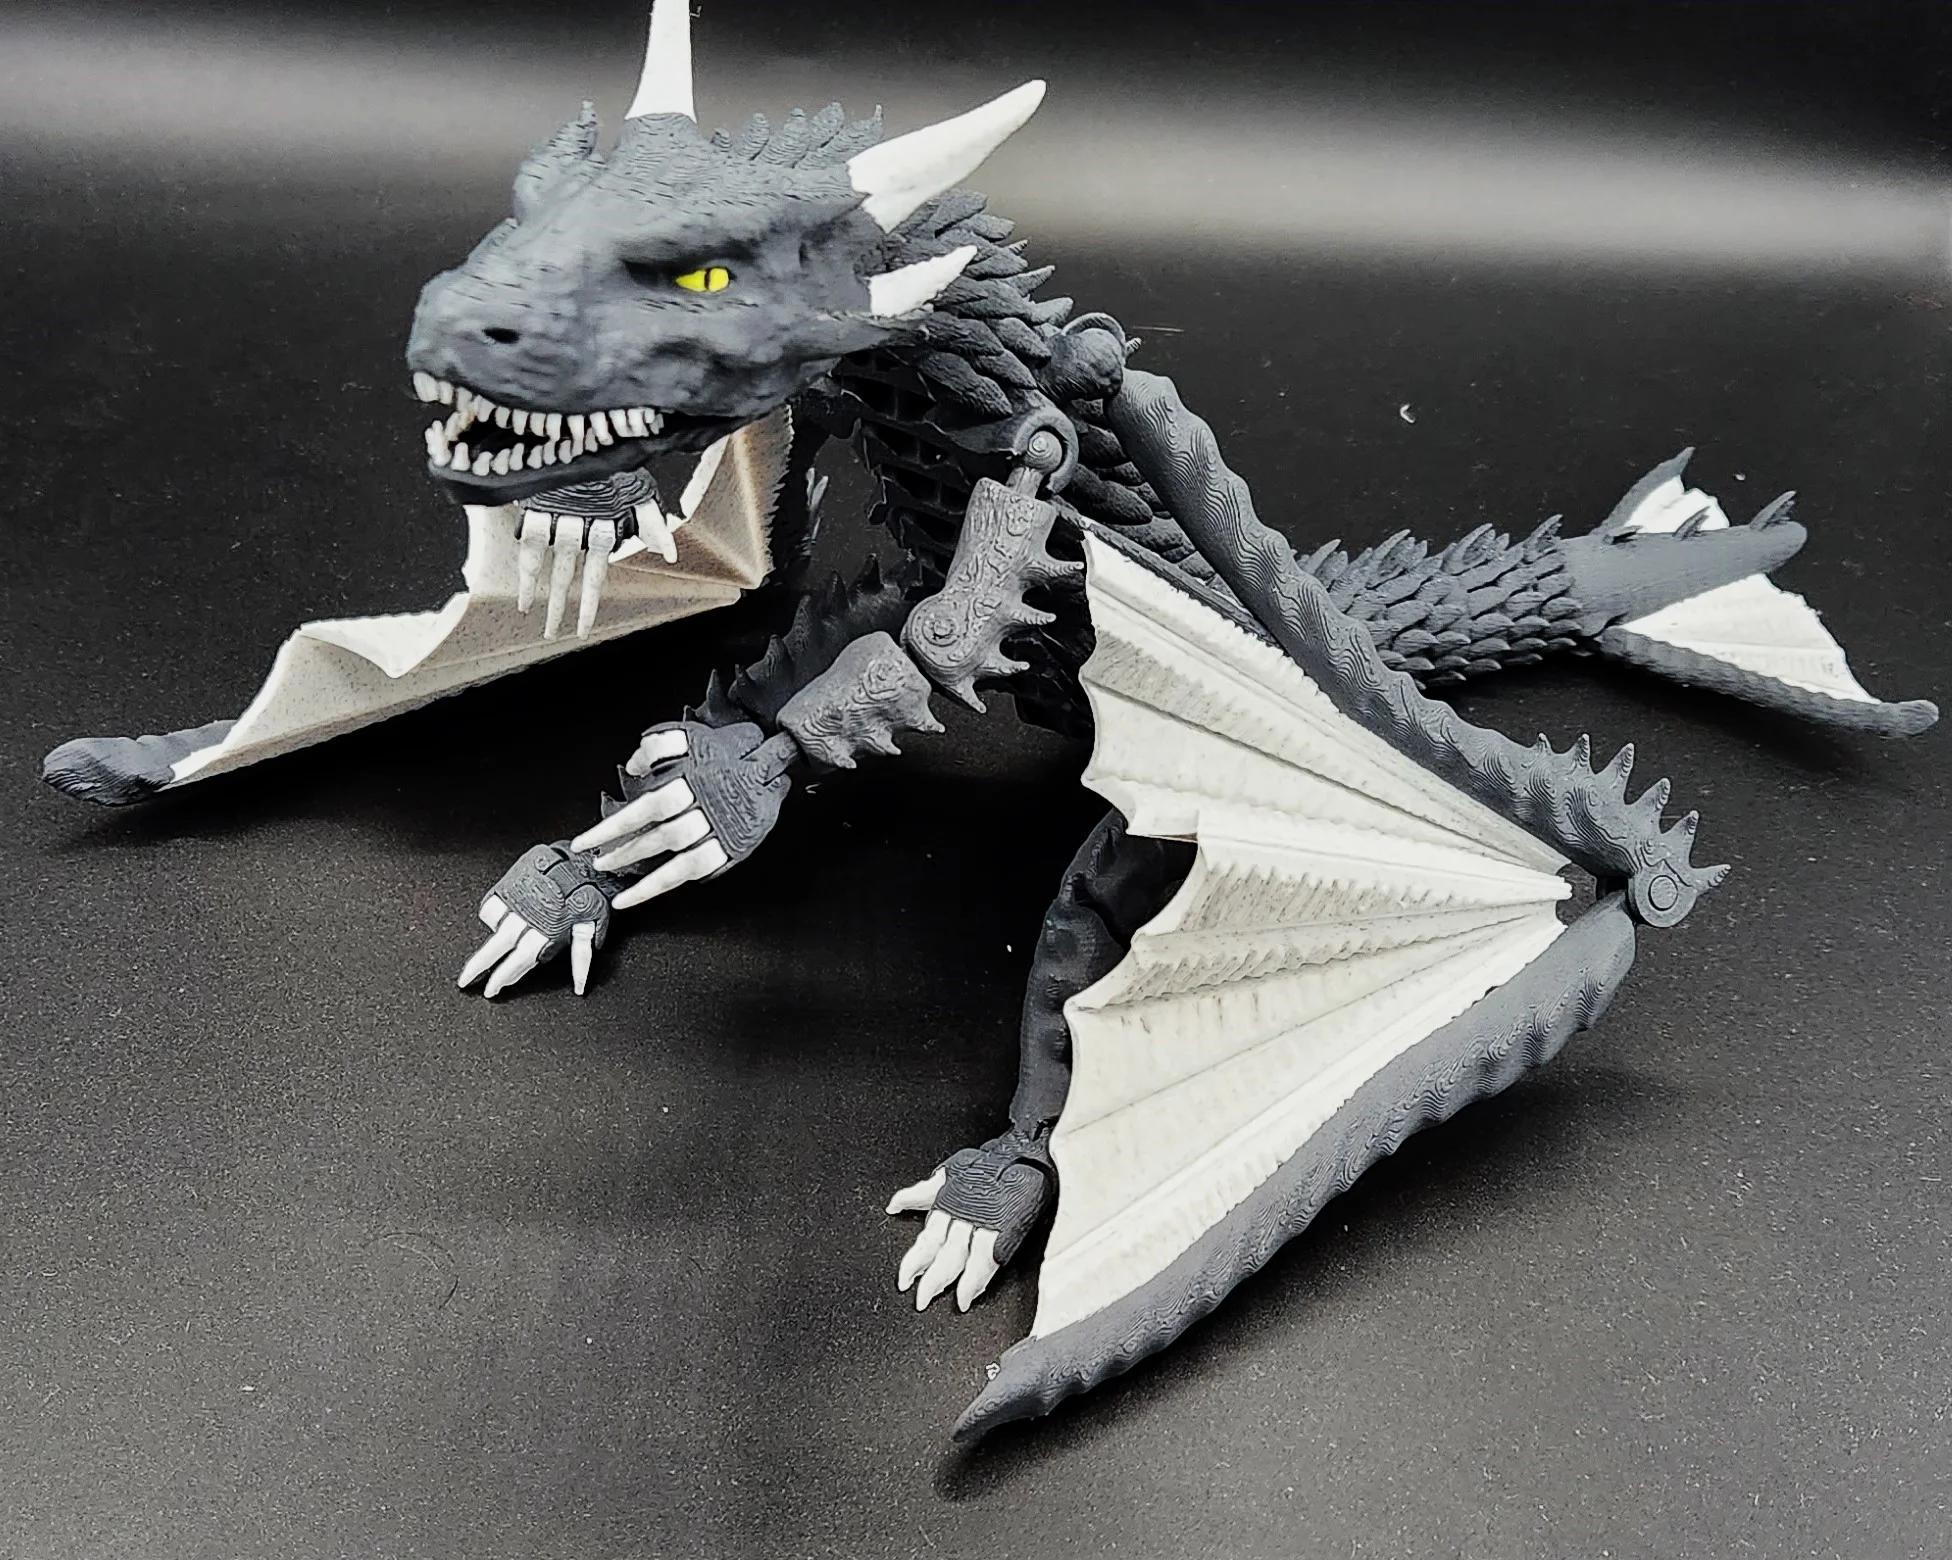
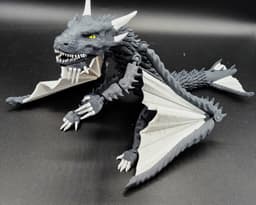


FINAL FLEXI DRAGON
3D MODEL DESCRIPTION Contains the most joints of any flexi I've ever made, it folds, clicks, flaps bounces and rotates - so much work has gone into him. He's almost entirely print in place and I made a second size for smaller plates from 180mm upwards.
Articulates like most other flexi dragon but with a twist - he can click completely together, and can be pose like an action figure.
Has my new self designed foldable wings, they fold in and out just like real wings, and they are entirely print in place!
As usual has a Bambu printed profile and all the stl files you need.
3D PRINTING SETTINGS The included stl files contain stronger tolerance joins for extra strength so are highly recommended.
Please print using the following requirements -
Basic PLA
3 Walls minimum at 0.42mm
25% Gyroid infill
Brim on the body and spring recommended (due to the small first layer just in-case)
tree supports for the head only with my chosen orientation (to help print the teeth easier)
For the smaller version I recommend instead -
3 Walls at 0.30mm
Layer height of 0.16mm (though not essential, this is to increase the thickness of the wings on the tail.
And everything else as standard.
To build him simply fold the wings along the creases while taking note of the hinge (keep the hinge parallel to either arm)
Repeat on the tail
Click in the wings into the shoulder sockets - to insert them easily, insert the with the flat section on the ball socket parallel to the socket.
If using the spring jaw, place it into the locator using a small amount of glue.
Then simply slide the head over the spring, insert at a 45 degree angle, it'll snap right into place.
Carefully flex the joins to free them if they are stiff, though this is highly dependent on your choice of filament.
I've untested silk as I'm sure silk just isn't suitable for the strength needed for the sockets to click into place.
Any trouble just ask and I will help as best I can. Enjoy and don't forget to share your prints )
FINAL FLEXI DRAGON

Cute Lil Flexi Croc

Clicker Cutie Collection 1 pt 2 - Cute Pomeranian, Beaver & Pony
Pangolin Clicker Fidget

Clicker Cutie Collection 1 - Cute Racoon, Shark & Chick

Sad Pikachu Clicker Fidget

SNORLAX TWIST FIDGET

FLEXI SEA BUNNY

UltraBall Twist Fidget

New Link Flexi Komodo Dragon

CUBONE TWIST FIDGET

CUBONE CHIBI

Flexi Belly Rub Kitty

CRICKET BALL TWIST FIDGET

Flexi Sensory Rattlesnakes

Super Mario Twist Fidget

Cute Flexi Beaver

Rubiks Cube Twist Fidget

FLEXI WHALE SHARK

Yoshi Egg Inspired Twist Fidget
