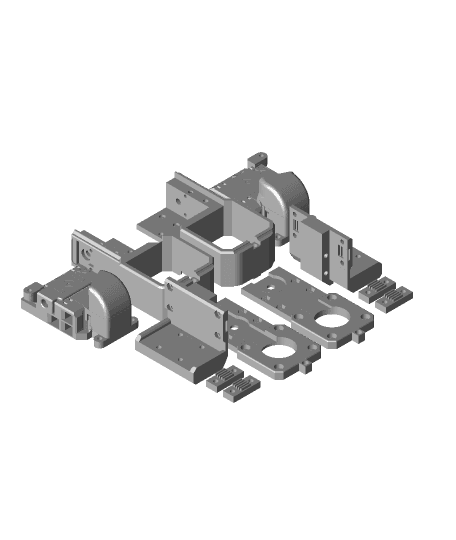
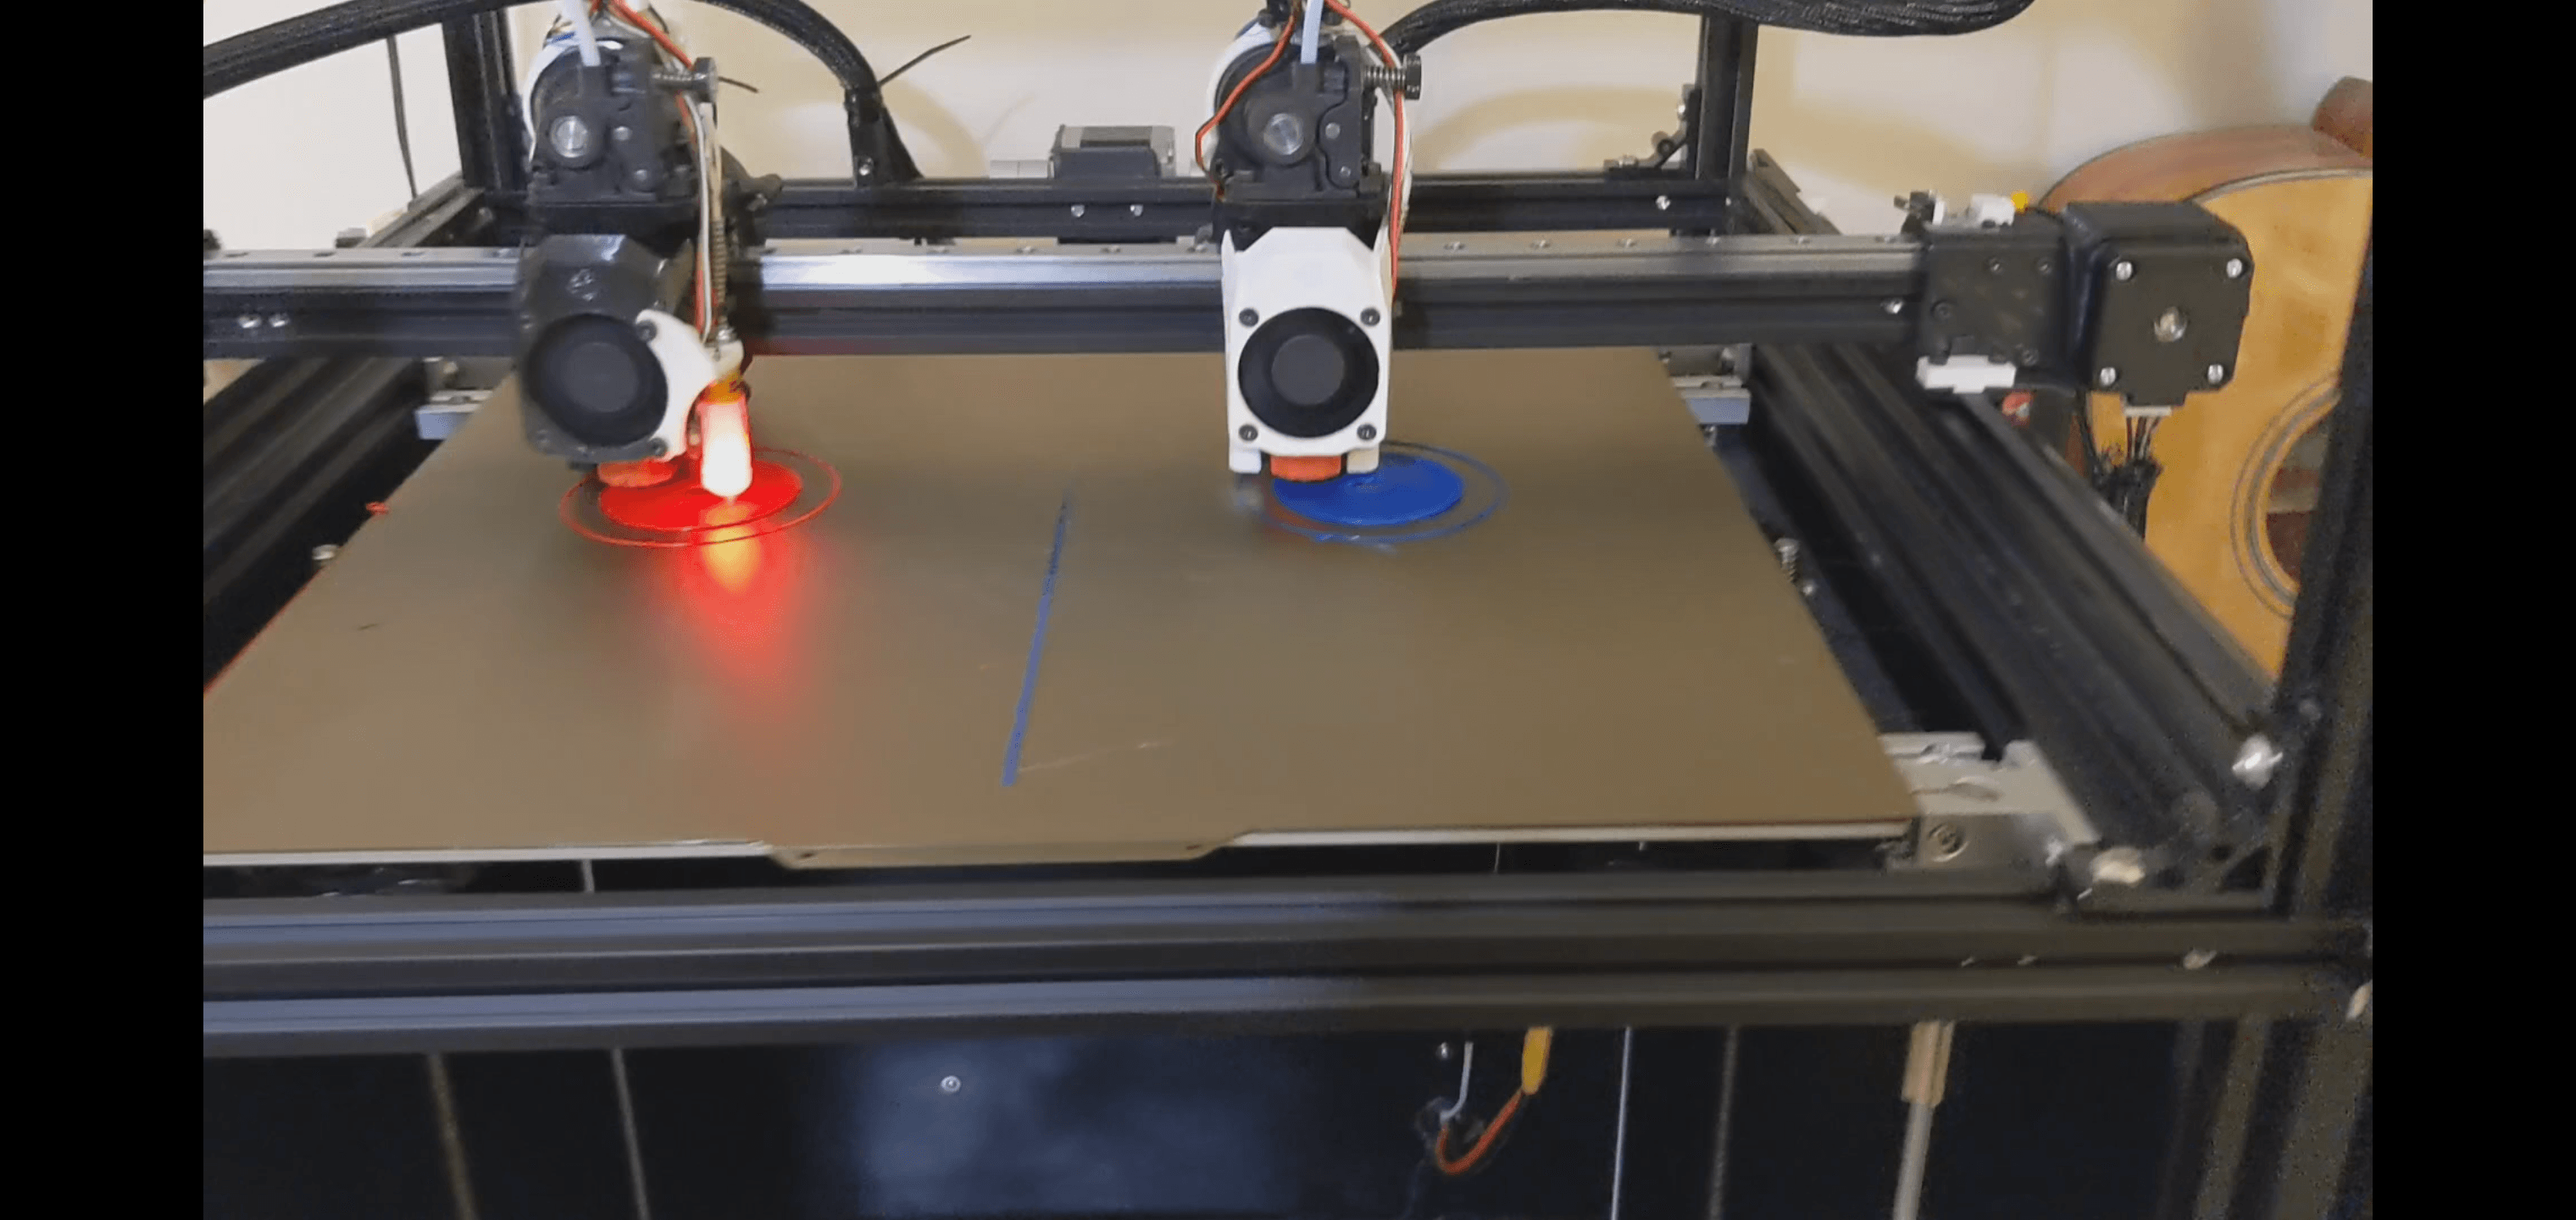
Idex Mod for the Ender 5+
This is my Ender 5++ Mod. Please keep in mind that this is not a finished product and I am very much an amature.
This will add a second independent X tool head to your existing Ender 5+
Hardware requirements 2x 450 mm mgm12 linear rails 1x 500 mm lin mgm12 linear rail 2 5015 Blower Fans 1 G2 timing belt Several veering sized Hex metric nuts from m2 -m5. Several T nuts from m2 - m5 A veriest of thin washers G2 Timing pulleys 1 Creality limit switch 4 small brass m2 inserts (you could possibly just tread them as you go) Creality Stepper motor Extension wires. (I was able to reuse mine because I relocated the electronics to the rear)
Eva 2.3 Tool head. Configuration suggestions. Copperhead Hotends - They are a bit expensive but they are the best and easiest way to get a perfect z offset with their adjustable heat breaks. Other hardware options. Upgraded steppers (I looked but did not find .9 degree steppers) Cable Wrap
Reused hardware. Pulley from the X Idler (You need another one) Spacers from the y carriage plates. Y axis belts Several m# screws.
Assembly recommendations. In general the parts are very tight and have very little clearance. I do not think it will work with anything other than PETG (Haven’t Tried ABS or ASA) but I’m certain PLA would shrink too much. That said everything should print without support with some sacrificial layers.
The linear rails and the y axis mounts have about .5 - 1 mm clearance; it's really really tight. I attached the rail loosely and the y axis mount and pulled up as I went down tightening as I went.If the belt clamp screws are too long it’ll drag the frame.The Motor mounts also just barely catch the nut. I used washers for the final assembly and tightening for the X belt idlers. It's really hard to get them in a perfect line. You need to run the carriage back and forth quite a lot. To make sure both sides are equal. Make sure you secure the motors before you begin to tension the belt or they will get pulled off center. The belts will take the most strain so I used the X pulleys with the metal wheel spacer and an m5 nut with a large washer and some slayer washer shims.Firmware and Electronics. I am using an Btt octopus board with 2209’s and Klipper. My version of the firmware is a testing build for Mirror Duplication modes. I cannot recommend it at this time.
If you can spend the money I would go with a duet. You need at least 7 steppers to have an independent Dual Z axis. Riprap is the absolute firmware of choice for Idex printers. It’s kinda hacked onto the Btt boards and lacks some functionality. The other option would be Marlin. I struggled with this because there were so many tweeks that were required it was just too much reflashing.
Recommended printers to check out configs. Vacst Idex - RRF Muldex - RRF Ender 3 - Idex BTT - RRF Ender Idex mod - Marlin

