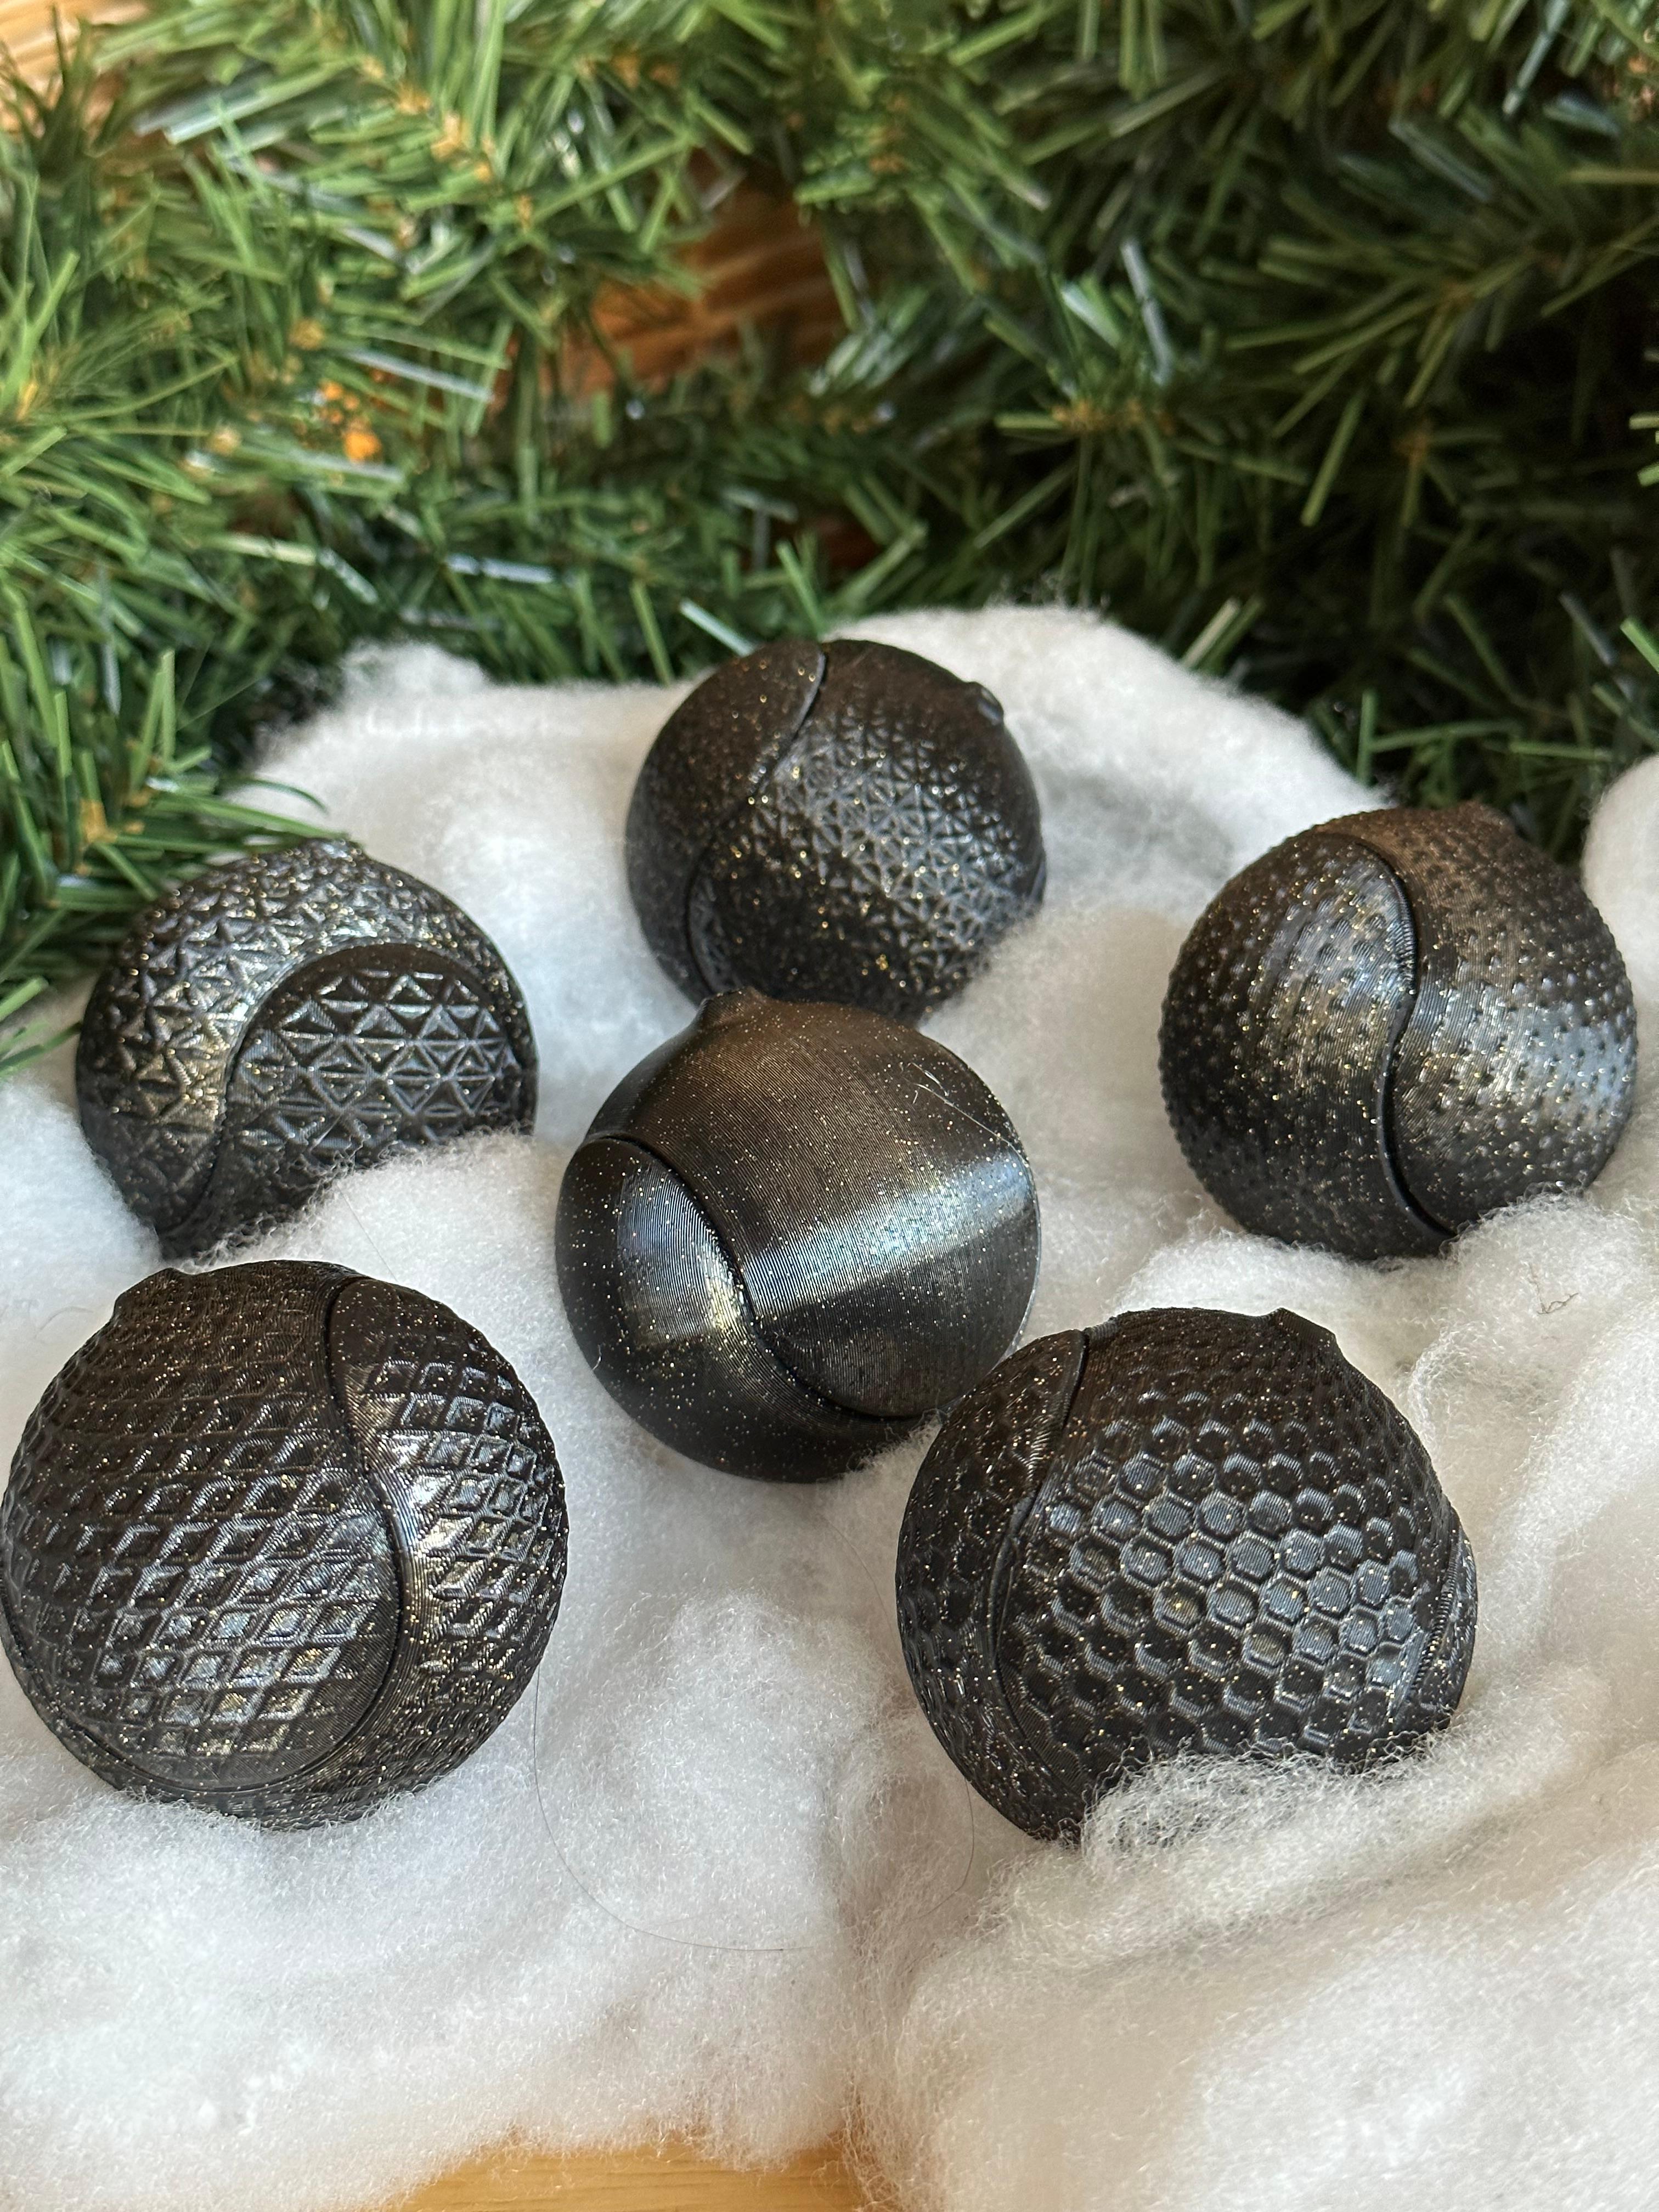
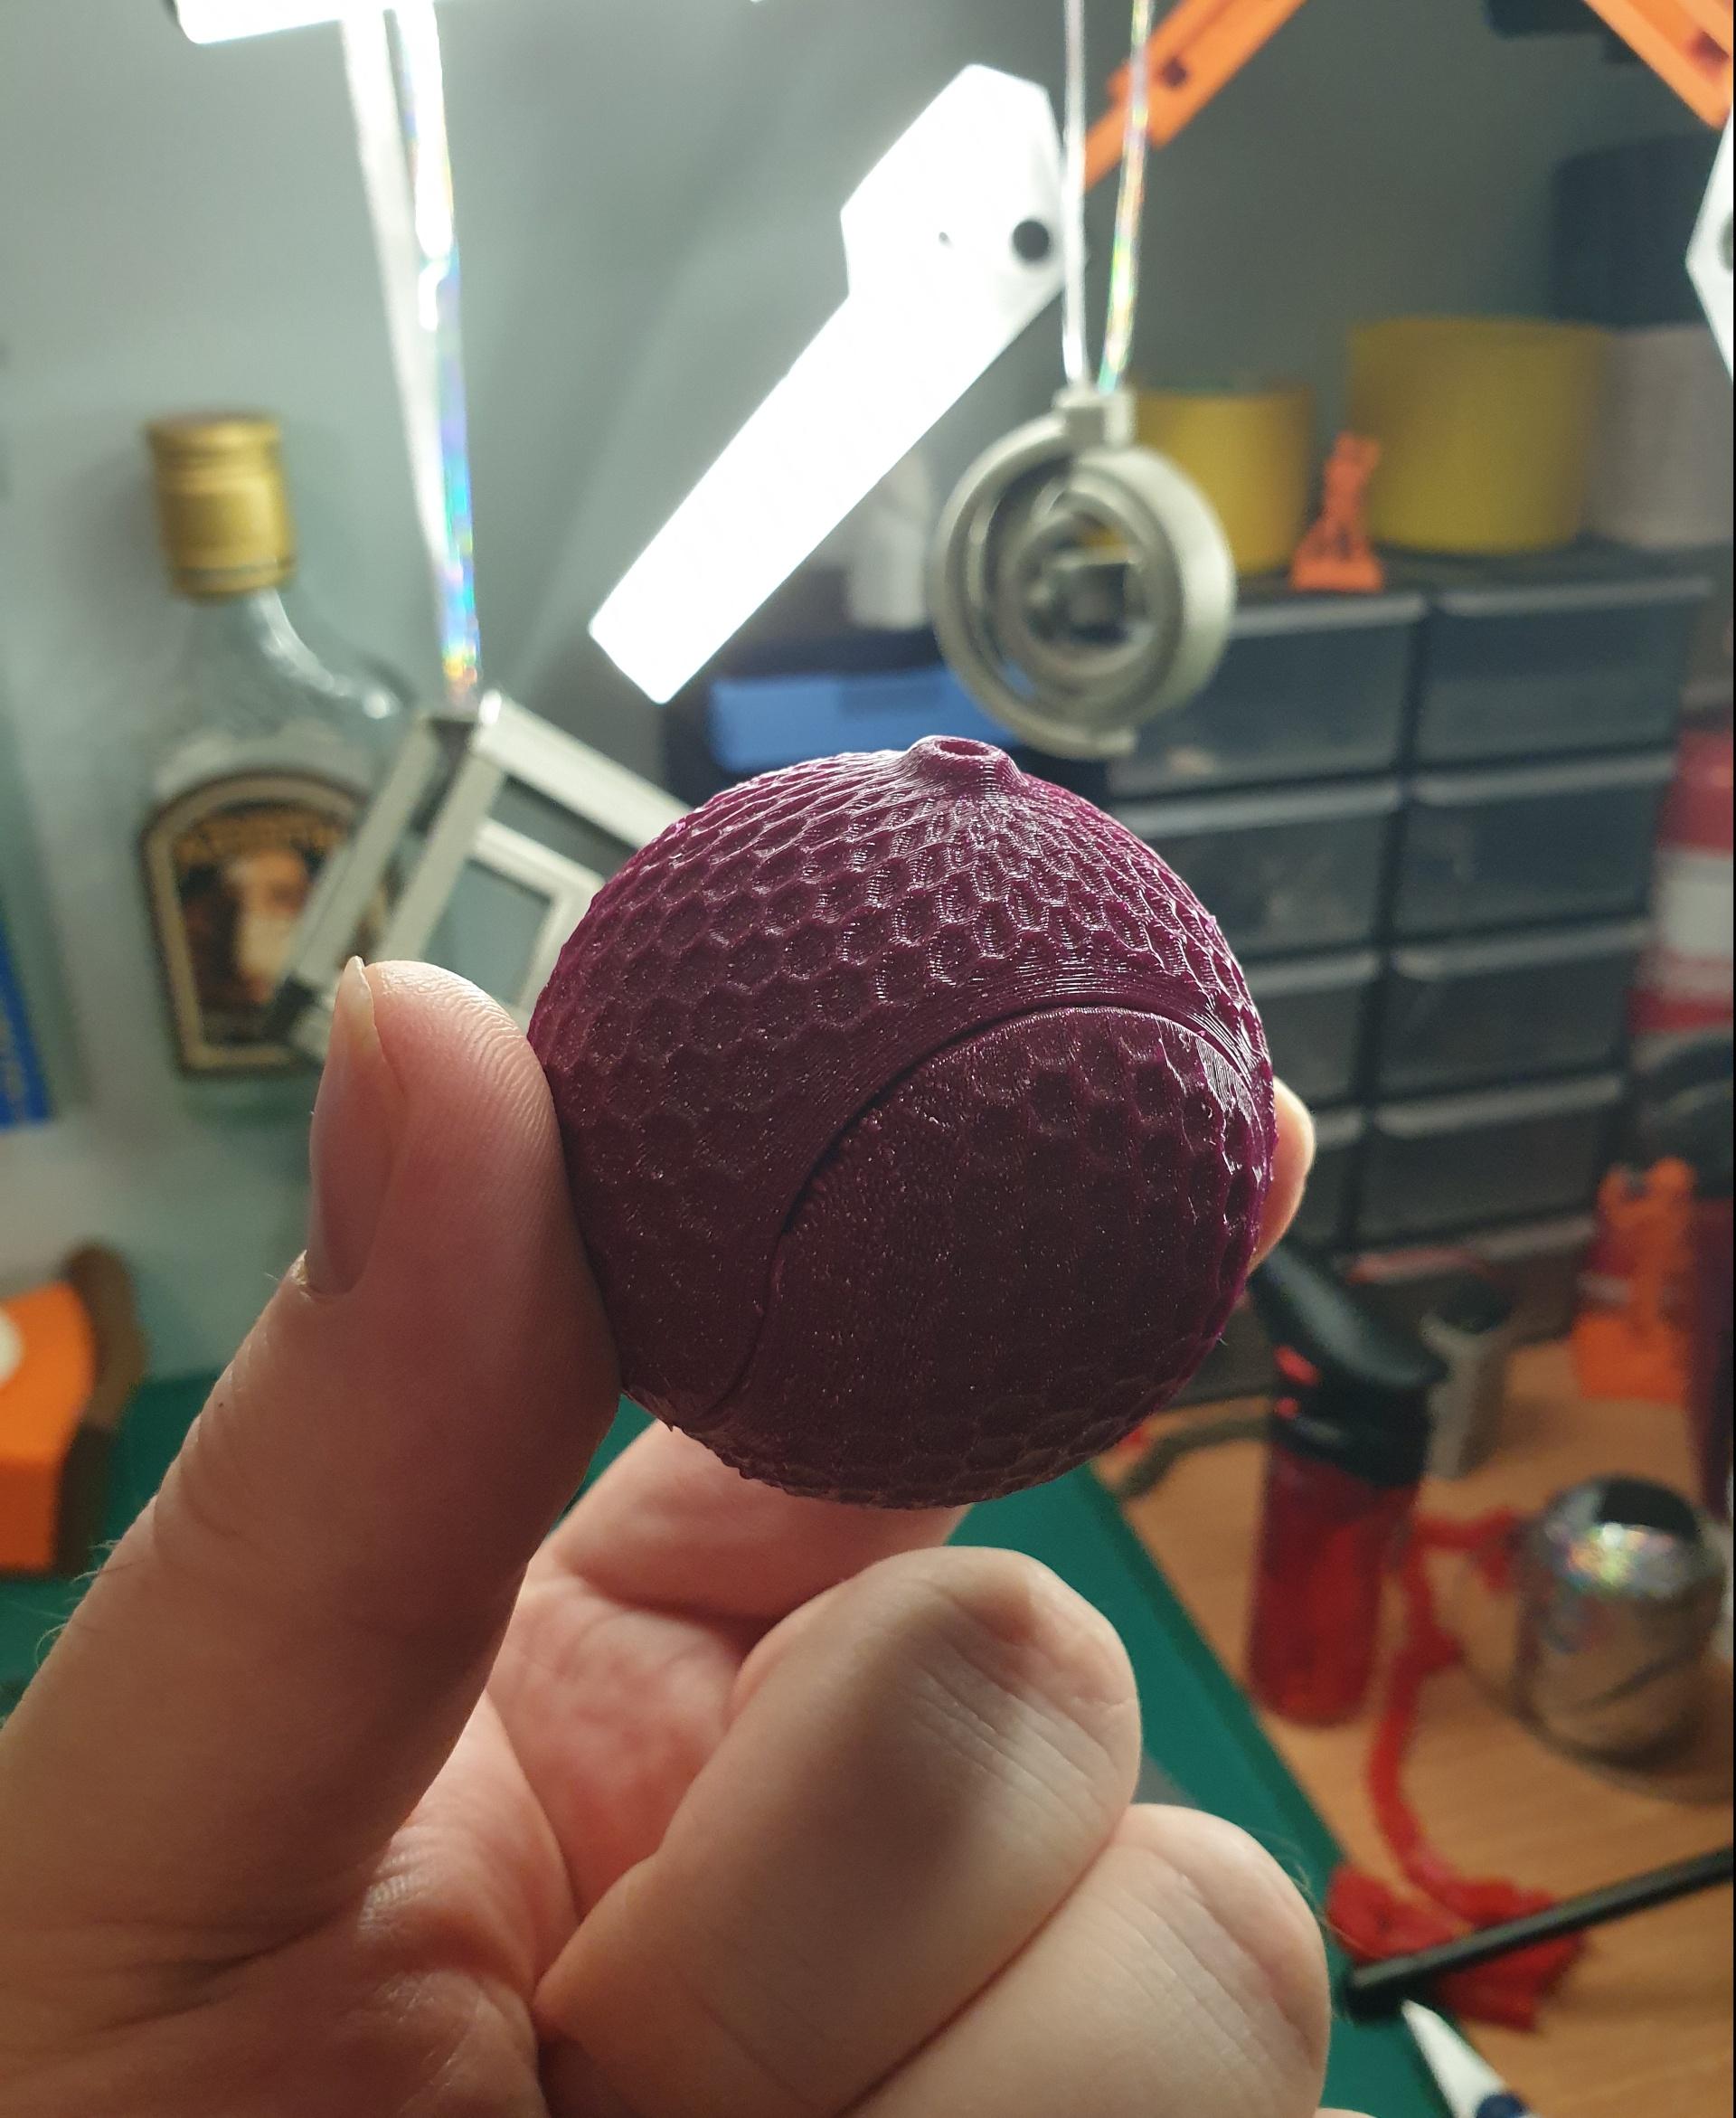
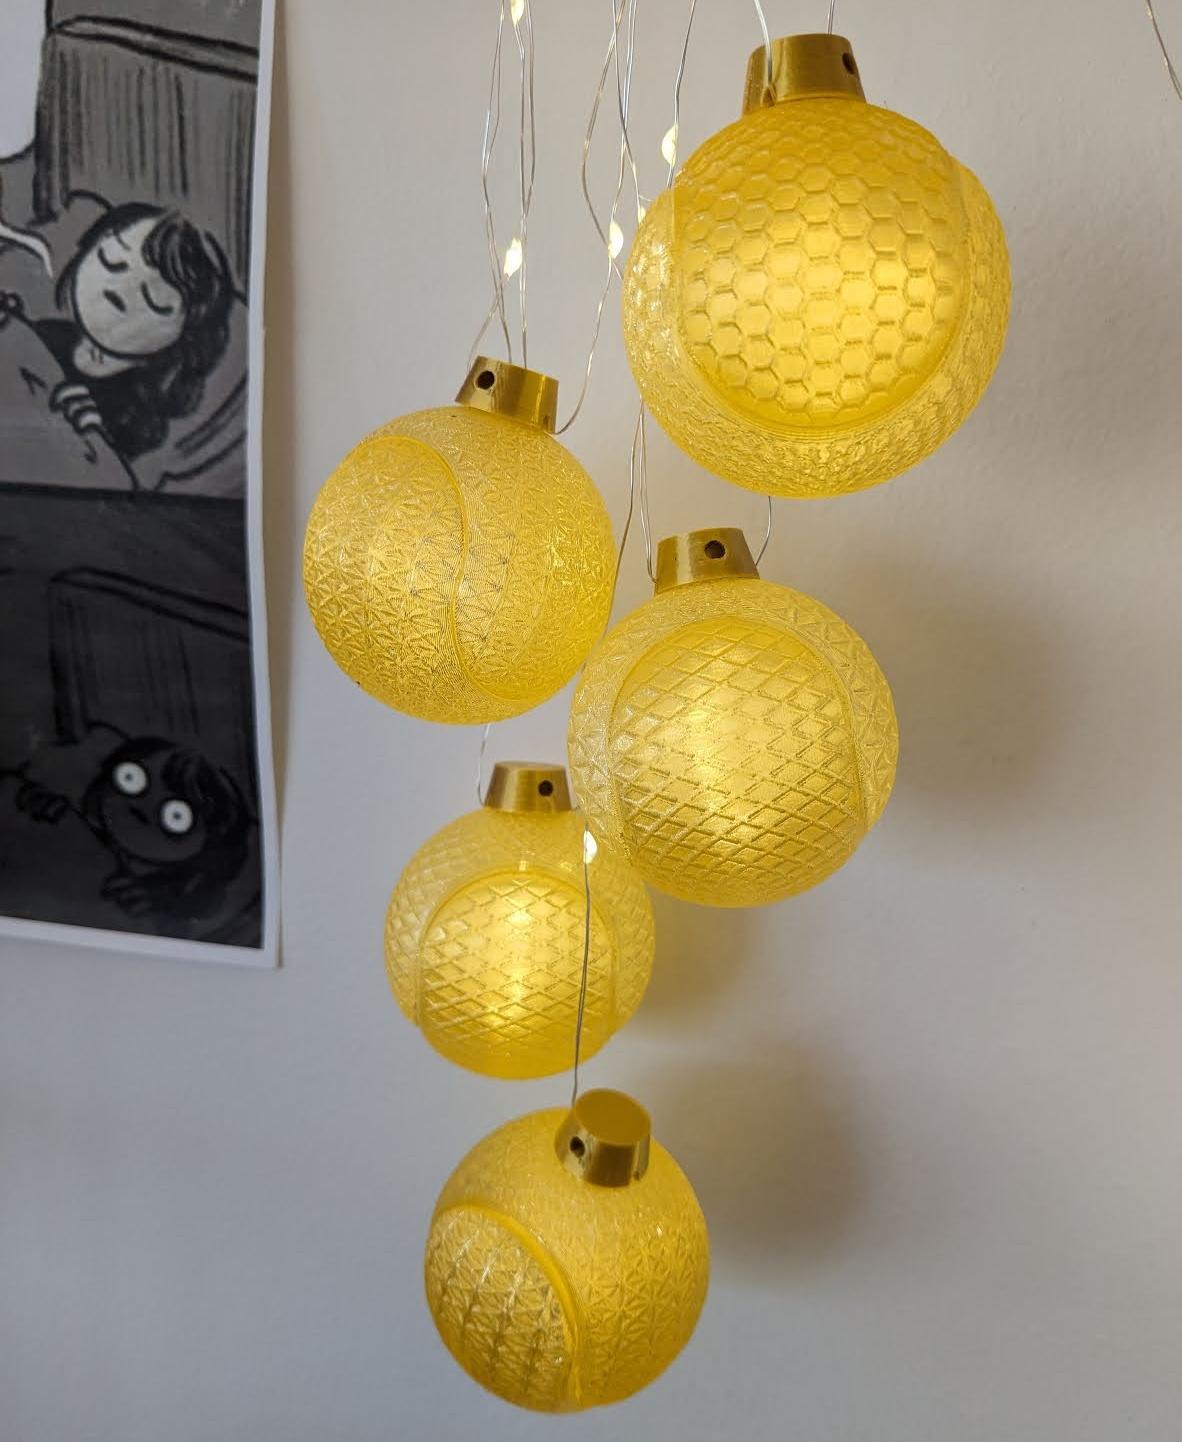
Spiralized Ornaments - Textured
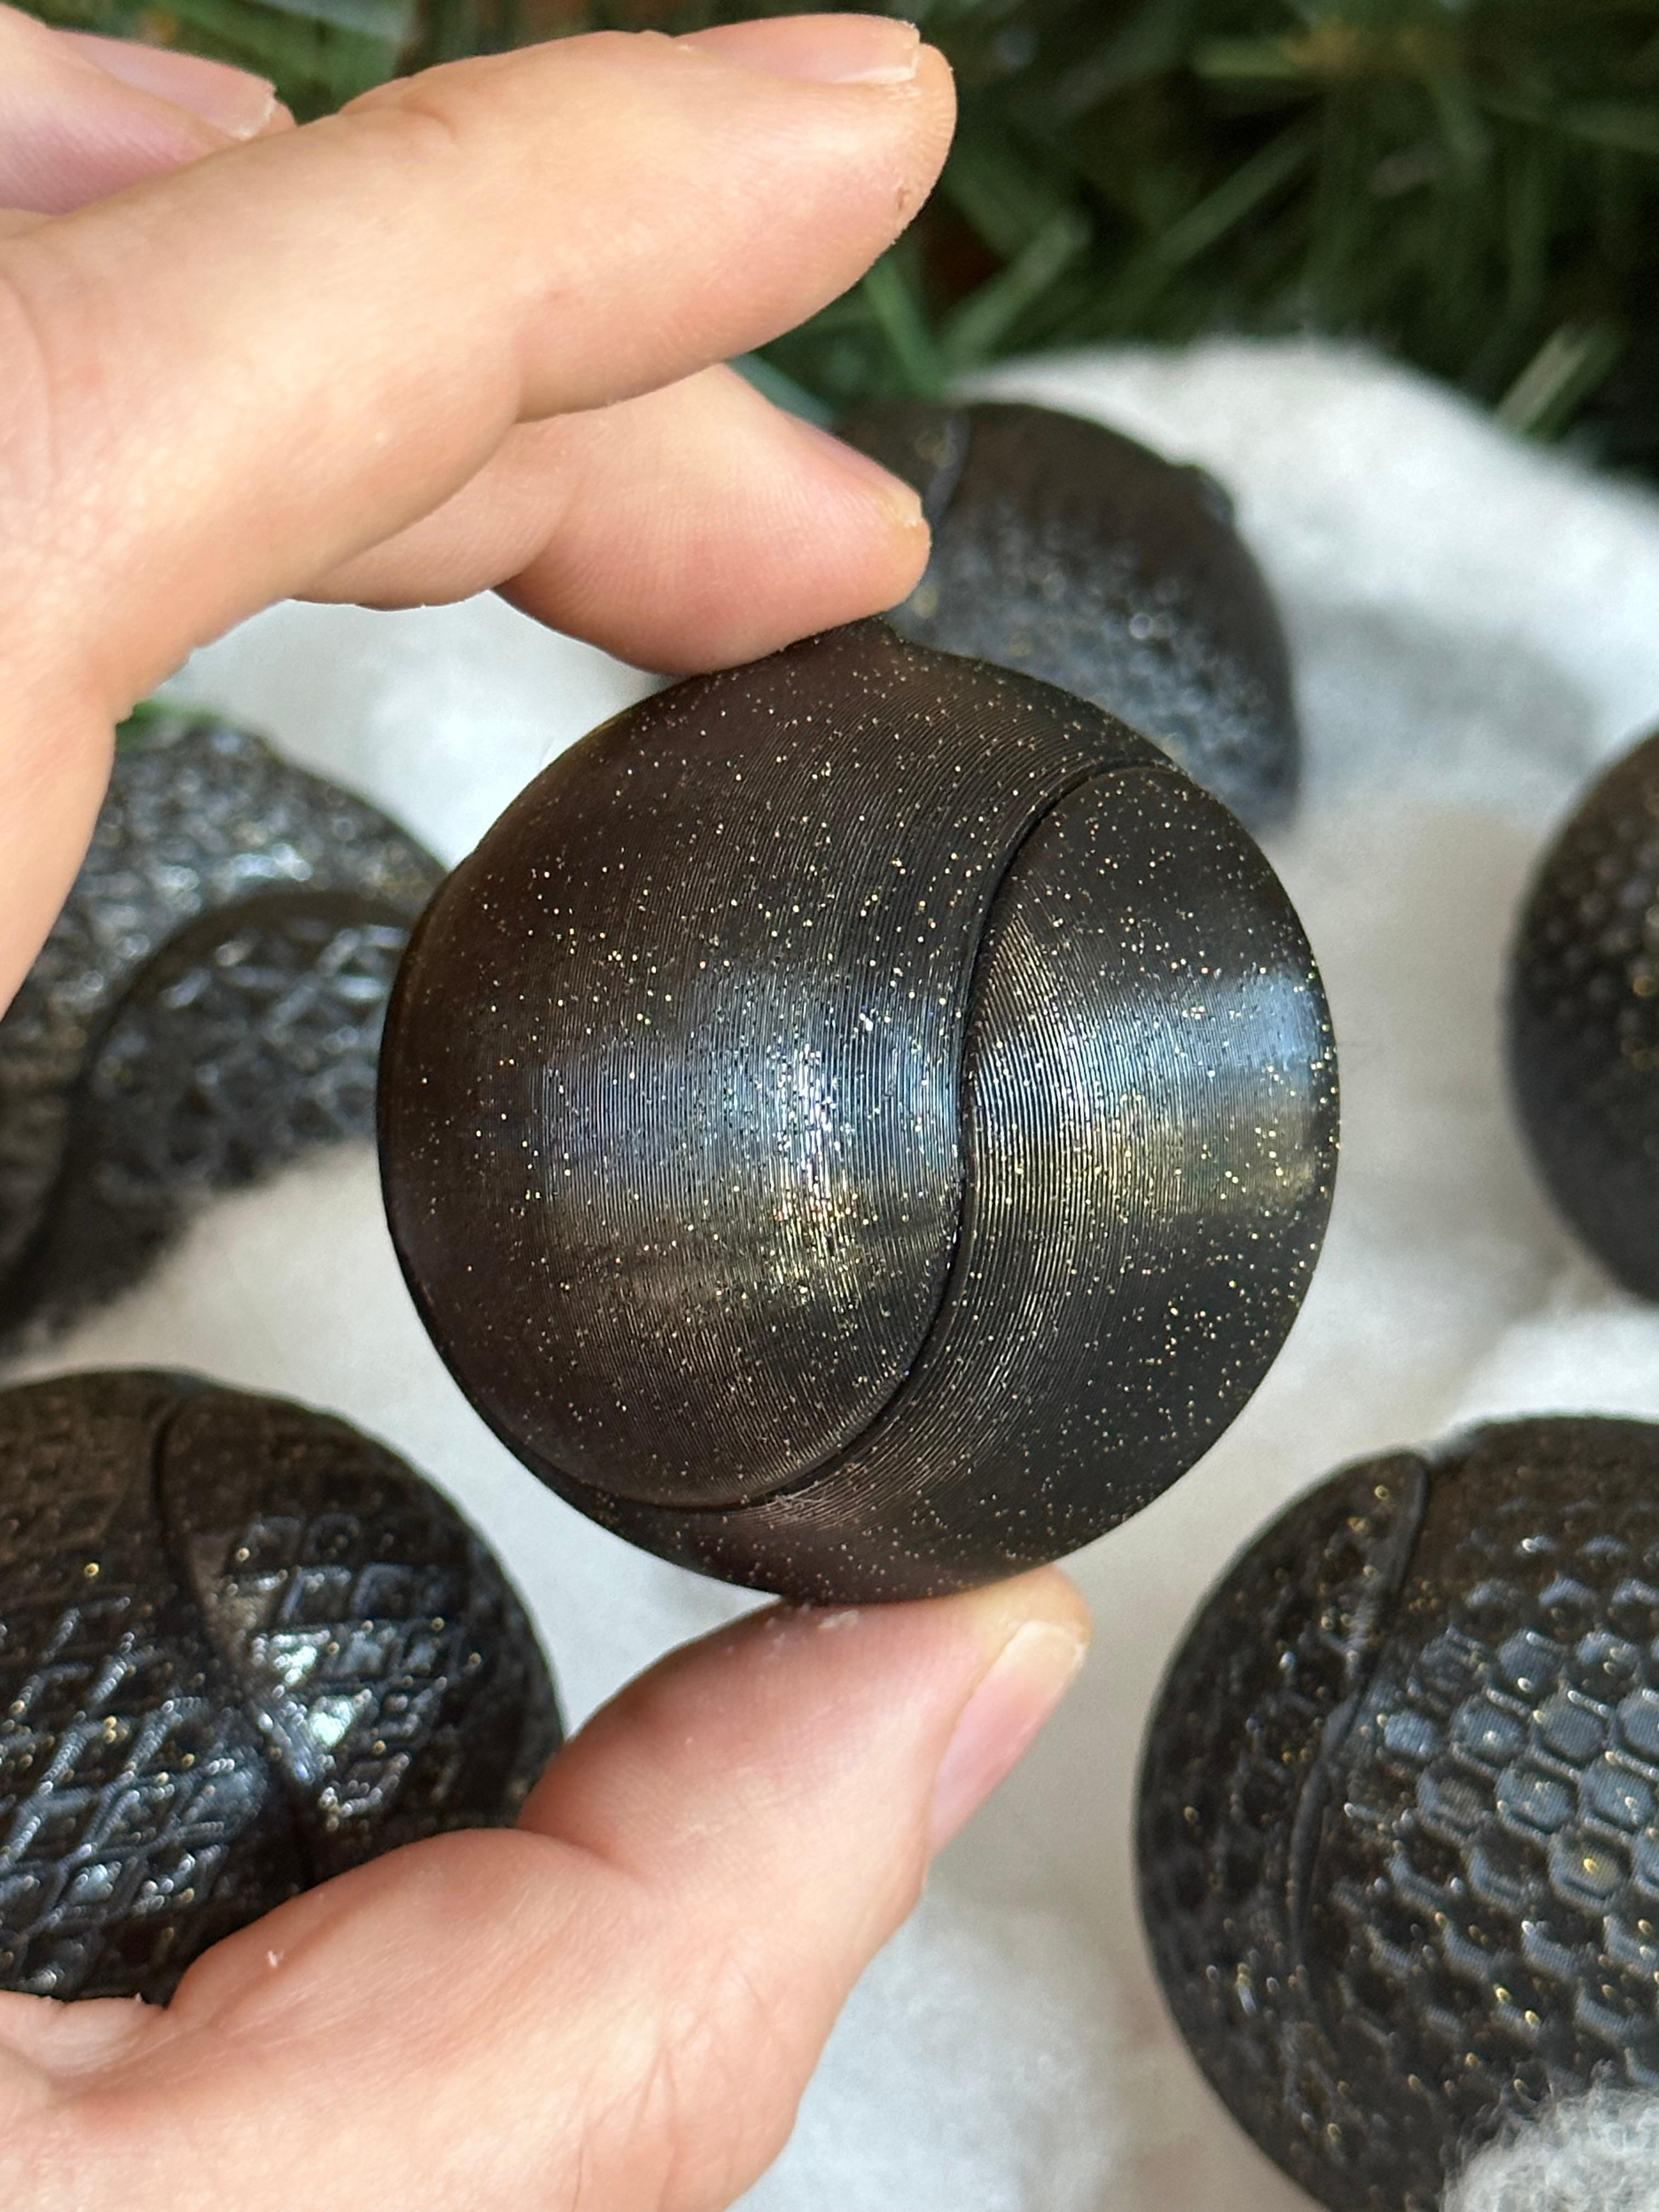
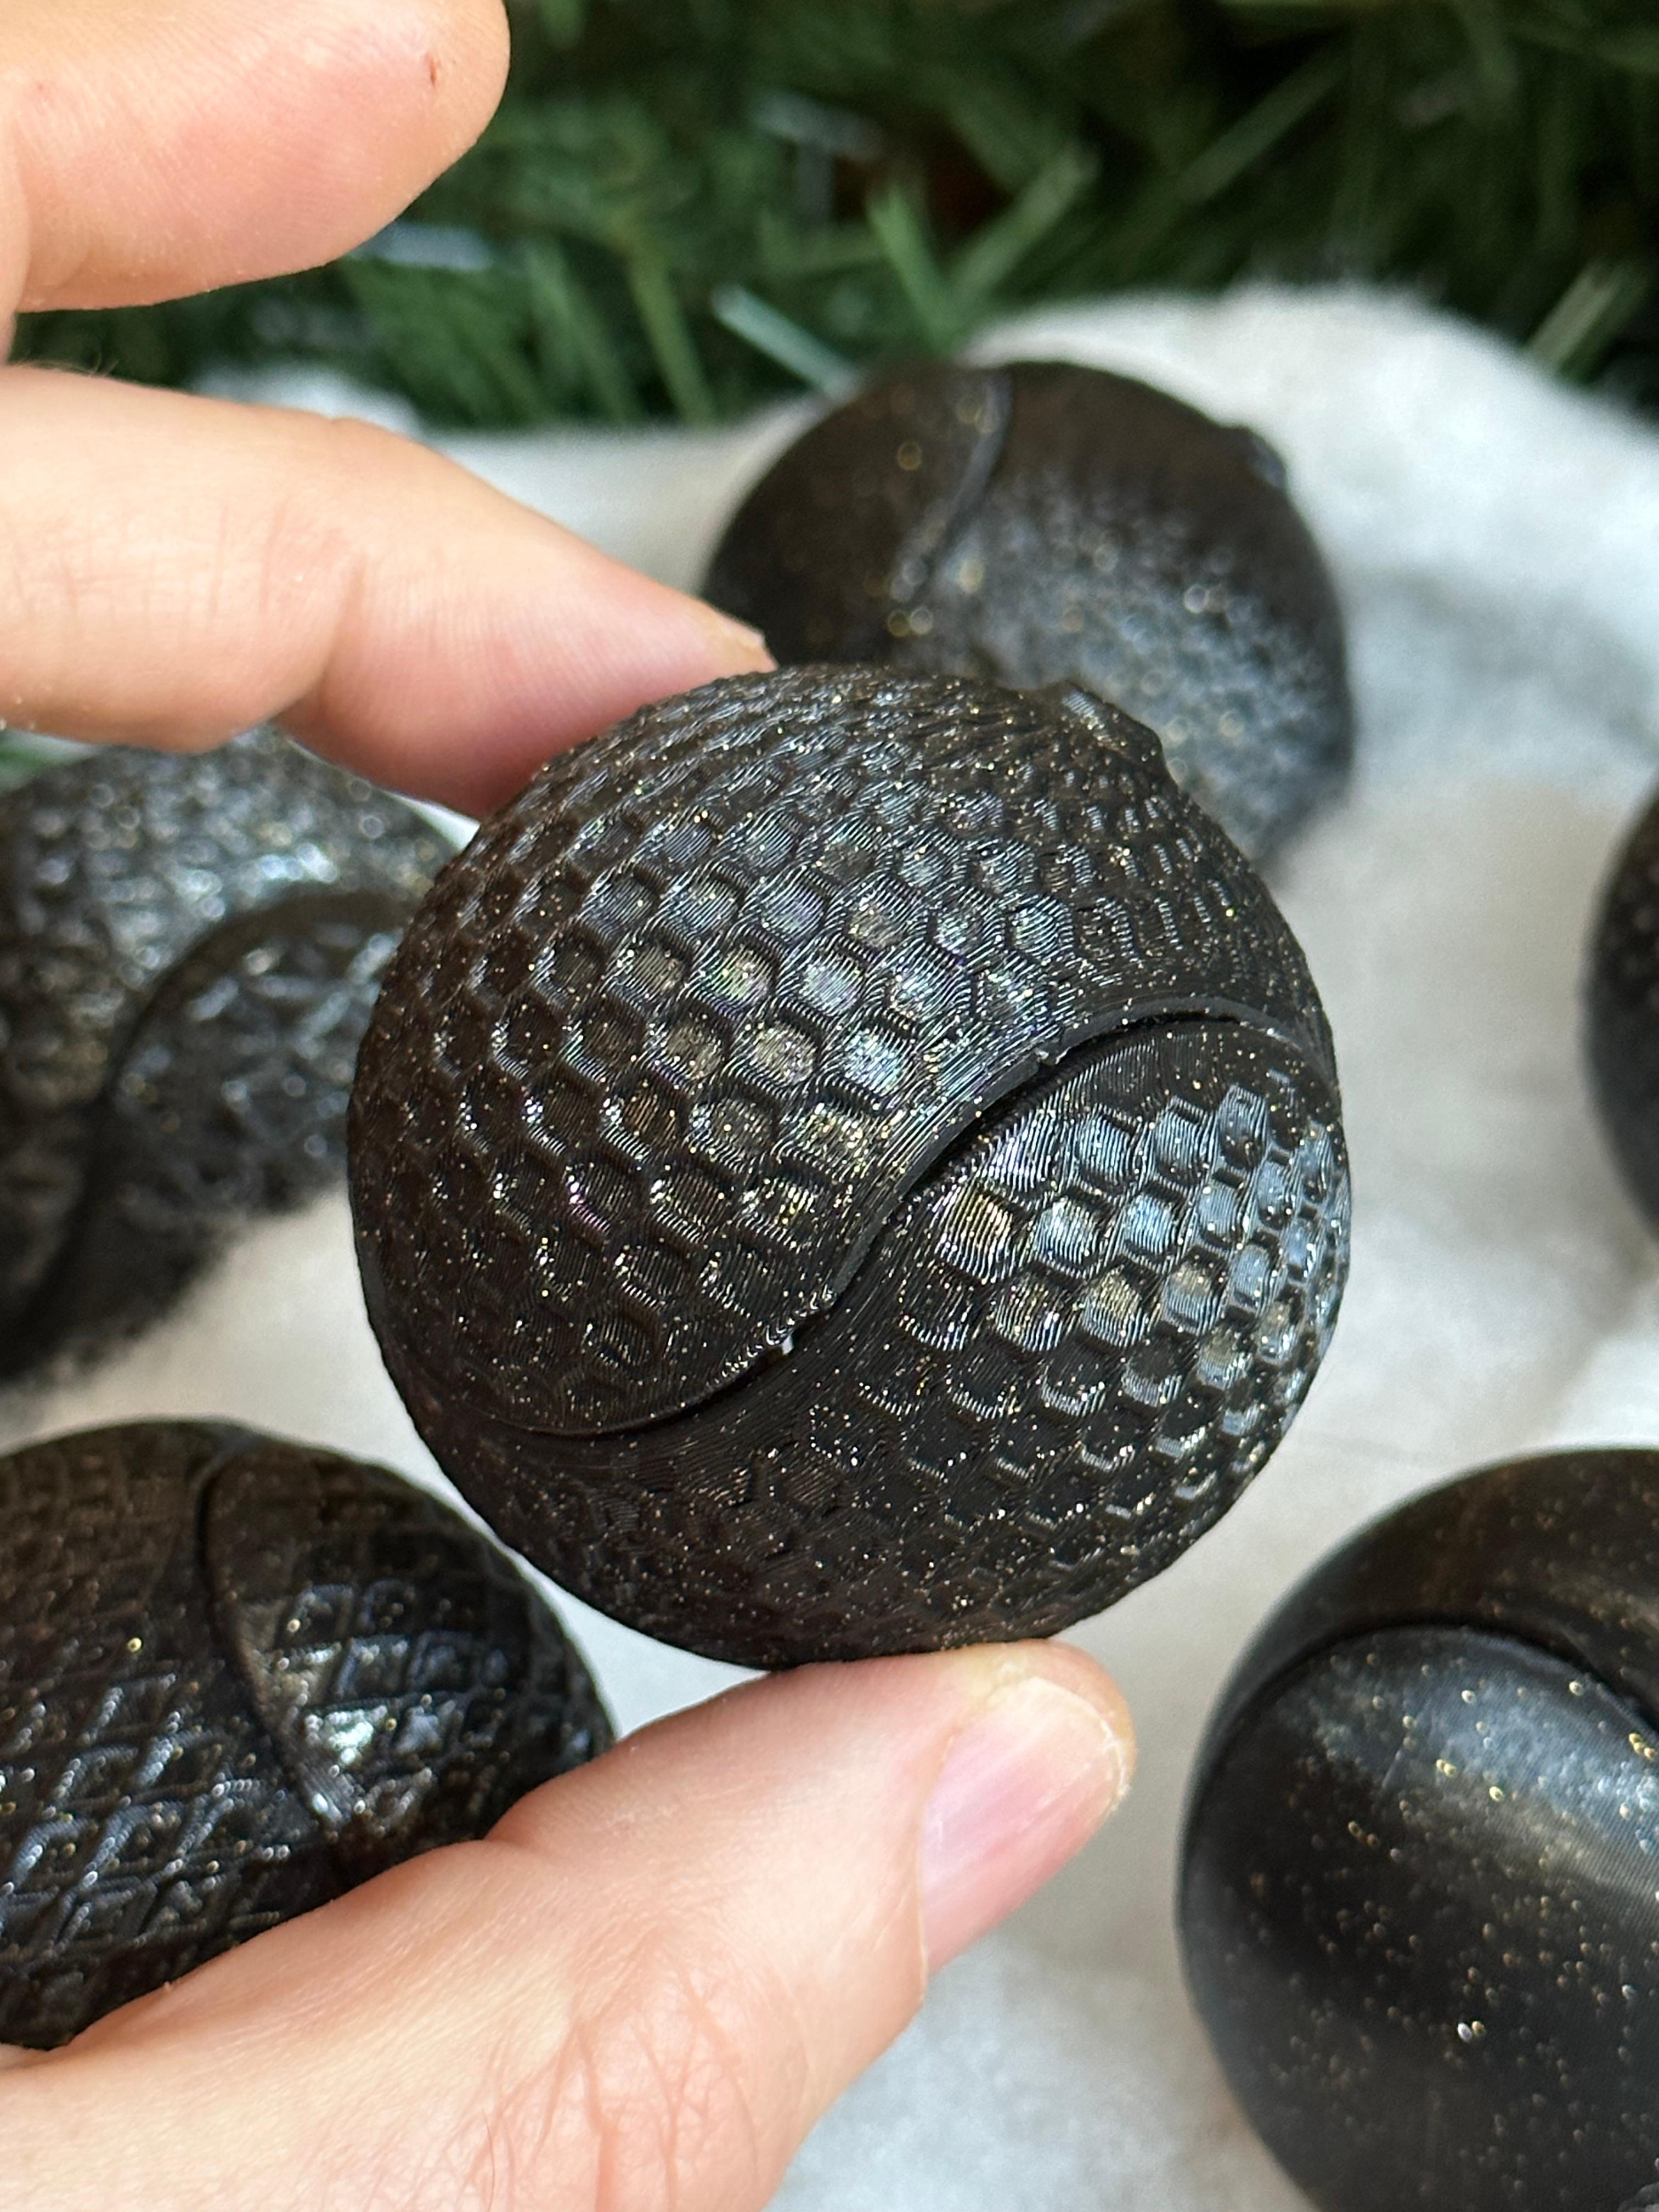
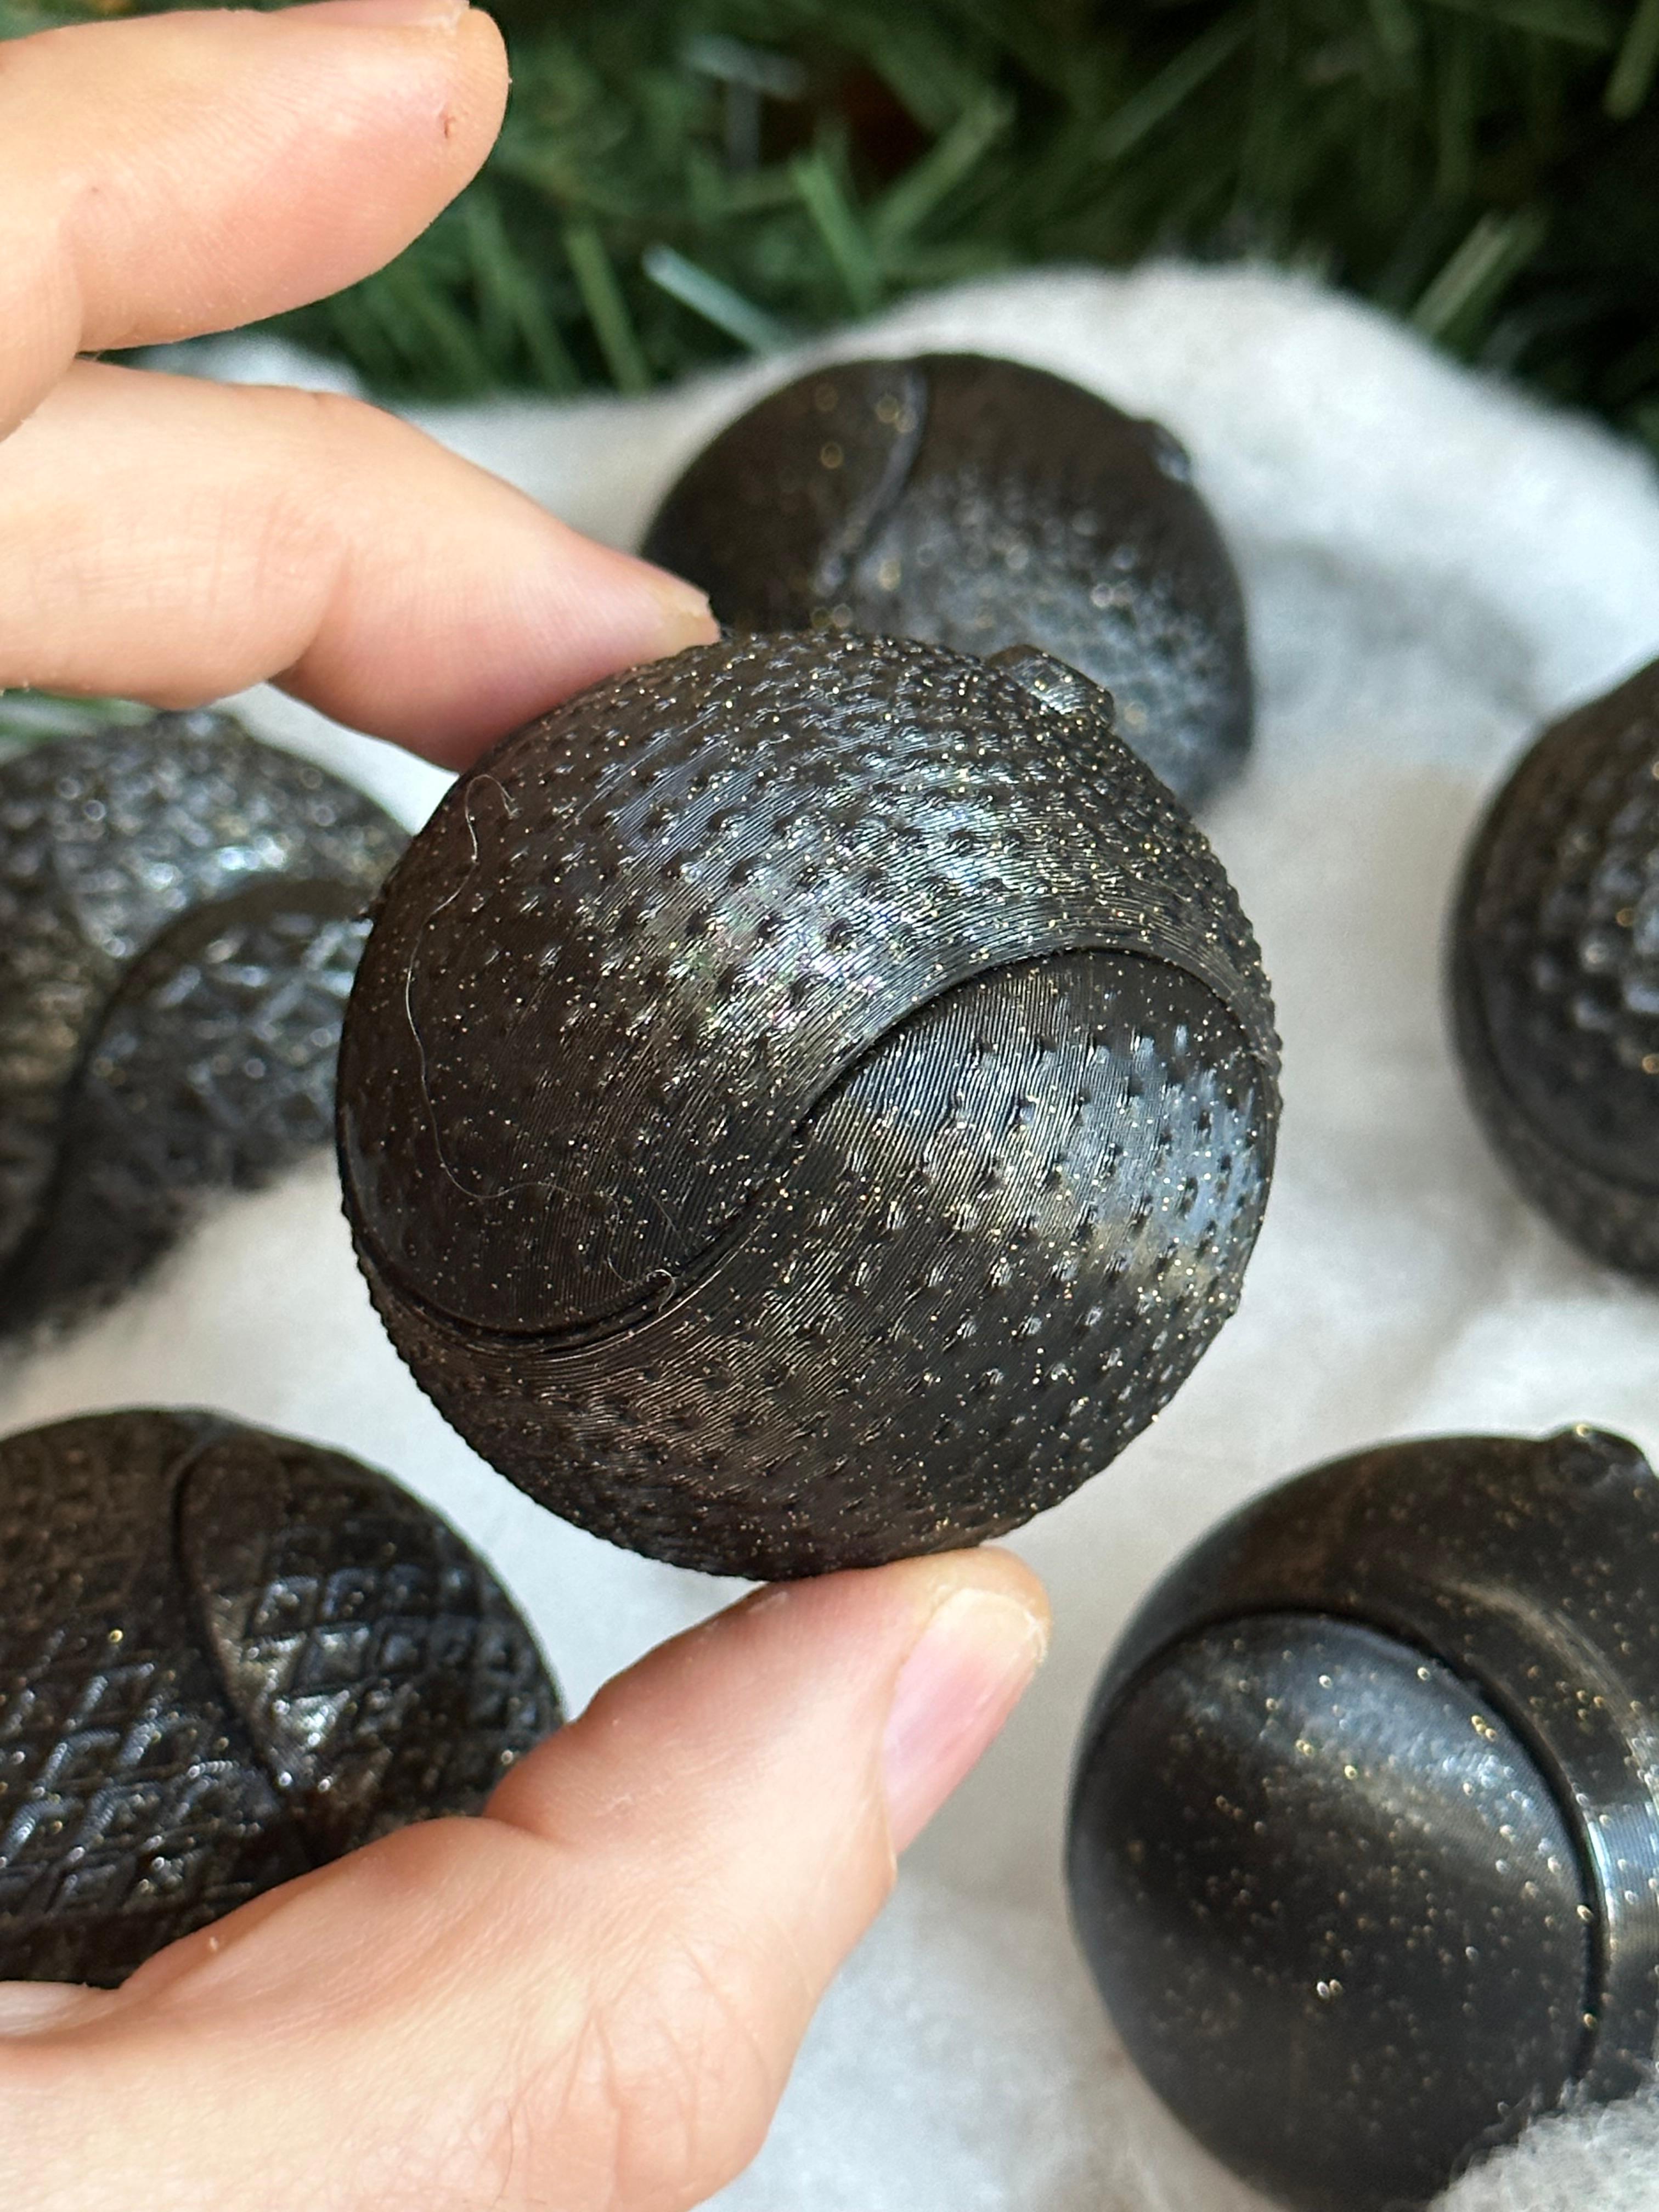
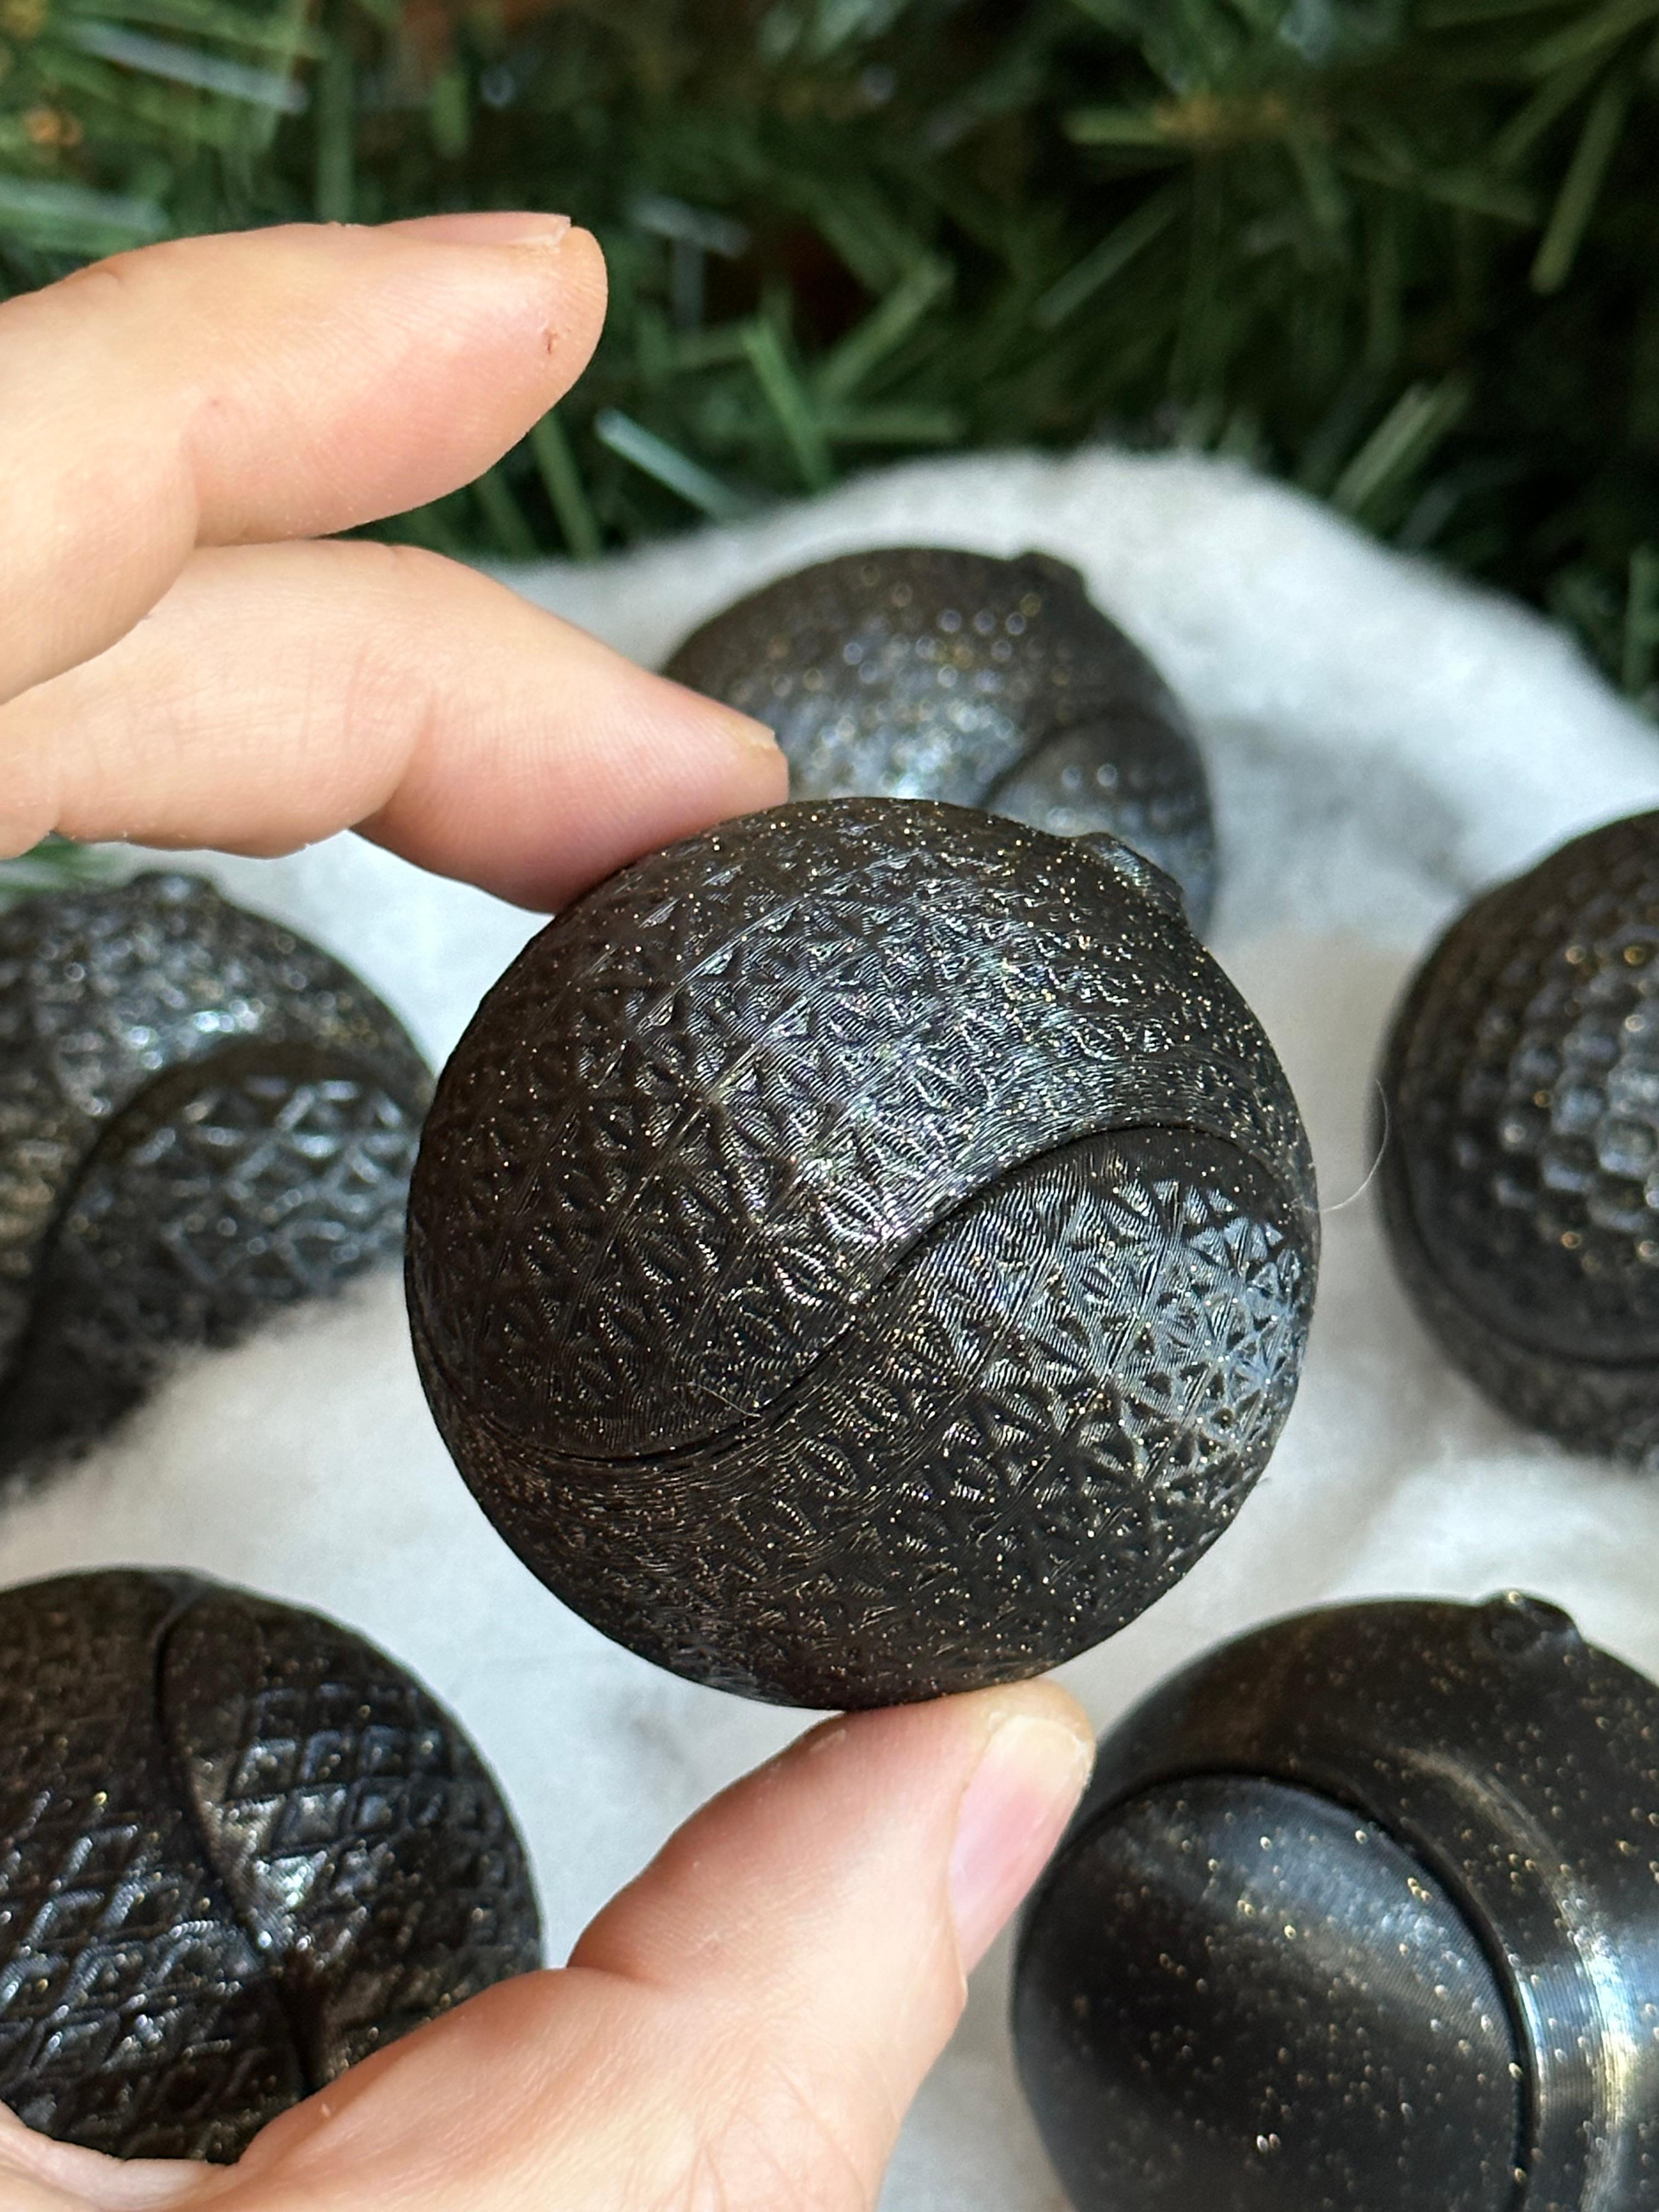
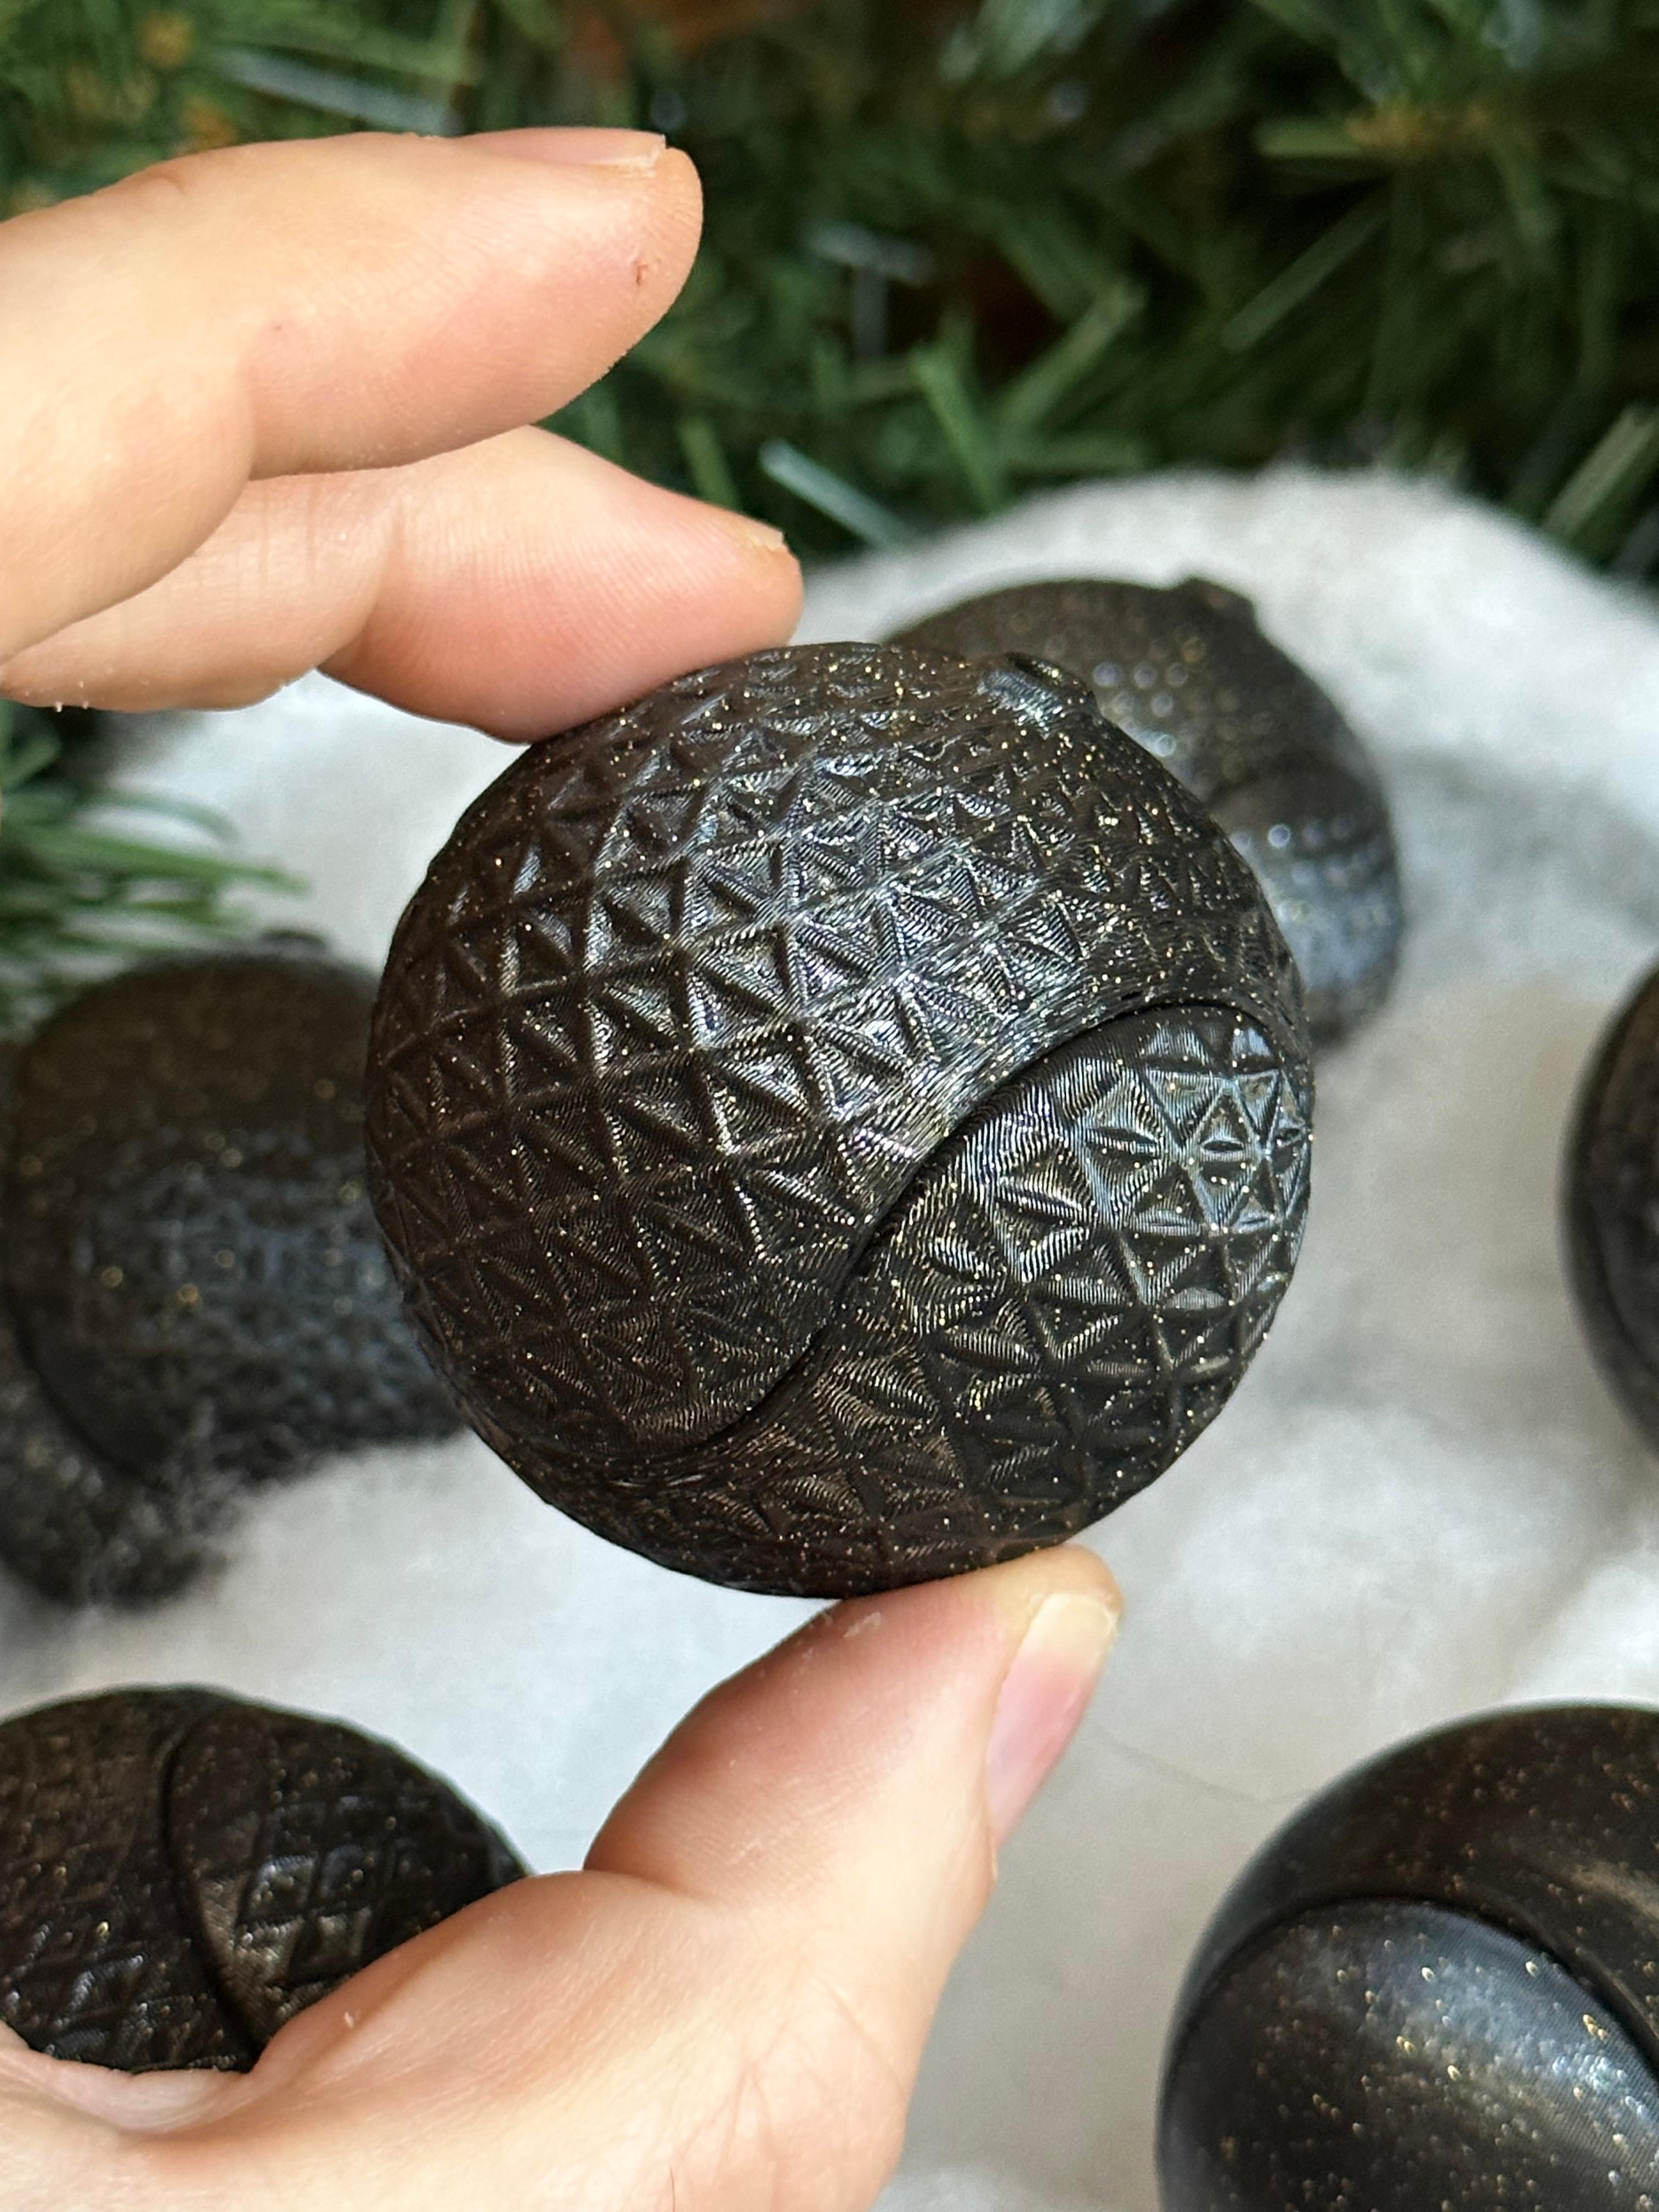
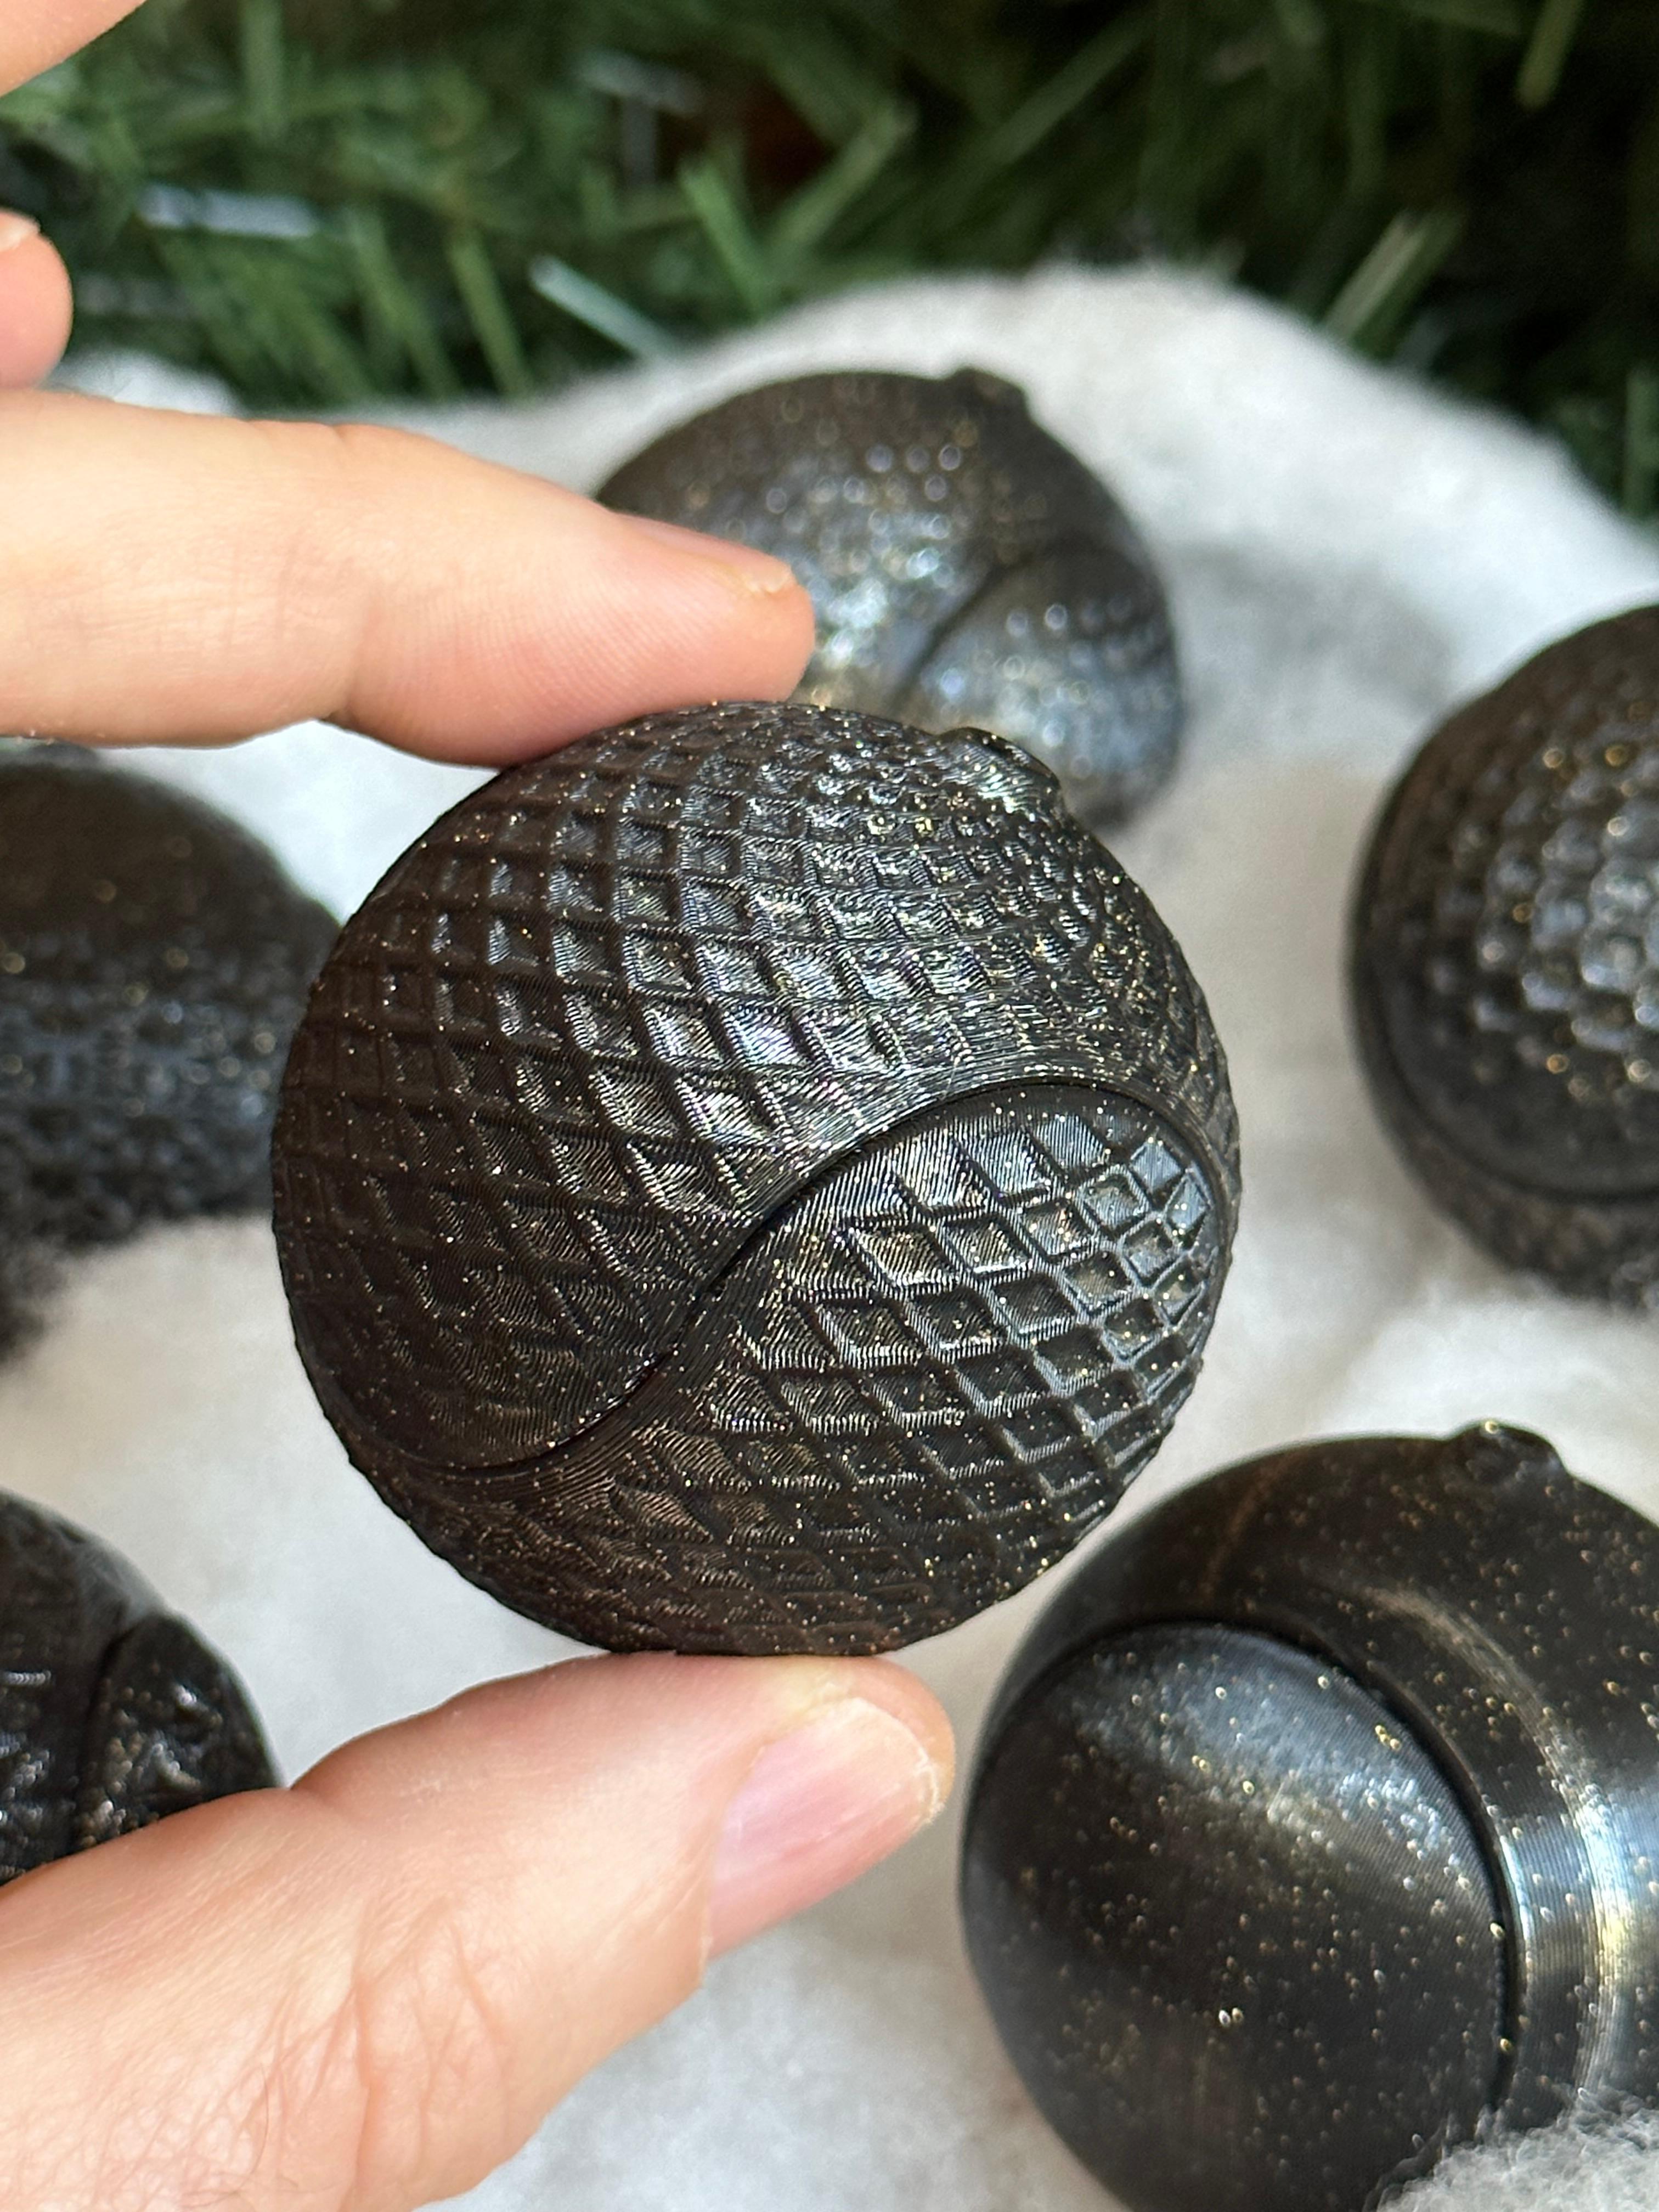
These vintage-style ornaments are designed for spiralized printing to maximize translucency and minimize material and print time. Download includes six different mix-and-match styles!
See here for video: https://youtu.be/JIcOVe_VUuc
More Spiralized Ornaments: Vintage: https://than.gs/m/964487 Textured:
When printed with a 0.4mm nozzle, each ornament requires less than 8g of material. You could print over 125 ornaments with 1kg of filament! A great way to get the most out of your specialty (expensive!) filaments.
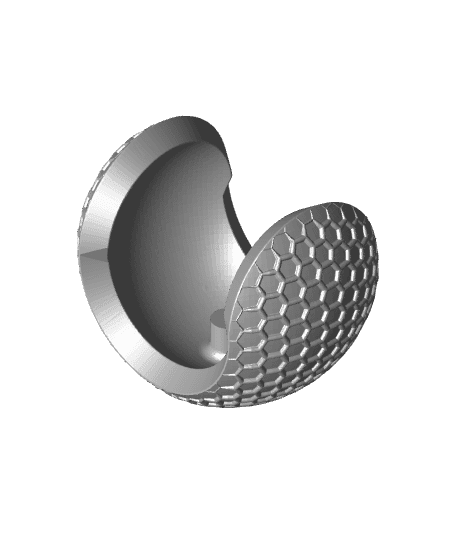
For each ornament, you will need to print out a “top” and “Bottom” file. Be sure to use “spiralized” or “vase” mode! You will need to open up the hole in the top by trimming the inside protrusion with a pair of clippers. See video for demo.
Here are some recommendations for spiralized printing:
- Use thick layer heights, 0.2mm or greater
- Set your “Bottom Layer” to 1
- Try using a skirt for bed adhesion, but if that is not working then try a brim. You will just have to remove the brim afterwards
- If you get funny stringing on the top layer, try moving the z-seam alignment around
