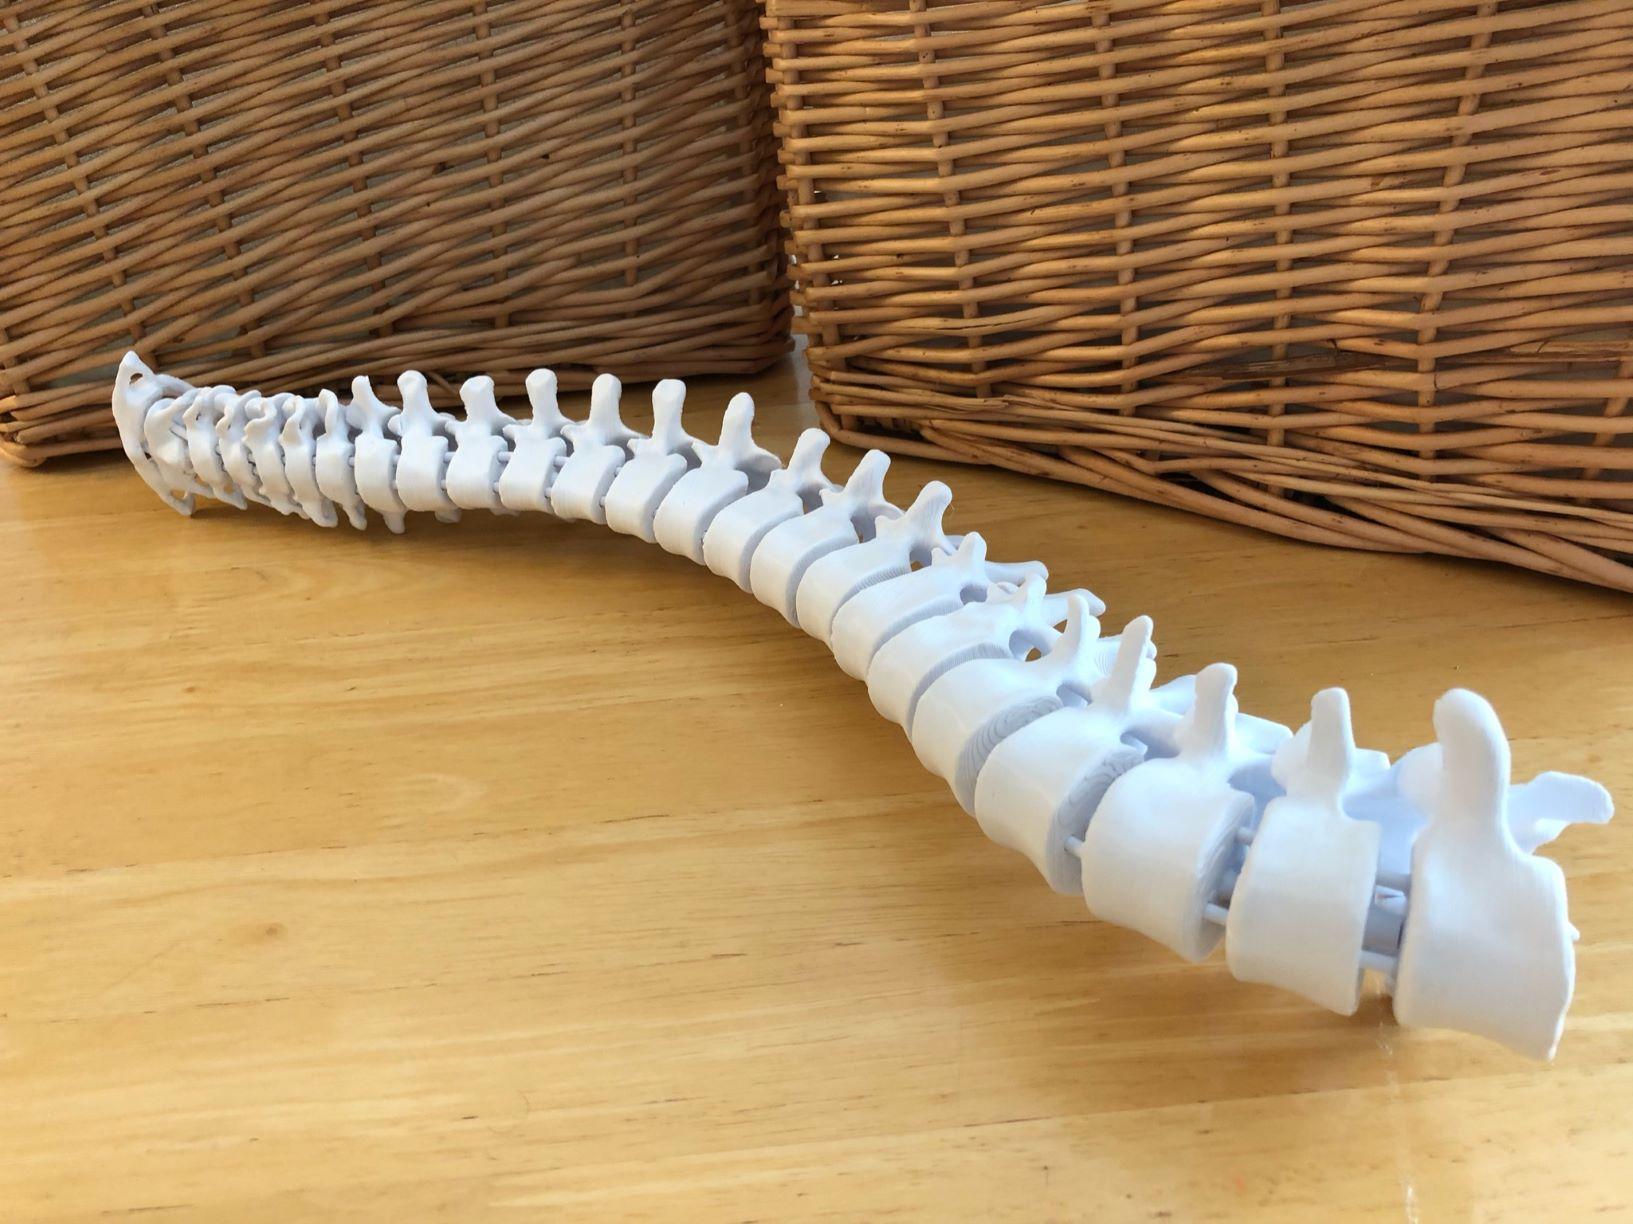
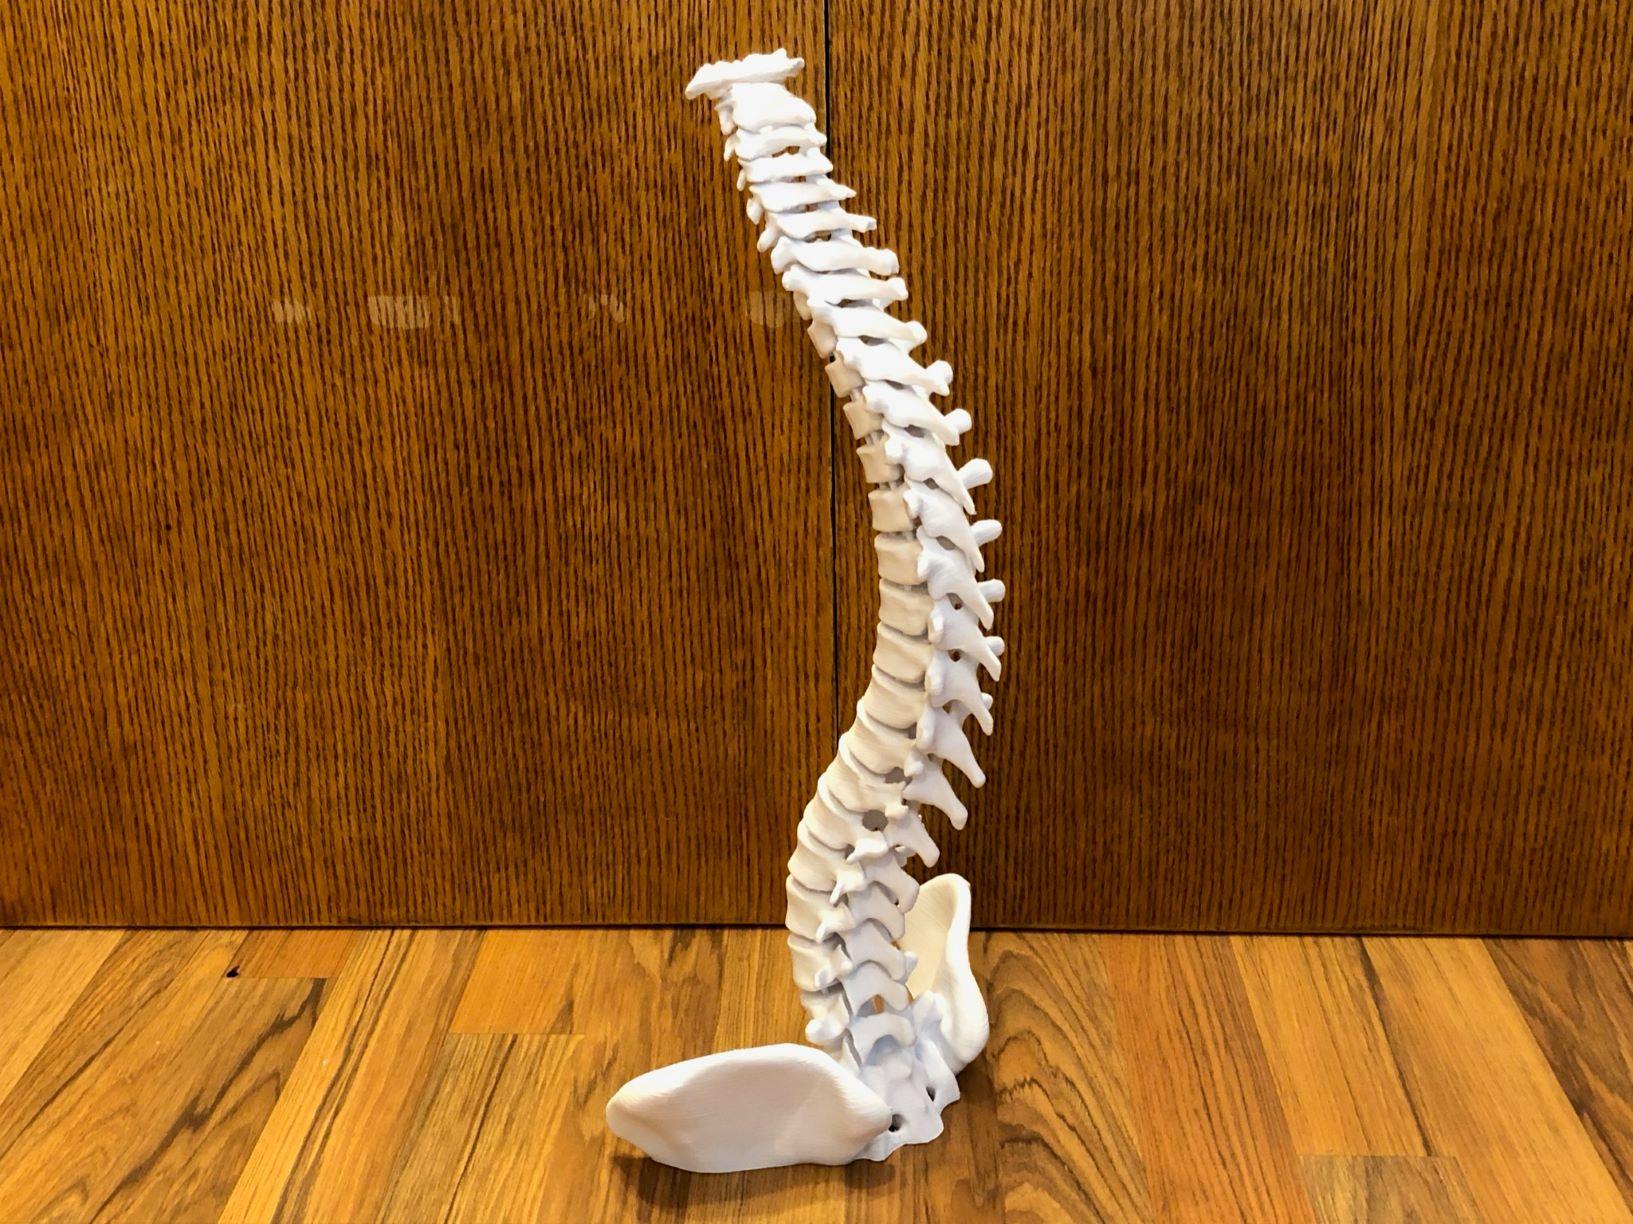
Flexible Spine Model with Display Stand
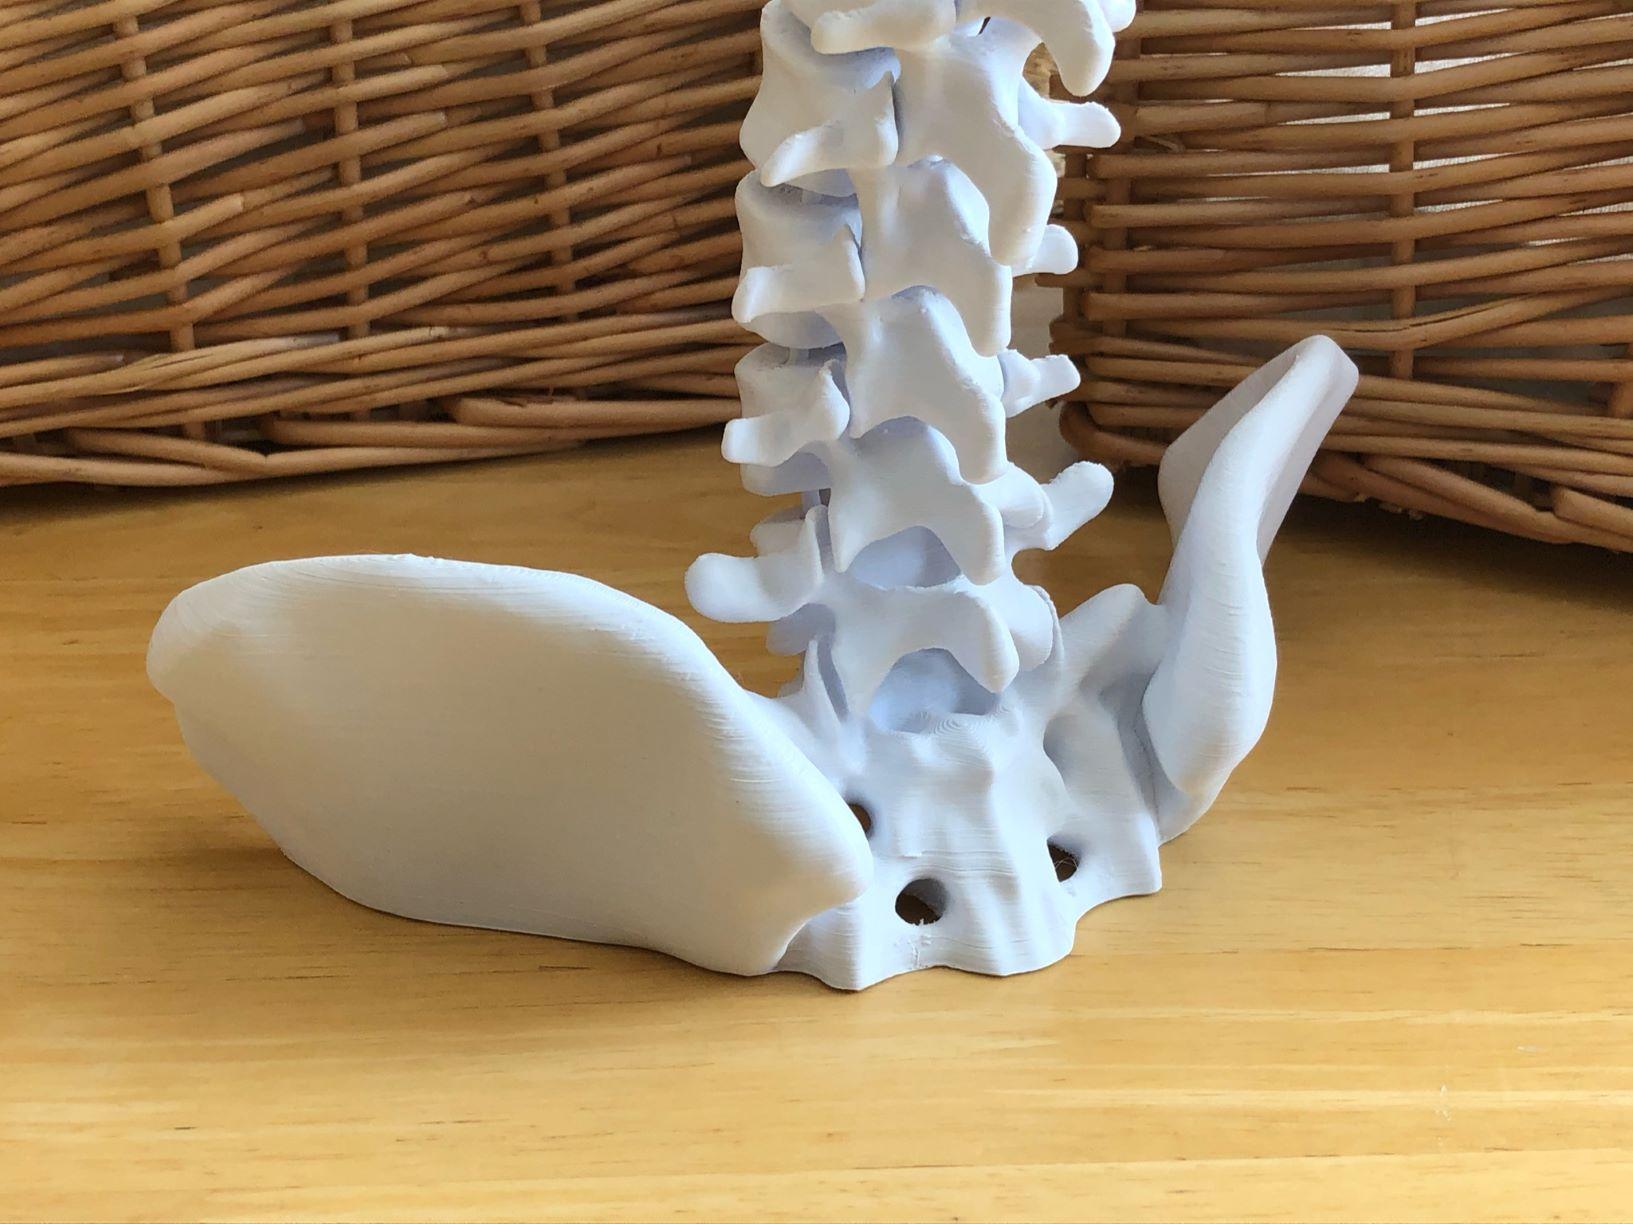
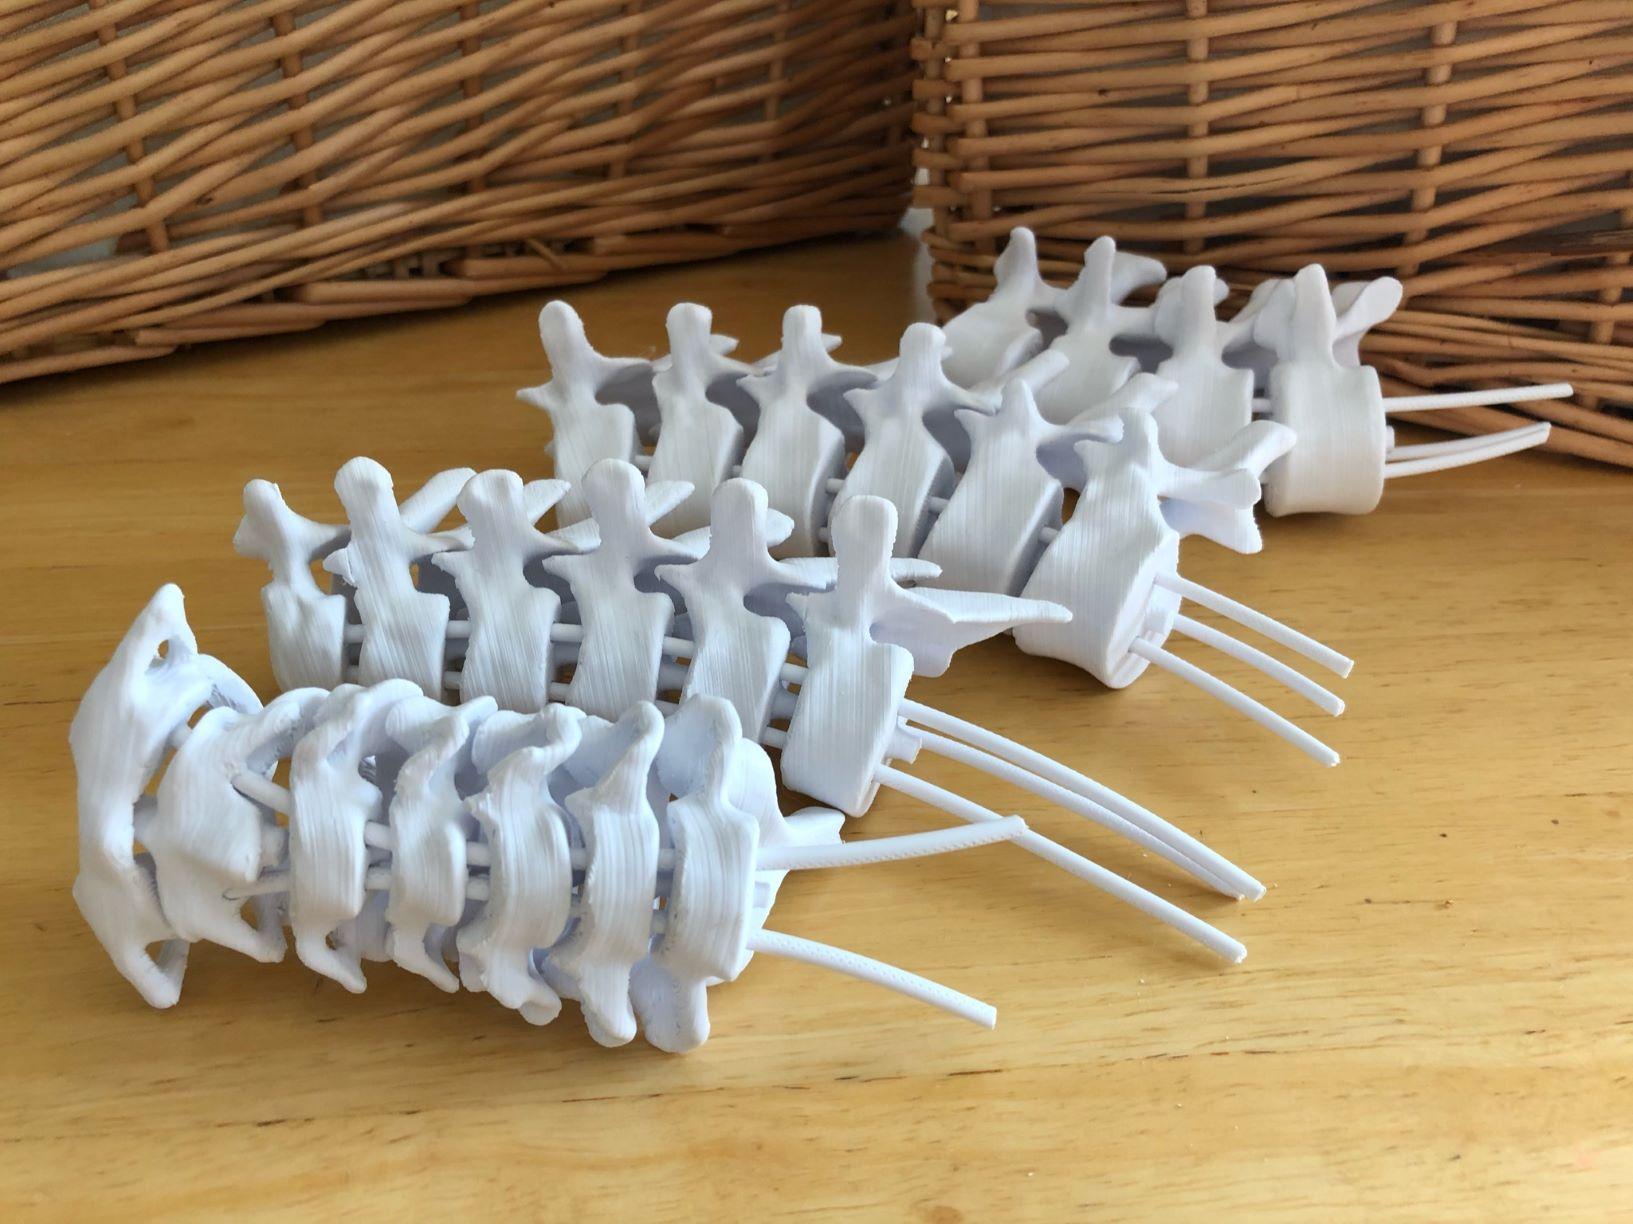
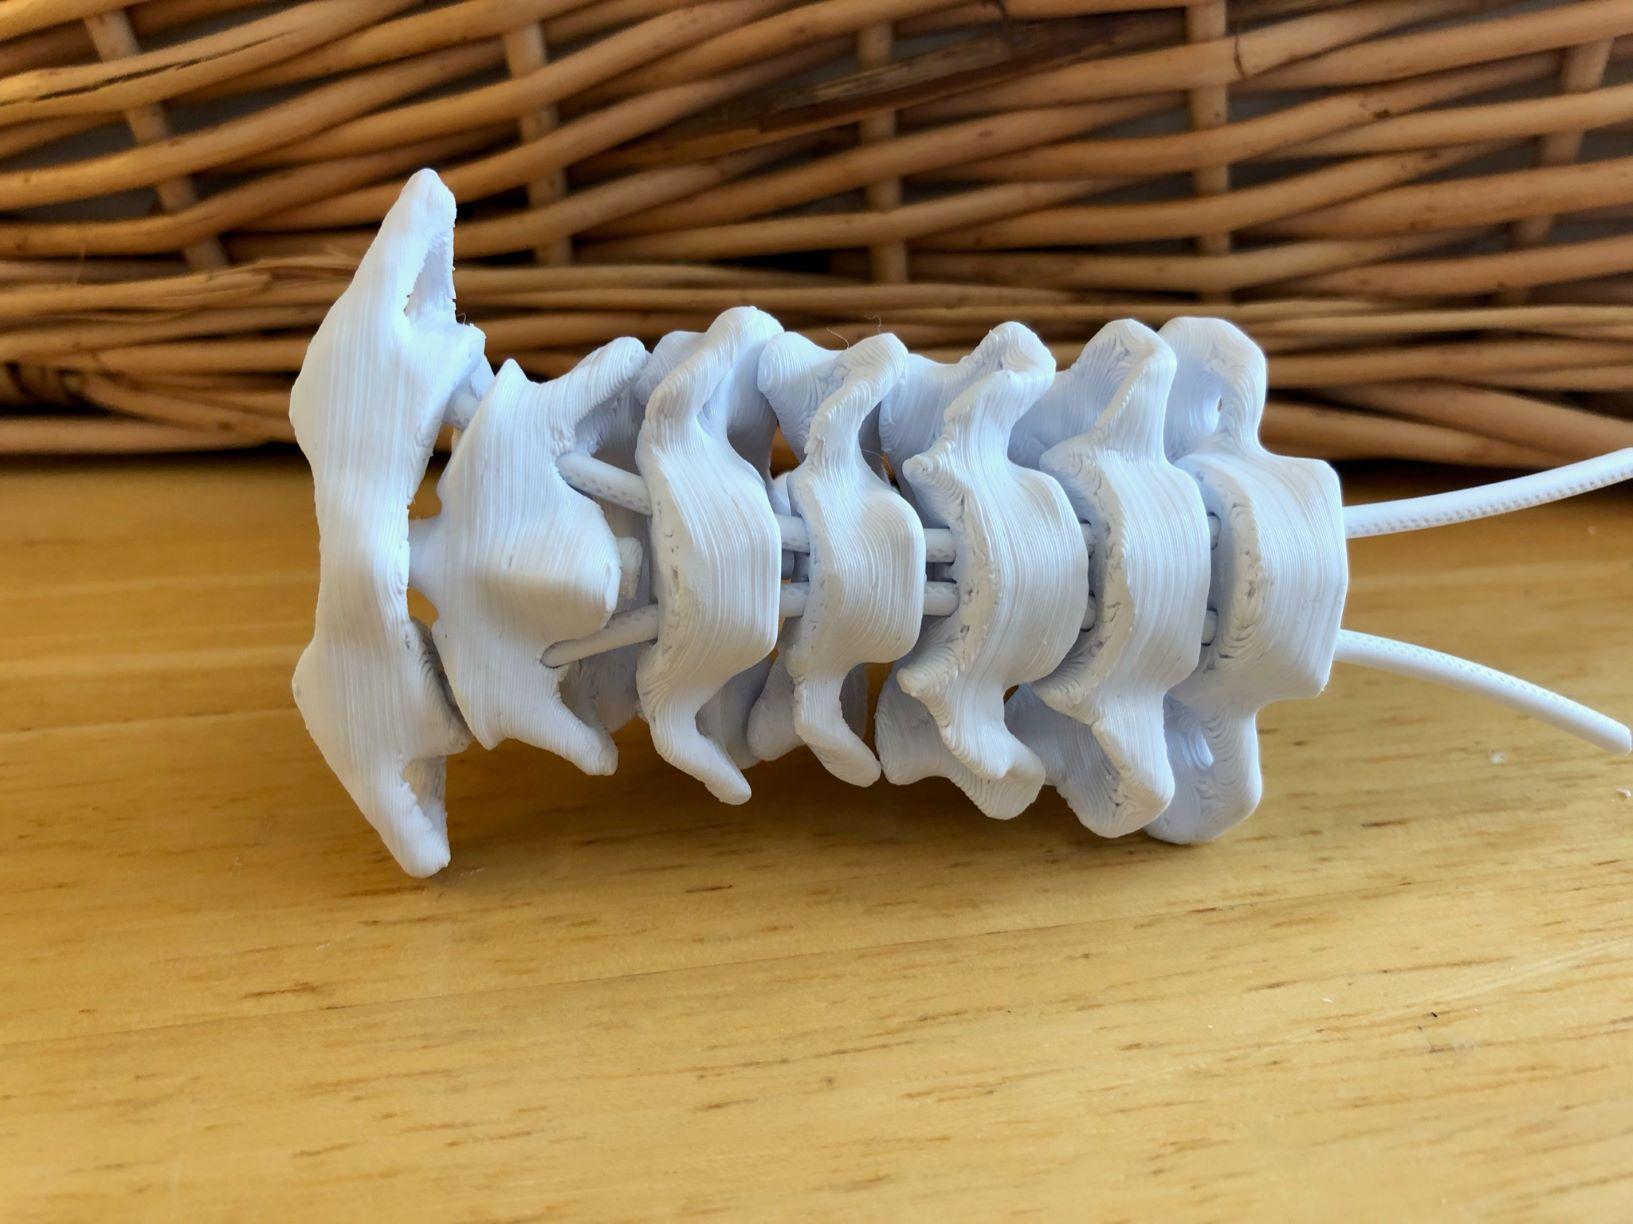
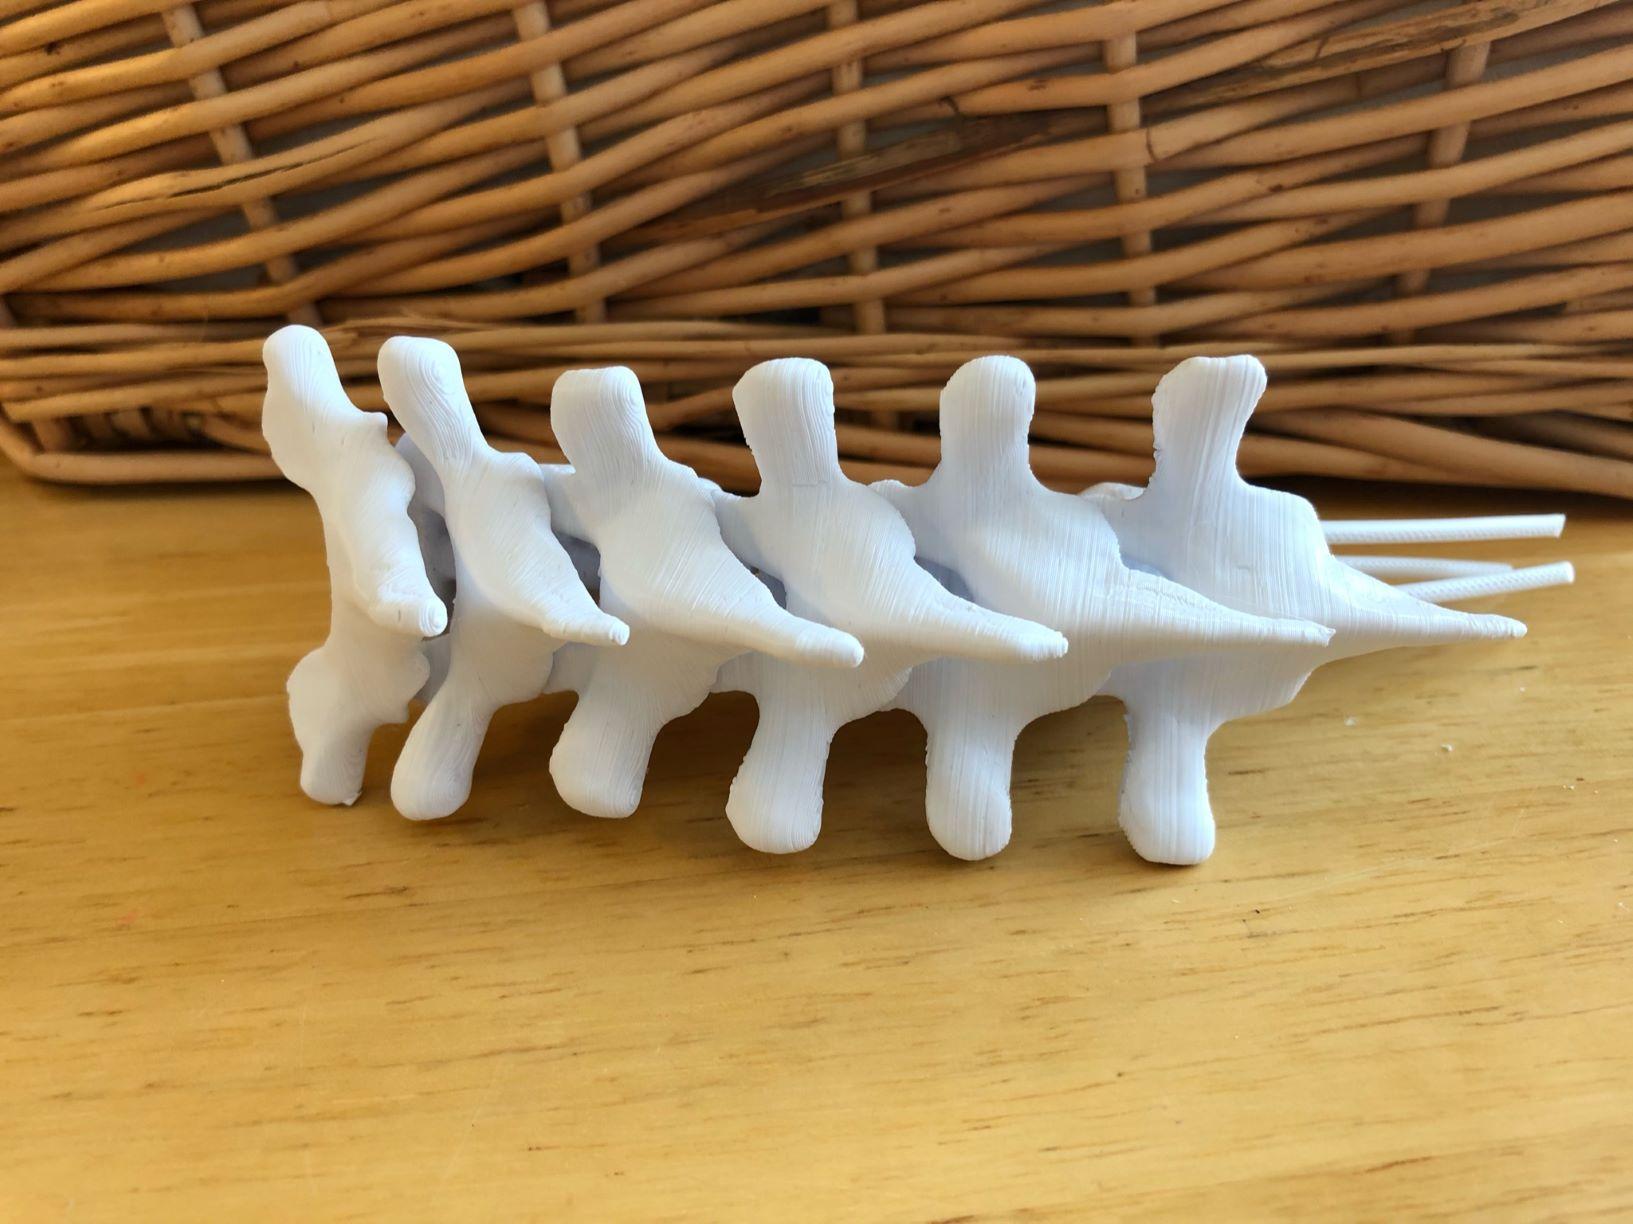
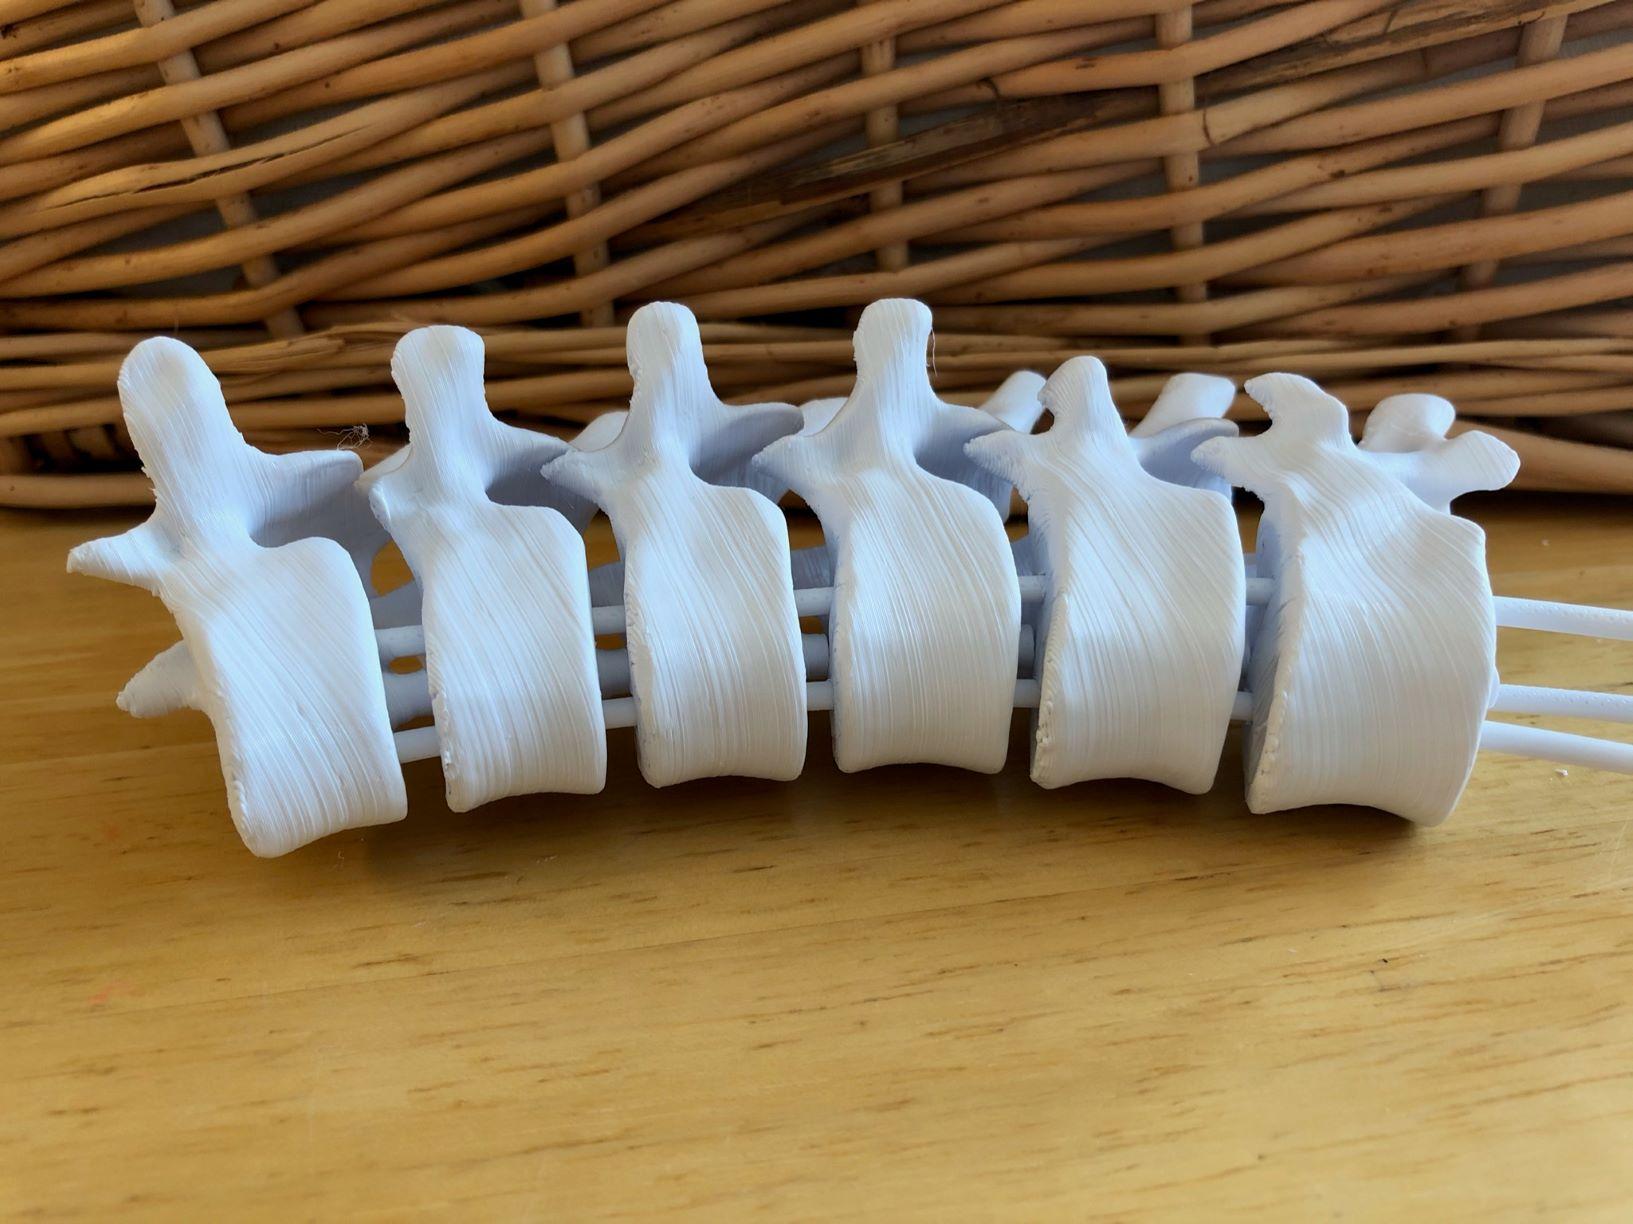
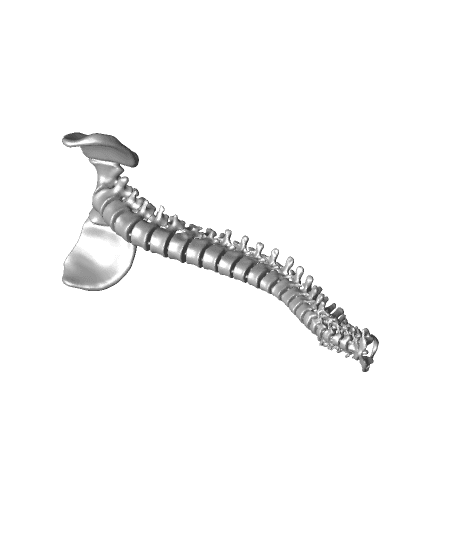
This three-quarter size spine model is assembled using 2.85mm filament, allowing the vertebrae to flex and rotate. An optional display stand is available. See here for assembly video: https://youtu.be/PJFxQbMtud0 This model is designed for display purposes. While the filament allows for some movement, the movement is not biomechanically accurate. See here for a more challenging but biomechanically accurate full size spine model: https://thangs.com/mythangs/file/60245 With the exception of C1 and C2, vertebrae are numbered on the posterior aspect of the vertebral body. The numbers are to assist with assembly and are hidden in the final assembled model. There was only space for numbers, so you’ll have to learn what C1 and C2 look like and be able to differentiate between cervical, thoracic and lumbar vertebrae. (It’s not that hard!) Every effort has been made to maintain anatomical accuracy; however some small modifications were necessary to optimize the files for printing. In particular, the bone around the transverse foramen in the cervical spine, and the articular processes and lamina of the cervical and upper thoracic vertebrae have been thickened. Holes have been added for the insertion of filament, and small nubs have been added to the inferior surface of the vertebral body to ensure proper spacing. The modifications are not noticeable for display purposes, just don’t use this model to plan your next spinal reconstruction surgery. Printing: This is an intermediate project that requires good skills in setting up supports and in post-print cleaning and preparation. The vertebrae in the files are oriented on an angle to minimize supports needed, specifically for the spinous processes. I recommend raising the objects off the print bed 3-5mm and then building supports up to them. DO NOT PRINT “Full Spine Display Only”! You will need to print out one of each “C1 – C7,” “T1 – T6,” “T7 – T12” and “L1-L4.” Decide whether you need a display stand. If you do not need a stand, use “L5 Plain” to complete the lumbar spine section. If you need a stand, use “L5 Base Connector” and print out the “Pelvic Base” as well. Assembly: Once all the pieces are printed and cleaned, you will need the following lengths of filament: Five 12cm lengths for the cervical and lumber sections, and six 15 cm lengths for the thoracic sections. These lengths are slightly longer than needed for ease of assembly and will need to be trimmed prior to gluing the final pieces in place. CA glue works well. Here is the assembly sequence shown in the video. For the cervical spine (C1-C7), insert two lengths of filament into C7 and thread on the remaining vertebrae. Glue C1 in place. For the upper thoracic spine (T1-T6), insert three lengths of filament into T6 and thread on the remaining vertebrae. Glue T1 in place. For the lower thoracic spine (T7-T12), insert three lengths of filament into T12 and thread on the remaining vertebrae. Glue T7 in place. For the lumbar spine (L1-L5), insert three lengths of filament into TL4 and thread on L3 and L2. Glue L1 in place, and then glue on your selected version of L5. Trim the filament protruding from each section (being careful not to over-trim), then glue the sections together. You’re done! "BodyParts3D, © The Database Center for Life Science licensed under CC Attribution-Share Alike 2.1 Japan".
