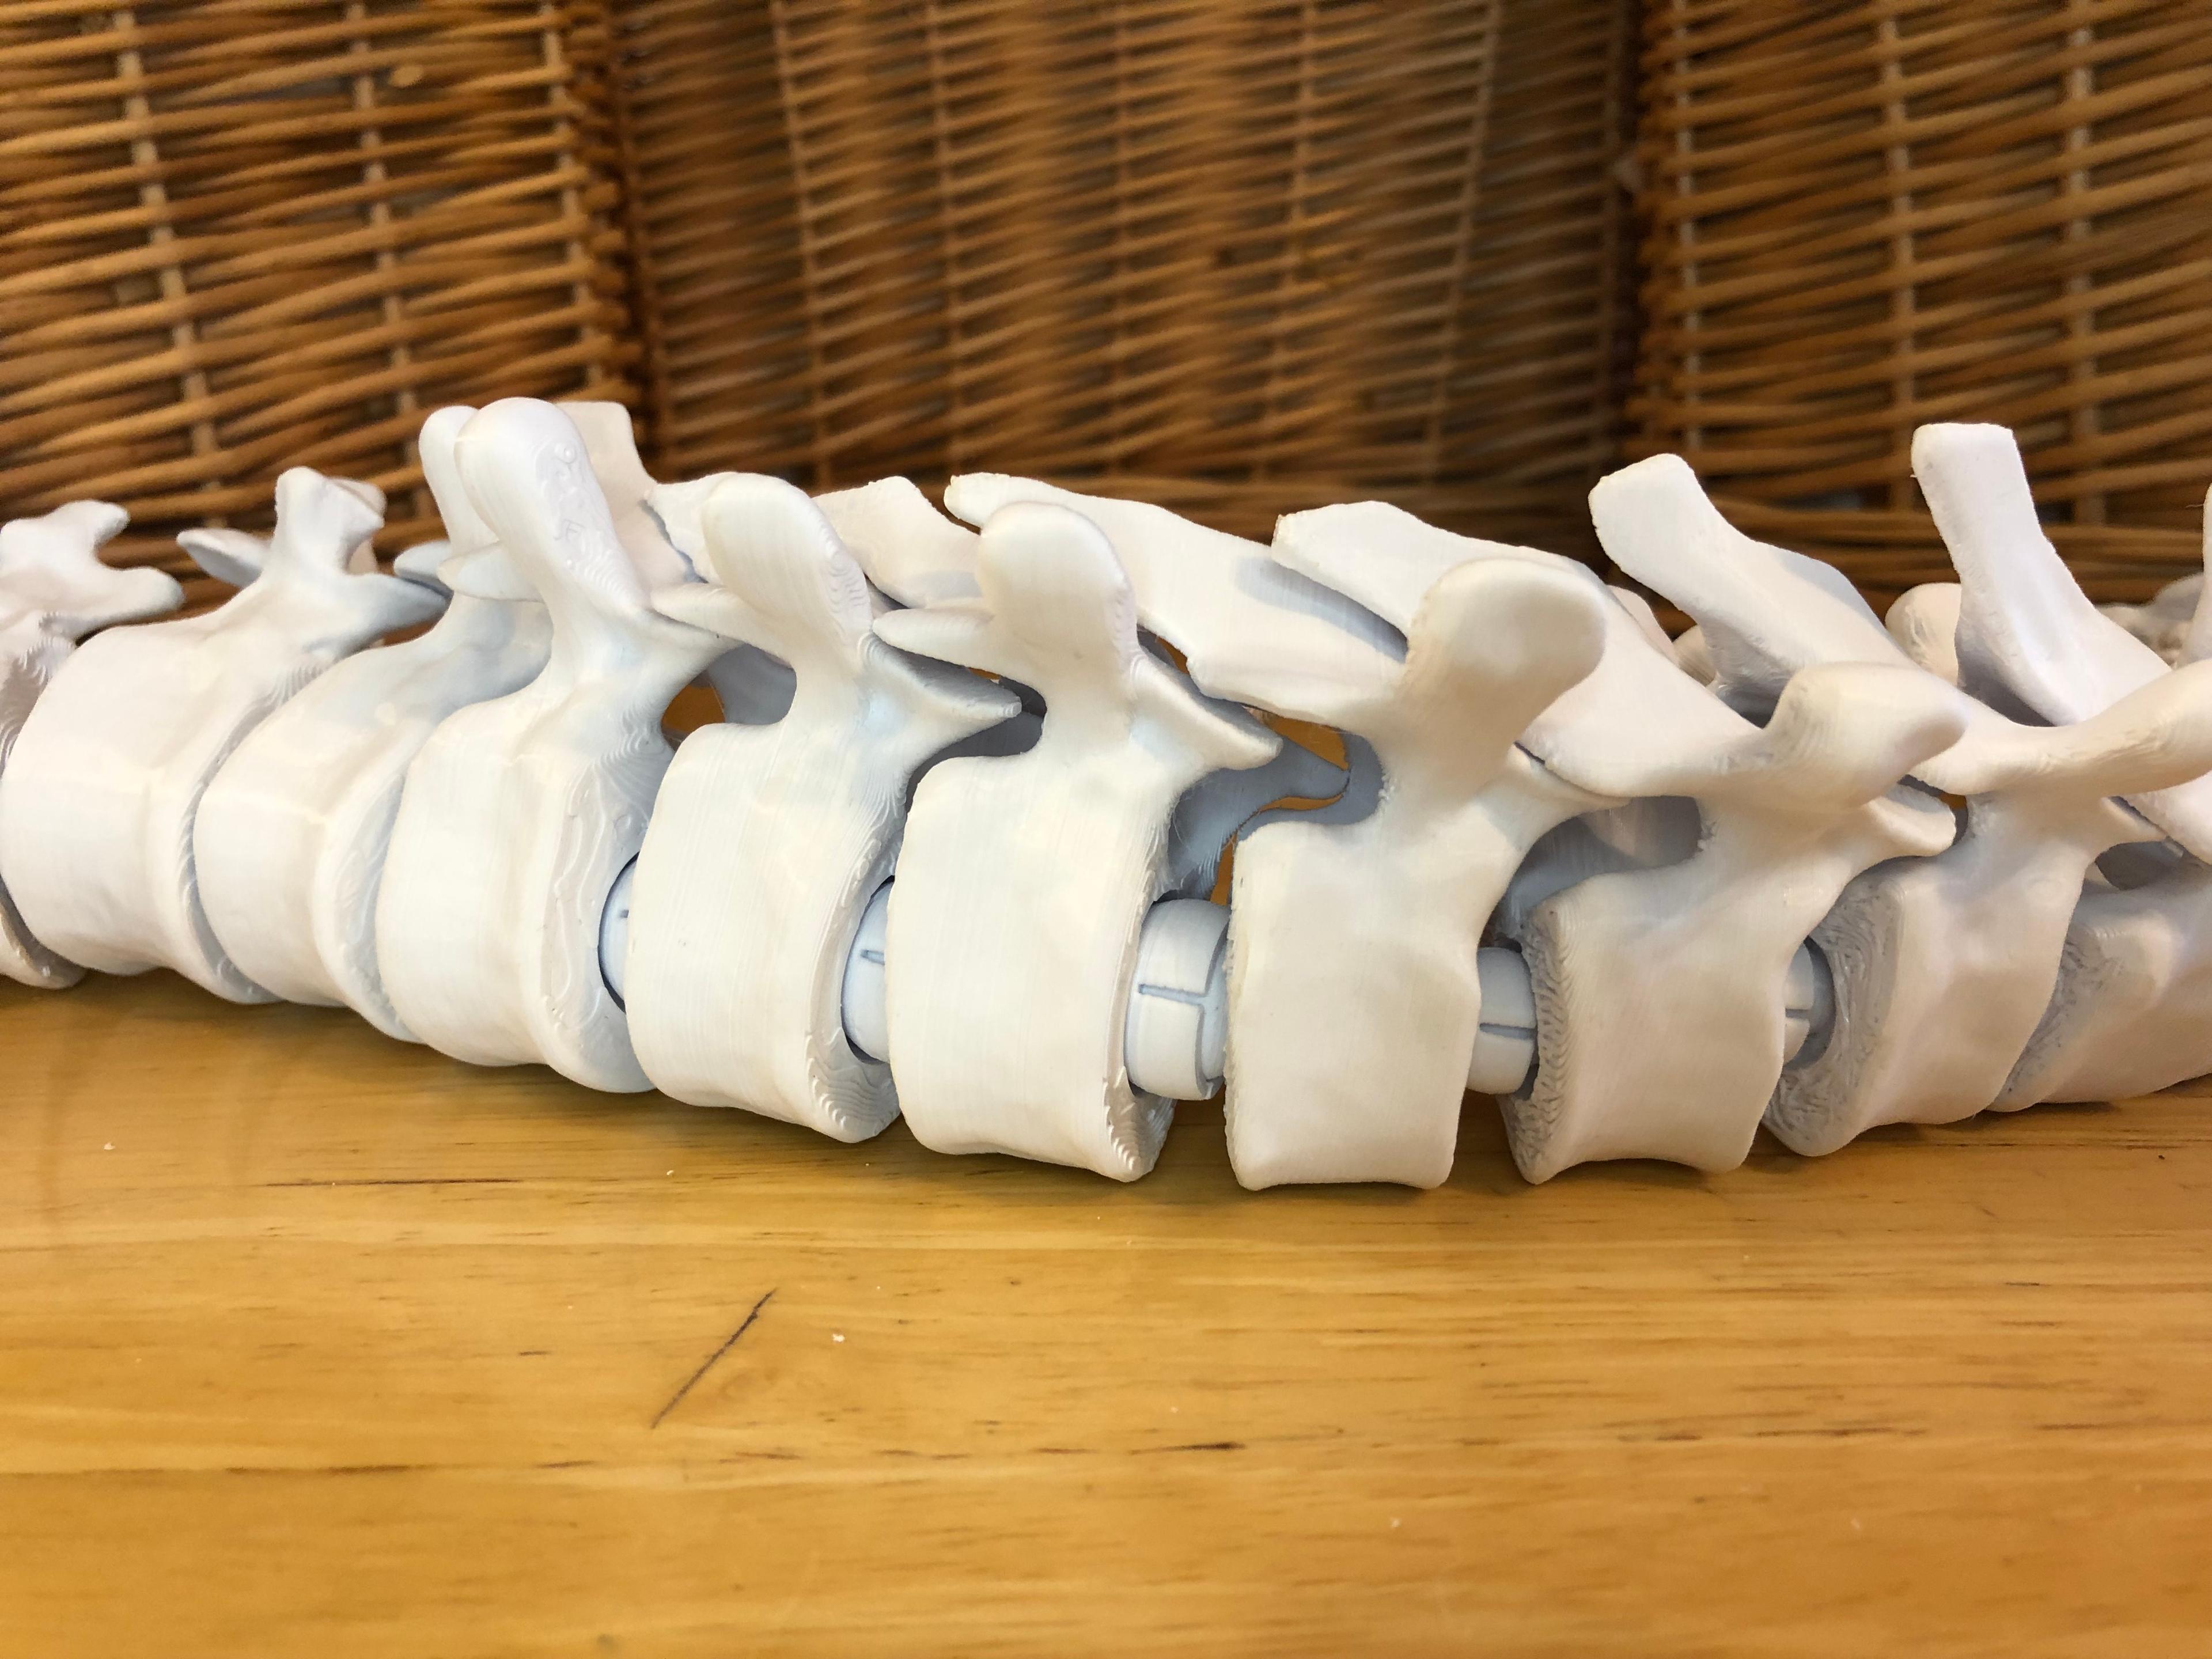
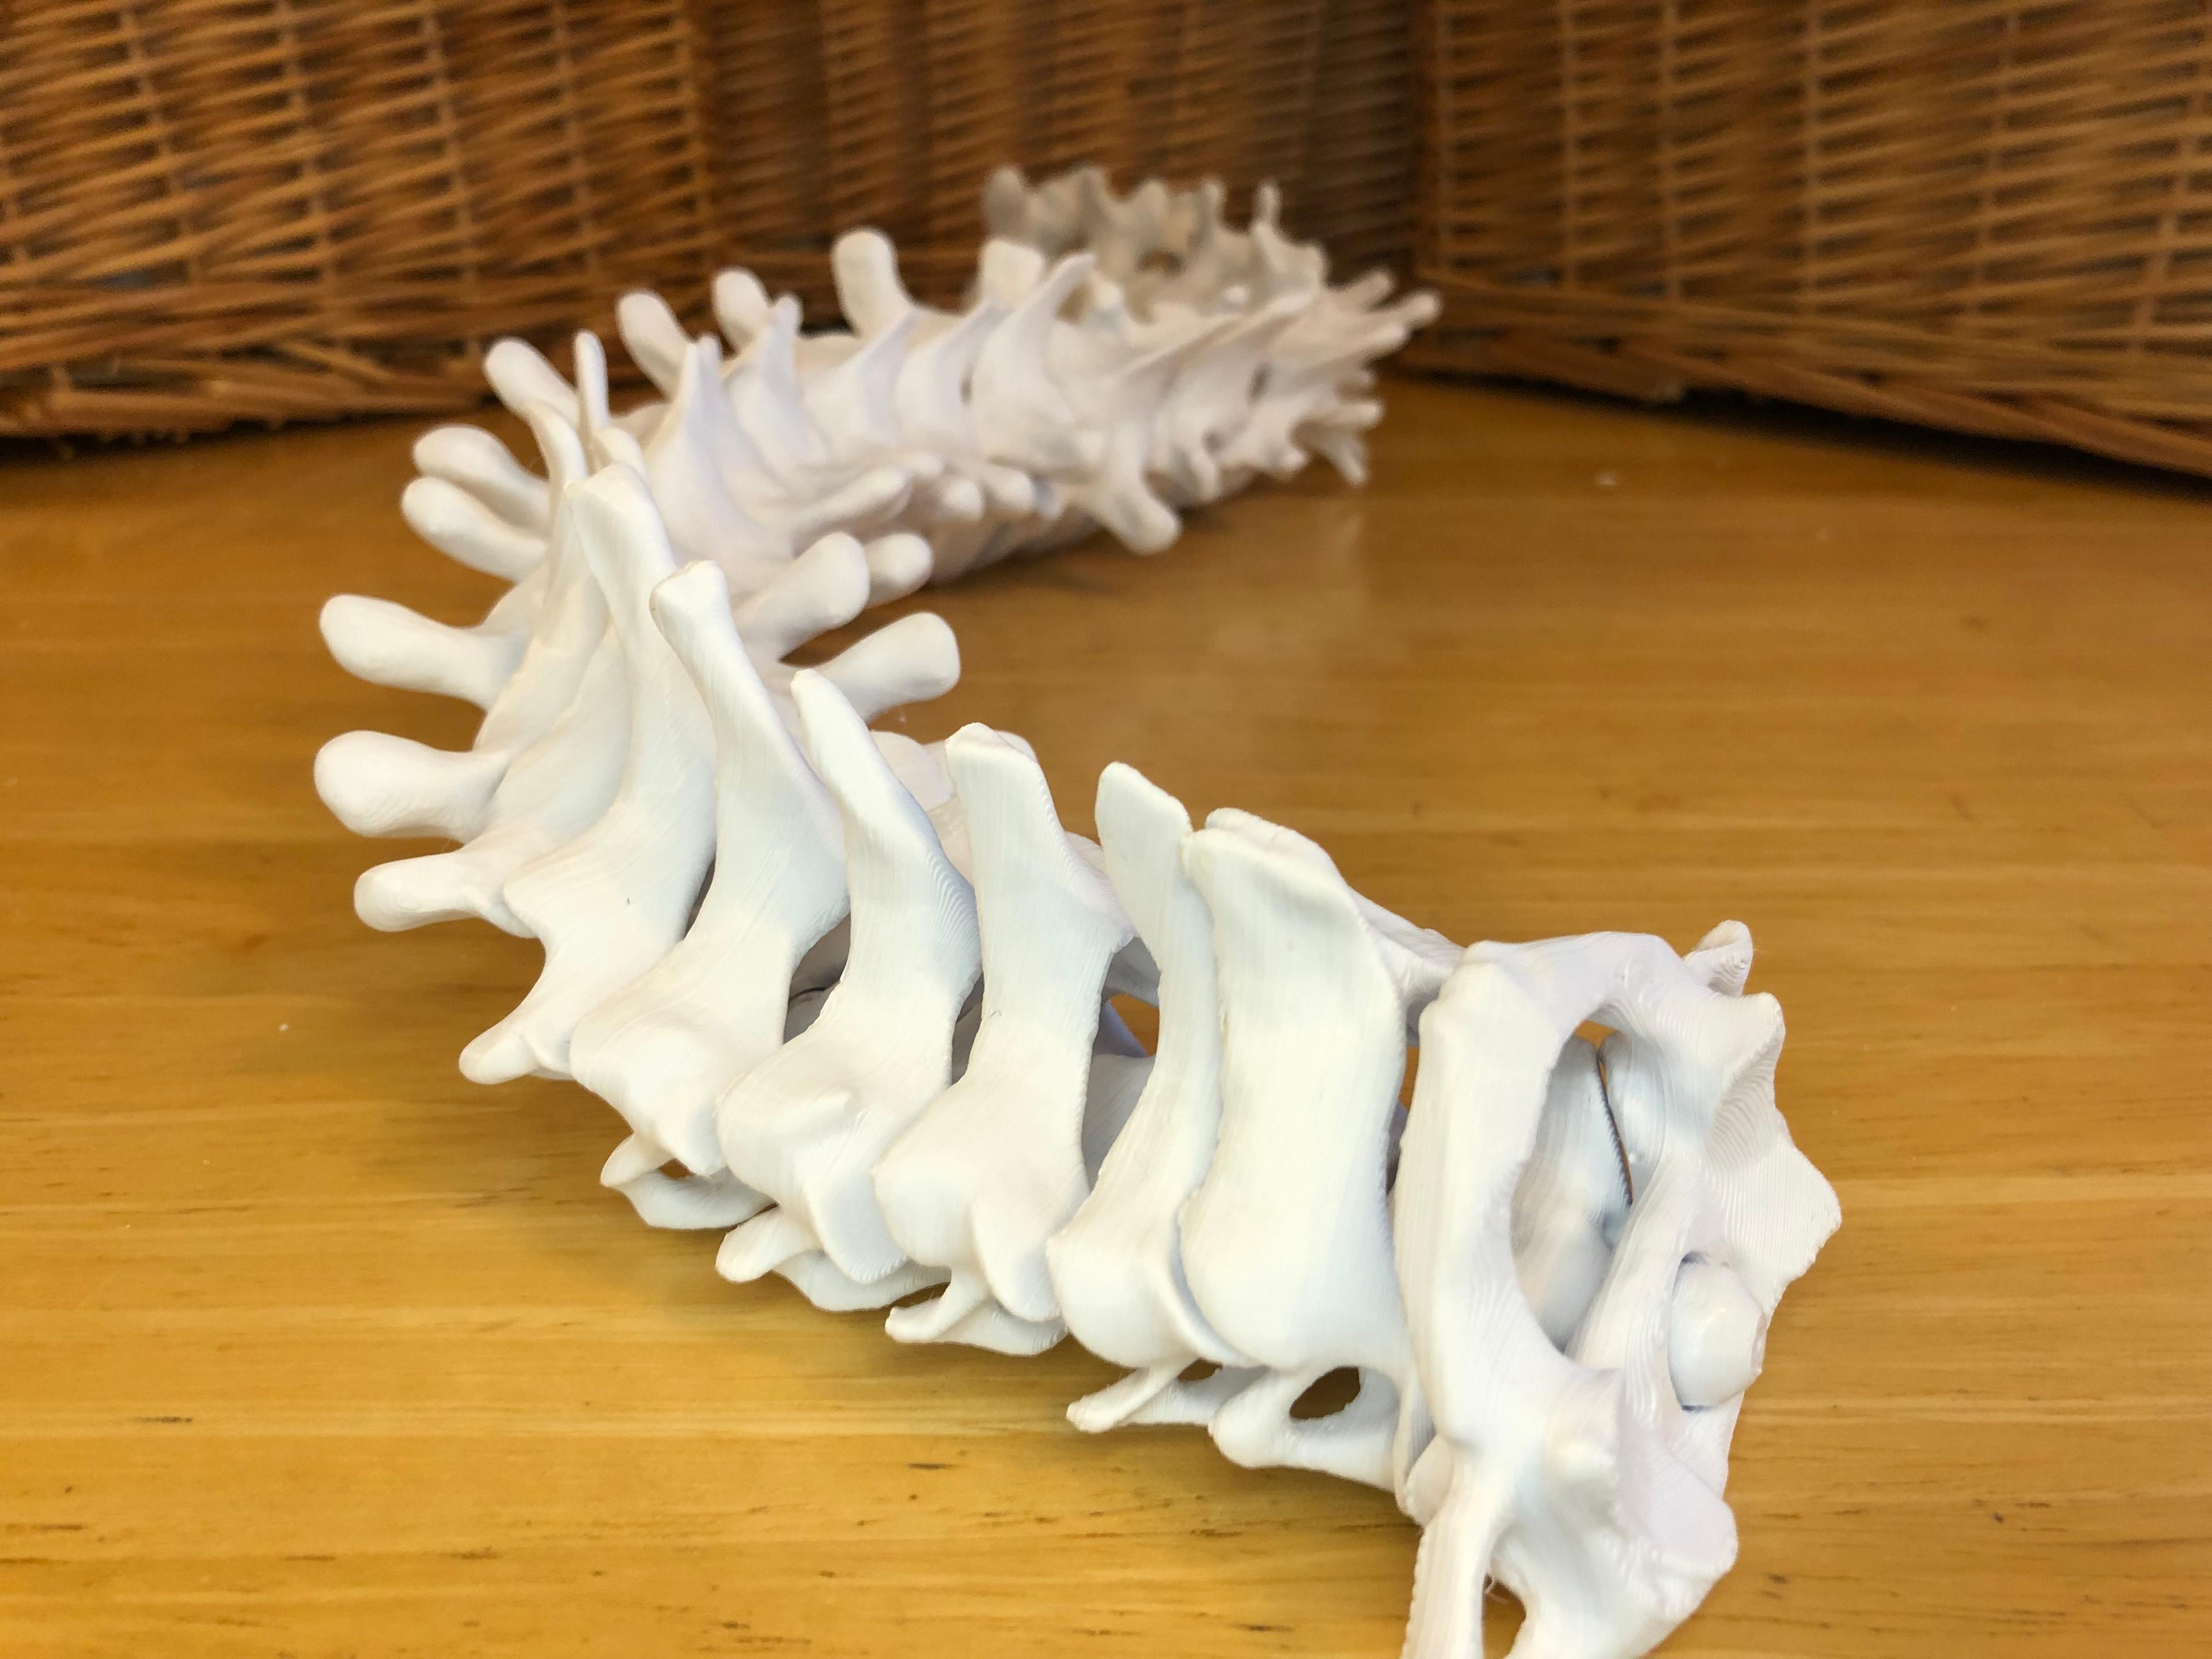
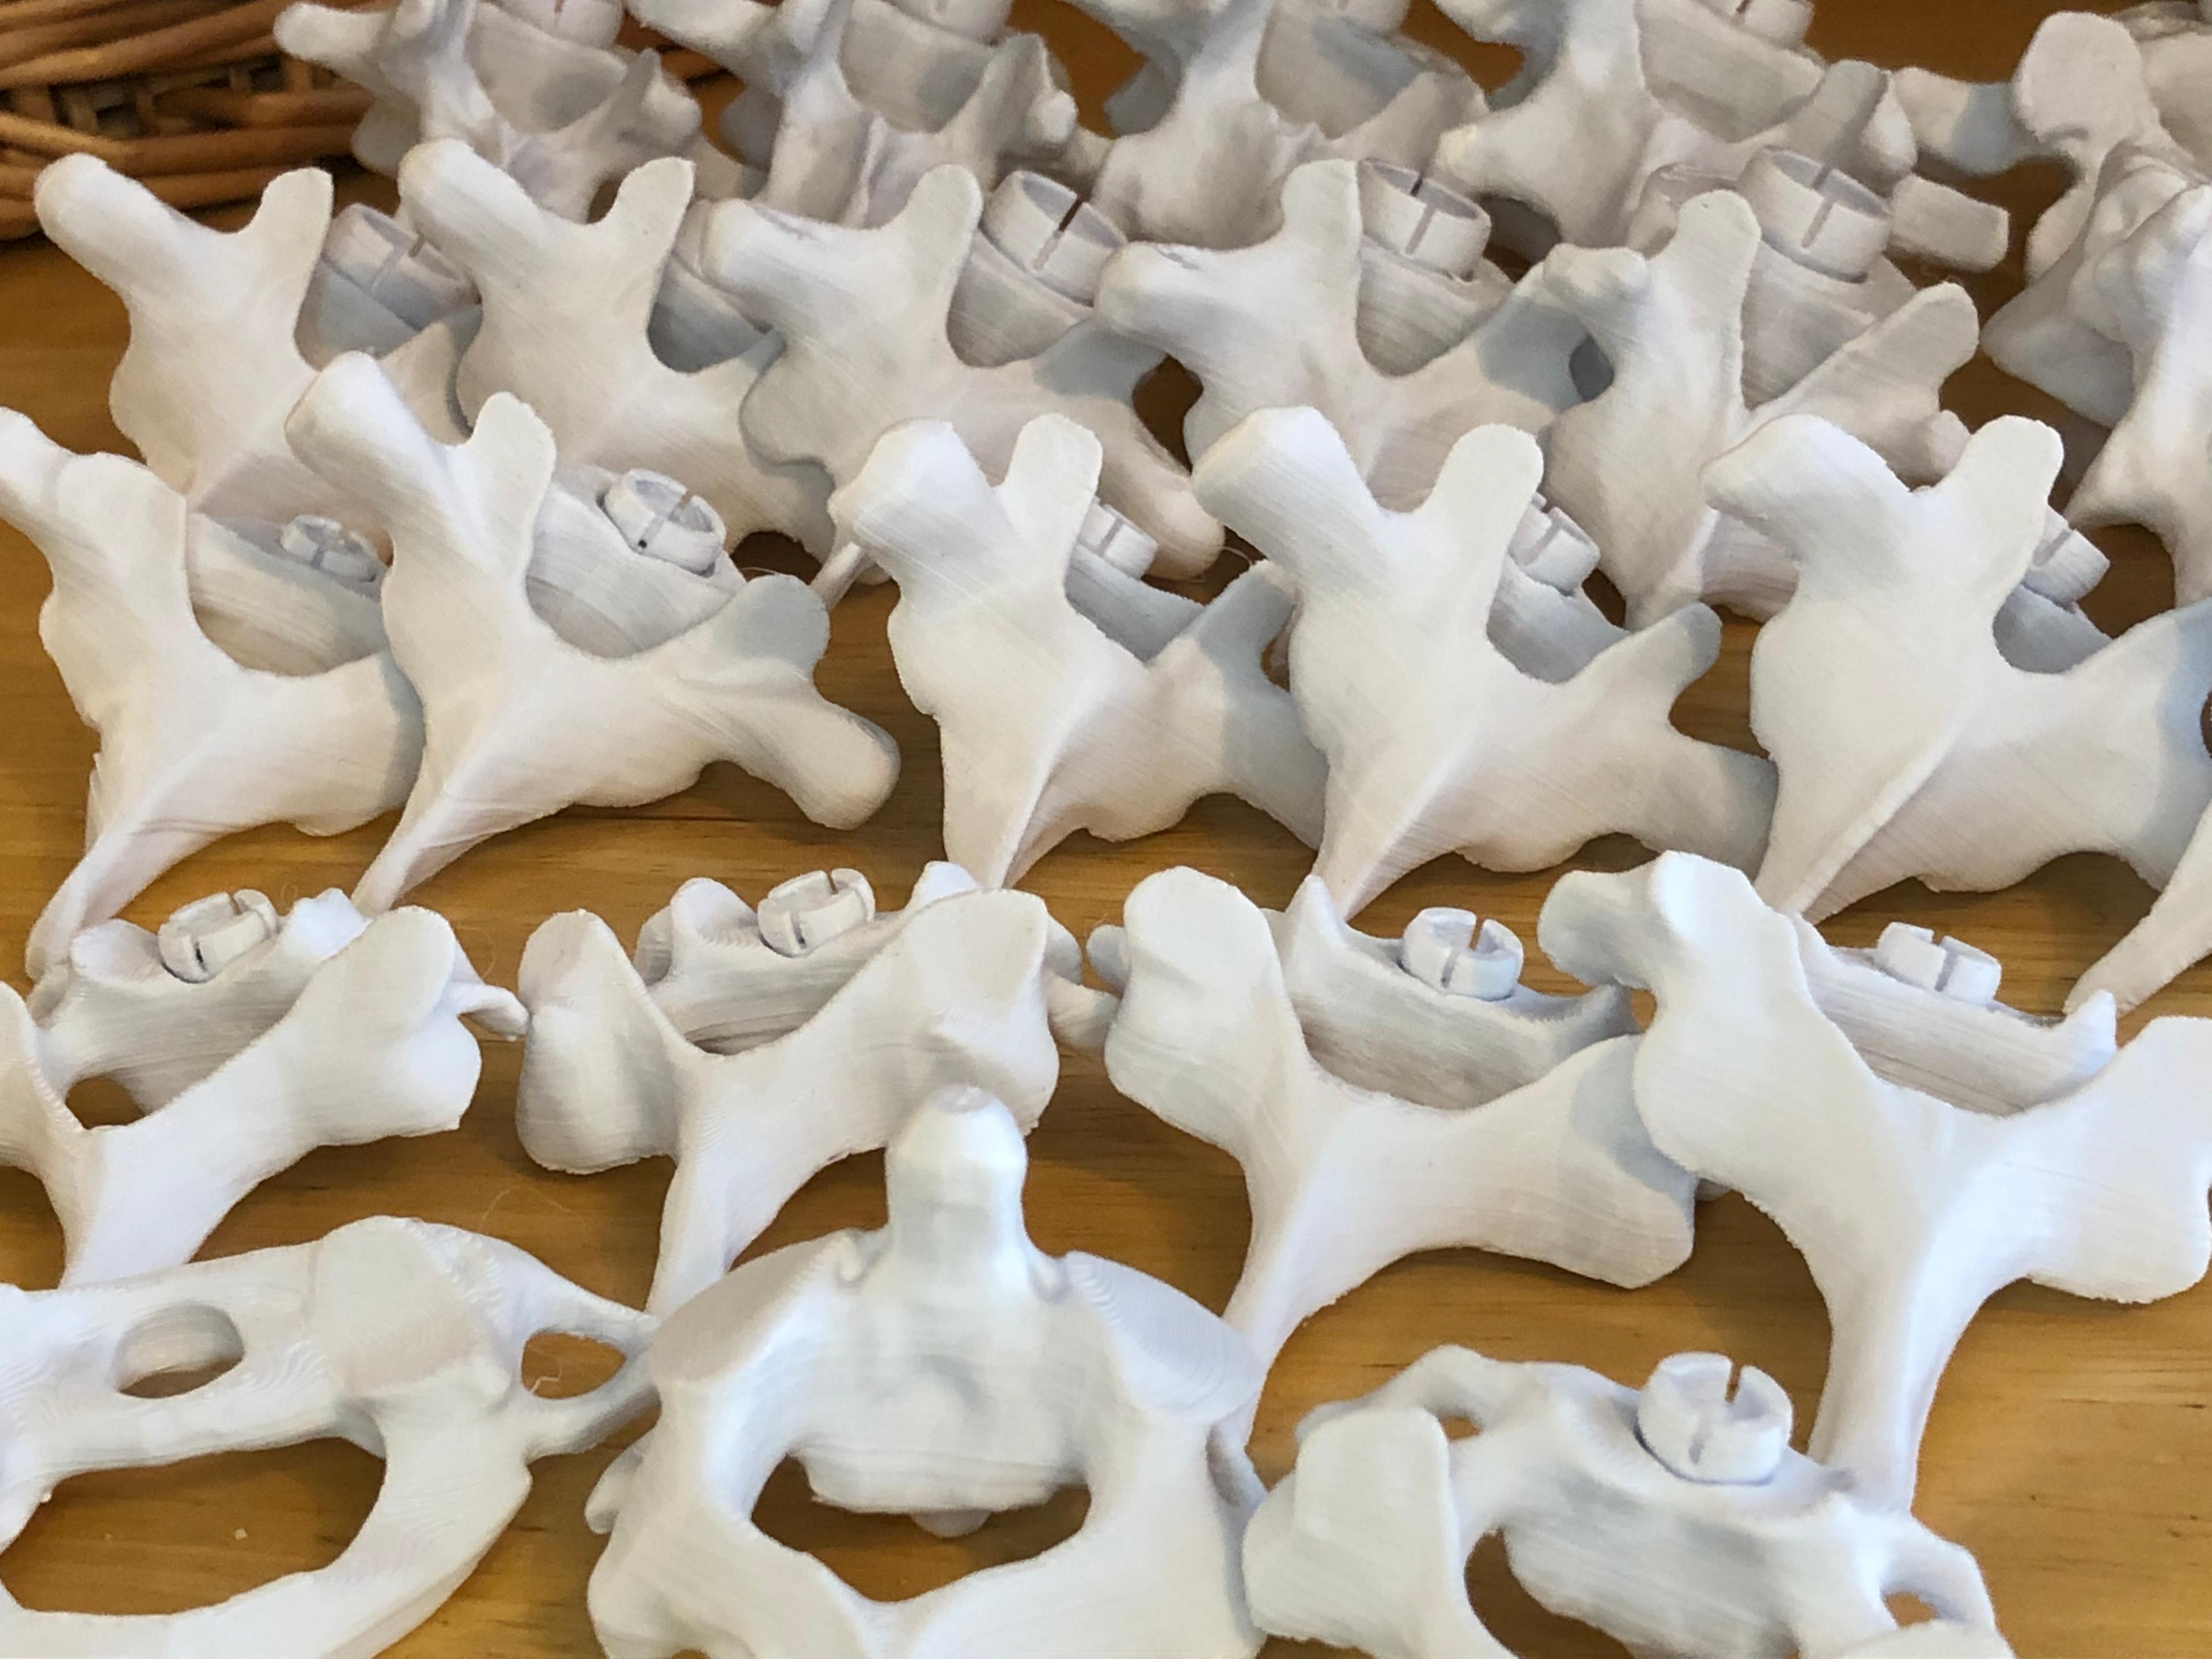
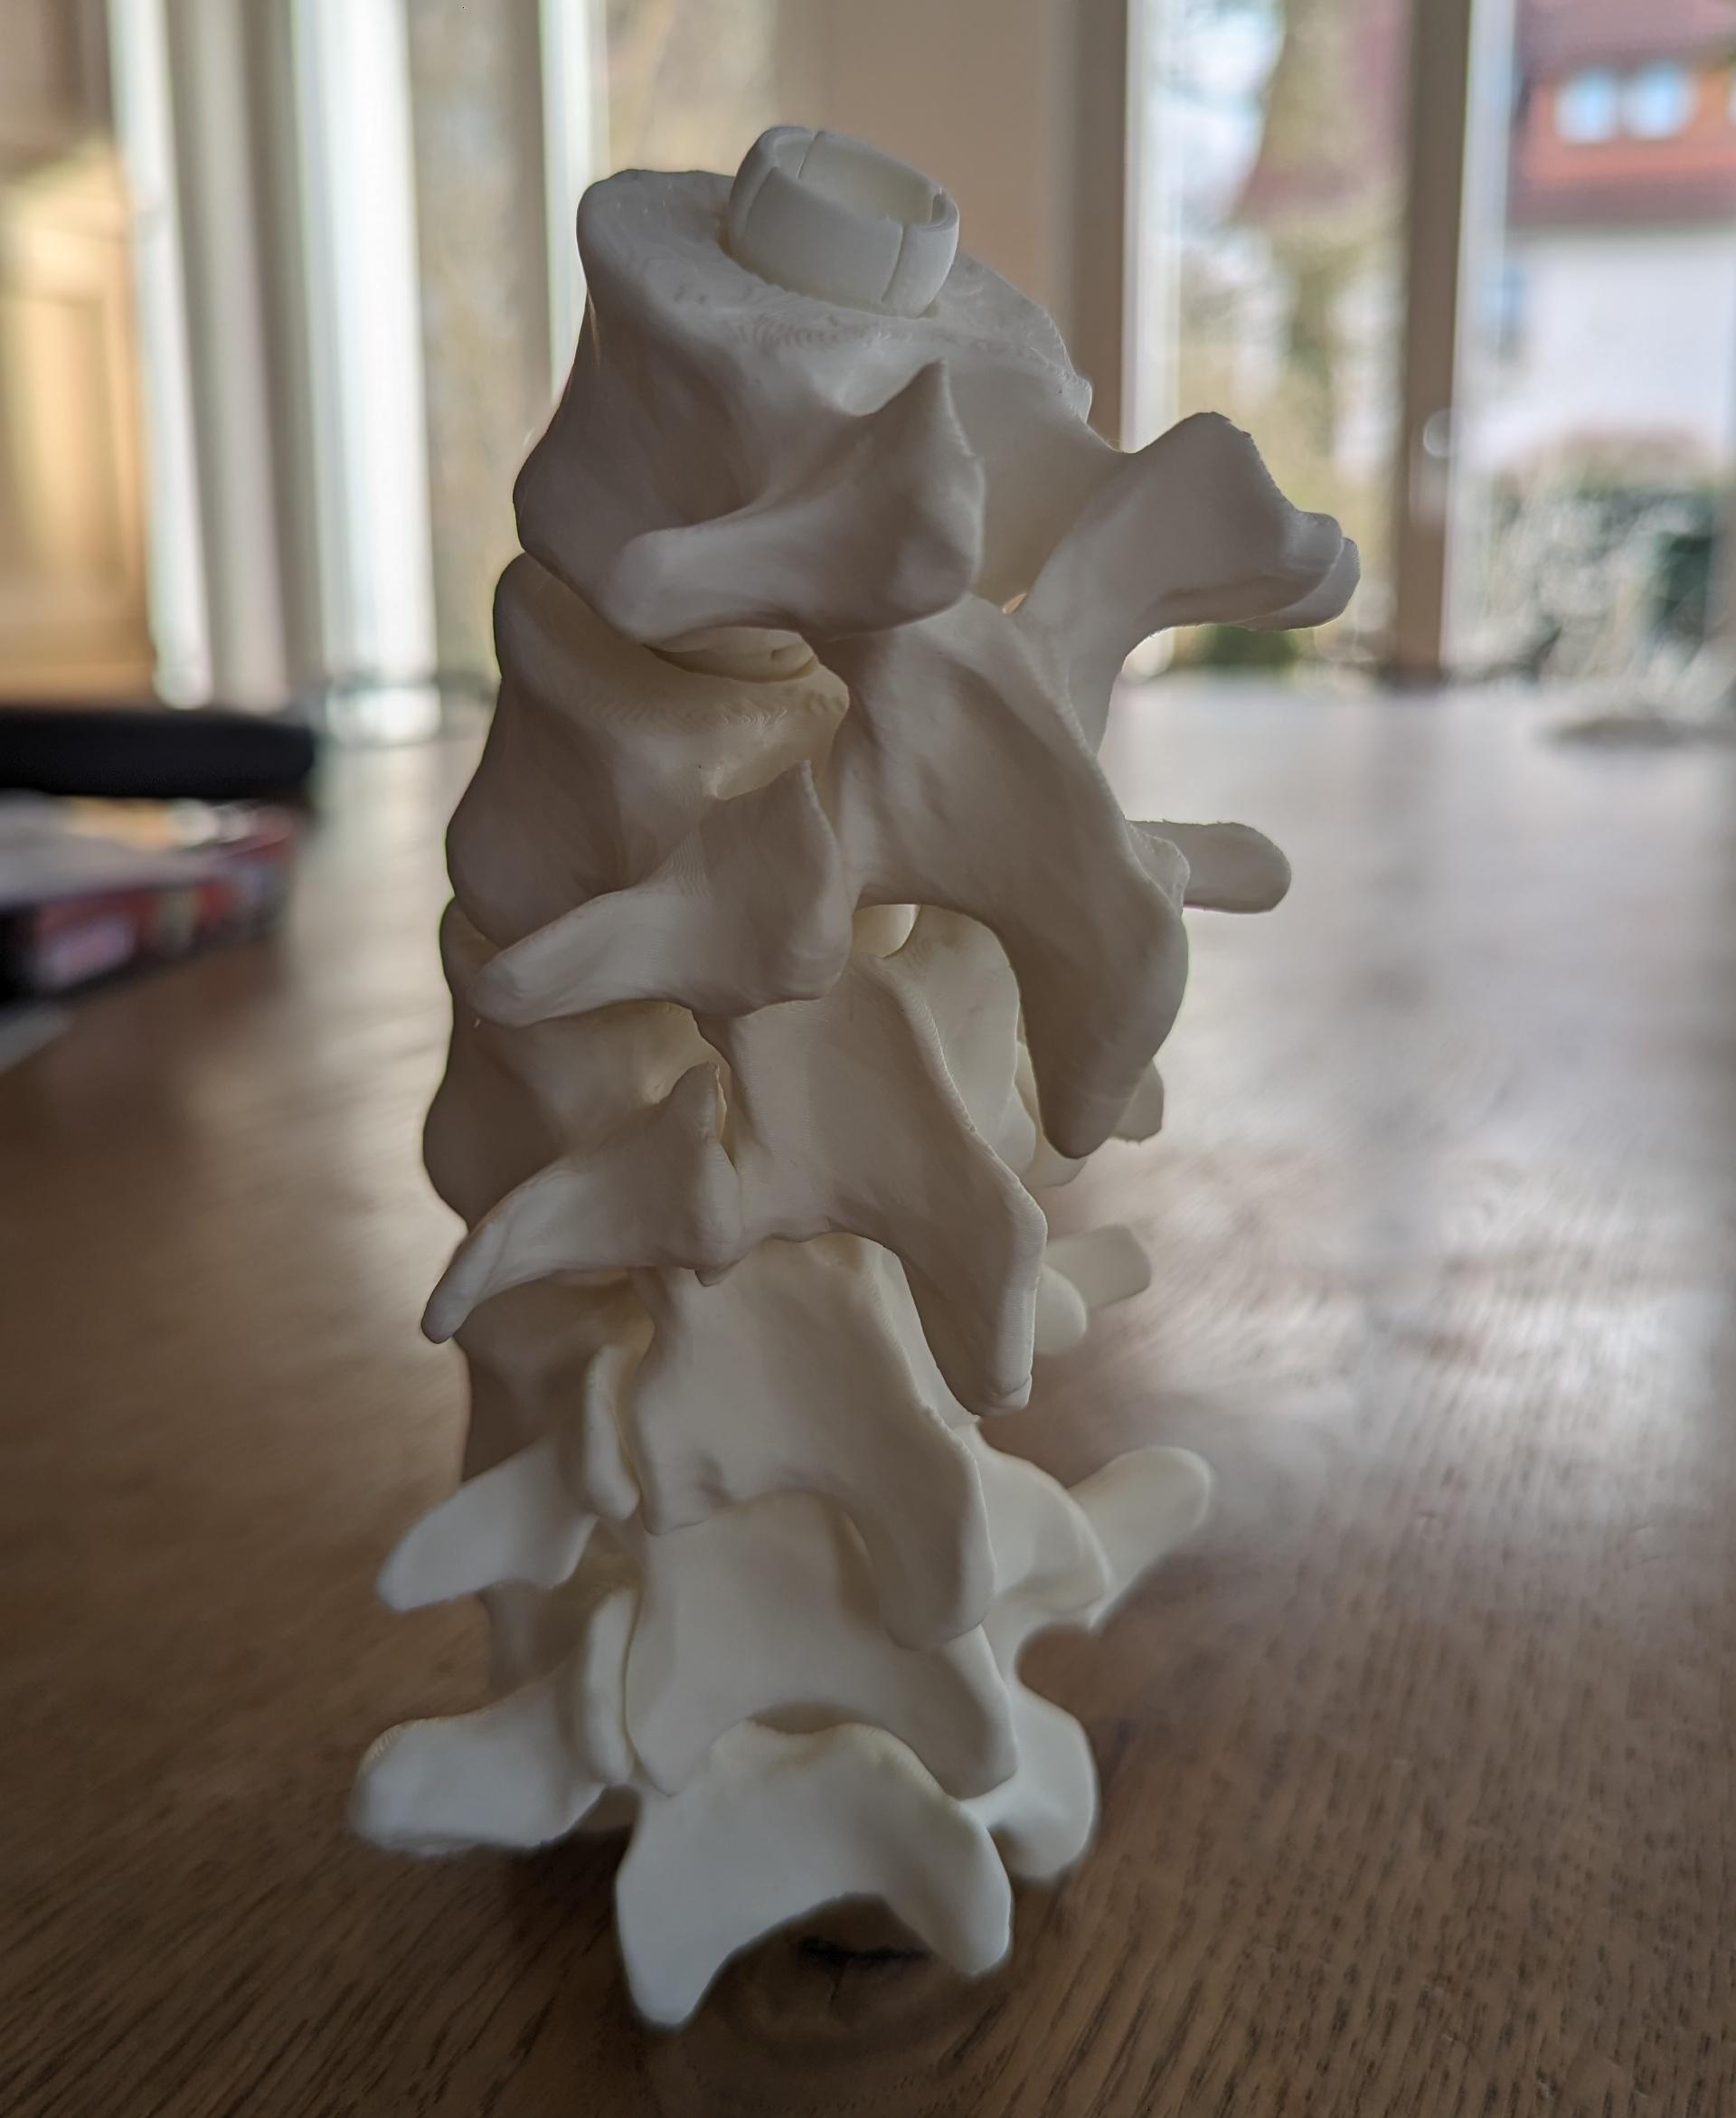
Full-sized Anatomically Correct Articulating Spine
These anatomically correct vertebrae use precisely positioned ball-and-socket joints to mimic joint kinematics. See here for video: https://youtu.be/2zp8qpz0Sl8 See here for a smaller display version: https://thangs.com/mythangs/file/60341 These are challenging files to print and require some post-print cleaning, but the finished product is worth it! The files provided are oriented with the socket directly upwards to provide the cleanest print of the socket, which is critical for the joints to connect and move properly. Changing the orientation may result in a weak or malformed print of the socket. I highly recommend labelling the vertebrae as you print them! Attaching incorrect vertebrae may damage the ball-and-socket joint. While the ball-and-socket joints are sturdy once attached, they are not designed for repeated snapping in and out. You will need to select a support type that can support the large flat sections of the vertebral body, as well as the thinner sections of the laminae and spinous and transverse processes. In Cura, the “tree” option works well. The spinous processes of the T1 to T9 thoracic vertebrae are very vertically oriented and become unstable and top-heavy when printing. They may not be adequately supported with standard supports. Secondary files are provided with enhanced support for the bases of the spinous processes. If you use these, you will still need to set up your preferred supports for the rest of the vertebrae. Anatomically, the odontoid process of the C2 axis is held in place by the transverse ligament of the C1 atlas. In this model, the transverse ligament has been “ossified” leaving a hole for the odontoid process to click into place. This hole is intentionally tight to hold it in place. Expect to use a bit for force to snap them together, or file down the surfaces of the odontoid process as needed. "BodyParts3D, © The Database Center for Life Science licensed under CC Attribution-Share Alike 2.1 Japan".
