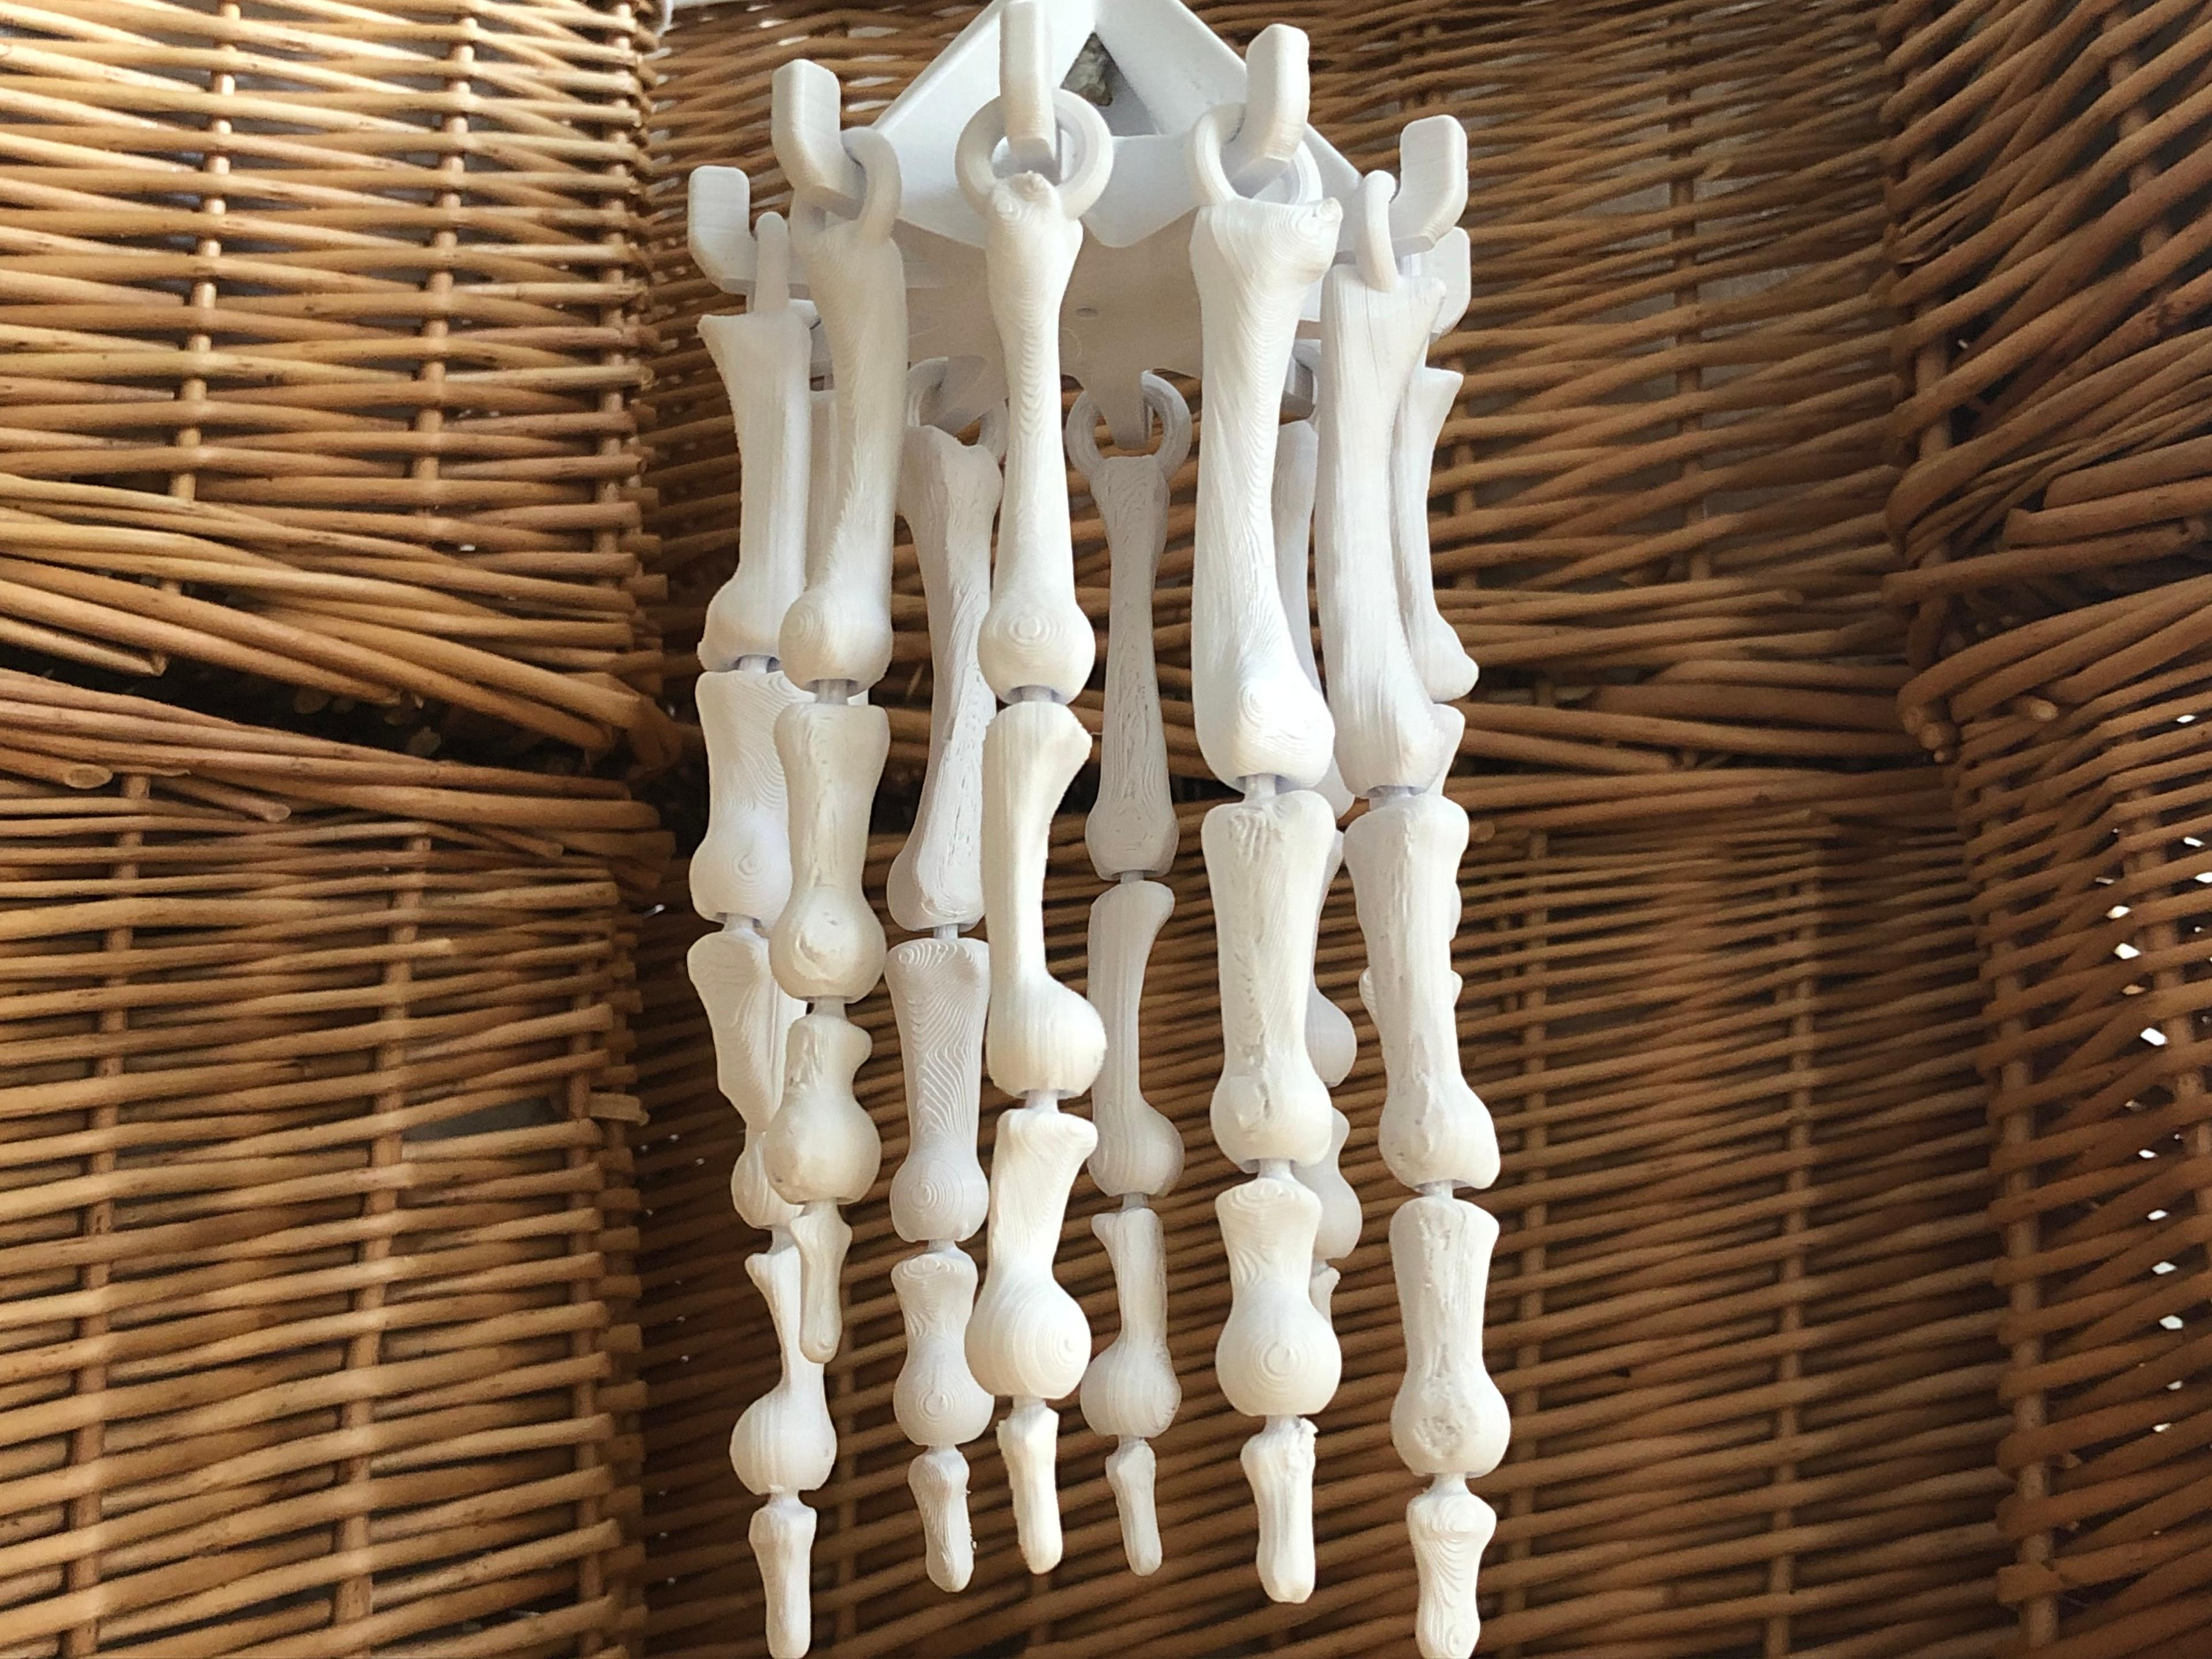
These print-in-place fingerbone chains can be used as windchimes, beaded curtains, keychains or whatever other haunted decoration ideas you might have!
See here for video: https://youtu.be/o14t0UBf09c
This model is compatible with: Skull Windchime: https://social.thangs.com/m/391327
All five fingers are provided to accommodate different build plate sizes and allow for a variety of fingerbone-chain lengths in your final project. Lengths include: Thumb (112mm), Pointer (161mm), Middle (168mm), Ring (159mm) and Pinky (139mm).
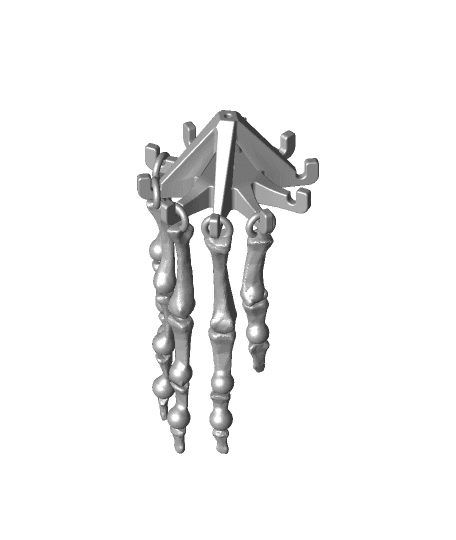
Windchime holders are provided in two sizes, 10-prong and 12-prong. Thread your cord down through the top hole then knot the end to hold it in place. There is a central hole in the holder as well if you wish to hang something down through the center of the windchime.
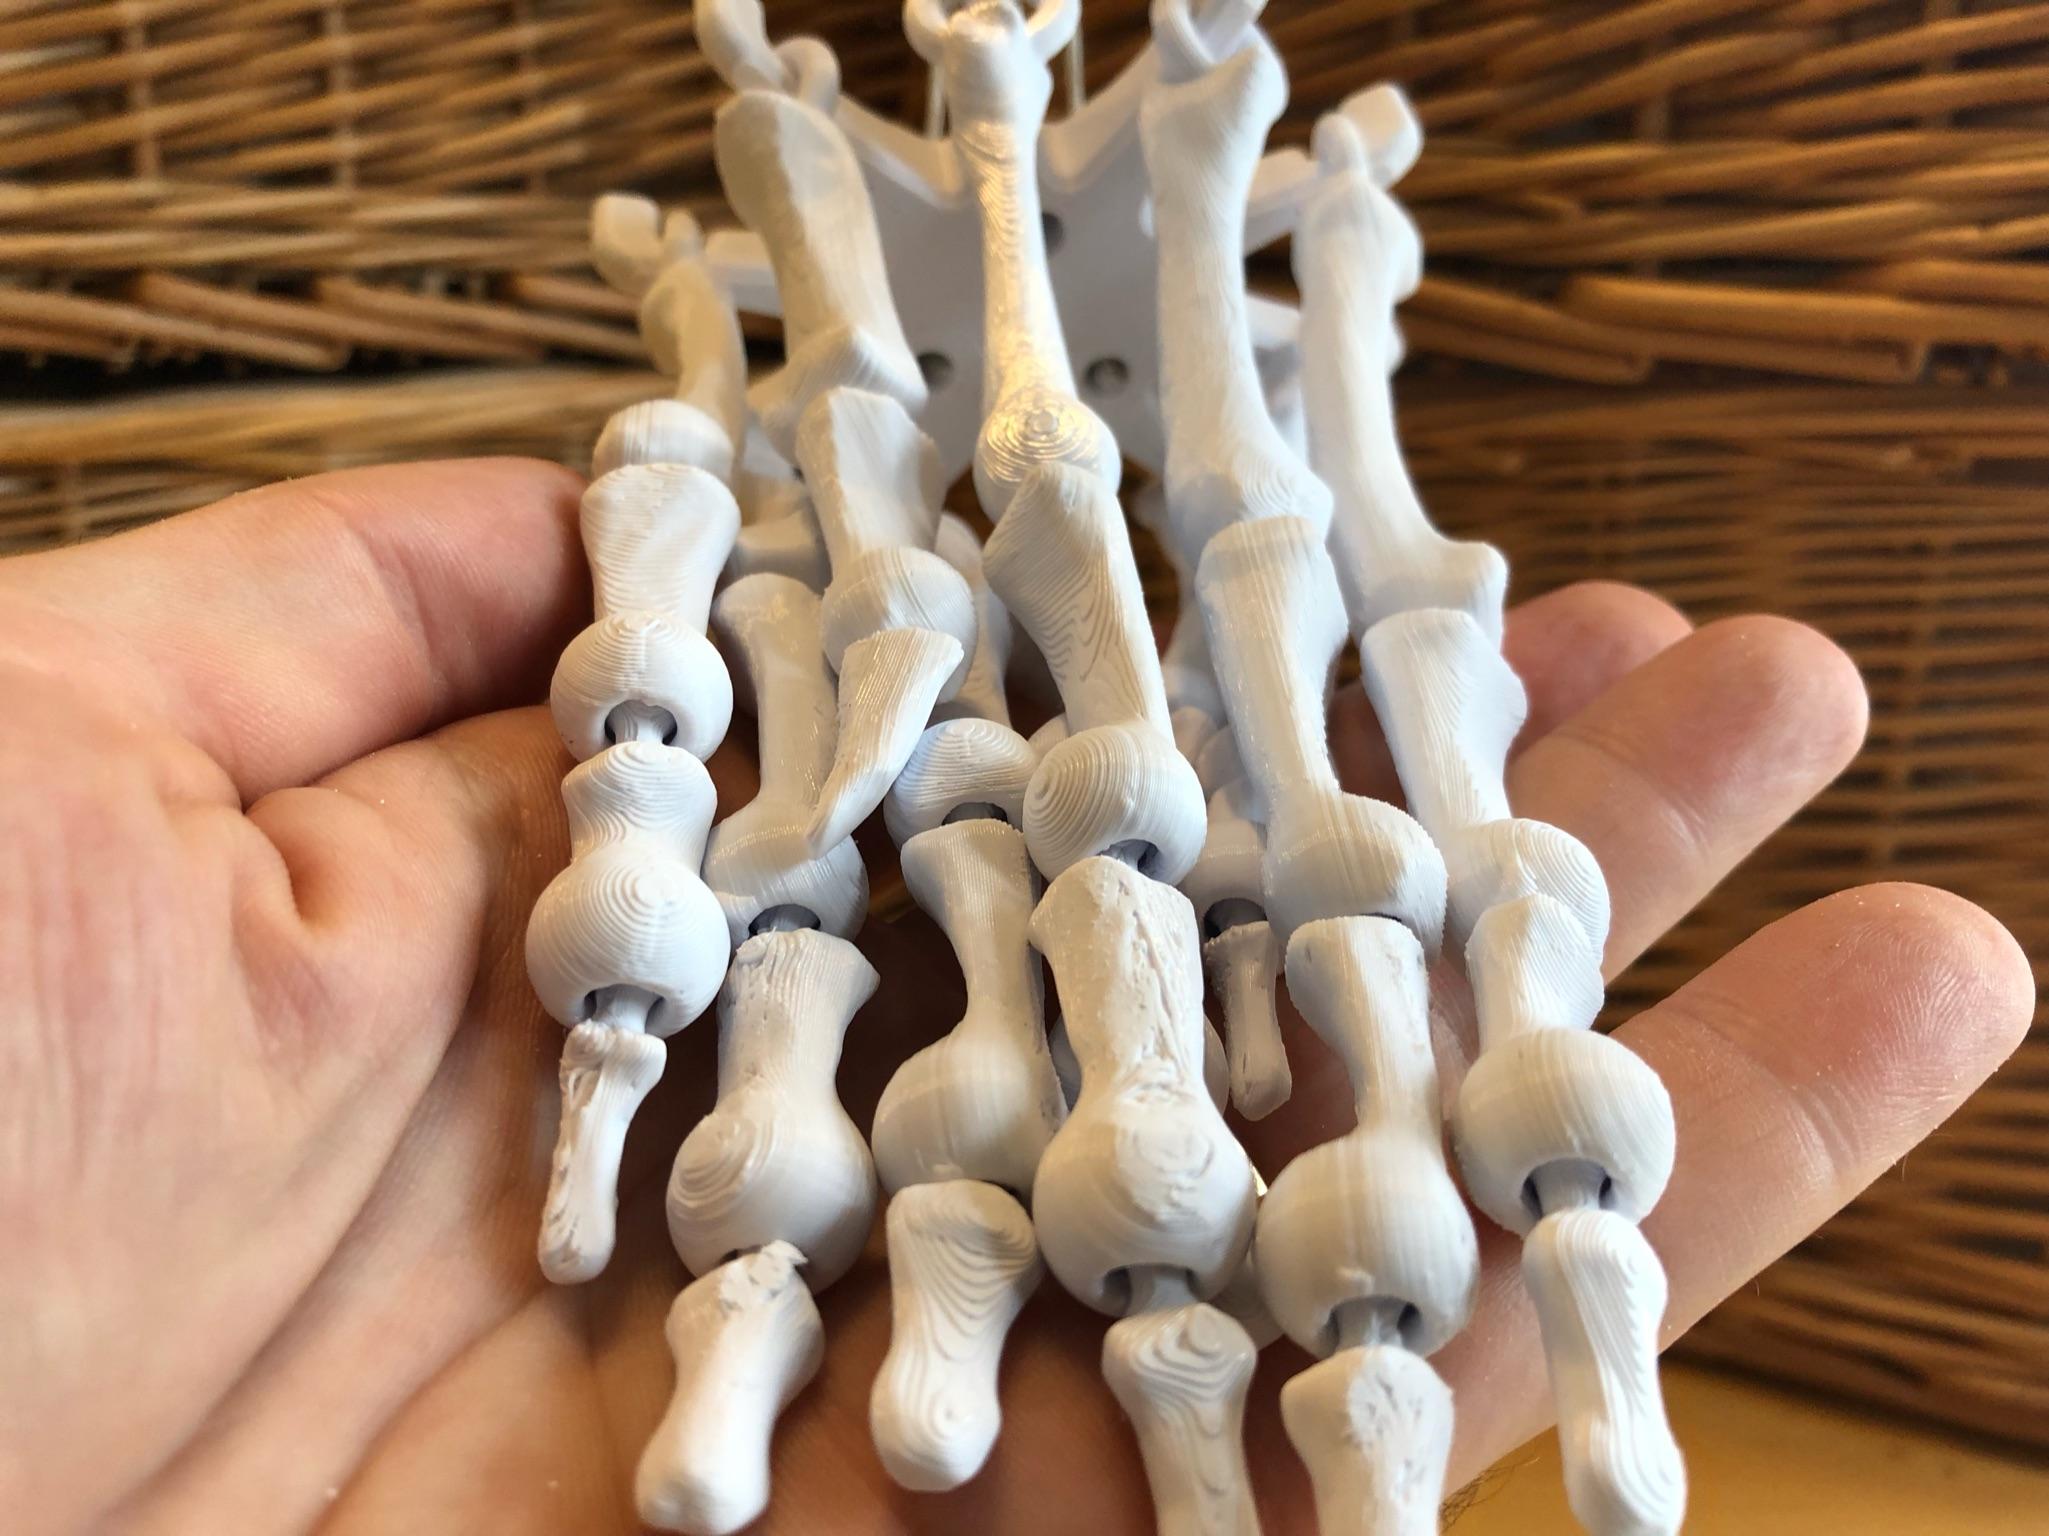
These fingerbone chains are connected using a unique print-in-place ball-and-socket joint allowing the finished print to fully turn, twist, and rotate.
The inner spheres print on top of tiny supports within the cavity of the neighbouring fingerbone. Once printed, a light twist of each fingerbone frees the ball within the cavity and the fingerbone chain can turn and bend. Be sure to let your print fully cool first! If the plastic is still soft, the connector may break when you try to move it.
Plan your supports carefully. A suggested technique using Cura is to raise the object of the build plate by 3mm, and then add tree supports underneath. Switch “Support distance priority” to “xy overrides z” and tighten up the “xy support distance” to 0.1mm.


