


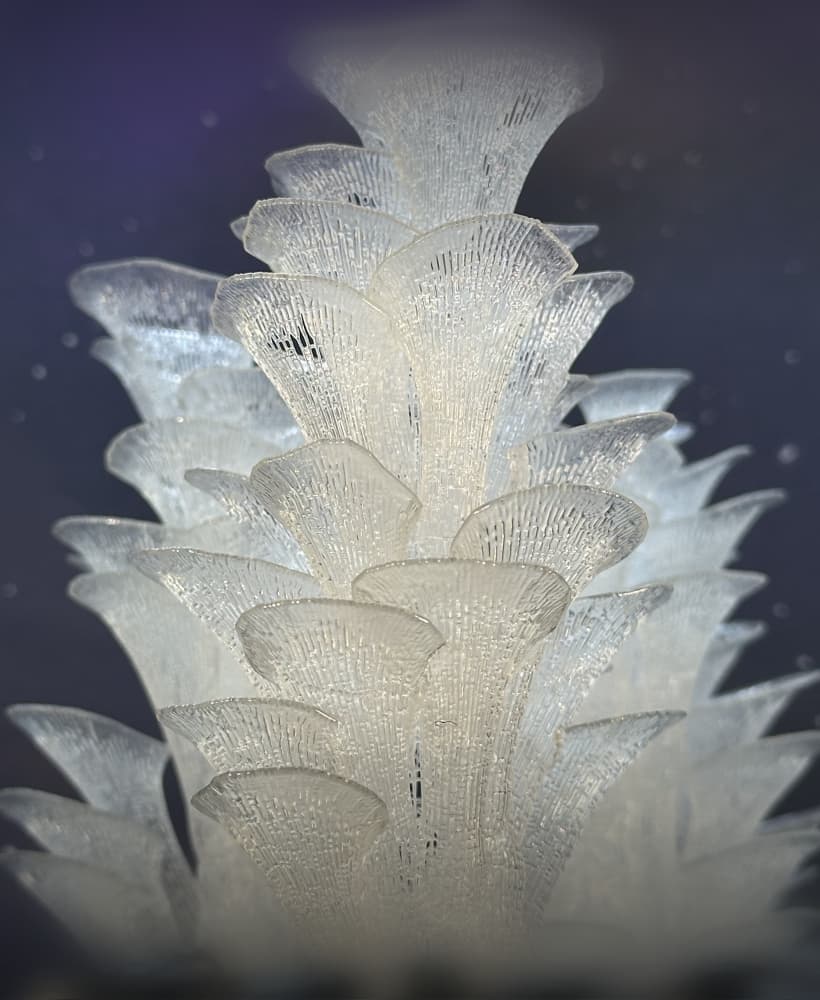
3D Printed Self-Assembling Cells
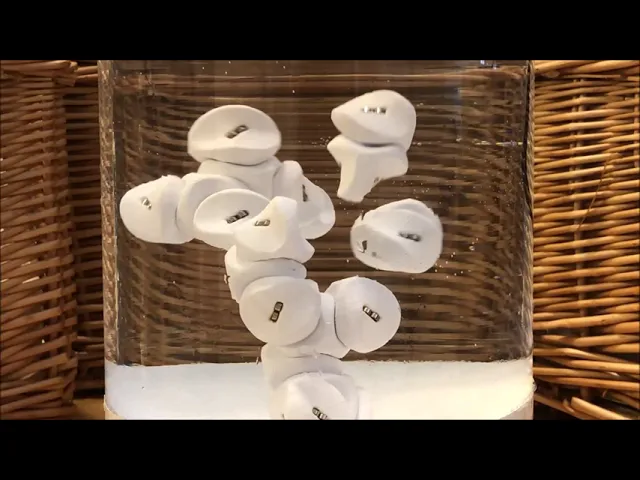
These neutrally buoyant 3D printed shapes self-assemble into interesting cellular growths and patterns.
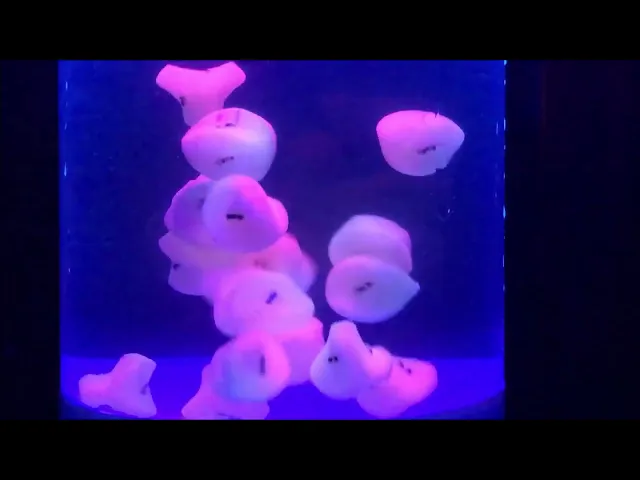
To really appreciate these little lifeforms, you’ve got to see them in motion! If you watch them long enough, you might even start to imagine chapters of a primordial drama unfolding before you.
You can watch them frolicking in the sun: https://youtu.be/xugOeGLqwfI Or cavorting after dark: https://youtu.be/ictRHrvacI8
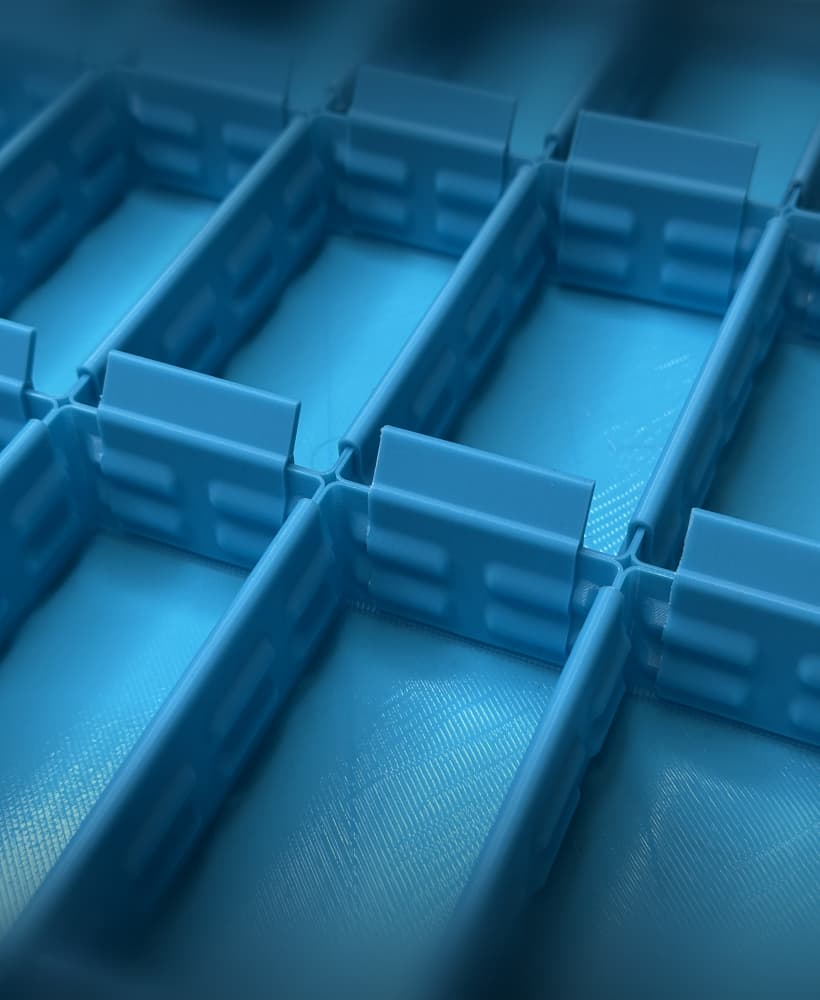
The shapes look deceptively simple, but the design constraints involve balancing magnetism, geometry, surface topology and buoyancy.
The magnets are paired such that any face can connect to any other face in either direction.
The three faces that orient the magnets on each piece are derived from the rhombic dodecahedron in such a way that if they were all joined together, they would form a chiral version of Laves graph. The Laves graph is related to the gyroid triply period minimal surface with similar symmetries and patterns.
The saddle-shaped contours between the faces reduces the frequency of mutations. The saddle shaped contours allow for strong connections when pieces meet in the proper alignment but makes weaker connections when the pieces join in incorrect alignment (“mutations”). With the pieces in motion, “mutations” either break apart on their own or are knocked out of place by other pieces increasing the likelihood of proper geometric forms.
The final, and most difficult design constrain is to achieve neutral buoyancy. If the pieces are too buoyant, they float to the top and do not interact. Too, dense and they sink to the bottom and remain motionless.
Instructions
Each “Cell” requires six 1/8” x 1/16” cylindrical magnets. Insert the magnets side-to-side as pictured with the polarity consistent across all surfaces and all pieces. They can be press fit in with pliers and should not require glue.
You will need to do a series of test prints to determine which version is closest to neutrally buoyant within your conditions of filament type, printer settings, barometric pressure, etc. Given the range of variables that contribute to achieving neutral buoyancy, it is impossible to predict, you just have to print and test!
The “Cells” are provided with shell thicknesses that range from 1.6mm to 2.6mm in 0.1mm intervals. Print a few, add the magnets and see what works best!
Print the “Cells” with 100% infill. To achieve a good print of the contoured base, try raising the object 3mm off the build plate and adding “Tree” supports.
In the videos, the water is agitated with a small 3V submersible pump from Adafruit: https://www.adafruit.com/product/4546.
The “Pump Base” holds the pump in place and directs water flow. It is sized for a 6” (OD) glass vase from a dollar store.
You can also agitate the water by simply stirring it prior to adding the cells.
Enjoy, and please share the results of your experiments!
3D Printed Self-Assembling Cells

Large Mizu Gumi Picture Stands

Small Mizu Gumi Picture Stands

Industrial Construction Set - FDM

Bouali Strange Attractor Sculpture

Aizawa Strange Attractor Sculpture
Bio Blob
Flame Lamp
Crystal Lamp
Fidget Ouchies
Tooth Fairy House
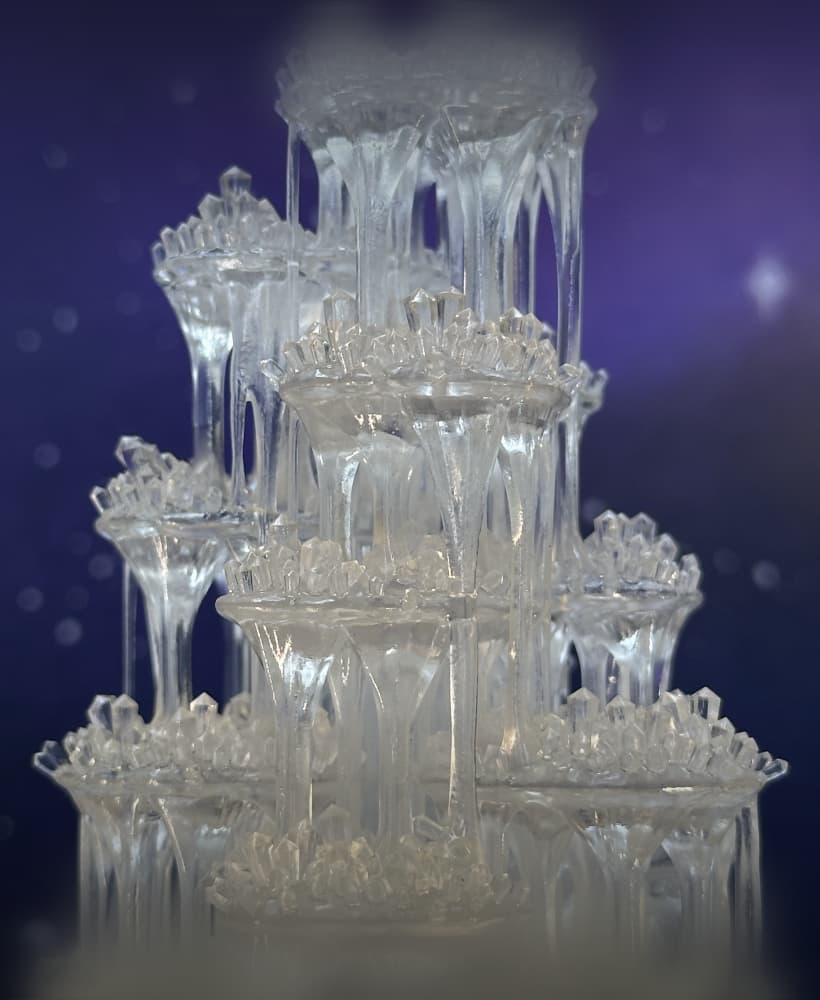
Crystal Citadels

Shack Pack - Sober
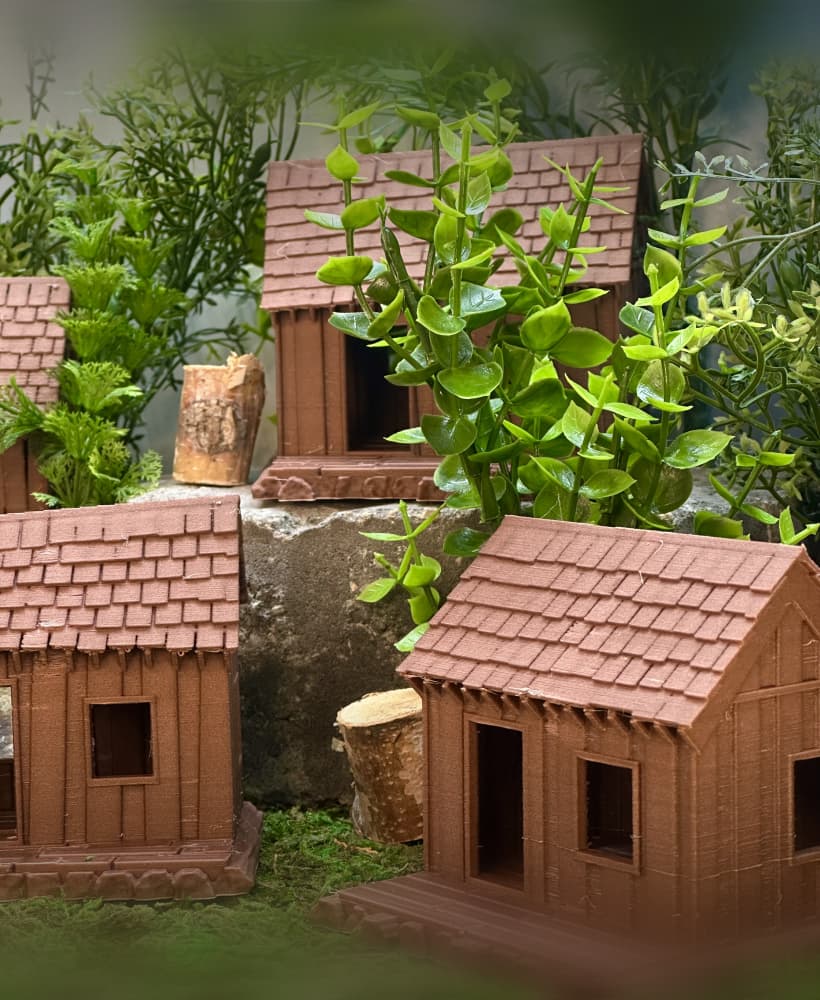
Shack Pack - Tipsy

Shack Pack - Plastered
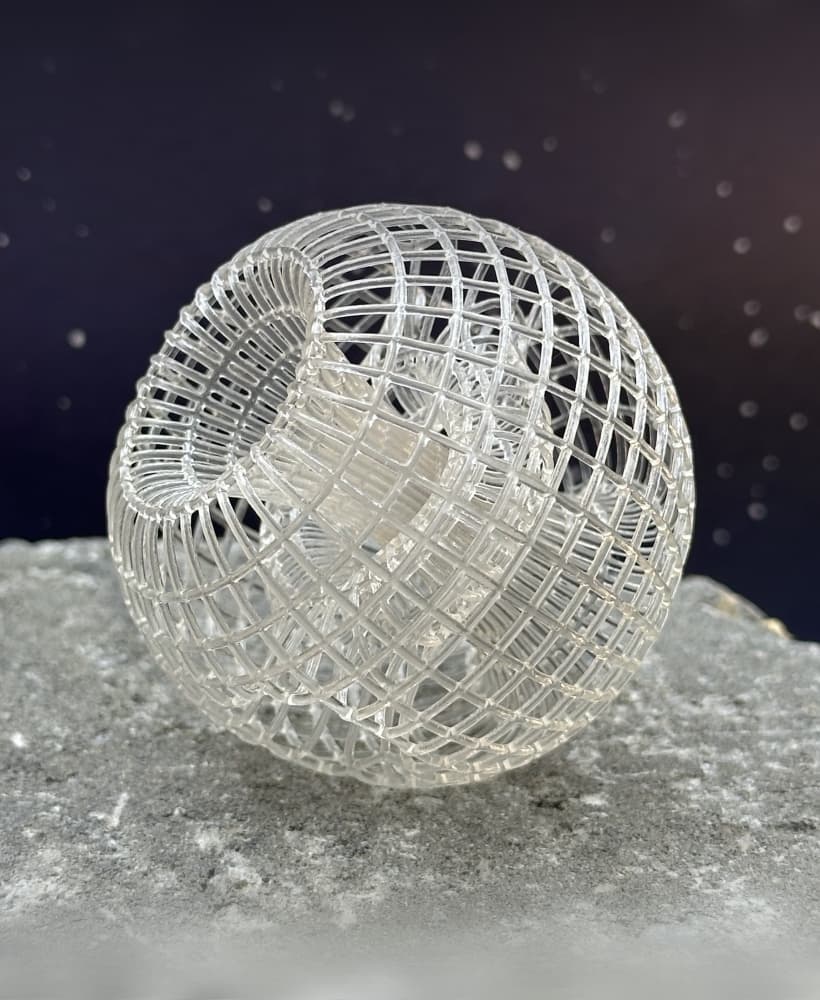
Hole Through a Hole in a Hole
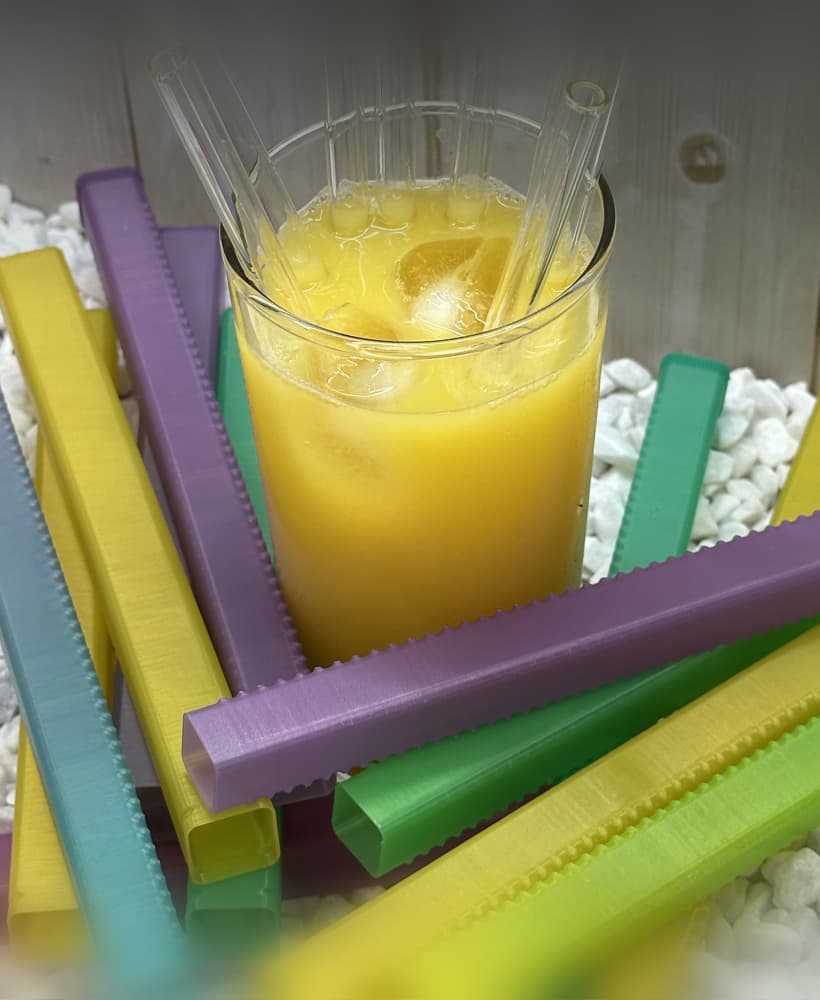
Holder for Reusable Straw
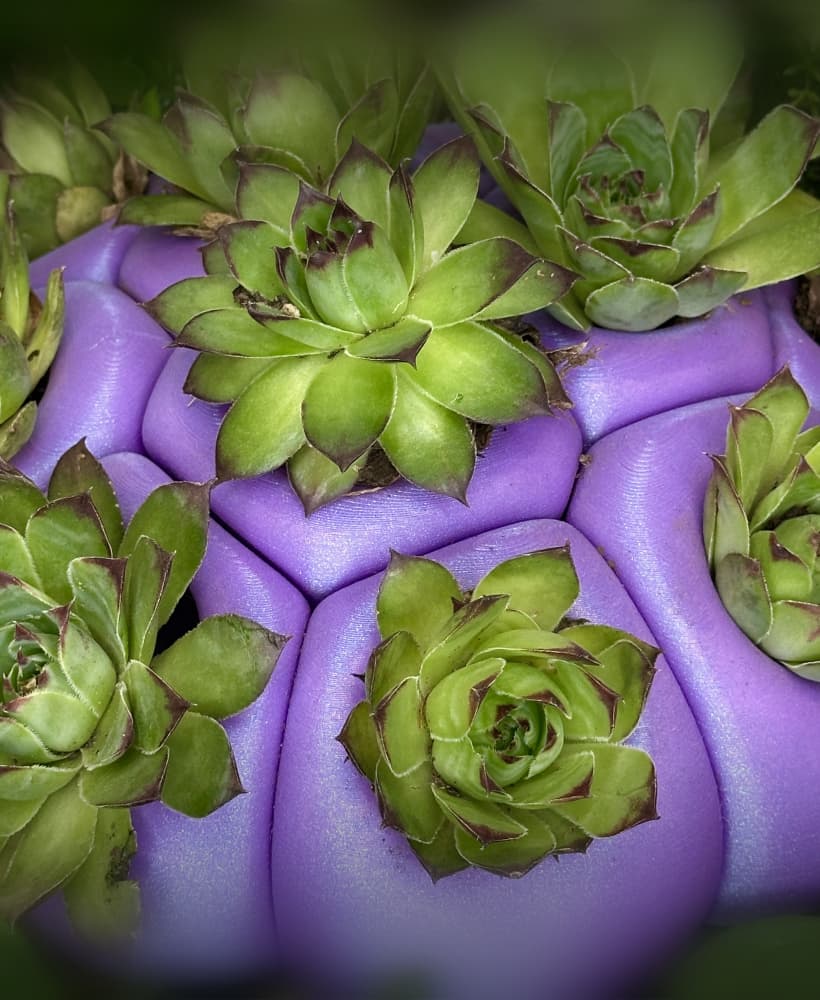
Stellar Blooms
Bump Boxes
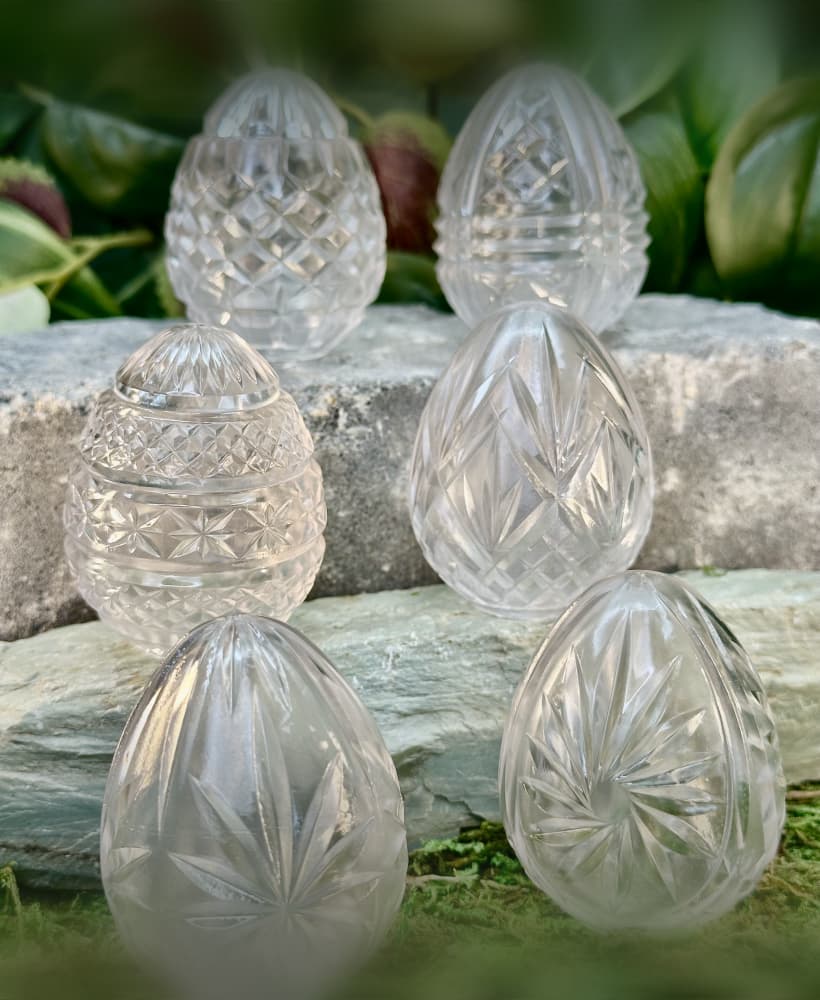
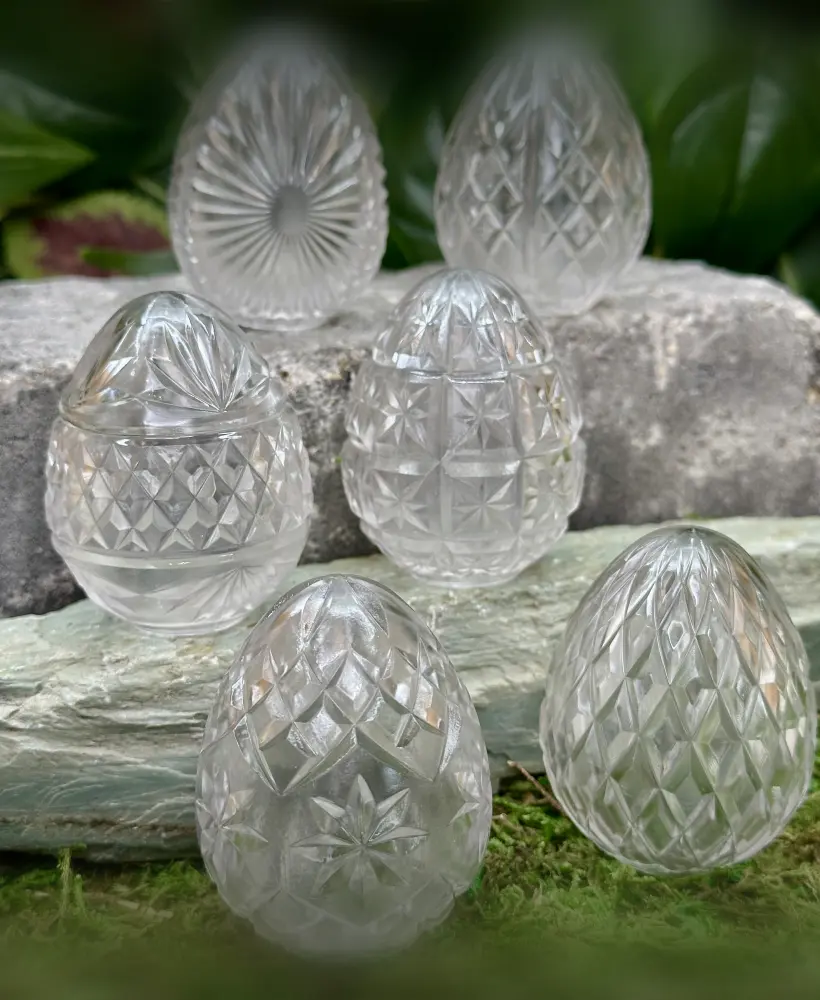
Cut Crystal Eggs - Set 2