

Simax 3D X Axis Linear Rail Conversion
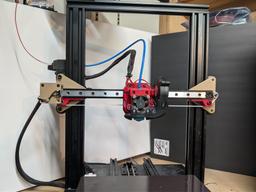
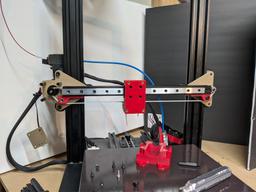
This is the culmination of projects while I've been printing parts to build a Voron. I decided it was time to convert the X axis to a linear rail. I combined this with my shroud design which will hold any E3D V6 compatible hotend.
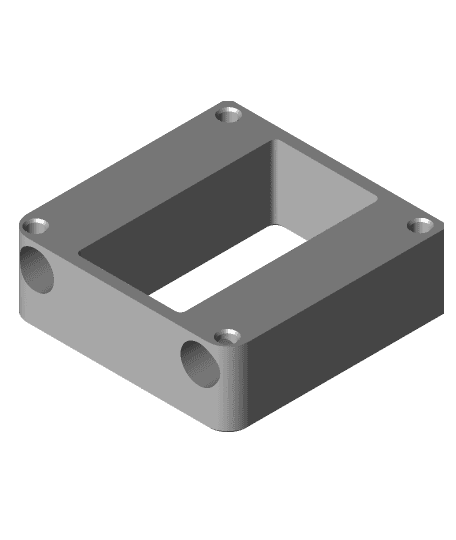
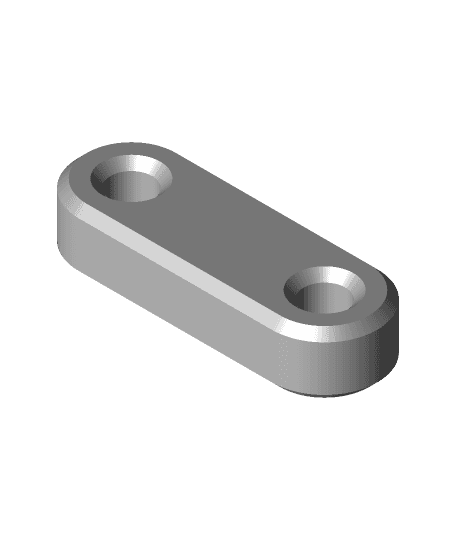
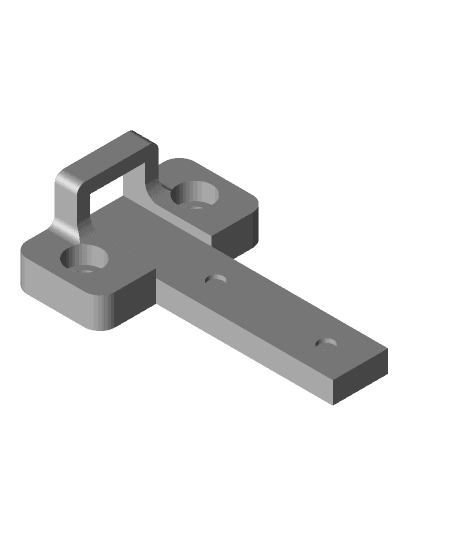
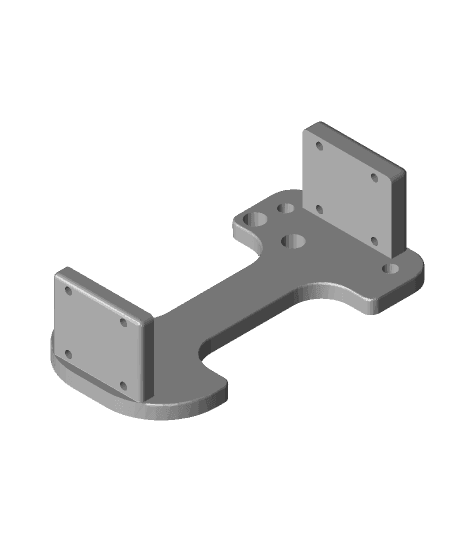
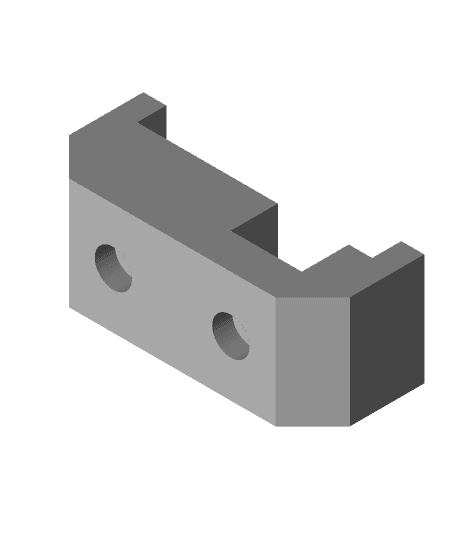
The X Carriage design is blatantly inspired by the Voron Switchwire; it is my design from scratch, but you can see the inspiration clear as day. You will need to print both halves. You will also need the 2 E3D mount parts, as well as two of the belt holders.
Hardware wise, you will need: 18 x M3x8mm SHCS 3 x M3x45mm SHCS 2 x M3x16mm SHCS 3 x M3 nuts 10 x M3 heat set inserts 4mm ~ 6mm 4 x M5x8mm BHCS 4 x M5 T nuts 2 x M5x16mm BHCS 2 x M5 nuts 6 x M3 T nuts 1 x 300mm MGN12H Linear Rail ~650mm GT2 Belt. 4 x F695 Bearings 4 x 1mm M5 shim spacers. Zip ties.
Printed parts should be in ABS or PETG if you don't plan on printing ABS. 40% infill, 4 perimeters, 4 top and bottom layers.
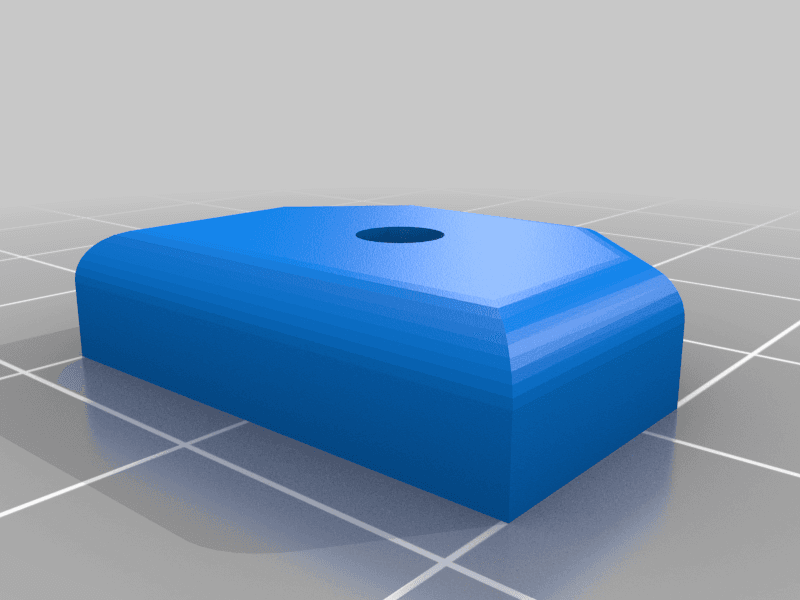
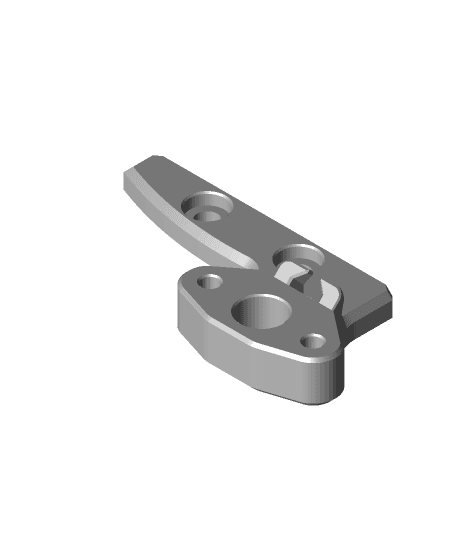
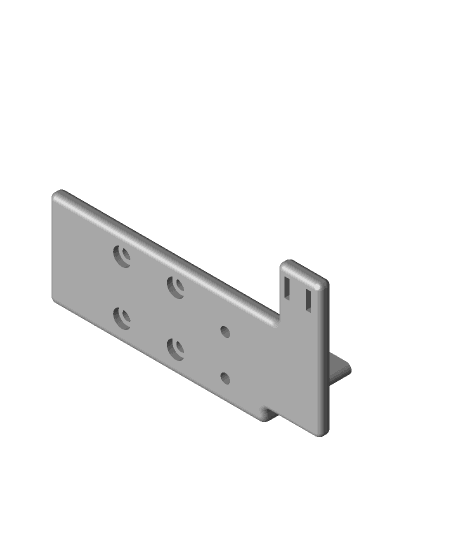
1 x X_Carriage - Part 1 1 x X_Carriage - Part 2 1 x IronM1E3DMountShroudBase 1 x IronM1E3DMountShroudTop 2 x BeltHolder 2 x F695_LowerMount
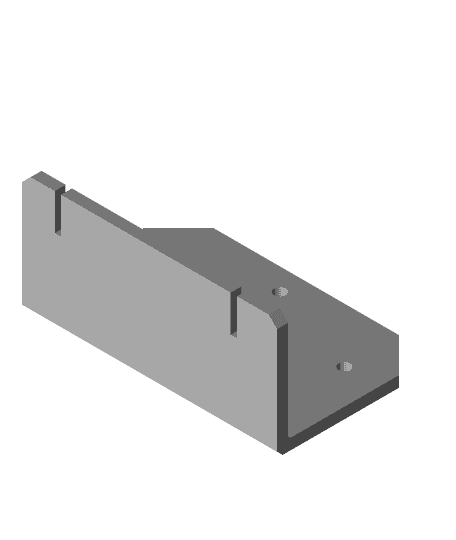
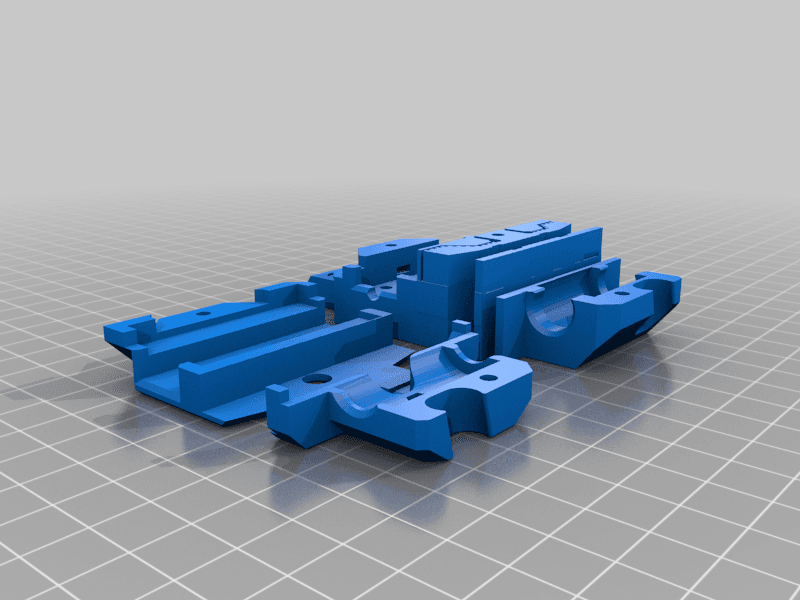
I've included a screenshot showing the plating of the parts for print orientation.
Most likely you will need to ream holes slightly. I left them a little on the tight side. I also recommend lightly sanding the mating surfaces of the E3D holder to ensure a snug closure.
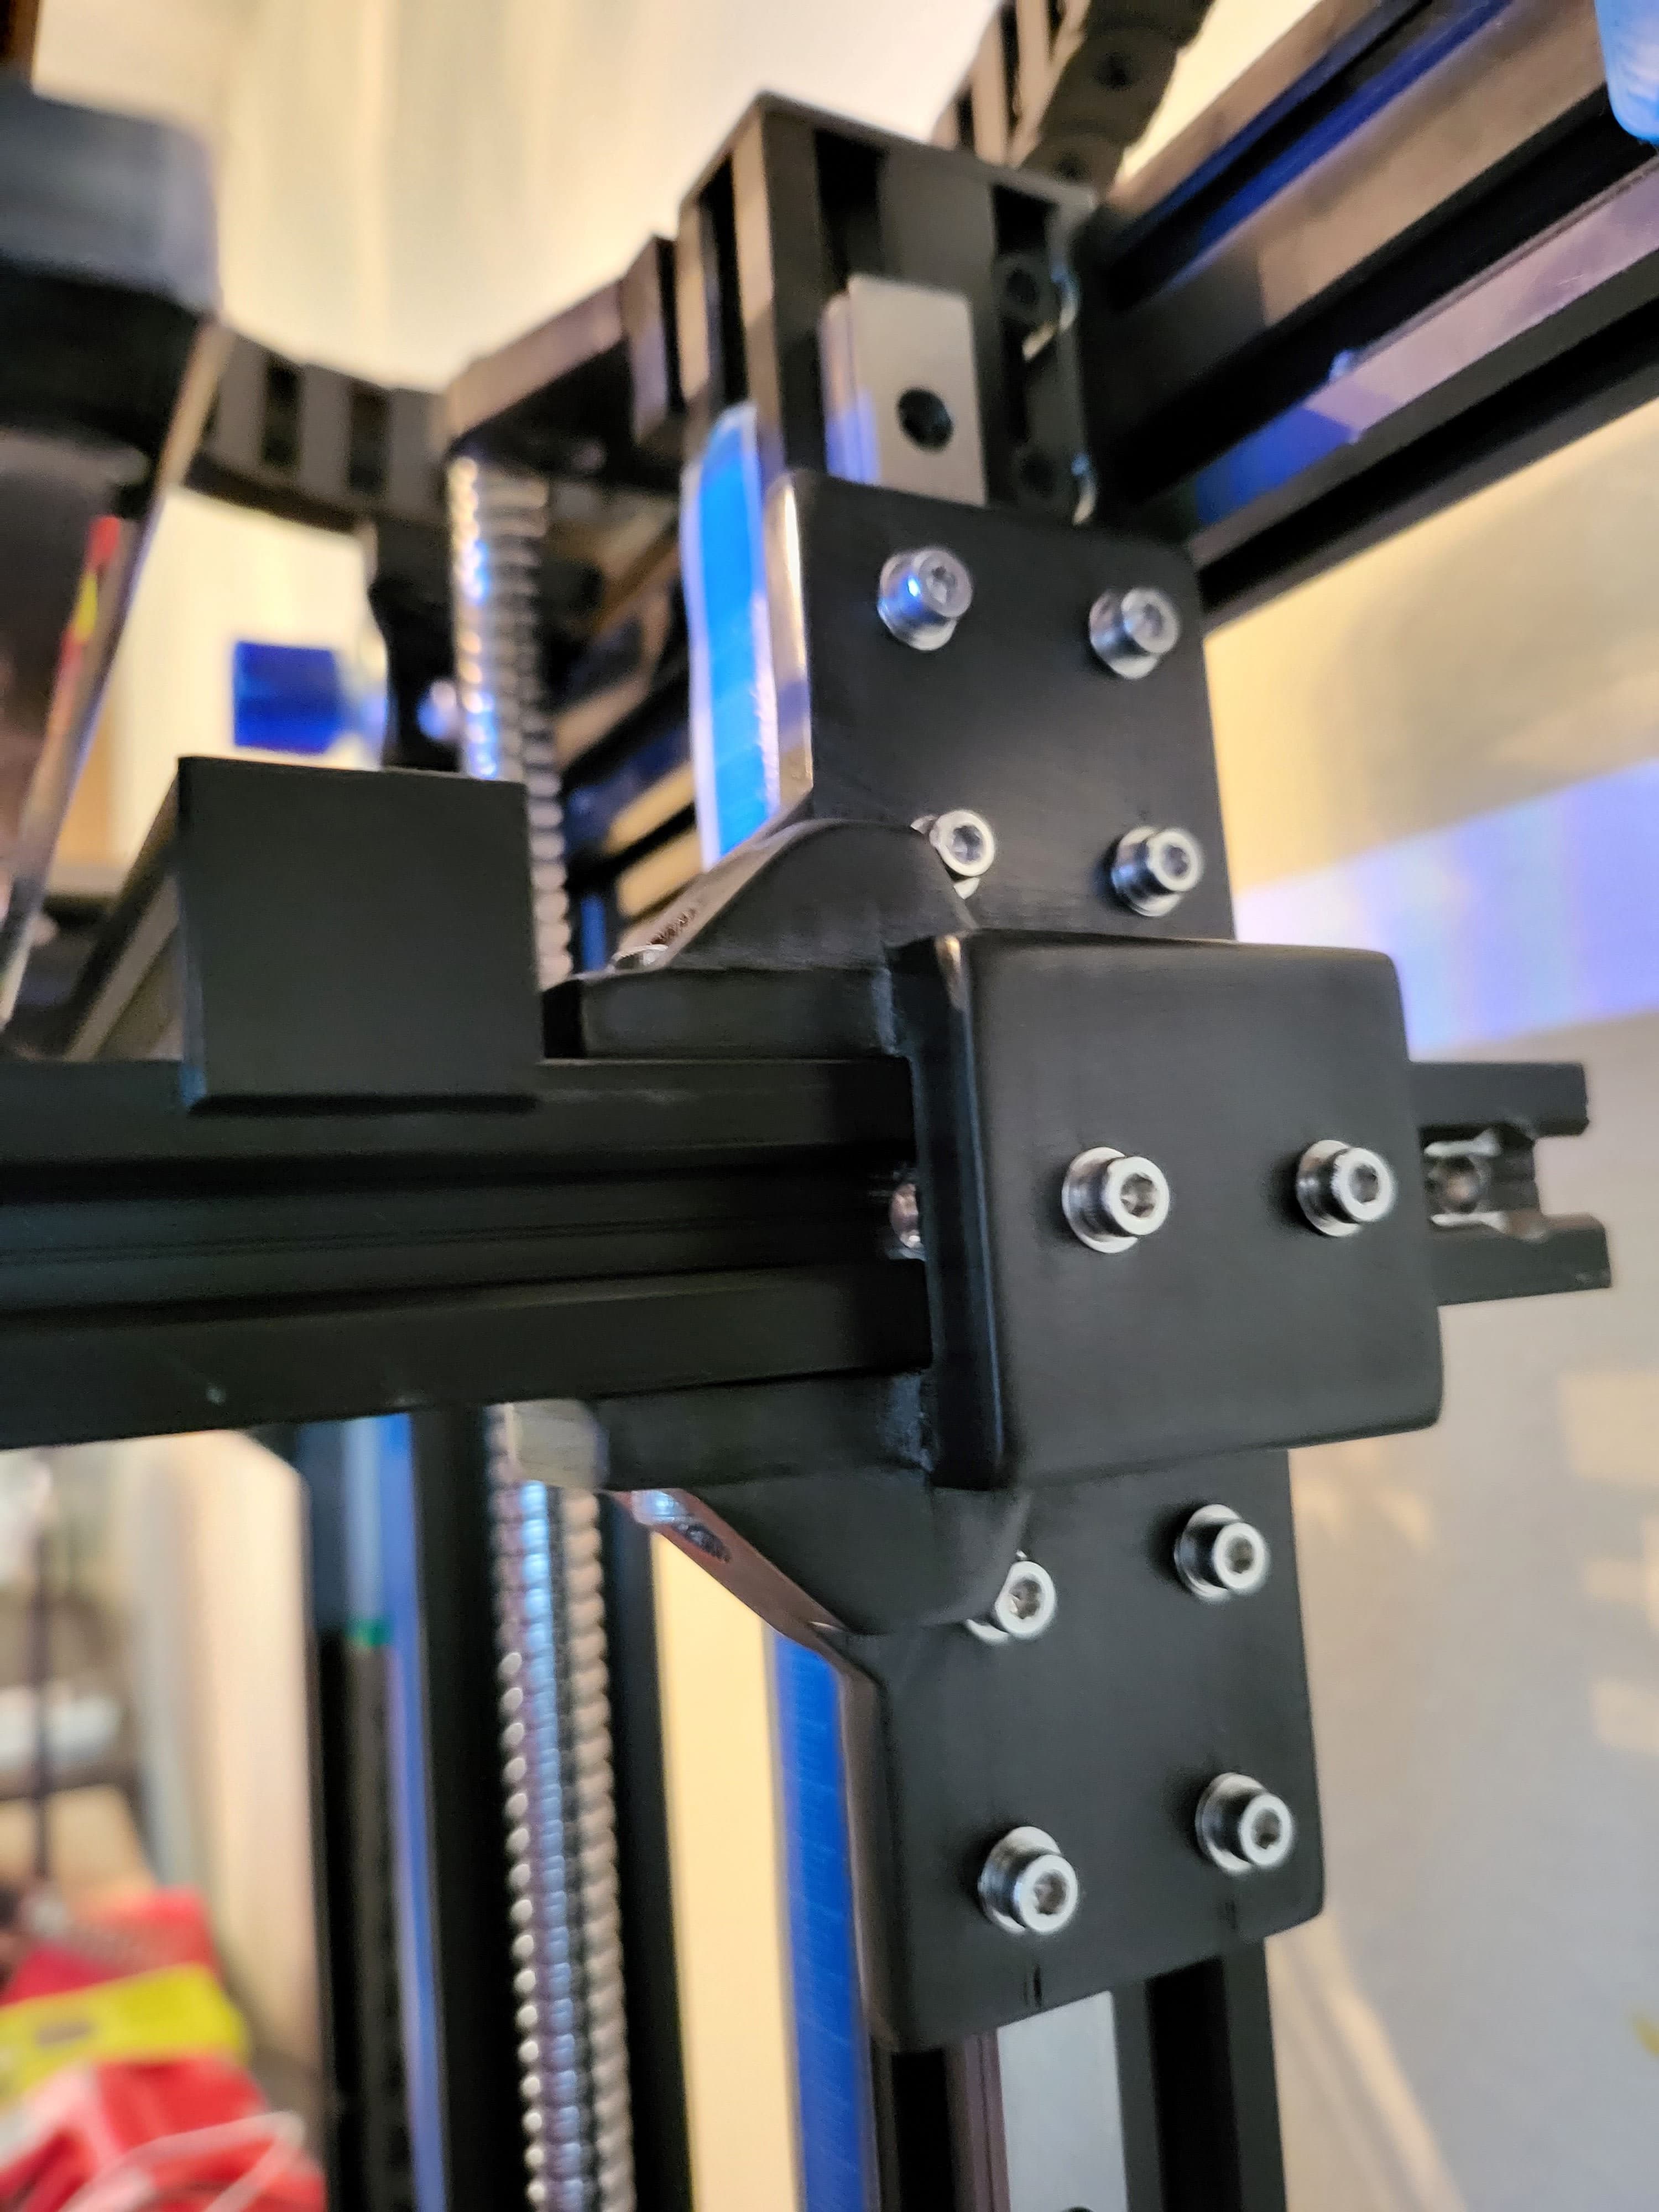
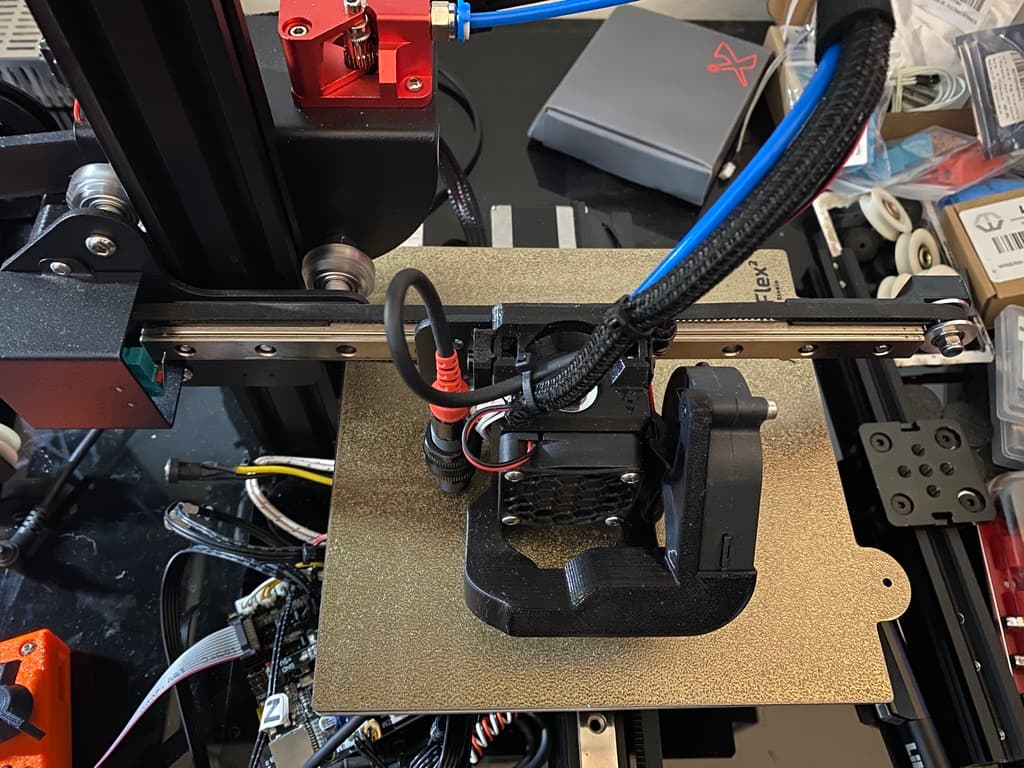
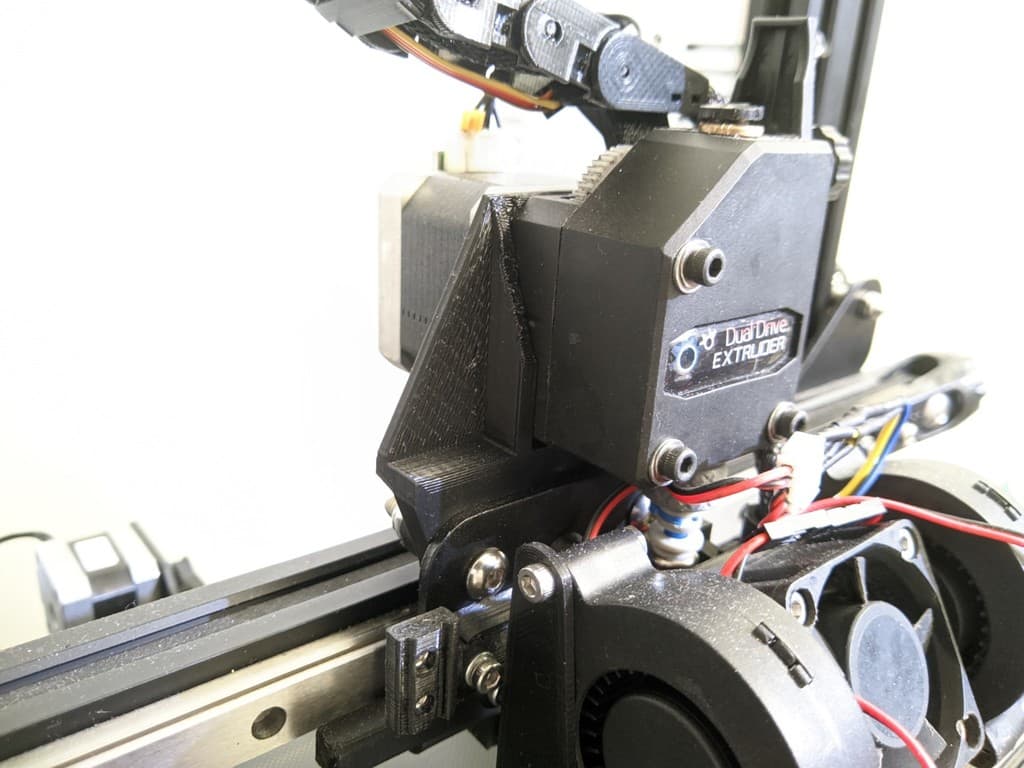
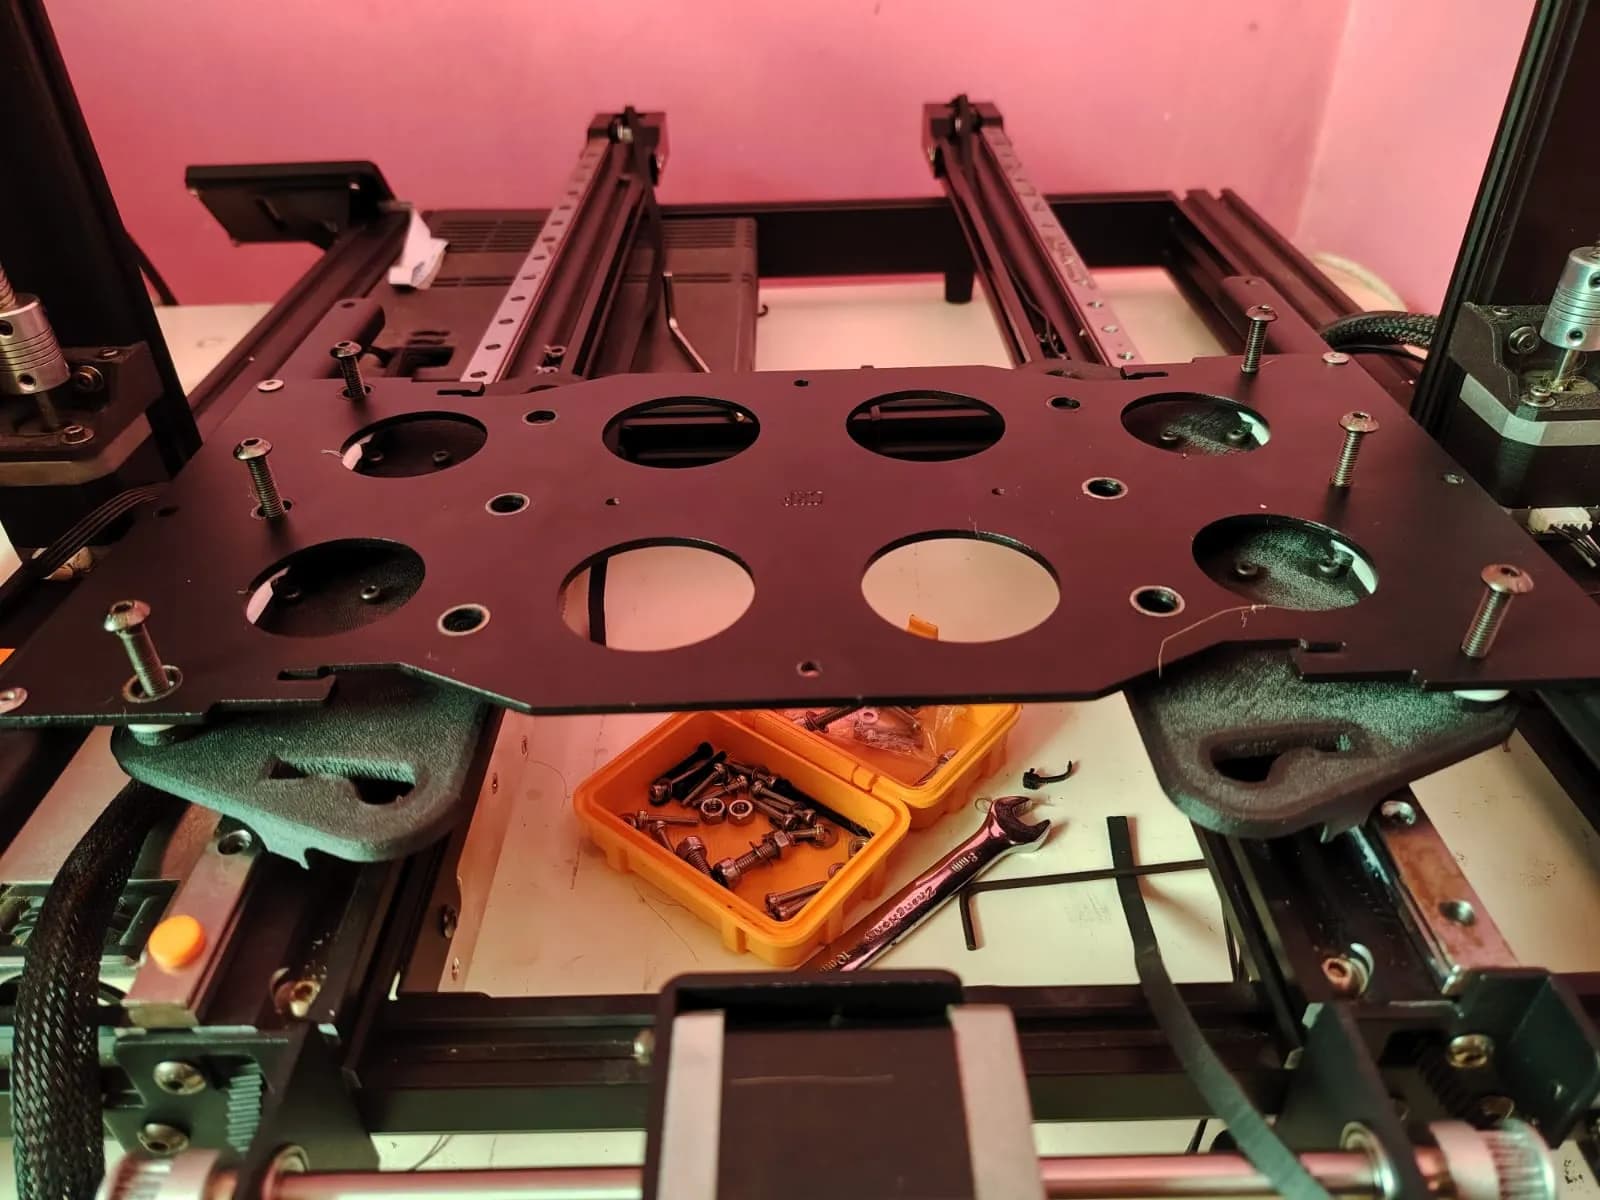
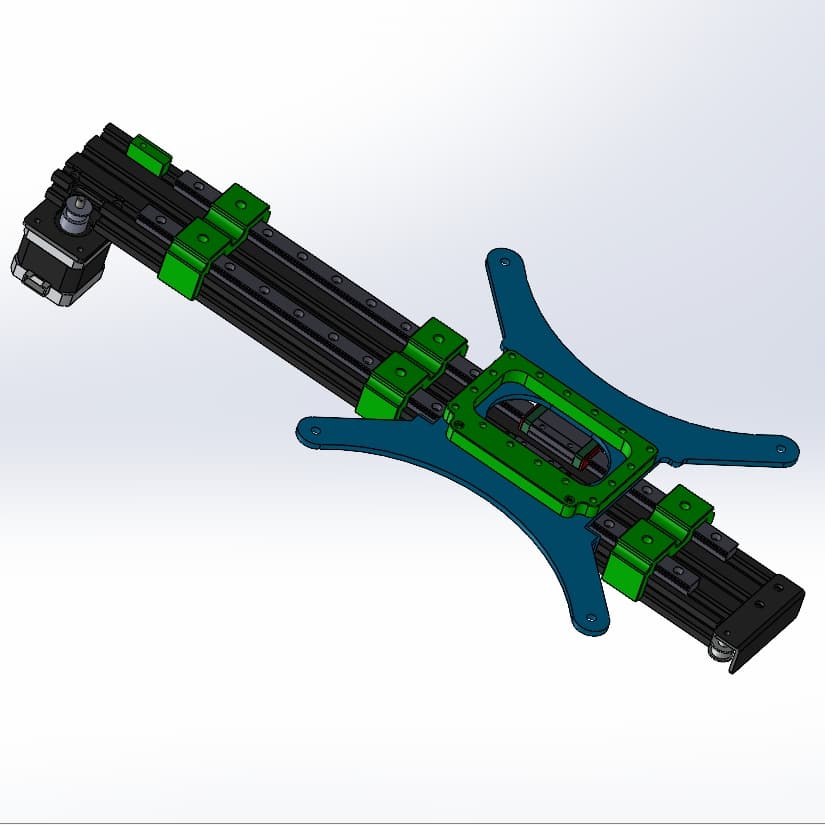
For assembly, refer to the attached photos and the assembly model. It's pretty easy. You will end up with the hotend about 8mm lower, and 20mm forward. You will need to setup new offsets in order to get you You may also need to reduce your Y bed size to 200 from 235.
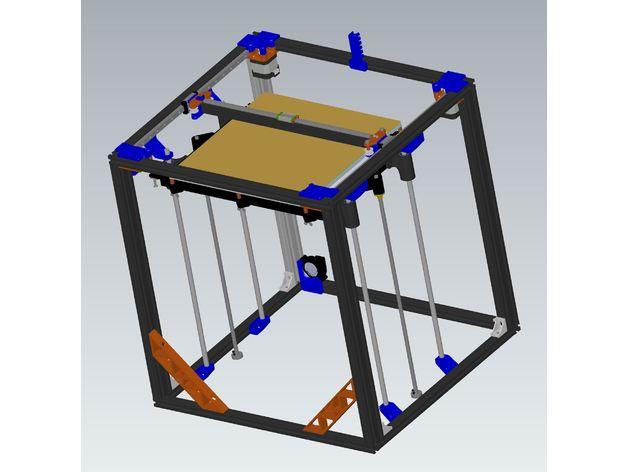
This is specifically for the Simax3D Iron M1, but it would most likely adapt to darn near any printer that uses a 2020 v-rail extrusion for the X gantry, such as the Ender series.
The STL files are included here, along with the .step file for the assembly picture.
Simax 3D X Axis Linear Rail Conversion
X-Axis Linear Rail For MGN12 Linear Rail
Anycubic Mega Zero Z-Axis Linear Rail
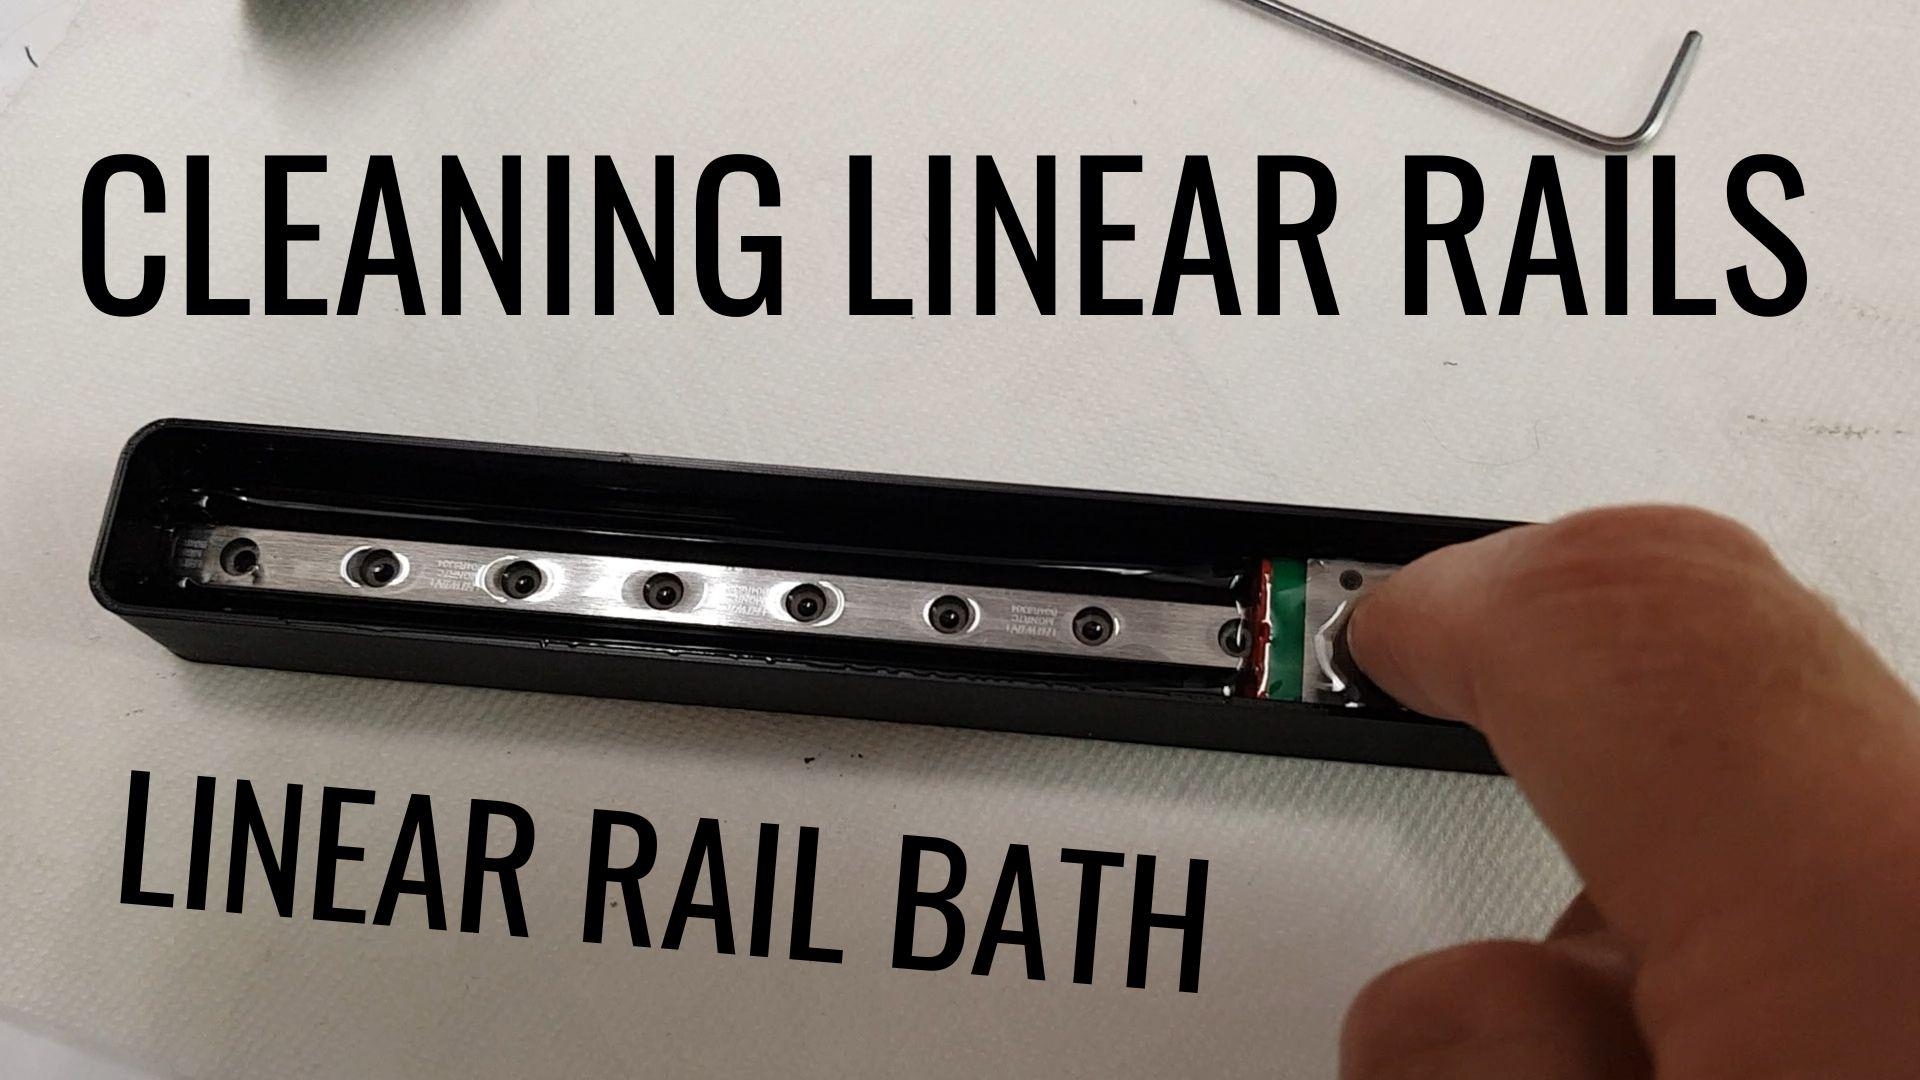
Linear Rail Bath - Clean your linear rails
Anycubic Mega Zero X-Axis Linear Rail
Kingroon KP3 X Axis Linear Rail Mod
AnyCubic Mega Zero V1 Y-Axis MGN12 Linear Rails
Wanhao D9 to Prusa X Axis Linear Conversion
SpeedDrive Remix for X axis linear rail

Z axis - linear rail Upgrade
X5SA to VzBoT Minimal Linear Rail Conversion "Pooron V1"
Kobra Max Linear rail y axis upgrade
Artillery Sidewinder X2 Linear Rail Conversion

Ender 3 Pro Y-Axis Linear Rail Adapters
Ender 3 X-Axis MGN9 Linear Rail Carriage
Sidewinder X2 Y axis MGN12H Linear Rail Install Kit

Creality Ender 7 - Linear Rail Z-Axis
MGN12 2040 Carriage Stop-Linear Rail Alignment Tool.stl
Ender 5 Core XY with Linear Rails MK2
Ender 3 Linear Rail Mount for BIQU H2