


Color blender comparison wheel
Model originally uploaded to Thingiverse at https://www.thingiverse.com/thing:5871780.
A remix of this from Printables https://www.printables.com/model/287161-color-blending-swatch
A fun way to compare colors or blended colors, and it spins of course. I created this to assist with flat layered models, this will allow you to layer the colors appropriately without too much guess work. I sliced with .1mm layers, with a change at 1.1mm
The wheel holds 24 swatches of your choice. Each section is held in place on the wheel with the tab at the bottom of the wheel section. Install each wedge by placing it in the outer ring part first then snap the tab into place. To remove just pry up the tab with your fingernail or a pointed stick.
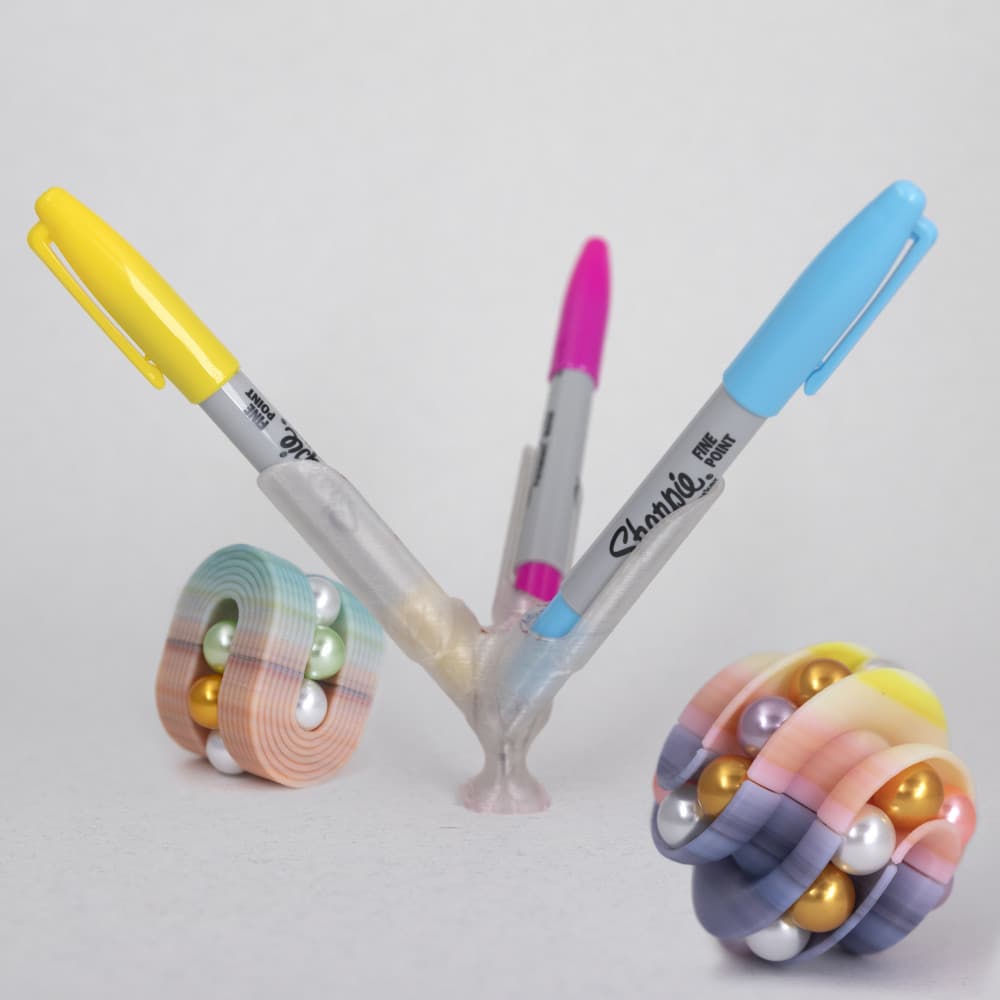
This can also be used in conjunction with my Makerdeck Mesmerizer.
The competed wheel in the picture is all Polymaker filament, working on the Protopasta and eSun filament swatches now.
All parts print without supports except the front / top needs support for the cutout in the middle. You need this to be a nice area to glue the nut holder into place, I suggest supports, it could be bridged but I did not take that risk, its literally less than a gram of supports.
Hardware needed:
Two to three 608 bearings and the internal sleeves too if using an M5 screw, which is what I designed this around. One M5 nut, pressed and glued into the piece that glues into the front / top smaller circle. You don't have to glue it but it could be screw out if you don't. One M5 x 30mm screw, you could go shorter or longer. You are smart and can figure this part out on your own I would venture to say. Watch the video for assembly, but if you are indeed smart you won't need to. Alternatively you can use a 8mm shaft rod and screw a M3 into the spinner base, there is a hole for that, or an M8 screw. Warning the front is made for the M5, if you use a 8mm shaft then hot glue a bearing in the front. Or try to scale the front down slightly so the bearing will fit snuggly. This can also be assembled with a vertical stand using similar hardware or a 8mm shaft rod. Video: https://youtu.be/5haUxhpQ_Js
***This part is copied directly from the original color blending model, this version only has a max of 7 top layers, if you need more go to the original:
Use this model to create a color pallet that shows what hues are possible by printing layers using different thickness. The model starts with a 1mm tall 20mm by 20mm square, and increases the square height by 0.10 each block. This creates filament color swatch like you’d see in a paint store. Pick two filaments you have, print using the first, one filament change after first block, then the print completes after the following 9 blocks, increasing the new color thickness each time, which creates the colors.
Here’s what I tested and found:
Can we create a color pallet by varying layer thickness between two filament colors? Resounding YES! How many 0.2 layers matter to switch from one solid PLA color to another? Depending on the filament colors 0.6 (3 layers) at 0.2 may be enough, but for true color it takes about 1mm (5 layers), though printing a dark color like black will cover faster than a light color. Does the color order matter (is going yellow to blue, the same as going blue to yellow)? YES order matters, but this means even more colors can be created Does ironing affect the colors? No. Ironing flattens out the top layer but not enough new filament is added to change the colors. The best use for this technique will be for printing the top layers something like a 2D sign in a new color created from two filament colors you do have. This model will show what colors you can get, and what layer thickness to use to slice to get that color. The gcode is sliced at 0.10, so if you print at 0.20 you'll only have half the options (every other one on the swatch). Ironing can be left off as it does not change the color options (but increases time). If you reslice at 0.5 you could g twice the hues, but the color change will be more subtle.***
Happy printing and message me if you have any questions.
.
Color blender comparison wheel
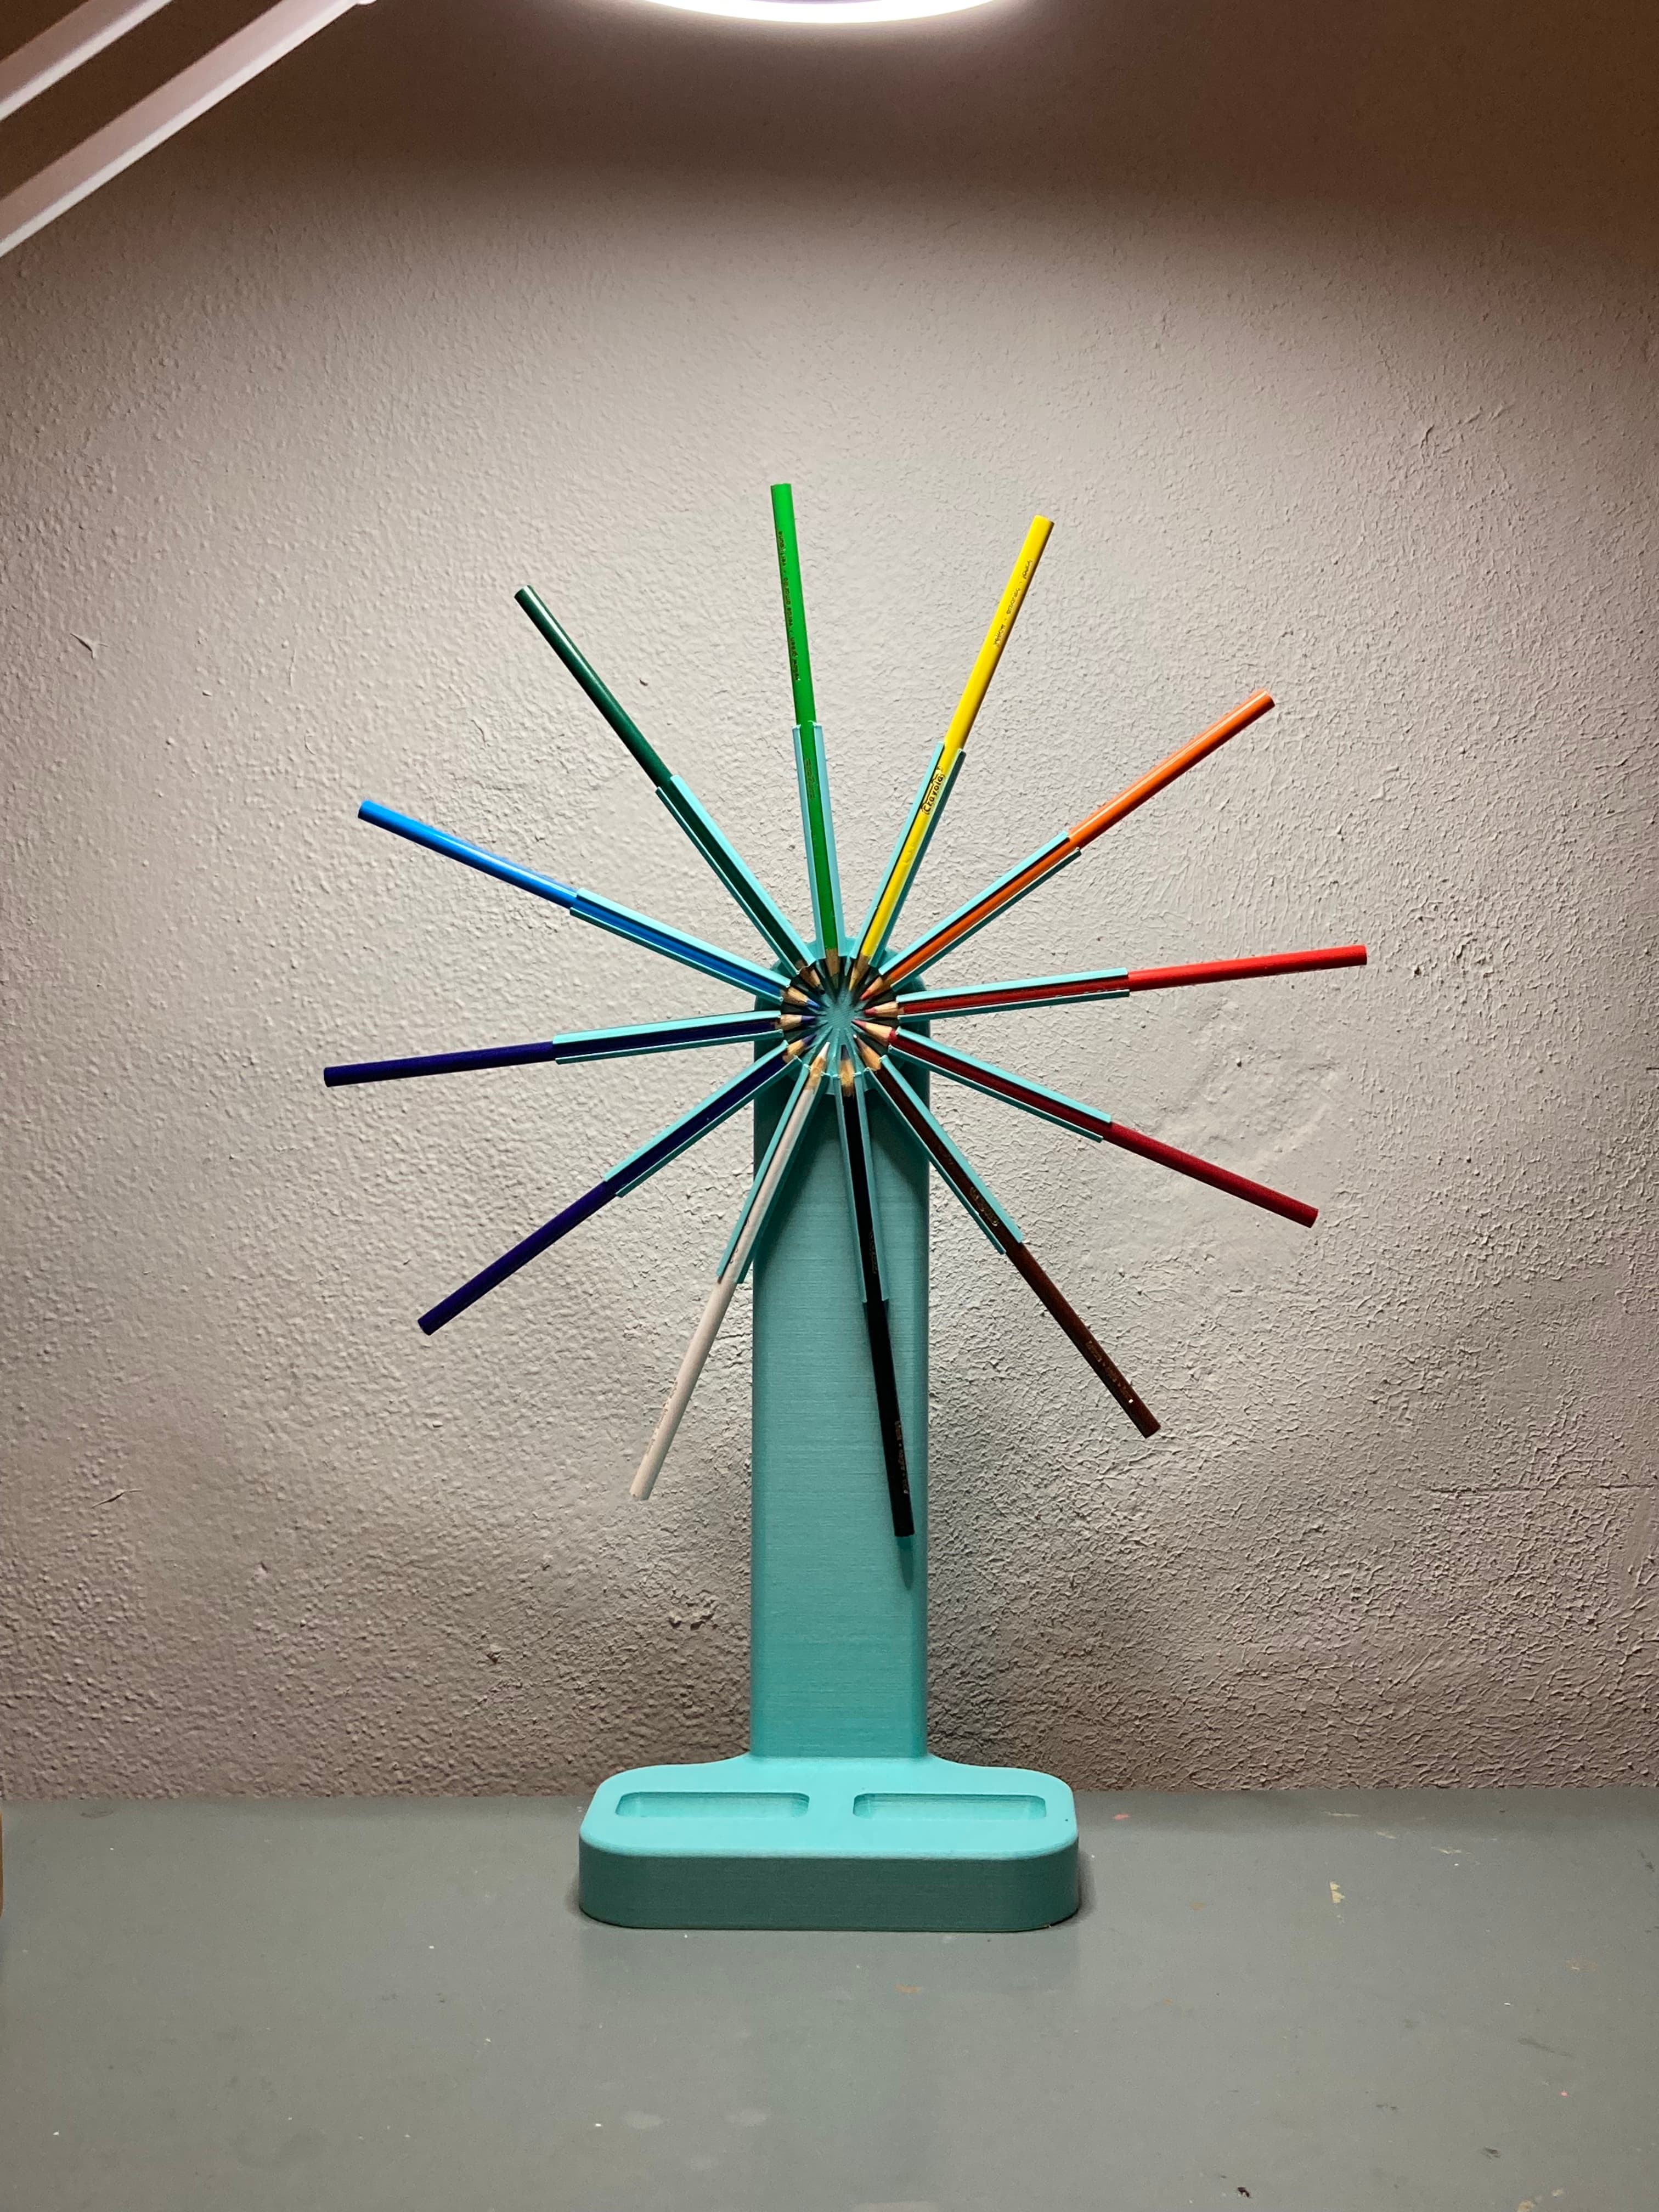
Sharpie Marker Color Blender // 3D Print Custom Colors and Gradients ( 3 and 6 marker version )
Color Wheel #FunctionalArt
Ender 3 V3 SE Sharpie Marker Color Blender

Official Snap on Wheels for Fixum Dude Motors Print in Place Vehicles
Makerdeck Mesmerizer
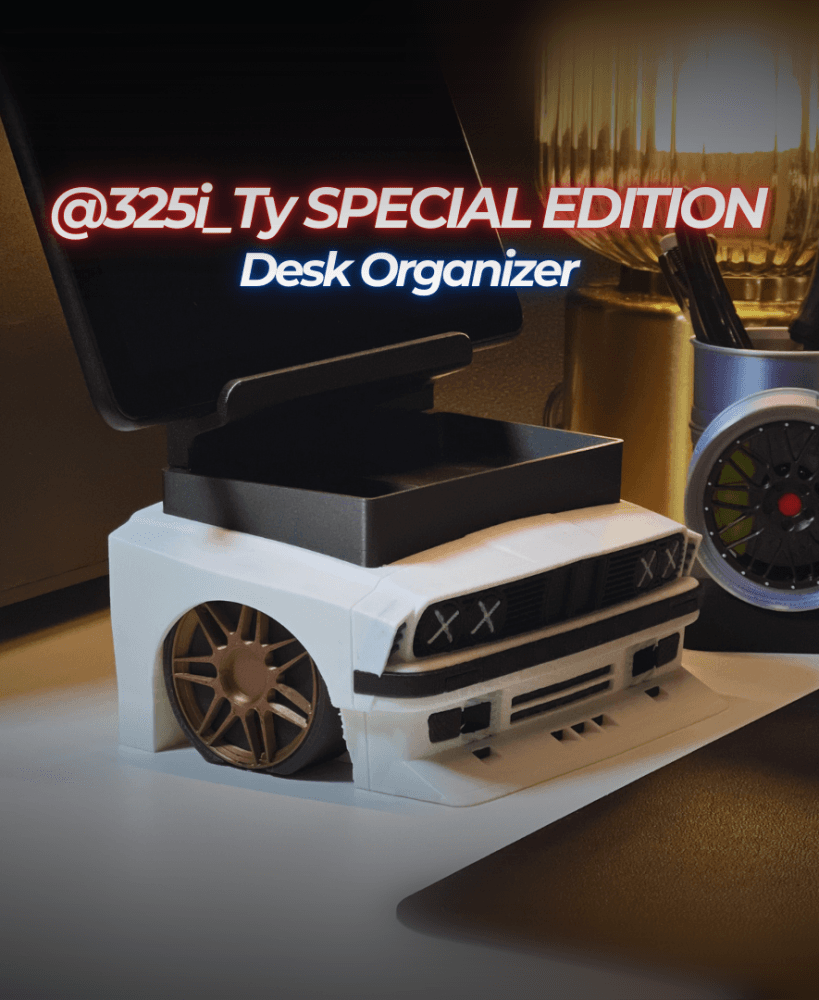
Special Edition 325i Organizer - @325i_Ty Collab
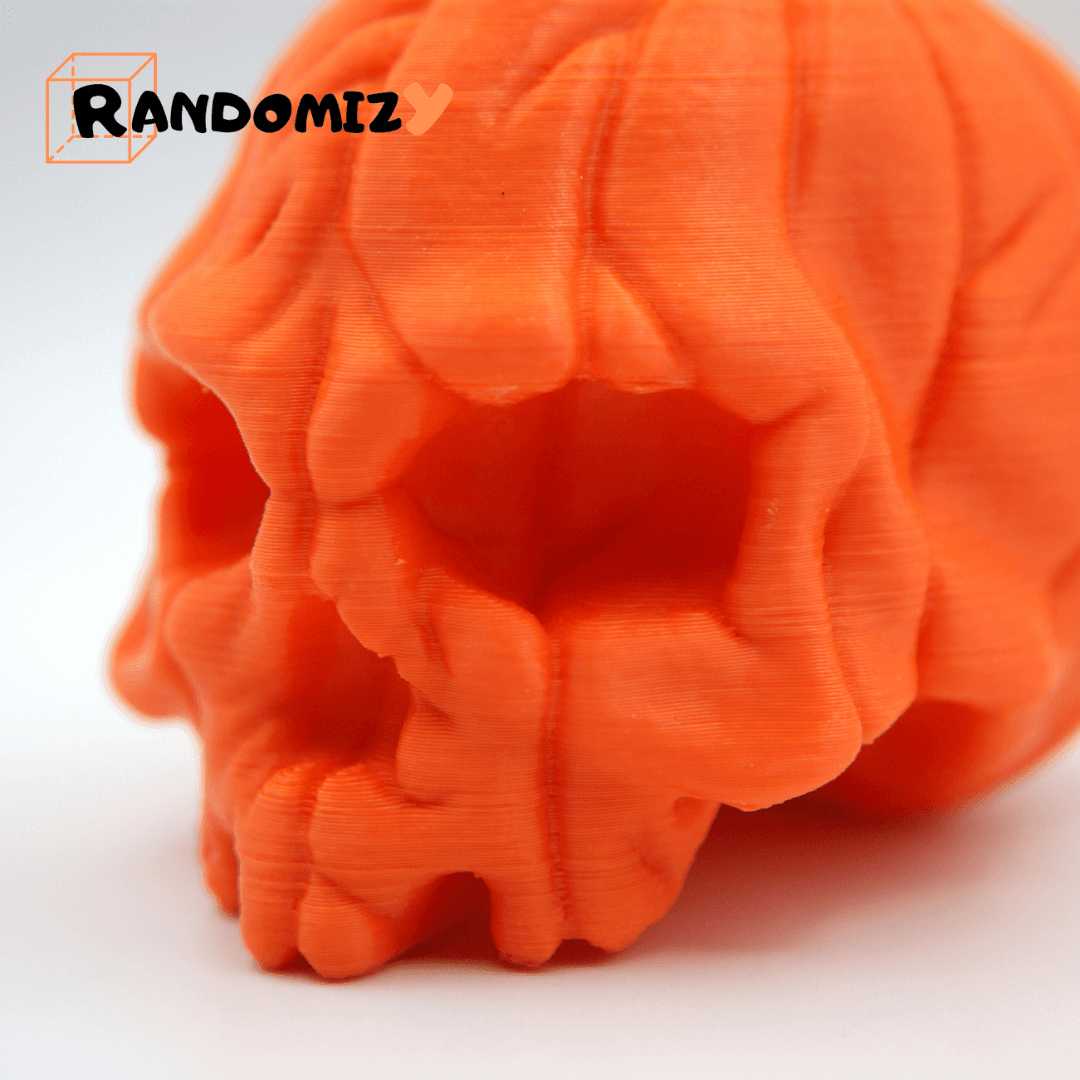
Pumpkin Skull
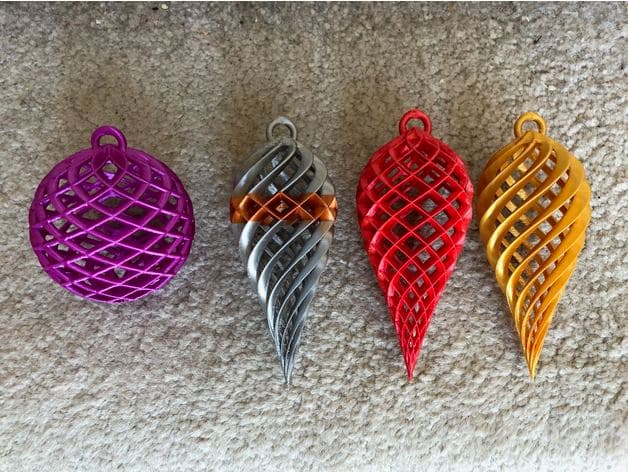
Festive Christmas Ornaments

Squishy Mushrooms (2 sizes)
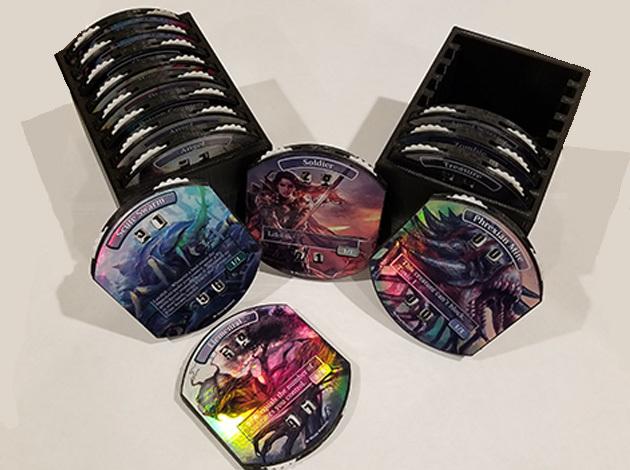
Mass MTG Tokens - Custom Token Counters for Magic the Gathering
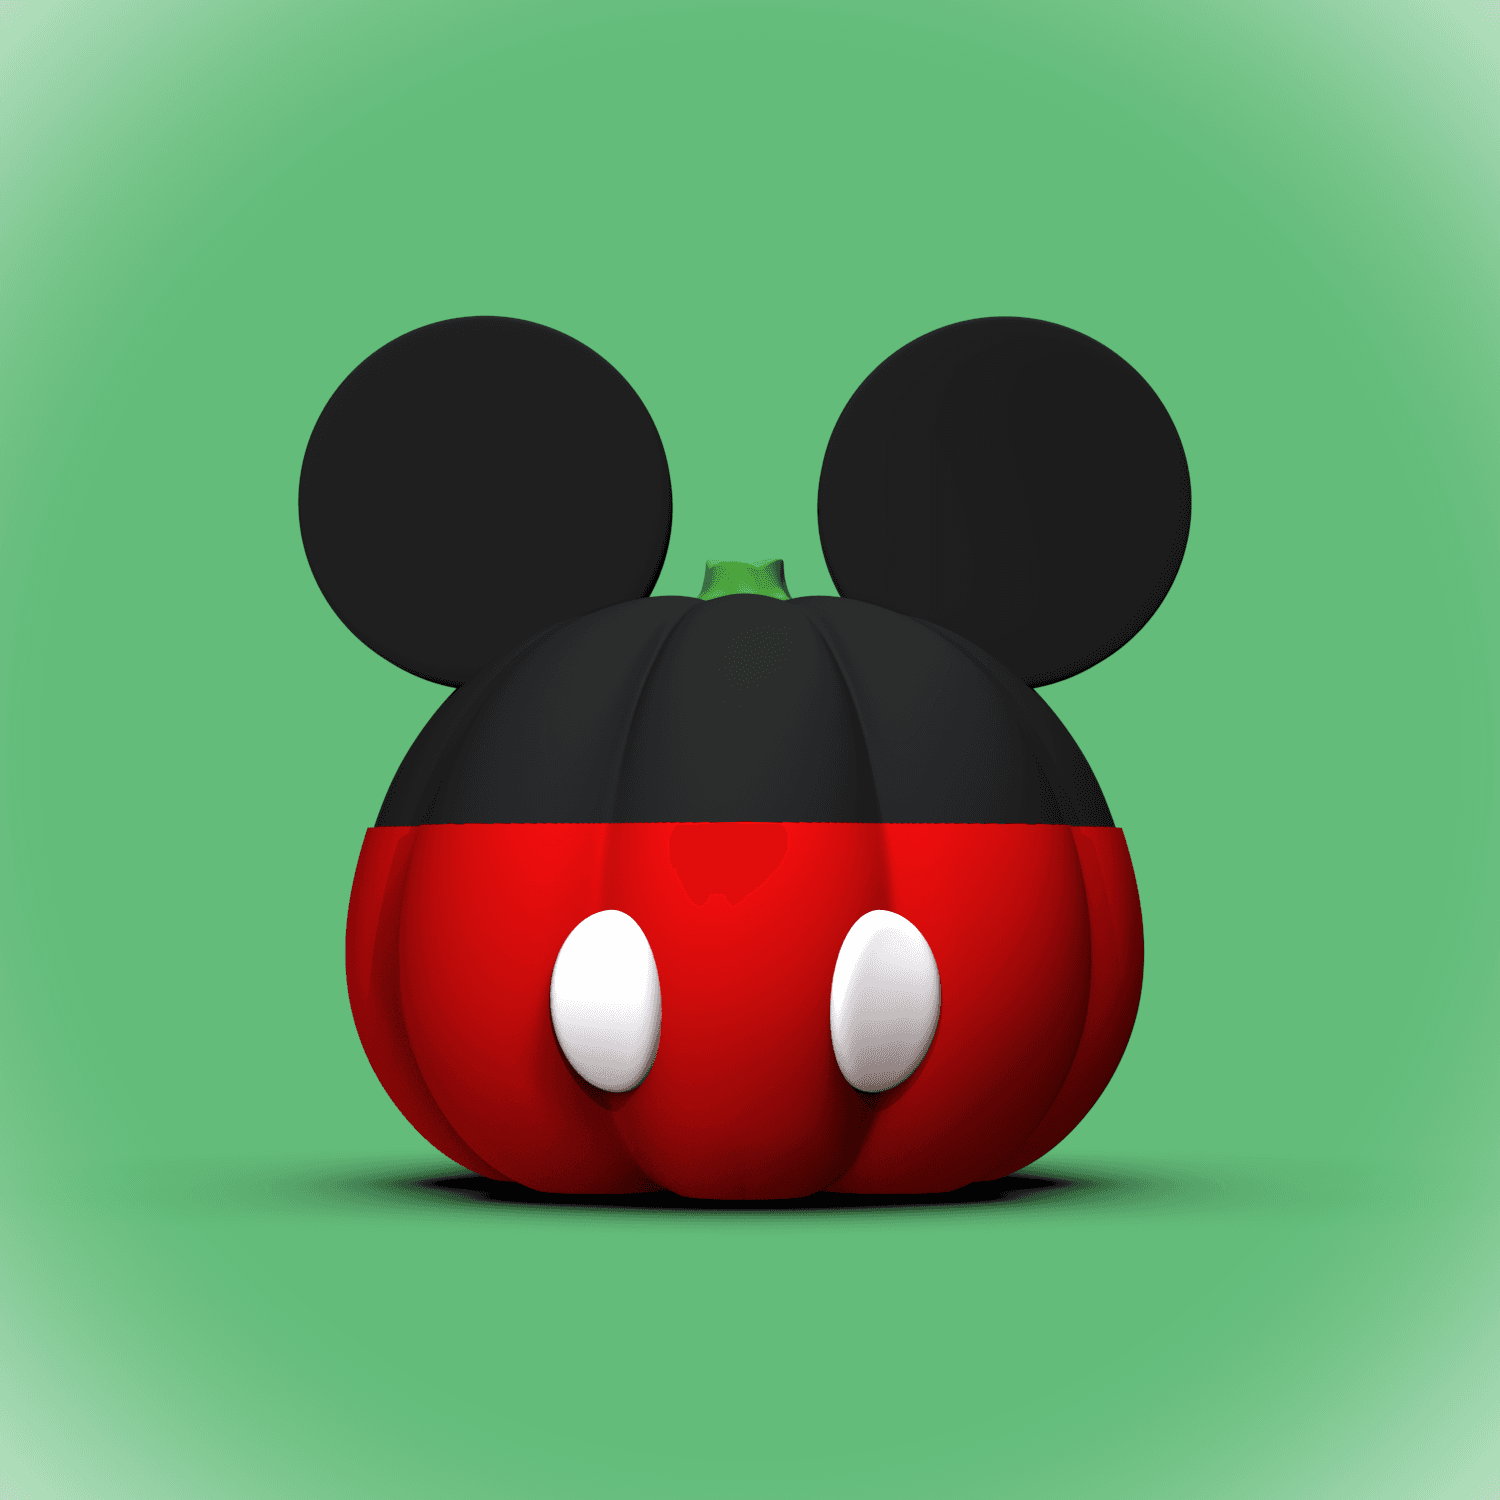
Mickey Mouse Pumpkin (+Bambu 3mf Files)

Silly Pokèmon Magikarp

Pumpkin Skull - Low Poly

Bears on Skates Flexis

Pig Roller Skate Flexi
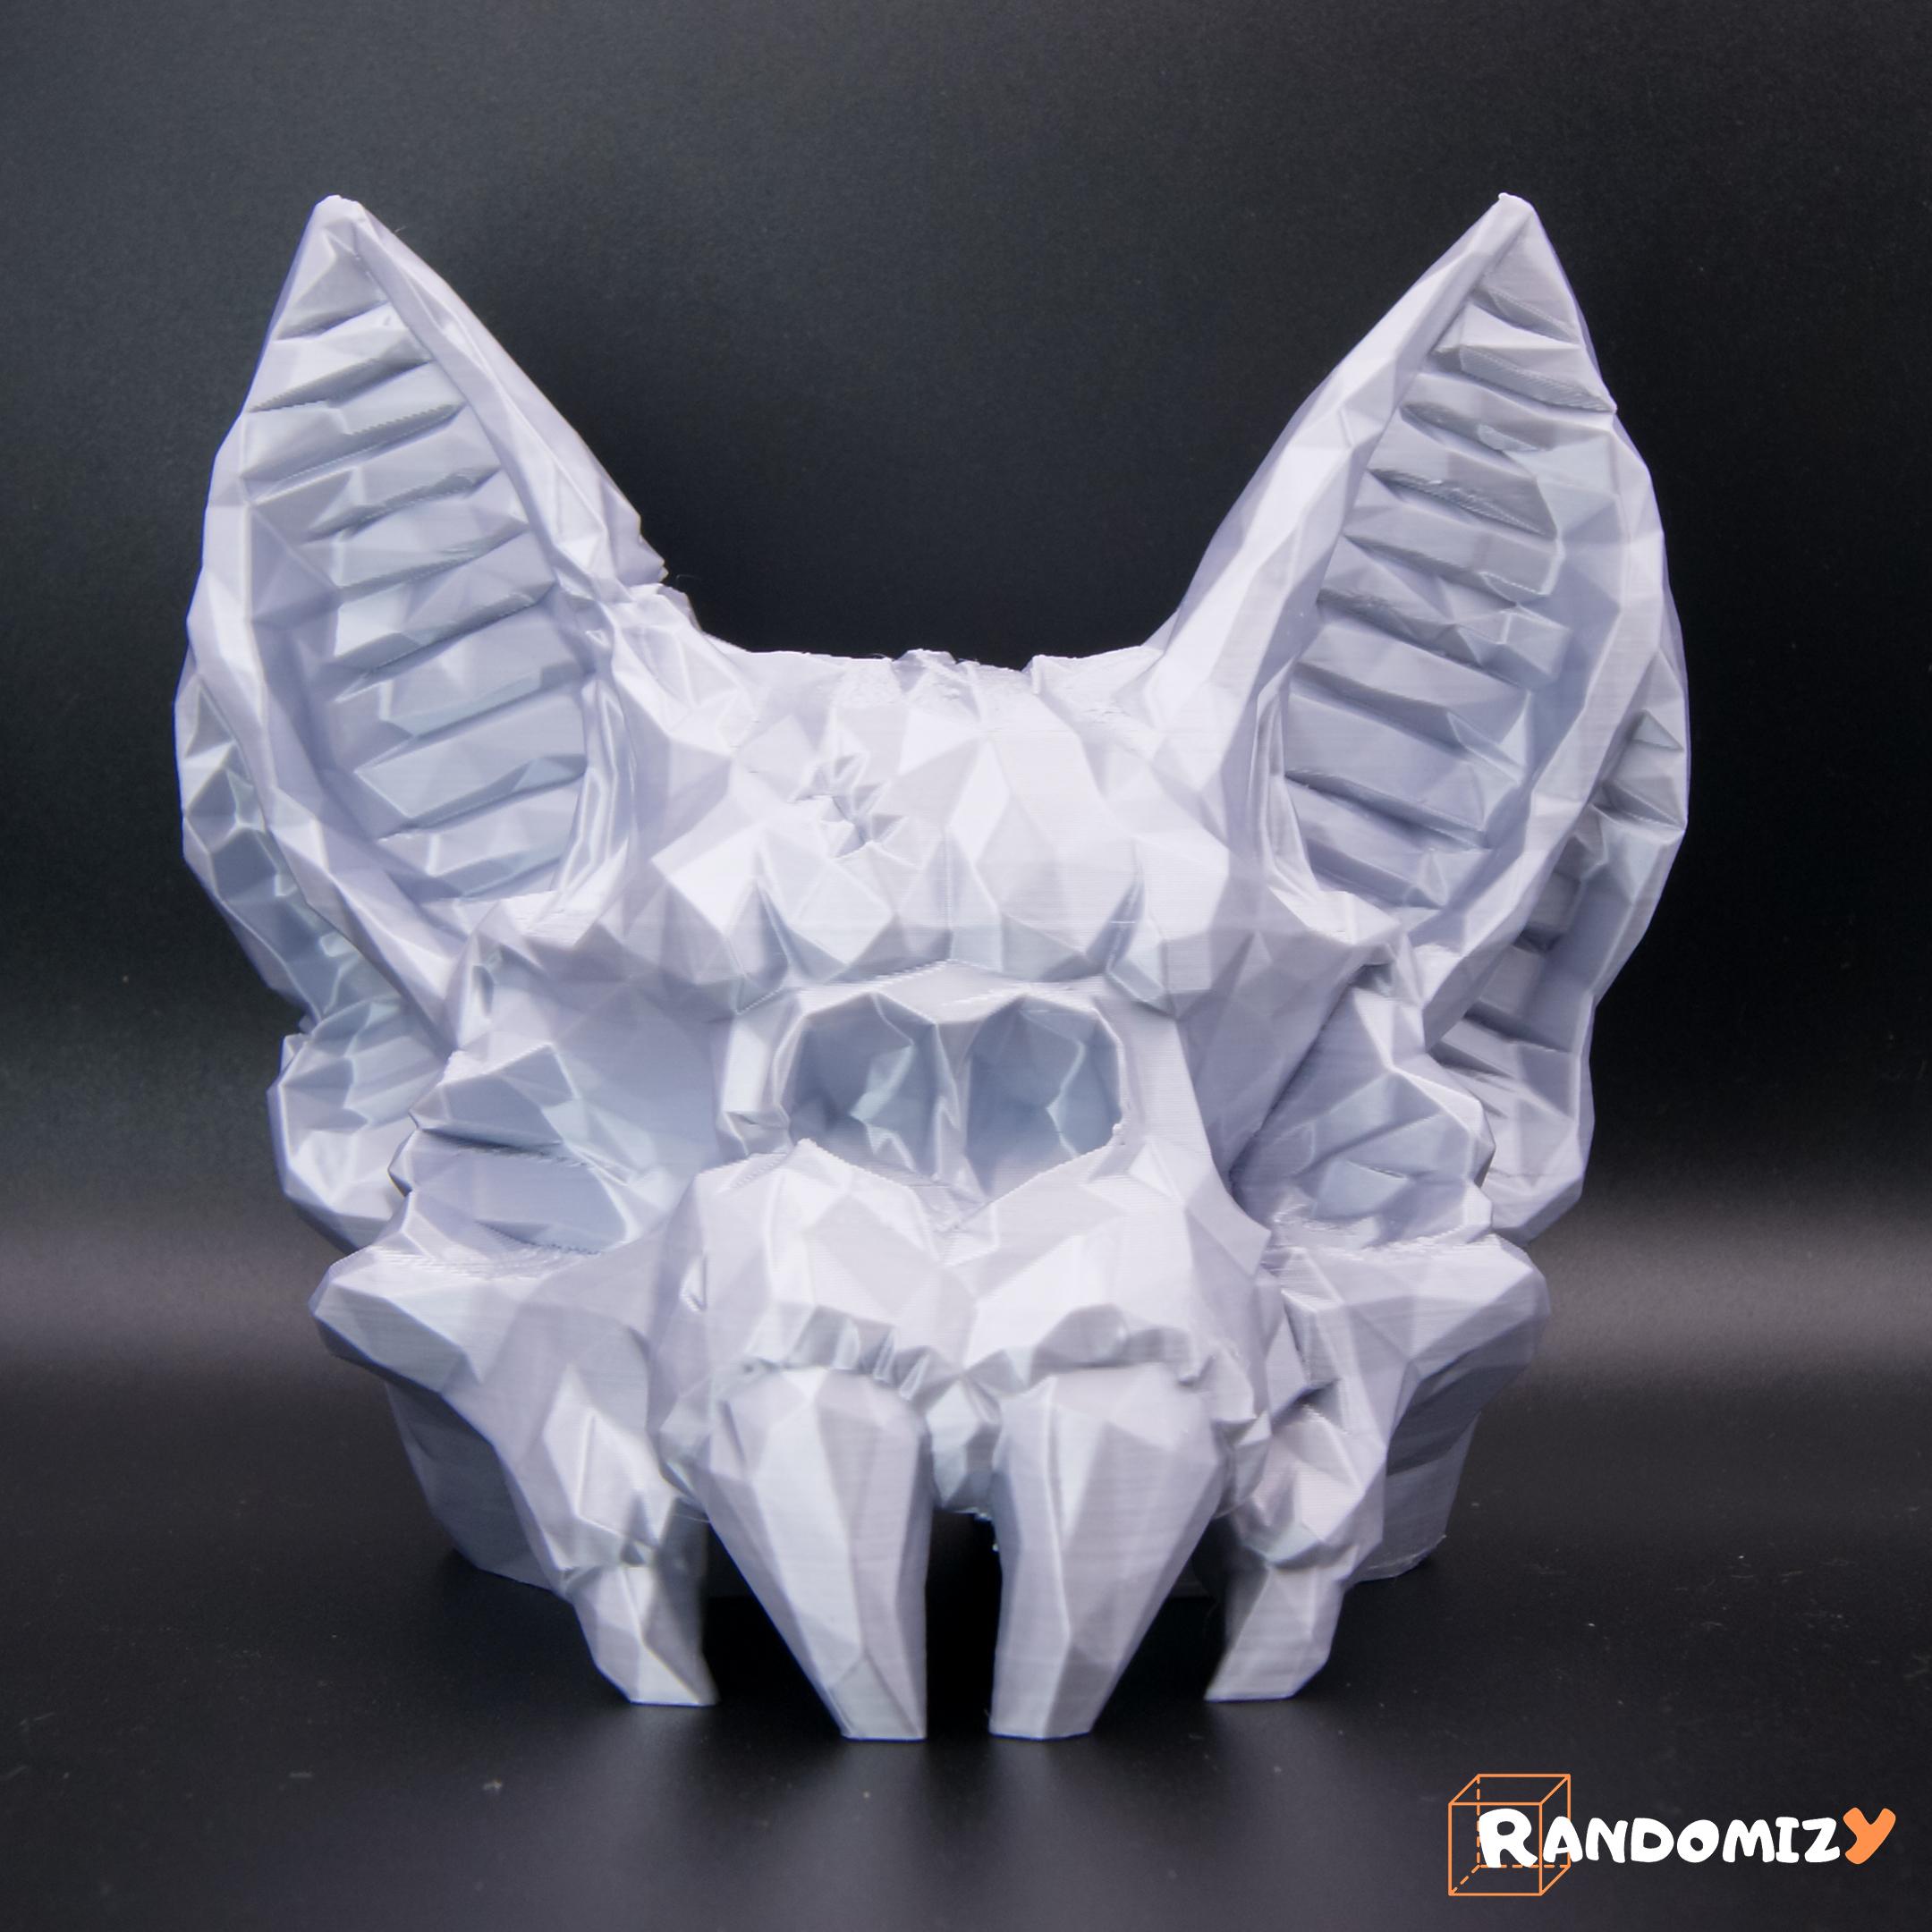
Bat Skull - Low Poly
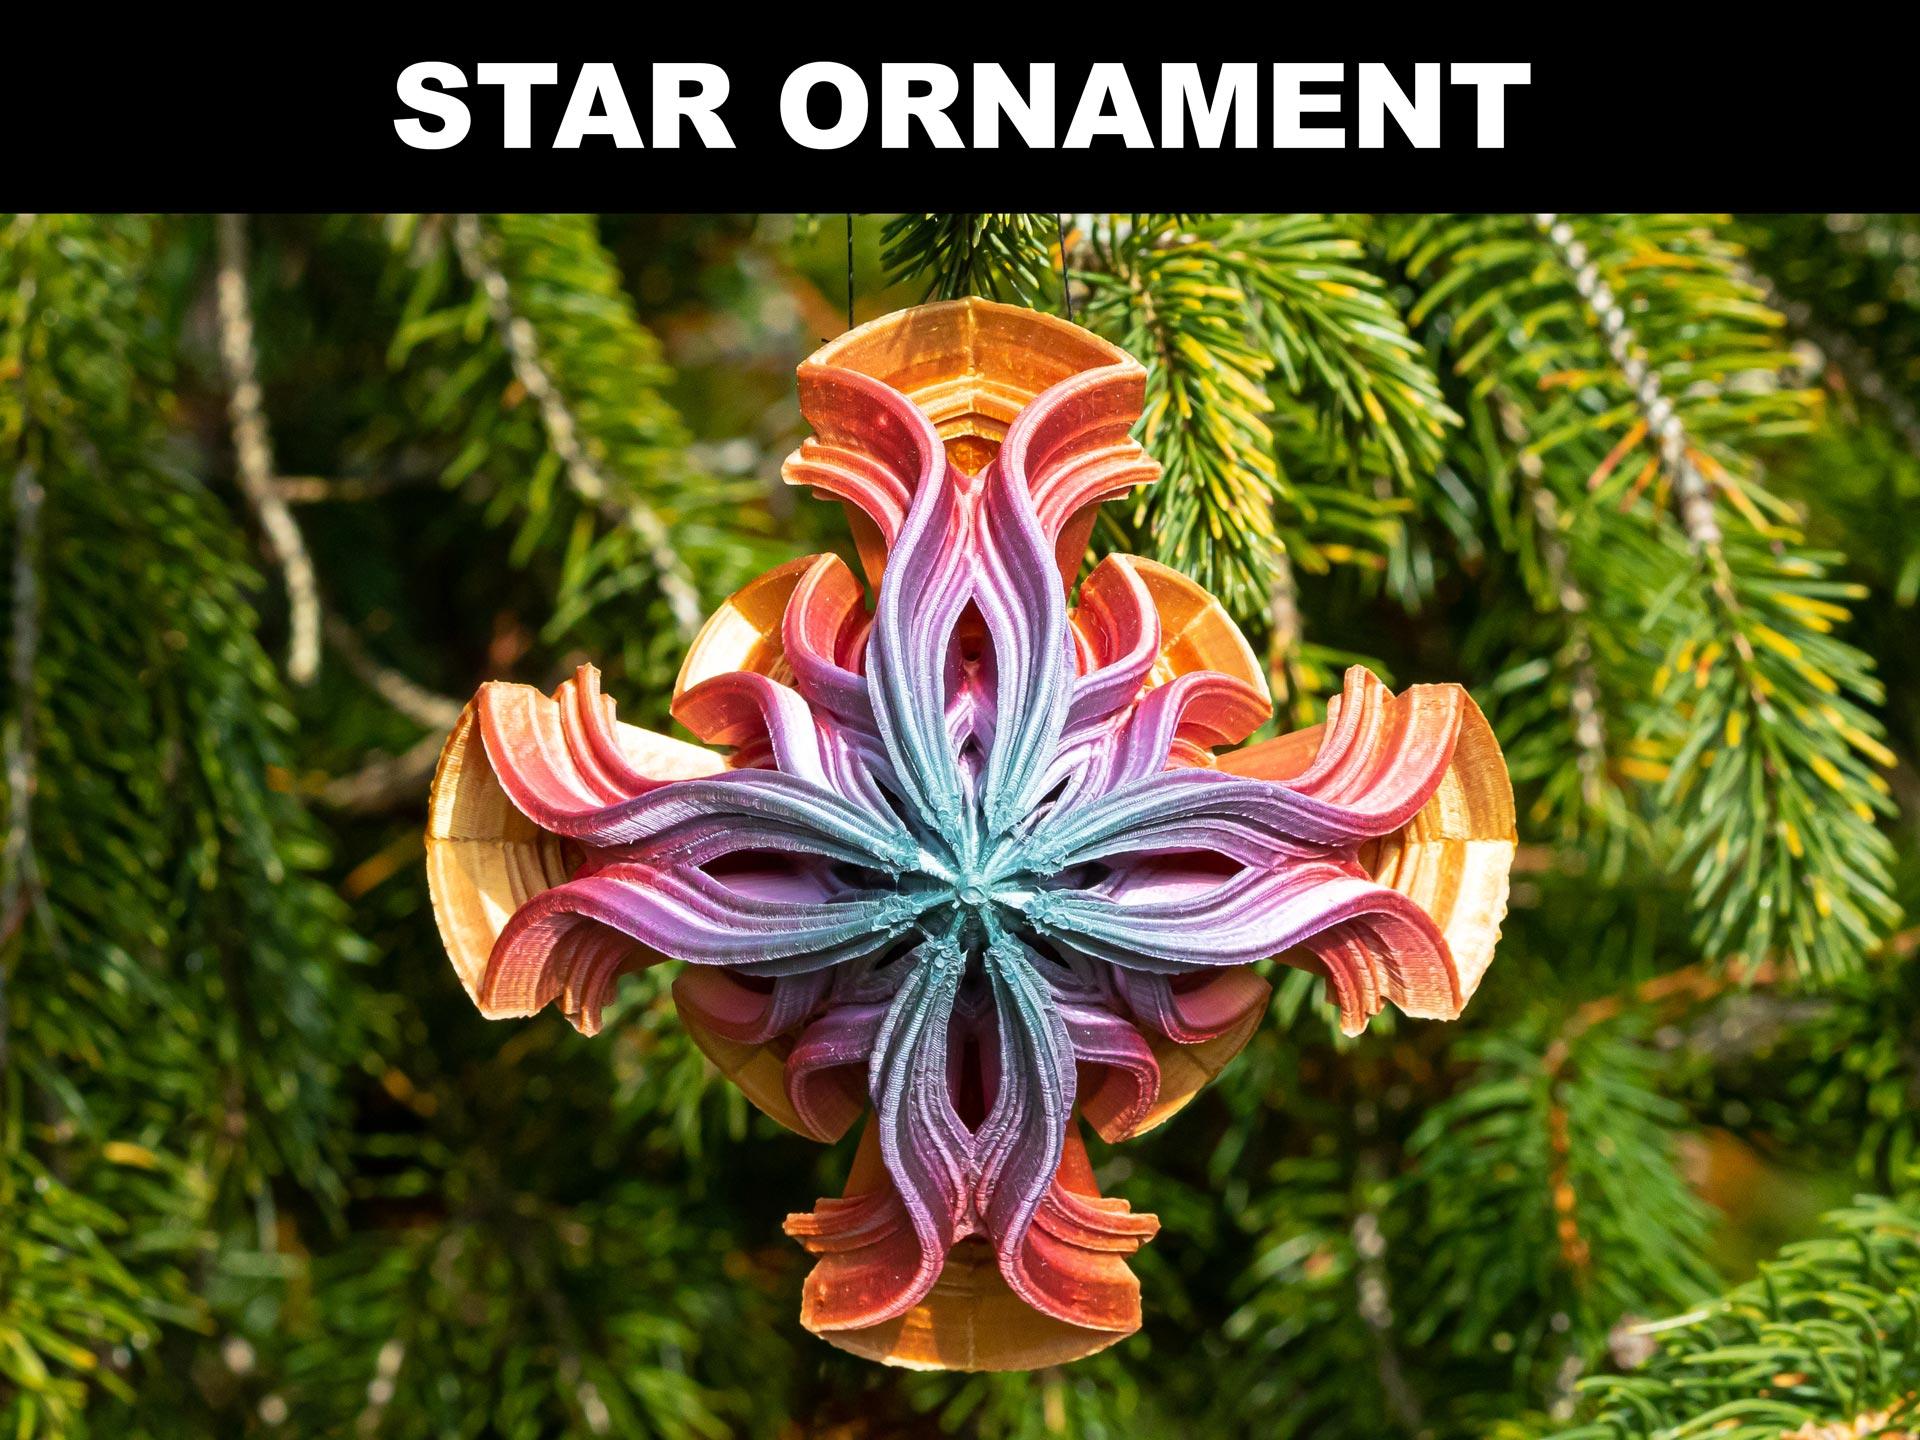
Star Christmas Tree Ornament
Hot Wheels Logo

Heart Ferris Wheel - Valentine's Day Decor
