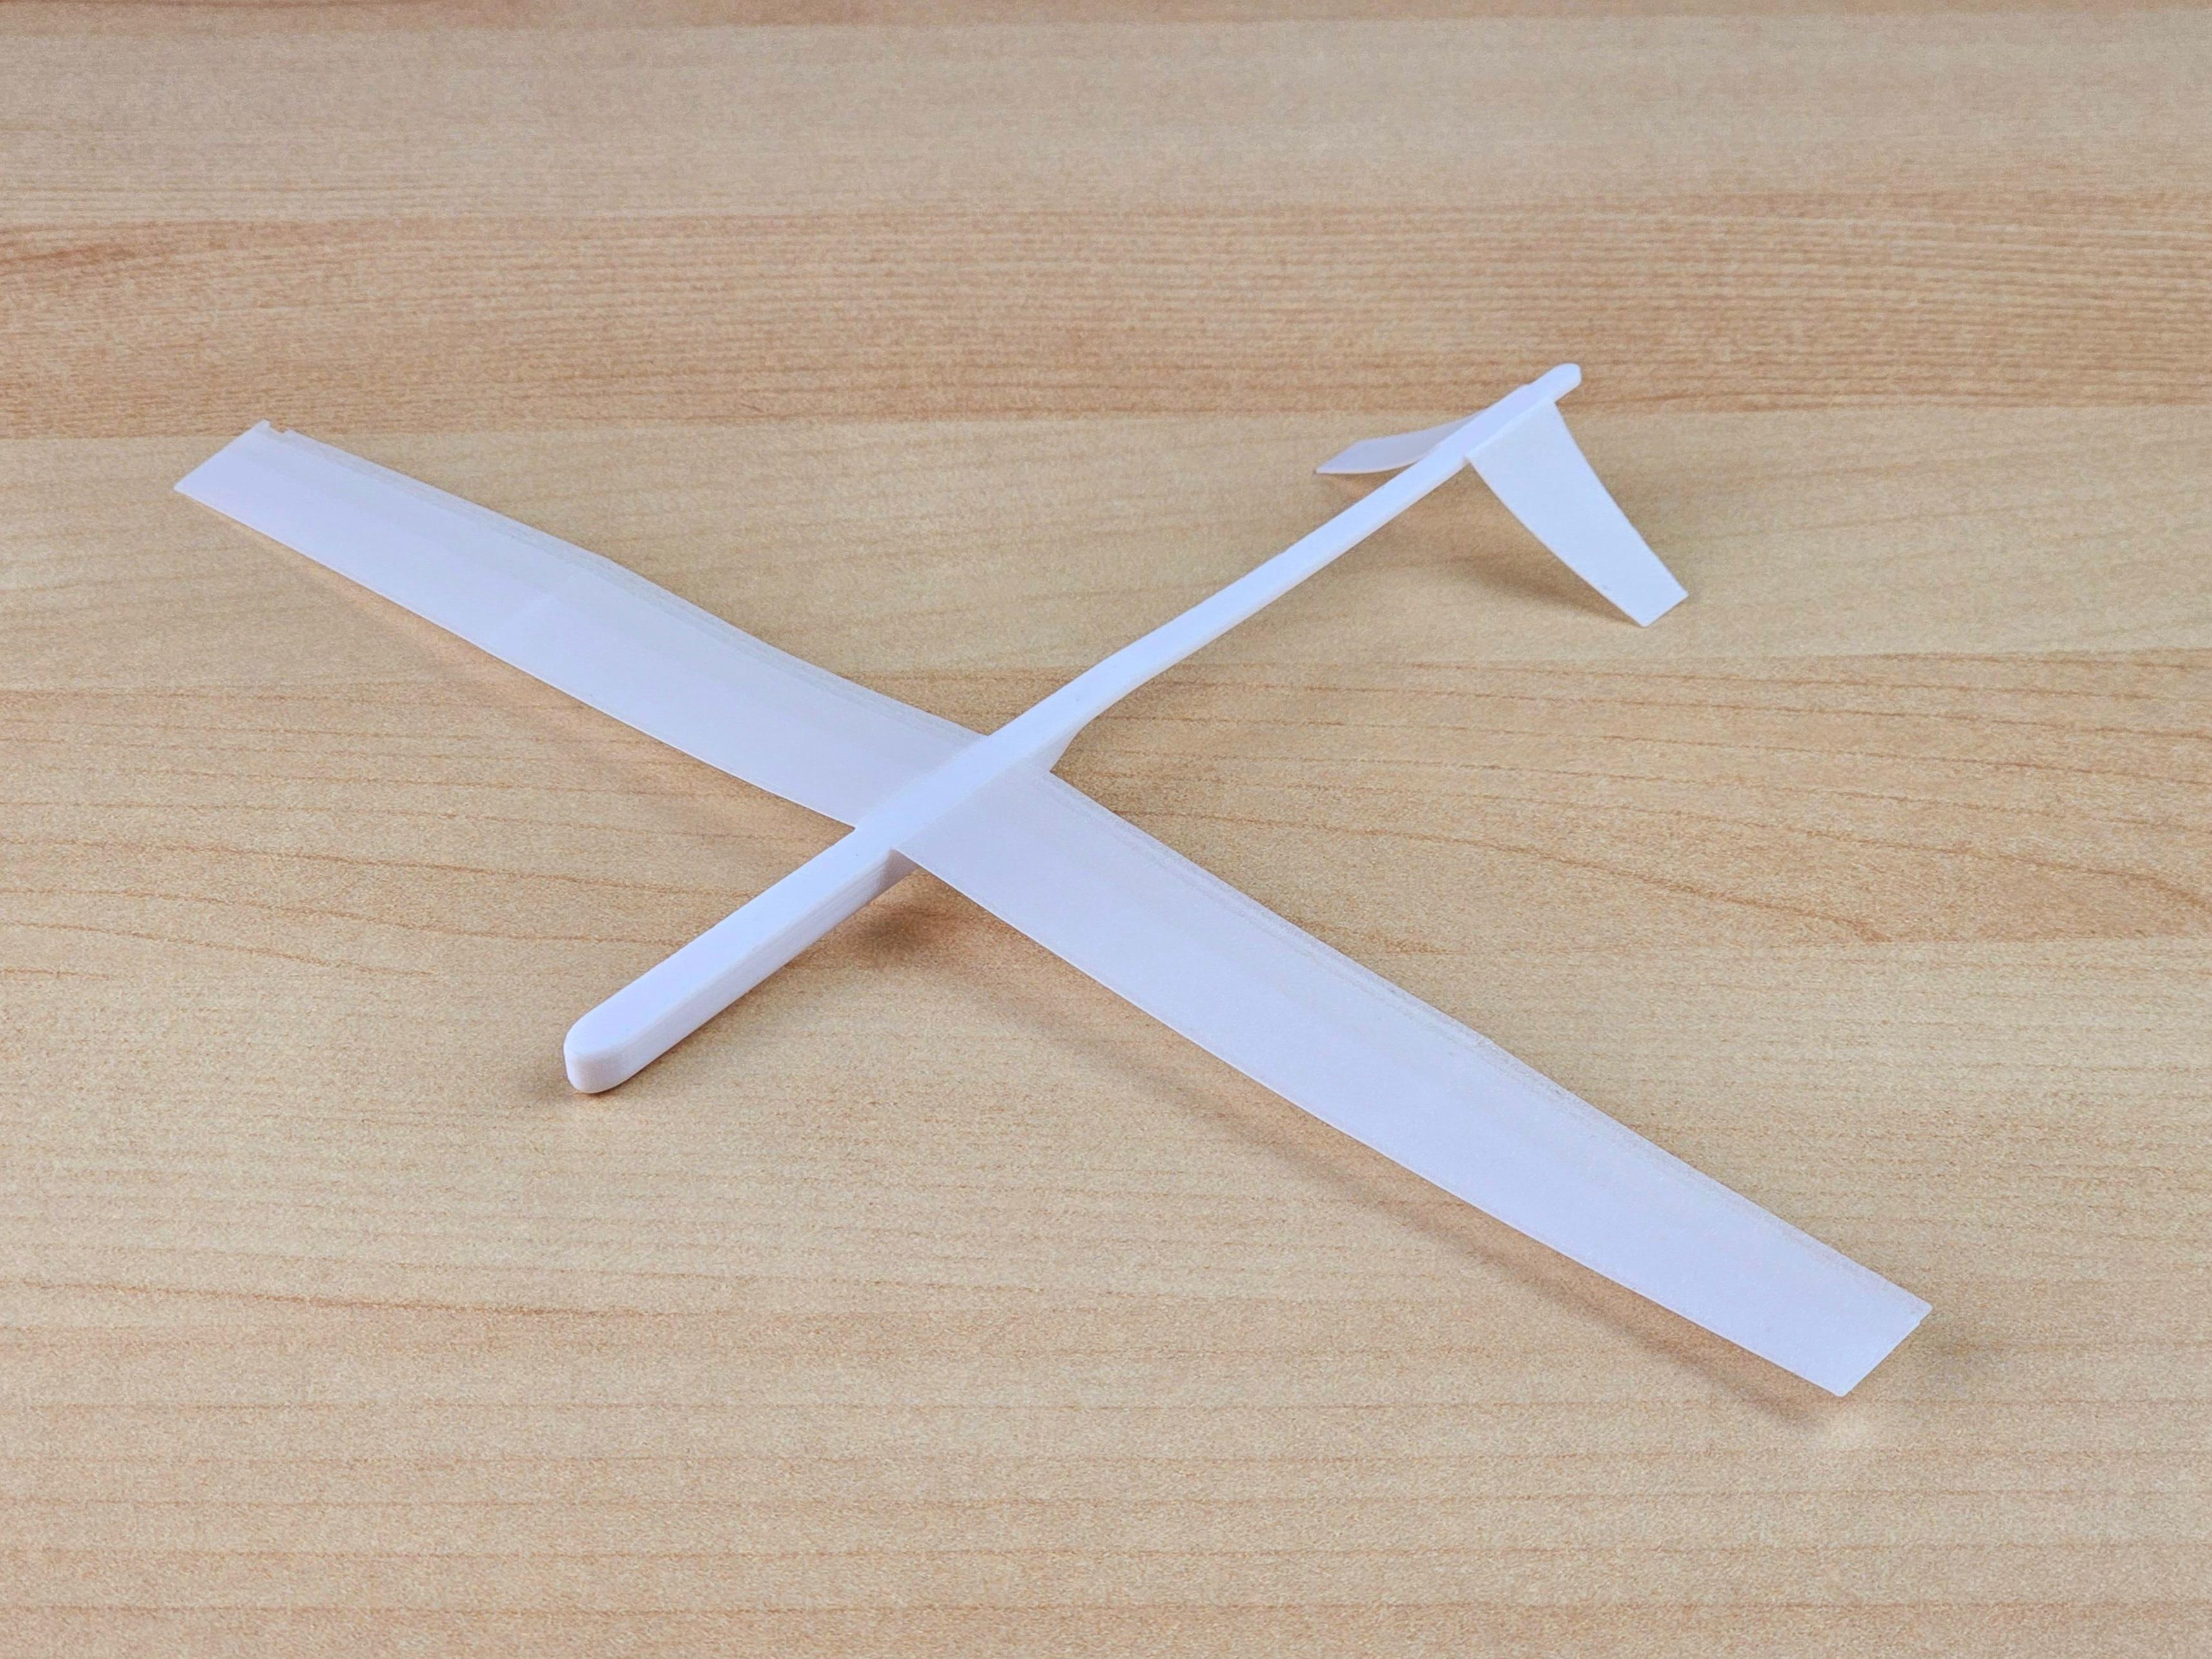
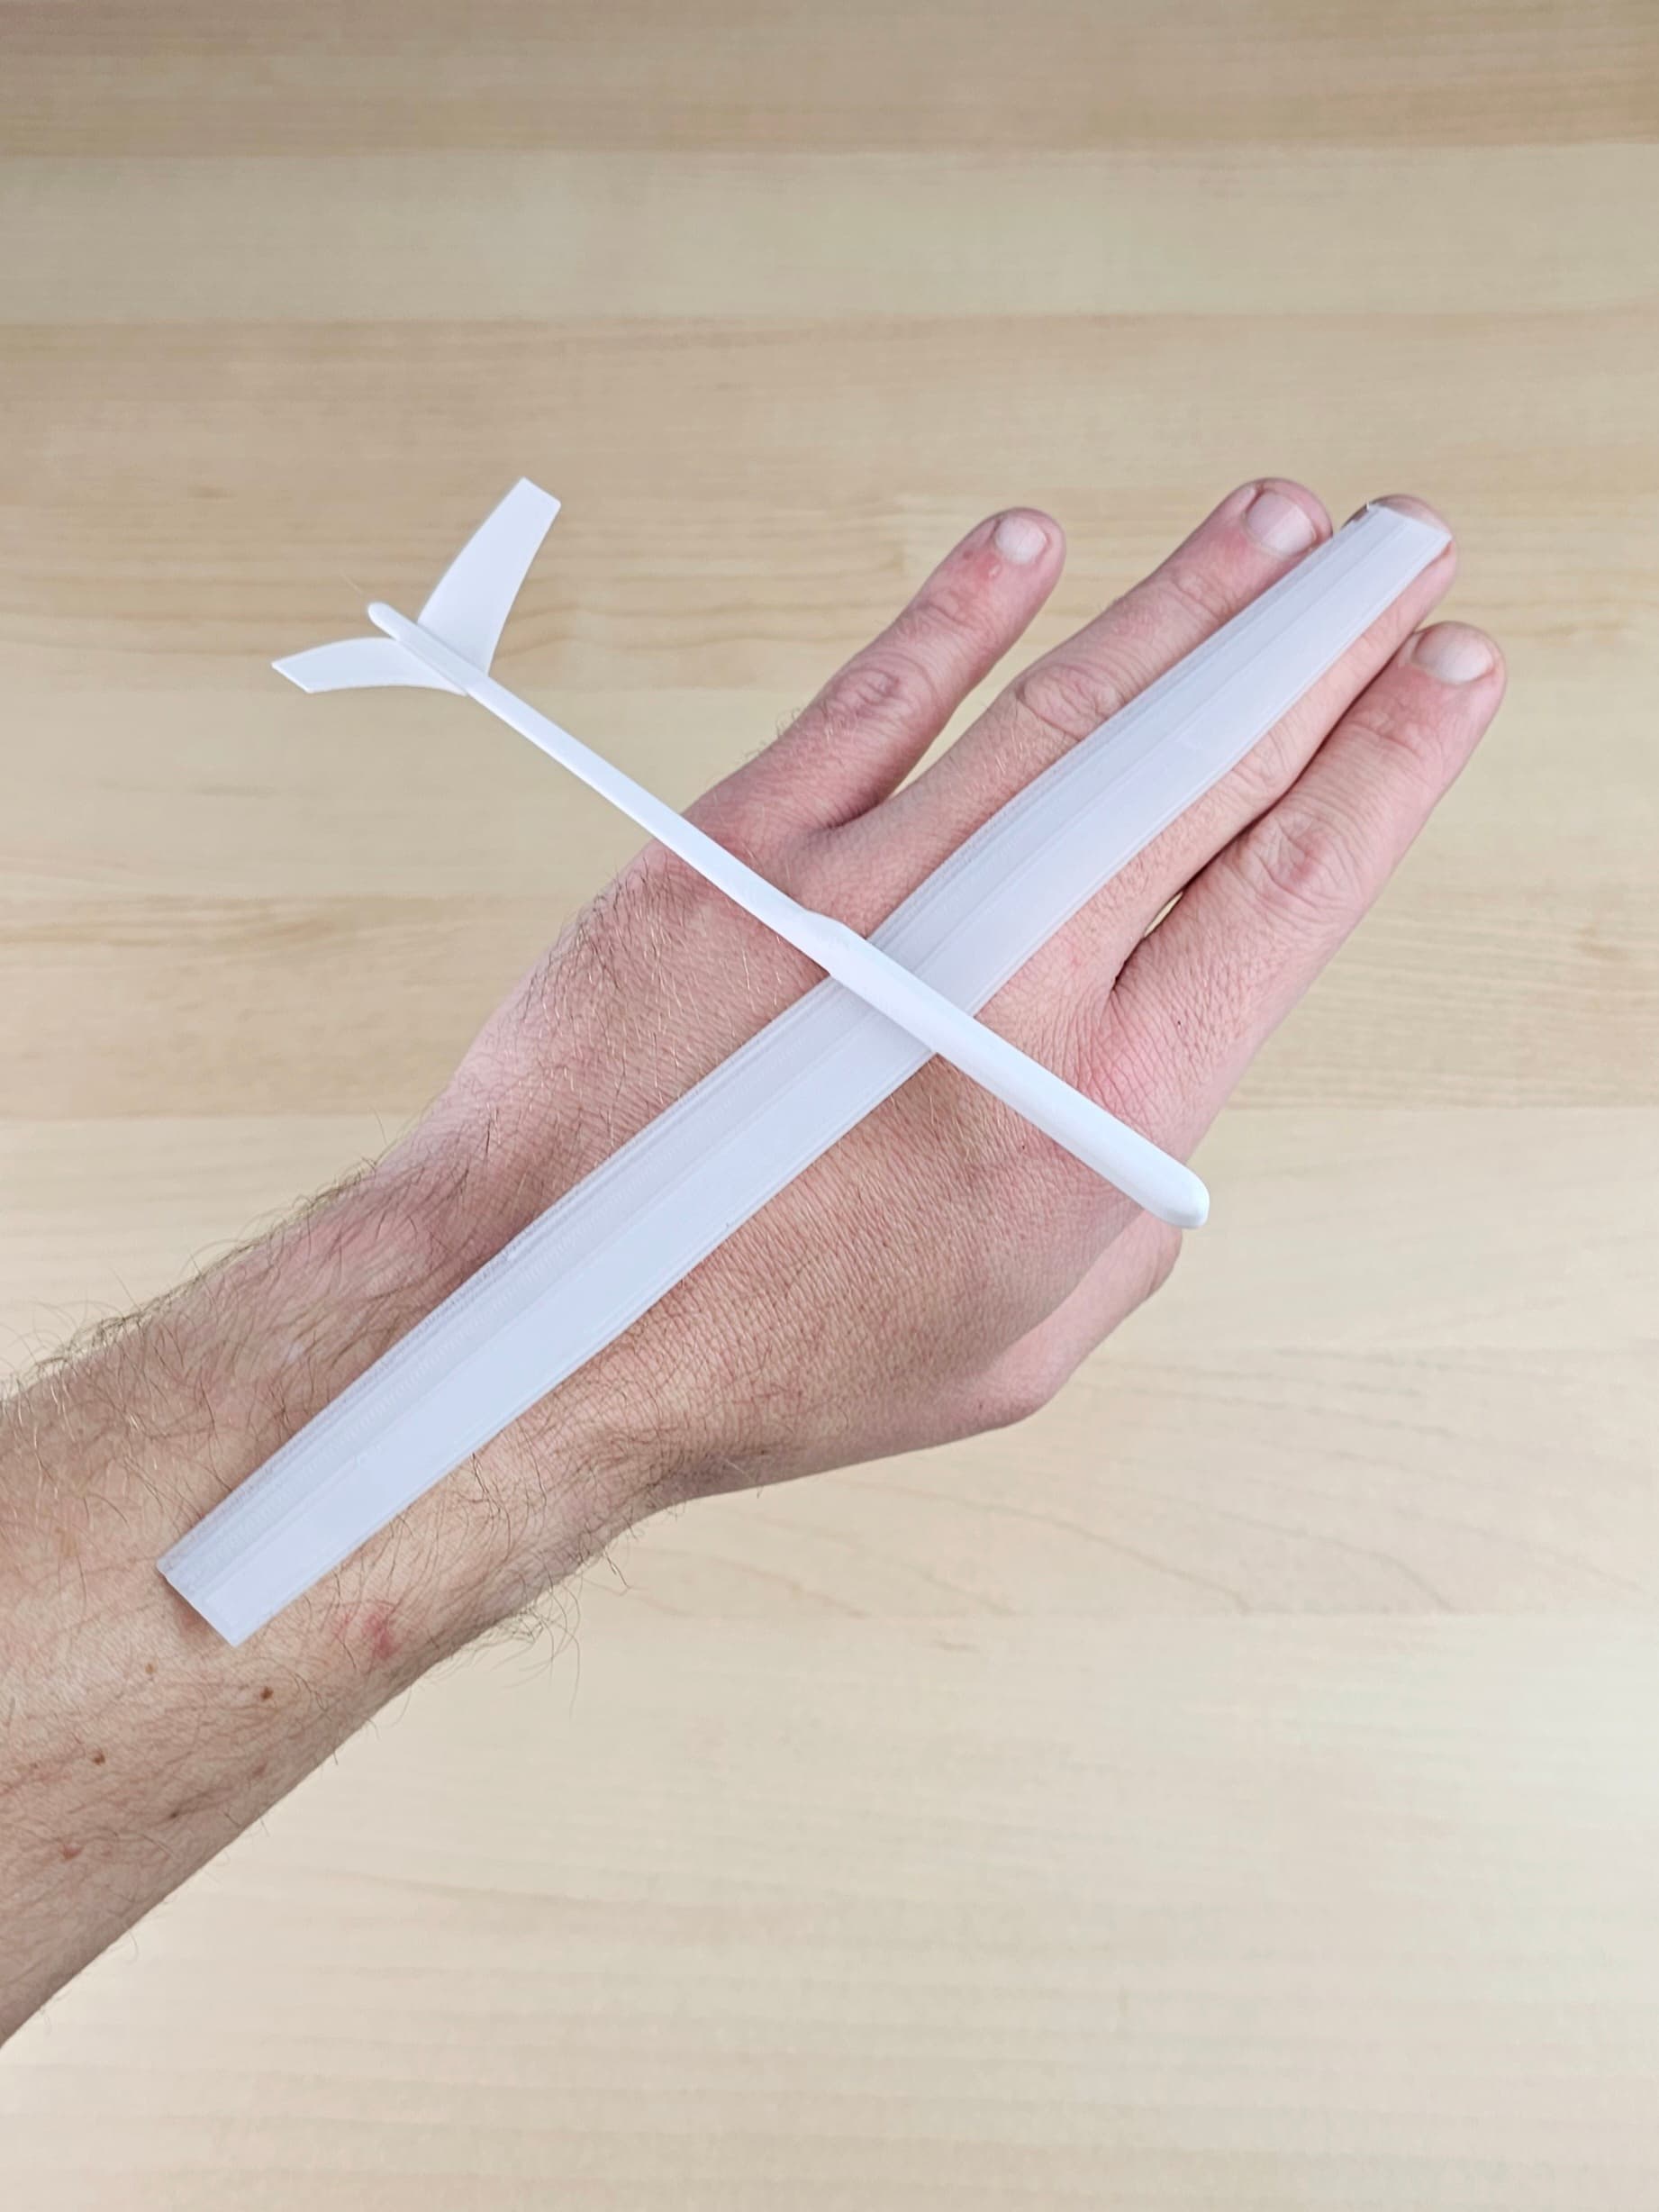
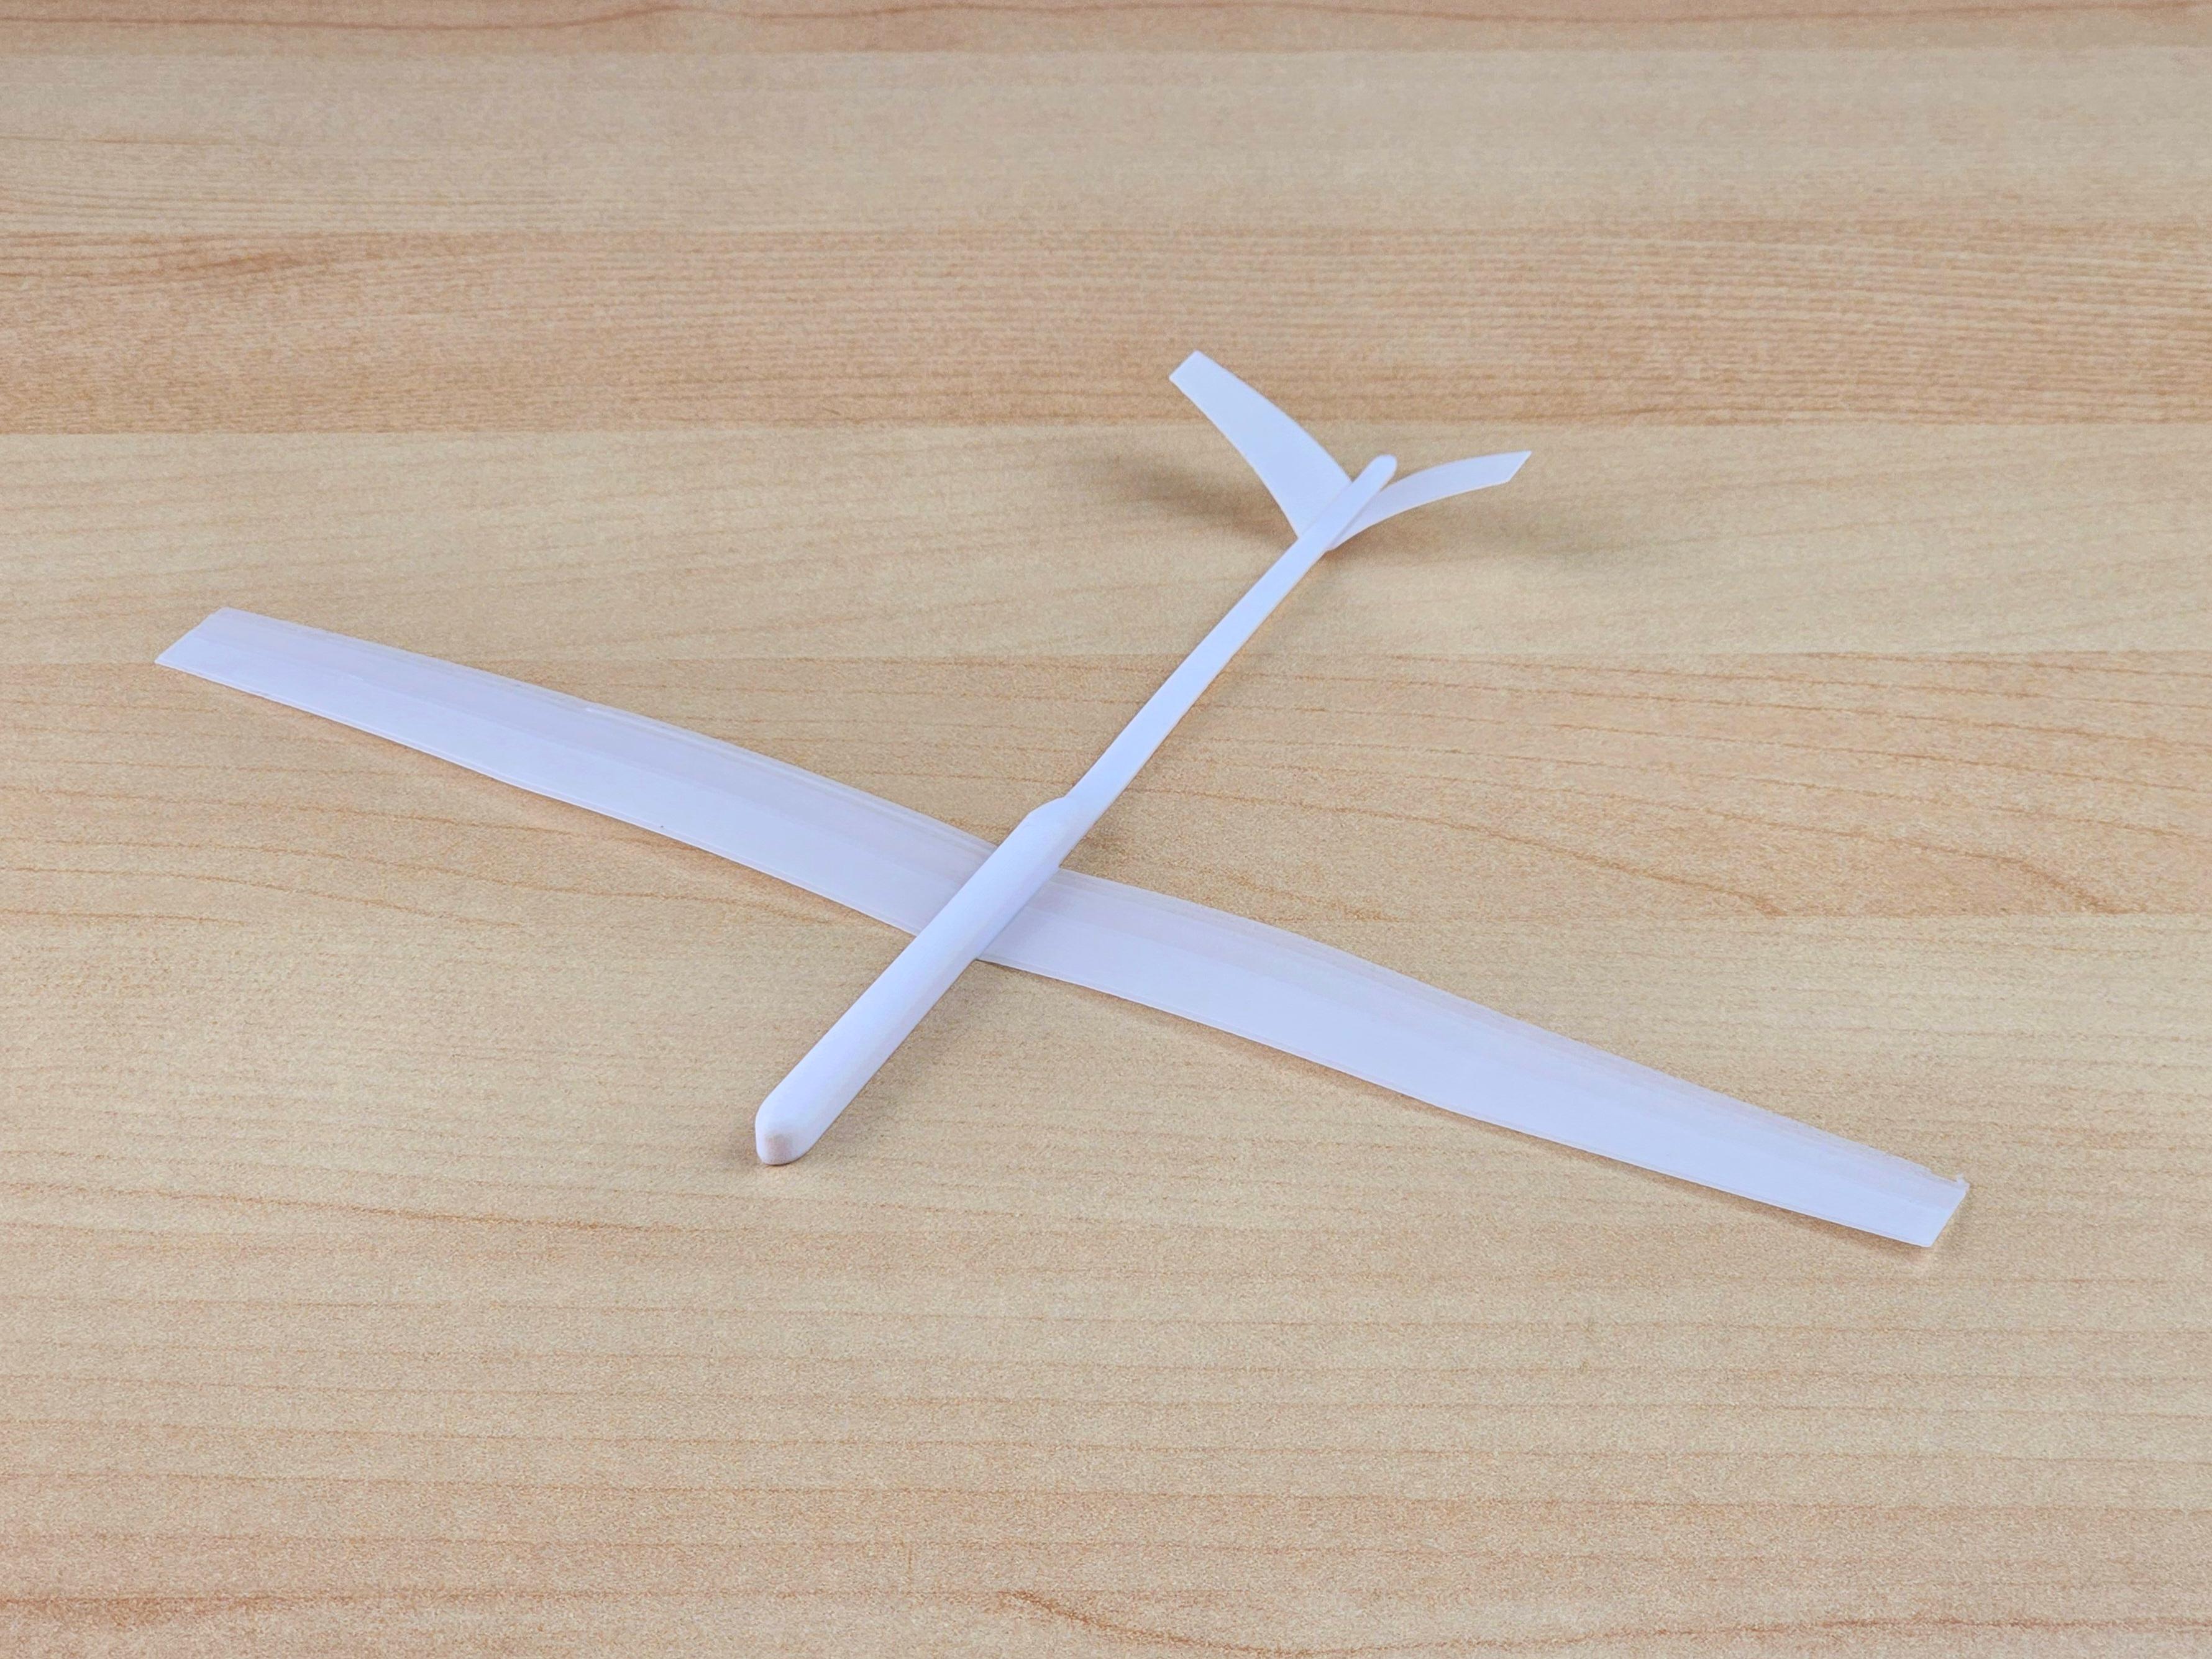
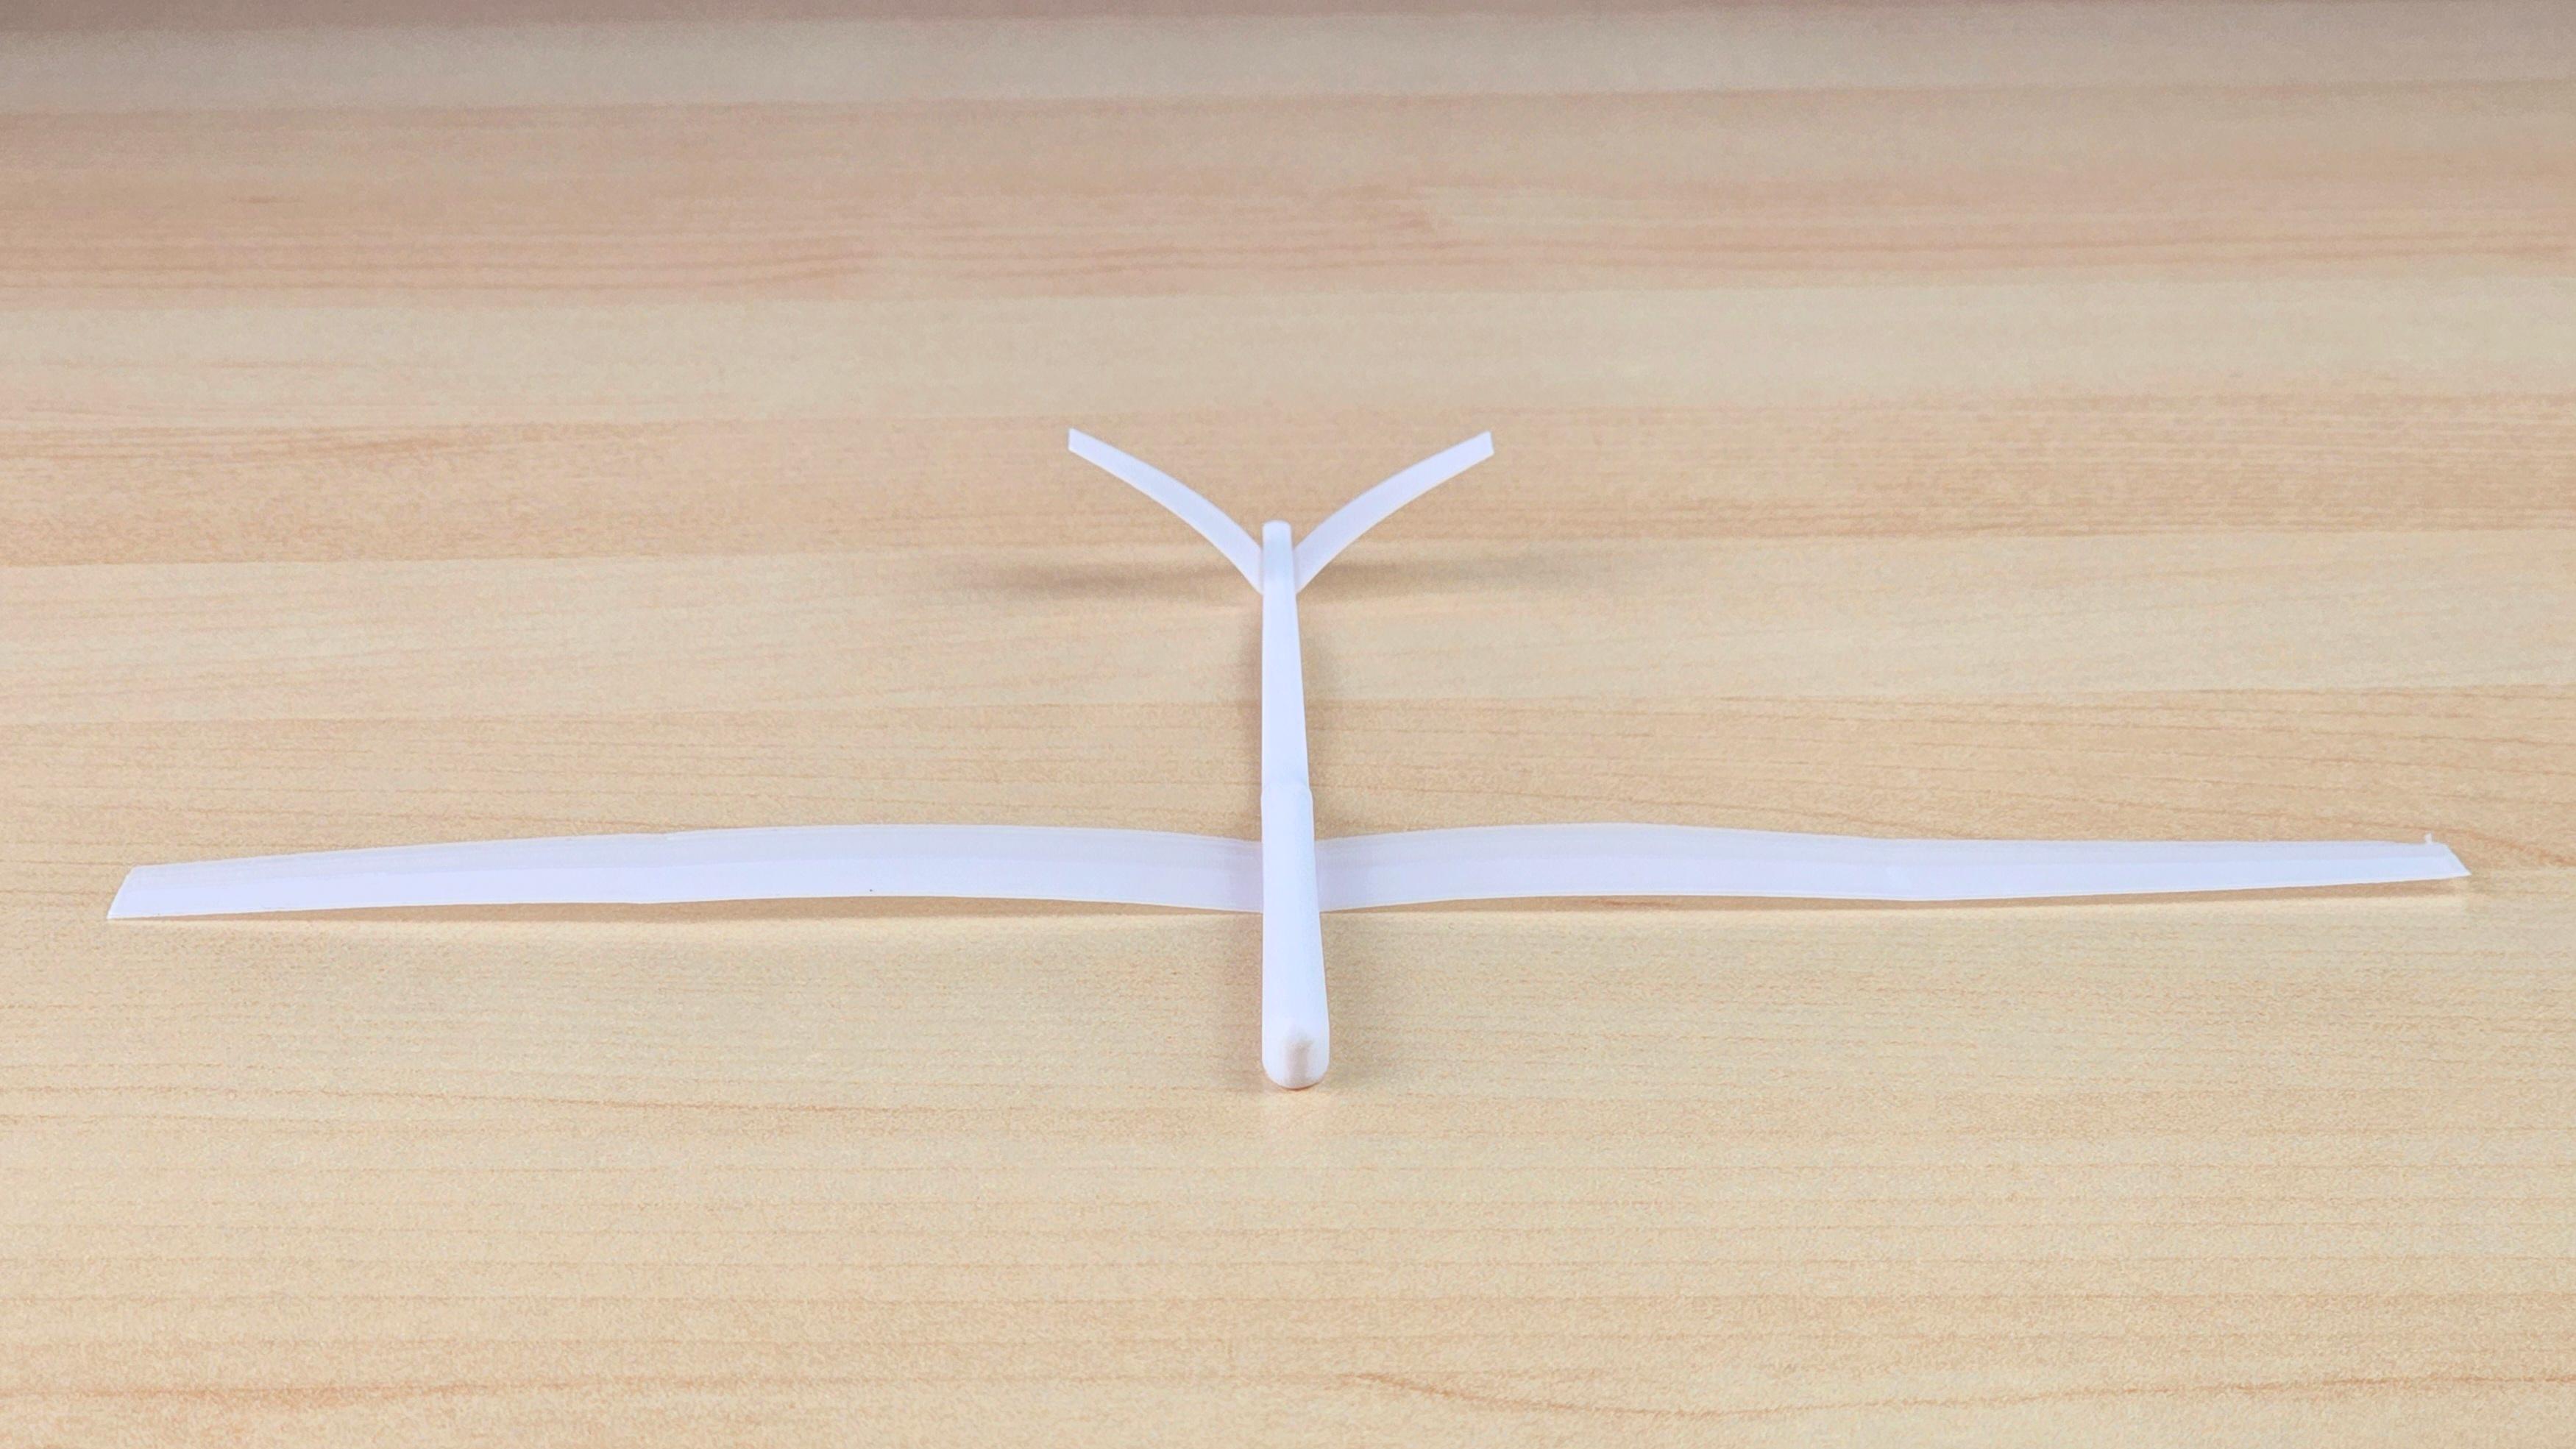
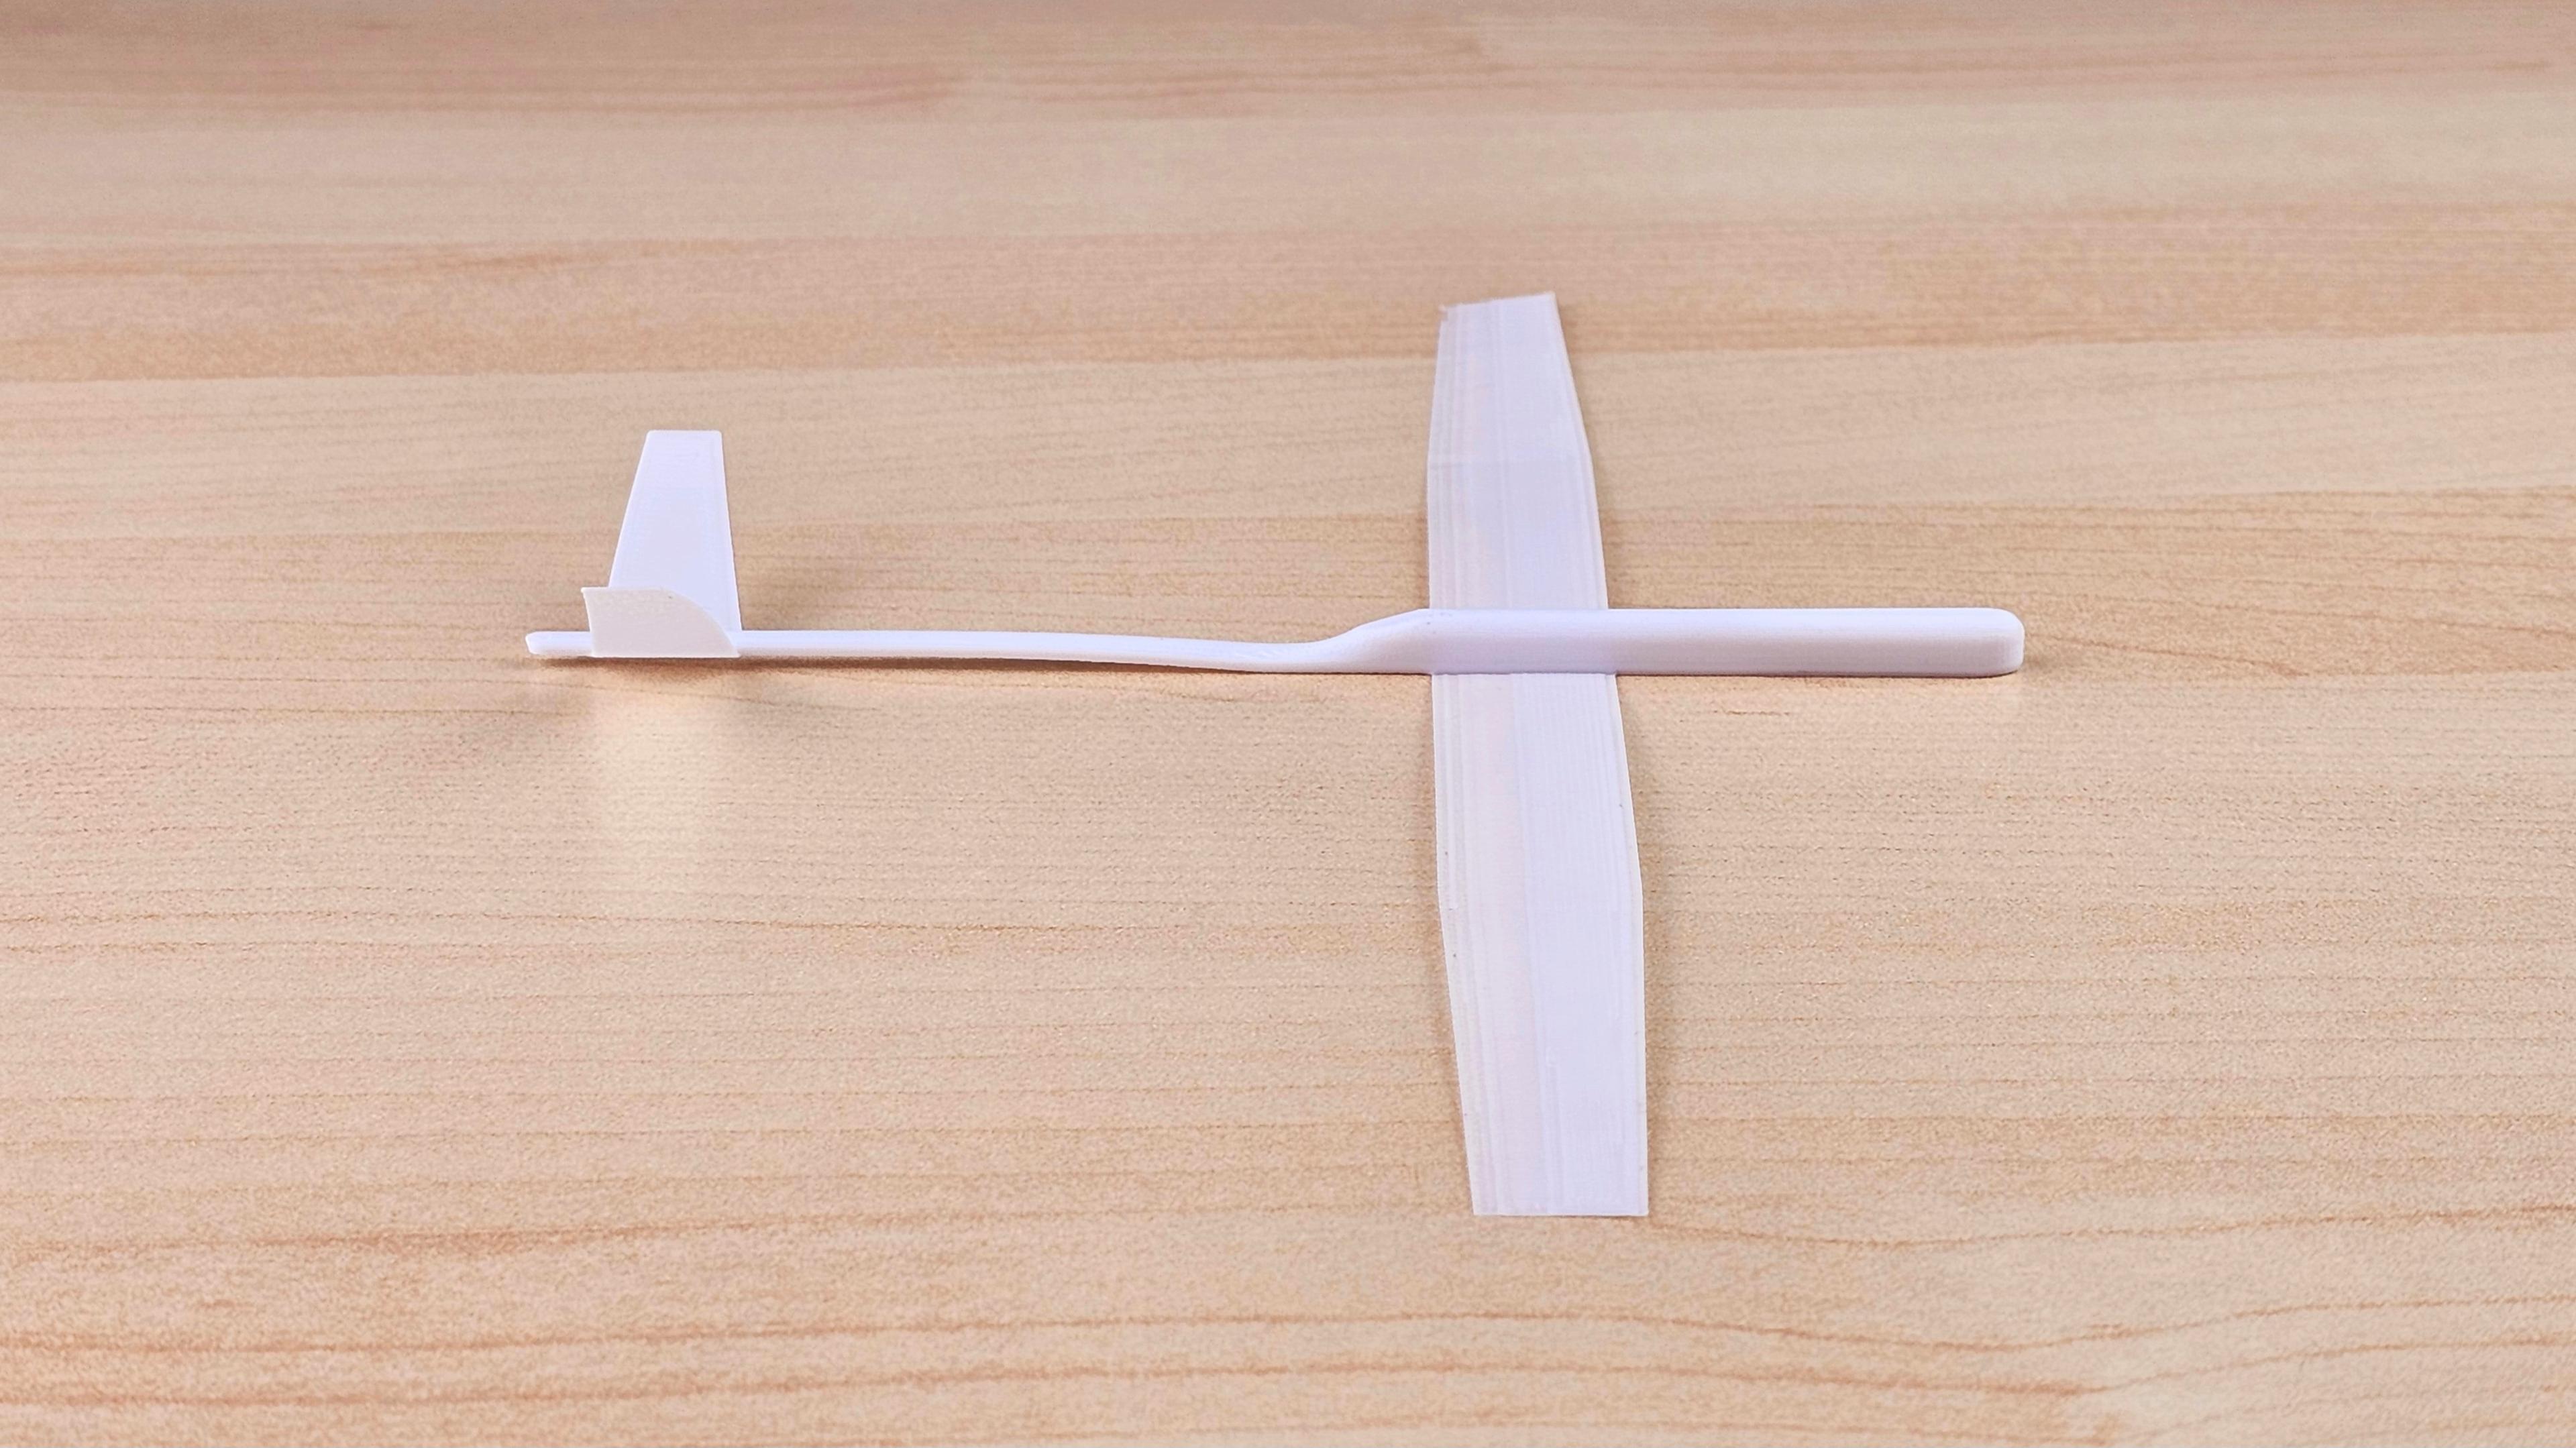
Lightweight Experimental Glider
Update Added multiple versions with different wings. Which one works best for you, depends on your printer, filament and how you throw it.
0.2 mm wings, with and without reinforced leading edge 0.24 mm wings, with and without reinforced leading edge 0.3 mm wings, with and without reinforced leading edge 0.36 mm wings without reinforced leading edge
Print Settings: Well working layer heights:
0.2mm & 0.3 mm wings:
0.05 mm , 0.1 mm
0.24 mm and 0.36 mm wings:
0.06 mm , 0.12 mm
Preparations Experimentations encouraged! You can have the wings on the top or the bottom.
Bend wings slightly upwards or to a gull shape Bend tail to a V shaped stabilizer Bend tail slightly upwards directly behind the wings.
Hand launch Grip directly behind wings and throw gently.
This one is not designed to be shot with the airplane launcher crossbow.
3D Printing Settings
Well working layer heights:
0.2mm & 0.3 mm wings:
0.05 mm , 0.1 mm
0.24 mm and 0.36 mm wings:
0.06 mm , 0.12 mm
Infill: 100% Outer Lines: Min 3 Placement: Glider is rotated 45° in z-axis so that the infill of the first layer goes along the wings. This gives some rigidity when bending the wings and stabilizers.
