Arduino Nano NeoPixel Ring Base
Model originally uploaded to Thingiverse at https://www.thingiverse.com/thing:4850151.
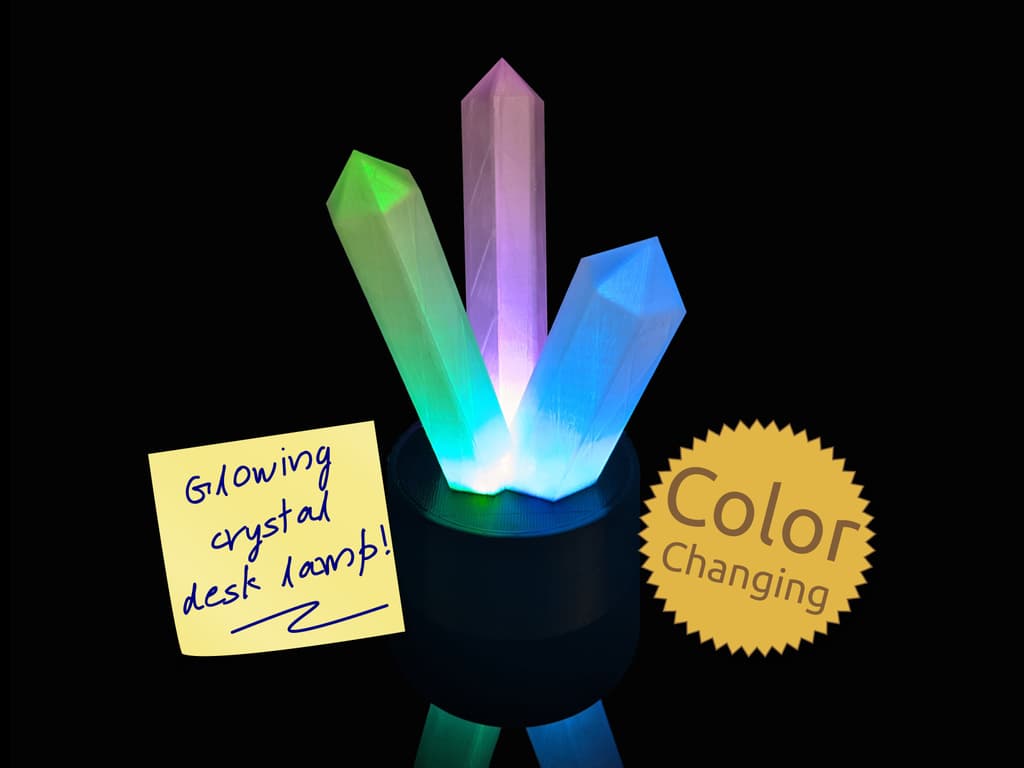
Light up your favourite display pieces with our free, 3D printable, illuminating base.
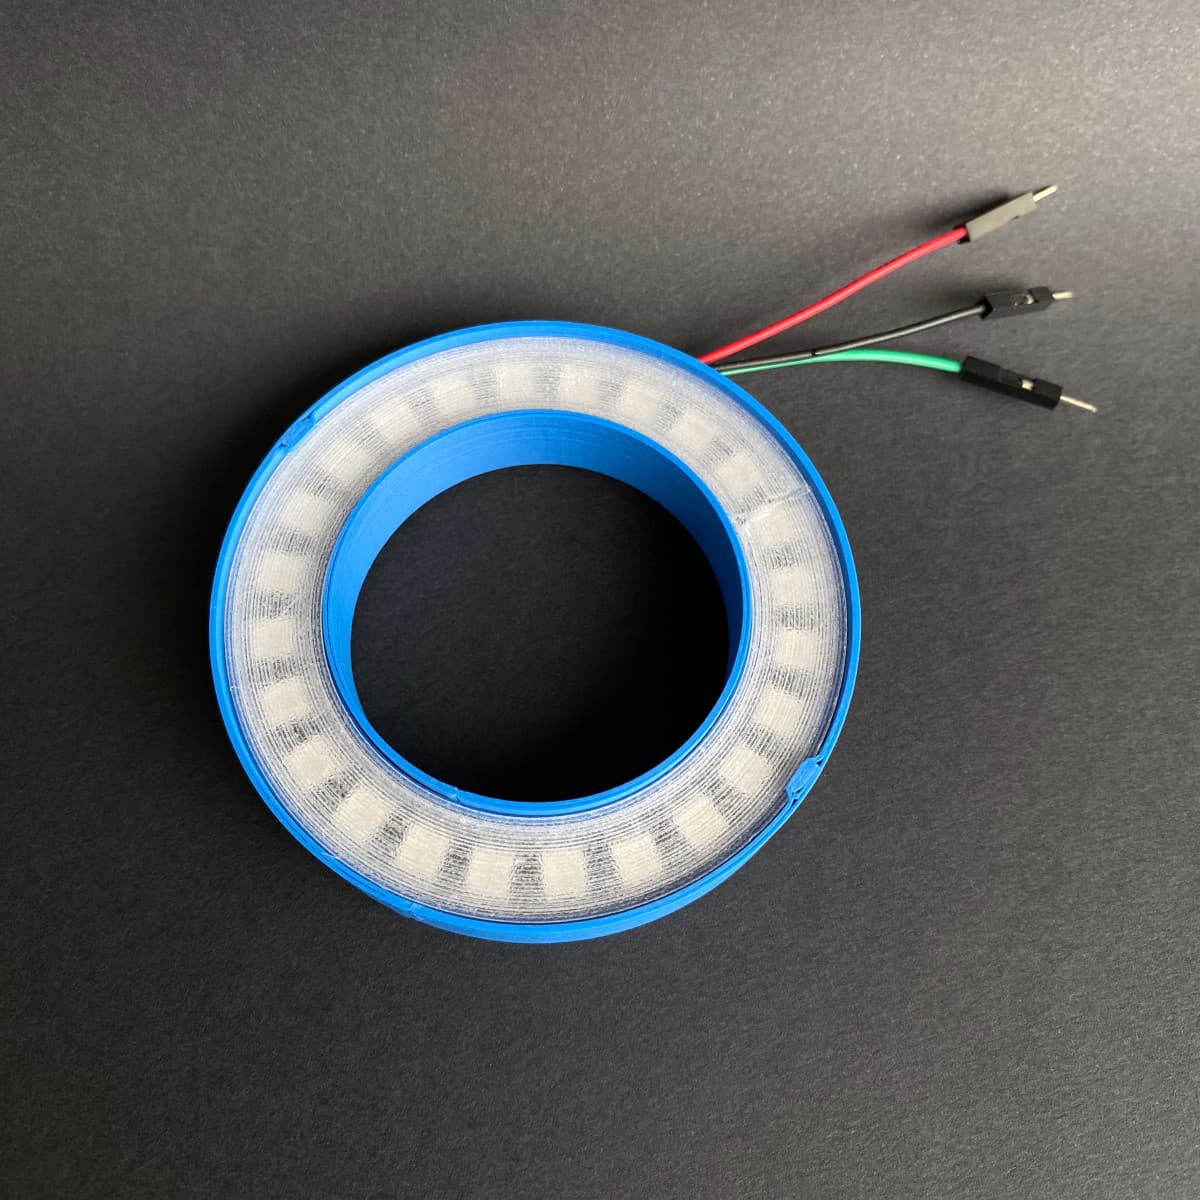
This fully customizable, design uses an Arduino Nano and a NeoPixel Ring (12, 16 or 24 LED version).
We created this to use with the Crystal Generator we released last week, but this base is perfect for illuminating any small objects from minifigures to jewellery or 3D prints.
This design is completely free and shared under a permissive license. Your support is hugely appreciated.
Did you know?Some of our designs cannot be found on Thingiverse. If you are looking for more, check out our premium projects:
https://codeandmake.com/premium
You will needYou also will need:
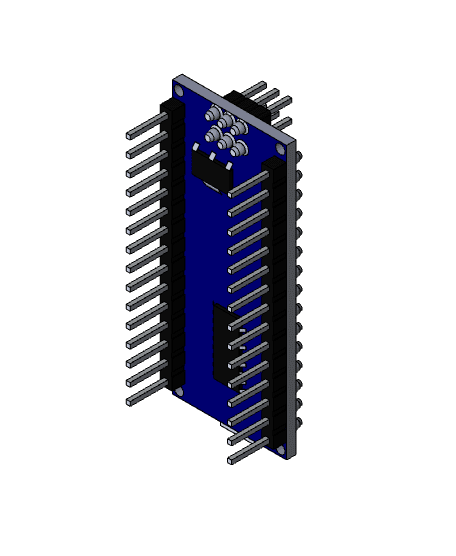
- Arduino Nano (or compatible board)
- Adafruit NeoPixel Ring - The code for this project is configured for a 12 LED RGB NeoPixel Ring, but it will work with larger NeoPixel Rings with a minor code change.
- Panel Mount 2.1mm DC barrel jack - The barrel should be ~11.5mm in diameter and ~16mm in length including the terminals
- 7-12 V mains power adapter
- 2x 15-25cm (6-10") ~26 AWG wire for power - ideally in different colors (e.g. red and black)
- 1x 7.5-12.5cm (3-5") ~26 AWG wire for signal - ideally in different a different color to the power wires (e.g. white)
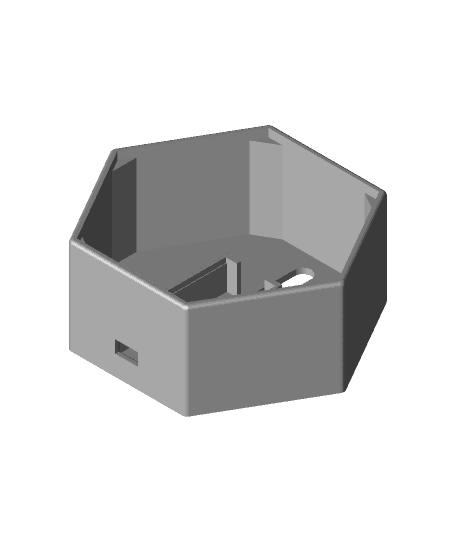
This design has the following Customizer options:
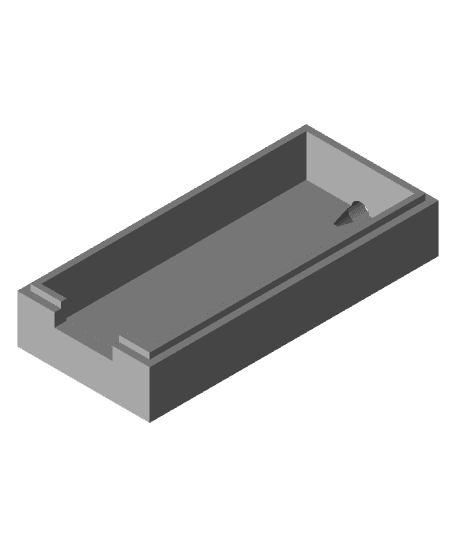
General- Part - Base, Insert or Diffuser?
- Material_Thickness - The thickness of the material
- Opening_Diameter - The diameter of the top opening
- Opening_Depth - The depth of the top opening
- Arduino_Nano_Padding - How much of a gap to add to the outside of the Arduino Nano
- Hollow - Make the base mostly hollow?
- Insert_Padding - How much to remove from the outside of the insert
- NeoPixel - The type of NeoPixel
- NeoPixel_Wire_Hole_Diameter - The diameter of the wire holes for the NeoPixel
- NeoPixel_Outer_Padding - How much of a gap to add to the outside of the NeoPixel recess
- Diffuser_Padding - How much to remove from the outside of the diffuser
- Diffuser_Thickness - The thickness of the diffuser
If you are using this project for internal illumination (i.e. for illuminating an object from the inside), use a NeoPixel Ring that has a smaller diameter than the object you are illuminating.
If you are using this project for external illumination (i.e. for illuminating an object from the outside), use a NeoPixel Ring that has a larger diameter than the object you are illuminating.
Note that the NeoPixel Rings tend to arrive with the remains of perforated 'tags' on a couple of the sides. It may be necessary to file them off.
Cloned HardwareThis project is intended for an original Adafruit NeoPixel Ring and original Arduino Nano (without any pin headers). If you use cloned hardware, be sure to check the dimensions and pin hole layouts match the original hardware.
This design expects your hardware to have the following dimensions:
- 12 LED RGB NeoPixel Ring: 37mm diameter, 3.5 high
- 16 LED RGB NeoPixel Ring: 44.5mm diameter, 3.5 high
- 24 LED RGB NeoPixel Ring: 66mm diameter, 3.5 high
- Arduino Nano: 45mm long, 18mm wide, 8mm high
If the hardware is marginally larger, you can use the NeoPixel_Outer_Padding and Arduino_Nano_Padding settings to compensate.
MaterialThis design is perfect for printing in most filaments. Use a light or clear/translucent filament for the diffuser (if you are using one).
CodeThe code (.ino) for this project is configured for a 12 LED NeoPixel Ring. It randomly fades 6 LEDs in and out, using green, blue and pink colors. If you are using a 16 LED or 24 LED NeoPixel Ring, simply change the LED_COUNT to 16 or 24 accordingly.
Each NeoPixel LED can draw up to 60 milliamps (worst case) and the Arduino Nano can comfortably power 6 NeoPixel LEDs. Adjusting the LED_COUNT will not increase the number of simultaneously lit LEDs above 6. We do not recommend exceeding 6 without also adjusting the wiring to provide power to the NeoPixel Ring via alternate means and/or adjusting the code to draw less current.
DependenciesThe code for this project has a dependency on another library. We recommend installing the dependency through the Arduino IDE's Library Manager, which can be accessed via: 'Tools > Manage Libraries...'. Simply search for the following library and install it:
UploadBefore constructing this project, you should upload the code (.ino) to your Arduino.
If you haven't already, install Arduino IDE and configure it ready to program your Arduino.
Please see our tutorial for installing the Arduino IDE in Ubuntu and configuring it for an Arduino Uno. The steps will be similar for other operating systems.
Remember to select 'Arduino Nano' under 'Tools > Board'.
<iframe width="560" height="315" src="https://www.youtube.com/embed/S8TPJp_BgHc" frameborder="0" allow="accelerometer; autoplay; encrypted-media; gyroscope; picture-in-picture" allowfullscreen></iframe> AssemblyPlease use this diagram as a reference:
Note: It should not be necessary to use a resistor or capacitor, however, they may be required if using cloned hardware or alternate wiring. If in doubt, you can add them without adversely affecting the project. See the Adafruit NeoPixel Überguide for details.
- Take half of your power wire (2x 7.5-12.5cm (3-5") lengths) and solder them to the 2.1mm jack socket. The jack's center pin is usually positive (+ve), but it depends on the mains adapter, so be sure to check the polarity using a multimeter.
- Insert the jack socket into the base and secure with the nut that came with the socket. If you cannot secure with a nut, use some hot glue instead.
- Solder power and signal wire (3x 7.5-12.5cm (3-5") lengths) to the PWR, GND and IN terminals of the NeoPixel Ring.
- Thread the 3x NeoPixel Ring wires through the 3D printed insert part and solder them to the Arduino Nano's 5V, GND and D6 terminals accordingly. Note that the Arduino Nano has LEDs which could affect your display. As such, you may wish to solder the wires to the Arduino Nano, such that the Arduino Nano's LEDs will be facing downwards.
- Solder the 2.1mm jack socket wires to the Arduino Nano's GND and VIN terminals accordingly.
- Apply power via the 2.1mm jack socket to ensure it works. If not, check your soldering.
- Slot the Arduino Nano into the recess in the base. If desired you can secure it in place with a sticky pad or some hot glue.
- Push the insert into place.
- Lower the NeoPixel Ring into place, ensuring to route the wires through the slots in insert.
- If you are using a diffuser, place it on top of the insert.
- 1.0 (5 May 2021) - Initial version
Recommended slicer settings:
- Resolution: 0.1mm - 0.2mm
- Infill: 20% - 100% depending how durable you'd like it to be.
- Supports: Not required.
- Rafts: Not required, unless you experience adhesion issues.
The "Arduino Nano NeoPixel Ring Base" models (.stl) are licensed under the CC BY license by Code and Make.
The "Arduino Nano NeoPixel Ring Base" code (.scad and .ino) is licensed under The MIT License by Code and Make.
Note: 'BSD' license has been selected as it is the closest available option in the list.
We are proud to offer content to you absolutely free.We love to create free content for you. As you might imagine, it takes a lot of time. Supporters help us fund materials and equipment to create future projects and tutorials. To show your appreciation, please use the link below:
https://codeandmake.com/support
We thank you so much for your support!
Arduino Nano NeoPixel Ring Base
Illuminated Crystal Lamp
Vase with hidden LED ring
Arduino Nano
Portal Gun with Arduino Nano Mount
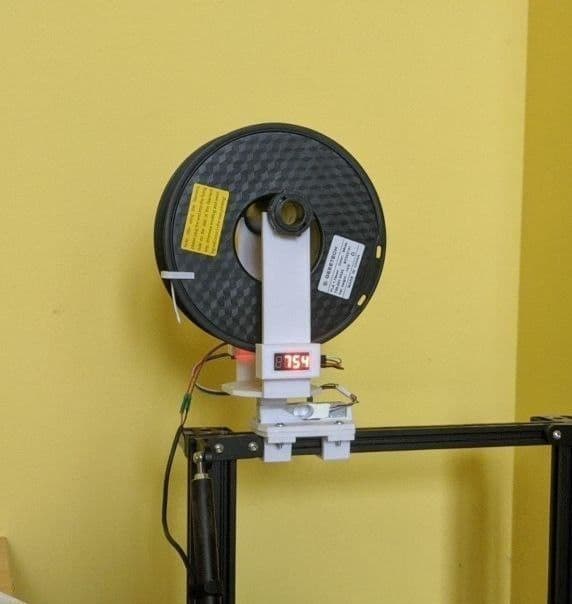
Arduino based spool holder with weight sensor free 3D print model

US size ring bases
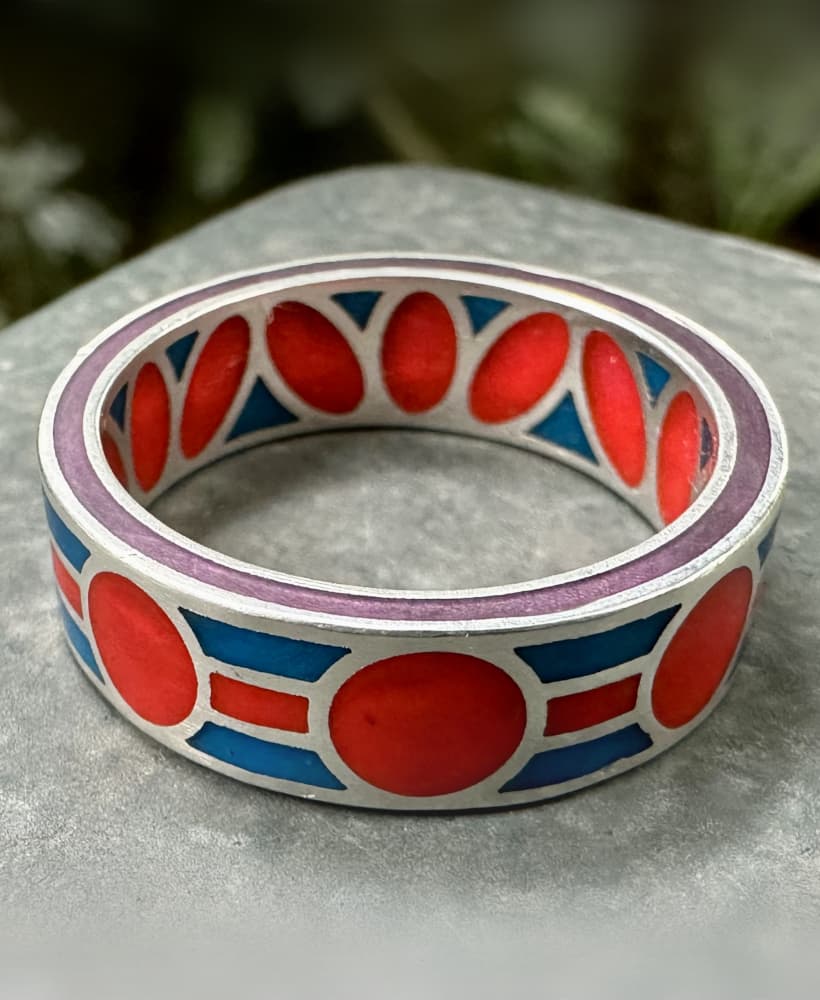
Pomegranate Enamel Ring Base
arduino nano case .stl

DIY Wireless RC Head Tracker Enclosure – Arduino Nano BLE 33 Case
FPV Head Tracker Case for Arduino Nano BLE 33
Arduino Nano + OLED Display Module Box
Arduino nano
Arduino Nano Anyboard Holder
NeoPixel ring case (24 LEDs, 73mm outer diameter)

Hackerbox 0126 Turing Ring Base

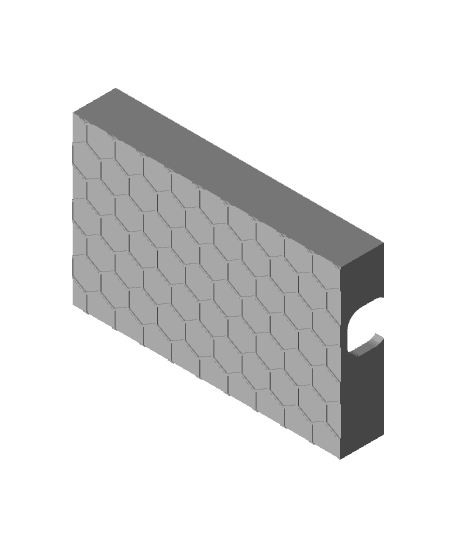
Ancient Wall and Ring Base Pack (8pcs) - Round and Square Versions
Arduino Nano in line wire Case
CHEPINO-Arduino Base

Hollow clock v5 - with Arduino Nano