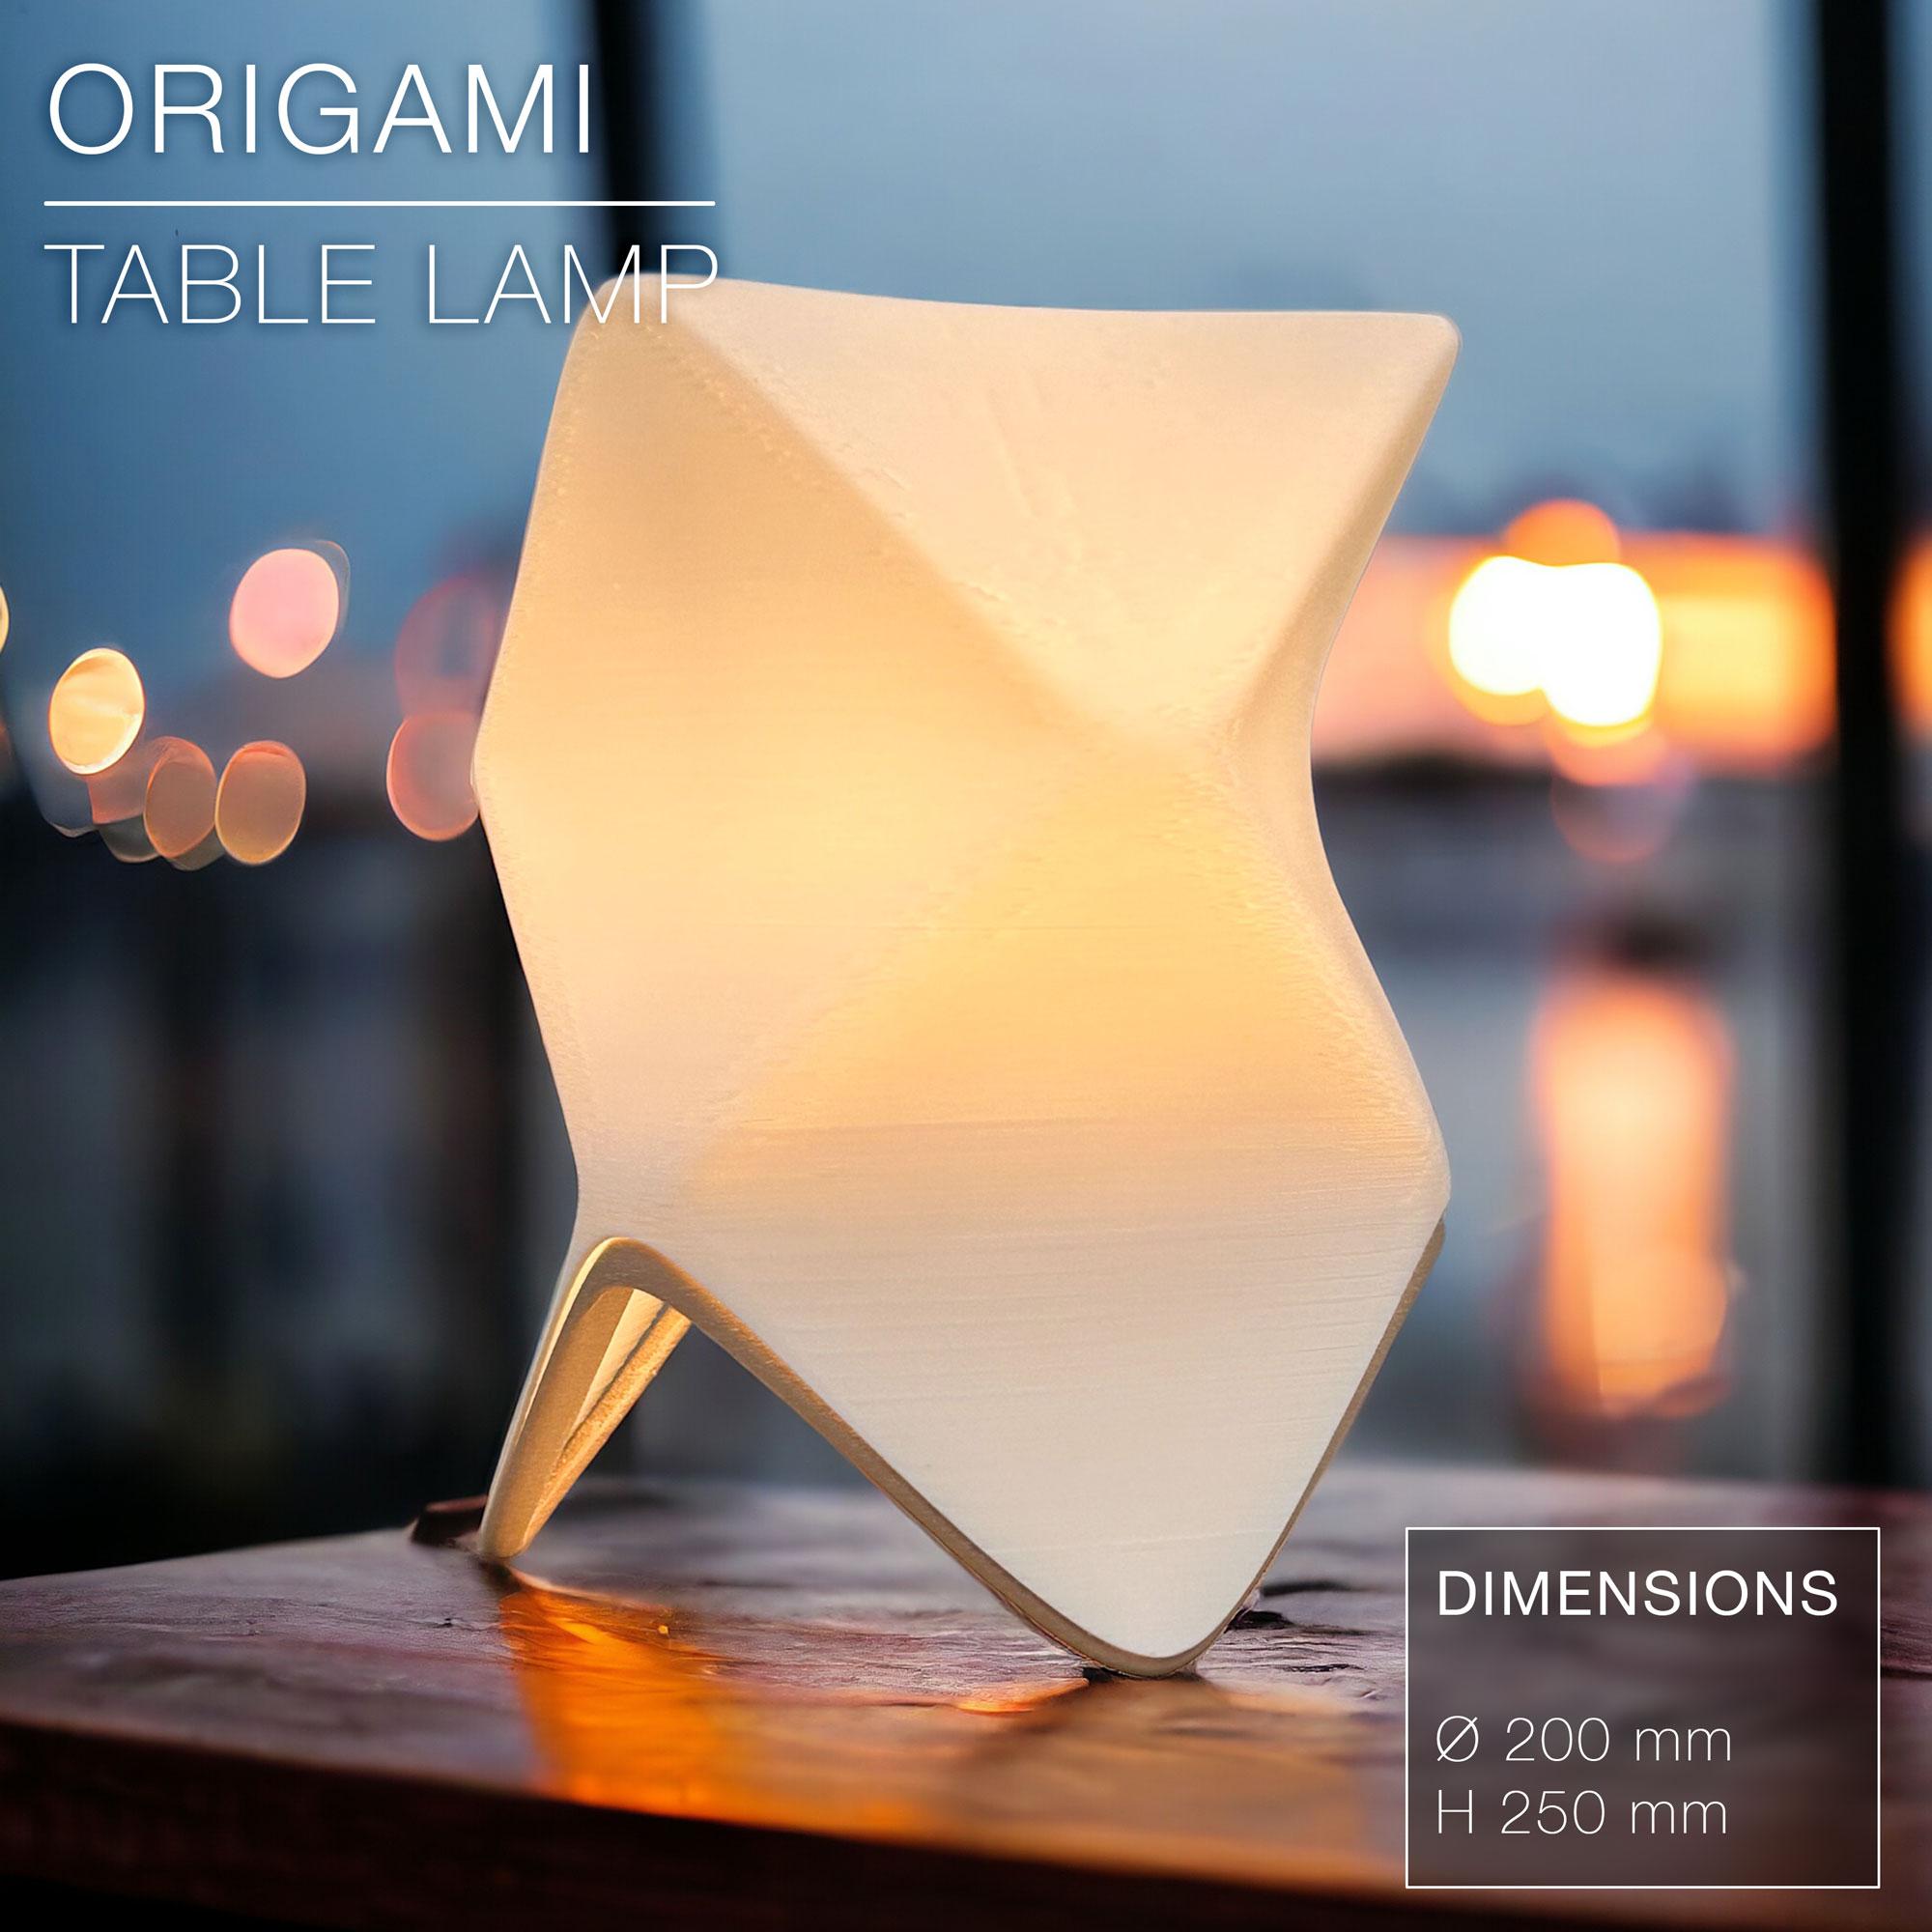
ORIGAMI | Table Lamp E14, E26, E27
ORIGAMI | Table Lamp E14, E26, E27
Want to buy a physical 3D print of this product? Head to Trajann online store.
Meet ORIGAMI, a table lamp for E14, E26 and E27 bulbe sockets. The shade sits on ("clips on" actually) a very sleek hexagonal tripod.
You can use this lamp either freestanding, or mount it on a table lamp rod. (the one on the pictures is from IKEA).
This lamp works for E27, E26 and E14 socket screws. There are two versions of the base/stand STL: one for E14 type, the other for E26/E27 types.
You can get the power cords from Amazon here: For Europe: E27 cord: https://amzn.to/3OVrZjK E14 cord: https://amzn.to/3TchBqs For the US: E26/E27 cord: https://amzn.to/3V5VYJB
For the US: E26/E27 cord: https://amzn.to/48BZxdI
Happy printing!
DIMENSIONS | Ø200 mm x H 250 mm Lightbulb socket hole diameters: E14: Ø28mm E27: Ø41mm
PRINTING | Shade ~4.5h | Stand ~2.5h
Bulbe socket | E14
3D PRINTING SETTINGS Both the shade and stand print upside-down (STL files already oriented properly).
SHADE: The shade prints in standard mode, not vase mode. It's quite a tricky print so it's highly recommended to add some “fuzzy skin”. (fuzzy skin thickness: 0.1mm ; fuzzy skin point distance: 0.6mm) Wall line count: 2 Top layers: 2 Bottom layers: 3 Resolution: 0.2mm Build adhesion type: Brim ~6mm Supports: None Infill: None (0%)
BASE/STAND: The base must be printed upside-down, so with the round face for the E14 socket flat on the printing bed. Infill: 15 to 20% Wall line count: 2 Top layers: 4 to 5 Bottom layers: 3 Resolution: 0.2mm Build adhesion type: None (or a 5mm brim if you want to make sure it won't move when building the legs up) Supports: None


