Profile Image
CM Design
CM Design

CM Design

I am an industrial designer who graduated in 2020. I am very passionate about designing, 3D modeling, and 3D printing.

Follow

Select a membership plan

Commercial License
$10.00
/ month

With this membership you will get access to all of my premium models. It also gives you the ability to print and sell all of my designs. The commercial license does not permit you to sell my files.

$10.00
/ month

This membership gives you access to all of my "fun" models including my premium Printer Pals. It also gives you access to all of my "functional" models this includes premium organizers, containers, and other models.

Be a Pal!
$10.00
/ month

This membership gives you access to all of my premium Printer Pals!

Corey M

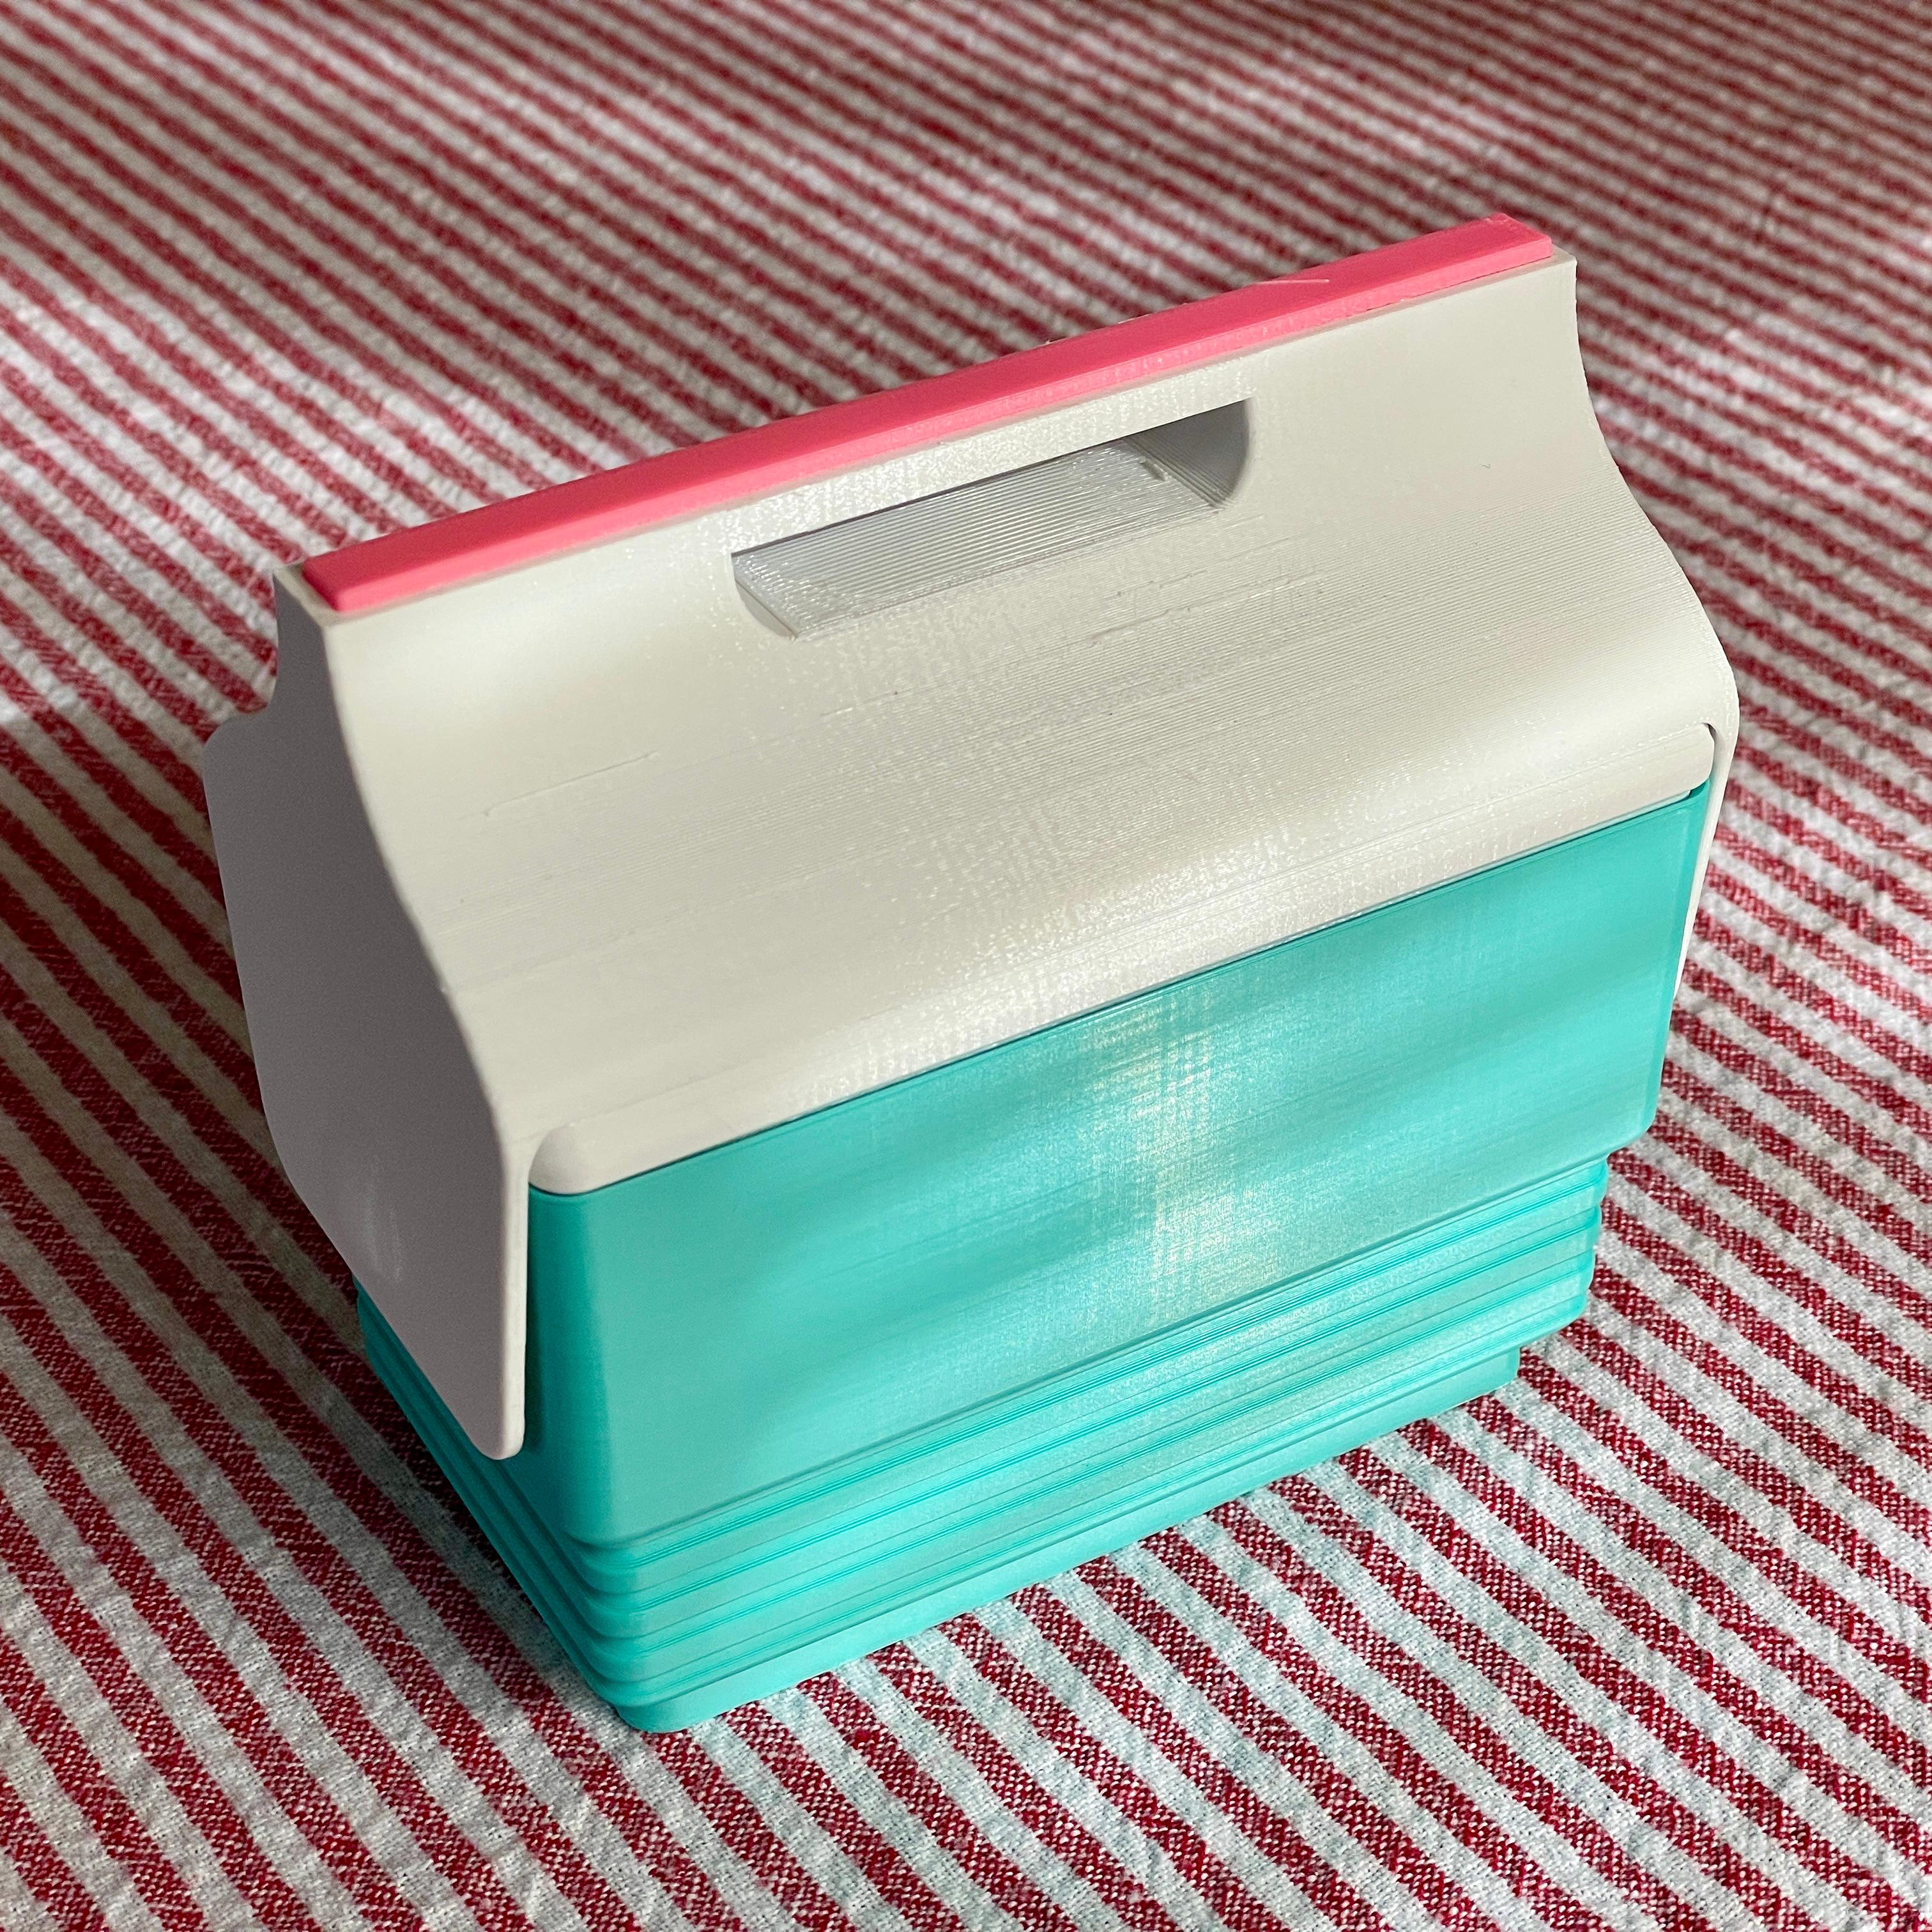
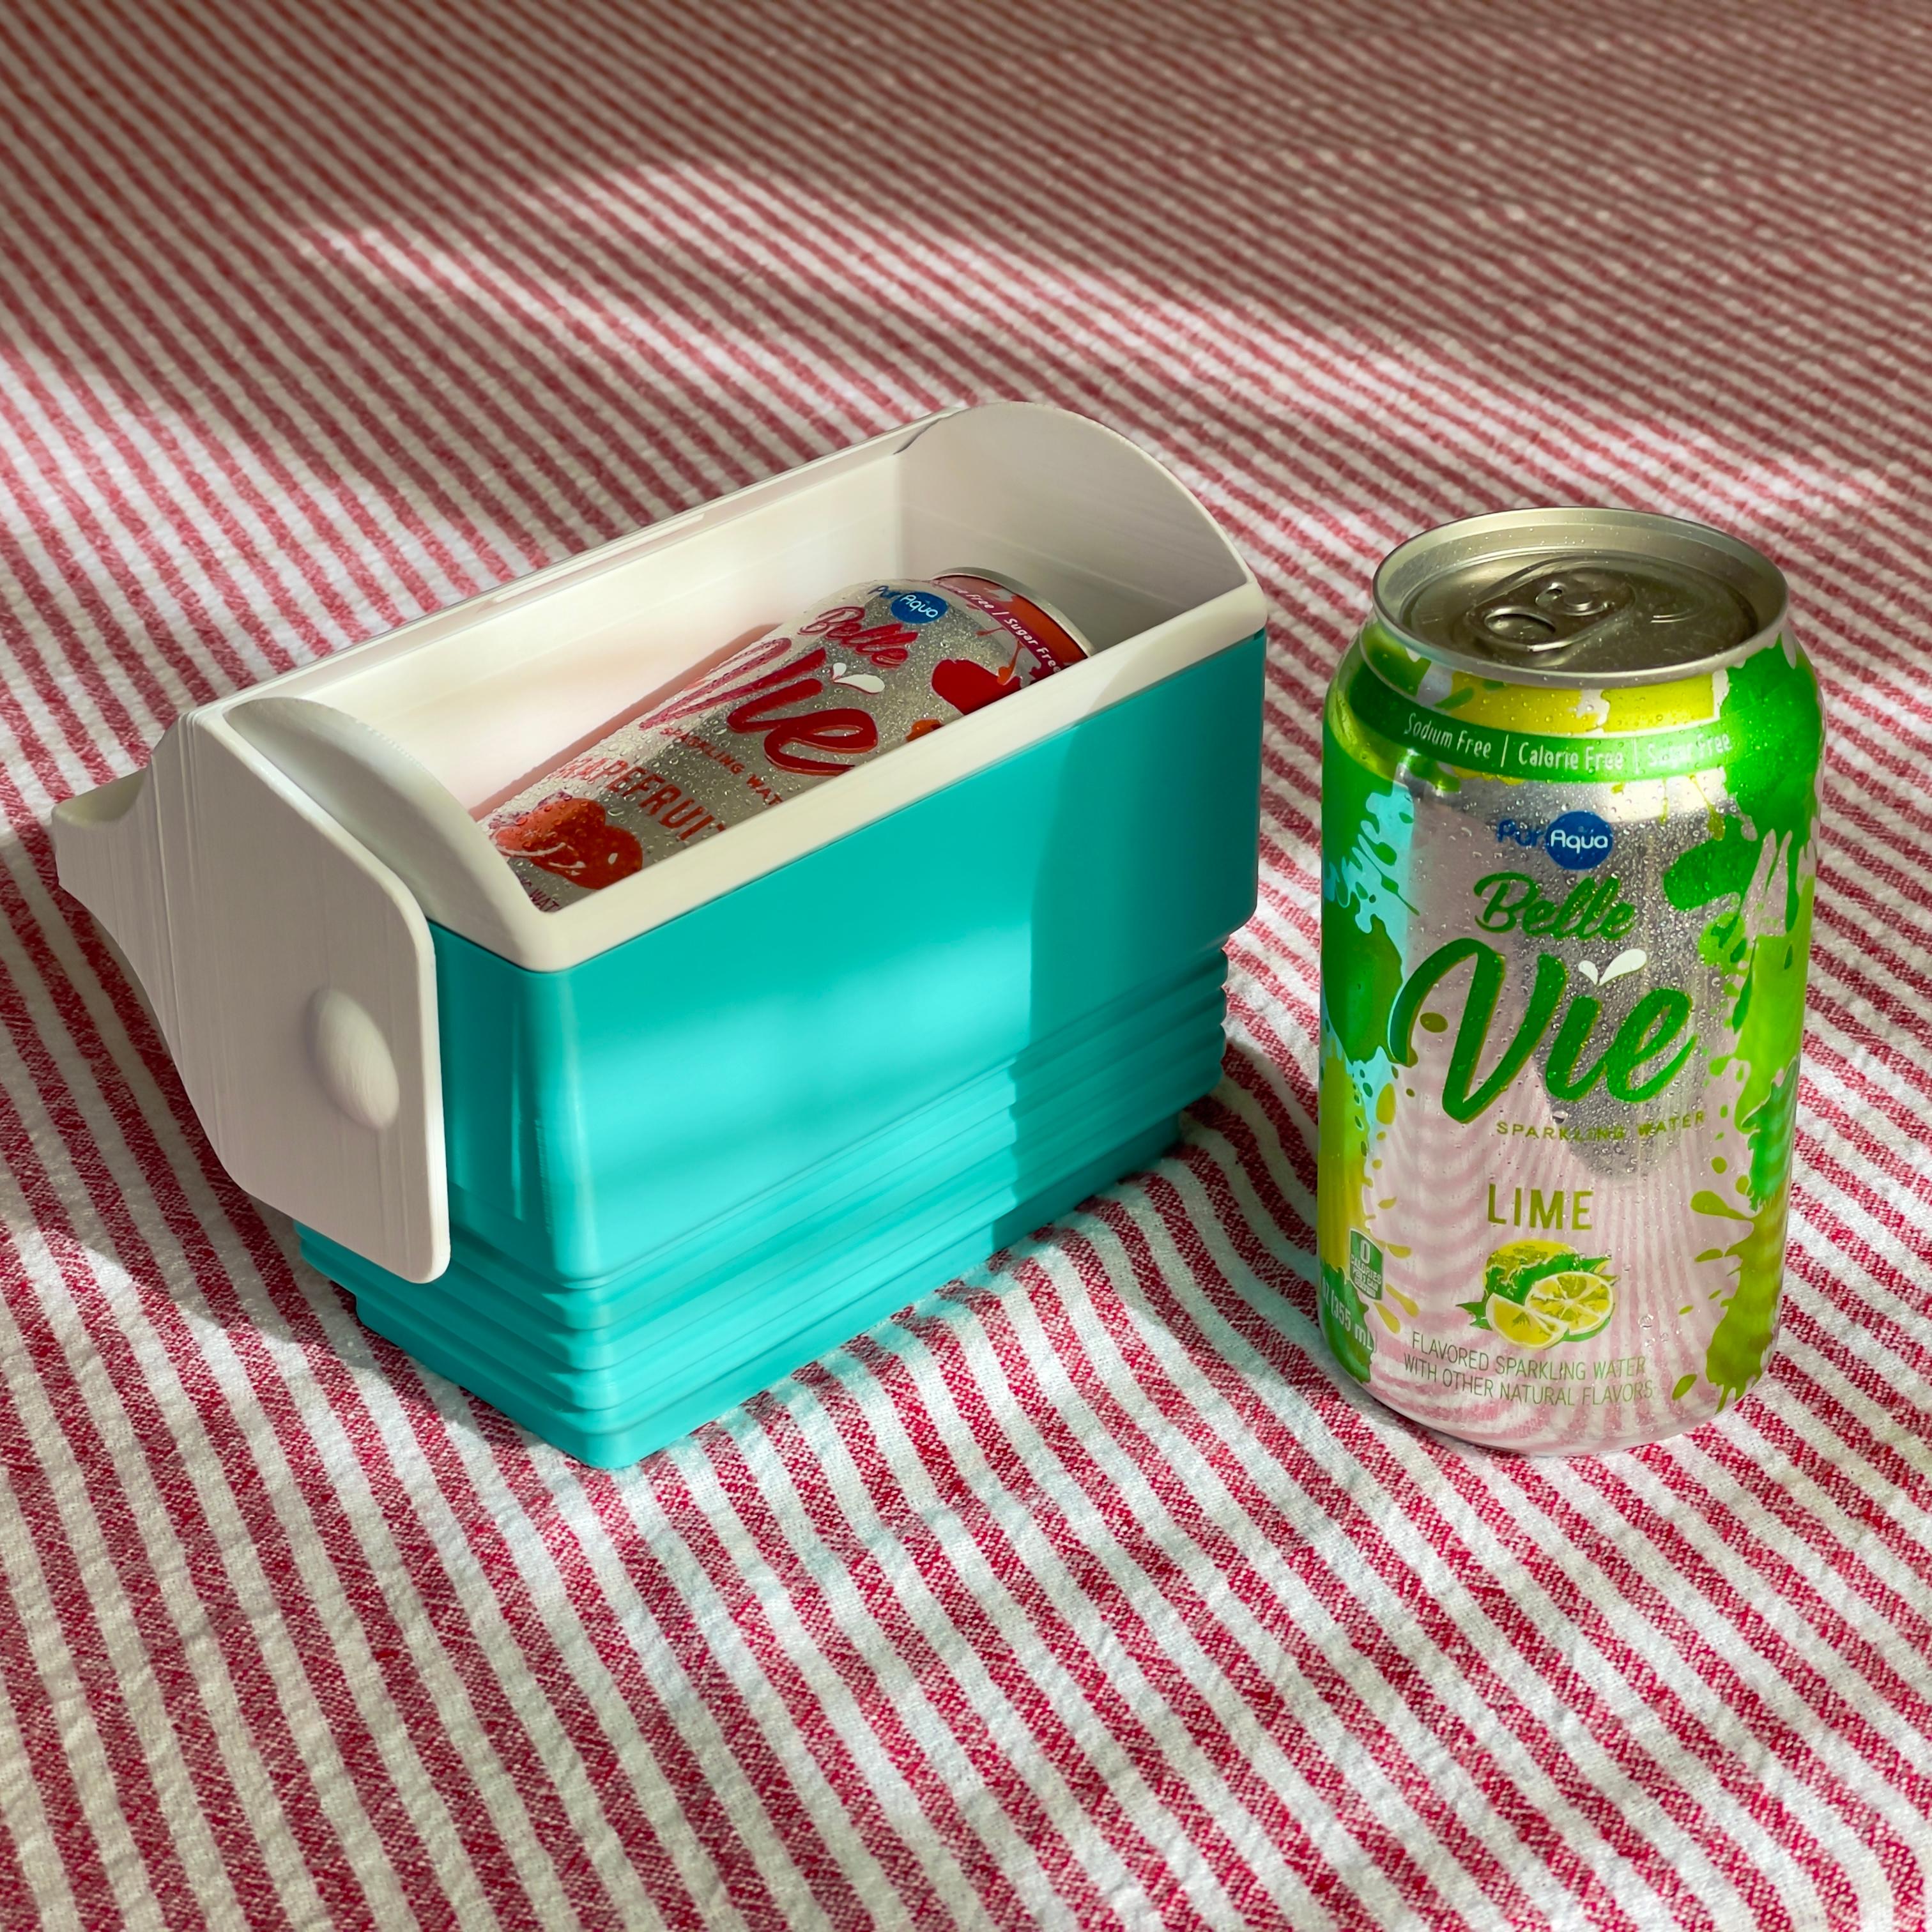
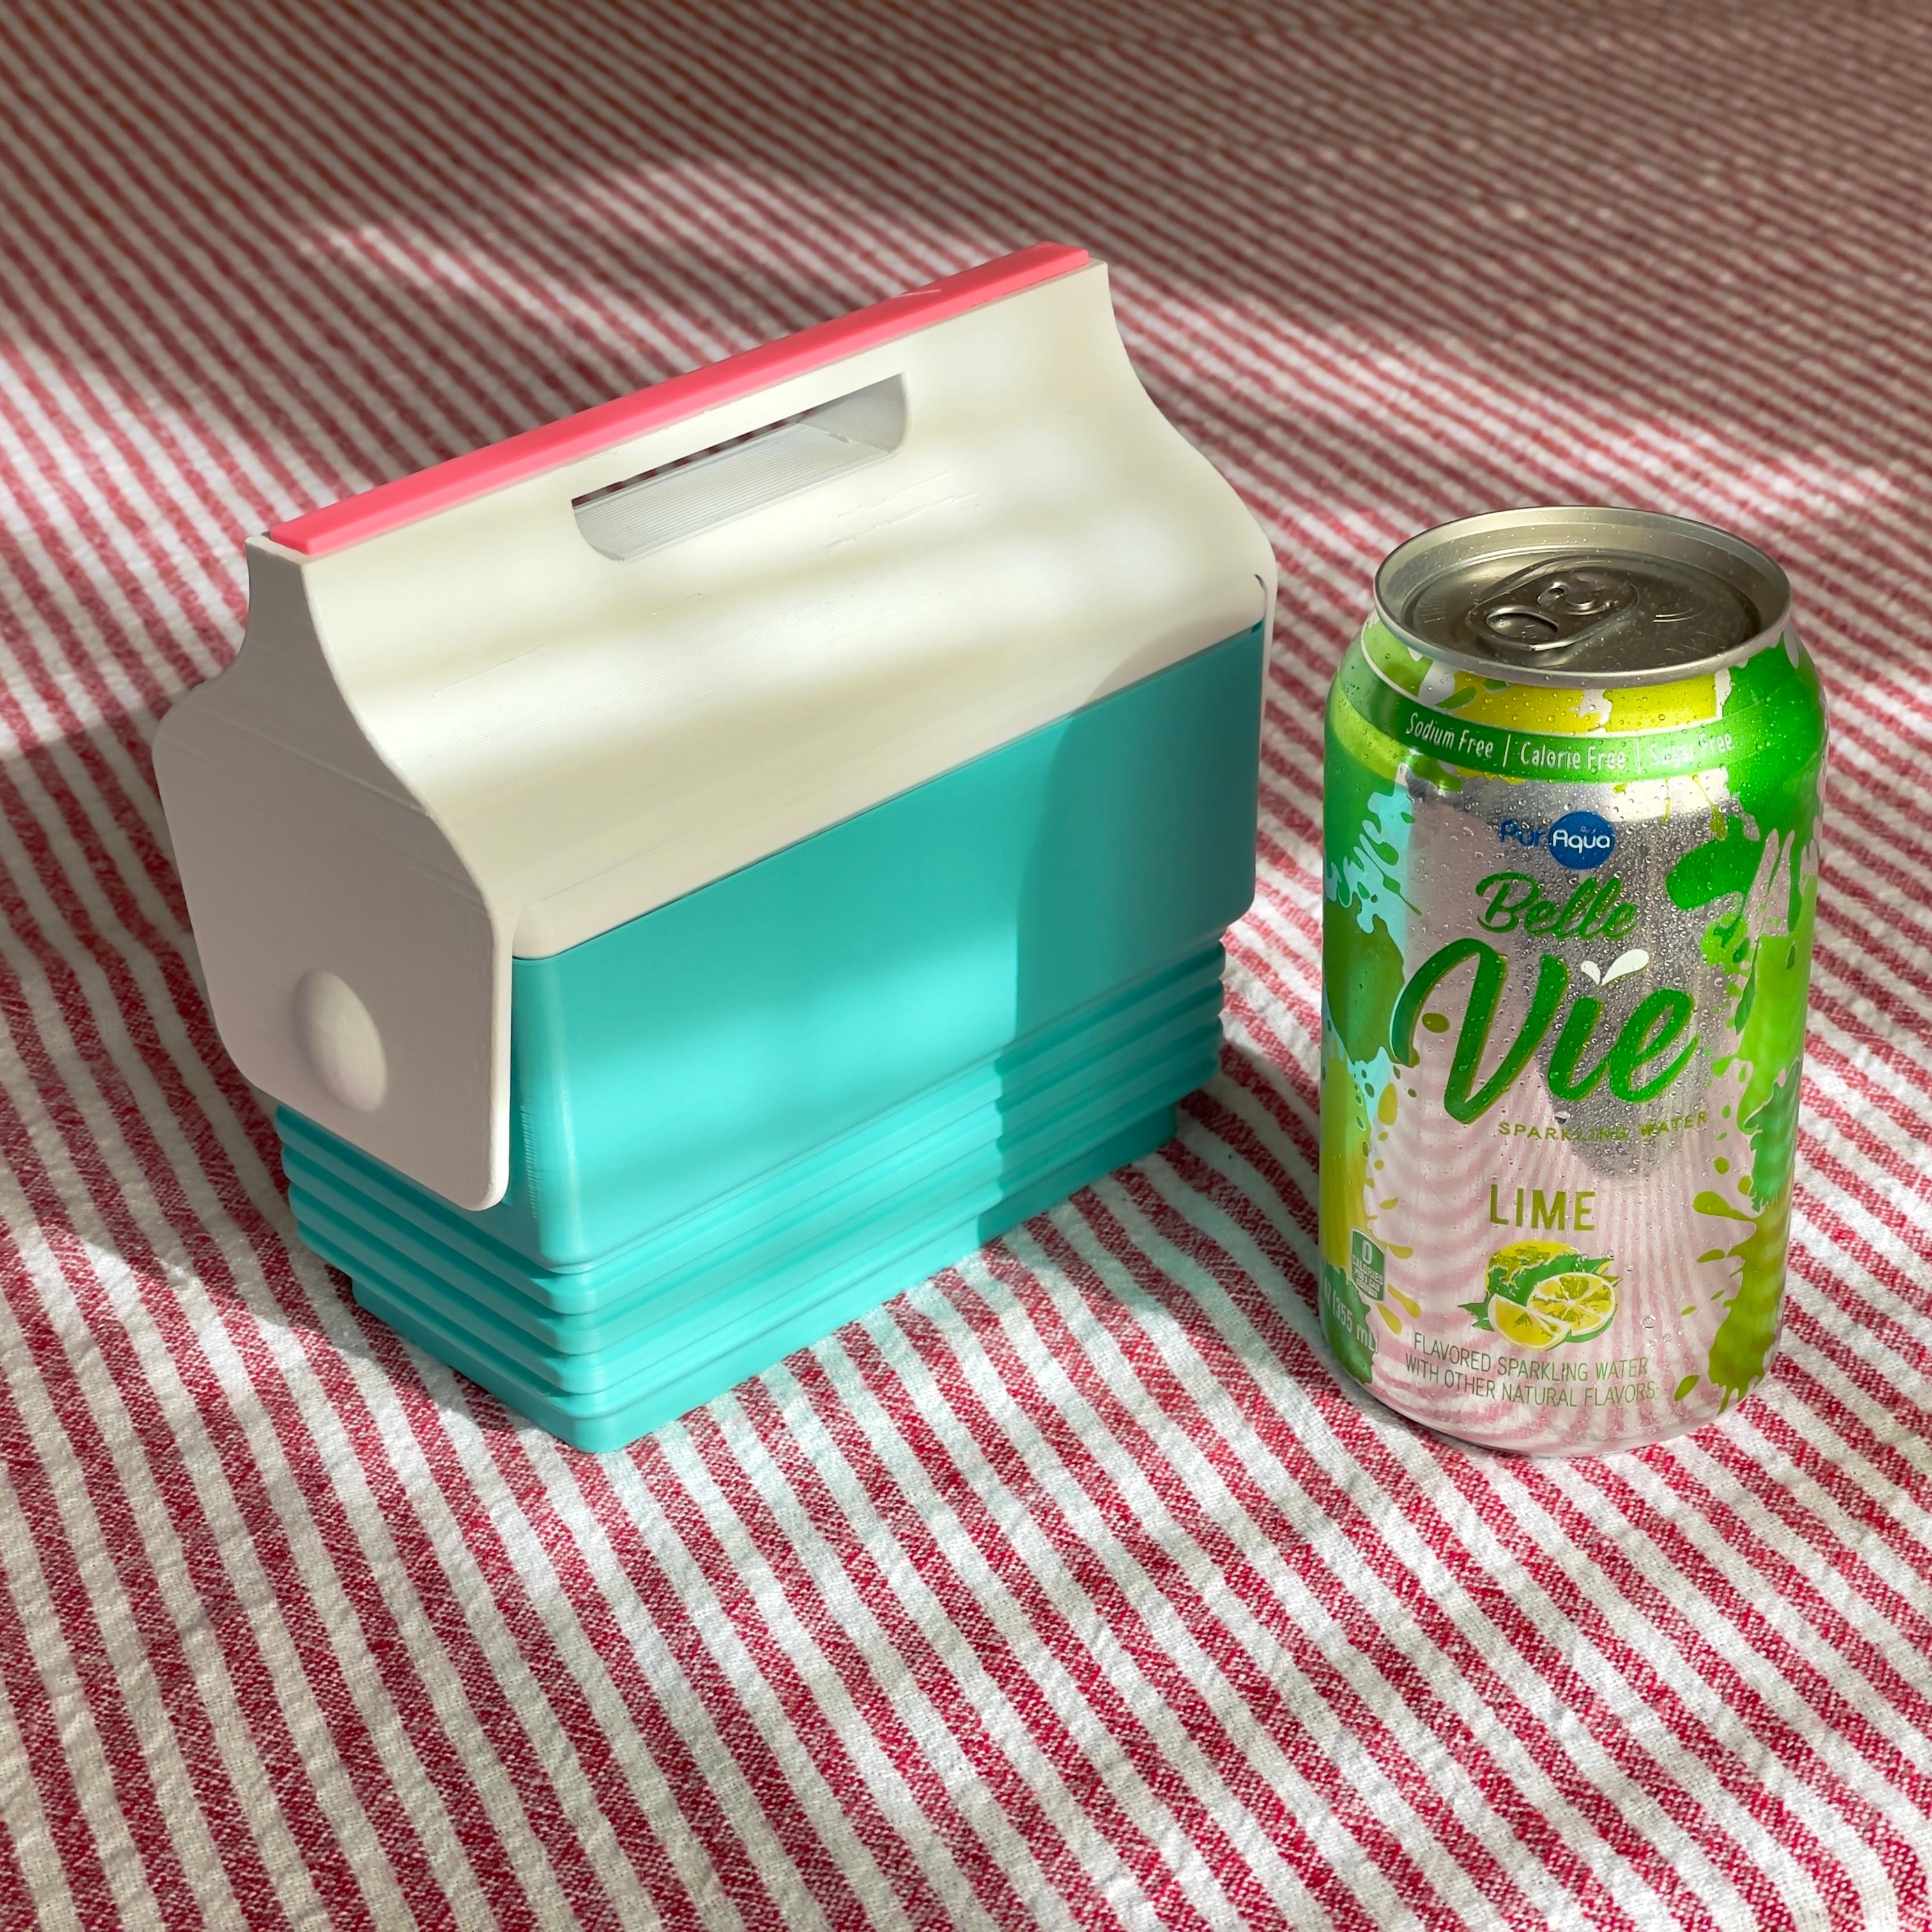
Retro Single Can Cooler

by
CM Design
Follow
Follow
Remix Model
CM Design
CM Design
|
Image 1 of 12
Retro Single Can Cooler 3d model
CM Design
CM Design
|
Image 1 of 12
Retro Single Can Cooler 3d model
2D
3D
Makes
Retro Single Can Cooler 3d model
Retro Single Can Cooler - excellent design! Super fun- thank you! - 3d model
Retro Single Can Cooler 3d model
Retro Single Can Cooler - Just in time for the Summer. - 3d model
Retro Single Can Cooler - Works! - 3d model
This model is restricted by licensing terms. 

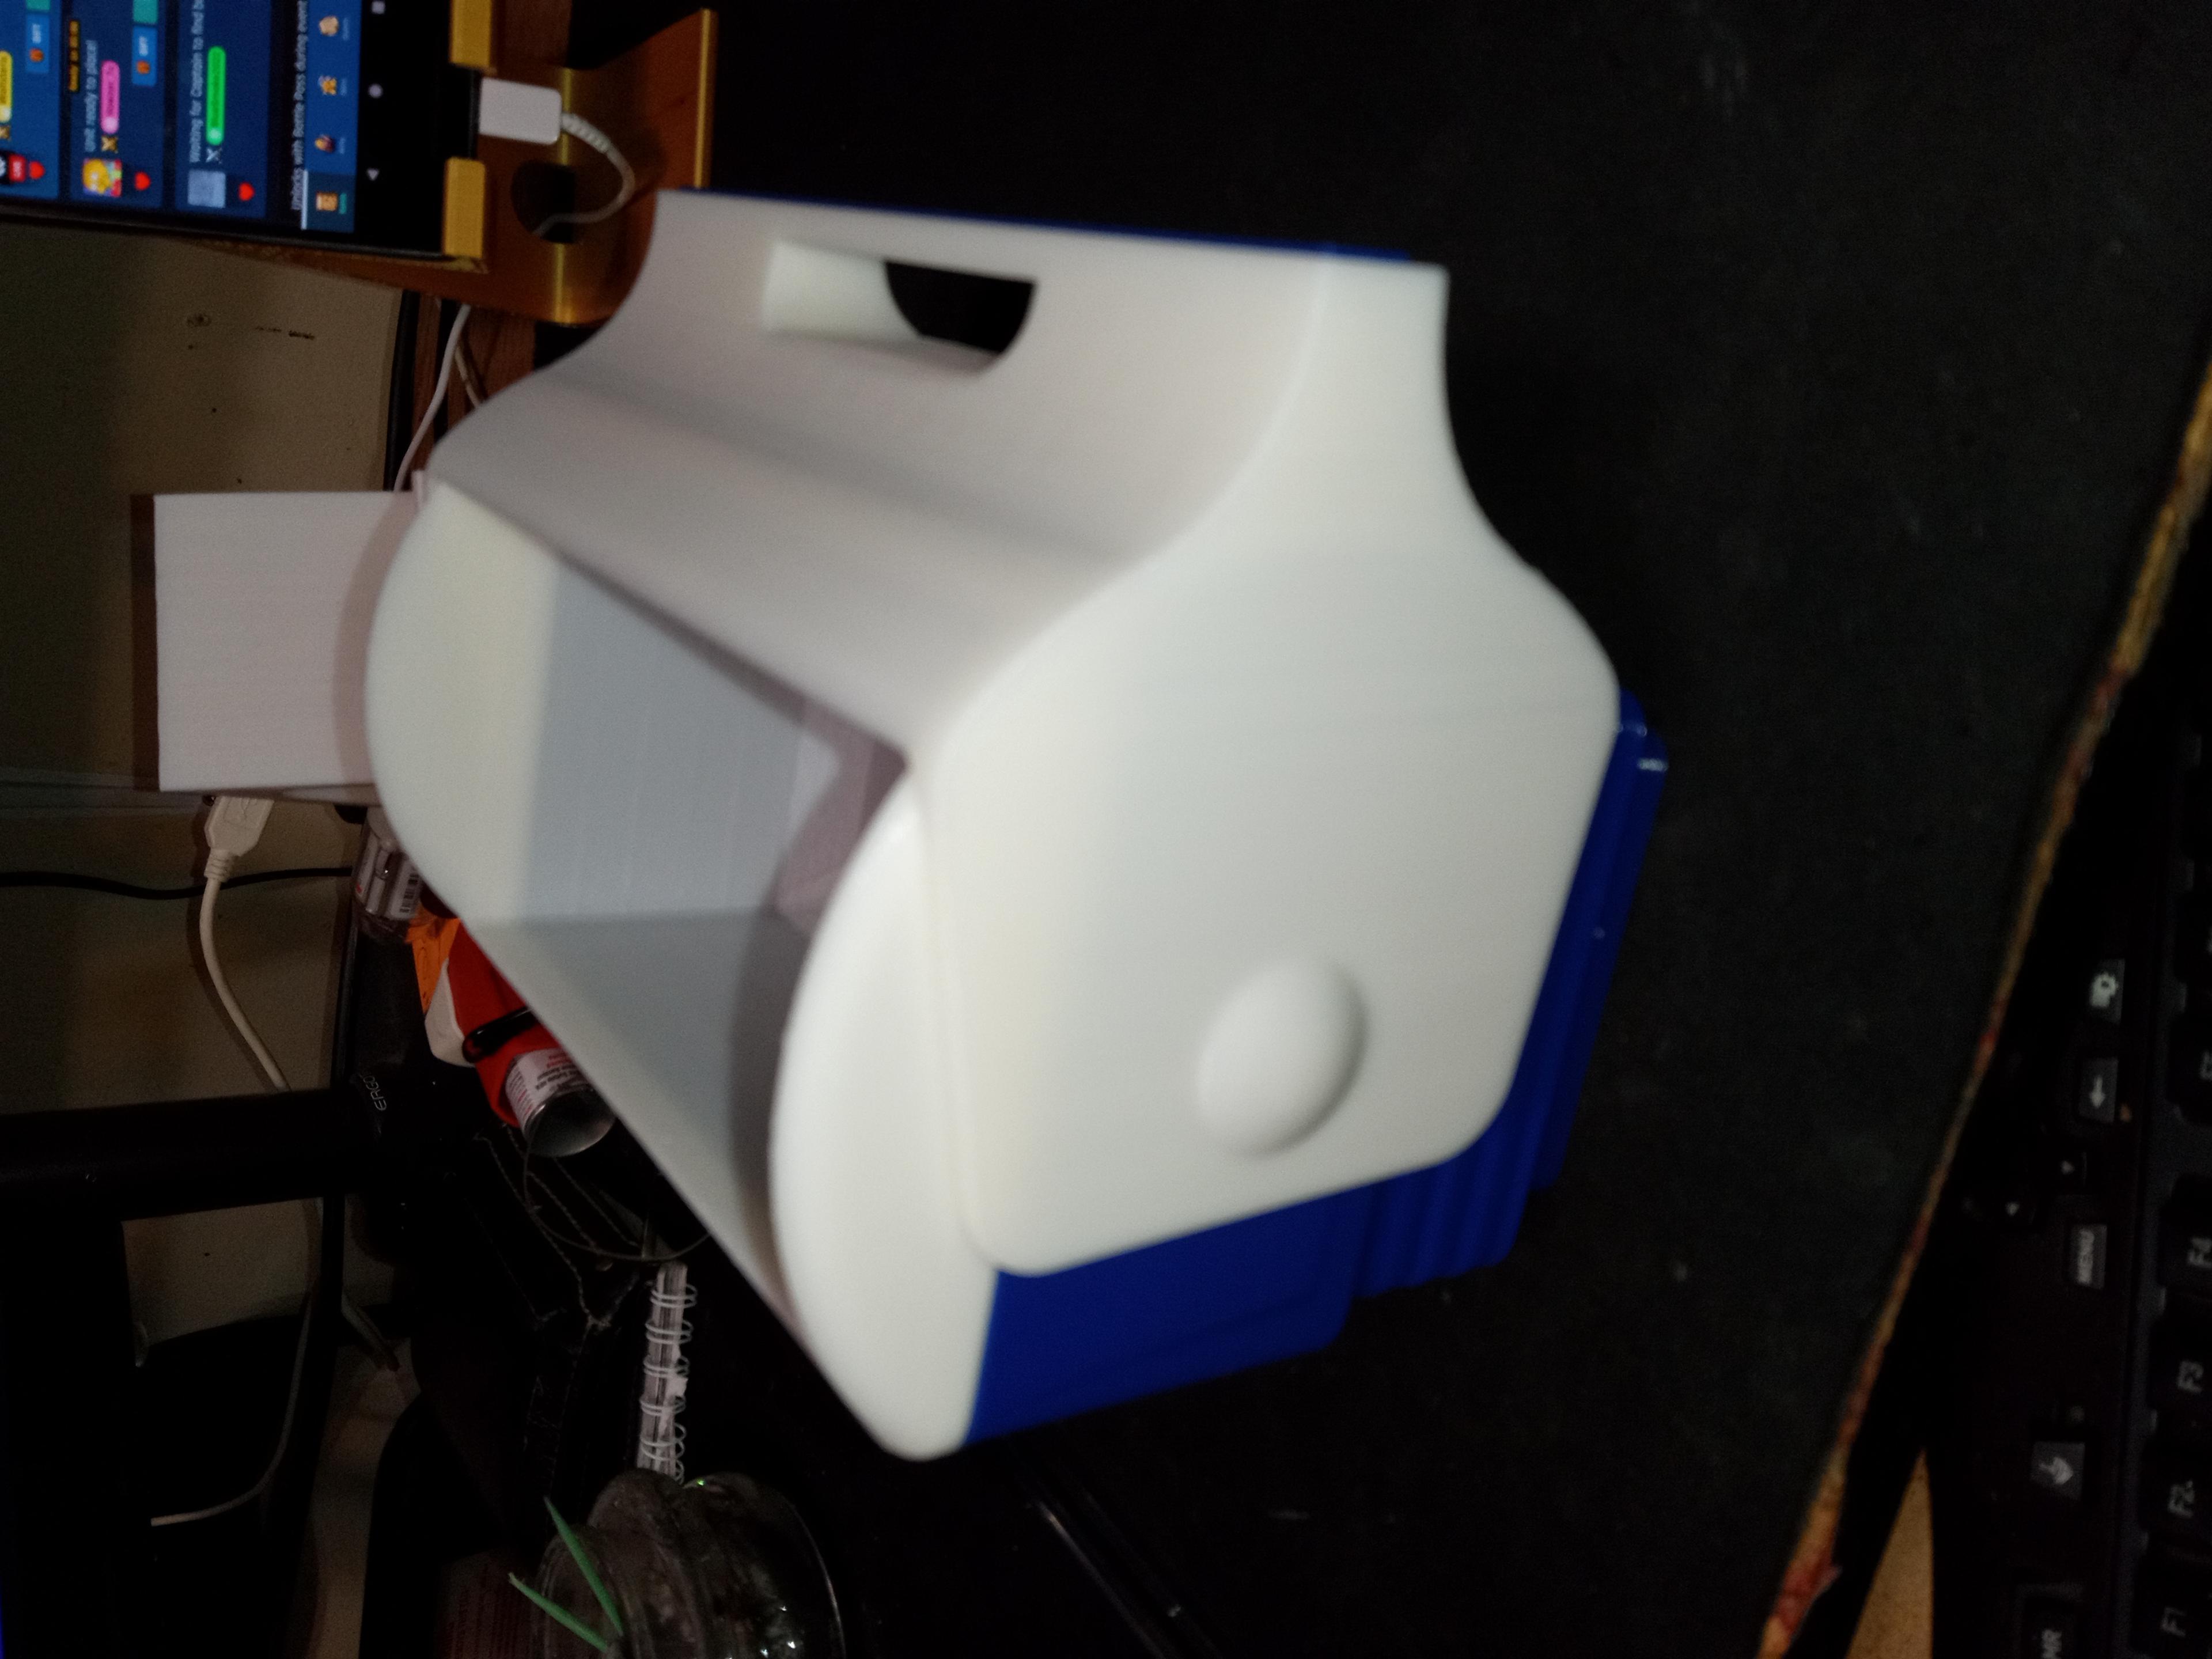
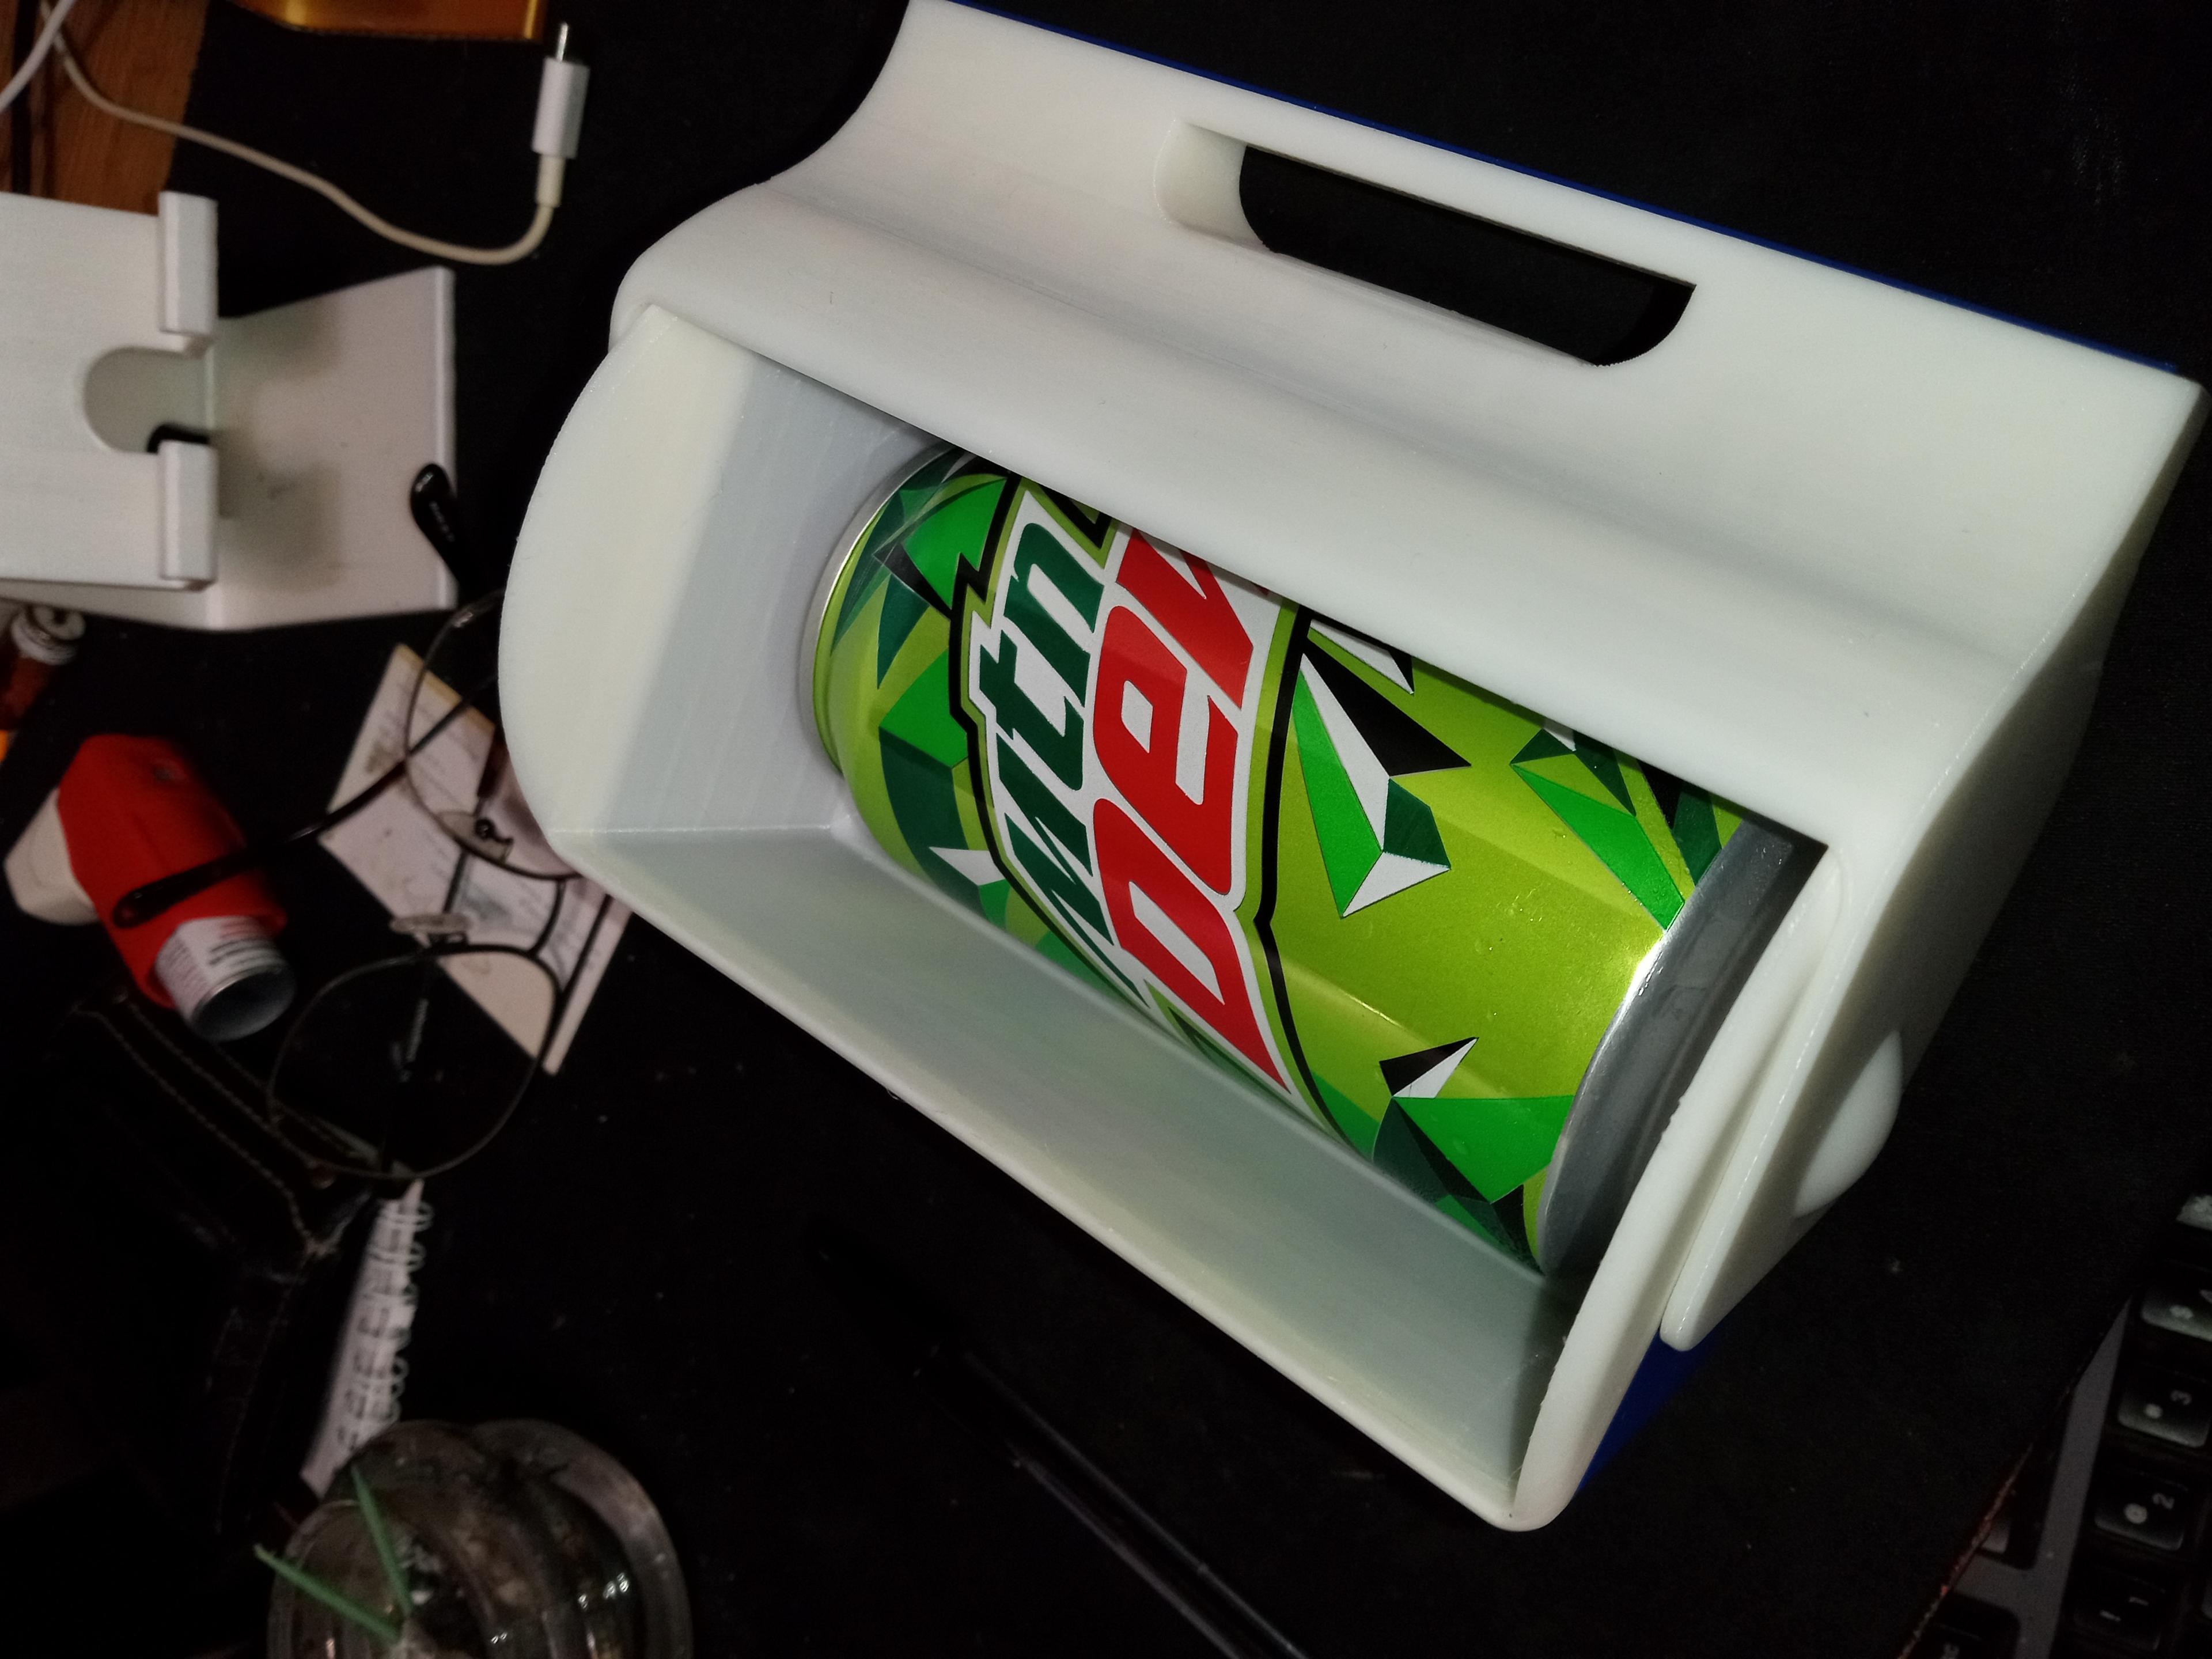
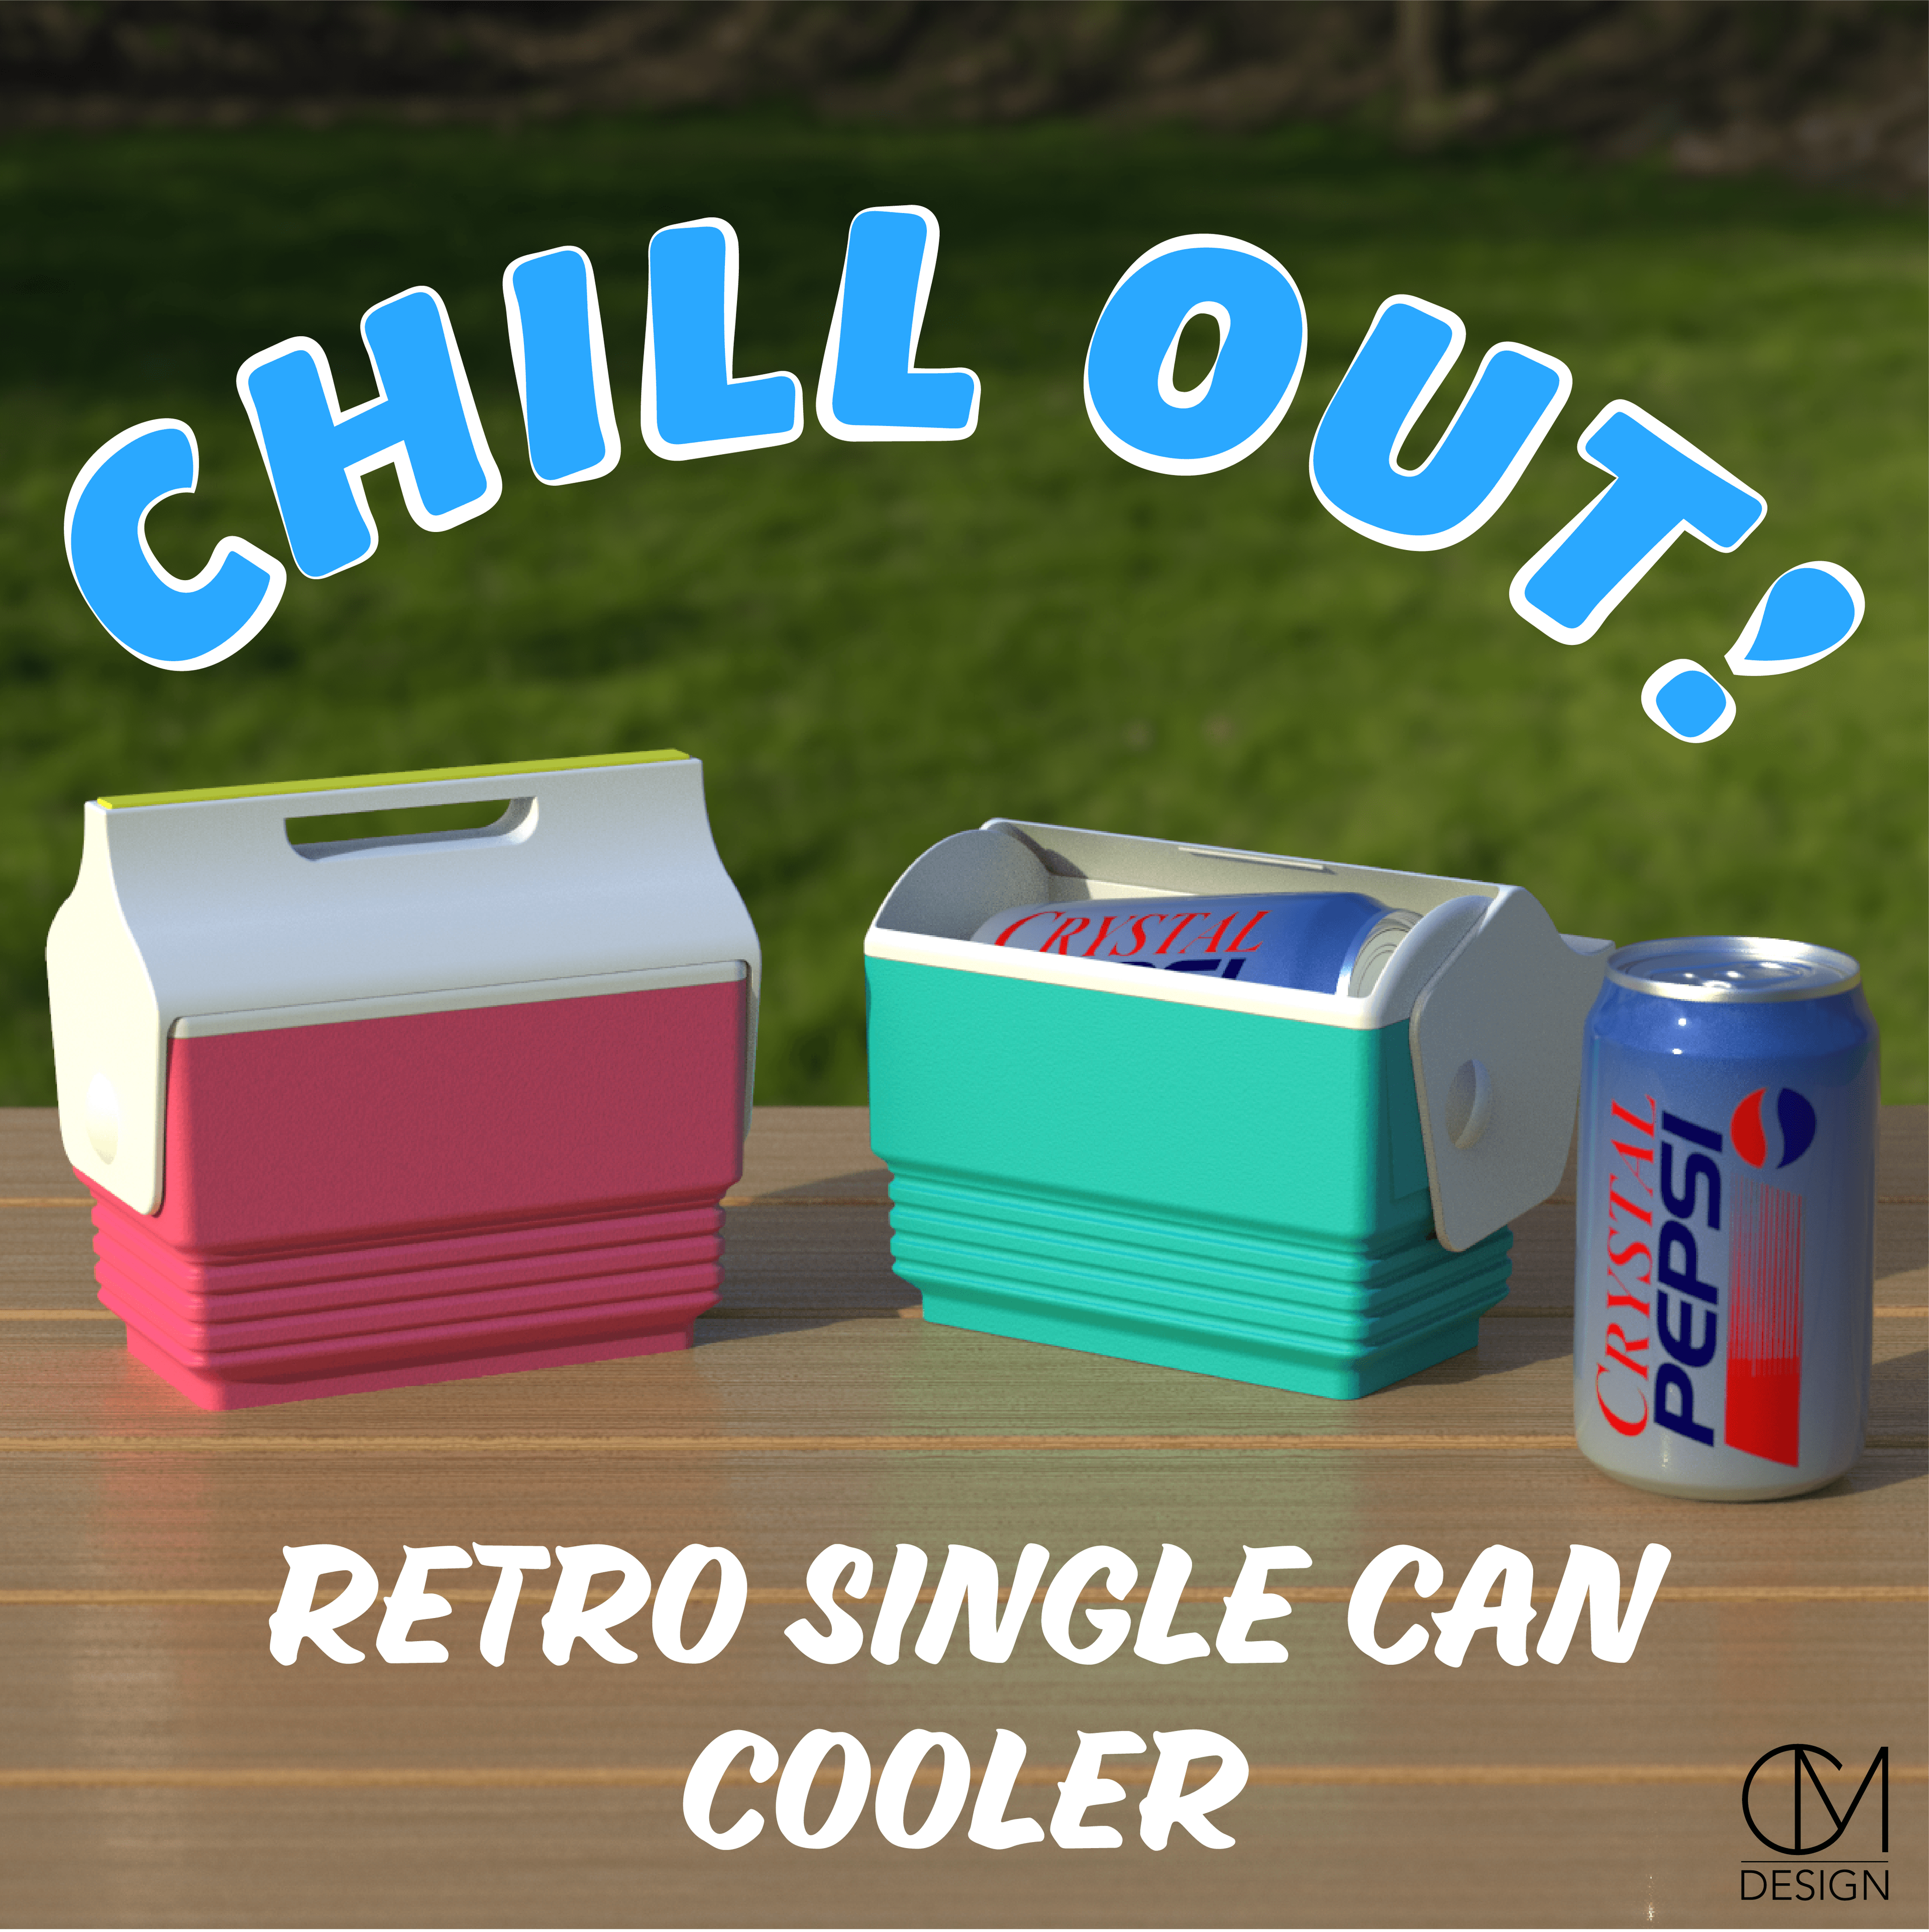
Sup bros and brahs! Need a way to chill that bevvy? I have a totally rad solution for you!

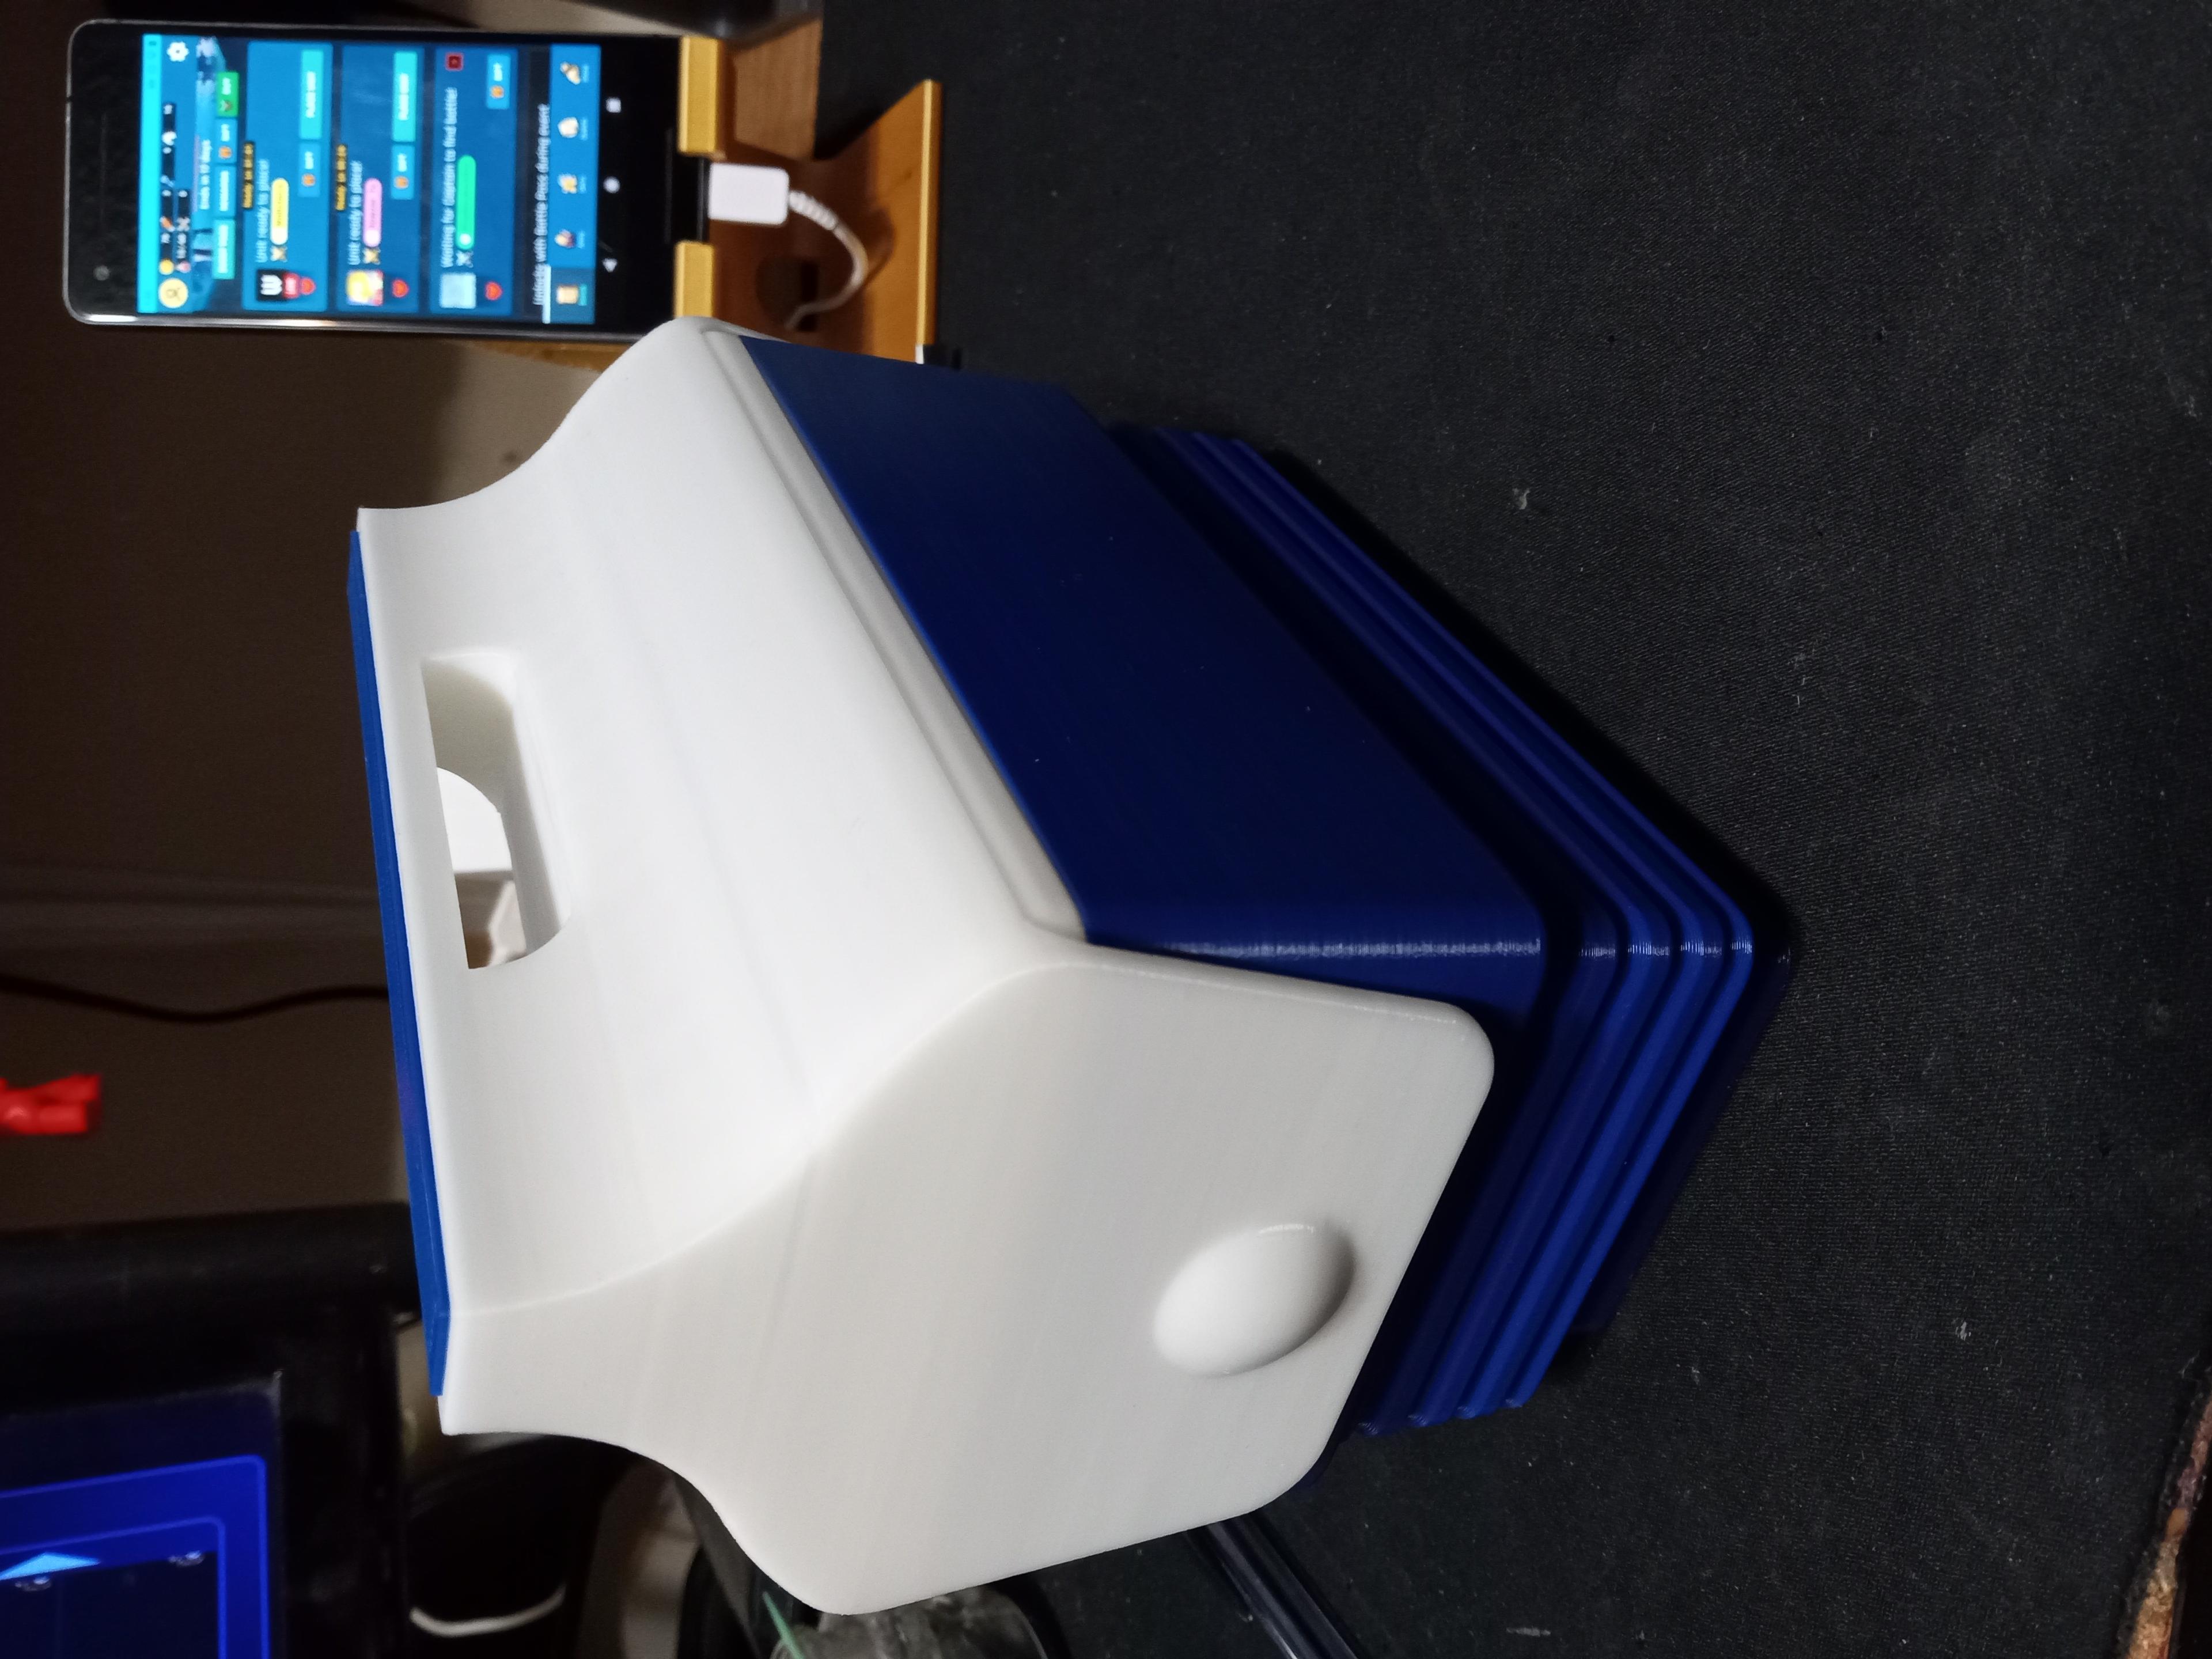
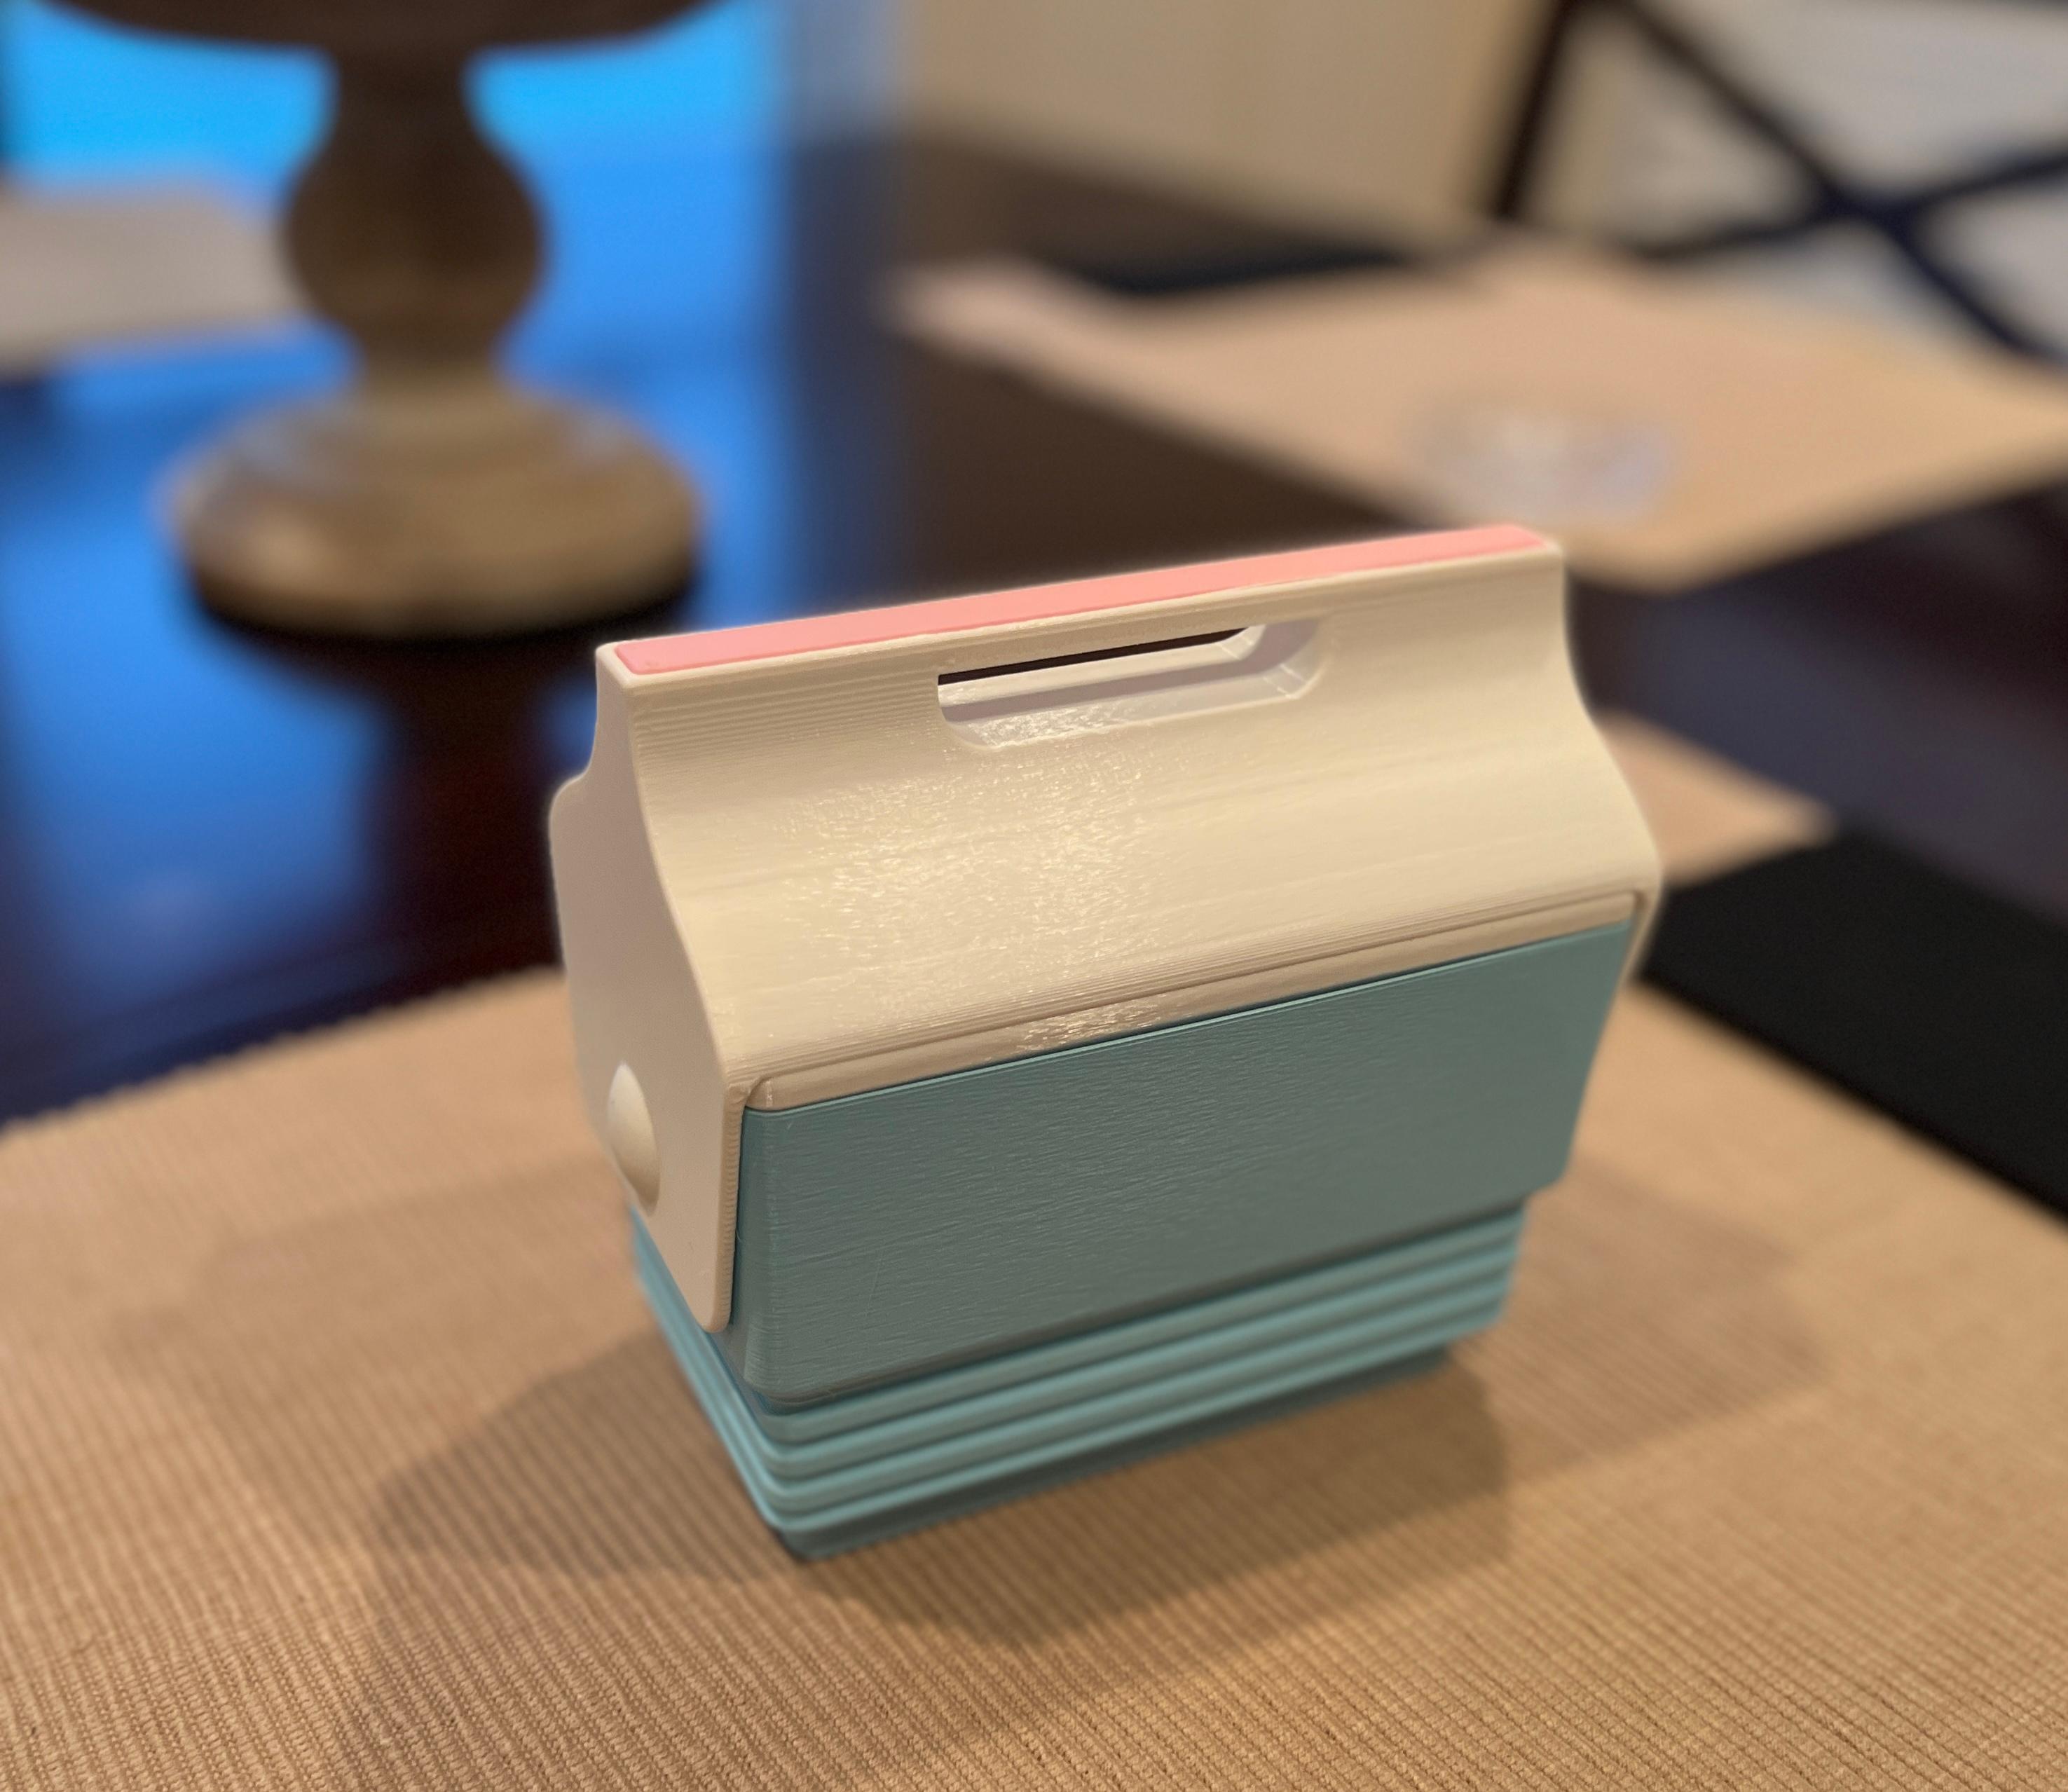
A single can cooler with a retro twist! This 3D printed travel cooler will make you da bomb at any gathering!

Was really inspired by LayerOne3d's single can cooler, check his work out here: https://social.thangs.com/u/110590

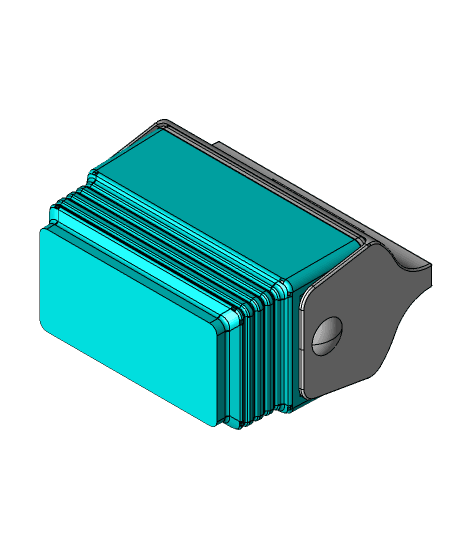
Print Settings The Body, Insulation, and Handle detail can be printed without supports. I printed them out at 20% infill with 4 perimeters/shells and it felt rigid.

The Handle needs to be printed upside down with supports (everywhere option). I printed this at 20% infill as well.

Assembly

  1. The Insulation slides into the Body and is pressure fit together, use super glue if needed.

  2. The Handle detail fits into the indent on top of the handle. It will need to be super glued in. You can use a binder clip through the hole in the handle to keep the parts together while gluing.

  3. Once the glue dries you can move onto the next step.

  4. Slide the Handle assembly over the Body assembly. The left and right points of the handle will slide over the embossment on the sides of the body. They should automatically press into place when they are positioned right.

Hope you find this print to be fly!

Let me know if you have any questions or suggestions!

260 Likes580 DownloadsMarch 25, 2022


260 Likes580 DownloadsMarch 25, 2022
This model is restricted by licensing terms.