Prusa Mini Detachable Cooling Duct Assembly V2
Model originally uploaded to Thingiverse at https://www.thingiverse.com/thing:4894561.
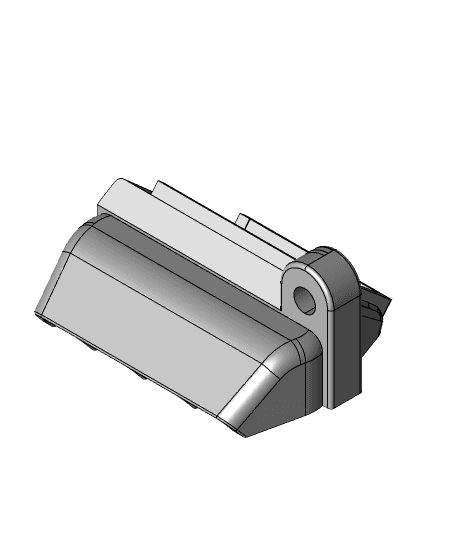
Update 20\07\21: Uploaded Blade Duct with a notch to the left hand side to clear the heater cables in a stock hot end configuration. Based on sketches from a fellow member but not personally tested. I have not undertaken any air flow simulation for this update but the resultant restriction to the duct is fairly minimal.
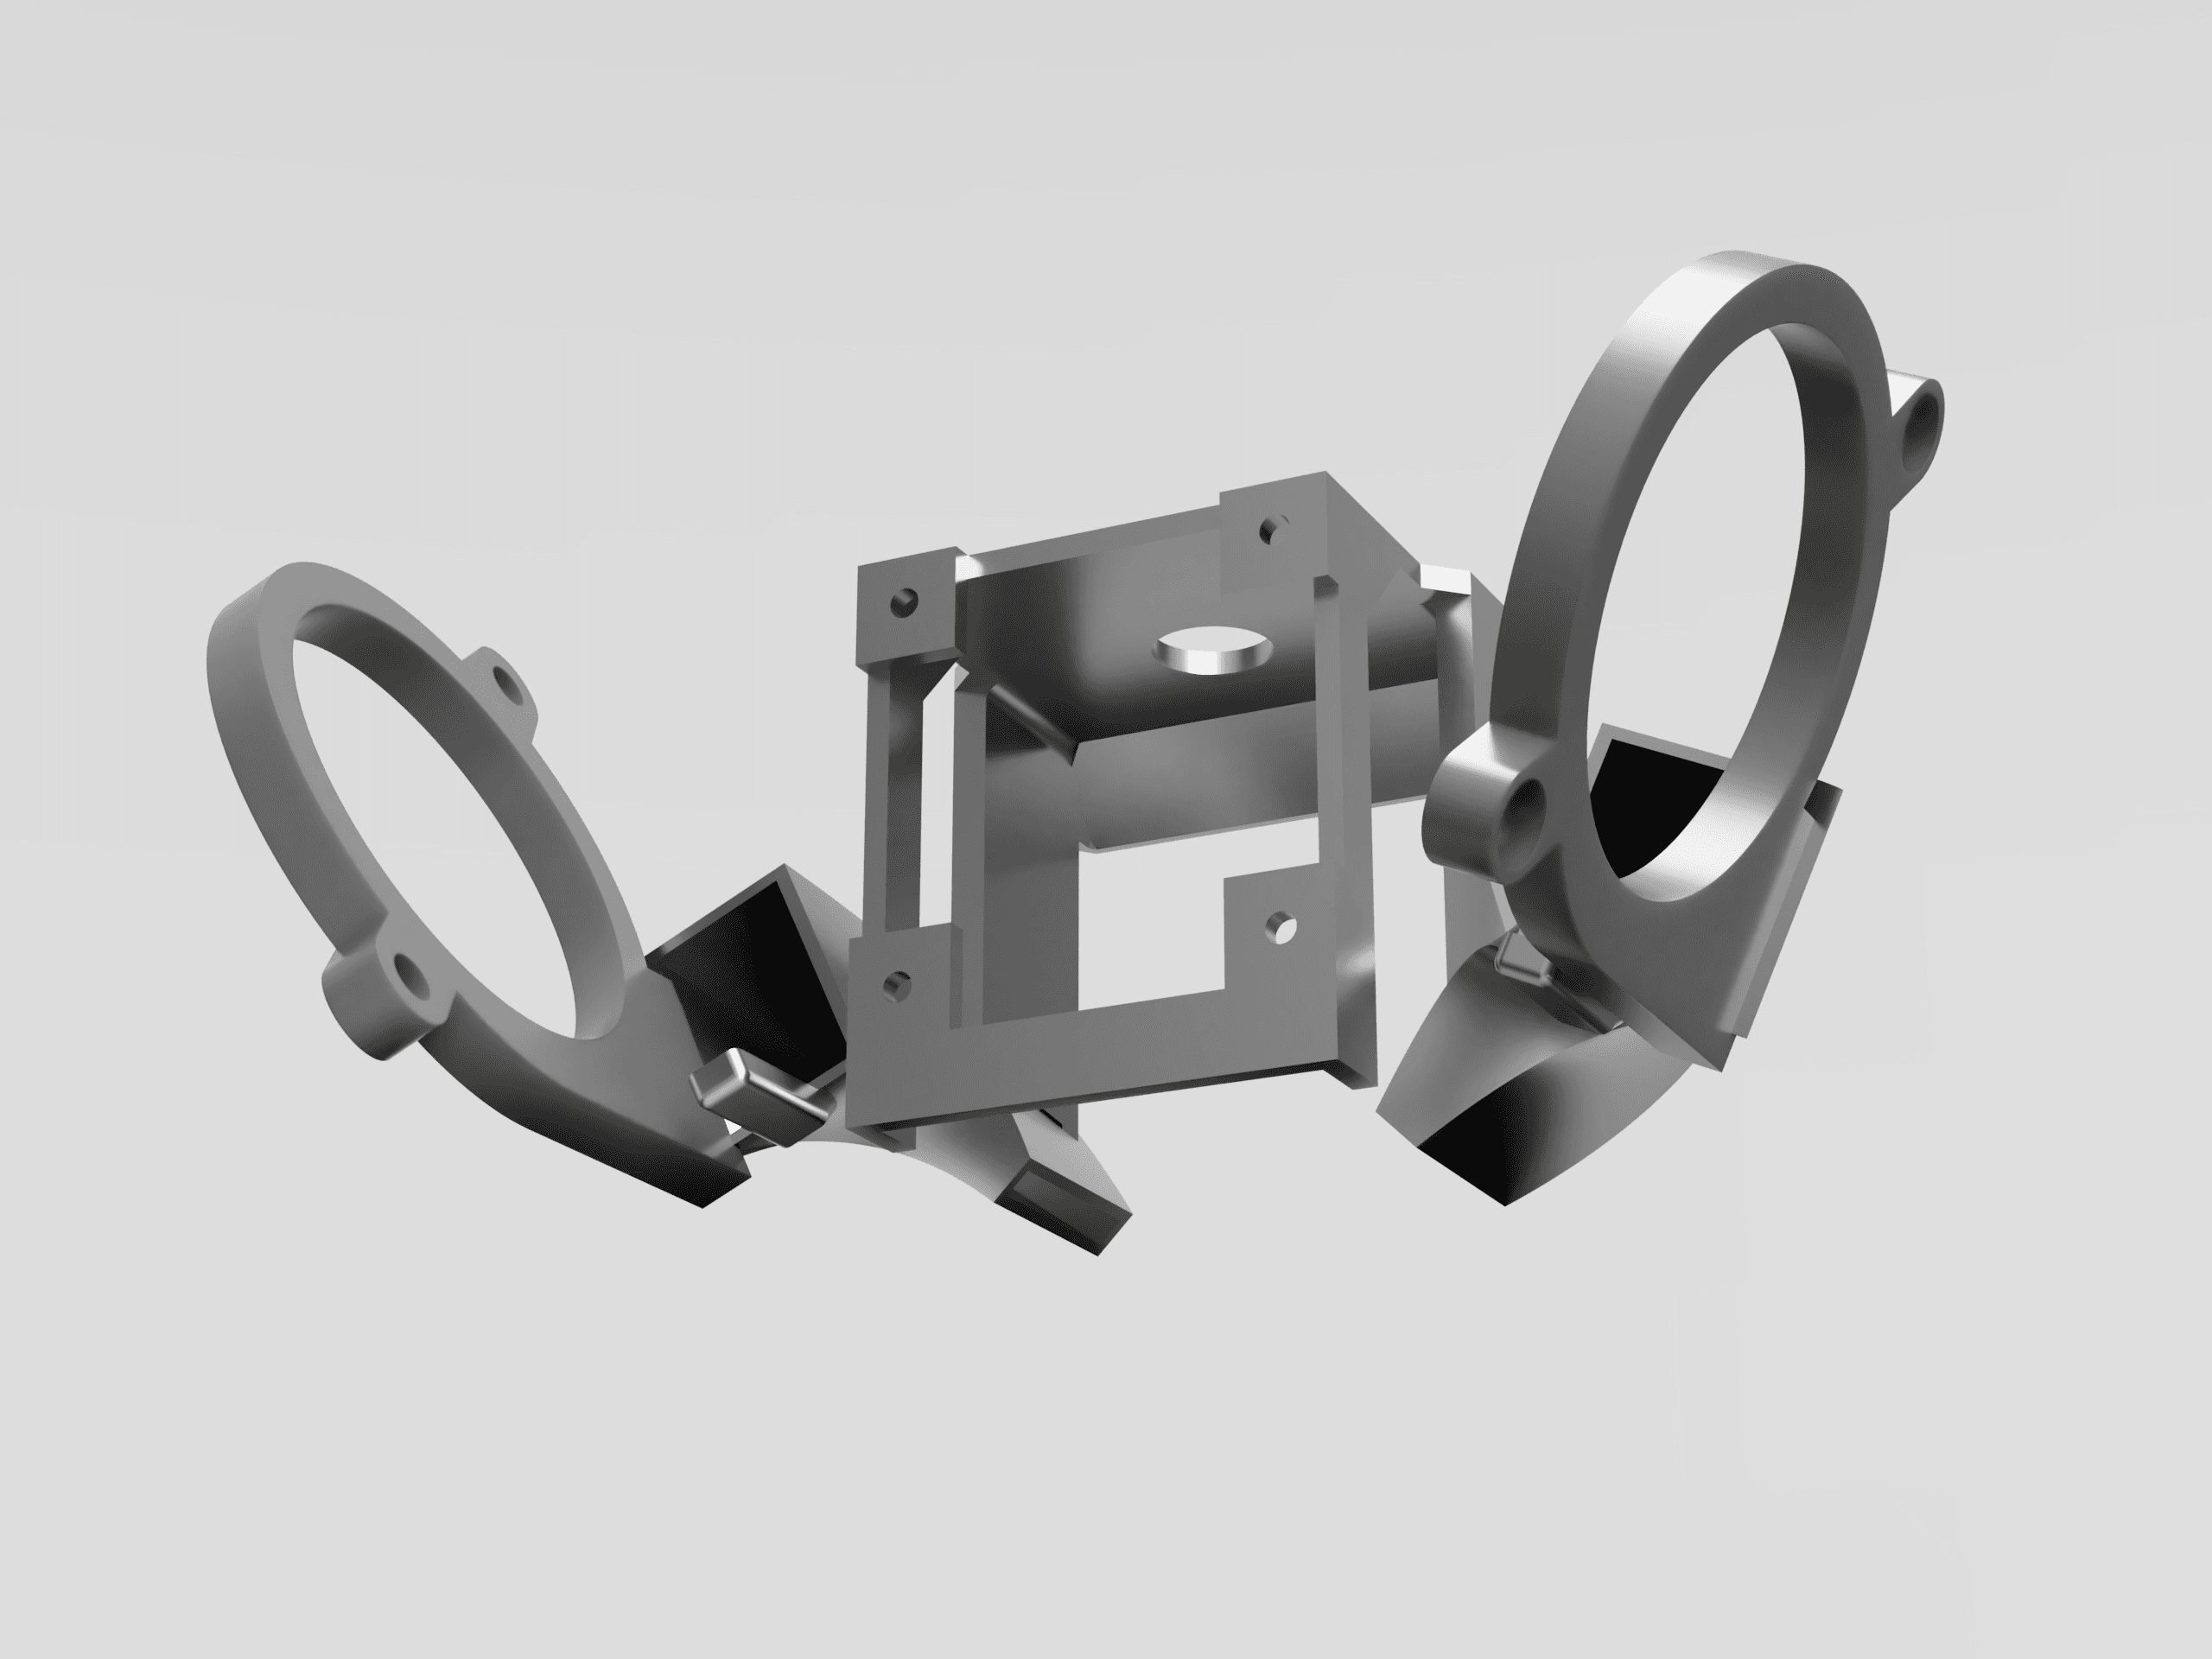
Update 18\07\21: Uploaded step of parts including my modified V6 adapter mount.
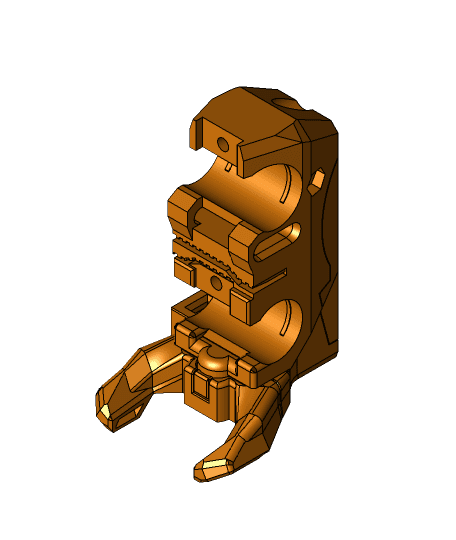
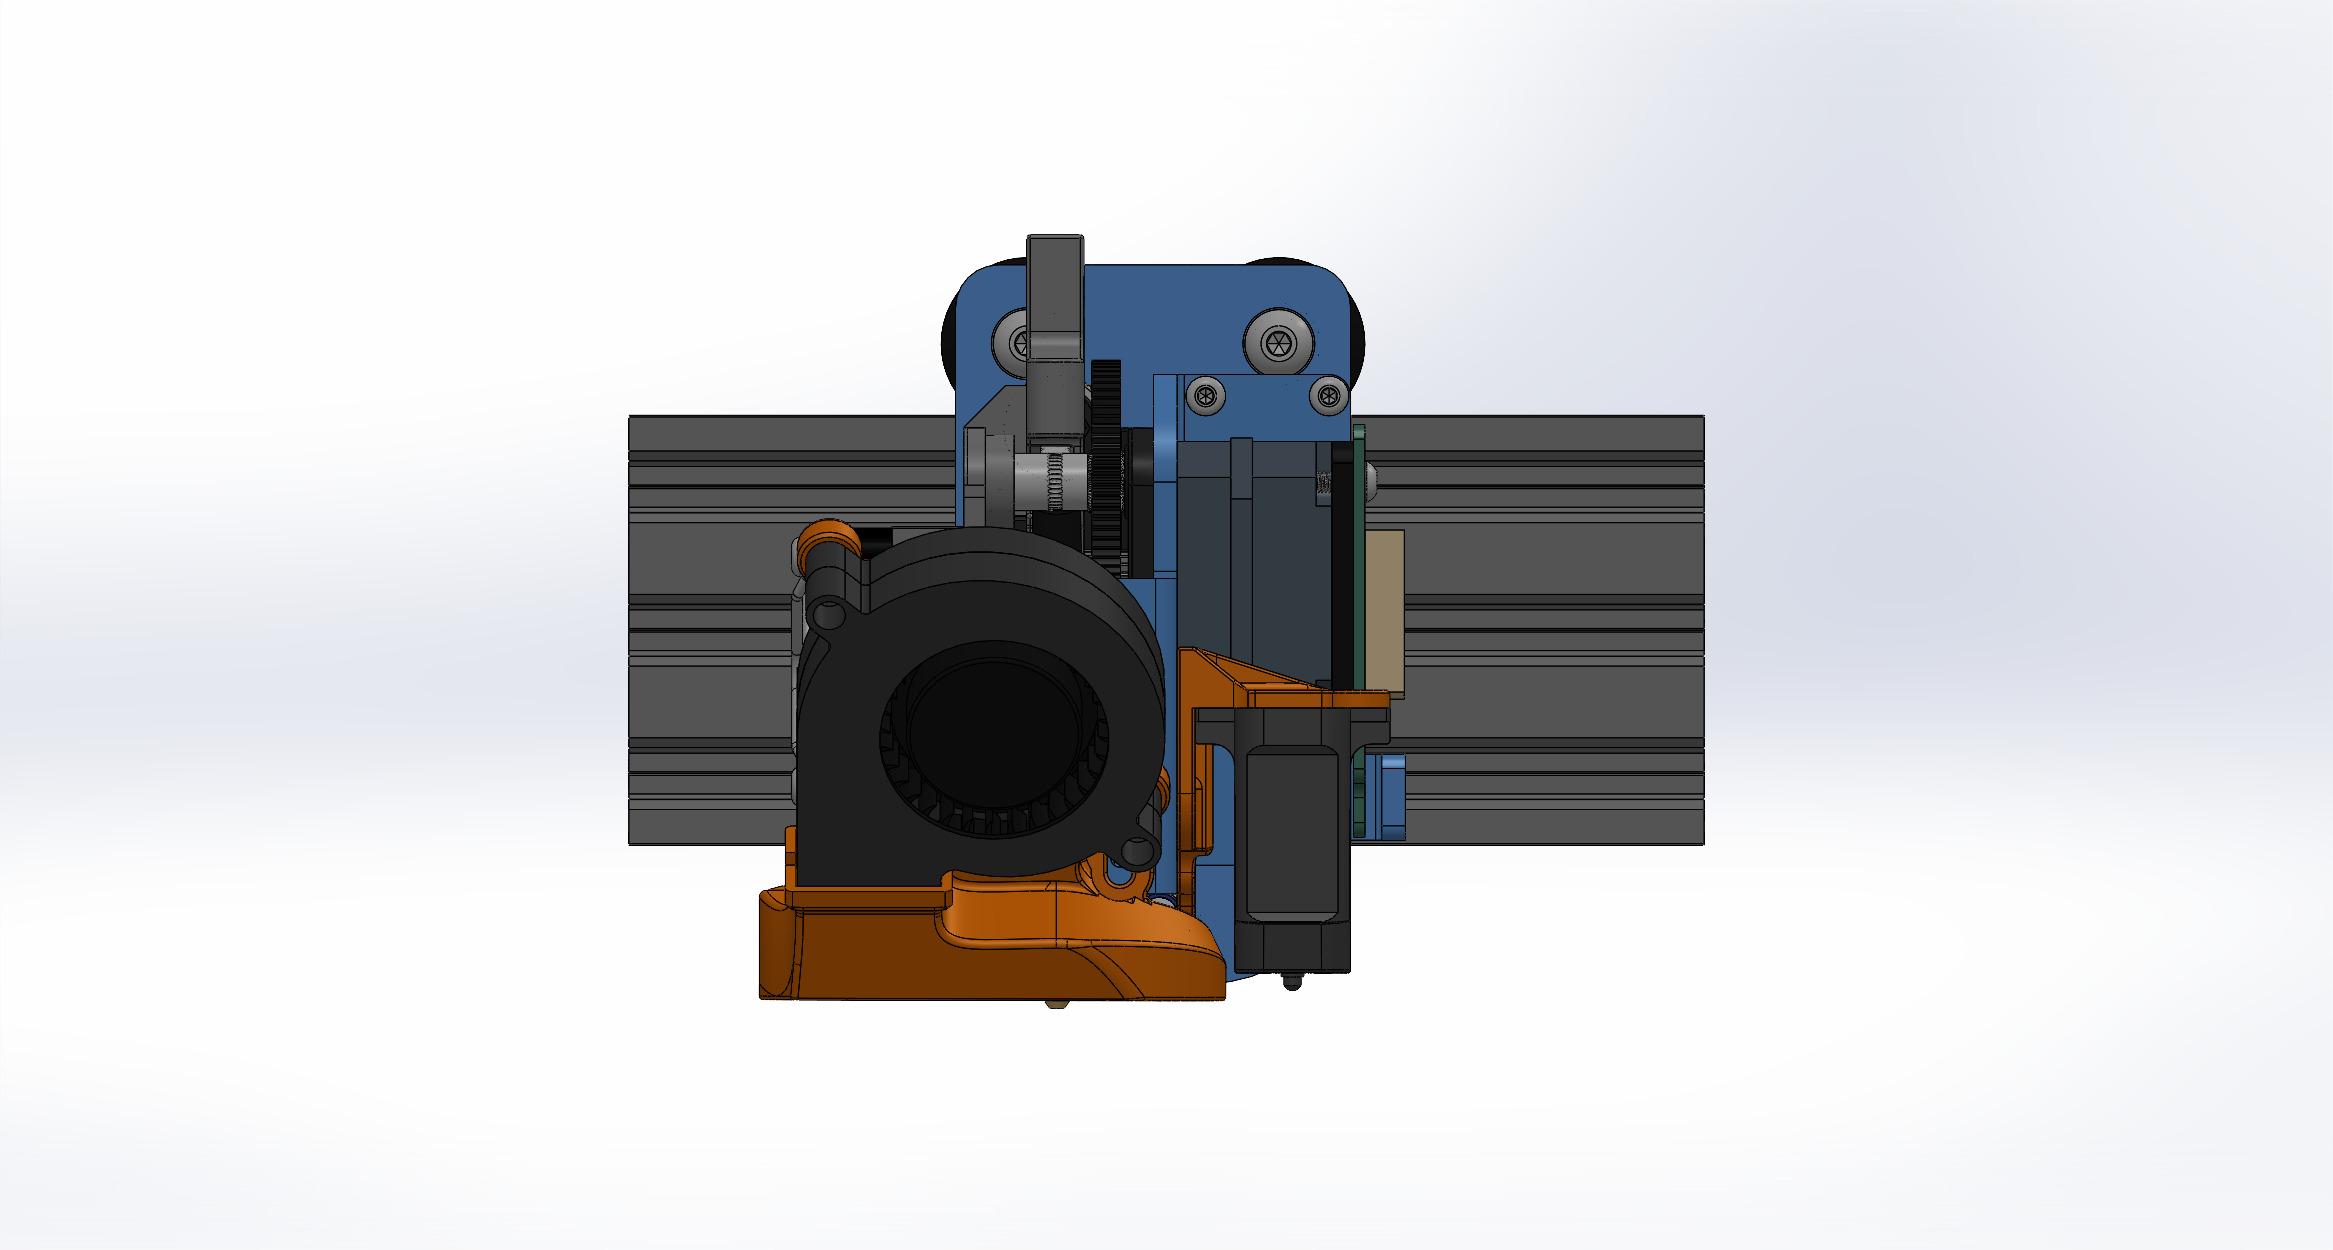
This is a revised X Carriage Mount and fan duct for the Prusa Mini and clones. Apologies in advance if there is already something similar on Thingiverse that I have not noticed.
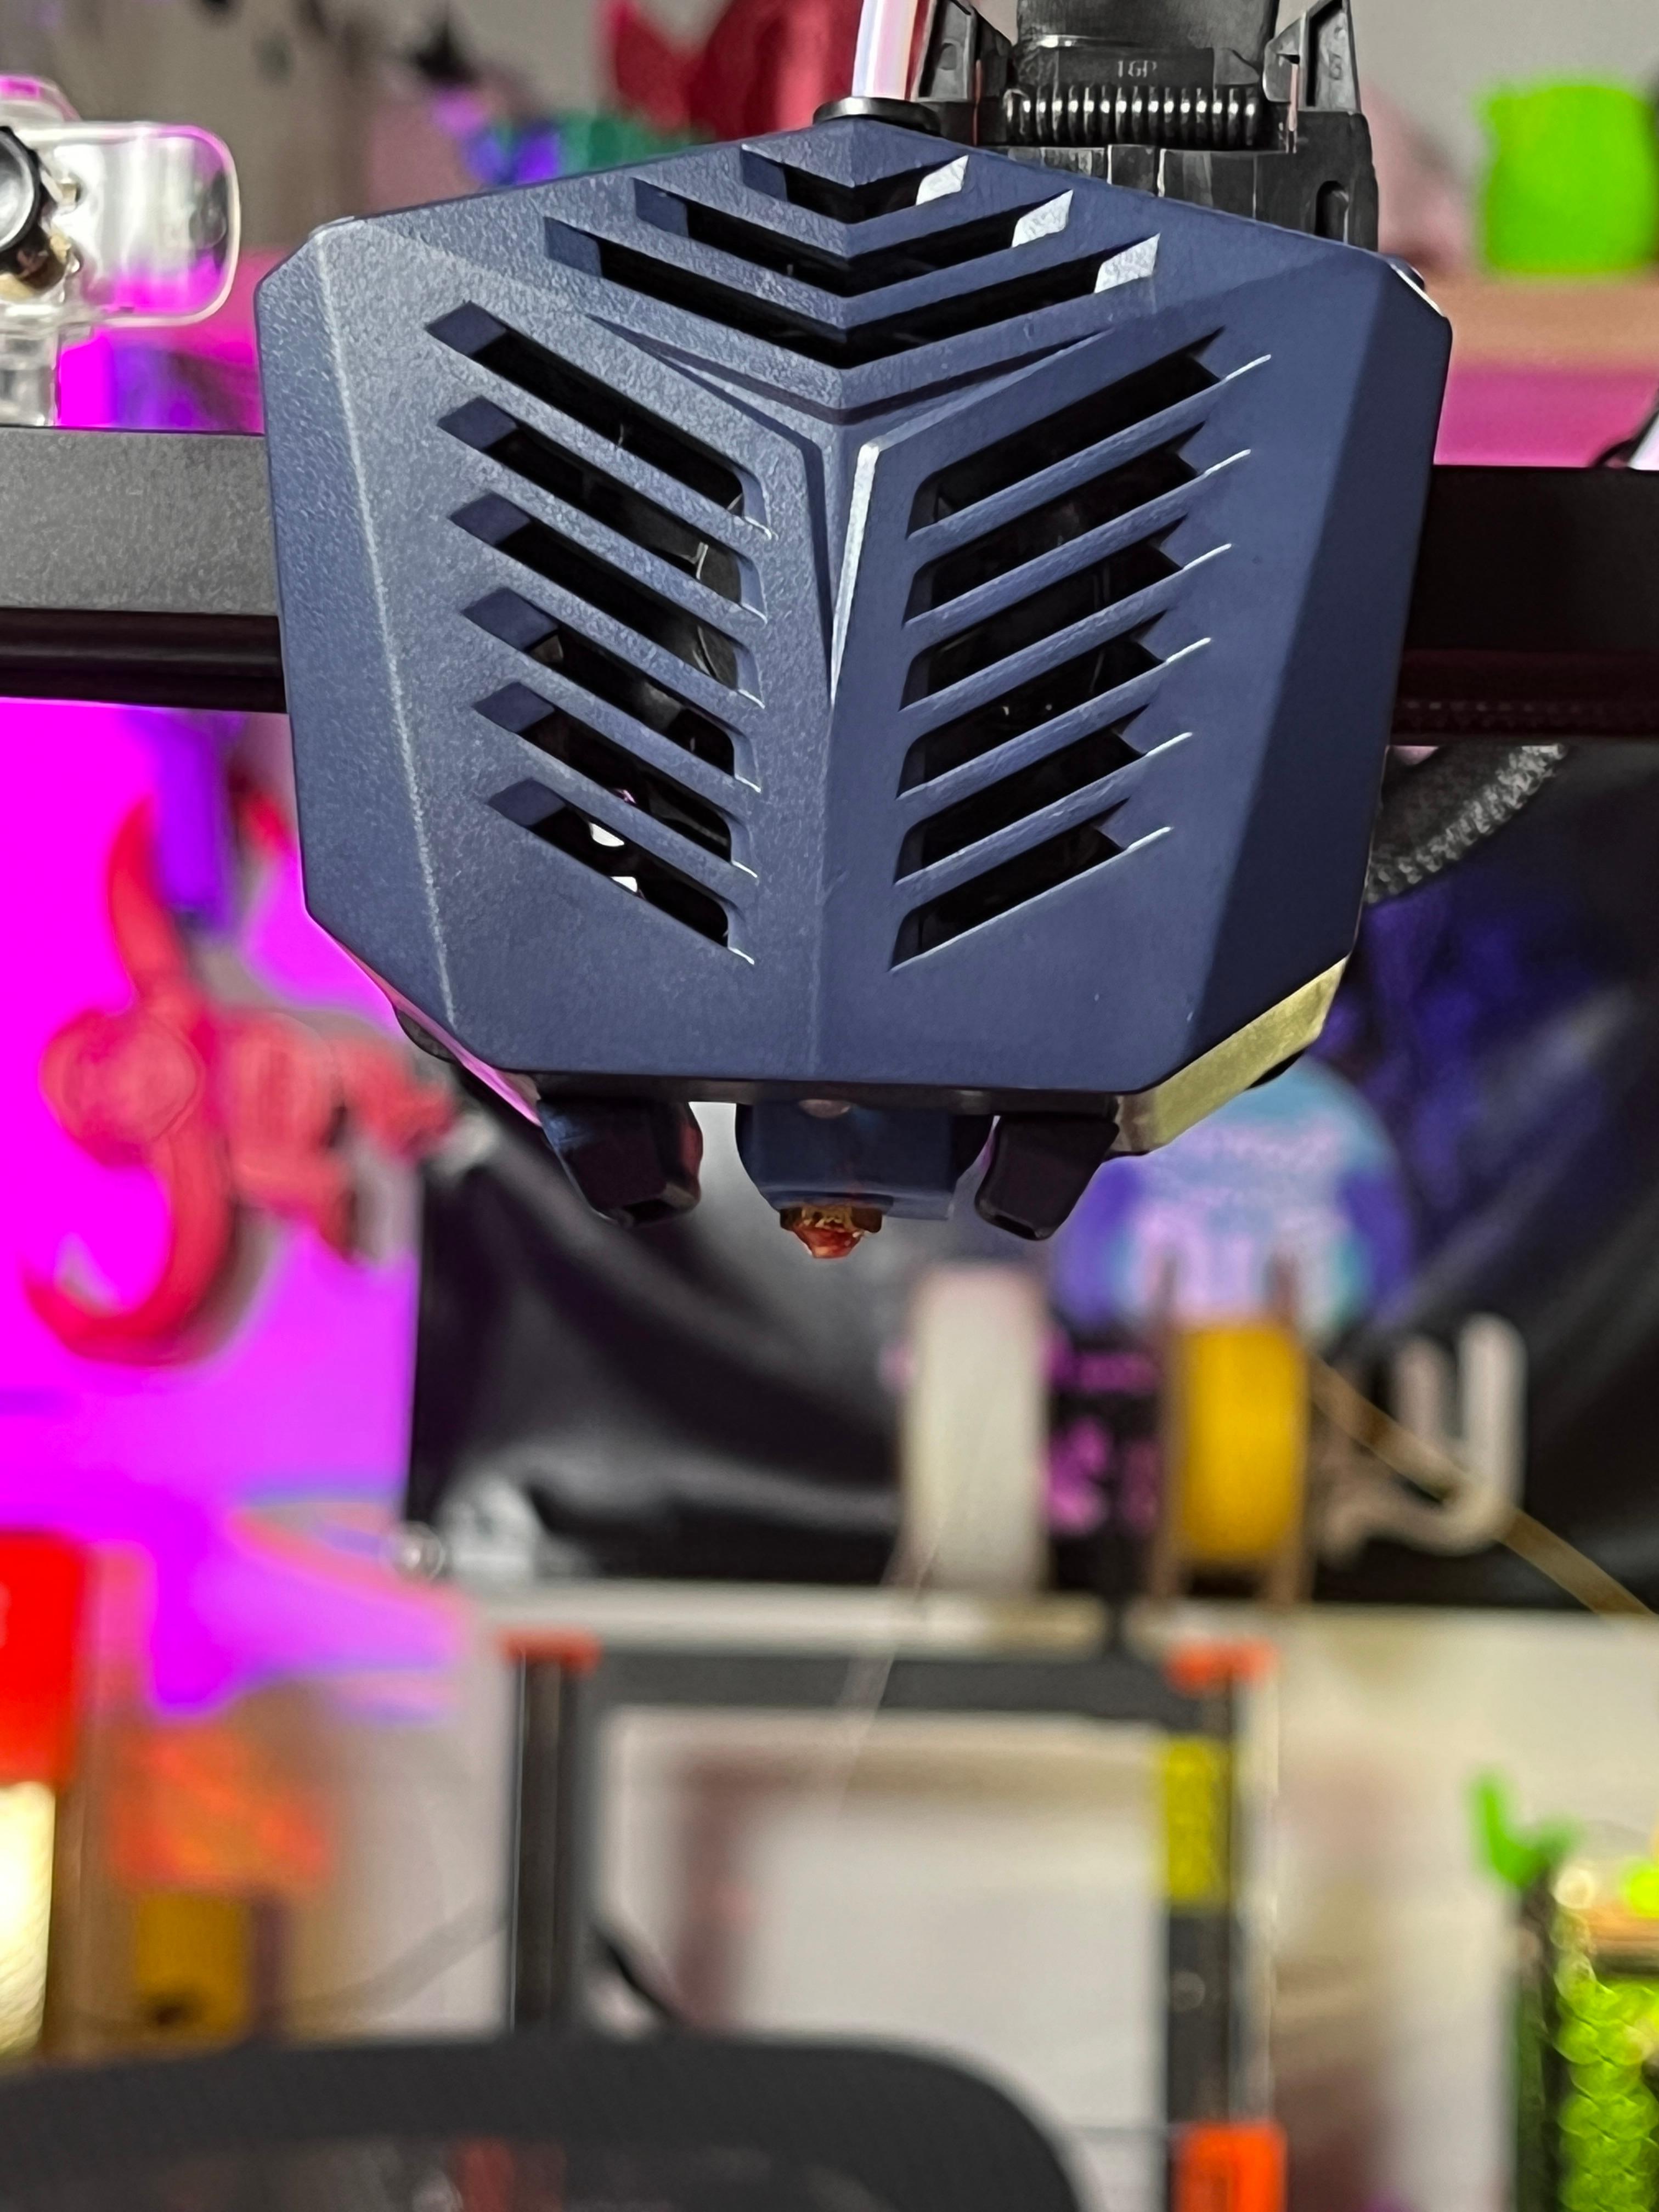
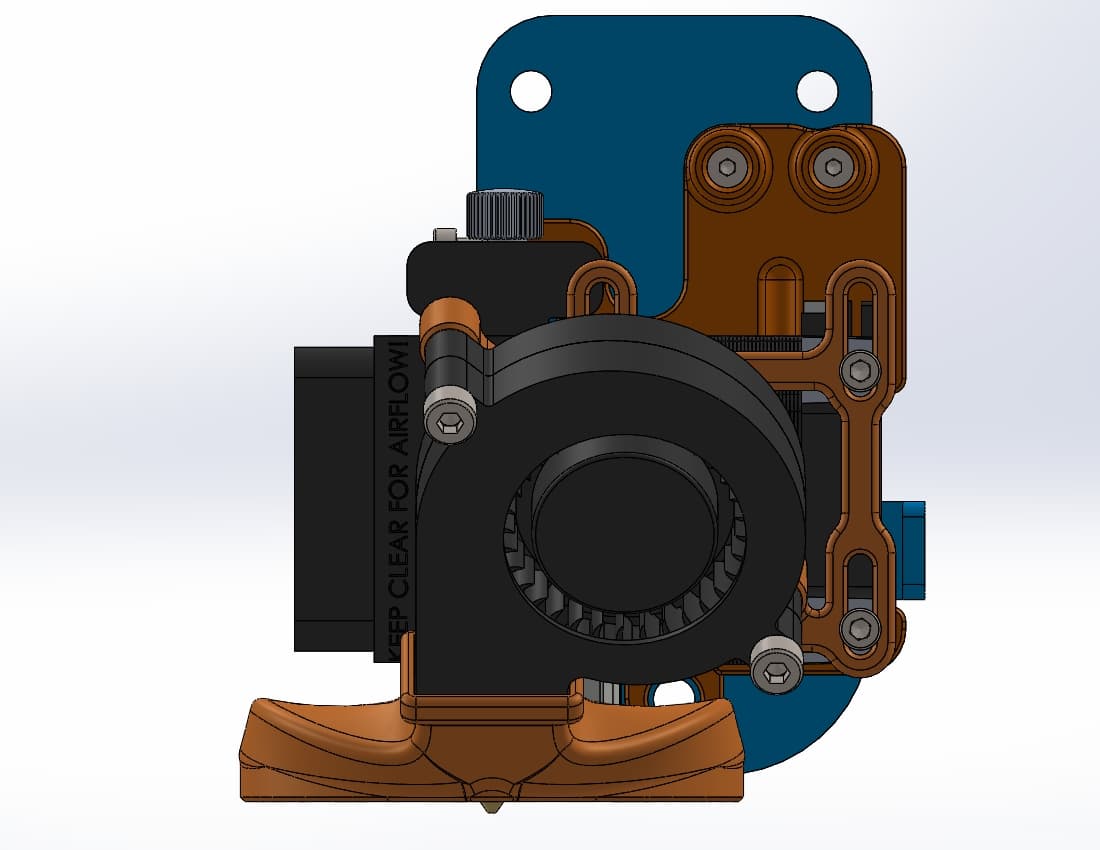
This thing IMHO improves the part cooling of the Hot End by providing focused symmetrical cooling to either side of the nozzle rather than the stock design pushing air to the rear of the nozzle and in some instances cooling the heater block rather than the part.
The Mk1 design cools quite well but a lot of the focus is not centred to just below the nozzle. After 30 plus test designs and CFD simulations this version provides much better focus to the target without too much air restriction. I am currenting printing 3D Benchies @ only 60% fan speed with sufficient part cooling.
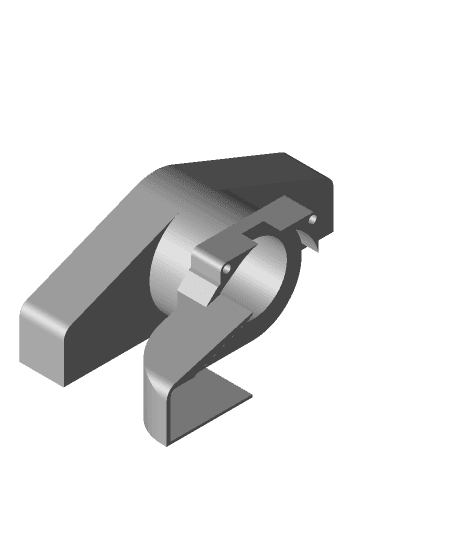
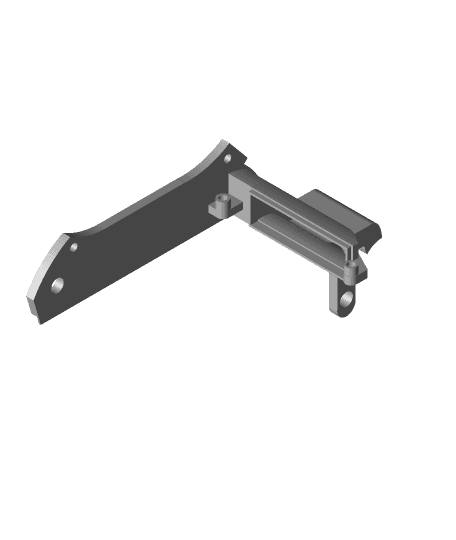
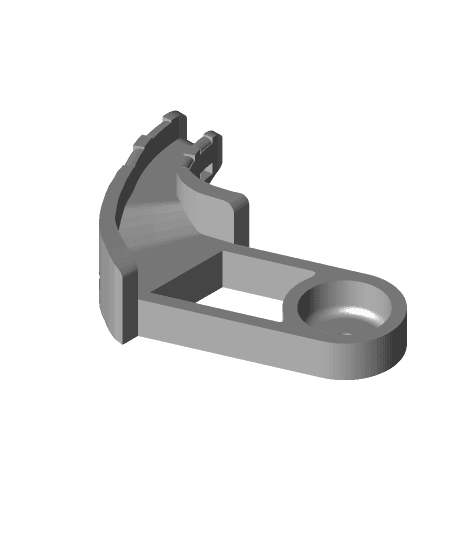
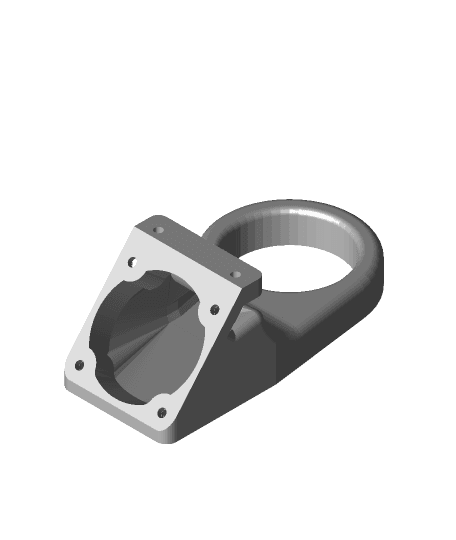
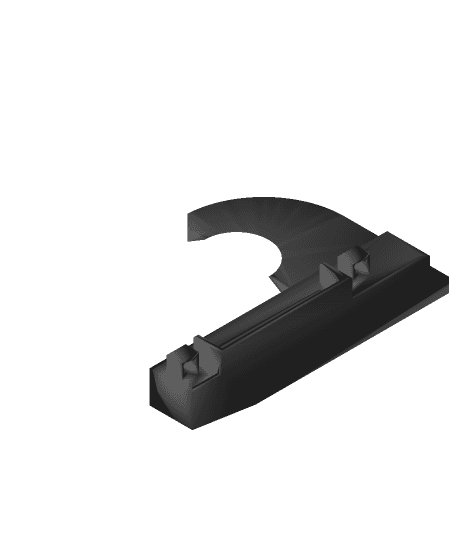
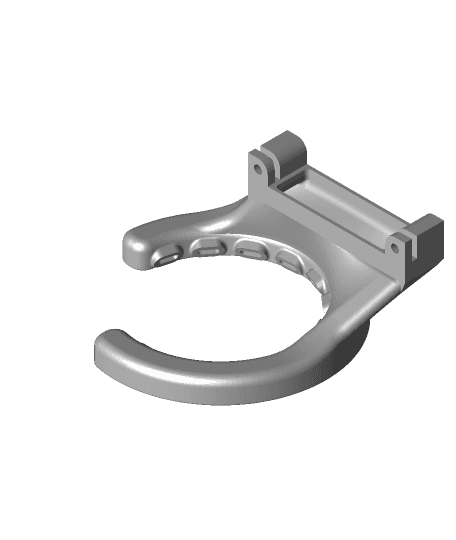
The design includes a removable Blade Duct assembly to allow for ease of changing and maintaining nozzles. The assembly is based on a M3 thermal insert and a M3 x 8mm hex bolt. To achieve this design I also had to modify the Pinda Mount Bracket to clear the left hand duct.
THIS VERSON IS NOT COMPATIBLE WITH THE V1 AND ALL PARTS REQUIRE REPRINTING.
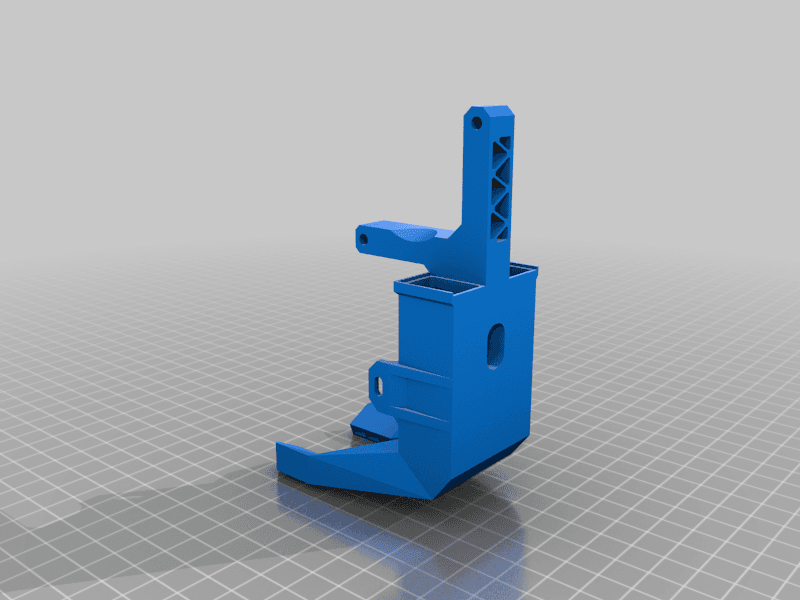
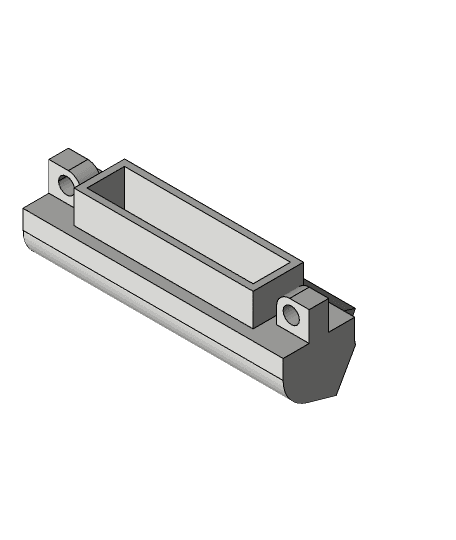
In the Duct Base Mount I have replaced the rear square nut cavity for the Pinda Mount with a M3 thermal insert in the Base mount because the slot made the part weak and was continually splitting.
In my tests\porotypes the parts fit very snuggly and there is no air bleed. If this is not the case after printing with these parts a small amount of Vaseline or similar on the connecting faces will probably cure this.
I have only tried this with my V6 based variation but cannot really see why this should not work for the stock setup. So untested with the stock heat sink and nozzle arrangement.
The parts do not need support if printed in the uploaded orientation except for the Blade duct which requires some custom supports to the duct apertures around the central fin.. There are some some surfaces that push the boundaries of draft angles but these are inherent of the original prusa design parts and not of choosing or design.
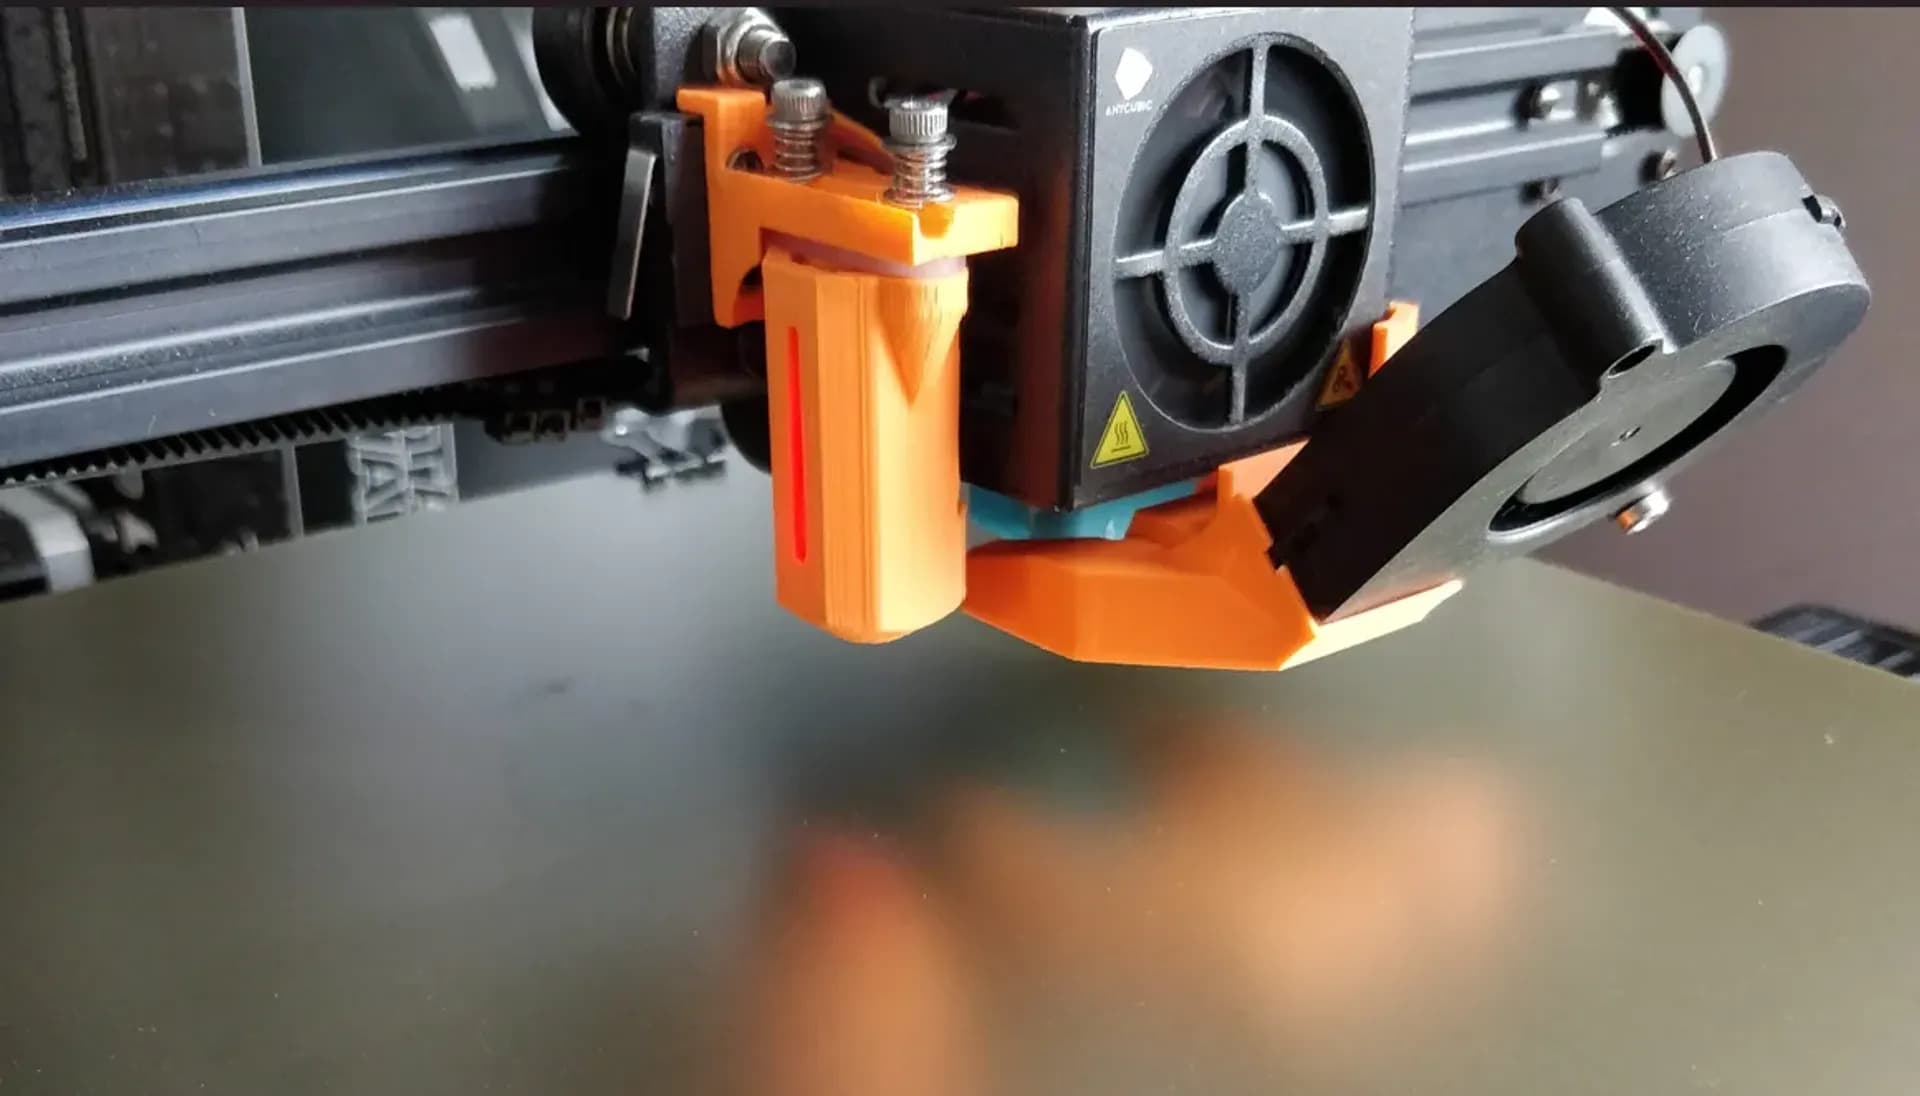
The test print so far IMHO are much improved and both my water nozzle tests and the 32 Sim Scale CFD simulations I have undertaken have the air flow right in the ball park just below the centre of the nozzle which is usually a good indictor to suggest good part cooling rather than cooling the nozzle or heater block.
The following test is to visually confirm the air flow of the part cooling fan duct design is directly below the nozzle in support of the theoretical Simscale CFD tests undertaken during the process of this design.
Link to V2 water test: https://youtu.be/plF7qLFFh5Q
Link to M3 Thread Insert Used (Amazon UK Site): https://www.amazon.co.uk/gp/product/B07LBR79VH/ref=ppx_yo_dt_b_asin_title_o00_s00?ie=UTF8&psc=1
Link to Pleomin`s remix for a Bondtech heat break: https://www.thingiverse.com/thing:4947021/comments#comment-5704246
Prusa Mini Detachable Cooling Duct Assembly V2
Prusa Mini Detachable Cooling Duct Assembly
Cooling Duct for Prusa MK3 with Slice Hot End
Phaetus Dragonfly HIC Cooling Duct Mounting for Creality Ender3 V2

BIQU H2 5015 Cooling Duct
(V2) For BIQU B1 - DIY Enclosure - Remix of Prusa's V2 IKEA Lack Enclosure - with extra doors (opening on 3 sides)
Creality Ender 3 / Pro / V2 - Part & Hotend Cooling Upgrade Kit
Balco Touch\Wanhao Duplicator i3 Cooling Duct:40mm
EP3D SWX2 & Genius Pro 5015Part Cooling Duct V2.0.STL

Hemera Cooling Duct
Anycubic Vyper & Kobra Max Part Cooling Duct UPGRADE! - Improved print quality
K3D Cooling Duct for Sprite Extruder / Ender 3 S1 Pro with Spinner / Indicator Hole
Part cooling duct for Ender 3 Pro

Creator 3 part cooling duct plug
Cooling Duct for Creality EFIT Extruder
Hemera 5015 Part Cooling Fan Duct Rev 8.2.stl
Anycubic Mega Zero 2.0 5015 cooling fan duct
Geeetech A10 (Late 2018) Part Cooling Duct
Mega Zero shorter ring cooling duct upgrade (MK8 compatible)

RMX BIQU H2 5020 Cooling Duct - BX version