Prusa Mini & Clones Z Axis Rigid Mount
Model originally uploaded to Thingiverse at https://www.thingiverse.com/thing:4881439.
Update:18\10\21 On request uploaded a step file for the revised parts.
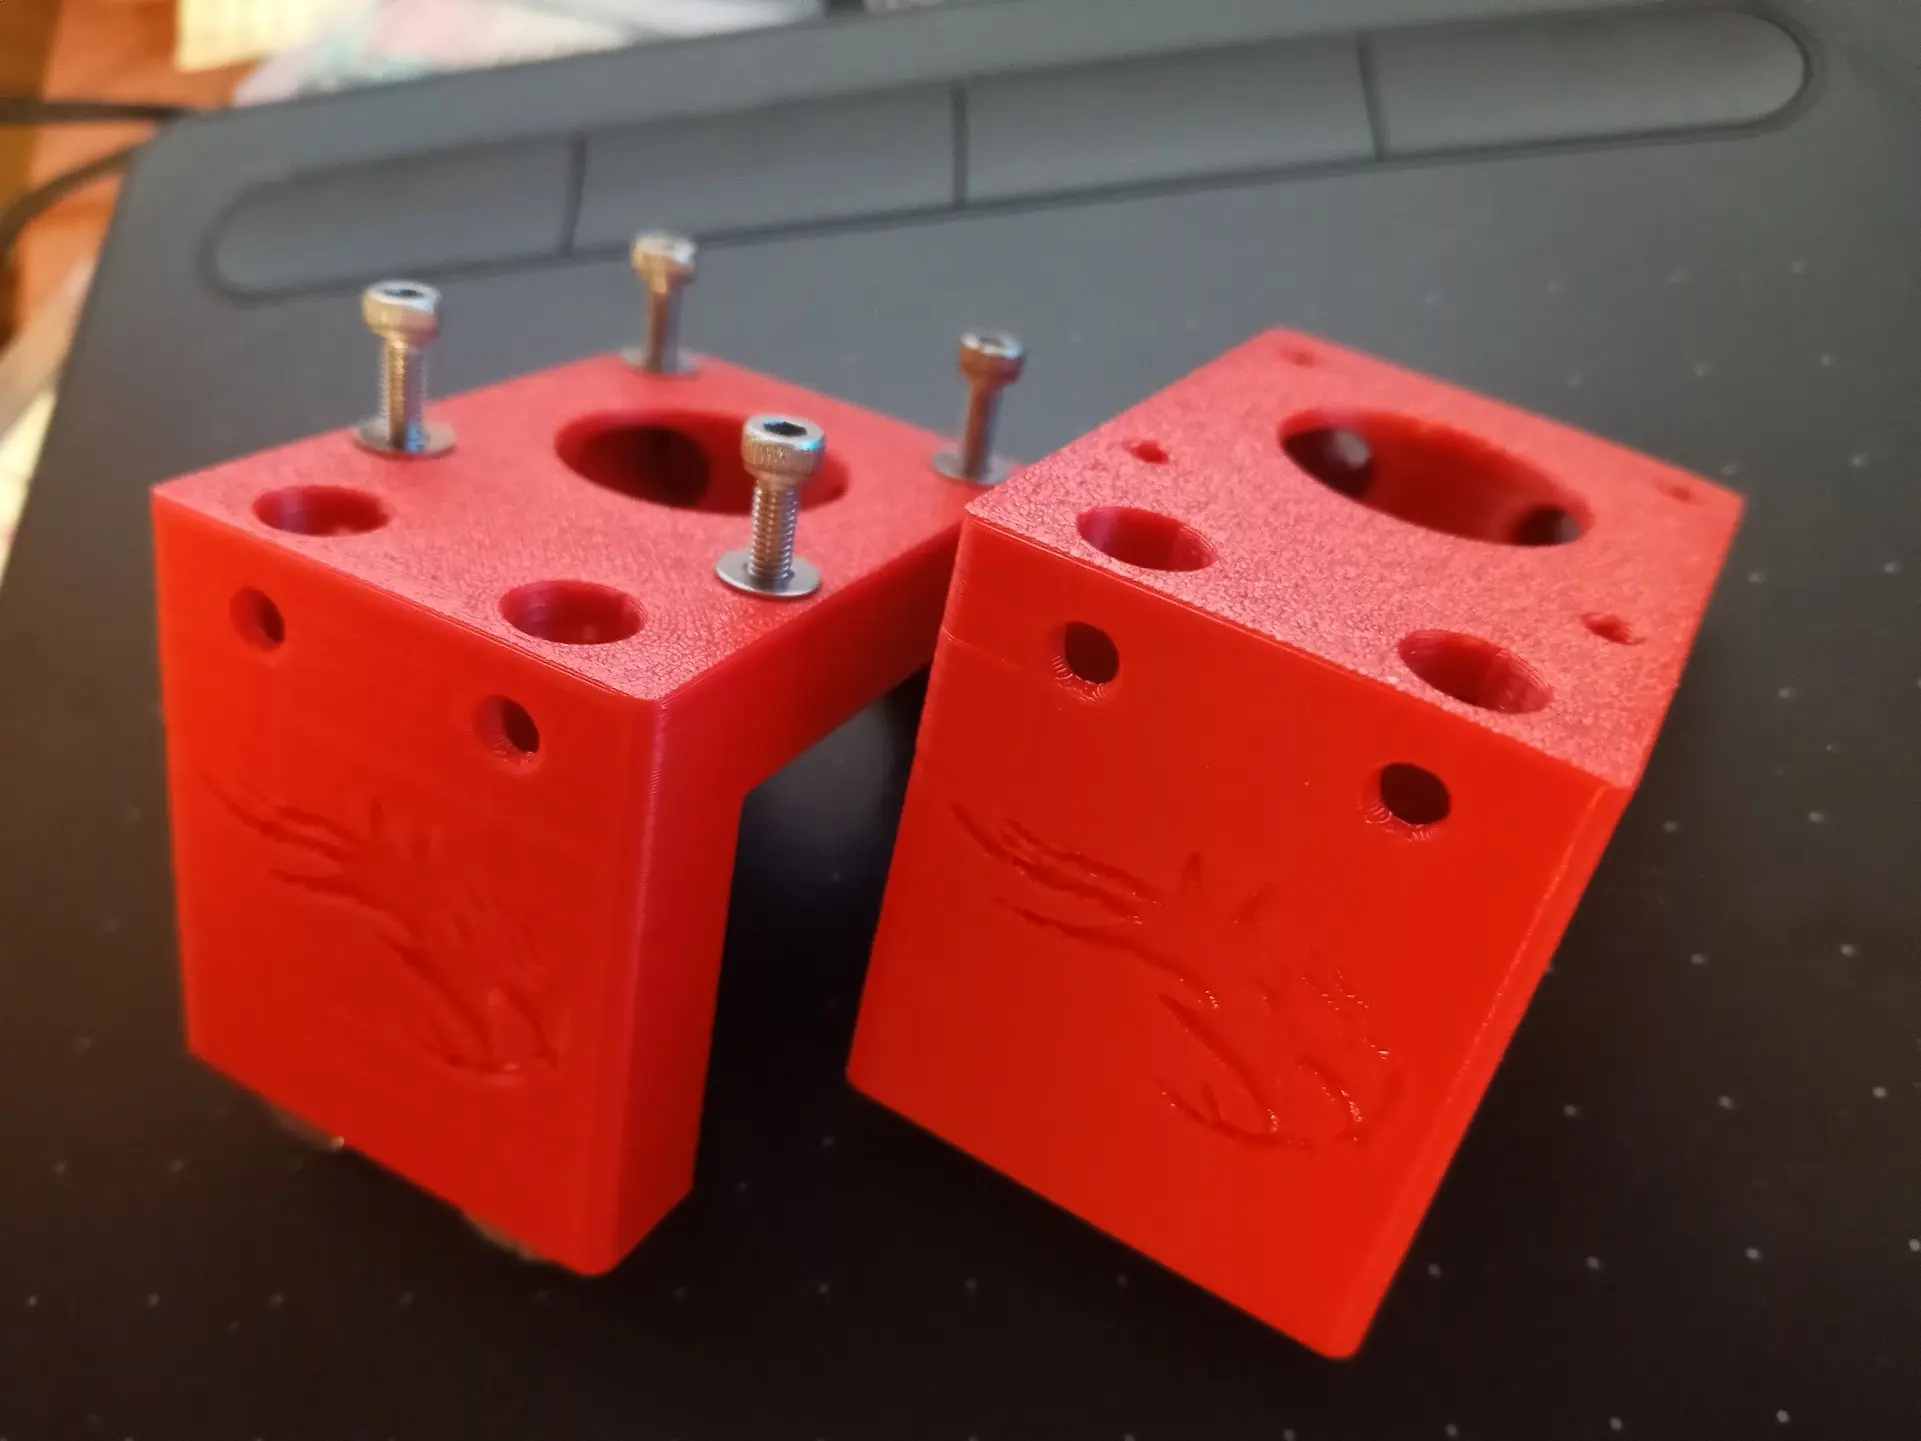
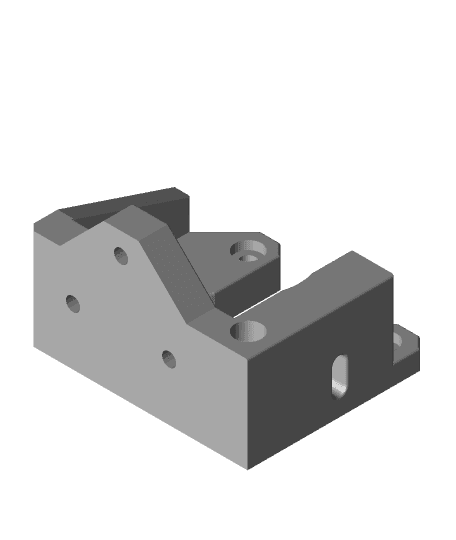
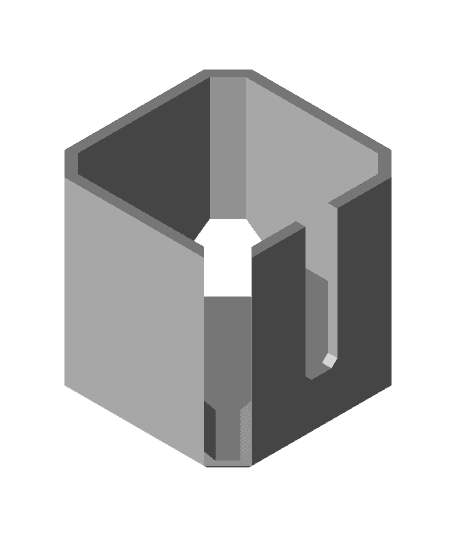
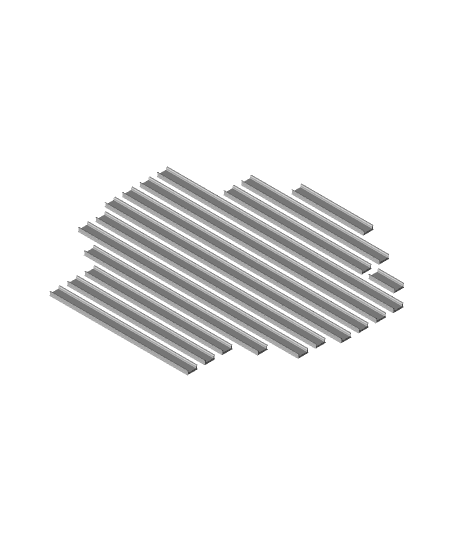
This is a replacement Z Axis Mount and Electronics Enclosure for The Prusa Mini & Clones.
The primary design motivation was to provide a much more rigid assembly to the Z Axis of the Mini. Since installing this mod on my clone I have found that the prints have far better layer construction and all ringing\ghosting that was witnessed in the stock arrangement is no longer present.
The separation of the Z Axis structural elements and the Electronics Enclosure makes life a lot easier in terms of general alignment and servicing. I have found both the X & Y axis alignment to the bed much better than the stock arrangement.
Installation
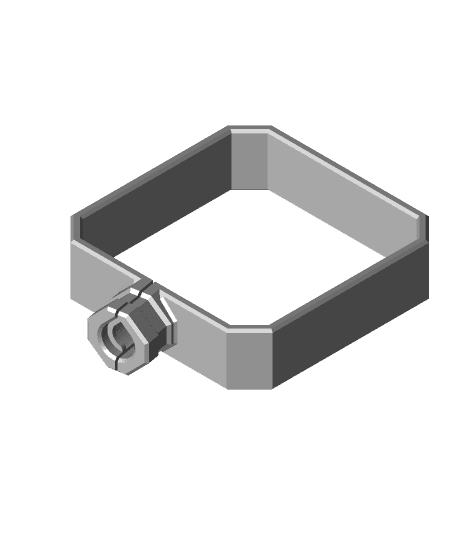
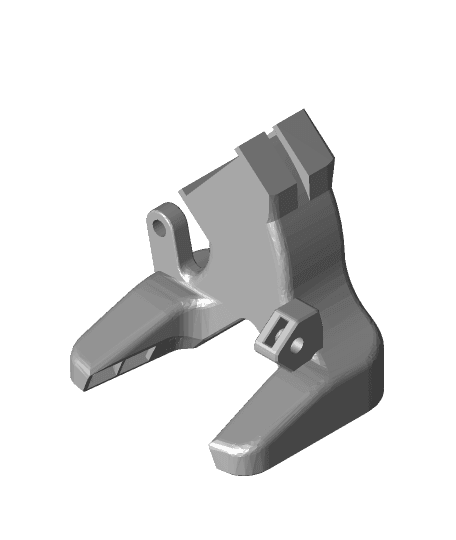
1.I have included a BOM with the uploaded files. Please note the links within the file are indicative for reference and not automatically the ones I have used. 2.I have suggested the M6 Screw Post Fit Nuts because the Collette is 8 mm and fits very snuggly into the holes in the 3060 bracket. A M6 x 50 can be used alternatively without the 30 mm threaded bar but will require a M6 Nylok to each bolt. 3.Retain the M3 T nut within the horizontal face of the adjacent 3030 extrusion to fix the top aluminium plate as per the existing configuration. 4.Insert the Display ribbon cable into the Electronics housing before fixing the housing to the extrusion and Z mount bracket. 5.There are included some sacrificial layers to some holes to allow the parts to be printed without support, these will need to be cleaned out prior to insertion of the relevant bolts. 6.To achieve the best parallel alignment all fixing should not be fully tightened until you are satisfied with the X & Y axis alignment. 7.I have included a cable spacer to allow the cables nearest to the Extruder motor to be returned away from the slightly higher Housing Lid and keep them clear from the heat of the stepper motor. 8.The design uses the existing Z Mount\housing lid. 9.The foot\spacer washer is required to space off the foot below the Electronics Housing to make it level with the rest.
Printed with Real Black PETG on my HEVO. 1.Z Axis Mount printed @0.25 layer height with 3 perimeters, 40% infill and 4 layers to top and bottom @ 50 mms. 2.Electronics Enclosure printed @ 0.25 layer height with 2 perimeters, 20% infill, 3 layers top & bottom @ 50 mms.
Detachable Cooling Duct can be found here: https://www.thingiverse.com/thing:4881770
Prusa Mini & Clones Z Axis Rigid Mount
Prusa i3 clone Duet 2 wifi case

Prusa X axis NEMA spinner Imperial Logo
Wanhao D9 to Prusa X Axis Linear Conversion
HICTOP Prusa i3 Y axis idler pulley mount (added radiused corner version)
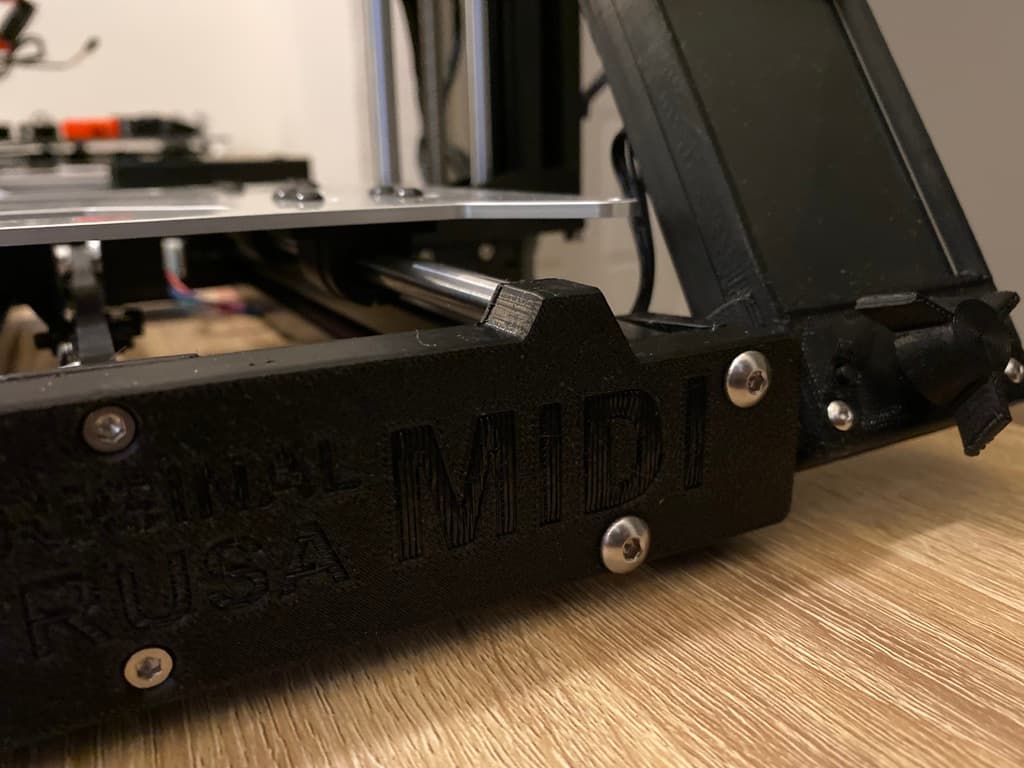
Prusa Mini "MIDI" (Y Axis Front Plate Re-Label)
Prusa Mini X-Axis cable strain relief larger ziptie
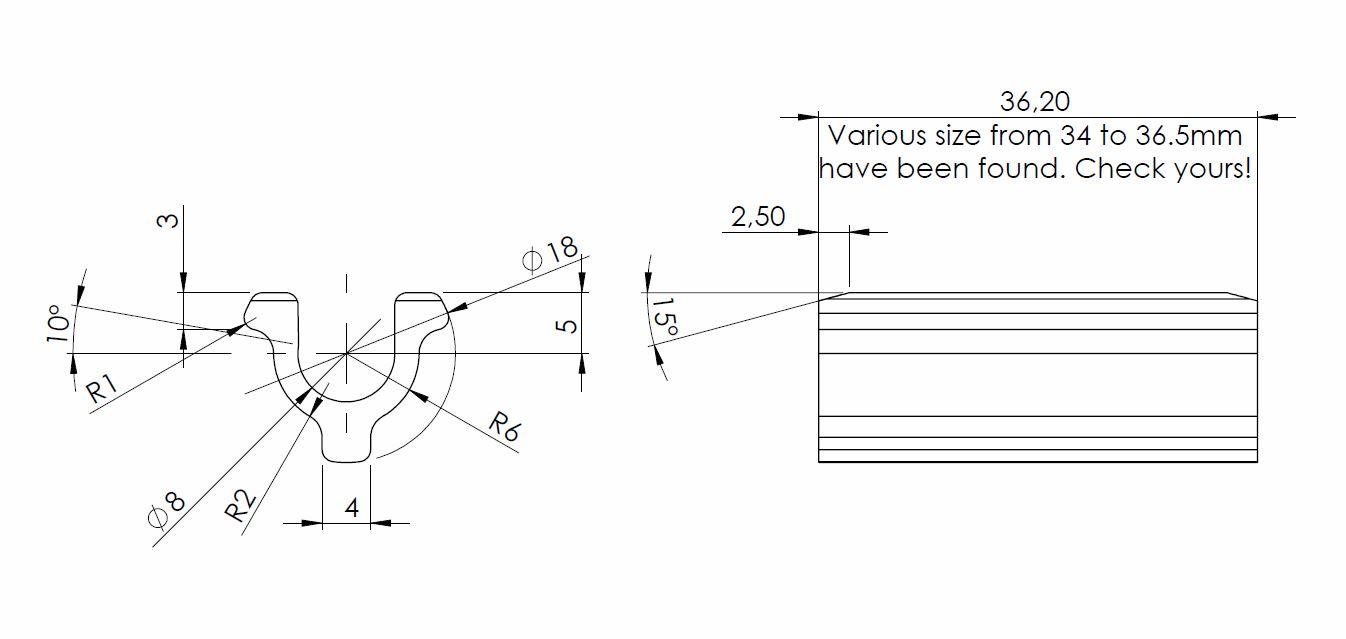
Prusa-i3-MK3S+ Y Axis right shaft End Stop Bumper 36.2mm upgrade
Prusa i3 MK2 Y axis motor support
Original Prusa i3 MK3 X-axis motor cable strain relief w/Prusa logo
Prusa i3 MK3 Y-Axis Motor Holder with End Stop
Prusa Mini USB Extension Z-Axis Mod
Prusa MUTANT Upgrade Kit (for MK2.5S, MK3S, MK3S+)

Prusa MUTANT Upgrade Kit (for MK2.5S, MK3S, MK3S+)

Prusa MK2.5S mods for Wham Bam Mutant V2

Prusa MK2.5S mods for Wham Bam Mutant V2
Prusa Mk3 3030 T-Slot Extrusion Channel Cover Set
Print-in-Place Bag Clip
.jpg&w=3840&q=75)
Sidewinder X2 Gantry Supports

AXIS Right Angle Corner Clamp Jig, Model 850, v01