
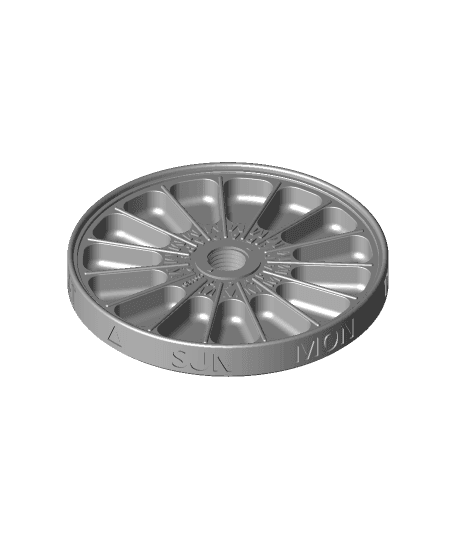
Pill Box with AM PM Apertures V2\V2_2
Model originally uploaded to Thingiverse at https://www.thingiverse.com/thing:3054659.
Update 24\11\19: Uploaded Days only version of base. I have not test printed this so still WIP.
Update: There is now a revised version available here: https://www.thingiverse.com/thing:3243260
This is a remix of my Pill Box with AM PM Apertures. In version 2 I have included:
1.Spring tension to the lid. The tension is achieved by using 1-4 springs from cheap Biro or press release pens (4mm OD x 20mm ish).
2.Ratchet system to provide a tactile response. The Ratchet is a separate insert so can be removed if undesirable or not suited to user. The lid tension will still work without the Ratchet.
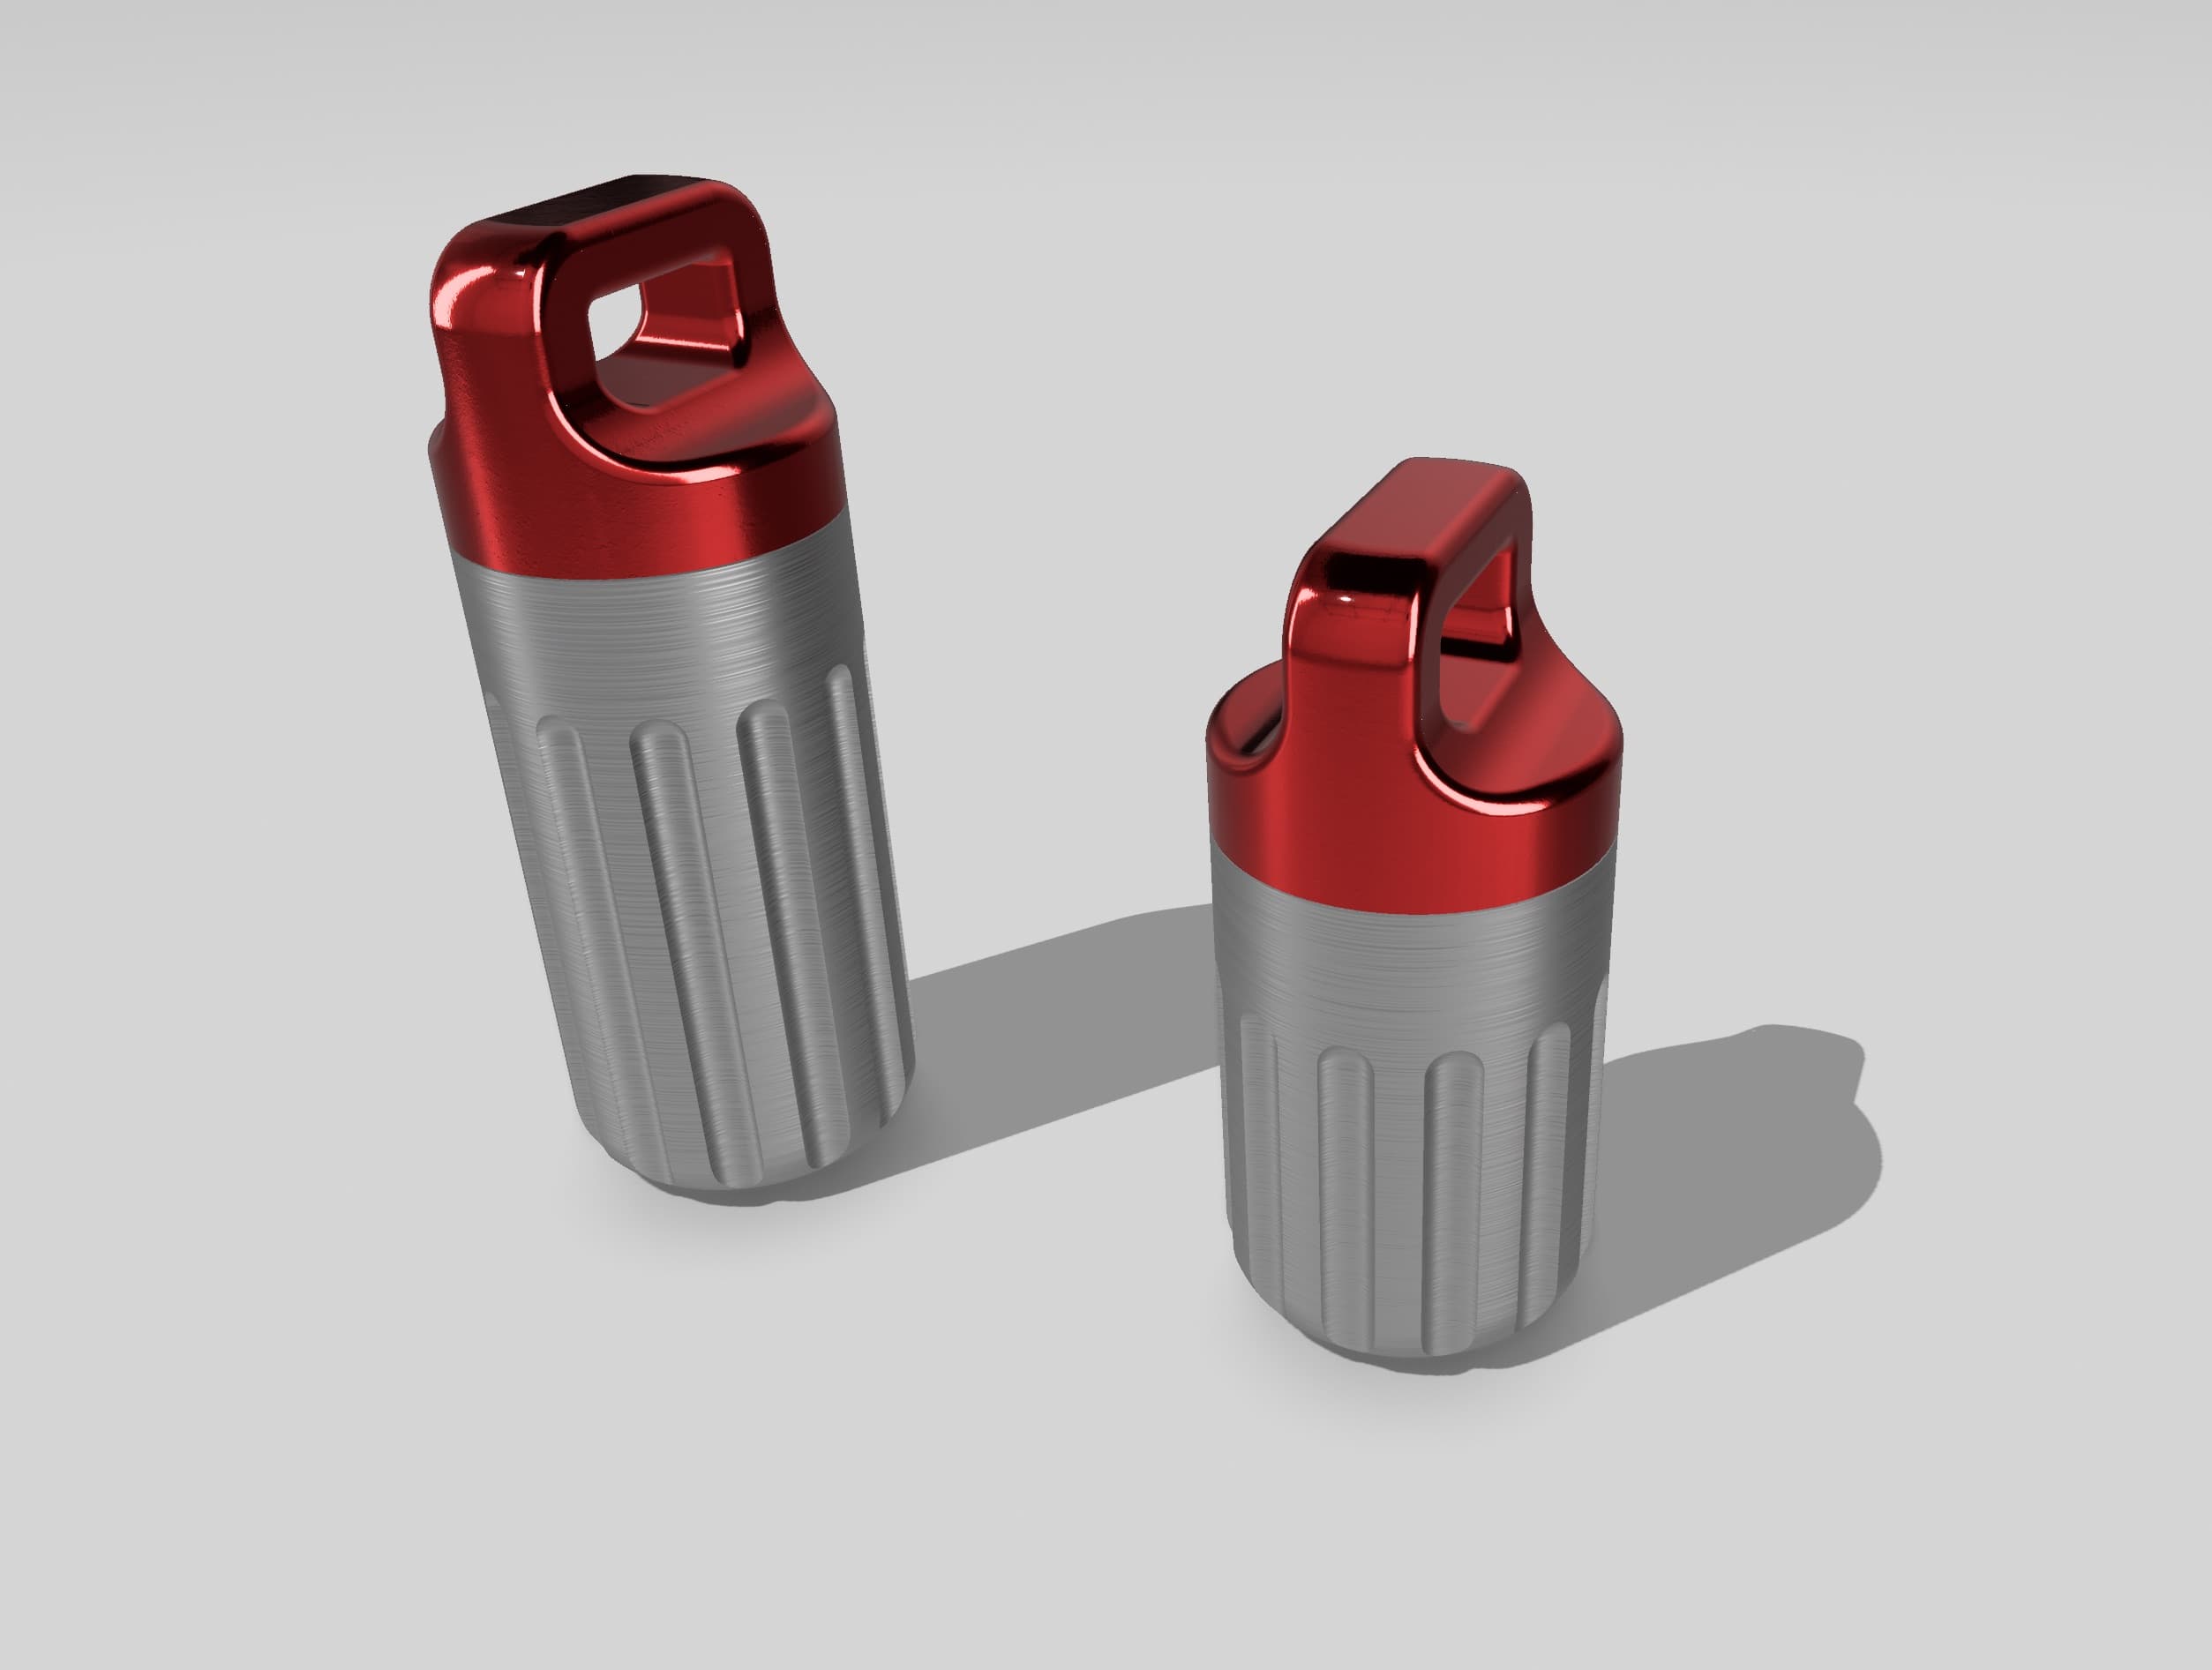
3.Integral travel clasp. Low profile or a hooked version available for download.
Print Settings
1.All things printed at 0.2 resolution. No support is required except for Clasps.
2.Clasps, Bolt and Ratchet Inserts are better printed with increased perimeters and infill to increase strength. I have also printed prototypes in PETG. I have used 30% infill and 3 perimeter walls.
3.Some wear may occur with the small ratchet steps on the underside of the lid after time. This may result in less audible clicks to ratchet but the lid tension will still work (I will look at this further for the next version).
4.The Clasps will require support and a raft to be printed on their side to maximise strength.
5.The ratchet insert should be printed flat.
Assembly Instructions (also see images for assembly instructions).
1.Obtain 2 x 4mm OD x 20mm springs.
2.Place Body and Lid face down.
3.Insert Ratchet with correct orientation to slot, Ratchet is asymmetrical and can only fit one way. Make sure the wedge shape is to the bottom.
4.Align springs with circular recesses in the Base & Liner. This is quite fiddly, thin nosed pliers will help.
5.Gently press on liner plate while compressing springs joggle Ratchet insert into alignment.
5.While holding down Liner Plate, screw in fixing bolt. Fully tighten using screwdriver or coin.
6.Insert either type of Clasp into pivot slots on the base top face.
7.Rotate clasp and force over Base rim to fasten. Shave material off the Clasp retention grip to reduce severity.
UPDATE: 11\11\18 - I have not tested\printed the following update so technically version 2_2 is WIP. Files included in Version 2_2:
AMPM_Label OnlyV2_2.stl Bolt_V2_2 LH Thread.stl Lid_V2_2 LH Thread.stl Main Body_V2_2_No_AM_PM.stl Main Body_AMPM_V2_2.stl
1.On request I have reversed the thread in the lid and the bolt so it rotates in the opposite direction to the lid rotation ( Great Idea by Mr_Tantrum !).
2.Seperated AM PM lettering from main body so it can be either printed on a dual extrusion machine or printed separately and glued afterwards if you have the will to do this.
Updsate: 12_11_18 1.Changed Lid_V2_2_LH Thread.stl because it was incorrect Now V2_3

Pill Box with AM PM Apertures V3 - It's Personal!

Pill Box with AM PM Apertures V4 - It's More Personal!
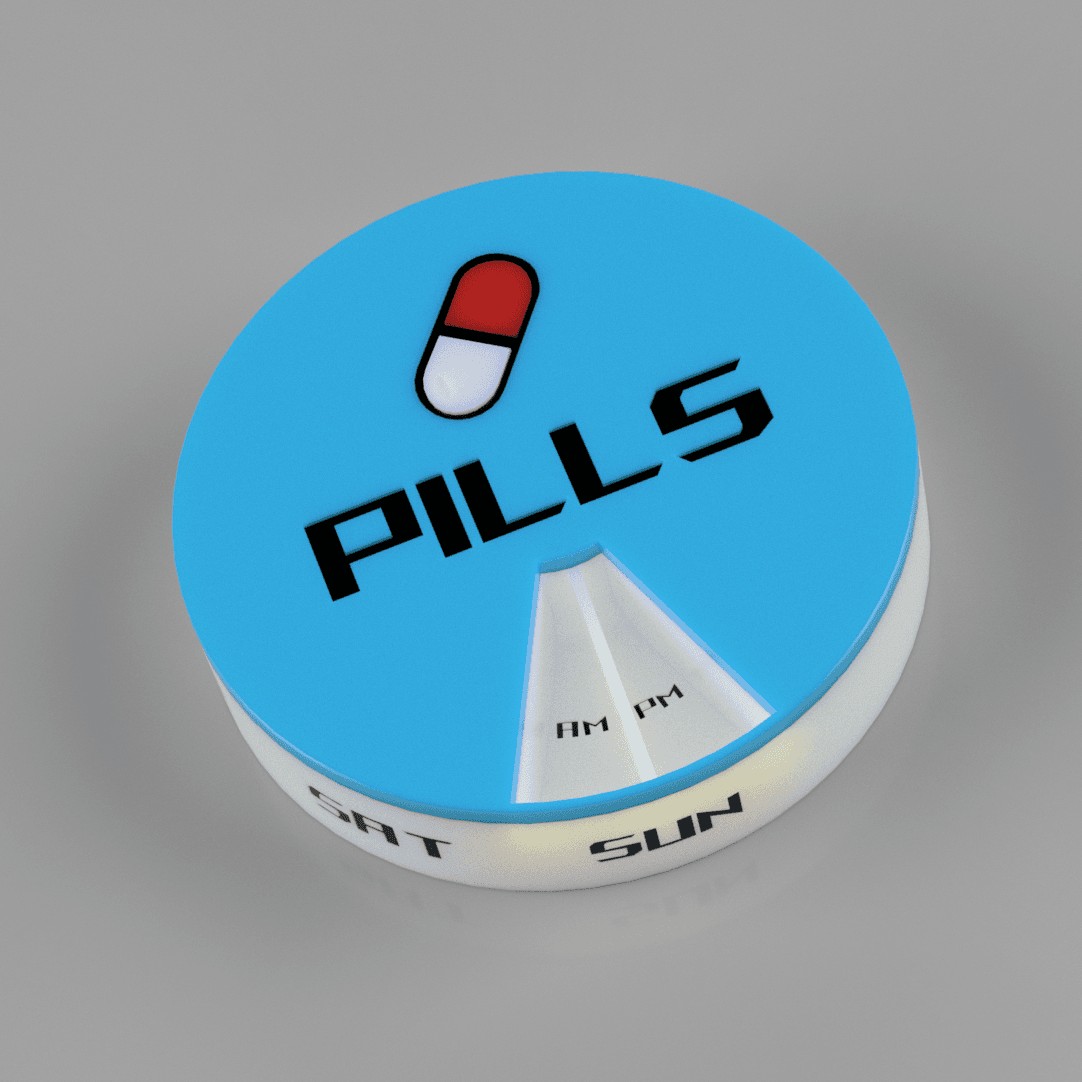
Pill Box with AM\PM Apertures

Pill Box V5 - Large Apertures - Days Only

PAWROUTINE WALL CLOCK
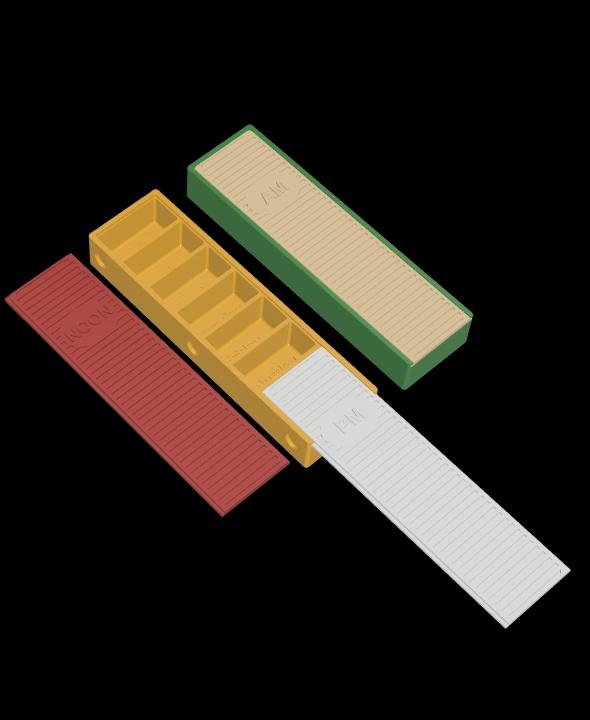
7 day AM/PM magnetic pill dispenser
Seven-Day Magnetic Pill Organiser with Secure Locking Lid 3 Versions AM/PM
.png&w=3840&q=75)
Sushi Supplements - Weekly Pill container and Keychains
.png&w=3840&q=75)
Sunflower Lamp
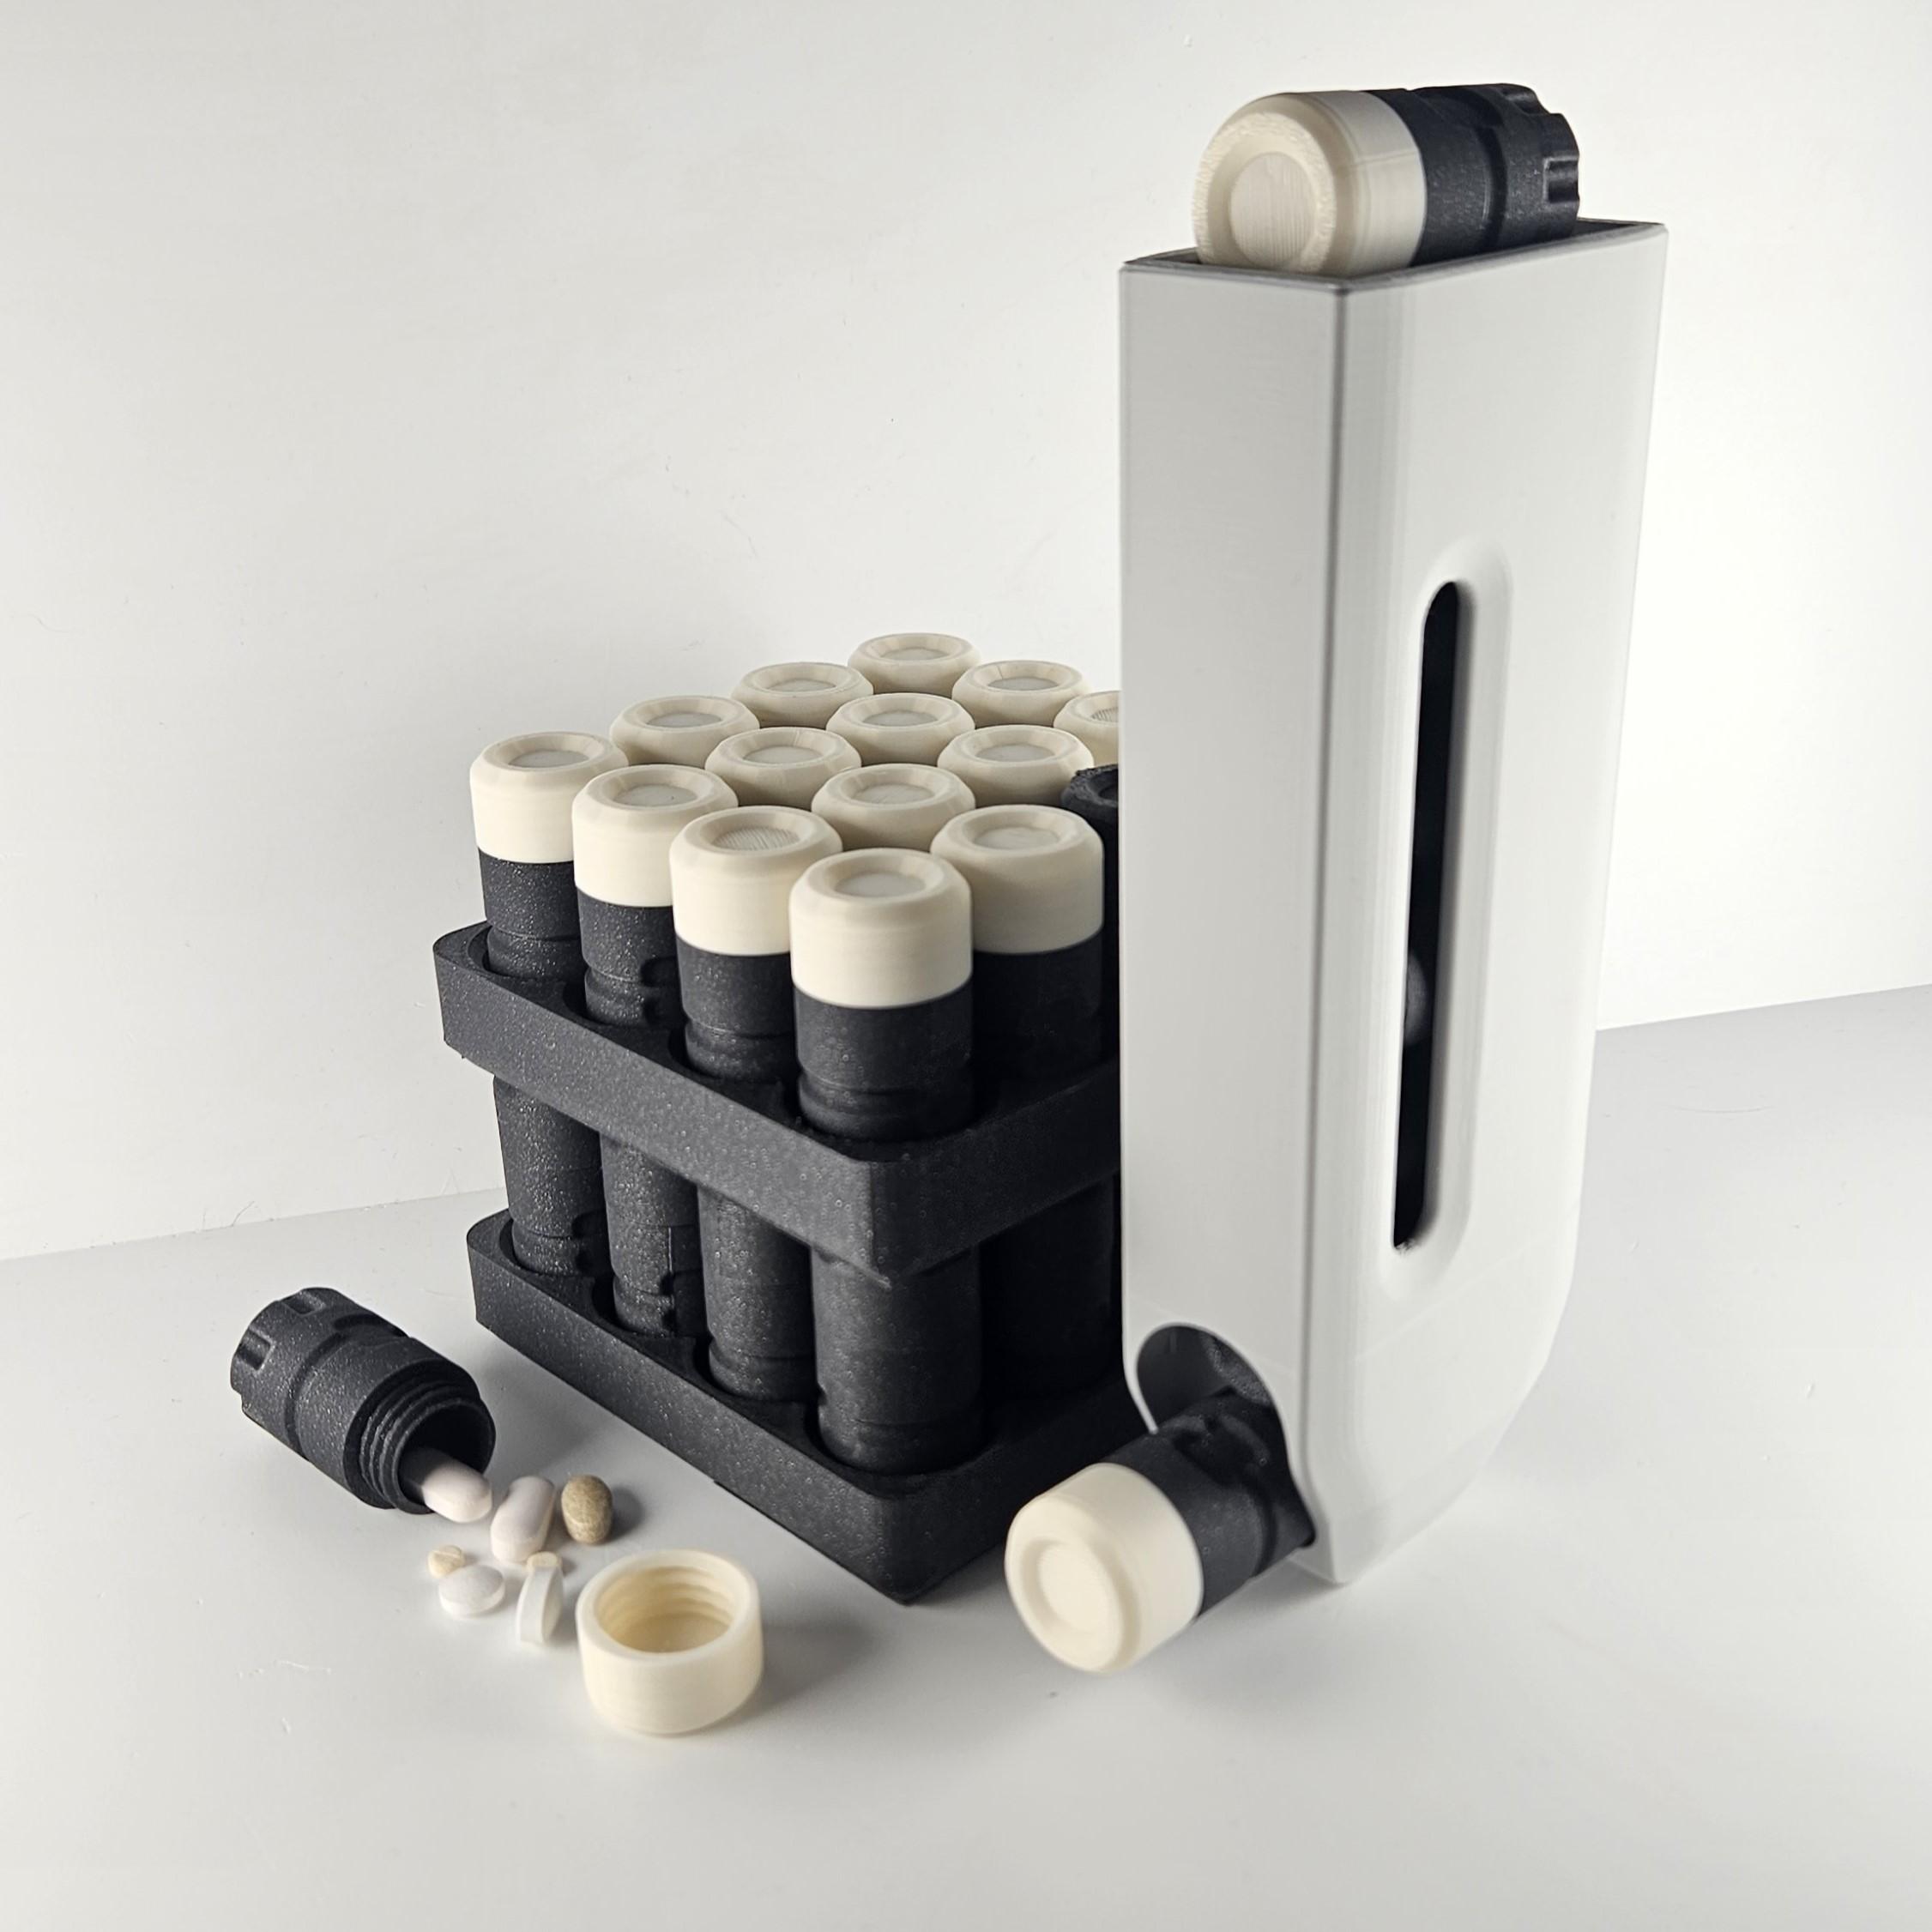
Pill Pods (Pillbox / Supplement dispenser)
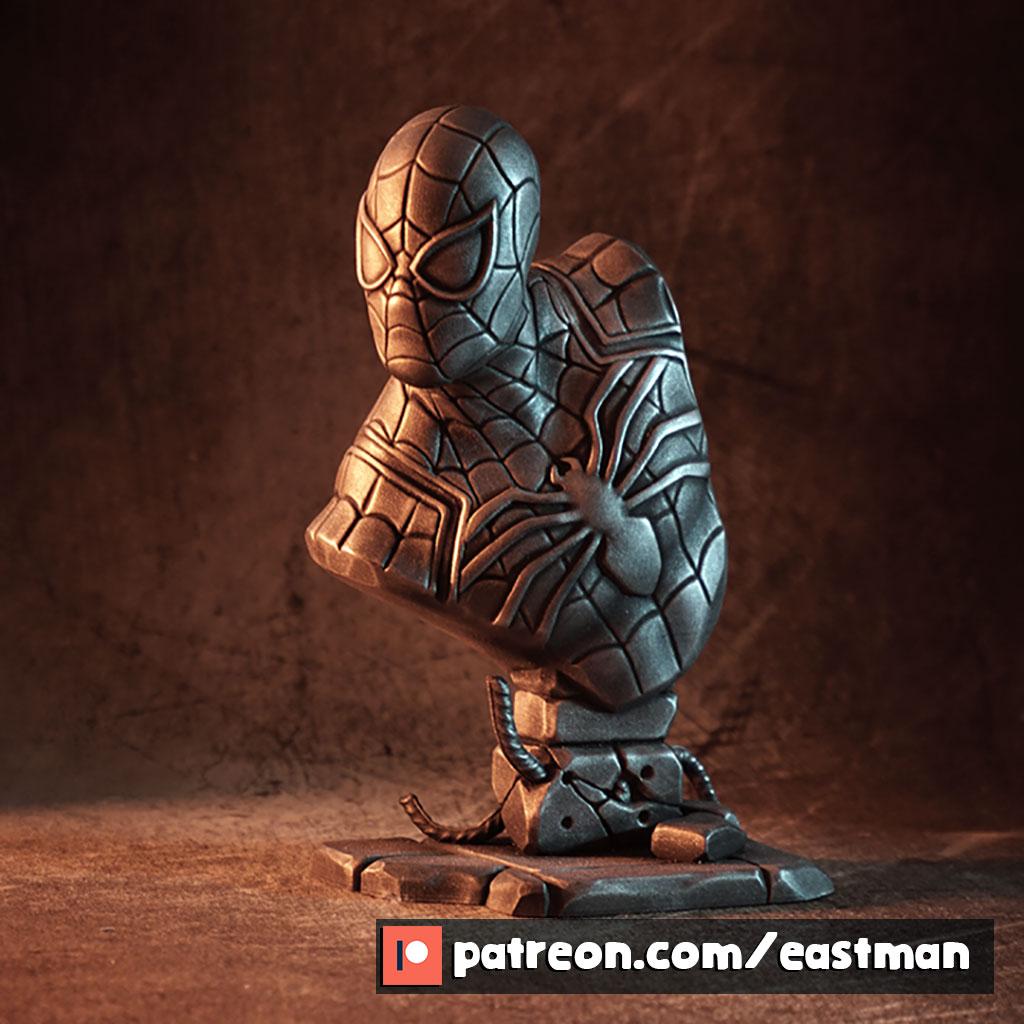
Spider-Man bust (fan art)
.gif&w=3840&q=75)
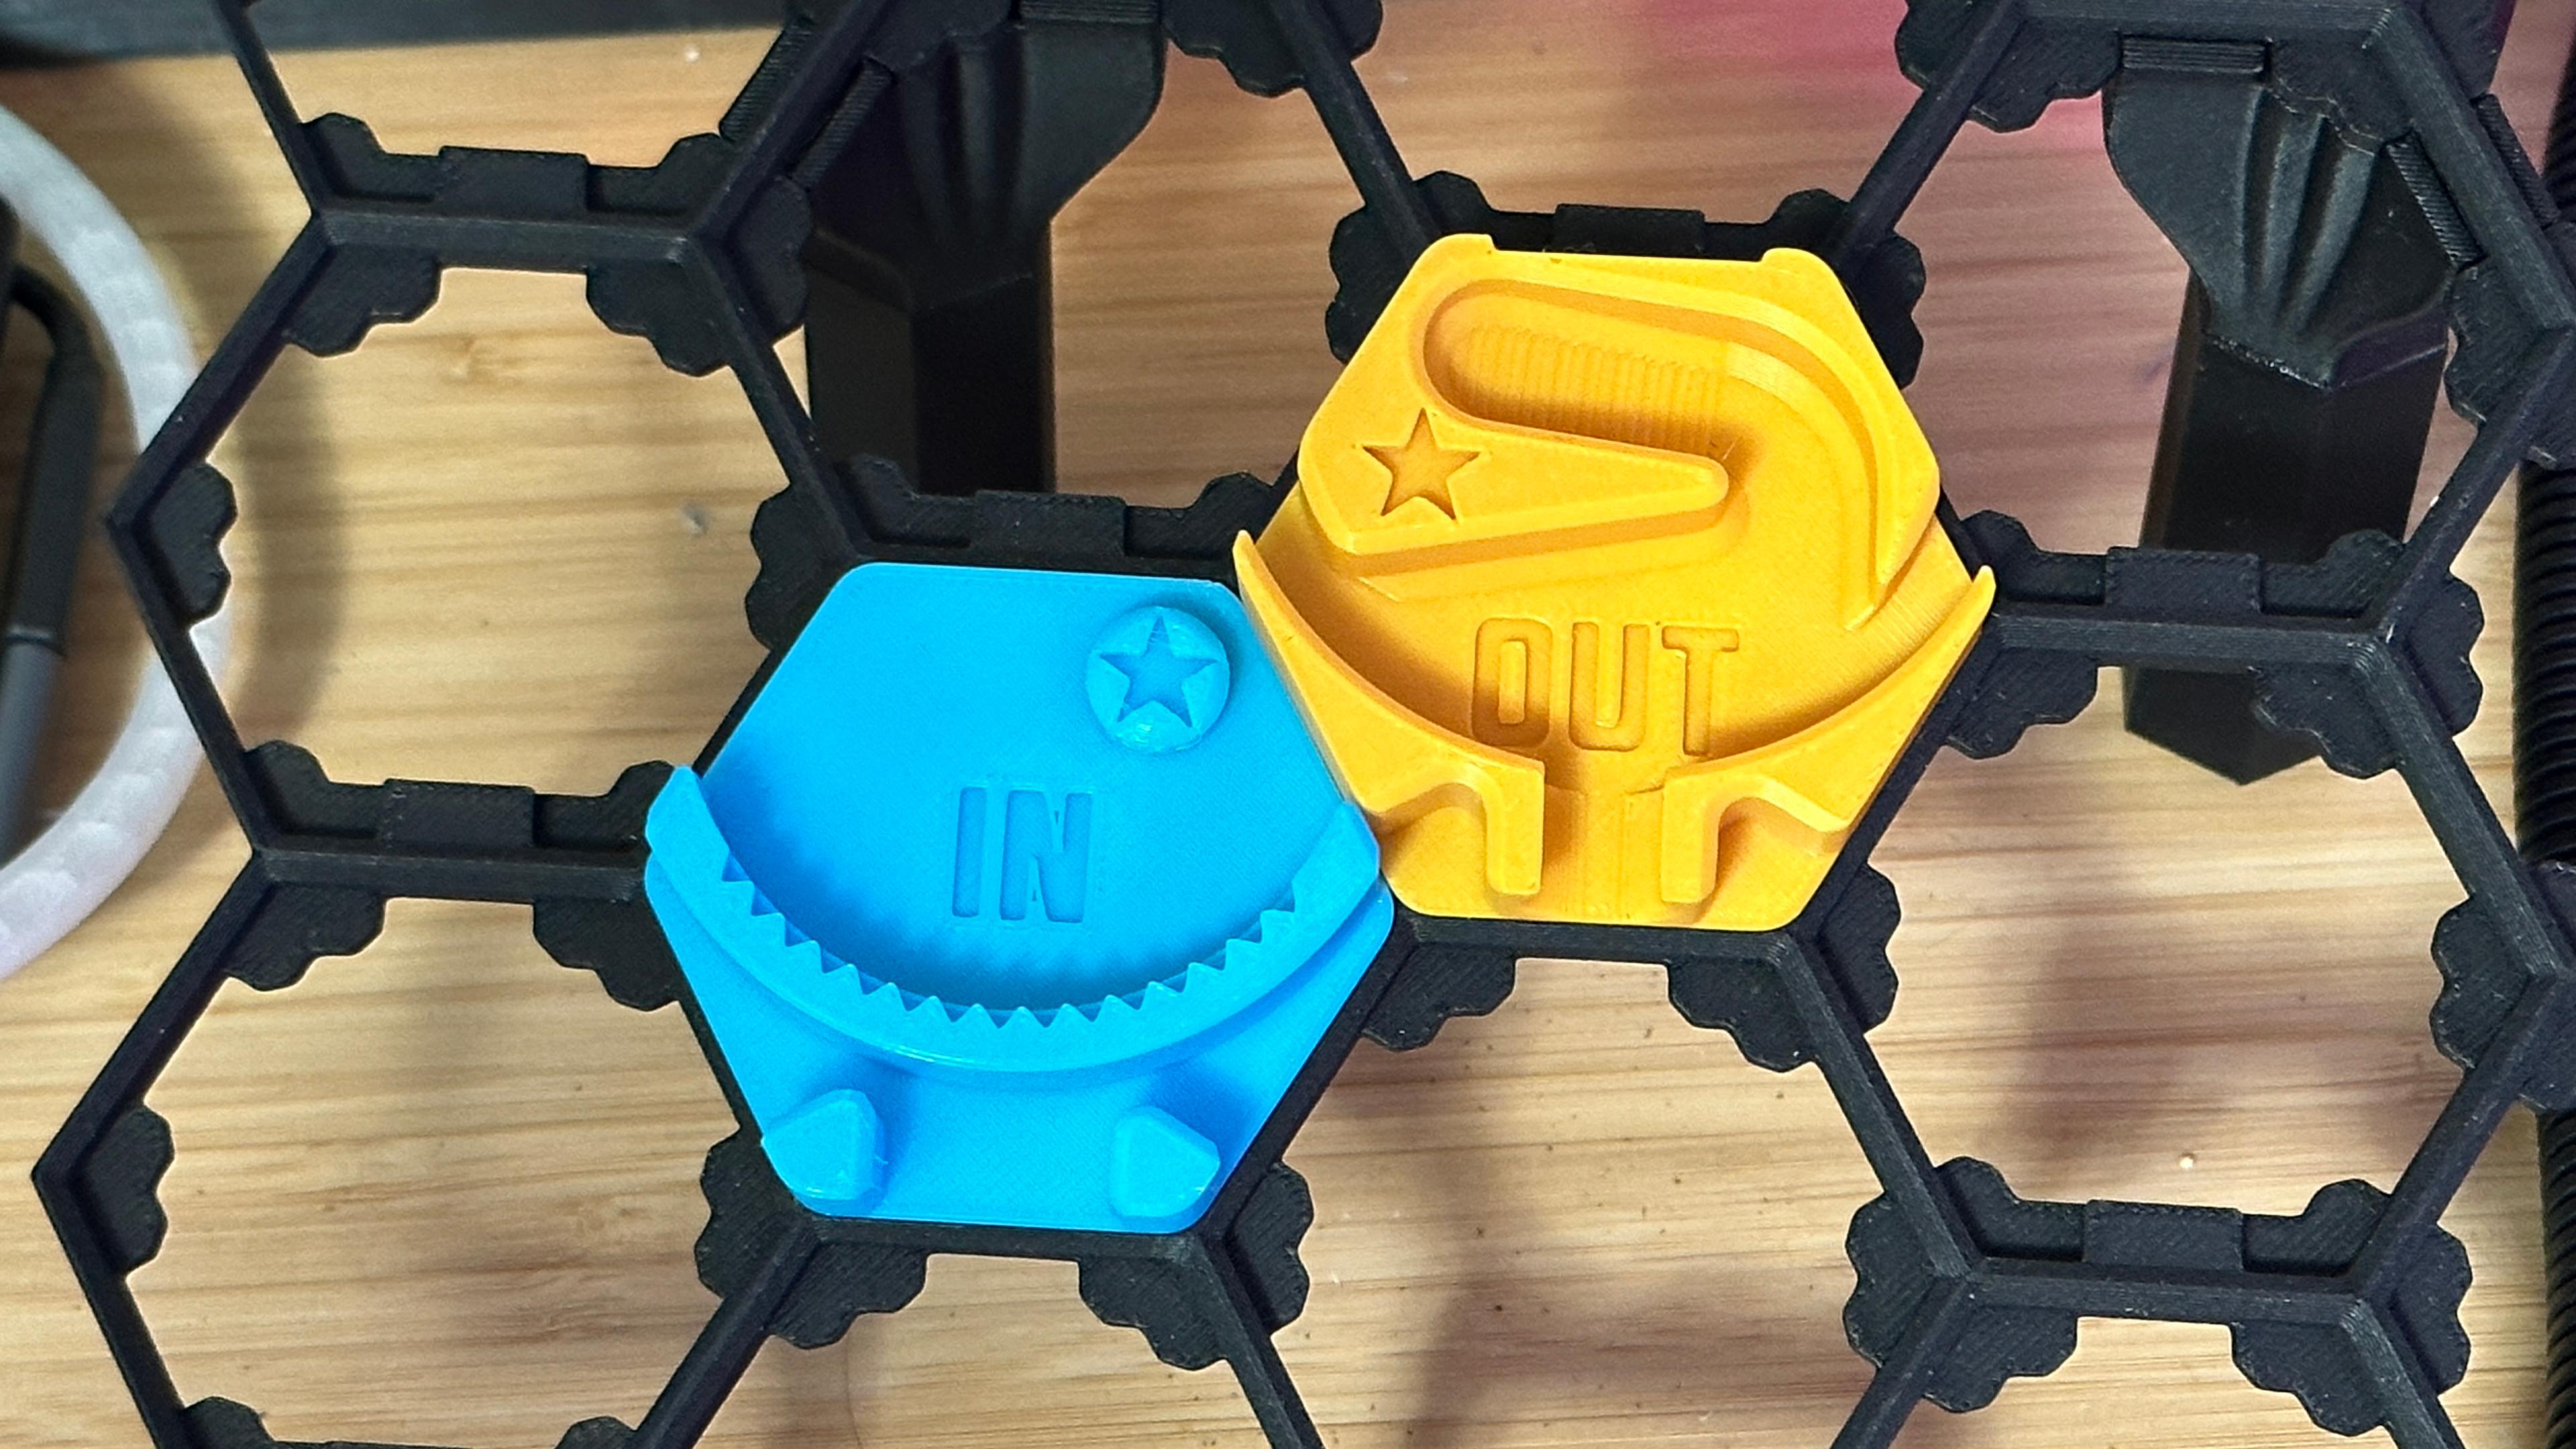
Mini Fidget Pill Organizer
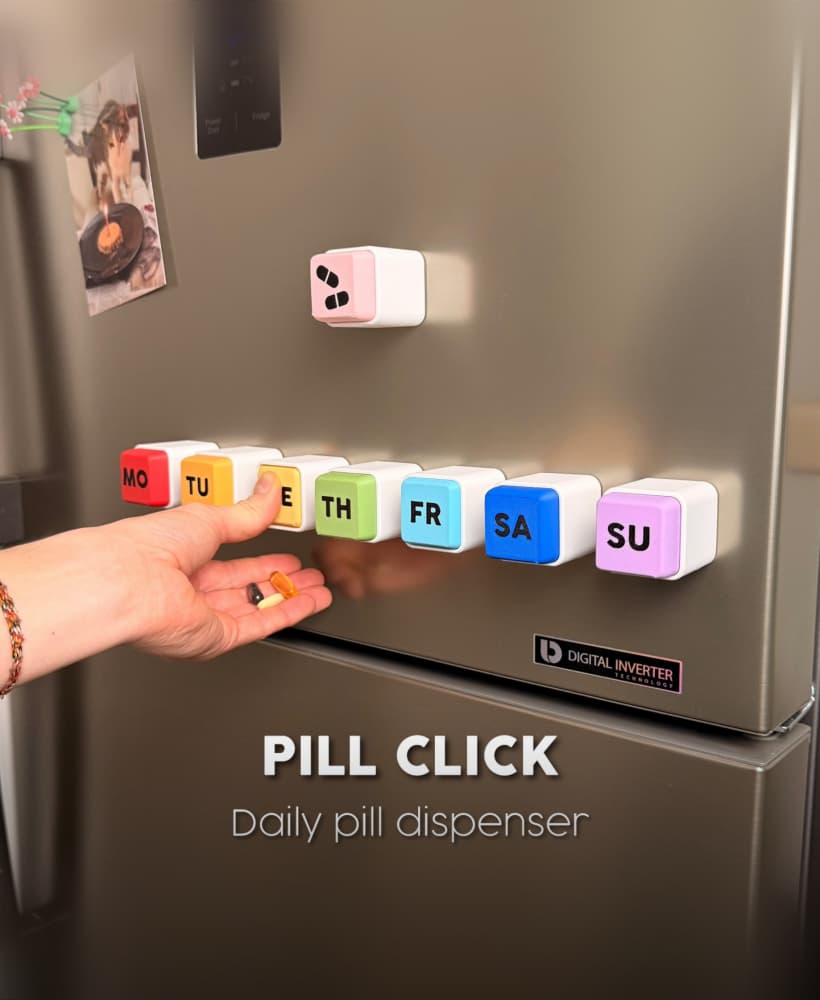
PILL CLICK | DAILY PILL DISPENSER
Hextraction Portal Tile: Special RMRRF 2023 Edition!

Loopfruit – The Citrus Pill Organizer that Clicks

Pill Organizer Fidget - Oreo Style
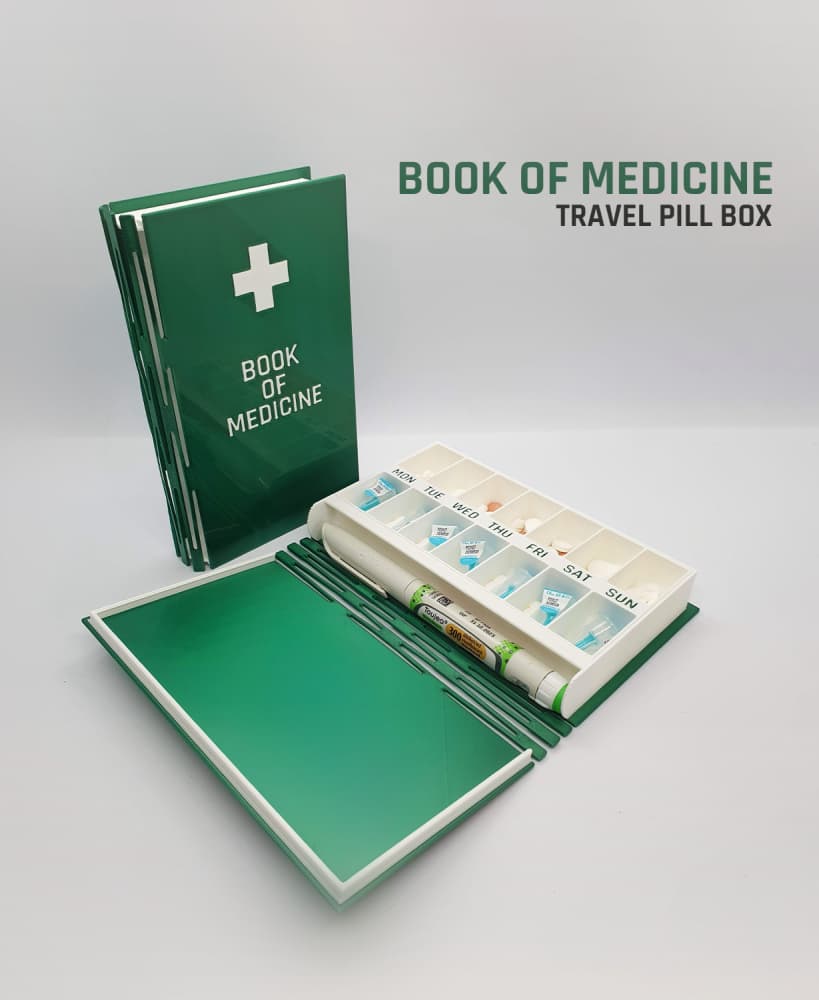
Book of Medicine — Travel pill box

Pill Popper - Single-Handed Pill Dispenser
Keychain Pill Container v3

Quite a useful thing to have on the road. I really like the design. I am planning to travel to the UK in the near future and would like to get one. I would also like to get a travel insurance for myself. And found a good article which gave me more understanding in this matter.