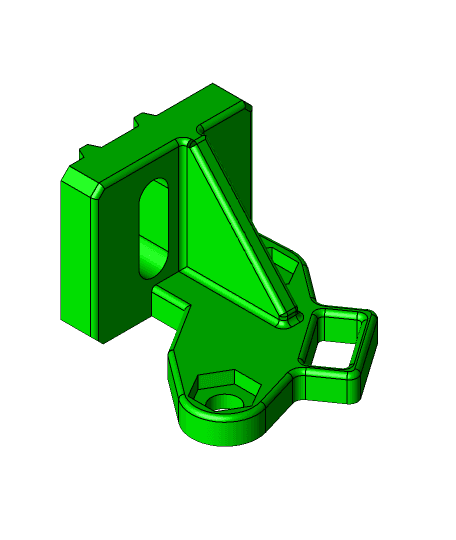
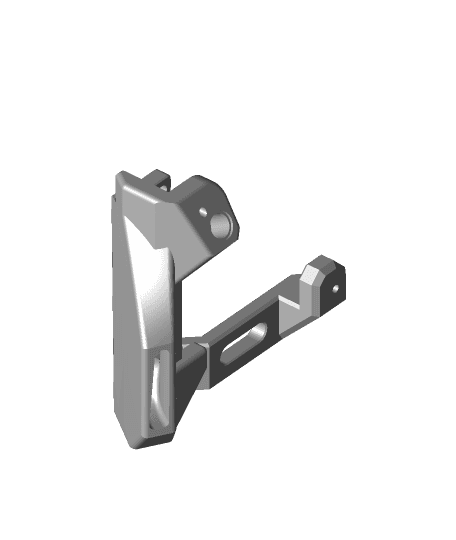
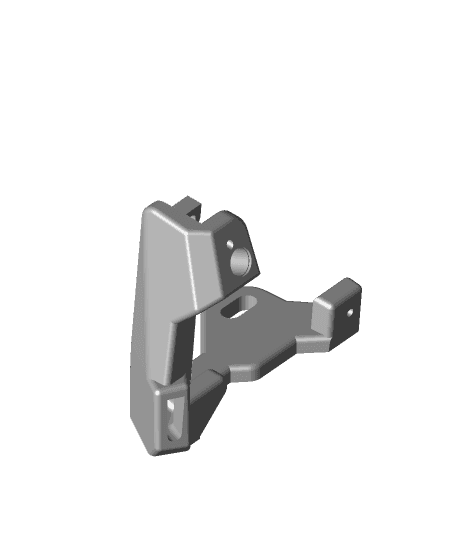
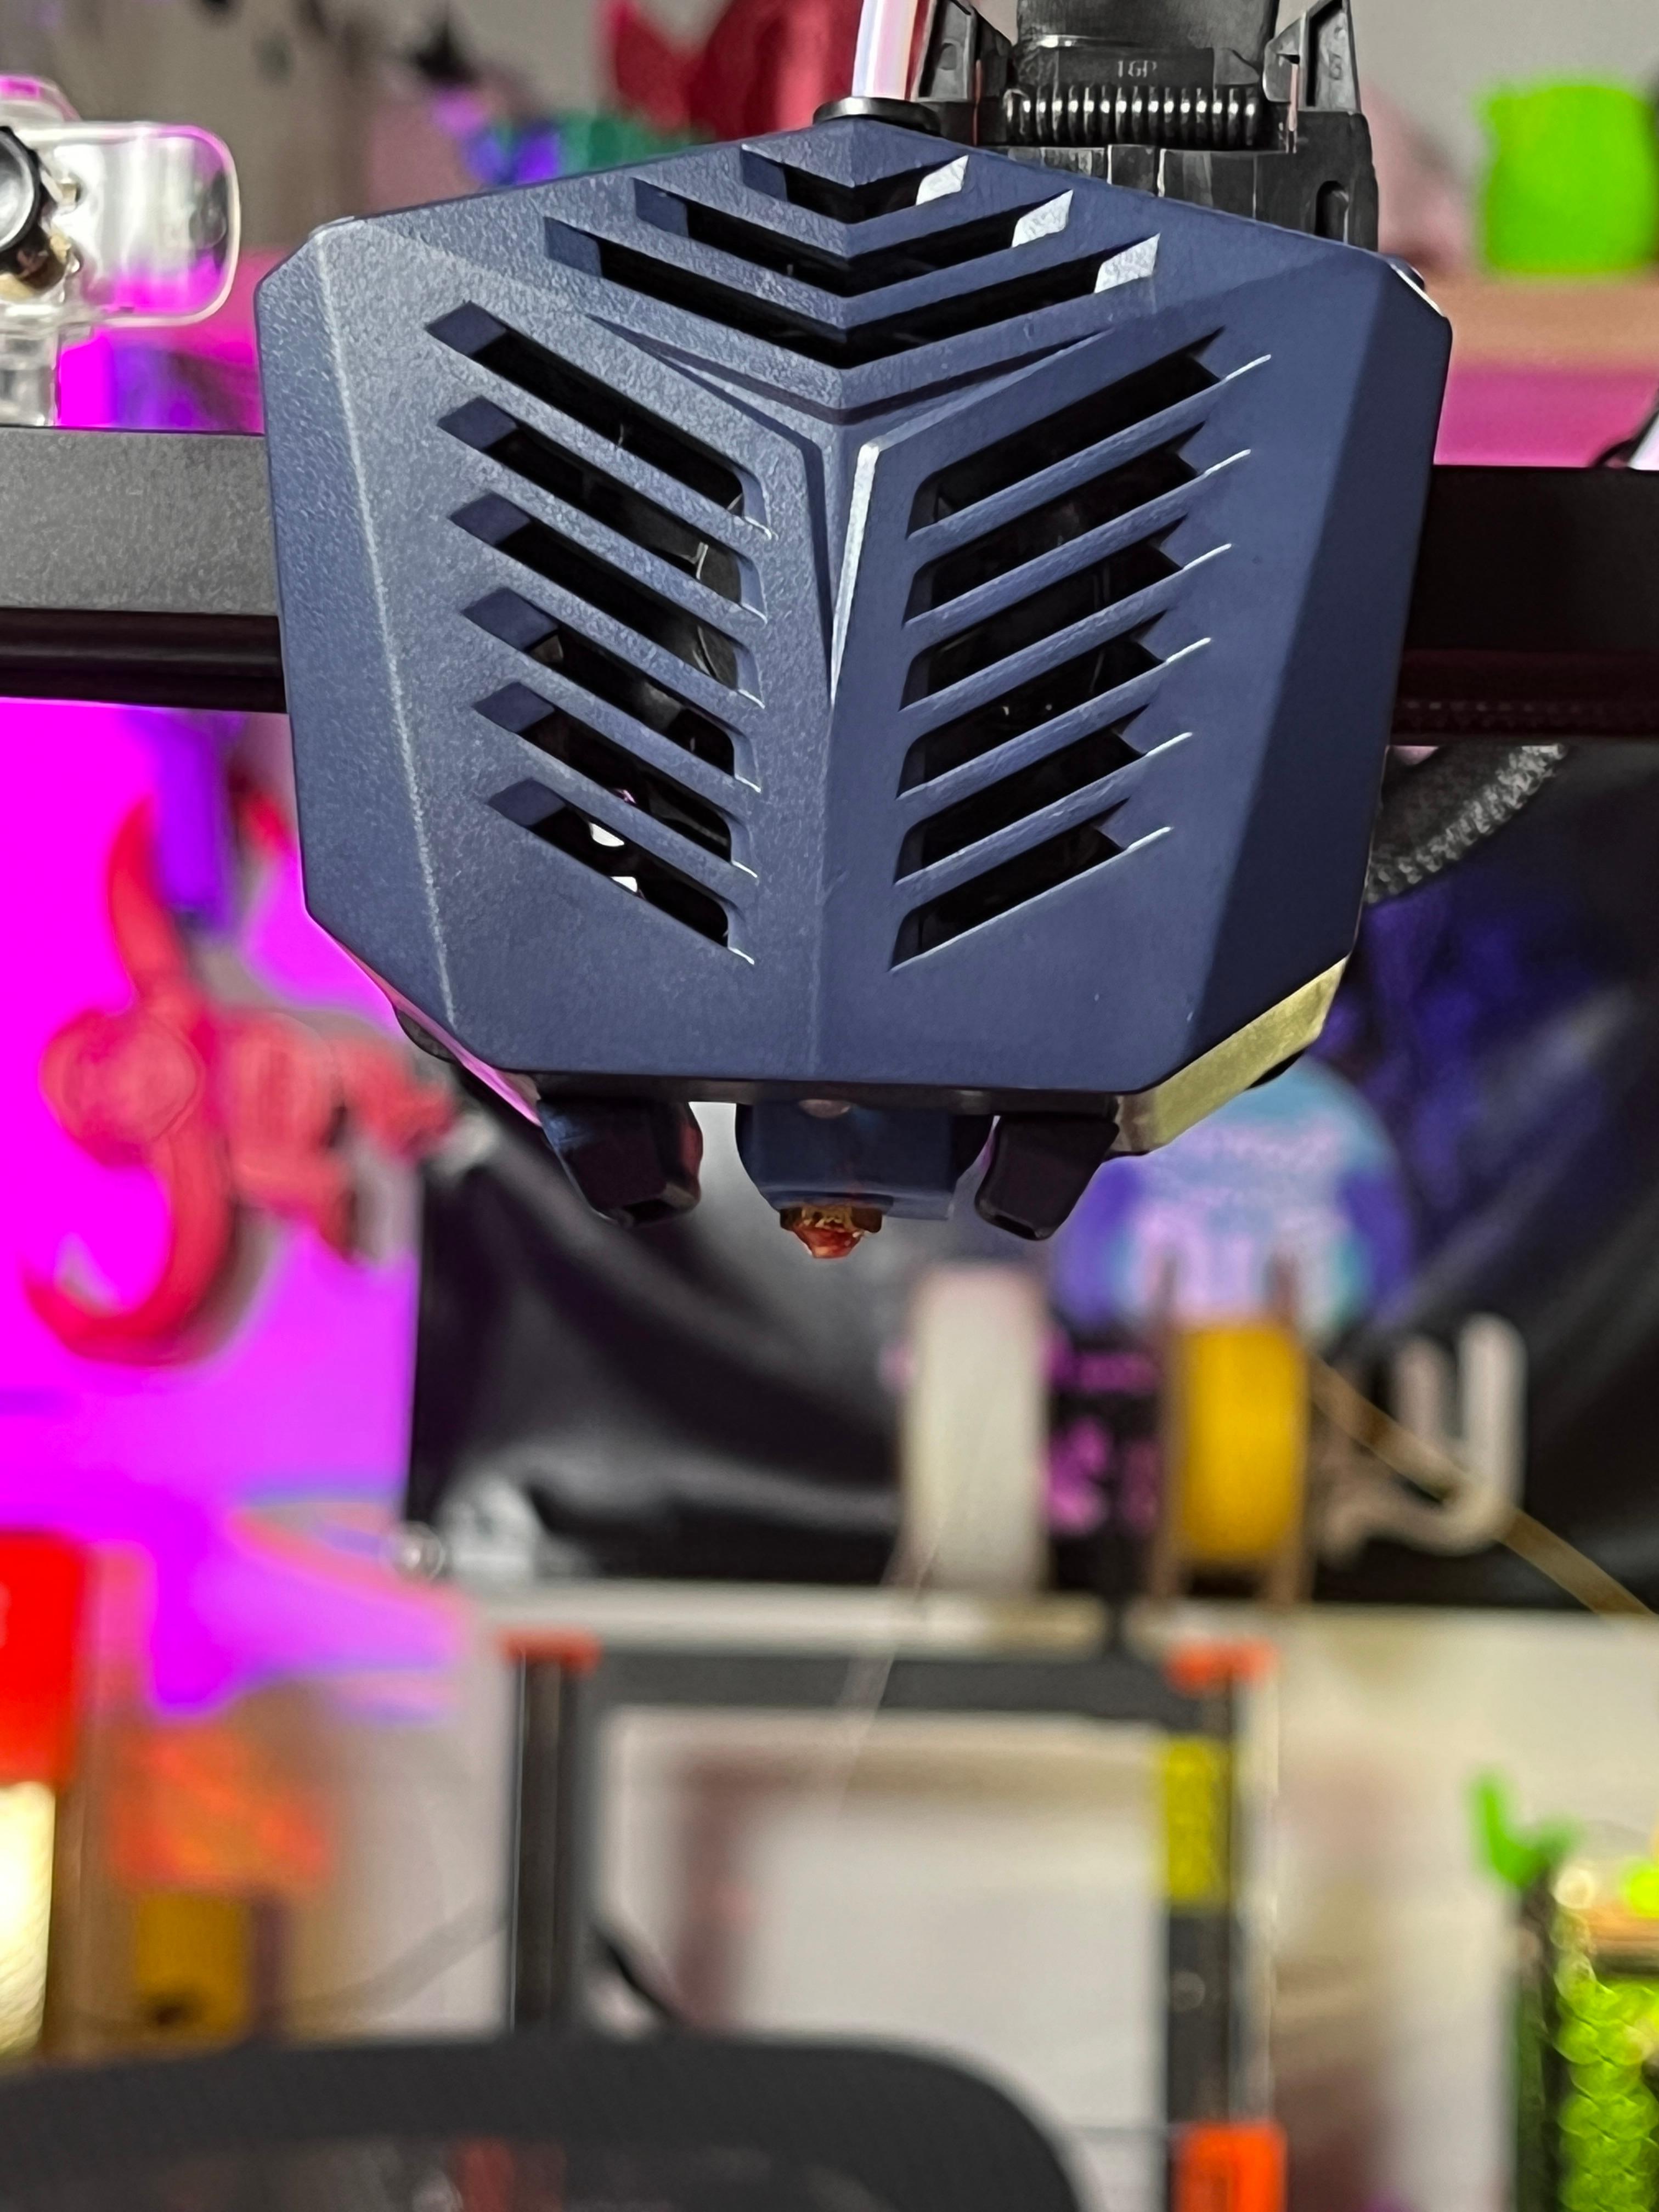
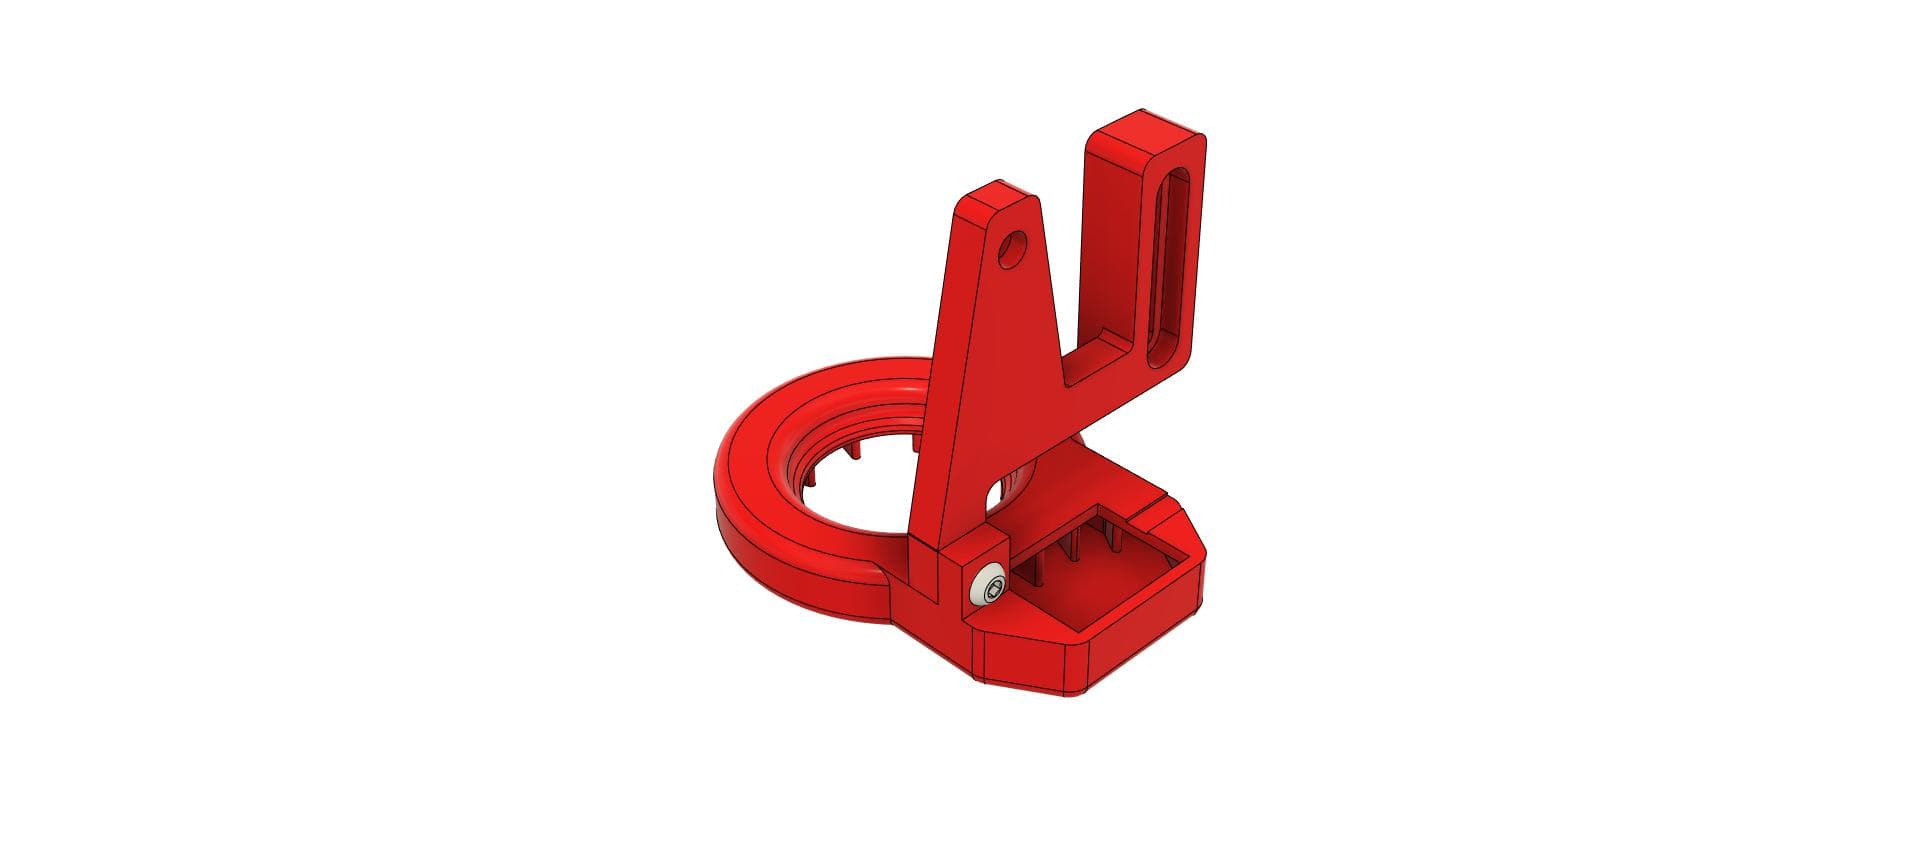
Manta MK2 Duct & Tool Head System
Model originally uploaded to Thingiverse at https://www.thingiverse.com/thing:4943125.
Update:18\10\21 Uploaded some 5010 fan ducts which are 8.5mm longer to allow for a Volcano Hot End. These are definitely WIP. I have not printed, installed or produced any CFD simulations at this time. The parts are extended at the duct so the standard base and support arms should work with these parts. I stress very much work in progress.
Update:31\08\21 Noticed a very very slight discrepancy with the Duct Base for the V1 hole centres, only 0.15mm which the hole tolerance should allow but tweaked them and uploaded anyway.
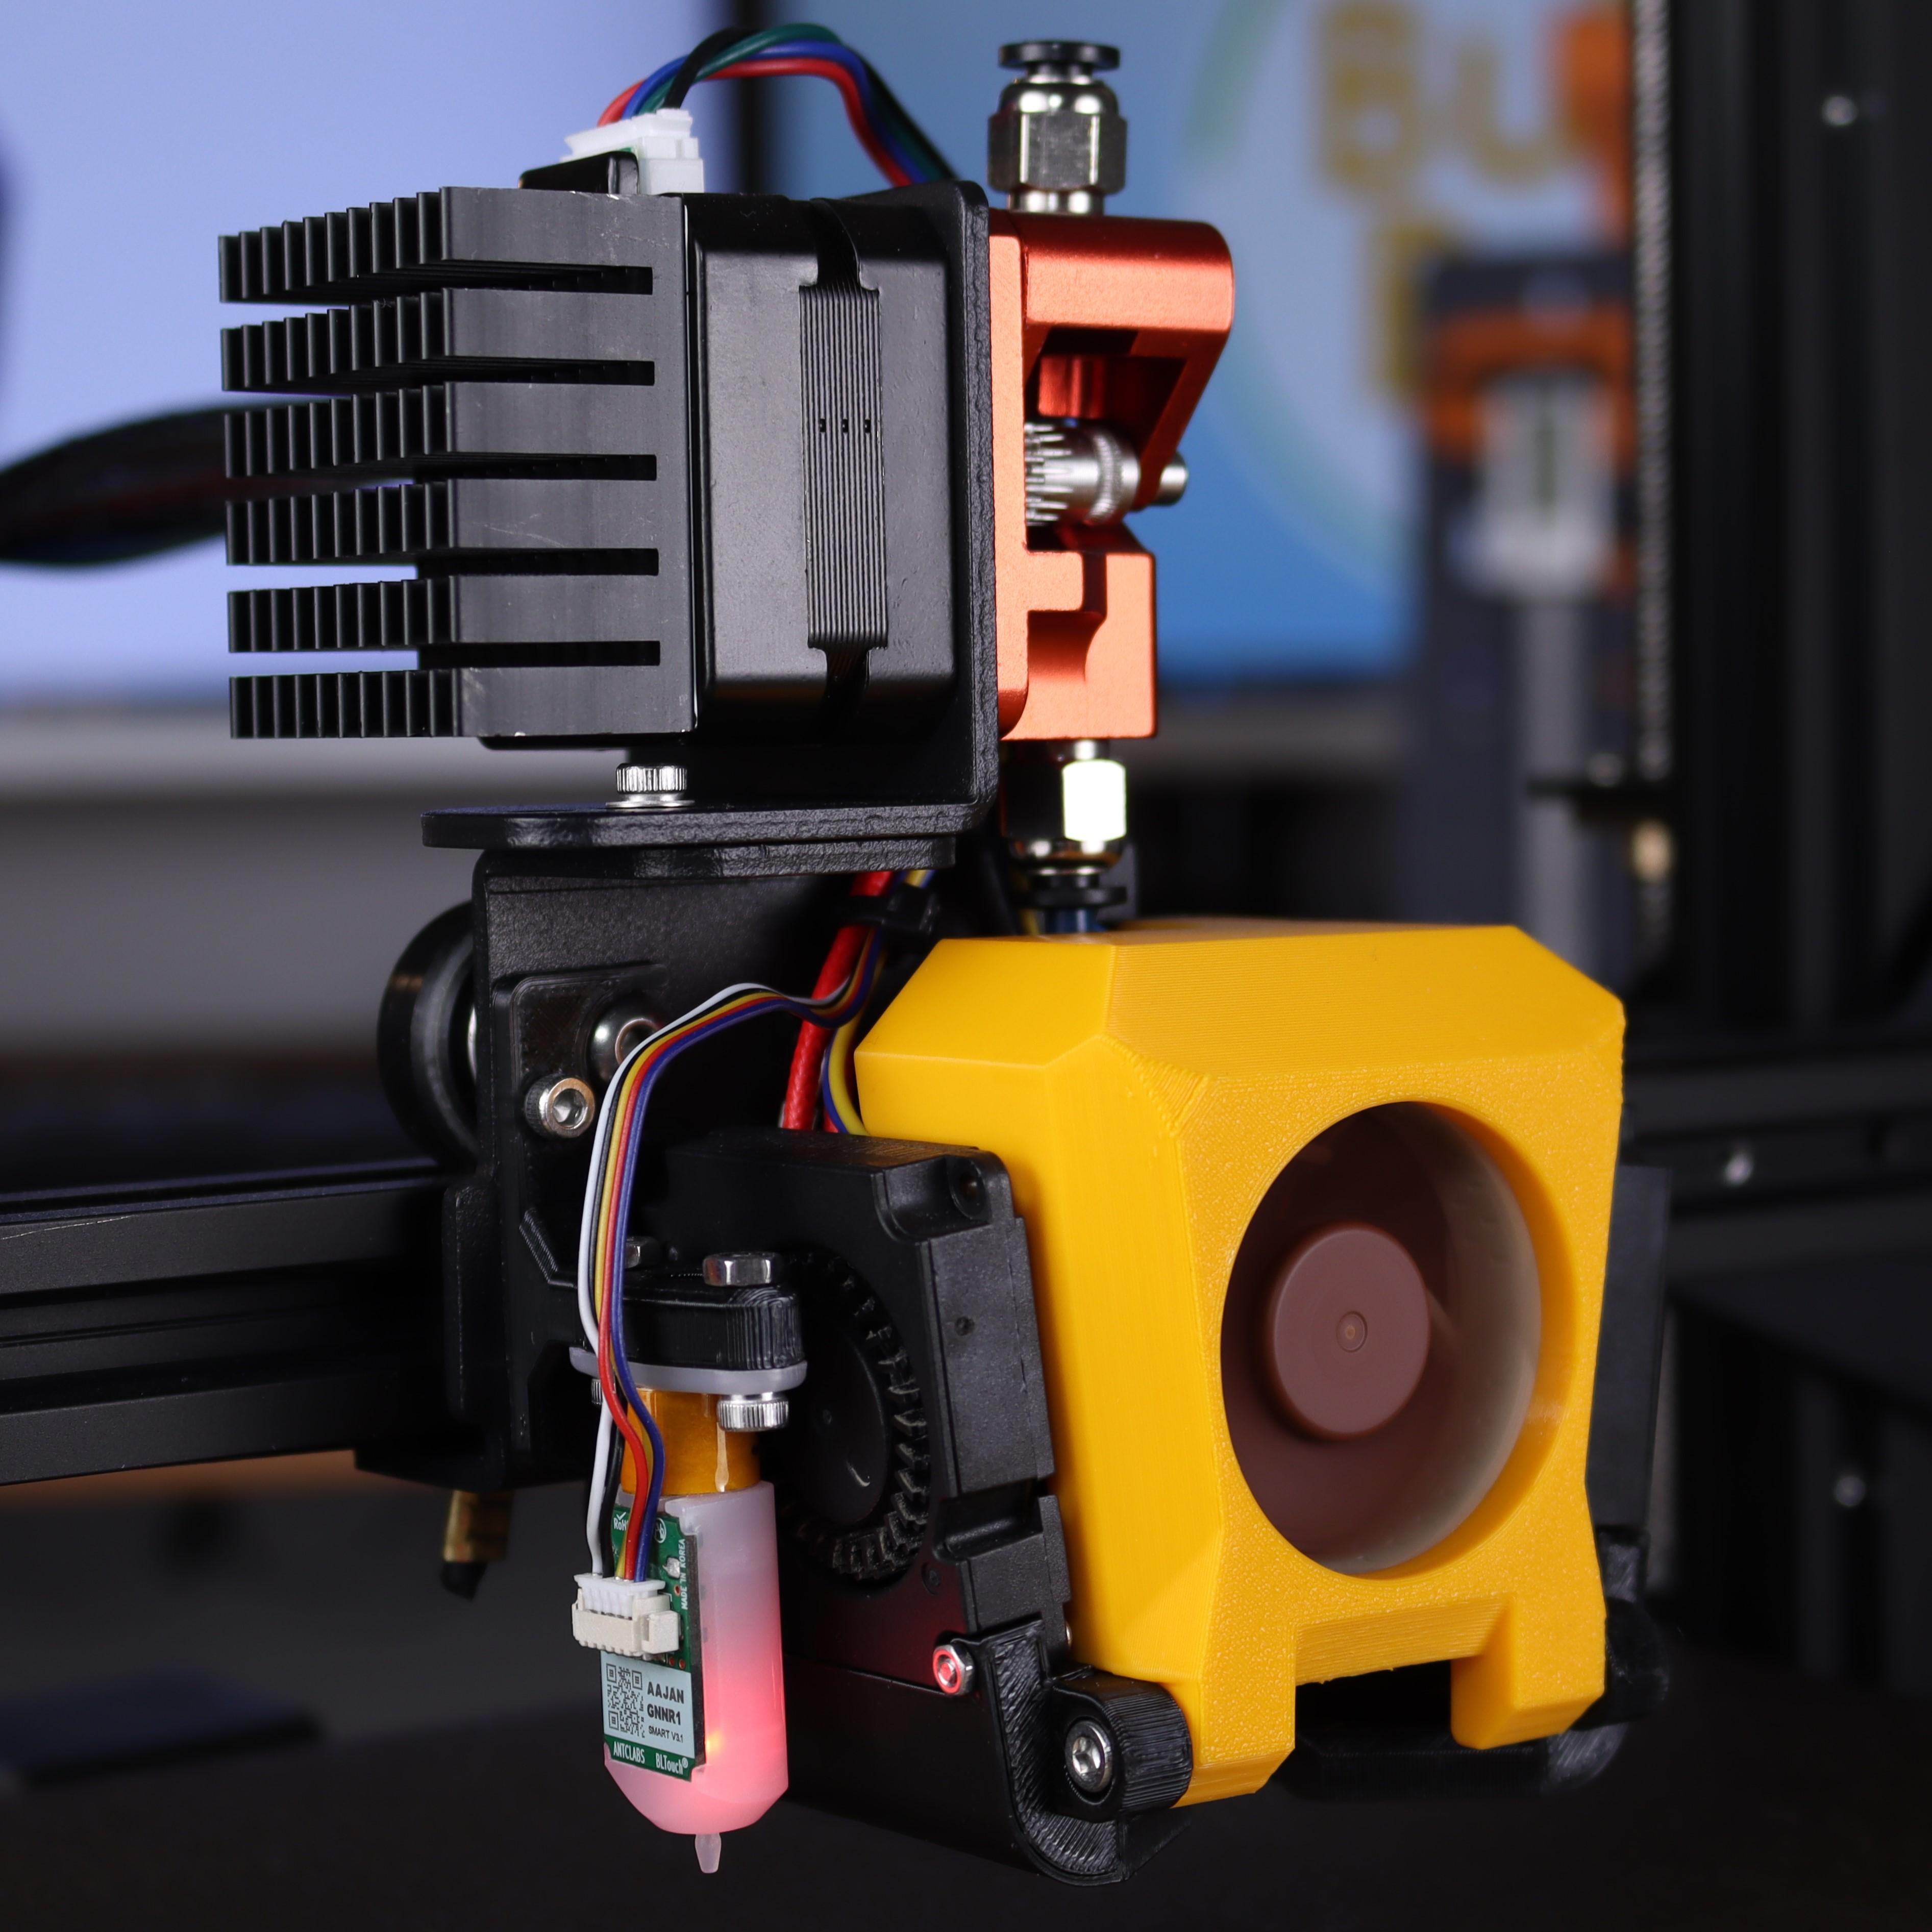
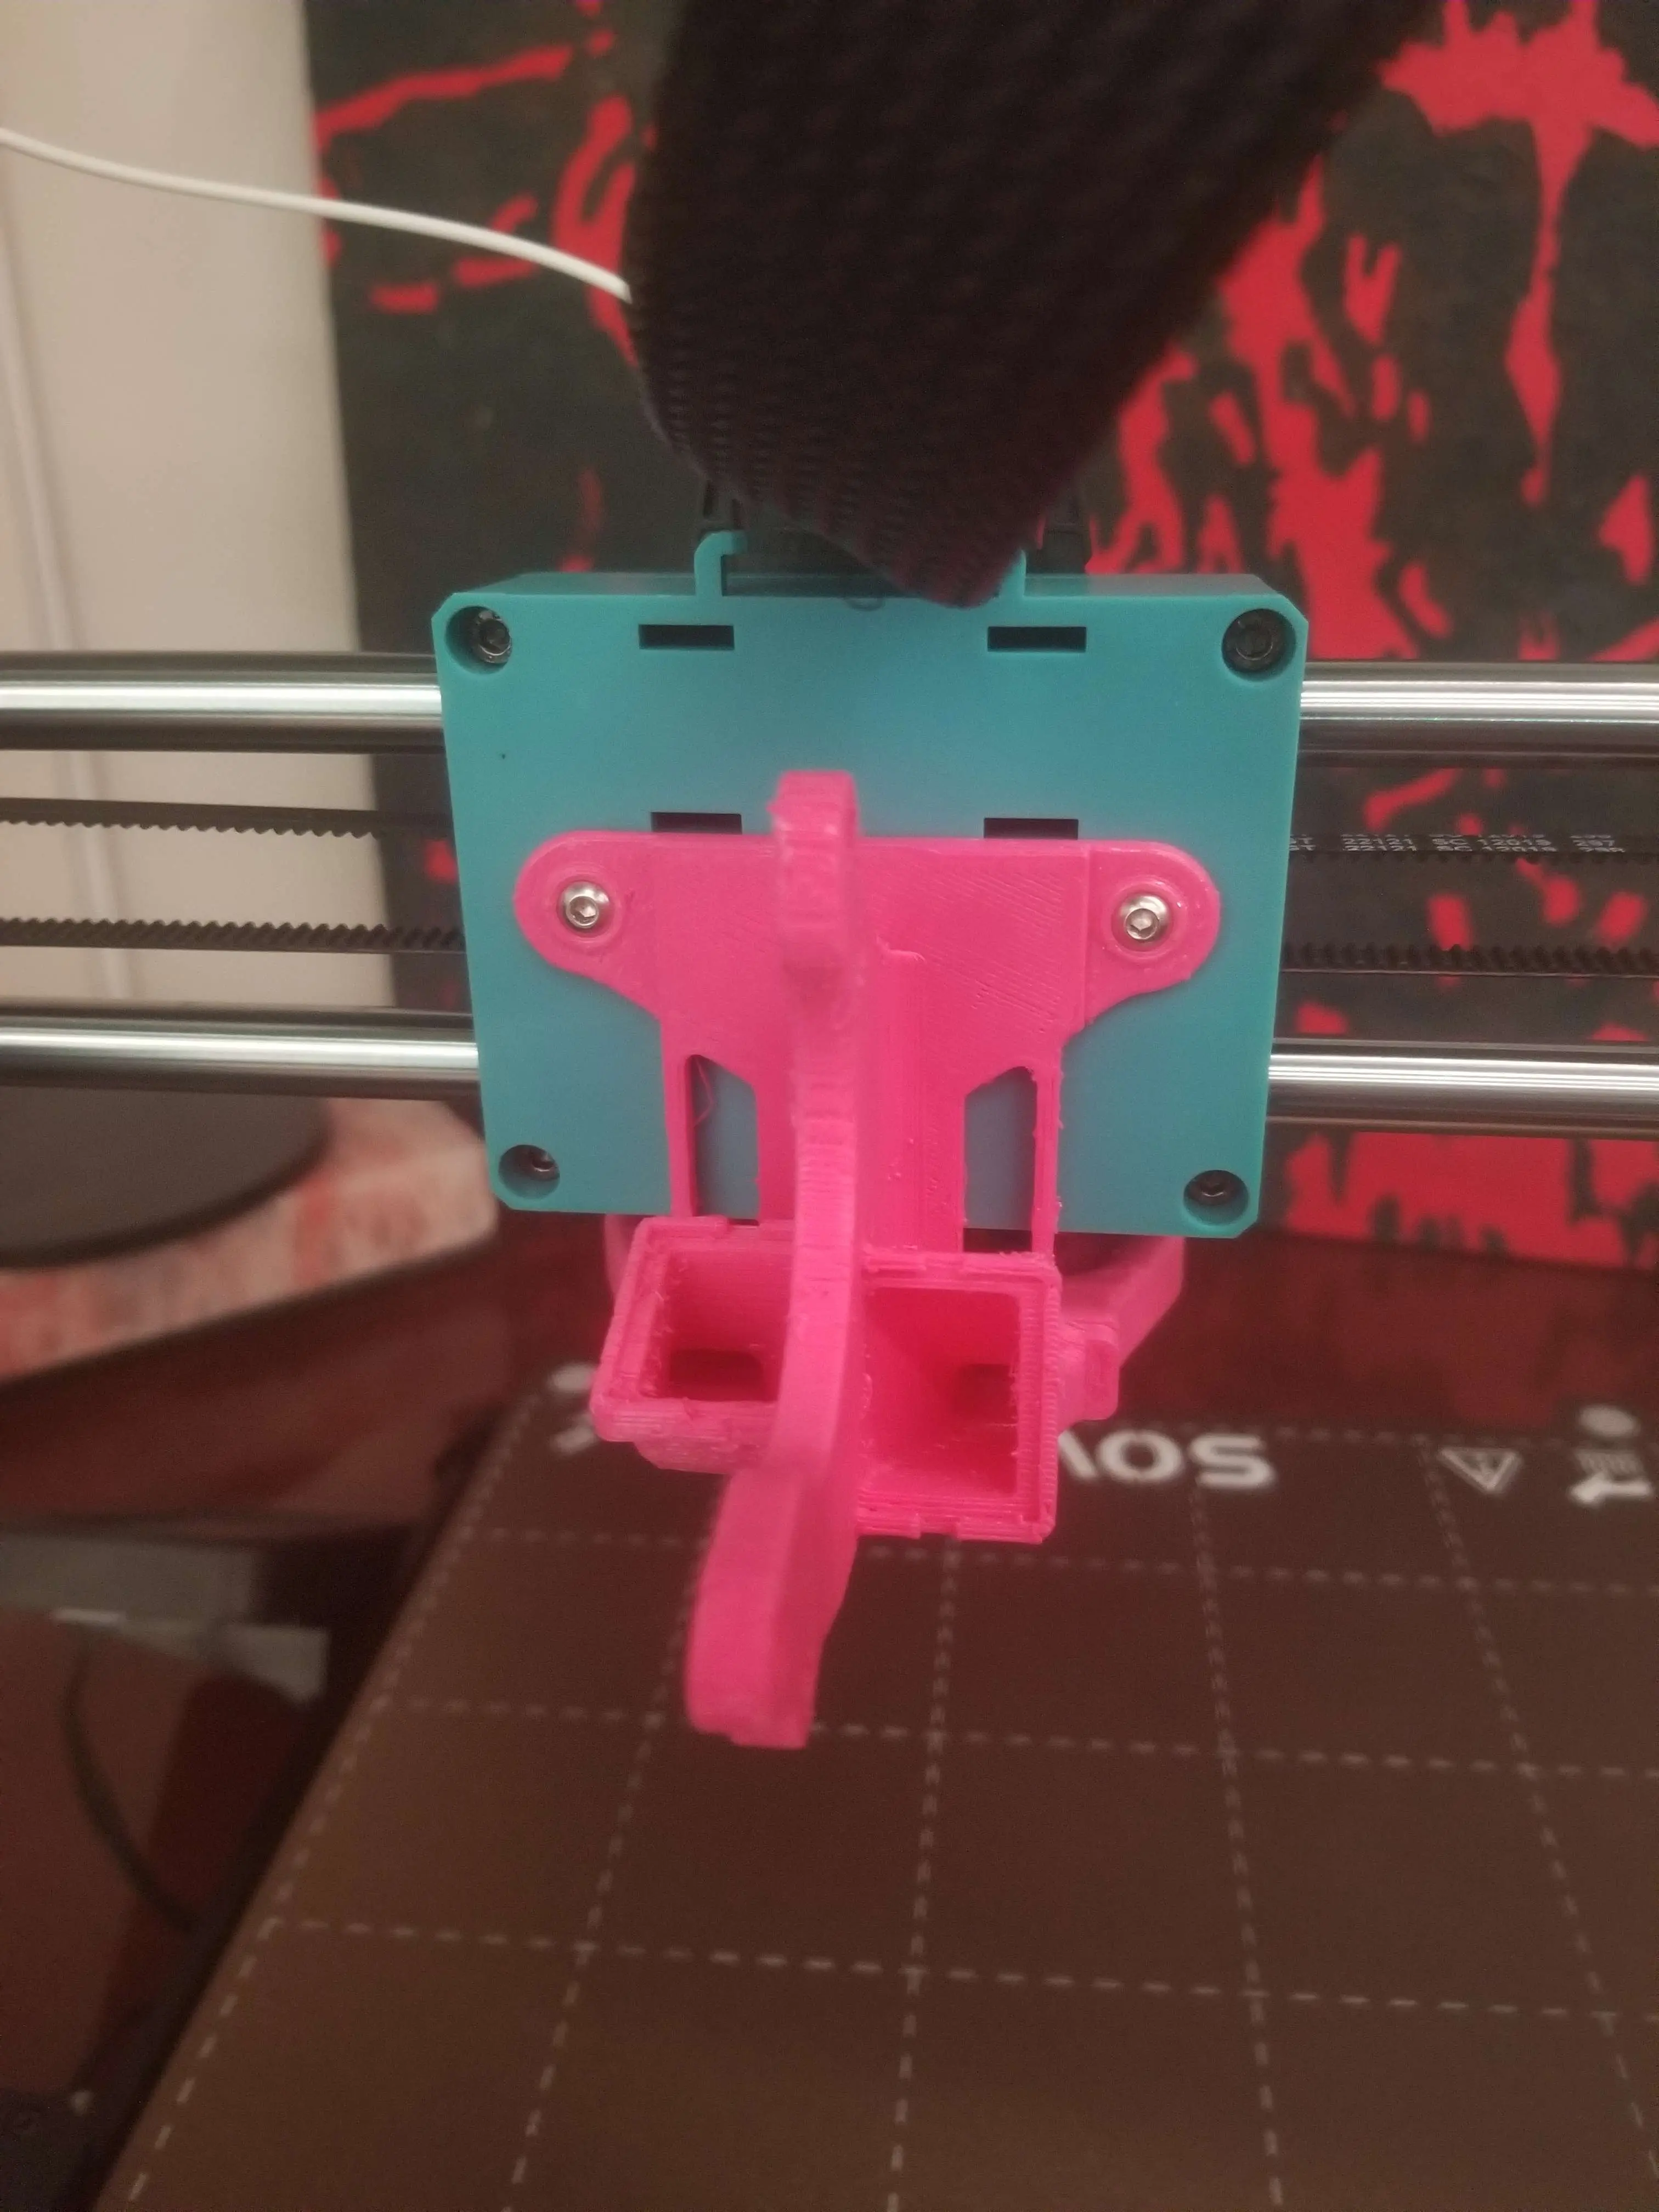
Update: 30\08\21 Uploaded additional Direct Drive Heads for the Sherpa Mini & Orbiter with WM upstands and rear fixing for the Mini (see uploaded images). Updated the BMG Direct Drive due to miss alignment with the filament path.
This is a remix of my Manta Compact Cooling Fan System. This version is not compatible with the Ender5. The Ender 5 version can be found here: https://www.thingiverse.com/thing:4945681
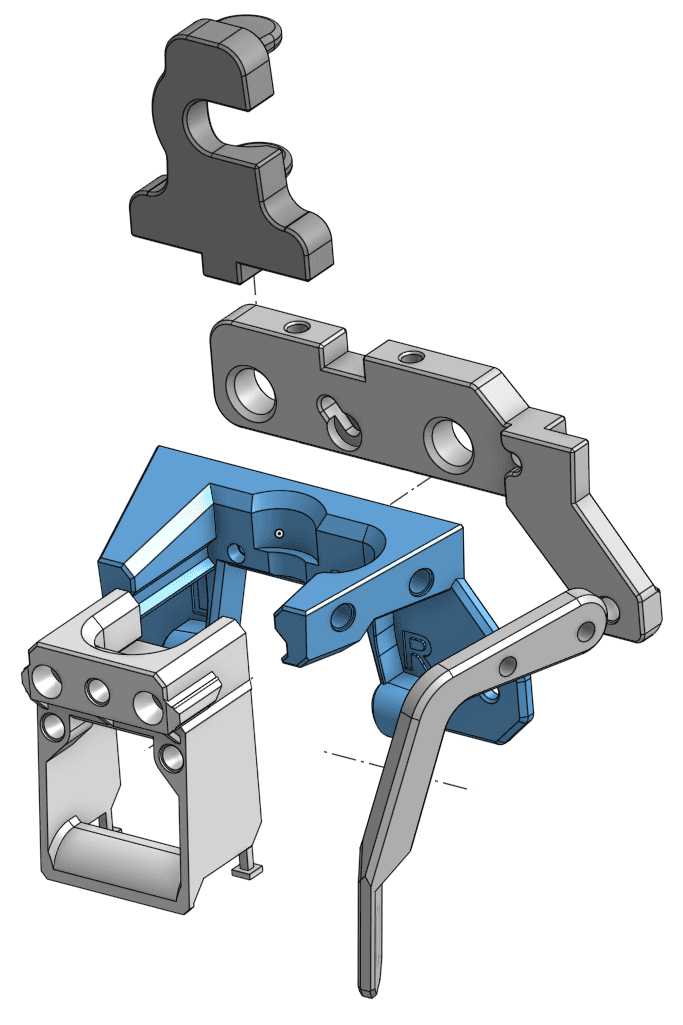
This Remix includes:
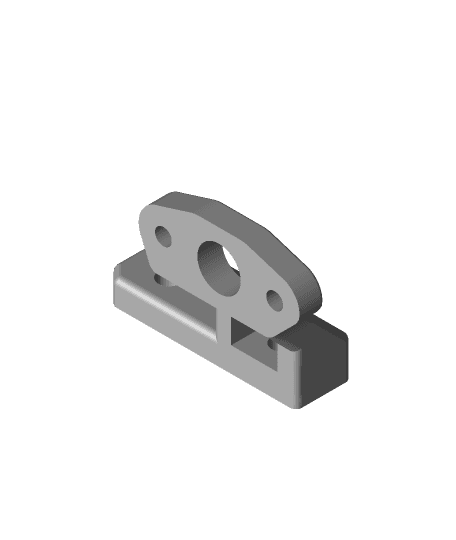
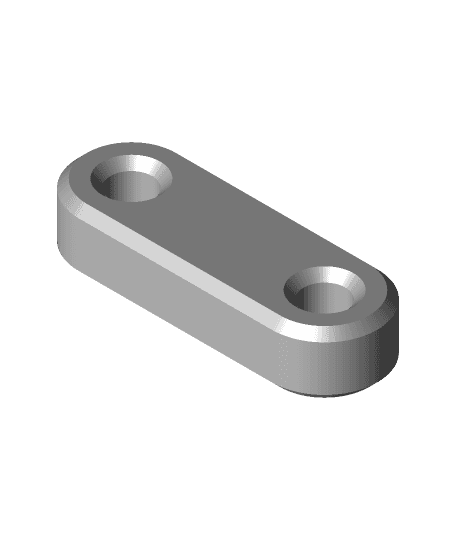
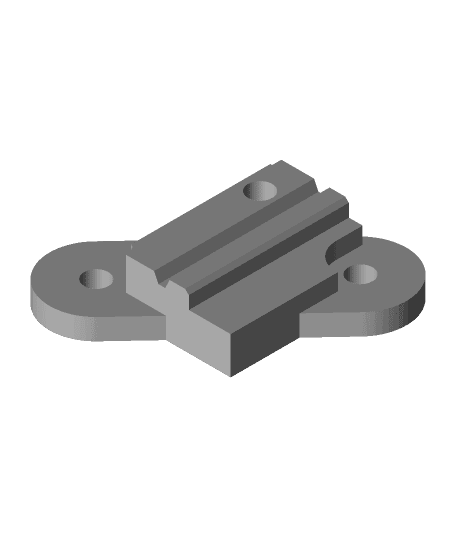
1.Reduced system parts list from 67 down to just over 20 parts
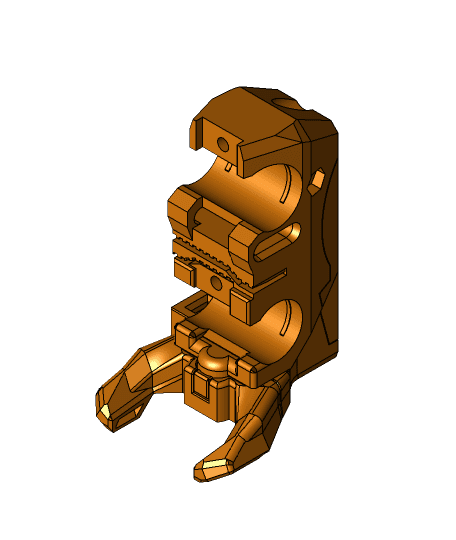
2.There is now only one universal duct base for all variants including V1 & V2 versions, all fans, hot ends and tool head types. This will hopefully reduce user confusion when selecting relevant parts.
3.The parts have been optimised further for faster printing and stronger print orientation.
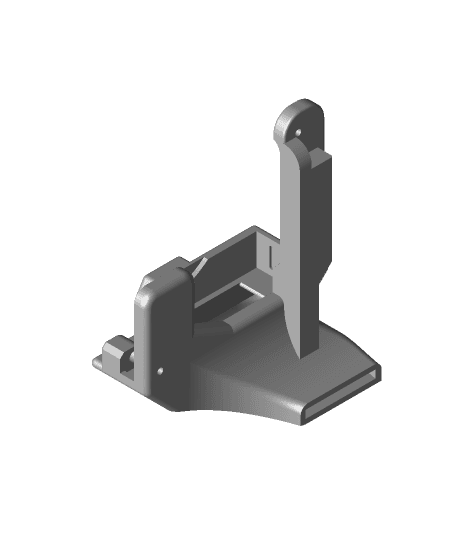
4.Includes two work in progress BL Touch mounting brackets. Although I own various levelling sensors I rarely use them. Therefore the included brackets are a WIP starting position for others to develop for their own personal requirements. I have not tested either of these parts.
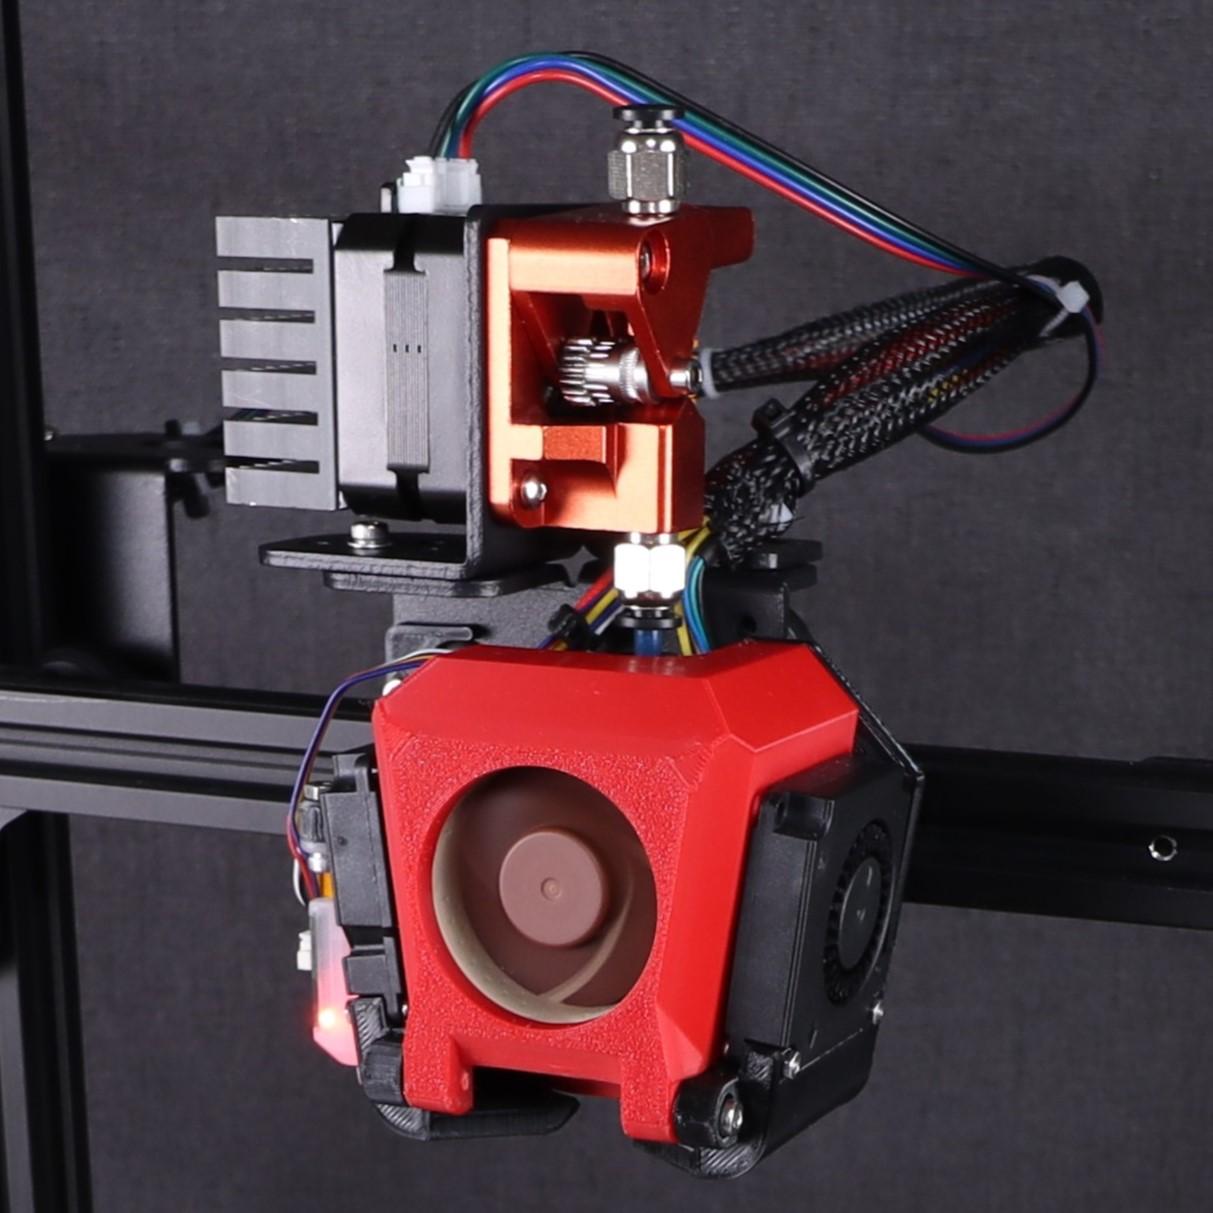
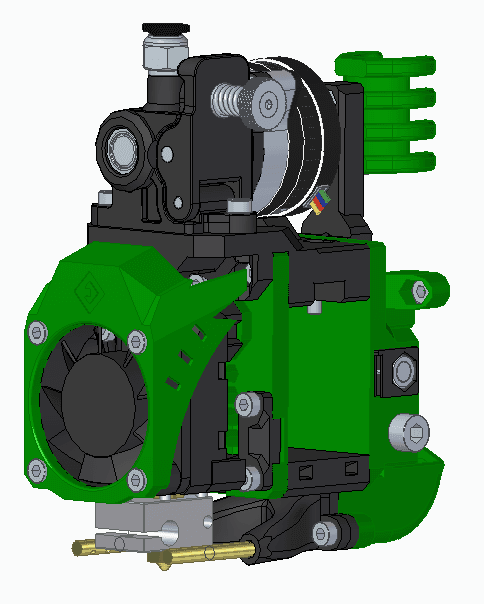
5.V6 style hot ends now mount from the front allowing easier maintenance and swap over.
6.Bowden and Direct Drive assemblies can be swapped out without removing the Duct Base from the gantry mount.
7.Integrated, mechanically fixed fan shrouds for both the Stock & V6 style Hot Ends.
8.Improved the 4010 fan output via larger apertures which have reduced air restriction further..
Brief Video in action here: https://youtu.be/jBxMxrer-ss
Installation
1.I have uploaded an Installation guide and BOM. I have also included Fusion & step files for any bespoke tweaks or remixes.
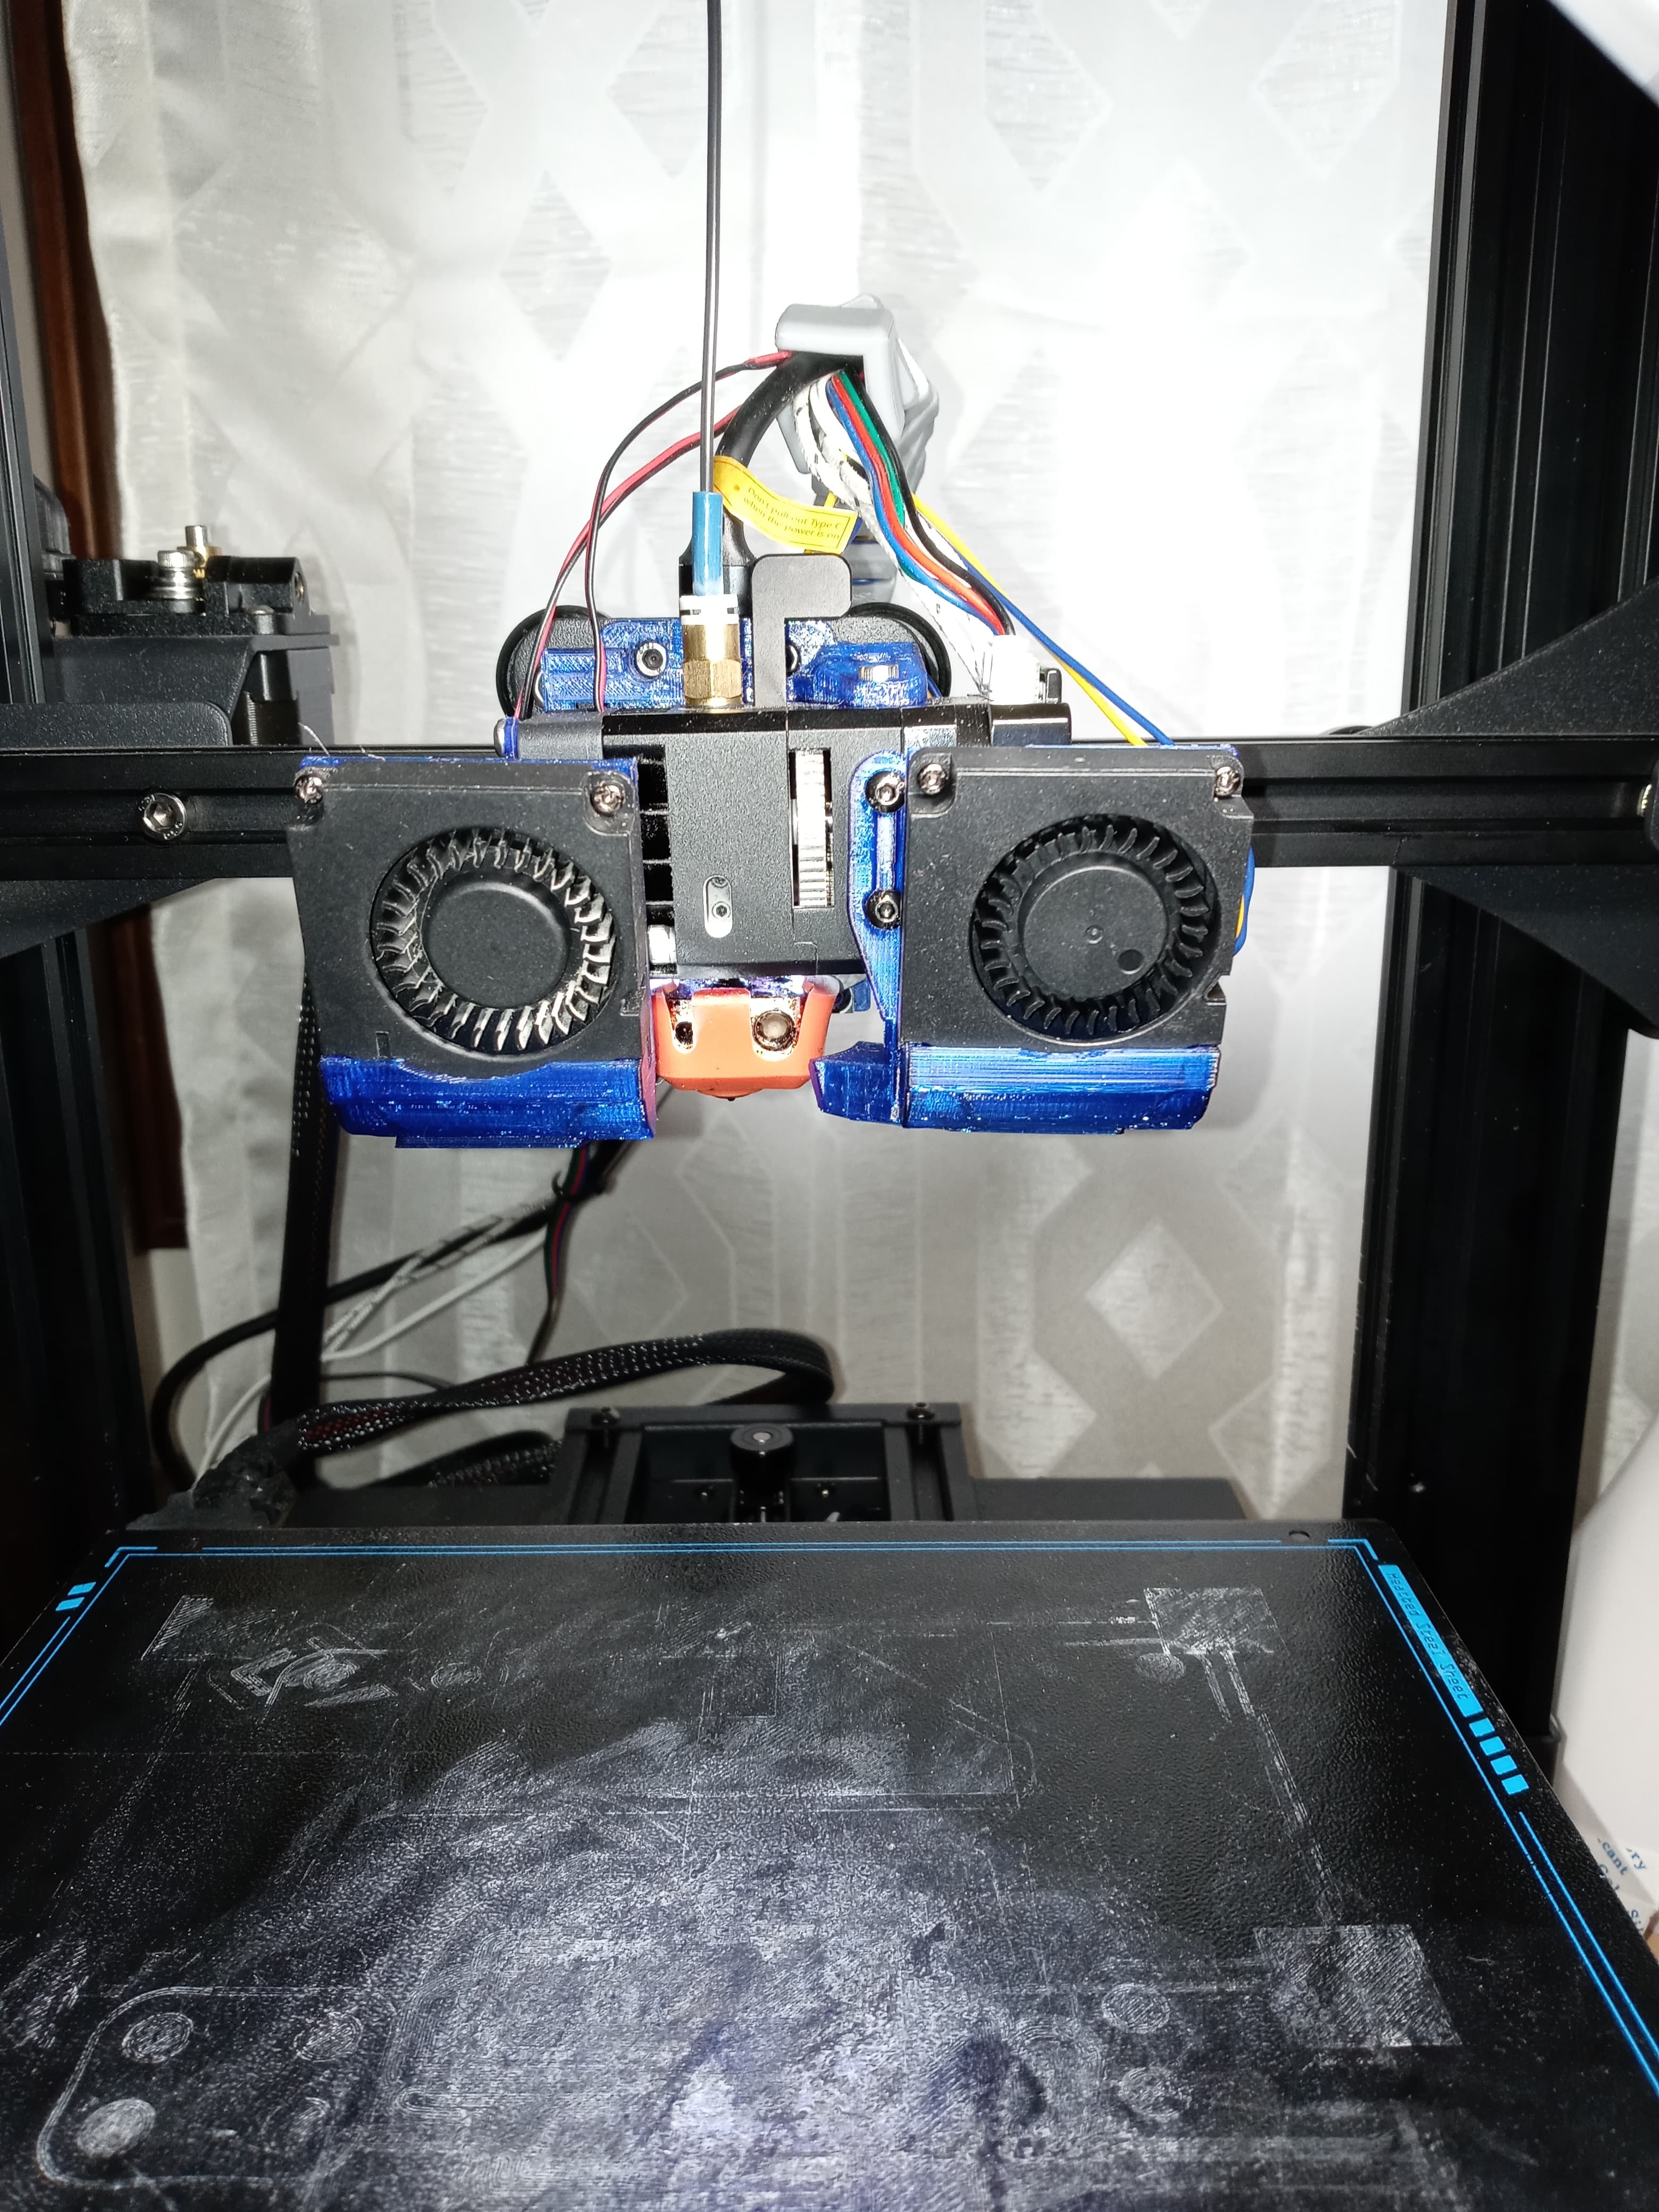
2.I have found that the upper left thread stand off on the Ender 3 mounting plate can vary between units. I had to drill out the stand off on 2 units to fix the relevant bolt. The Duct base should have sufficient location with the other 3 bolts if you do not wish to do this. I have based my design on the original Creality step files for the V1 and measurements from my my own V2 as a base for the design.
3.I have used a slightly smaller Heat Sets\ Thermal Inserts in this thing because some of the remaining\retaining walls were quite small. Therefore I have included a 4.25 ID hole x 5mm deep for a 5mm OD x 5mm long M3 Heat Set.
4.Heat Sets used (Amazon UK): https://www.amazon.co.uk/gp/product/B01GO4O0OW/ref=ppx_yo_dt_b_search_asin_title?ie=UTF8&psc=1
5.Which fans? I usually use a ball bearing based fan rather than a hydraulic fan, they tend to last longer.
https://www.amazon.co.uk/gp/product/B07DB6132Q/ref=ppx_yo_dt_b_search_asin_title?ie=UTF8&psc=1
https://www.amazon.co.uk/gp/product/B07DB59XP8/ref=ppx_yo_dt_b_search_asin_title?ie=UTF8&psc=1
Printing:
1.Only the Rear Mounting Plate requires slicer support. There are however, various integrated supports and sacrificial layers that will require cleaning off after printing (refer to the Installation Guide and the Part Preparation section).
2.All parts were printed with PETG, 30 to 40% infill with 3 perimeters.
Manta MK2 Duct & Tool Head System
Manta MK2 Duct & Tool Head System Ender 5 Version
Manta MK2 Ender 3 REMIX
Manta Compact Fan Duct & Tool Change System
Anycubic Vyper & Kobra Max Part Cooling Duct UPGRADE! - Improved print quality
Dual Blower Fan Duct for Ender 3 V2 with Spider Hotend V1
Dual Blower Fan Duct for Ender 3 V2 with E3D Revo CR Hotend
Hydra Fan Duct & Tool Change System for Ender 3 Ender 5 CR10
BIQU H2 Extruder Front Mount 5015 Fan Duct
BiQu B1 H2 Mount Kit w/stock dual 4010 fan ducts

LPE Exhaust Quick Release and Mounting System
Berd Air Duct for EVA.stl
Prusa Mini Detachable Cooling Duct Assembly
Hydra Fan Duct & Tool Change V6 Edition

Creality Sprite Volcano 5015 Fan Duct
Anycubic Mega Zero X-Axis Linear Rail
Sovol SV06 Plus 5015 dual fan mount
E3D Minimalist for V6 & Volcano on Creality CR10/S Ender 3/Pro and clones

E3D Minimalist for V6 & Volcano on Creality CR10/S Ender 3/Pro and clones

Articulated Manta Ray with Detailed Lace Wings