tracking pixel
Basic B

Laughy Luffy "insert" (one piece)

by
BasicBend
Follow
Follow
Remix Model
BasicBend
BasicBend
Image 1 of 17
Laughy Luffy "insert" (one piece) 3d model
2D
3D
Makes
Laughy Luffy "insert" (one piece) 3d model
7 Likes22 DownloadsJanuary 31, 2024


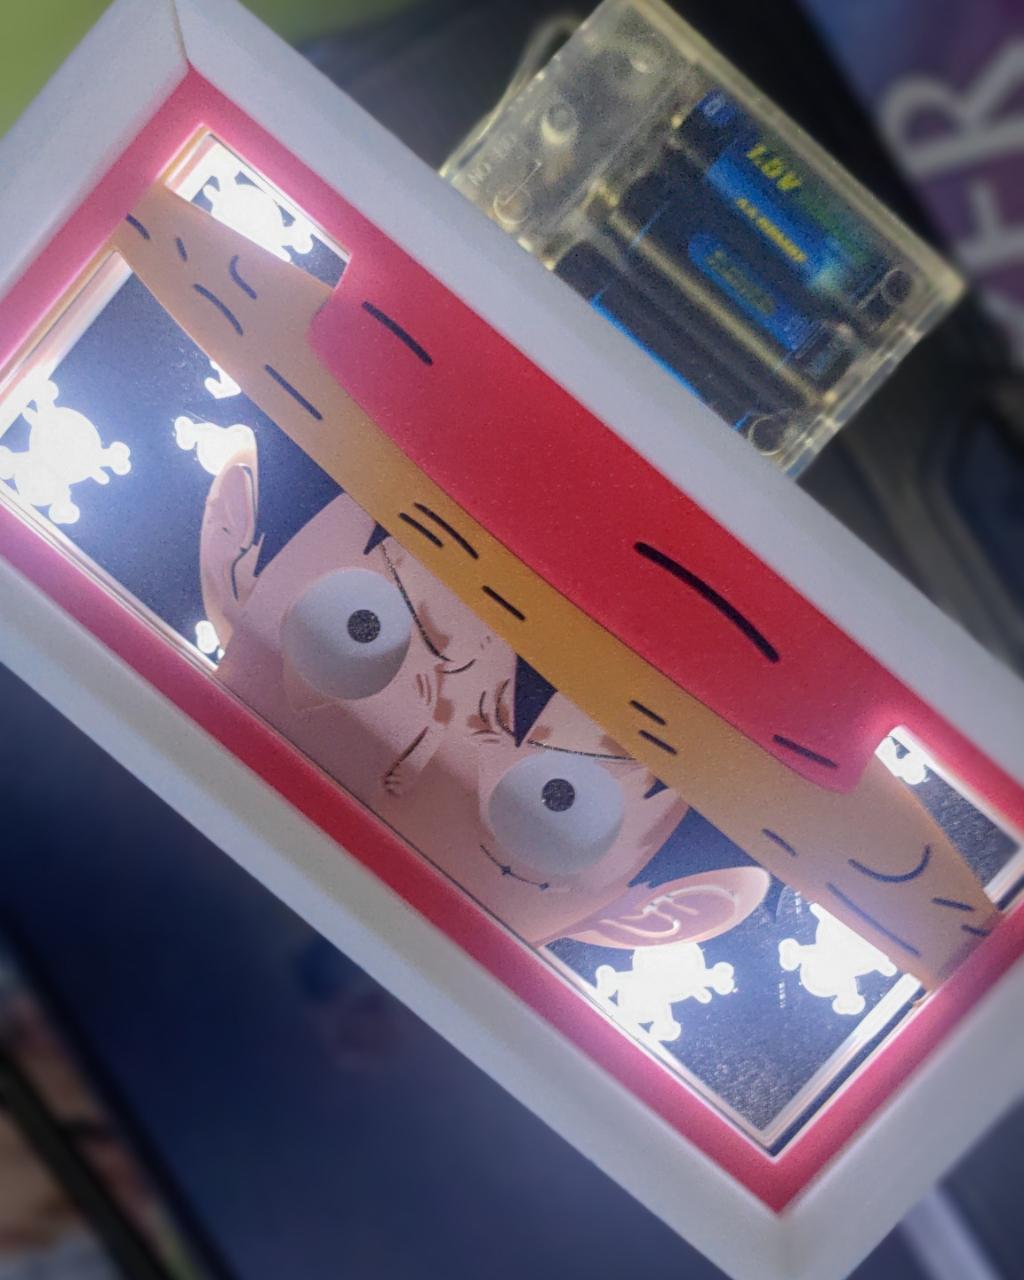
This is the colored insert series. How it works?

  1. Just print it lying down. Since i use textured plate i usually flip it so that facing part is good looking.

  2. I printed the STEP file as its good on the curved part. Also print the "blank insert" in white color filament as its good to diffuse the background light.

  3. This file only contain insert ONLY. Search my LED box model and print it. Then place this insert into slots and install the LED light and then you should be good to go.

  4. Open your slicer and split the file into 6 individual pieces so that you can move the slots around before printing. I use Orca slicer to "split into object".


7 Likes22 DownloadsJanuary 31, 2024


7 Likes22 DownloadsJanuary 31, 2024