


X-20 DynaSoar
This is a remix utilizing multiple sources including:
Richard Cornford who had created a 1/96 scale Dyna-Soar with the Titan Adapter https://www.thingiverse.com/thing:3174974
Scott Mills who had recreated the parts to build the Estes Titan II https://www.thingiverse.com/thing:2845691
The JimZ web site to download a copy of the original Estes Gemini instructions http://www.spacemodeling.org/jimz/est1978.htm
Austin Aerospace Educational Network Web Site: https://rocketryjournal.wordpress.com/ Flight Logs Database: https://sourceforge.net/projects/flight-log/
Original Posting
We had always wanted to build a flying model of the X-20 Dyna-Soar. It is a unique spacecraft that unfortunately was cancelled before it could fly. Since we wanted a flying model it made sense to see if we could build one of the earlier Titan II concept vehicles due to its large fins.
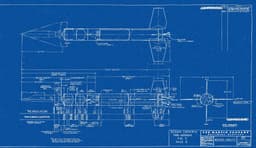
To begin we had a scale 3-view drawing from the original Dyna-Soar/Titan II design by the Martin Company. This led us to find Richard Cornford who had created a 1/96 scale Dyna-Soar with the Titan Adapter. Another modeler by the name of Scott Mills had recreated the parts to build the Out of Production Estes Titan II kit. That then led us to the JimZ web site to download a copy of the original instructions. We found that the Estes model was designed around a BT-60 body tube.
Based on this we had a basic idea of what we would need to create a flying model. Using the BT-60 outer tube dimension and comparing it to the original blueprint, we could begin to create the plans for the Dyna-Soar. This allowed us to create the fins. They were unusual as there are two large fins (which are in line with the wings of the Dyna-Soar) and two smaller fins.
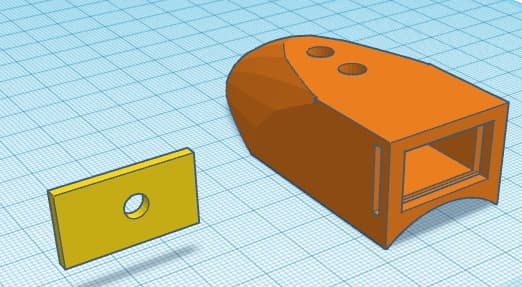
We also had to scale up the Dyna-Soar 3D print, as its original size was too small for the BT-60 body tube. We used the scaling feature in the MatterControl software to upscale the base of the transition to the same diameter as the BT-60. In addition, we needed to add a nose cone shoulder to allow it to stay on the BT-60 body tube and provide a place to attach the parachute and shock cord. Once this was done, we had a basic idea of what our model would look like. The question was would it fly?
To answer that question we created a basic design in OpenRocket. It is not exact as OpenRocket was not able to add the winglets on the Dyna-Soar. However, it should be close enough to determine stability and approximate performance. These initial simulations revealed that the standard 18mm motor used in the Estes Gemini Titan would really be underpowered for this size and weight model. So we adjusted the design to use the large 24mm motors.
Our first print of the Dyna-Soar nose was using a standard setting to make sure it would fit the rocket. We just recently printed a second copy using extra fine settings to get the best print possible. We also reduced the fill from 22% to 10% to help reduce the weight as well as thin the walls and top and bottom (The OpenRocket report shows the performance based on the original print, not the updated print).
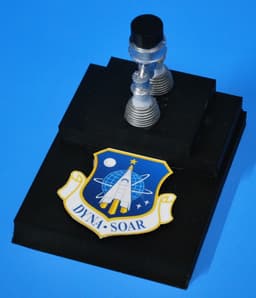
We knew we wanted a display stand that would spotlight the model. We combined the display engine nozzles from the Titan file and mounted them on to a display block. During our searches for information on the Dyna-Soar we found a really nice logo/shield. We decided to add that to the display stand in a raised relief pattern. This completed the 3D printing aspect of the build.
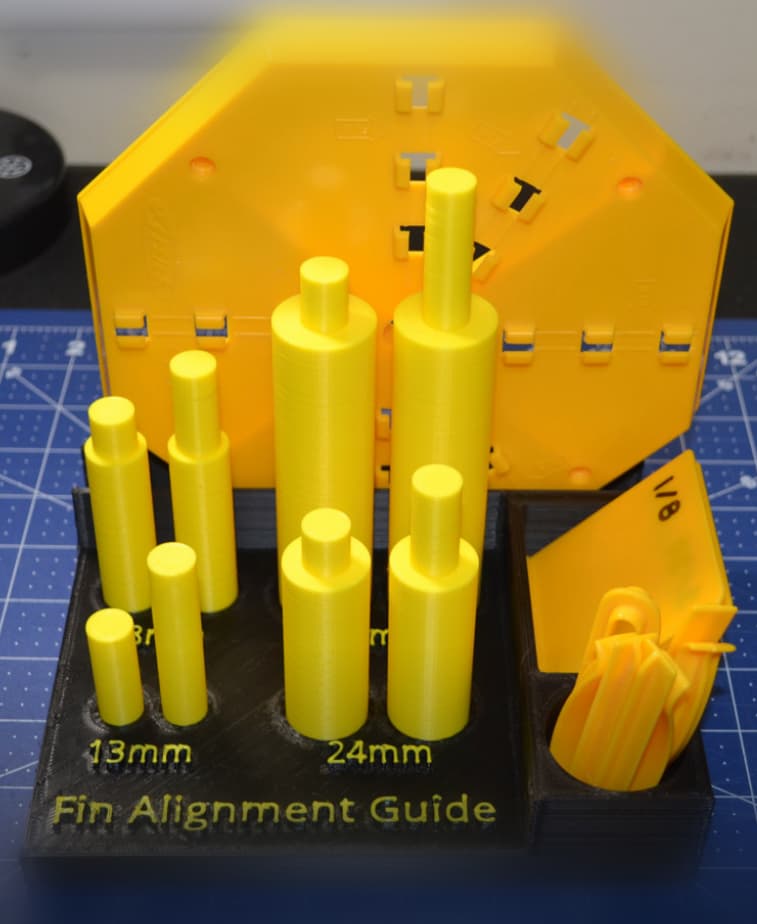
The fins were cut from bass wood instead of balsa wood. This should give the model some added strength. As this is a sport scale model we simply rounded the leading and trailing edges of the fins. We glued the fins on using the alignment guide generated in OpenRocket.
There are two sets of conduits, each having two sections. They are located on body tube according to the alignment guide generated in OpenRocket. We used the dimensions given in the Estes Titan instructions to space the conduits the proper distance apart. The conduits are attached using plastic model cement. The launch lugs were cut to size and glued on using wood glue.
The basswood fins received a coat of thinned wood filler and were sanded smooth. The same was done to the spirals on the body tube. The model was then sprayed in sanding primer and sanded smooth.
With the Dyna-Soar nose cone removed, we plan to spray a basecoat of white to the body and fins. The silver areas will be masked off and painted. Using the decal file from the JimZ’s site, we plan to create a set of decals using our ink-jet printer.
Update: May 5, 2021
The Dyna-Soar nose was reprinted using thinner walls and less infill (from 22% to 10%). The result was about a 20% decrease in weight. Our original nose was printed using a 'standard' setting and weighed in at 50 grams. The new nose weighs in 39.4 grams.
The model has been built, with the fins filled and an initial coat of grey primer. The weight of the rocket without the Dyna-Soar nose cone is 59.5 grams.
With this updated information we went back to OpenRocket and updated the information to more closely match the actual weights of the rocket. Updated copies of the OpenRocket files have been attached. Hope to add a few additional pictures showing the construction later.
Update: May 9, 2021
A quick update on our progress and a couple more pictures. You can see the two Dyna-Soar nose cones next to each other. As the original nose on the left needed to be painted black, the weight was going to continue to increase. The nose cone on the right is the updated print using black filament. It will stay as it is.
The booster section of the rocket is complete. The fins were filled with thinned wood filler that was brushed on and then sanded smooth. The spirals in the body tube and the launch lug received the same treatment before the fins or the conduits were glued on. The entire booster has received 2 coats of primer sealer and has been sanded smooth with 320 grit sandpaper. It is now ready for the base coat of white. Unfortunately rain is in the forecast for the next few days so that will have to wait just a bit longer.
You can see the stand for the rocket. The updated STL file now has the engine bells in the proper orientation as shown on the original blue prints. The engine bells will be painted soon. Instead of painting the Dyna-Soar shield logo I now plan to print it out on high gloss photo paper, seal it, and then glue it over the raised shield. I think that will look much better.
Hope to get some more done soon and update the post!
Update: July 24, 2021
Finally got back to the model. Needed some time where the weather and life cooperated so I could complete the paint and finish.
In our last update we had given the rocket an overall coat of white. Our next step was to mask off the model based on the Estes Gemini Titan instruction. When masking your model make sure you seal the tape edges. I used the Tamiya Masking Tape (6mm) to do the initial mask. Masks around the fins were done with the 18mm tape. With the edges taped down, we switched to the blue tape for the open areas. I wouldn't recommend the blue tape for your paint edges on your rocket, as the edge is a bit rough. If you don't have access to the Tamiya (or similar) tape, use something like Scotch Magic Tape. This will give you a much sharper edge. We painted the model silver, removed the tape, and let it dry overnight.
The next step was to create the decals. The decals come from the Estes Gemini Titan kit. We decided to use black vinyl and cut the decals using "Sure Cuts a Lot" and a Cricut machine. The vinyl went on pretty well and we were happy with it. I've added a picture of the finished model with this post.
A parachute was added and the rocket is now ready to fly. Hoping to go flying in the near future, but the weather will be a big factor. When we fly it I'll try to get some pictures and update the post.
X-20 DynaSoar

X-20 Dyna-Soar Spaceplane Rough Model

Raduga Kh-20 AS-3 Kangaroo
Holder for Estes Fin Alignment Guide
Model Rocket Motor Test Stand

Avionics Housing-The Olympus Project
Project: Icarus - Payload Adapter
Arduino Primary Avionics Module (A-PAM)

Nose Cone for the Scrambler Rocket - BNC-65A

Trail Blazer II Accessory Kit
Orbital Transport Accessory Kit
Estes AstroCam Housing

Model Rocket Display Stands Collection

Display Stand for the Cineroc/Omega Model Rocket

Cricut Blade Storage

Iron and Heat Set Tip Holder
Soldering Iron Holder
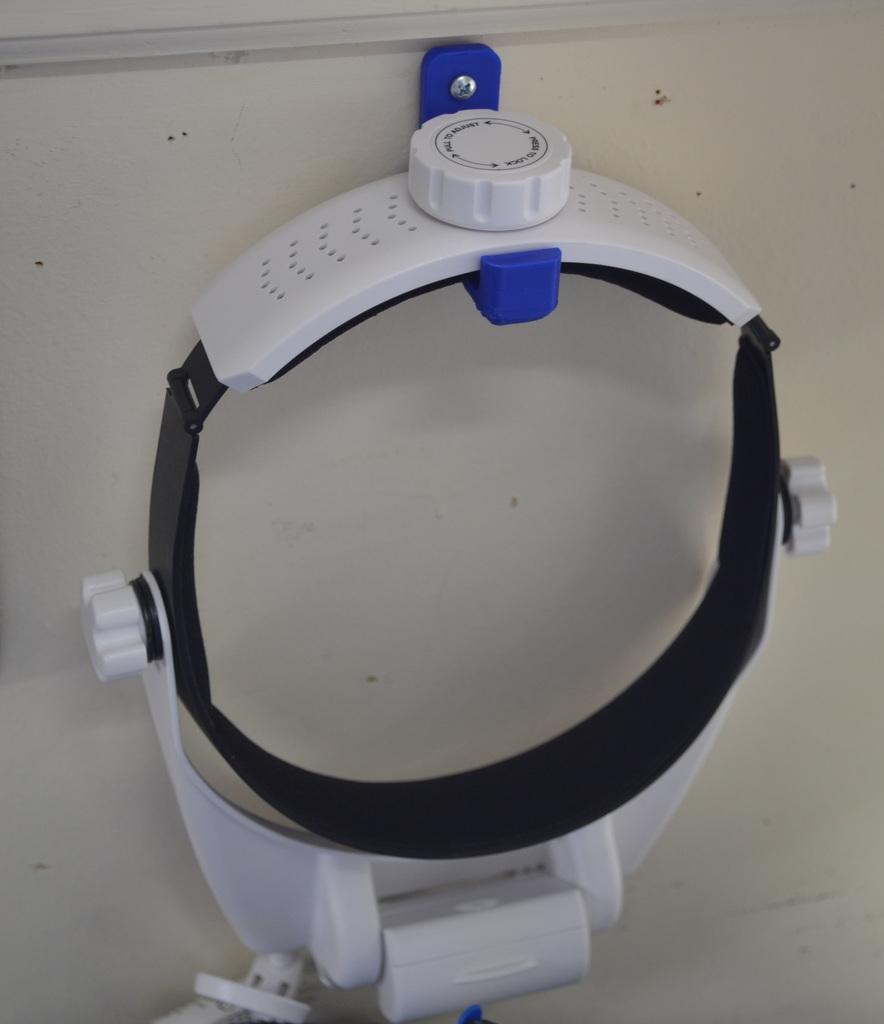
Magnifying Visor Hanger
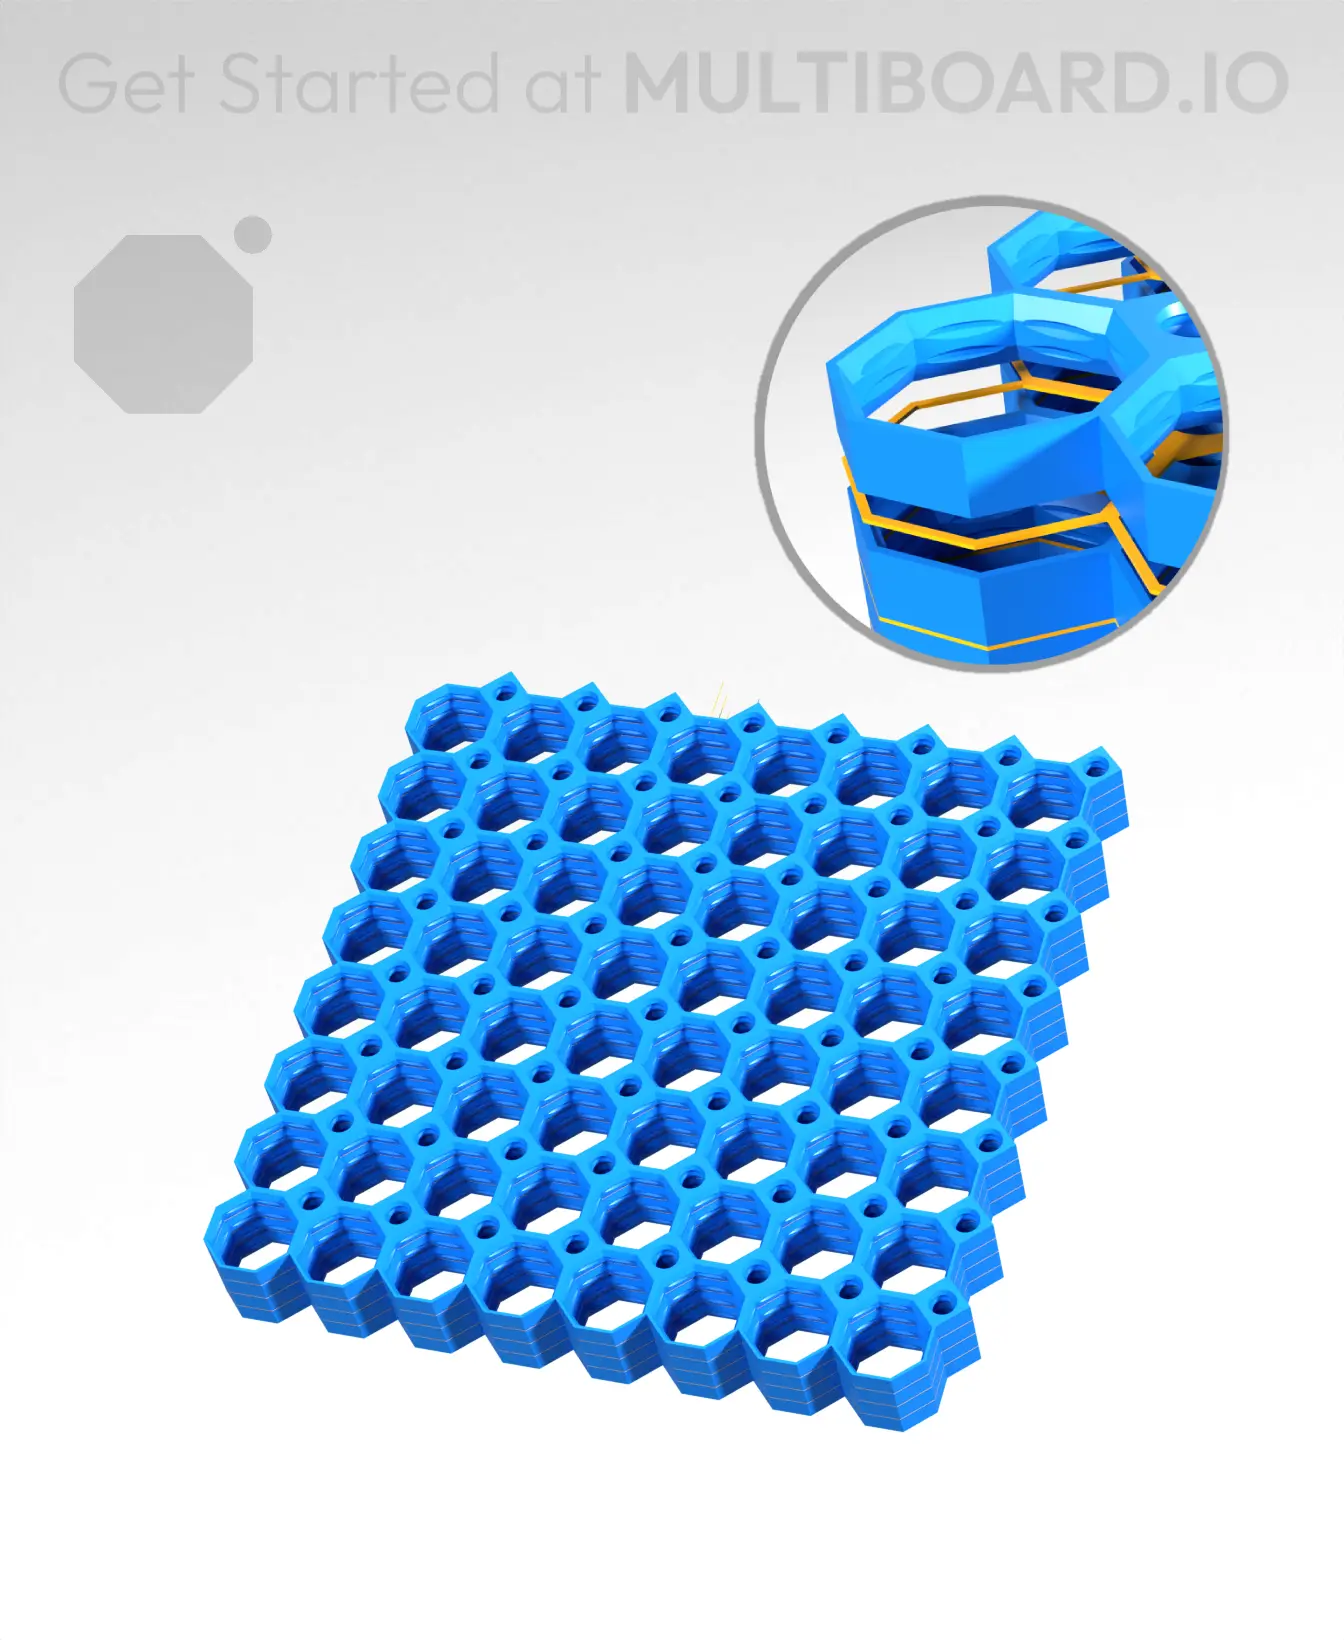
8x8 MU - Center Grid Interfitted - MultiBoard Octagon Plate - 4x Multi-Material Stack
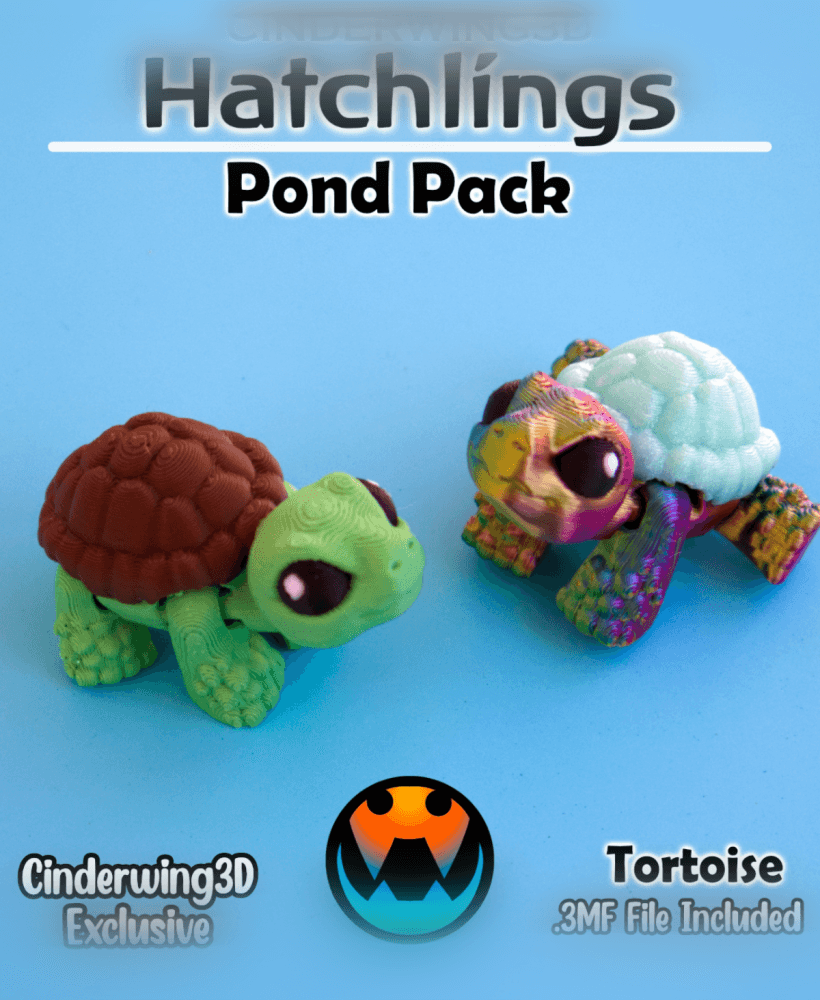
Tortoise - Hatchling
