


Estes AstroCam Housing
Model originally uploaded to Thingiverse at https://www.thingiverse.com/thing:5691159.
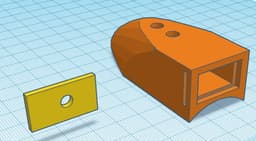
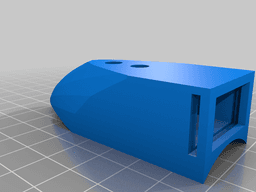
The Universal AstroCam is a commercially available video camera sold by Estes Industries. (https://estesrockets.com/product/002208-universal-astrocam-hd-rocket-camera-and-holder/). The camera comes with a 'clip-on' mount that is taped to the rocket. While you can use the clip that comes with the camera, I wanted an attachment that would better protect the camera. The result was the Video Camera Housing.
The camera housing was designed in Tinkercad and is made to hold the camera firmly in place during launch. It is designed to fit a BT-60 body tube. Two holes in the top of the housing allow you to access the camera's function button, while the second hole allows you to see the camera's status lamp. A door is slid in from the side at the bottom to secure the camera inside the housing. The housing used in this project was printed on an Ender 3 V2 printer. I used 1.75mm silver PLA filament from Hatchbox and it was printed at a 0.2mm quality setting with a 15% infill. Total printing time was about 2 hours.
My original payload bay is covered with silver vinyl, so to glue the housing to the payload bay a portion of it had to be removed to expose the paper tube underneath. To mark the amount of material to be removed, set the housing on the tube in the desired position. Using a pencil, trace an outline of the housing on the vinyl. Using a sharp modeling knife, lightly cut the vinyl about 1/8-inch inside the the pencil outline. Do not press hard and cut the paper tube underneath the vinyl. Remove the vinyl under the housing and discard it. To secure the housing to the payload bay I used 30-minute epoxy. This slow cure epoxy will provide you with plenty of time to position the housing properly on the payload tube. Spread a thin layer of epoxy on the bottom of the housing and place on the payload tube. Allow the epoxy to cure before moving.
Tinkercad AstroCam Housing Files:https://www.tinkercad.com/things/5XbiHjYzAvv

BEE HOUSE
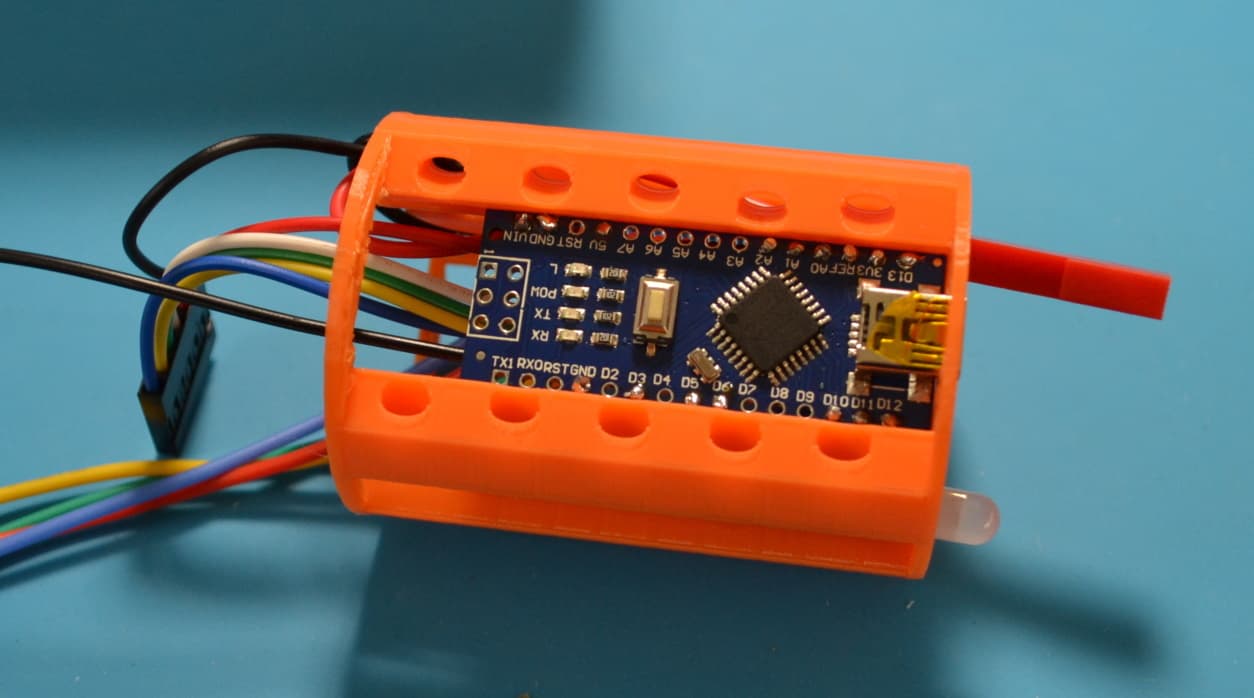
Arduino Primary Avionics Module (A-PAM)
Project: Icarus - Payload Adapter

Display Stand for the Cineroc/Omega Model Rocket

Avionics Housing-The Olympus Project

Haunted House Spooky Tower - Fuego Forts - Mas Fuego 3D

Zenzatx
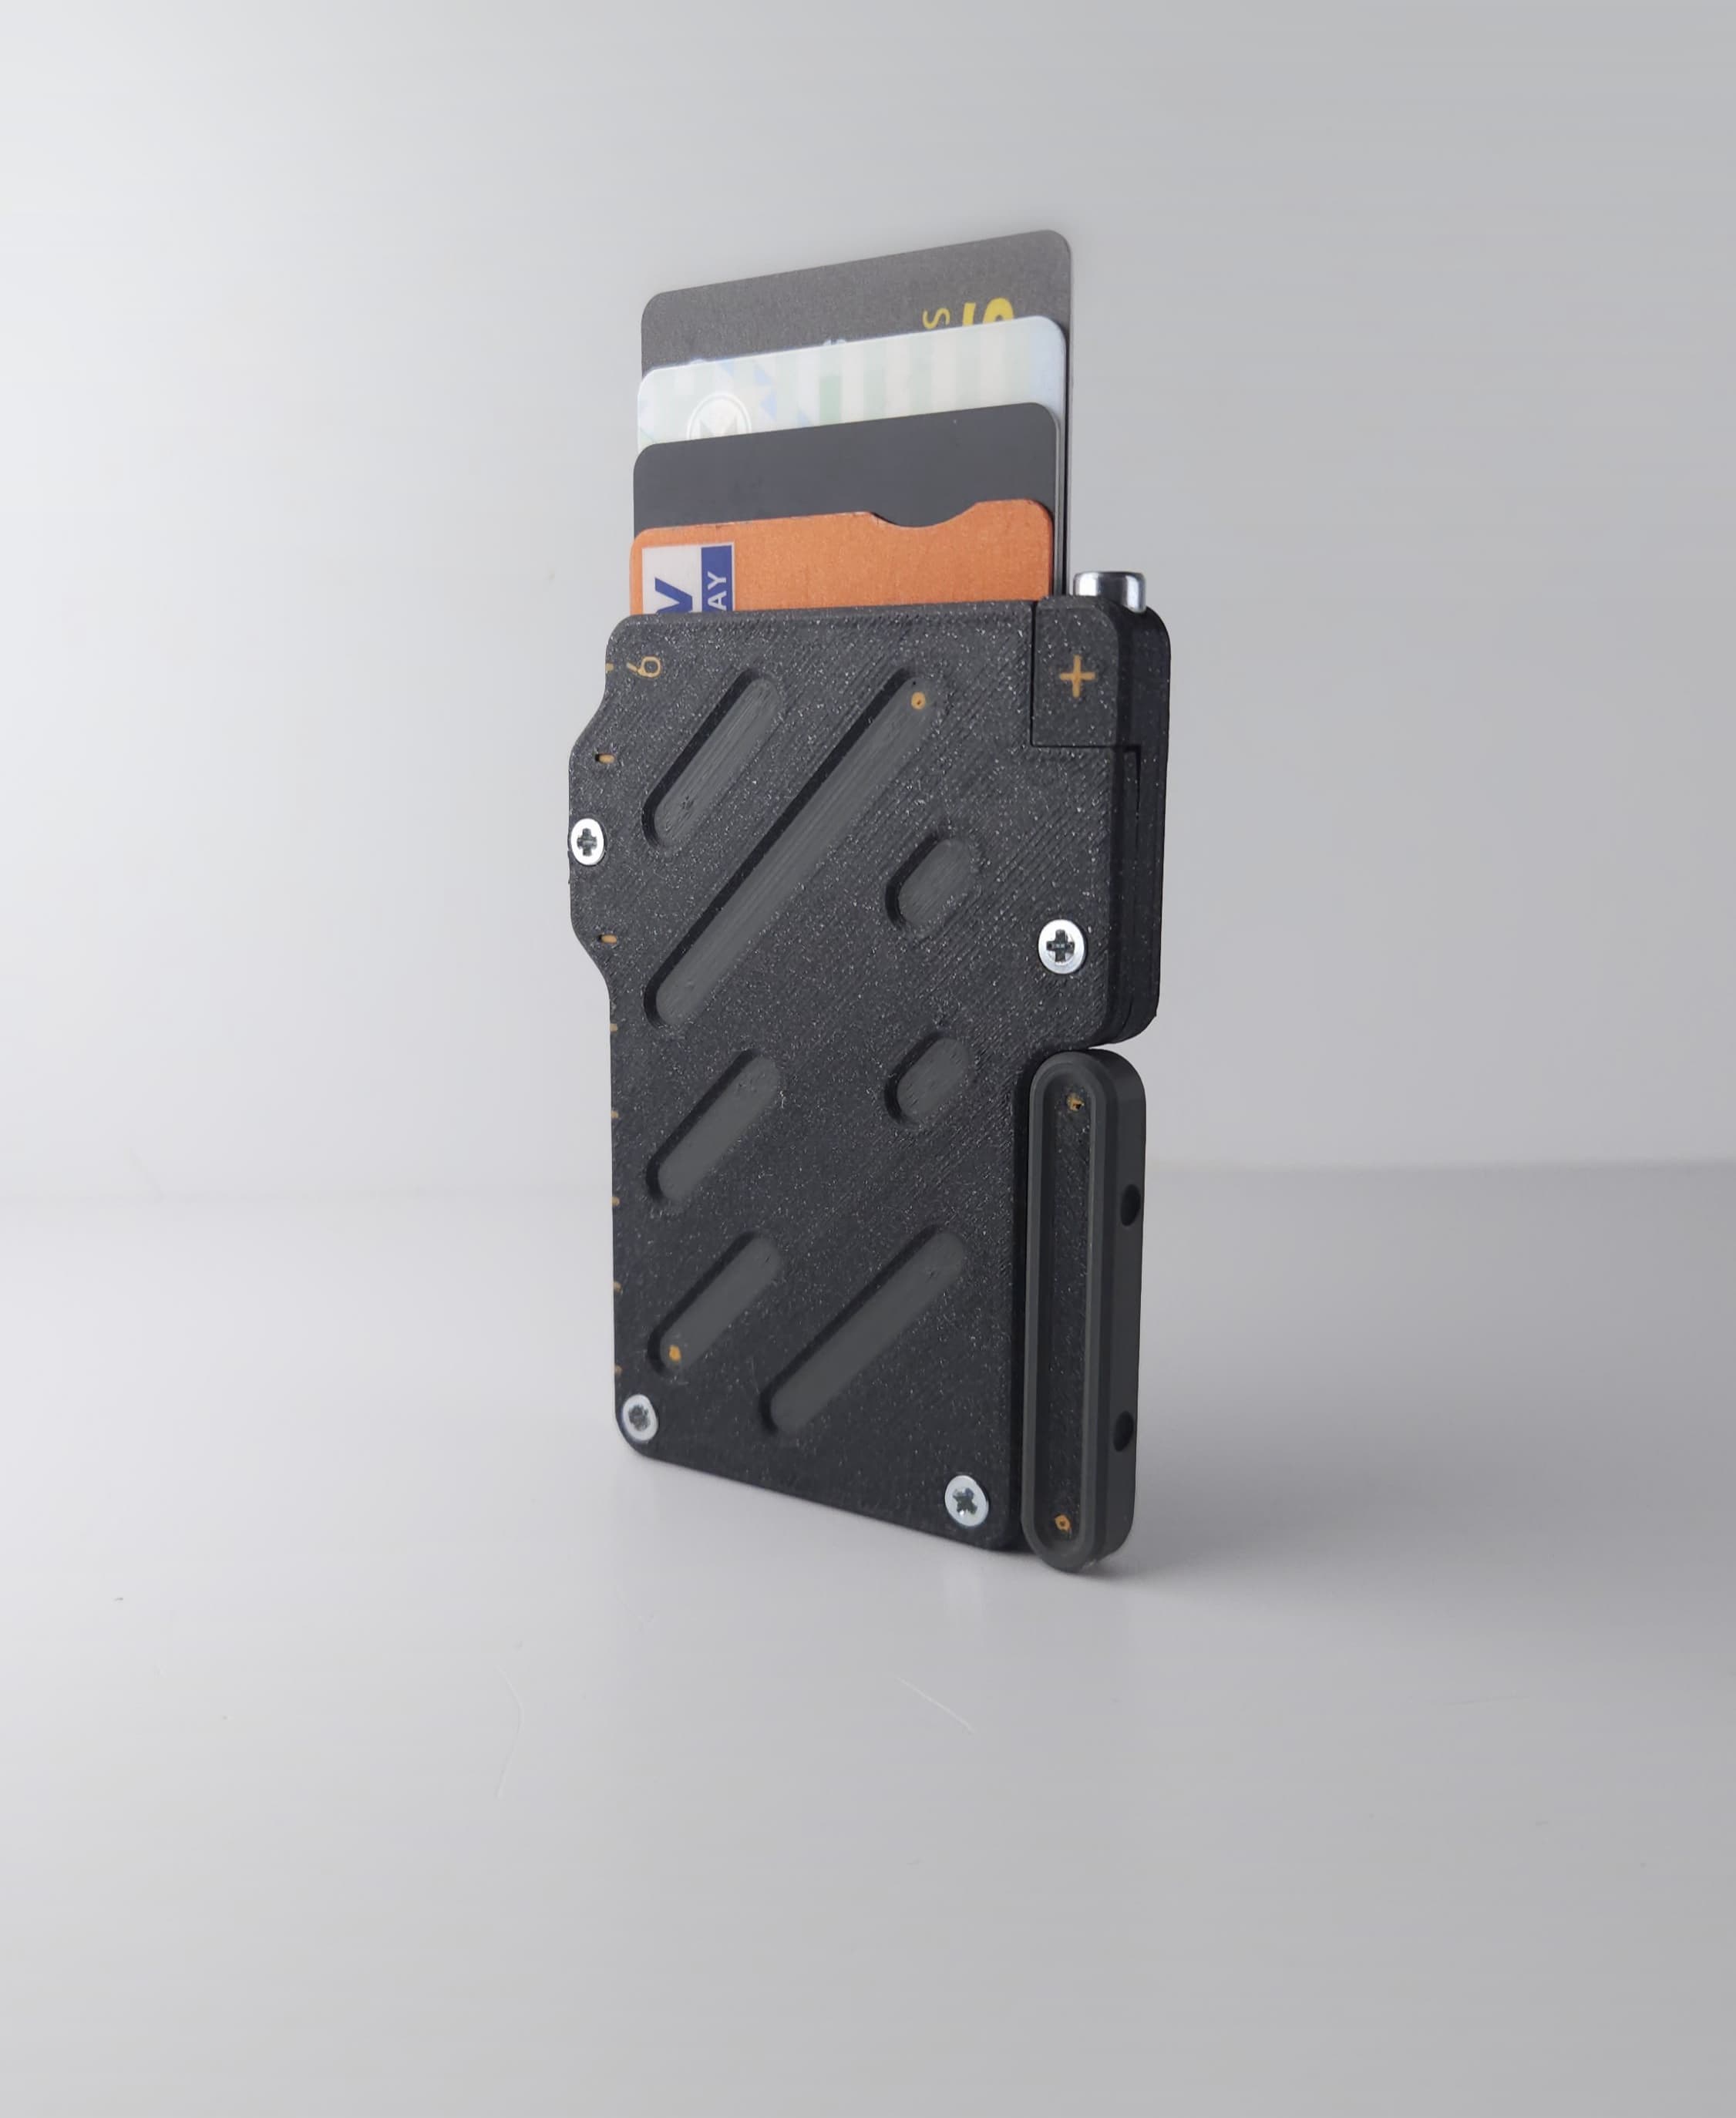
Lever action Wallet
.png&w=3840&q=75)
Trellis Storage System - Base Bundle | Pegboard Alternative

String of Pearls Articulating Plant
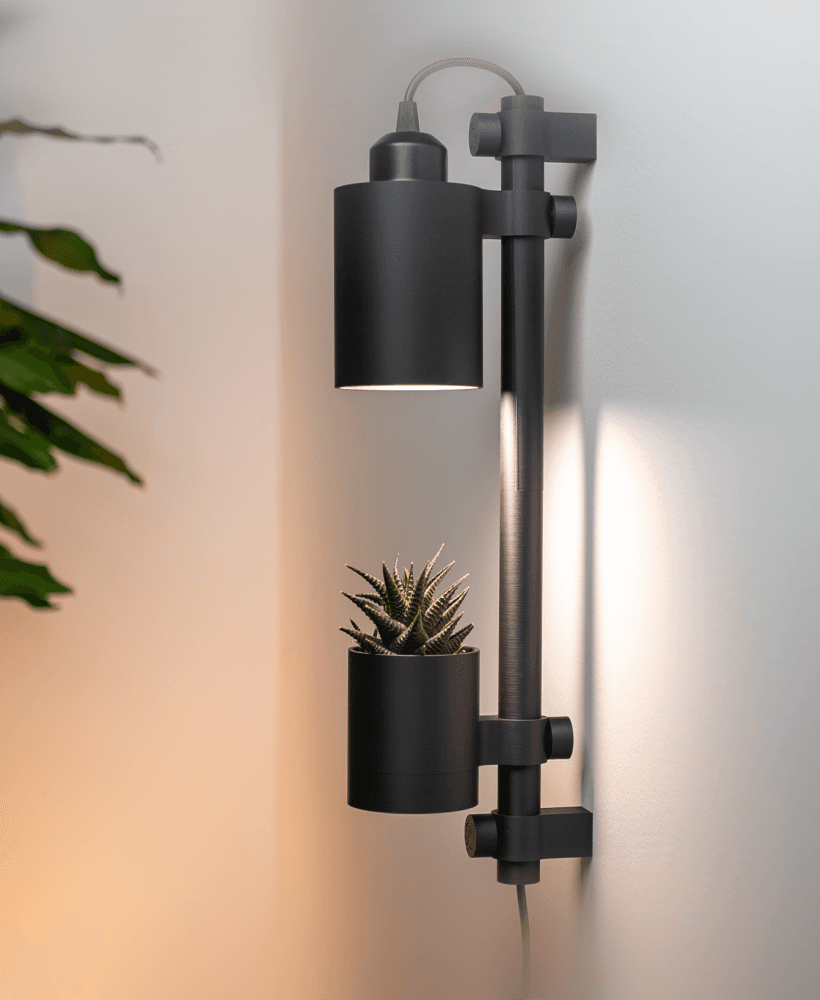
Modular Wall Light
Print in Place - Suporte Articulado Celular Tablet com Porta Caneta.stl
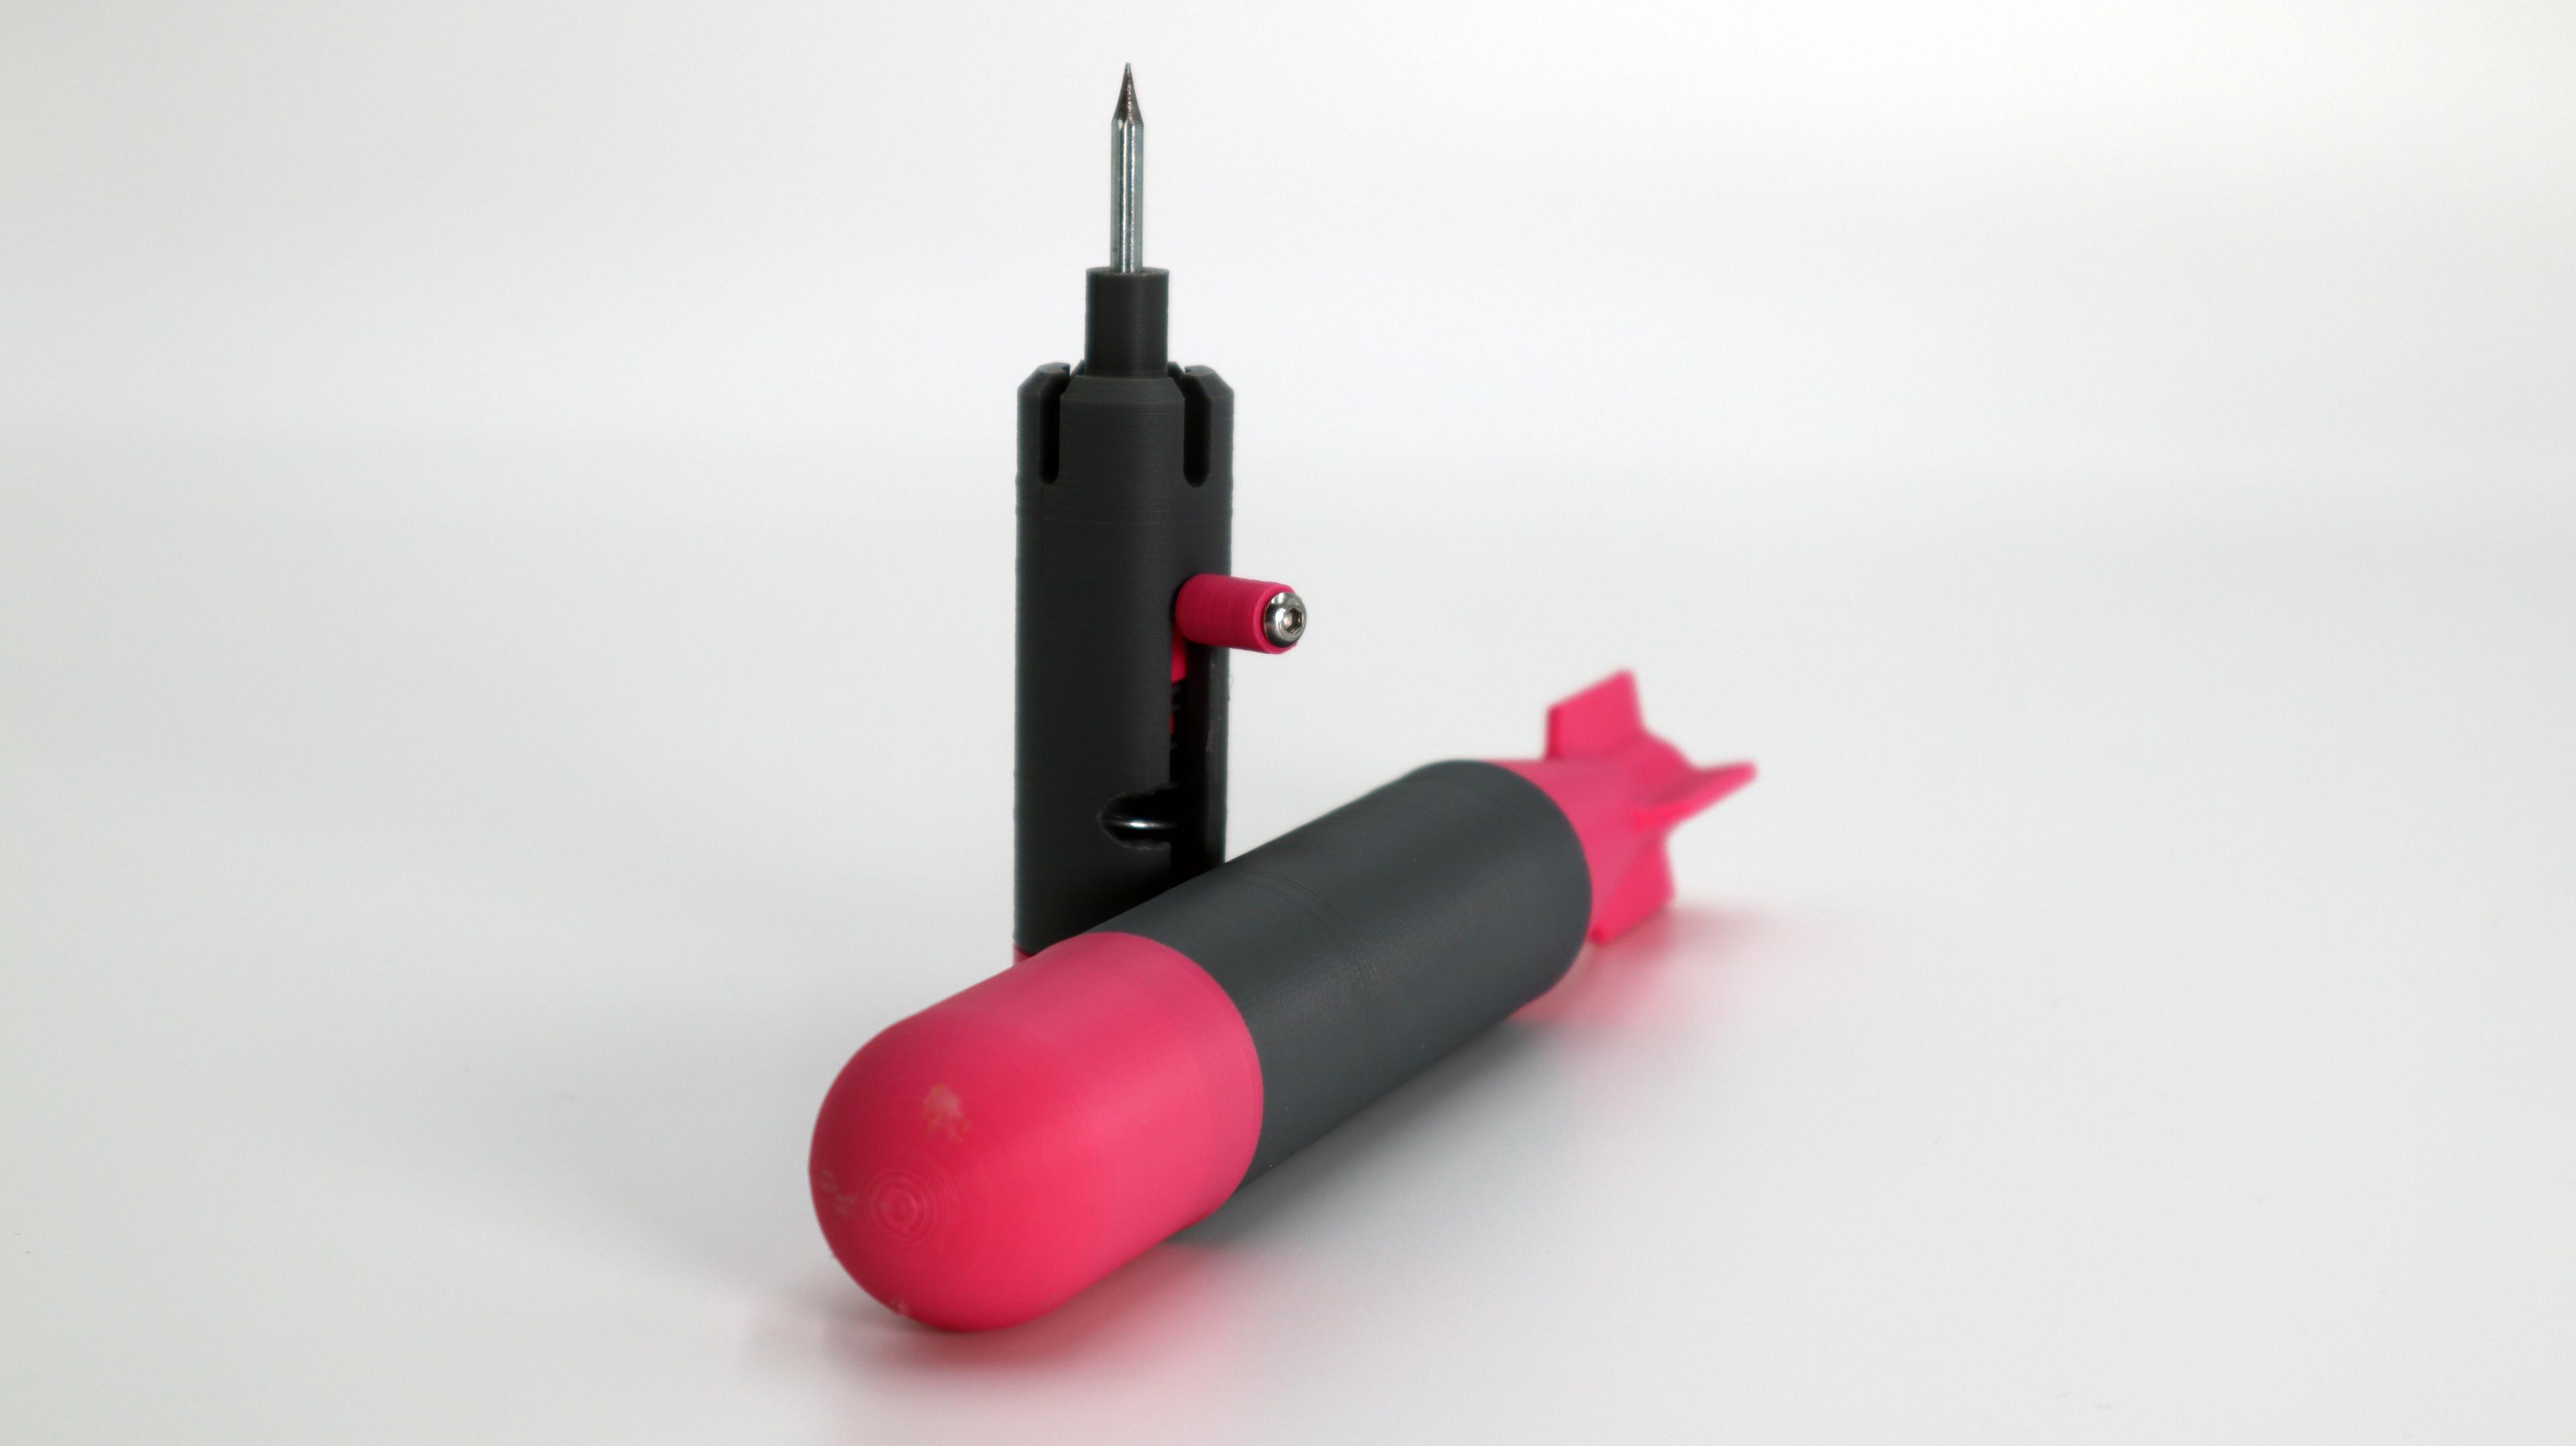
CO2 Pool Torpedo and Launcher
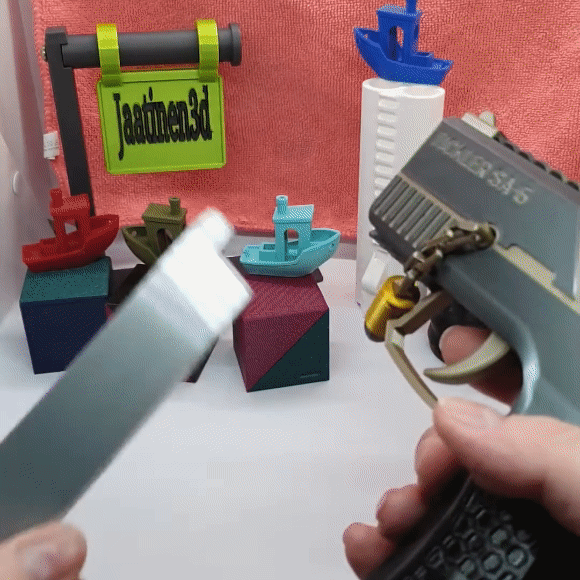
Tickler SA-6 — Fully 3D-printable semi-automatic airsoft pistol

Cozy Cabin - No AMS (or similar system) required

Simple Cup Planter
.png&w=3840&q=75)
Night Light Lilies - The Lily of the Valley Night Light
.png&w=3840&q=75)
Botanical Bundle for Trellis

Brick Clicker & Keychain, Clicky Fun Game! Gadget Fidget Anti Stress