


Arduino Primary Avionics Module (A-PAM)
Model originally uploaded to Thingiverse at https://www.thingiverse.com/thing:5691217.
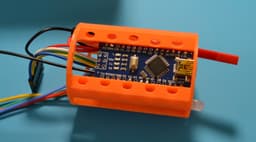
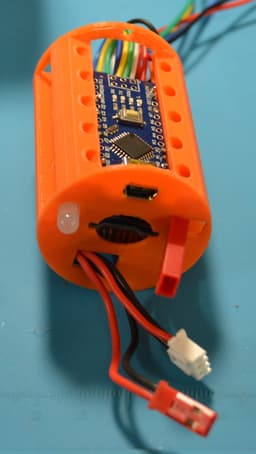
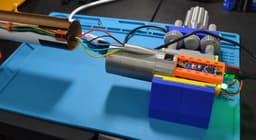
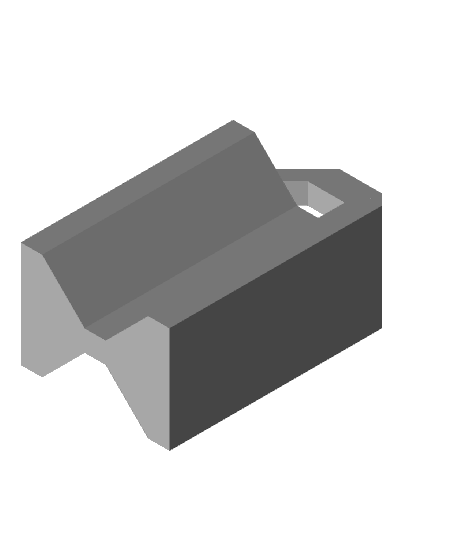
The avionics bay is designed to hold an Arduino Nano, a MicroSD card read/writer module, and a 7.4-volt LiPo rechargeable battery. As a base unit, on its own it doesn't do anything. It needs to have additional modules added to it. In this project we decided to use temperature sensors down the body of the rocket to record the temperatures inside the body tube. With the sensors in place, the additional coding is added to the base unit to calculate temperatures and store the data on the MicroSD card. The LiPo battery provides power to the sensors as well as the Nano and MicroSD card module.
When creating a different project, a new module would be designed to house additional sensors or modules. You may want to add an altimeter, so the altitude calculations coding would be added to the base code. The Nano would run the code, the LiPo battery would power the new modules, and the altitude data would be written to the MicroSD card.
A new 3D printed module would be created to house the new sensors. This new module would be designed in Tinkercad using the additional base ring in the drawing as the foundation for the new module.
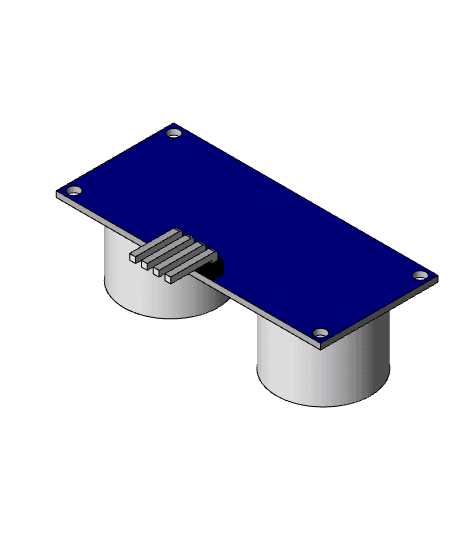
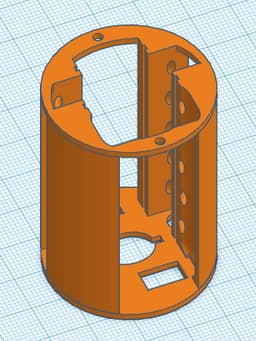
The basic avionics bay was designed on Tinkercad. The housing is designed to fit inside an Estes BT-60 body tube.
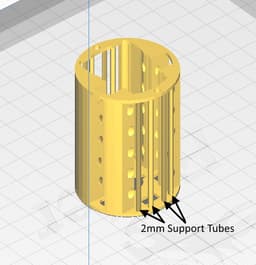
I used Cura and added eight custom support tubes at the top and bottom of the housing, two each on either side of the mounting hole. This help bridge the gap in the ring. The bay was printed with the forward end (this end has the slots for the MicroSD card and the opening for the Arduino USB socket) facing down on the print bed.
The slots for the two boards and the battery holder are meant to hold the components in place using a friction fit. However, depending on your printer and your exact components you may find that they are a bit too tight or too loose. Use a file to open the slots if too tight, or use a bit of glue to secure things in place if they are too loose.
The avionics bay used in this project was printed on an Ender 3 V2 printer. I used 1.75mm orange PLA filament from Hatchbox and the bay was printed at a 0.2mm quality setting with a 15% infill. Total printing time was about 4 hours.
A complete project manual is currently under development. Until that manual is completed we recommend that you review our Instructables article for more detailed information about this project. The A-PAM is part of Project: Icarus and can be found at https://www.instructables.com/Project-Icarus-a-Temperature-Sensor-Model-Rocket/
Tinkercad Avionics Bay Files: https://www.tinkercad.com/things/7pel9mfXqzs
SourceForge Source Code: https://sourceforge.net/projects/arduino-base-avionics-bay/
Arduino Primary Avionics Module (A-PAM)
Arduino Module Uno.stl

Arduino Module Mega.stl
Arduino Module Bread Board.stl

Arduino Module Tray x 2.stl

Arduino Module Mini Bread Board.stl

Arduino Module Tray x 4.stl

Arduino Module Tray x 1.stl

Arduino Module Tray x 3.stl
Arduino Module Peg.stl
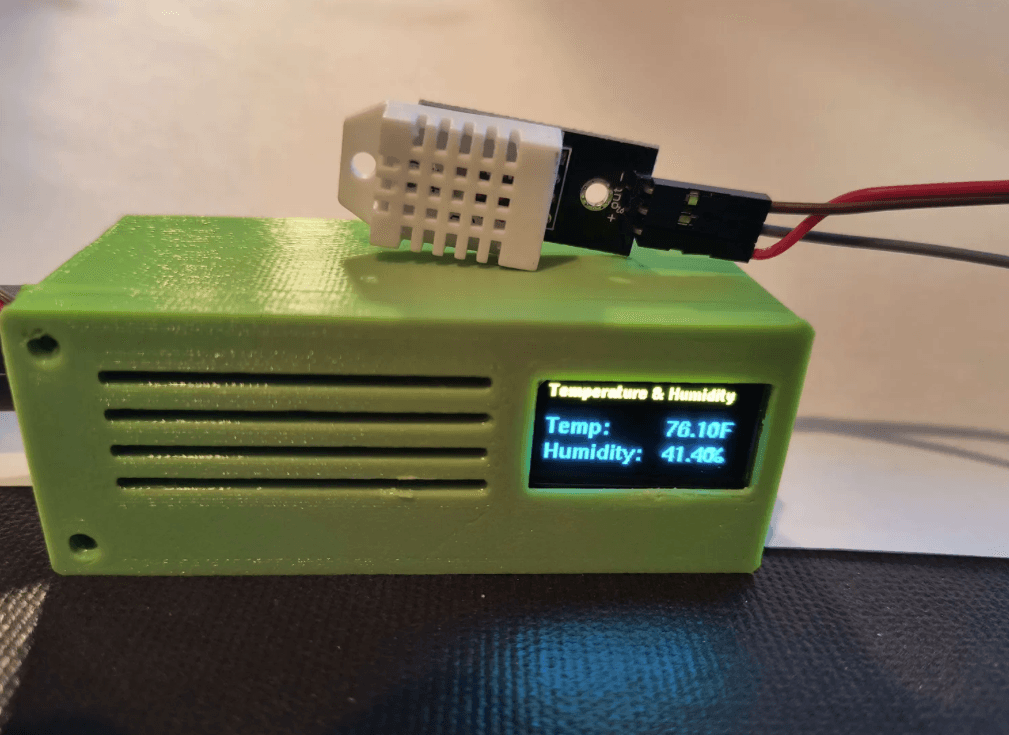
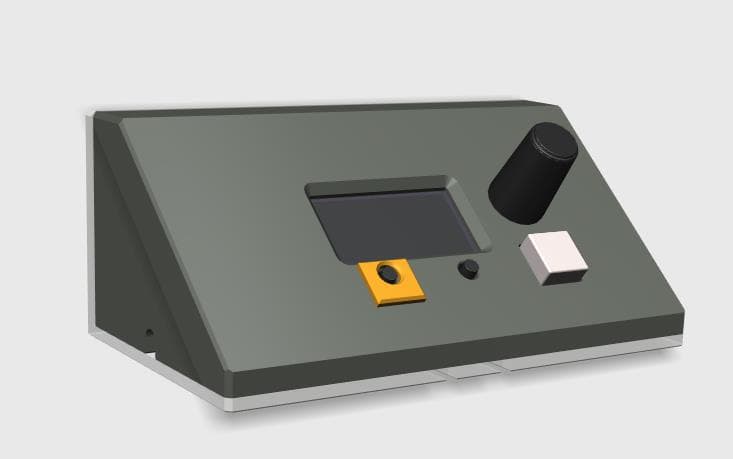
Arduino Nano + OLED Display Module Box
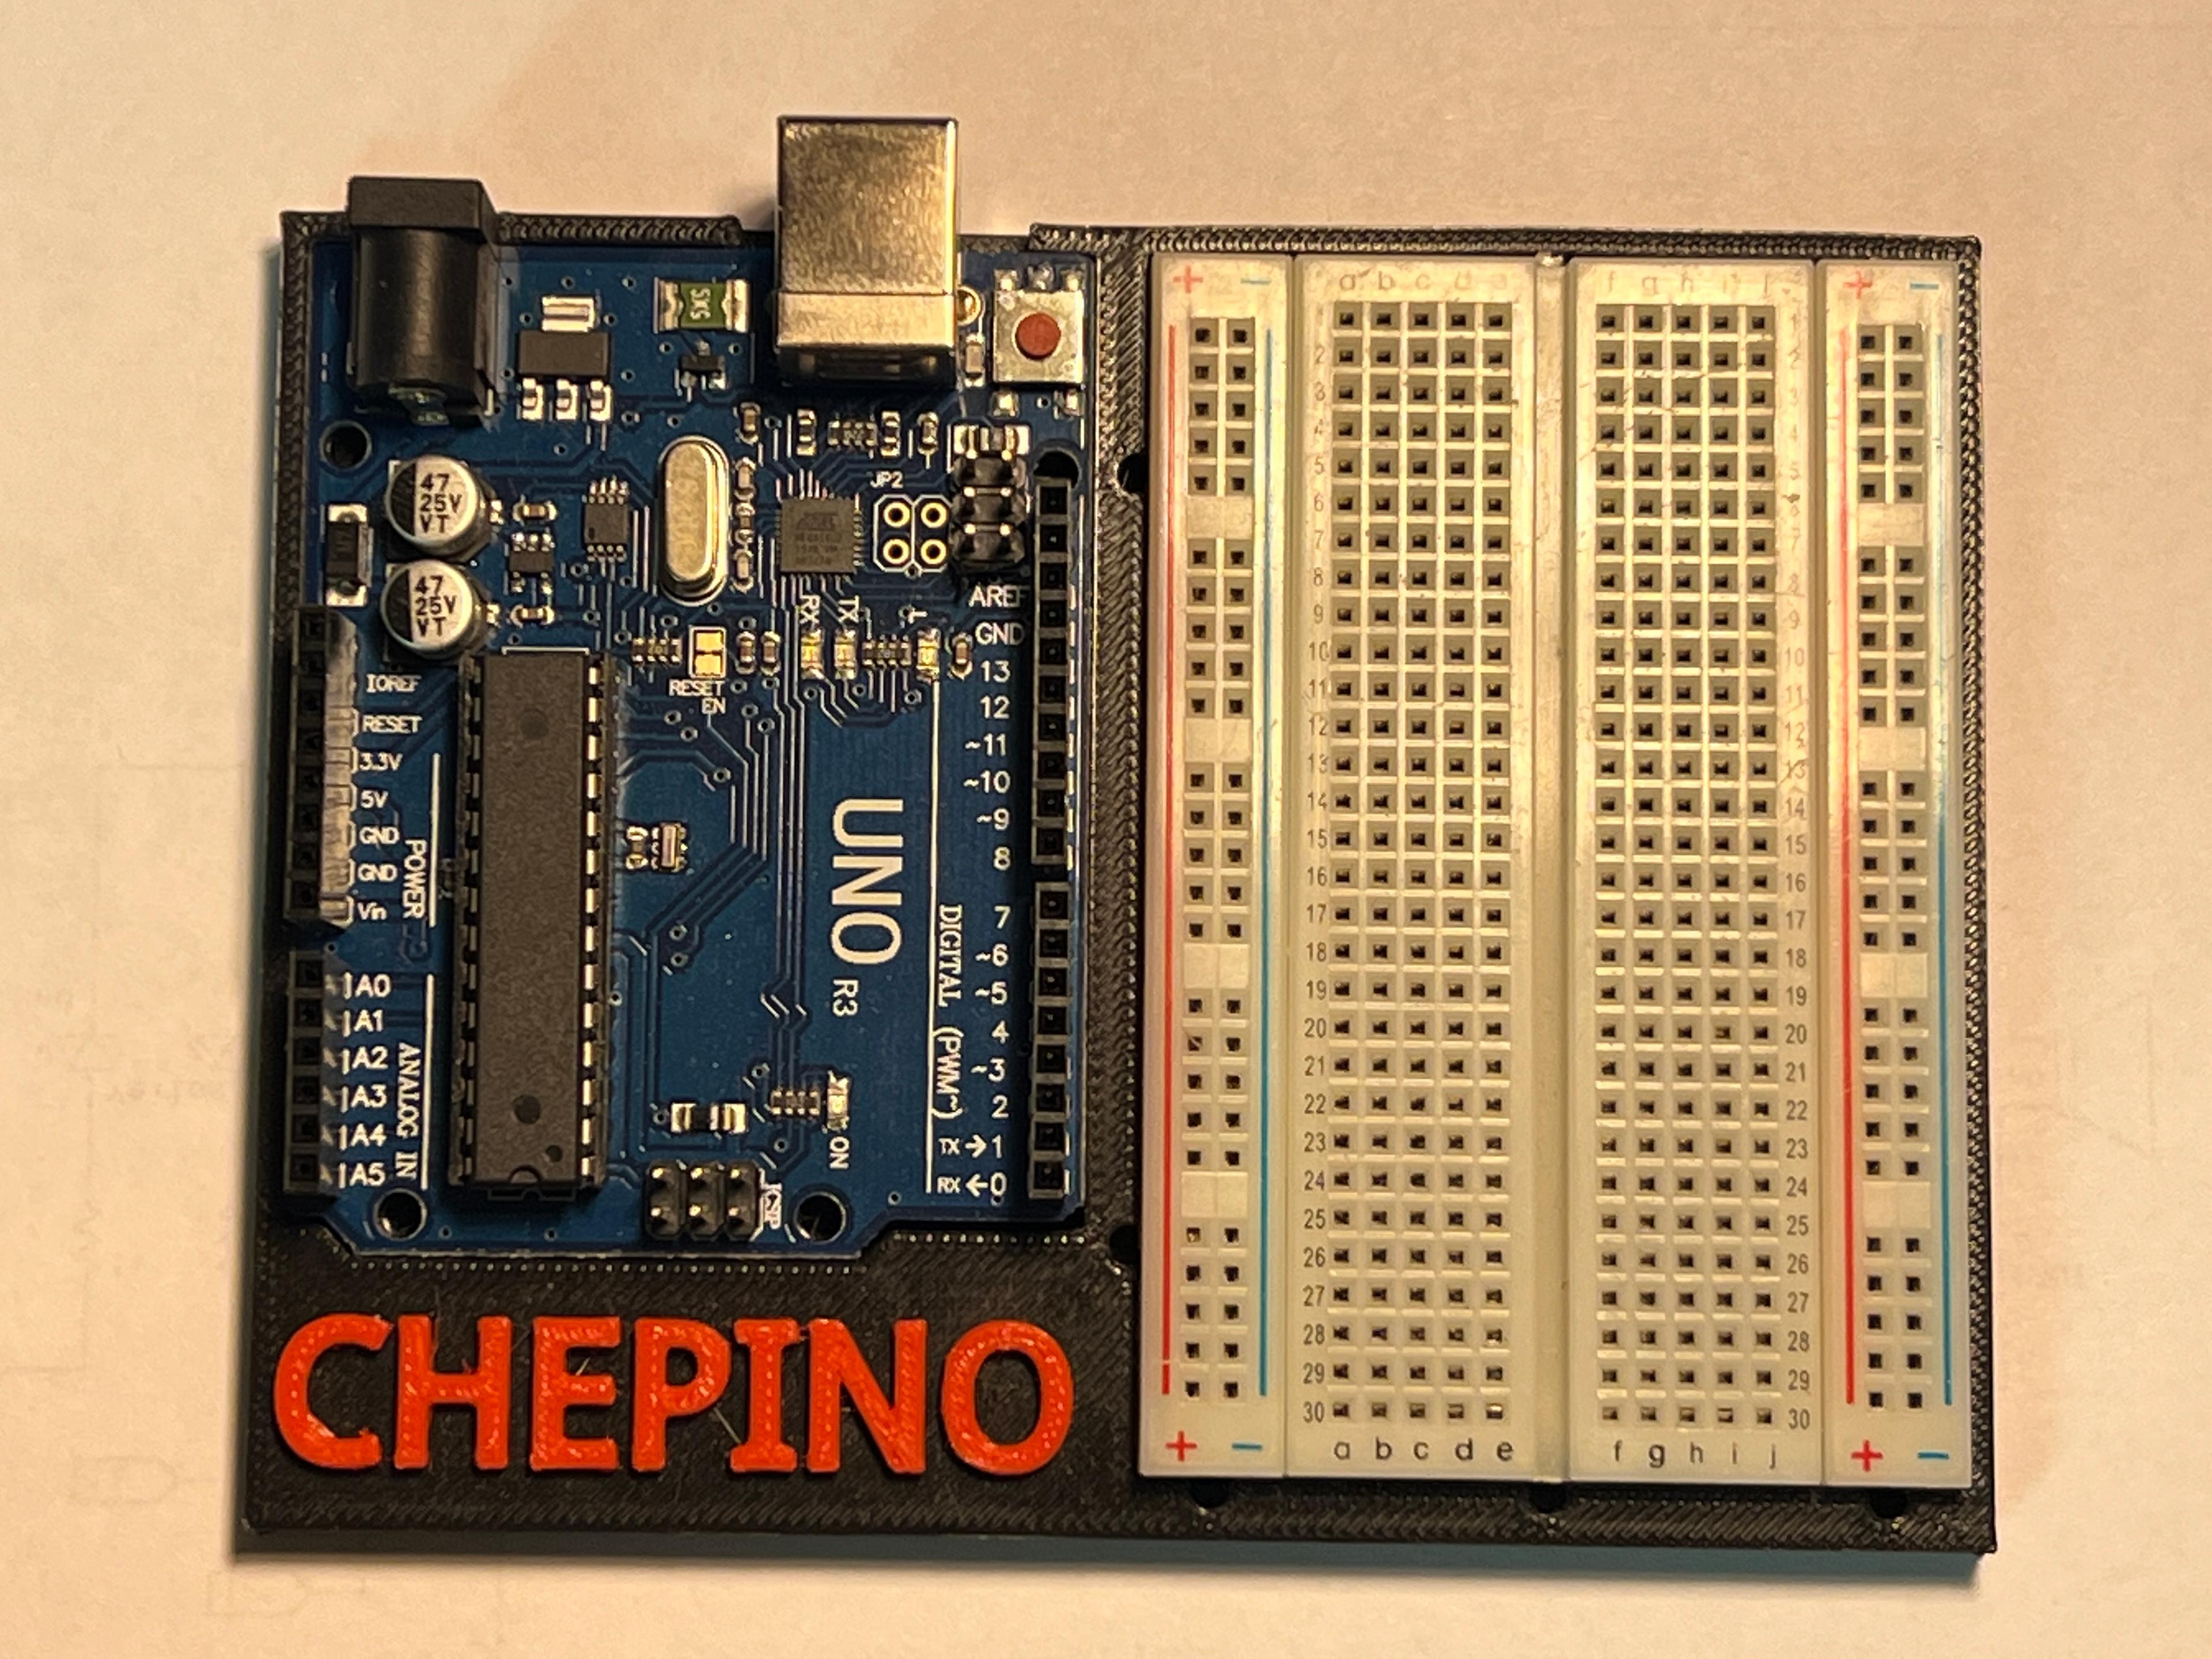
CHEPINO-Arduino Base
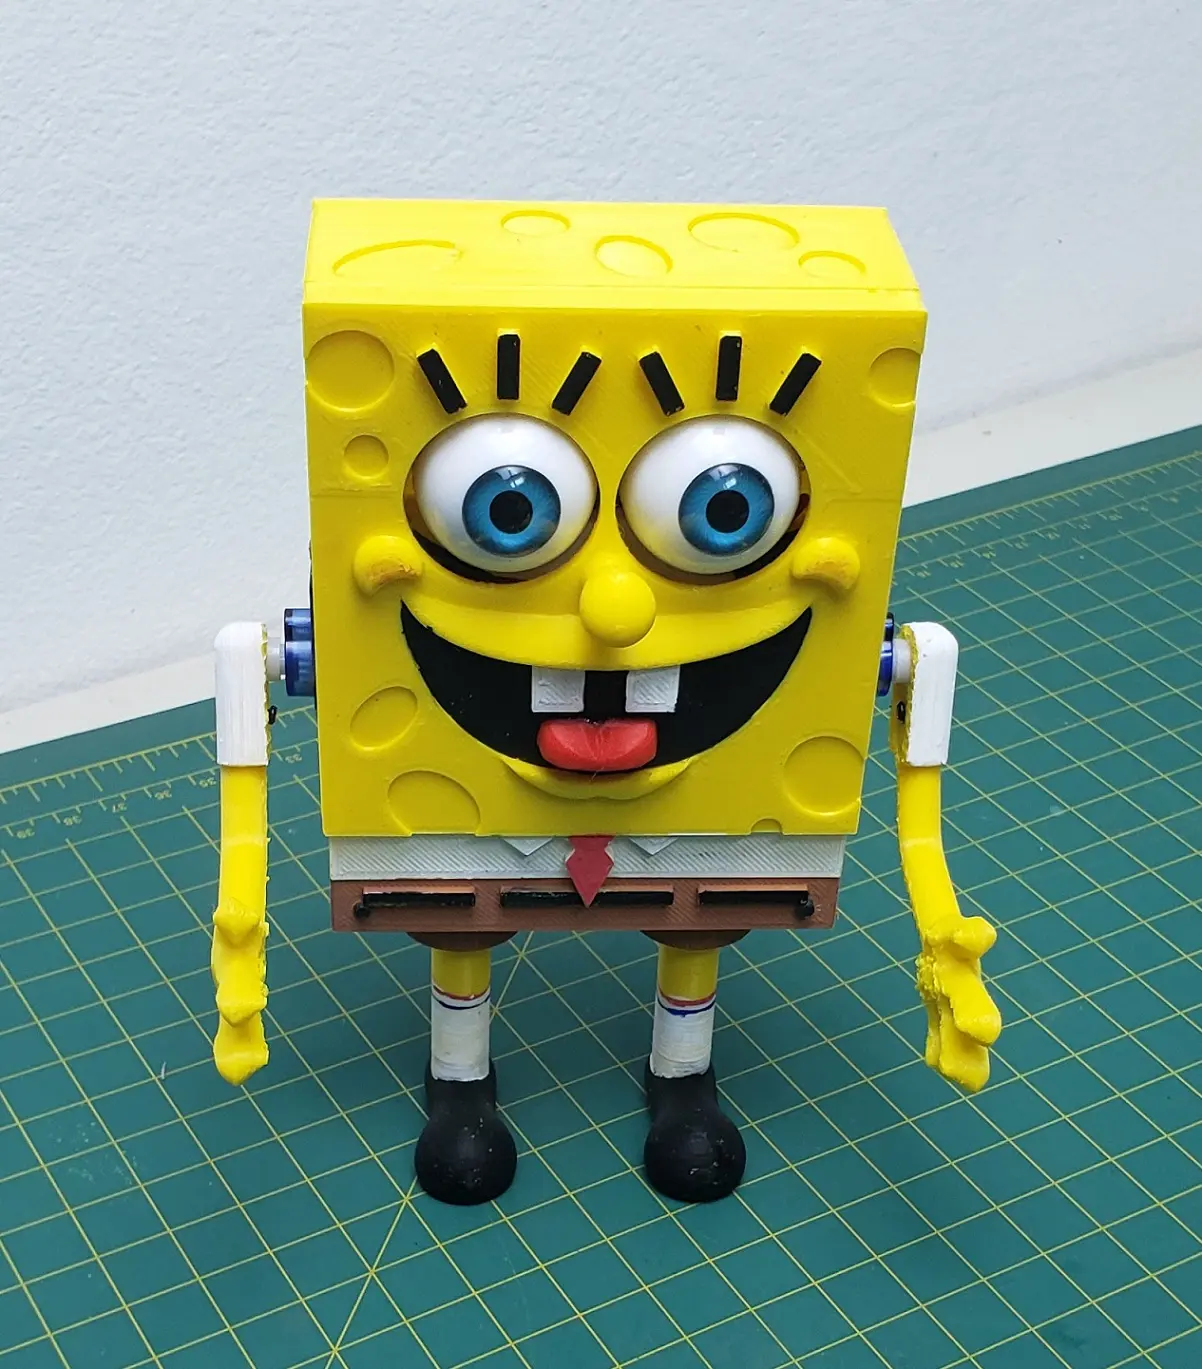
Animatronic SpongeBob

Automated Air Filtration System for Cat Litter Boxes - Universal Fit - Customizable

3-Axis Gyroscope / Accelerometer Module MPU6050
Stepper Driver Pack

Arduino Book: "Arduino: A Beginner's Guide to Programming Electronics"
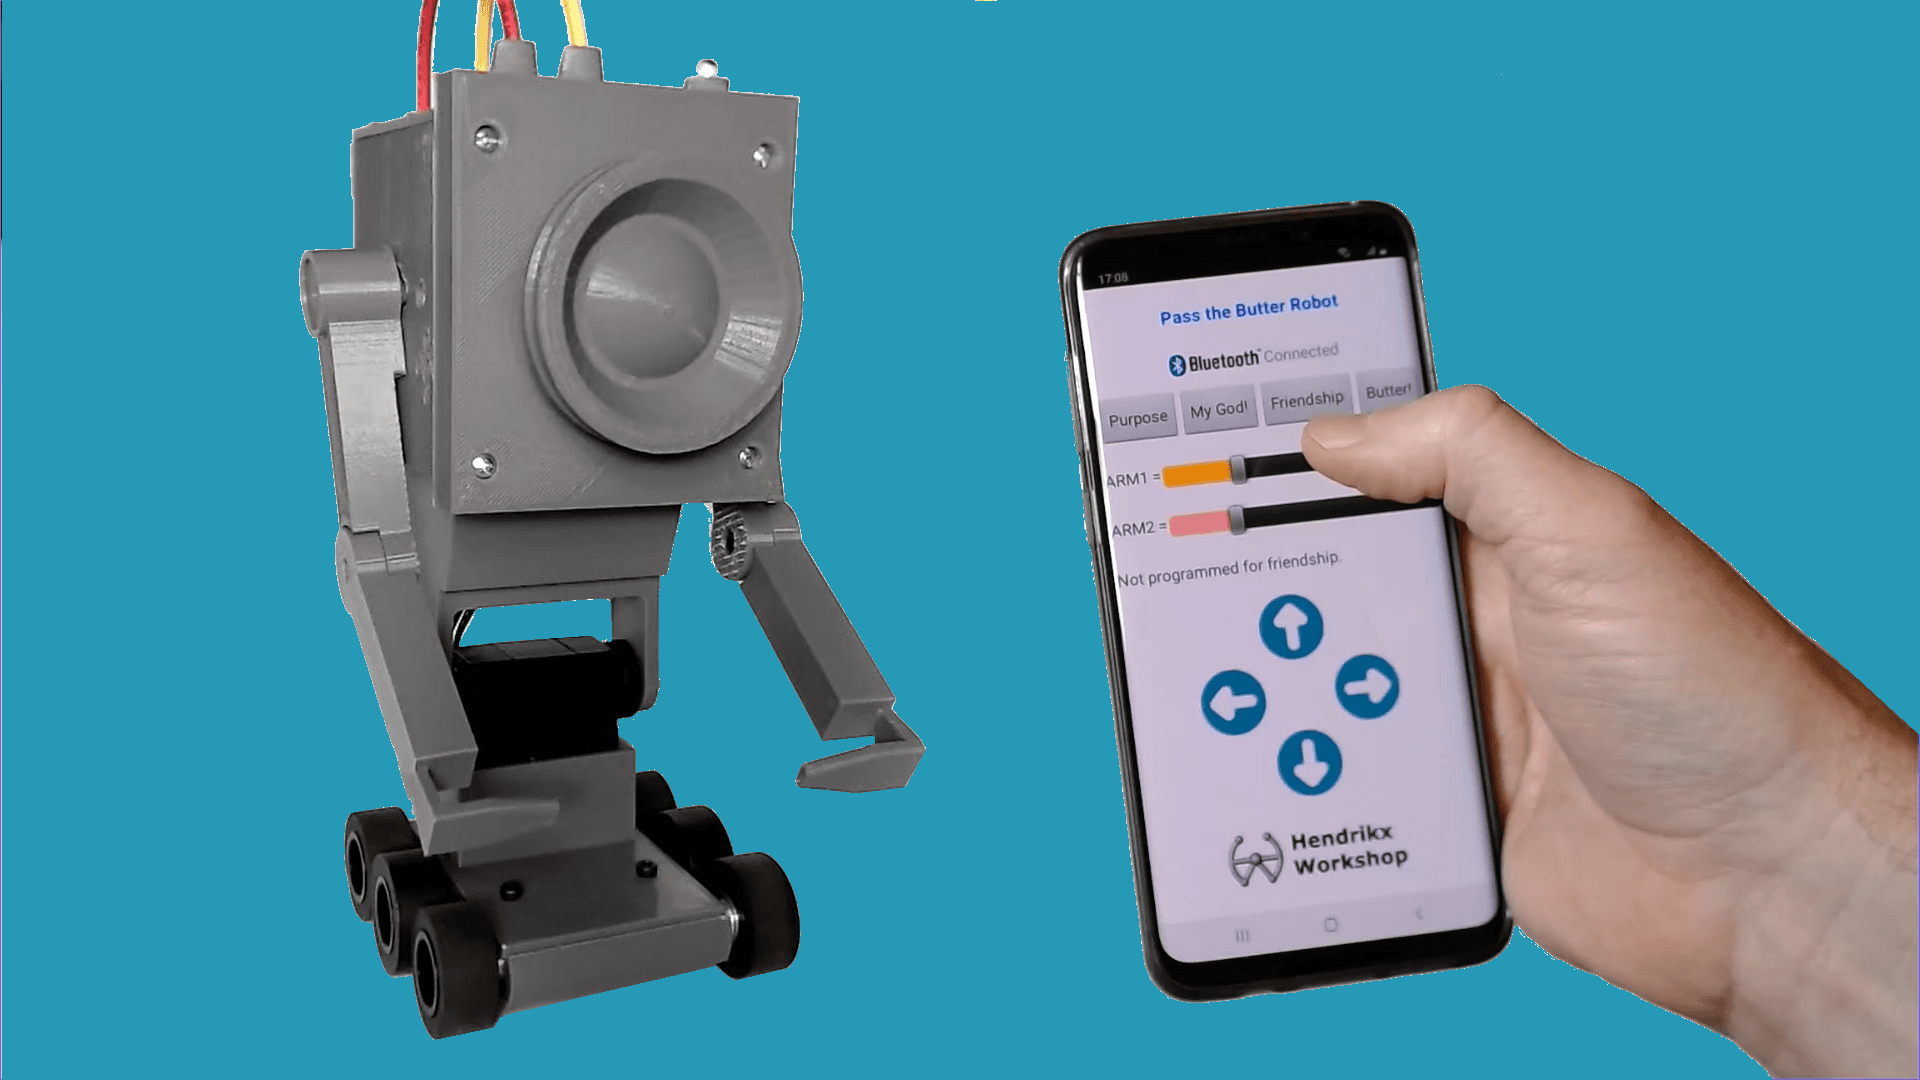
Pass the Butter Robot
LeoNerd's OLED Module Enclosure
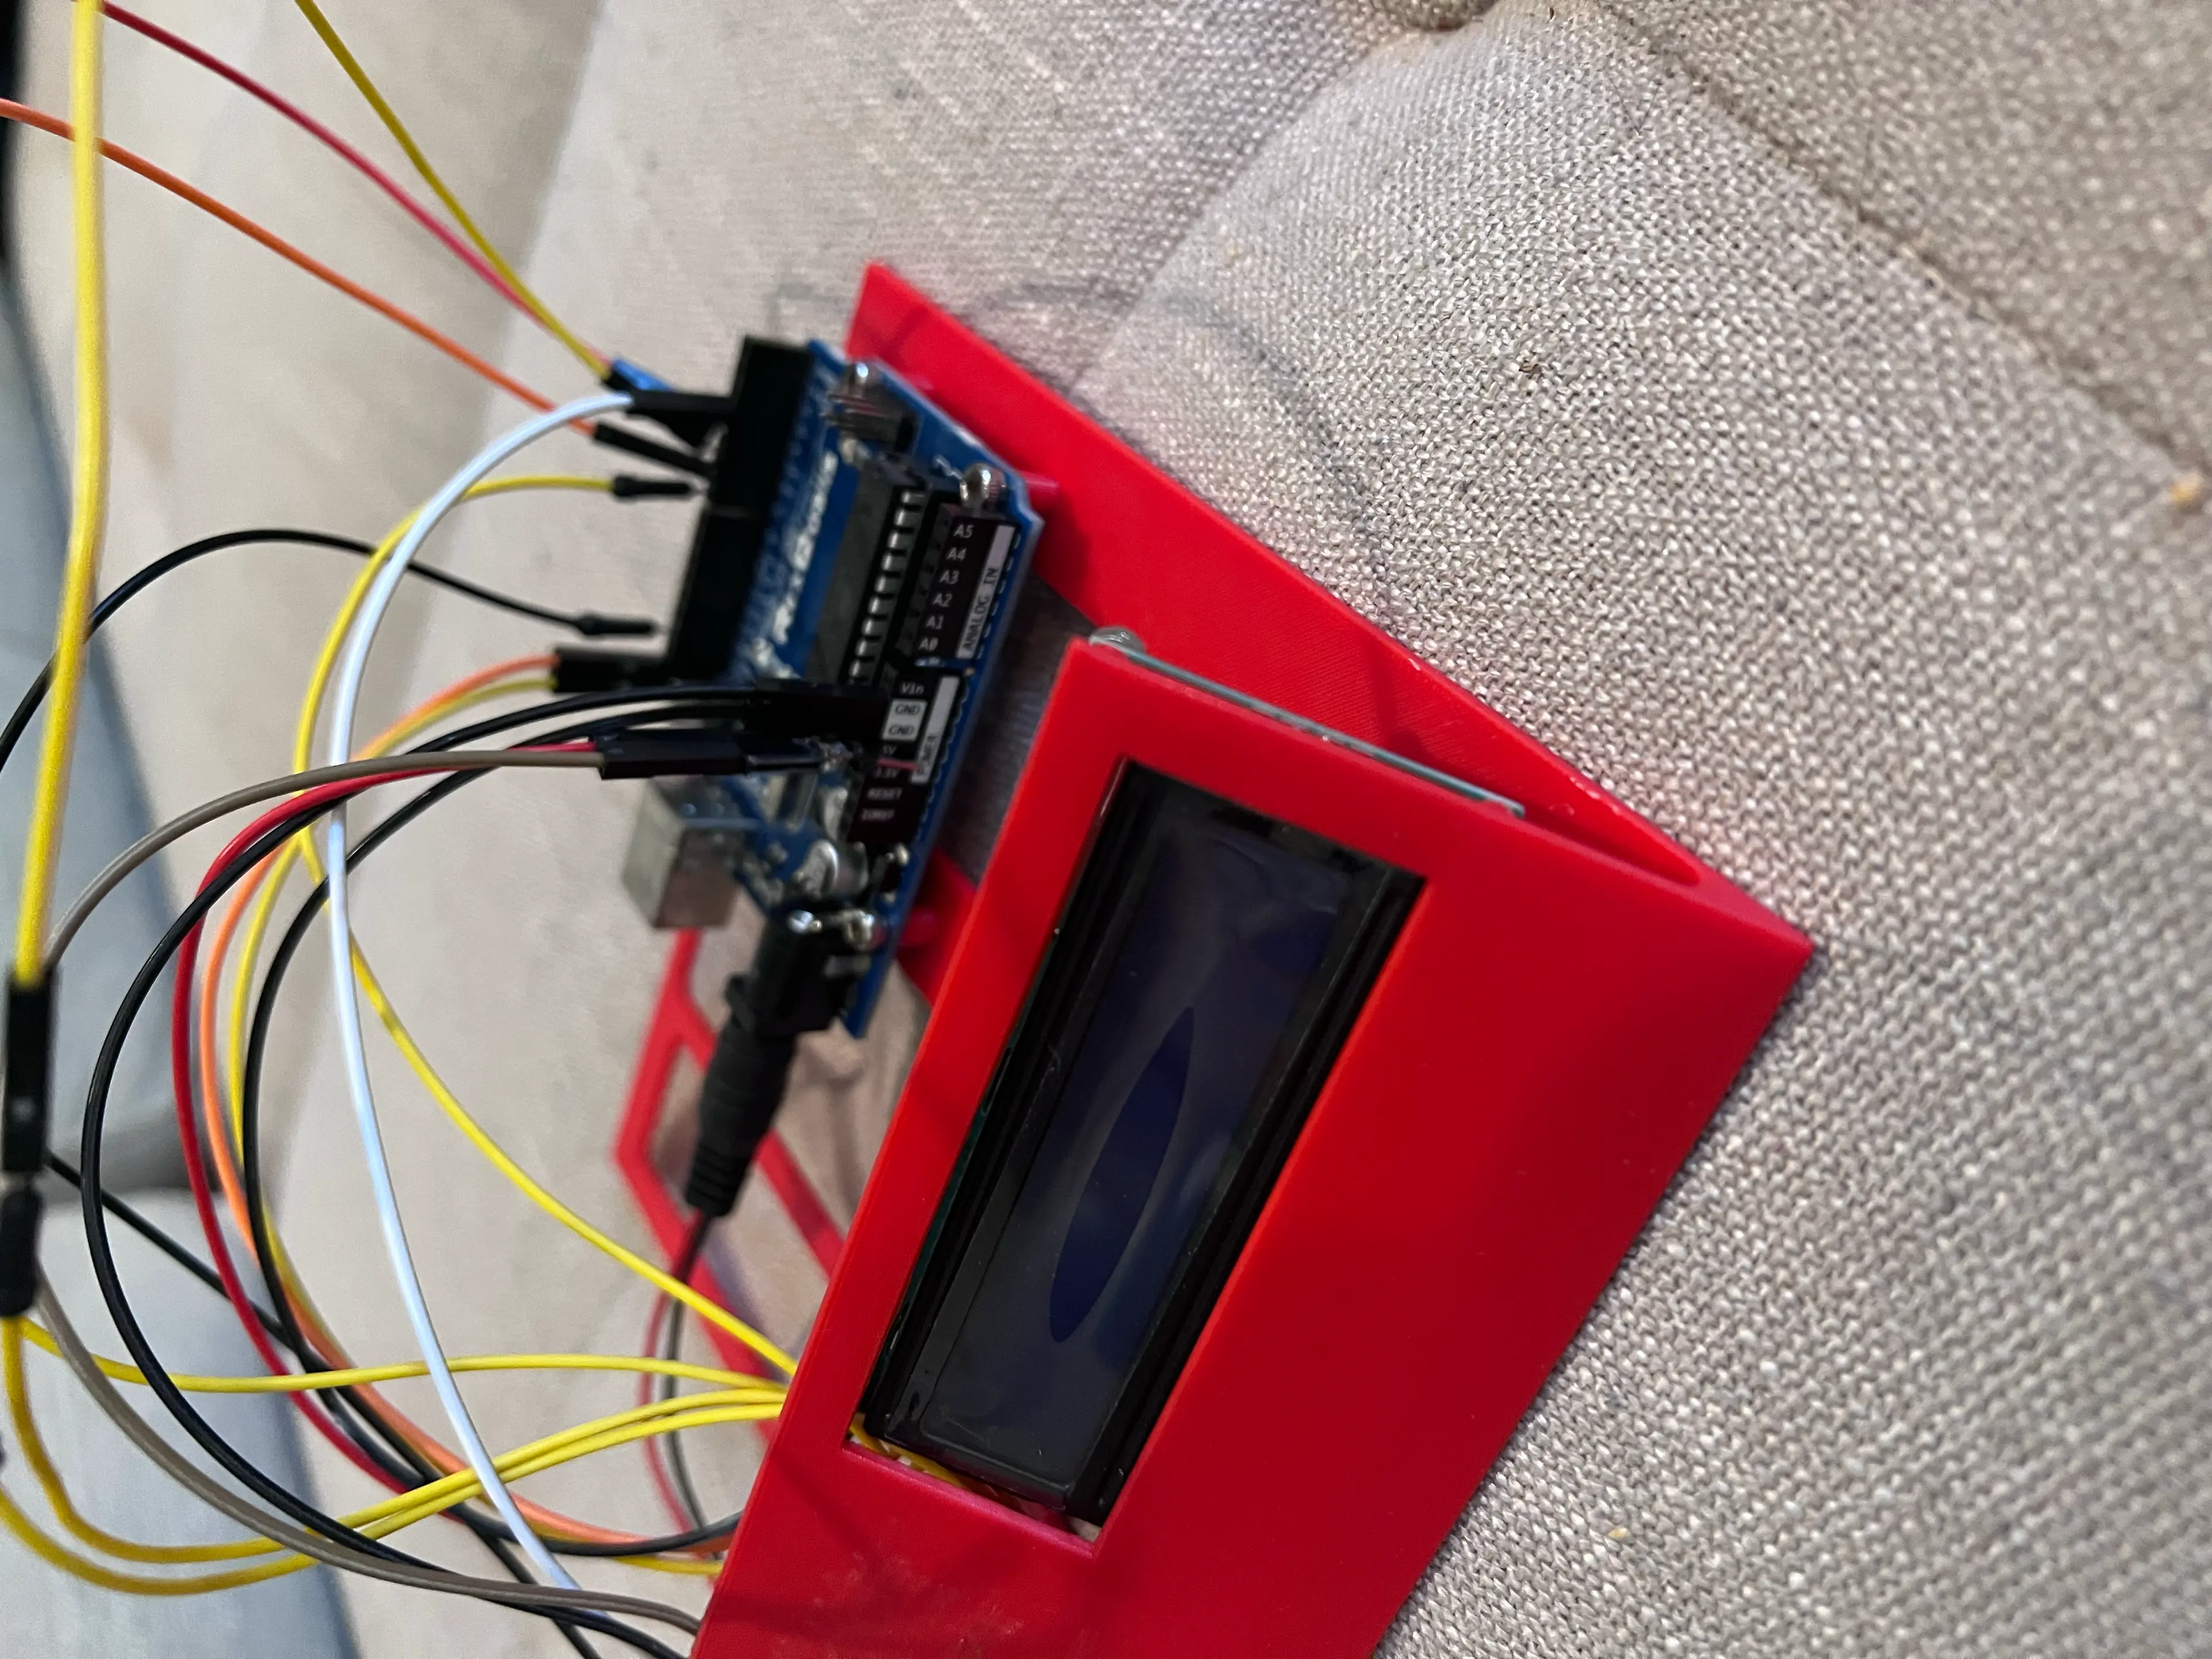
Arduino Uno Lcd Holder