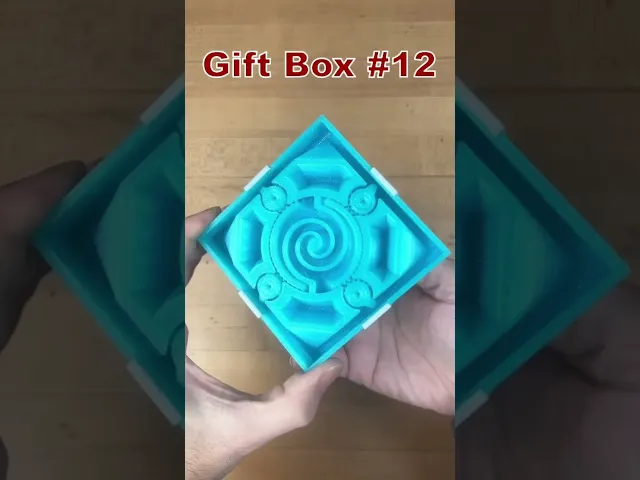


Gift Box #2
Gift Box Series This is the second gift box in a series of boxes that I’m designing for Christmas this year. All the boxes are similar in size and shape but each one opens differently. If you print one I would love to see it, be sure to post it here or tag me on your socials.
I hope everyone enjoys printing them as much their loved ones will enjoy receiving them! 🎅🎁
Other Gift Boxes You can find ALL the other gift boxes in the Puzzle Present Collection.
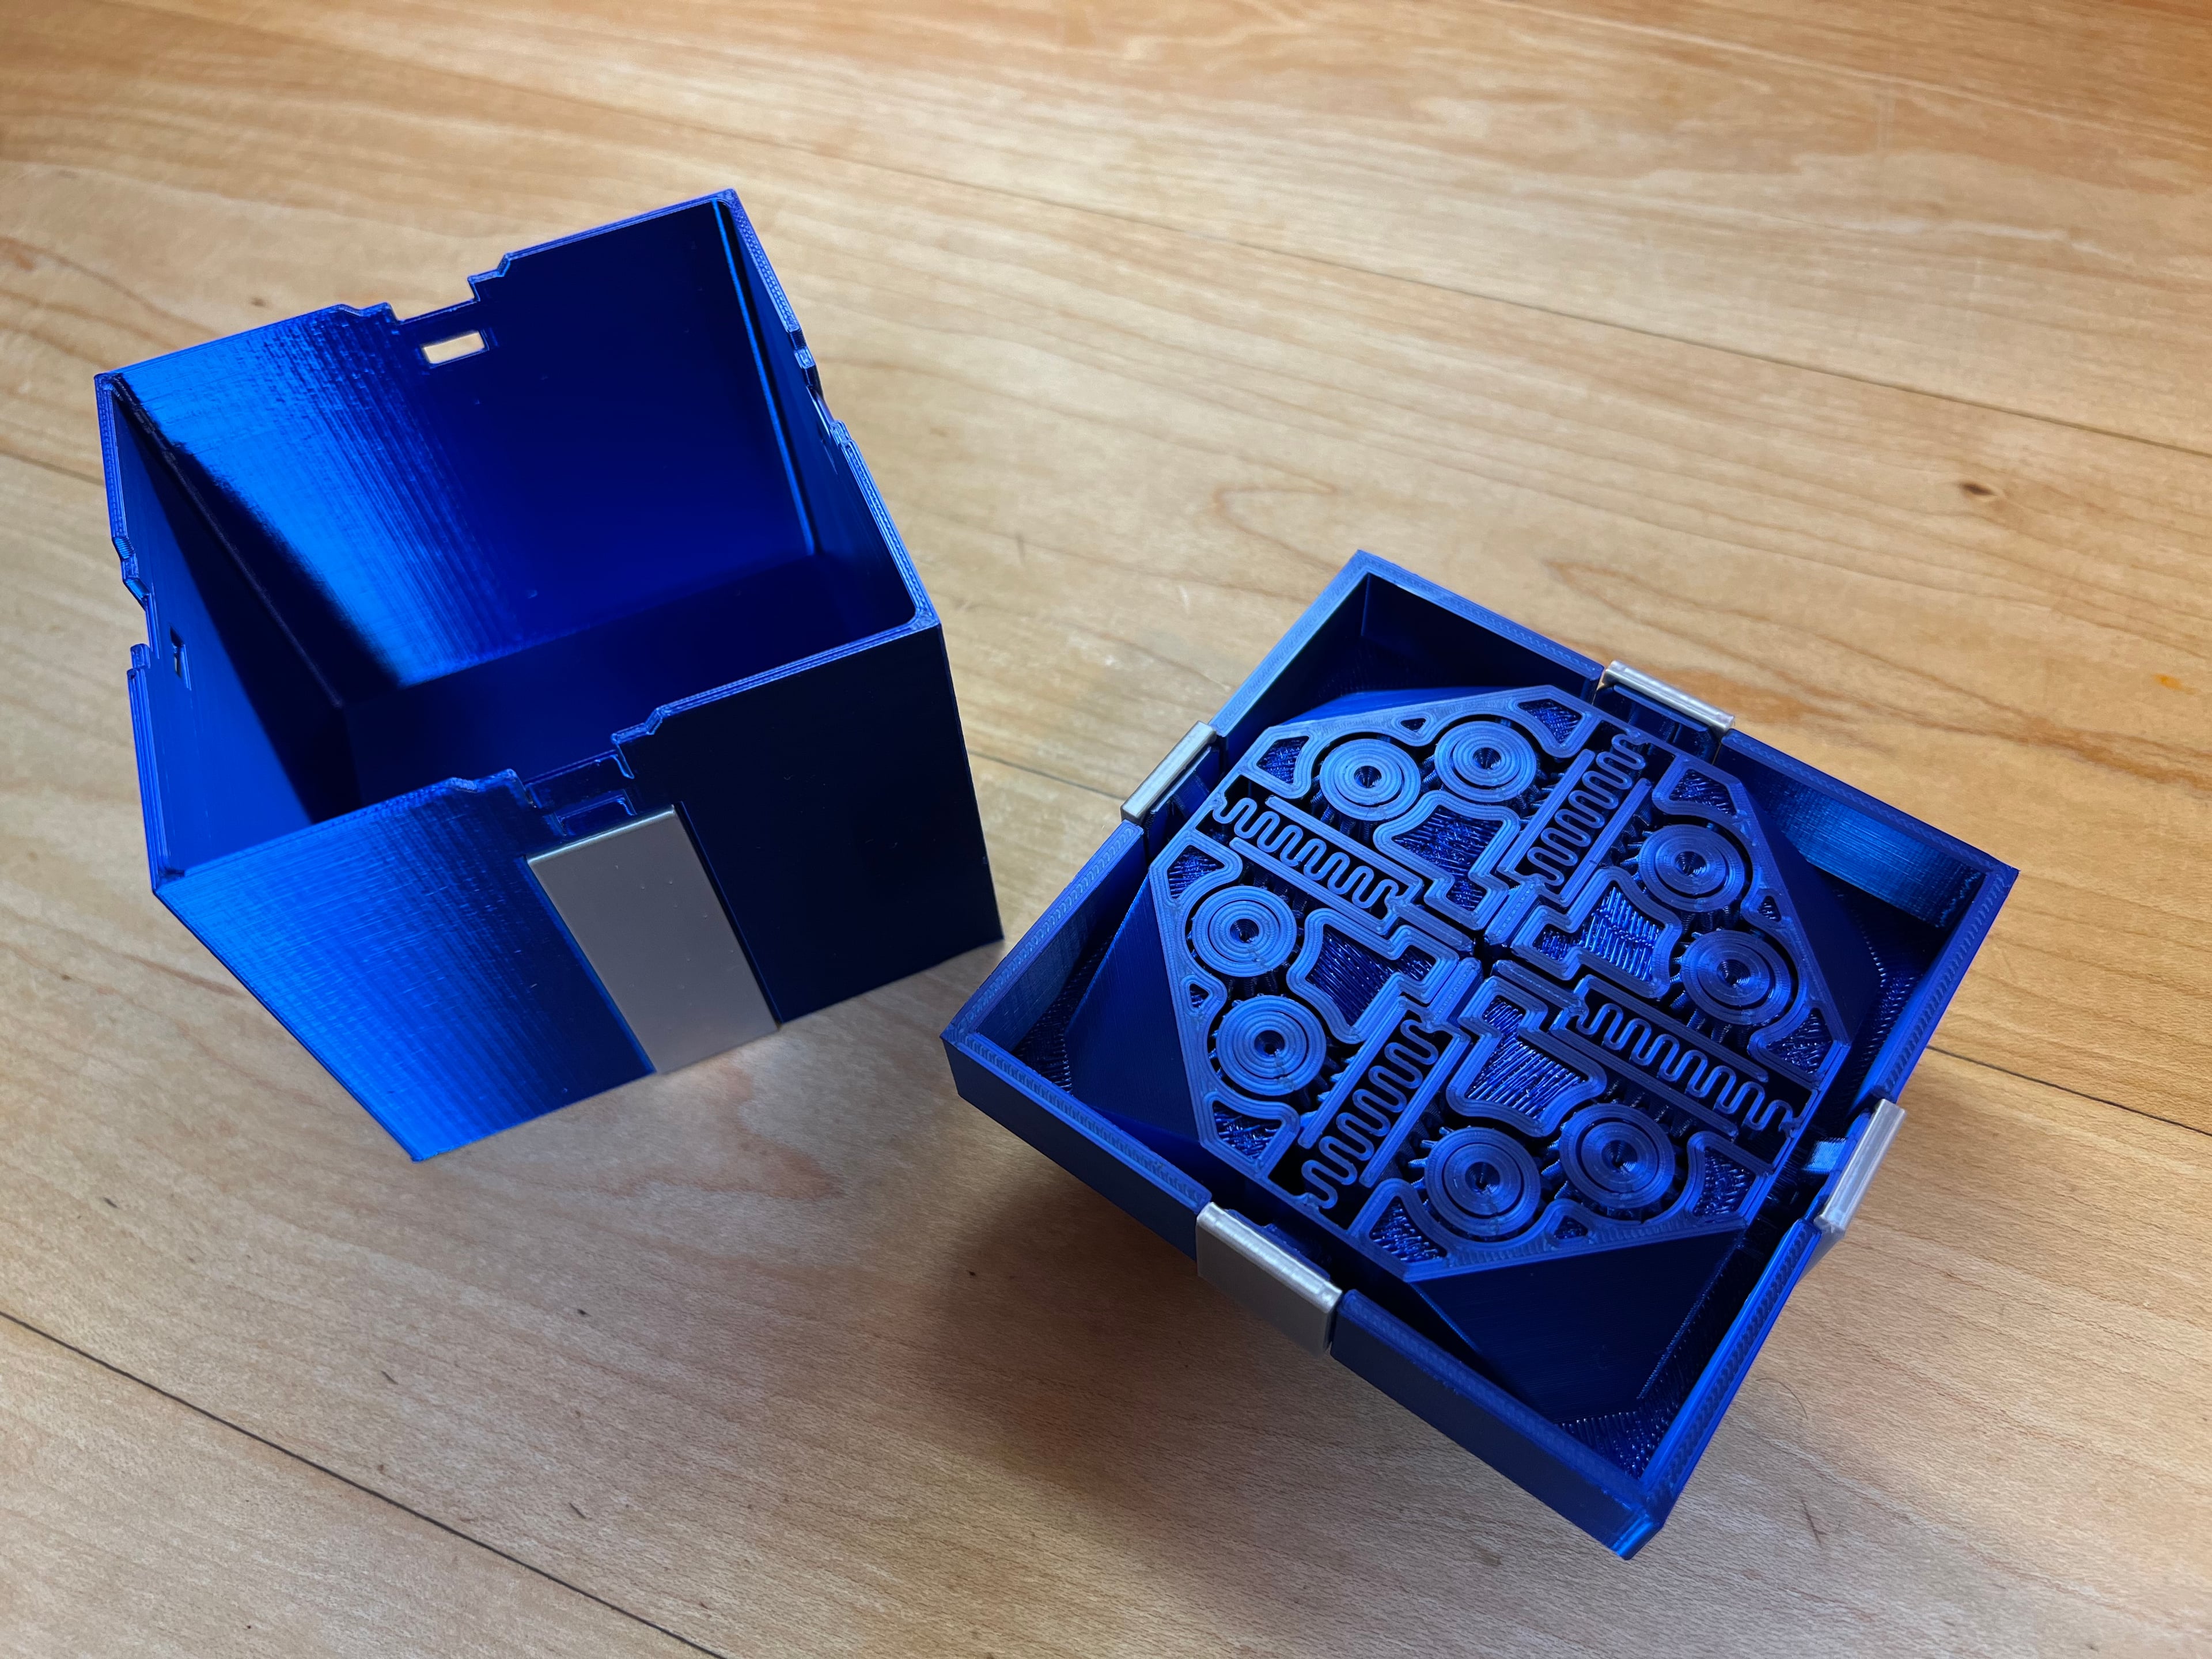
Gift Box #2 To open this box, pull outward on two opposing top ribbons which will release a catch on each side that allows the top of the box to be removed. Each ribbon is connected to a gear rack which in turn operates a spur gear located on each side of the rack which opens the opposing catches. Springs insure that the catches stay shut when not in use. Its roughly 100mm x 100m x 80mm tall.
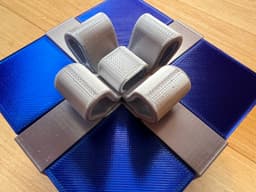
Print Instructions The top prints in place as one part, none of the parts require supports. The bow and ribbons are printed separately and glued on. I printed all the parts in the orientation provided. I prefer the vertical orientation for the ribbons for a smoother surface finish, and they are much stronger printed in this orientation. I added helper pads to the ribbons to help keep them stable and adhered to the bed during printing. I printed everything at .2 layer heights but the box and ribbons could definitely be printed at a larger layer height without issue.
Built in Helper Pads I designed four .4mm high pads(brims) on the end of each of the gears, on the box top. They will need to be removed with a exacto knife after printing, sorry but you can thank me later… These pads are needed to better adhere the catch to the bed as the corners like to curl.
Assembly Be careful removing the top from the bed as the pinion shafts can be fragile, especially if you are printing with a silk that is weaker and has better bed adhesion. If your gears are stuck don't pull on them, try pushing out on the back of each gear rack with a screwdriver. Don’t pull on the catches/gear racks until you glue the top ribbons on because they are not very strong until you do.
I used Gorilla Glue(aff.) for gluing the ribbons on. If your box top is not opening properly or hard to open, try removing the springs with side cutters. The springs are not a necessity and cause resistance. If you don’t already own as set of these clamps(aff.) you should pick them up, they really help with gluing the ribbons on.
Printed on the Muldex rep-rap IDEX printer with Polyalchemy Elixir
Note: Assembly model for reference only.
Support and Licensing If you would like to help support more free models, or gain permission to sell physical copies of my models, consider joining my Patreon
Valentines Day, Birthday, Holiday
Gift Box #2
Quinlan Vos Collapsing Lightsaber

Master Sword Horizontal Wall Mount

Expanding Master Sword

Lightsaber Belt Clip

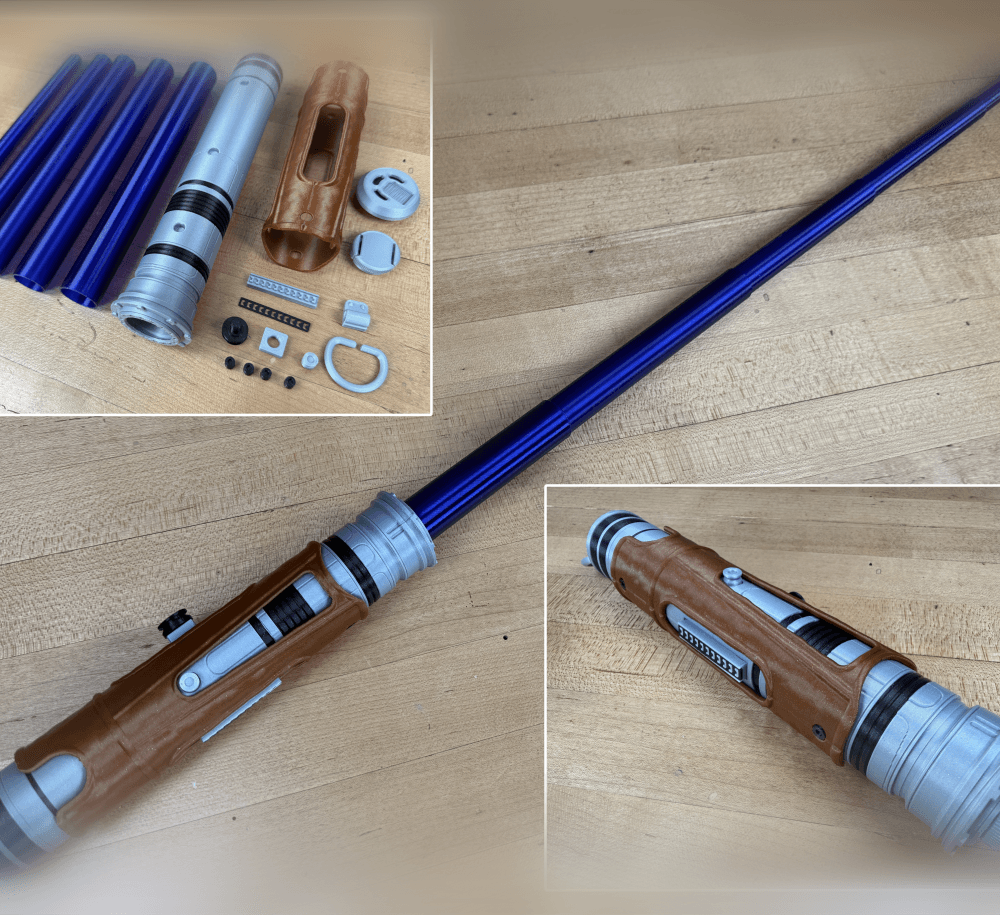
Luke’s ROTJ Multi-Part Collapsing Lightsaber

BYOK #10

Fallout Access Granted Illuminated Panel
The Incinerator Multi-Color
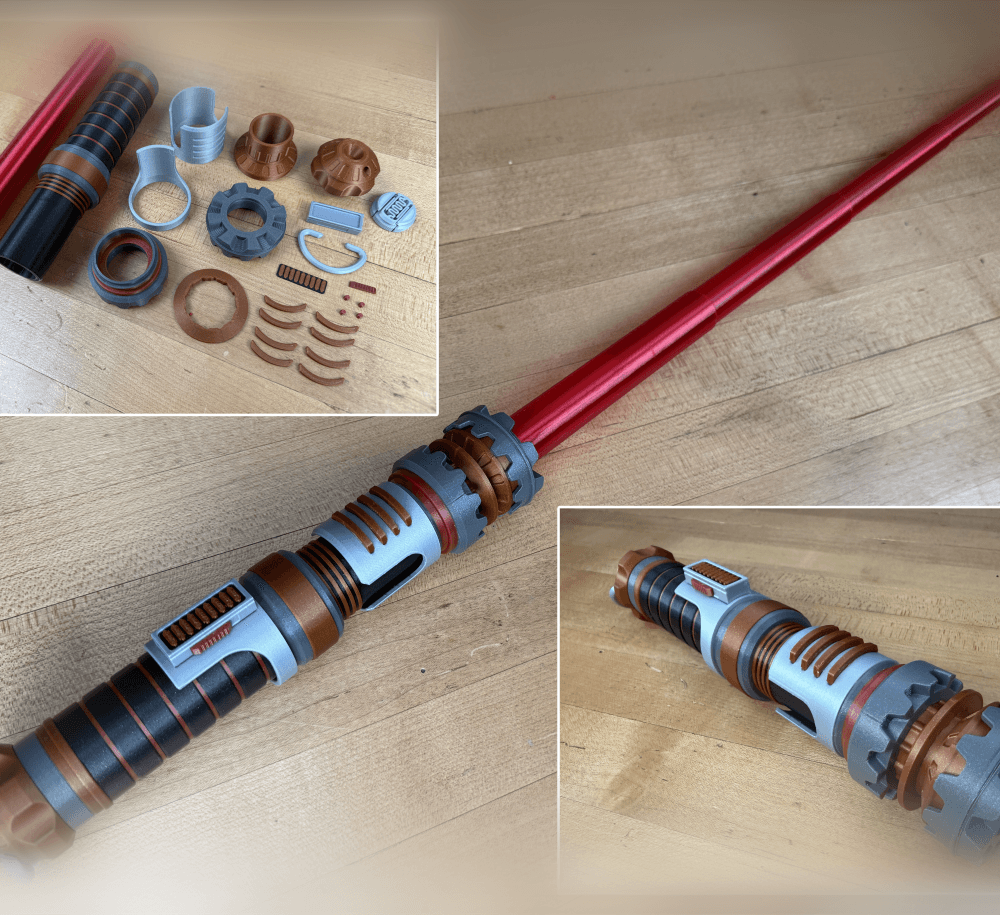
The Incinerator Collapsing Lightsaber

Fallout Access Granted Panel
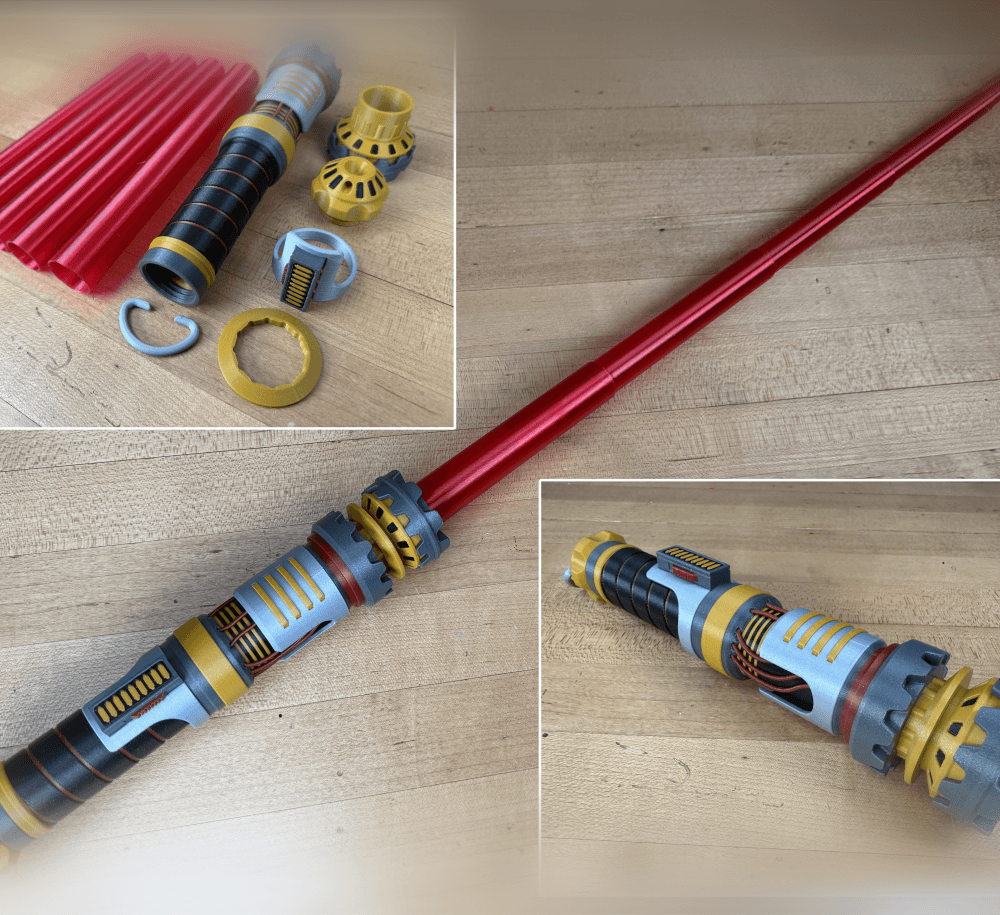
Devon Izara's Collapsing Lightsaber
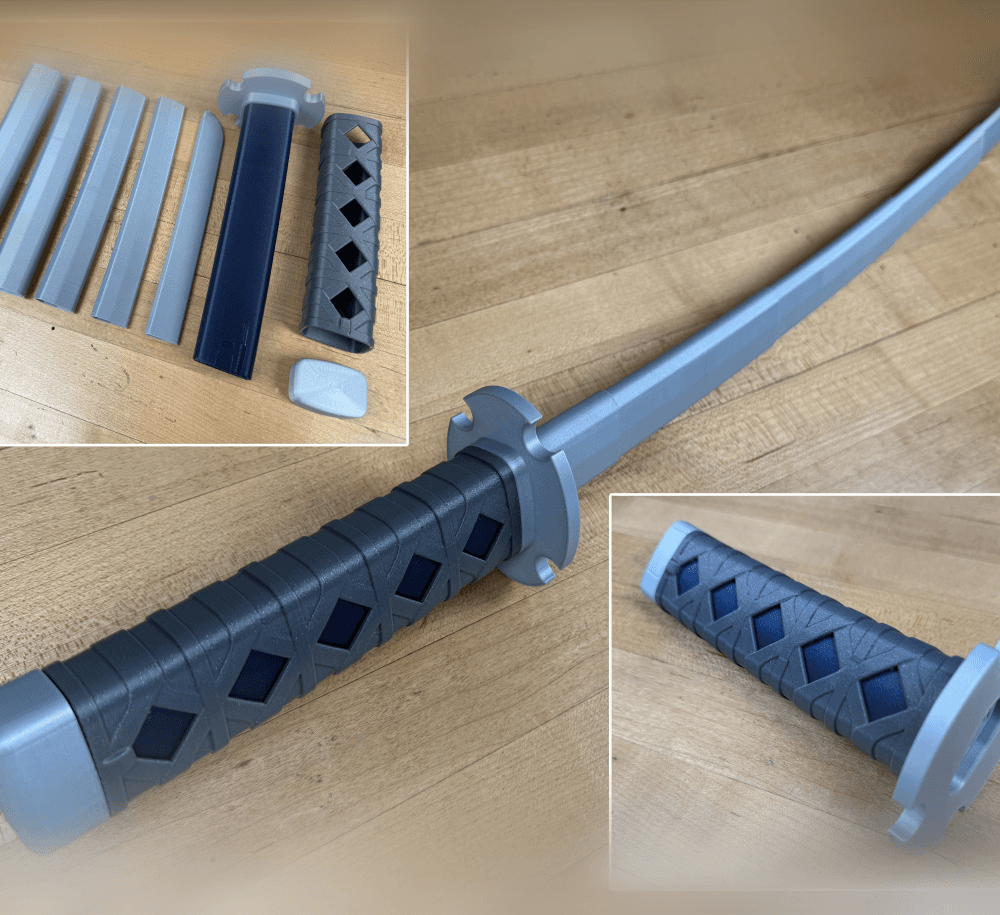
Sakonji Tomioka Katana

Master Sword Vertical Wall Mount

Collapsing Easter Basket

Buster Sword Wall Mount

Textured Planetary Egg Container
Ezra Bridger 3rd Collapsing Lightsaber

Illuminated Galaxy Edge Control Panel #2

Illuminated Galaxy Edge Control Panel #1

The gears are stuck at my pprint, does anyone know how to solve it?
You could try pushing axially on the gears to get them loose. Otherwise, its about having a small layer seam, good first layer, and not over extruding.
Warning:
Dont print the top with part with Brim enabled for build plate adhesion.. you wont be able to get the opening mechanism to move. There are some minor brims already built in. Had to re-print a 12 hour print job.
Other than that, this is an amazing example of what can be done with print in place. Ive never been more excited about a box!
I would not recommend a brim but you could use a helper disc on each corner.
Thanks for the tip!