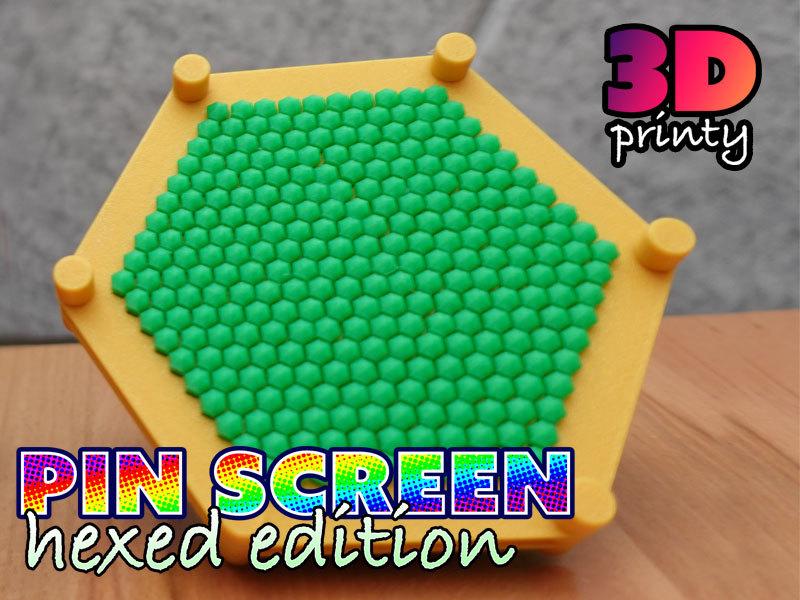
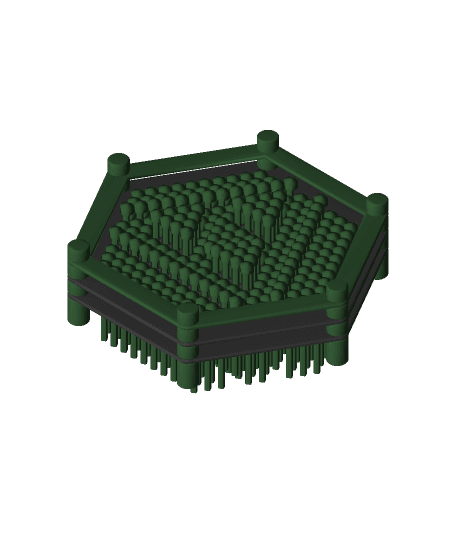
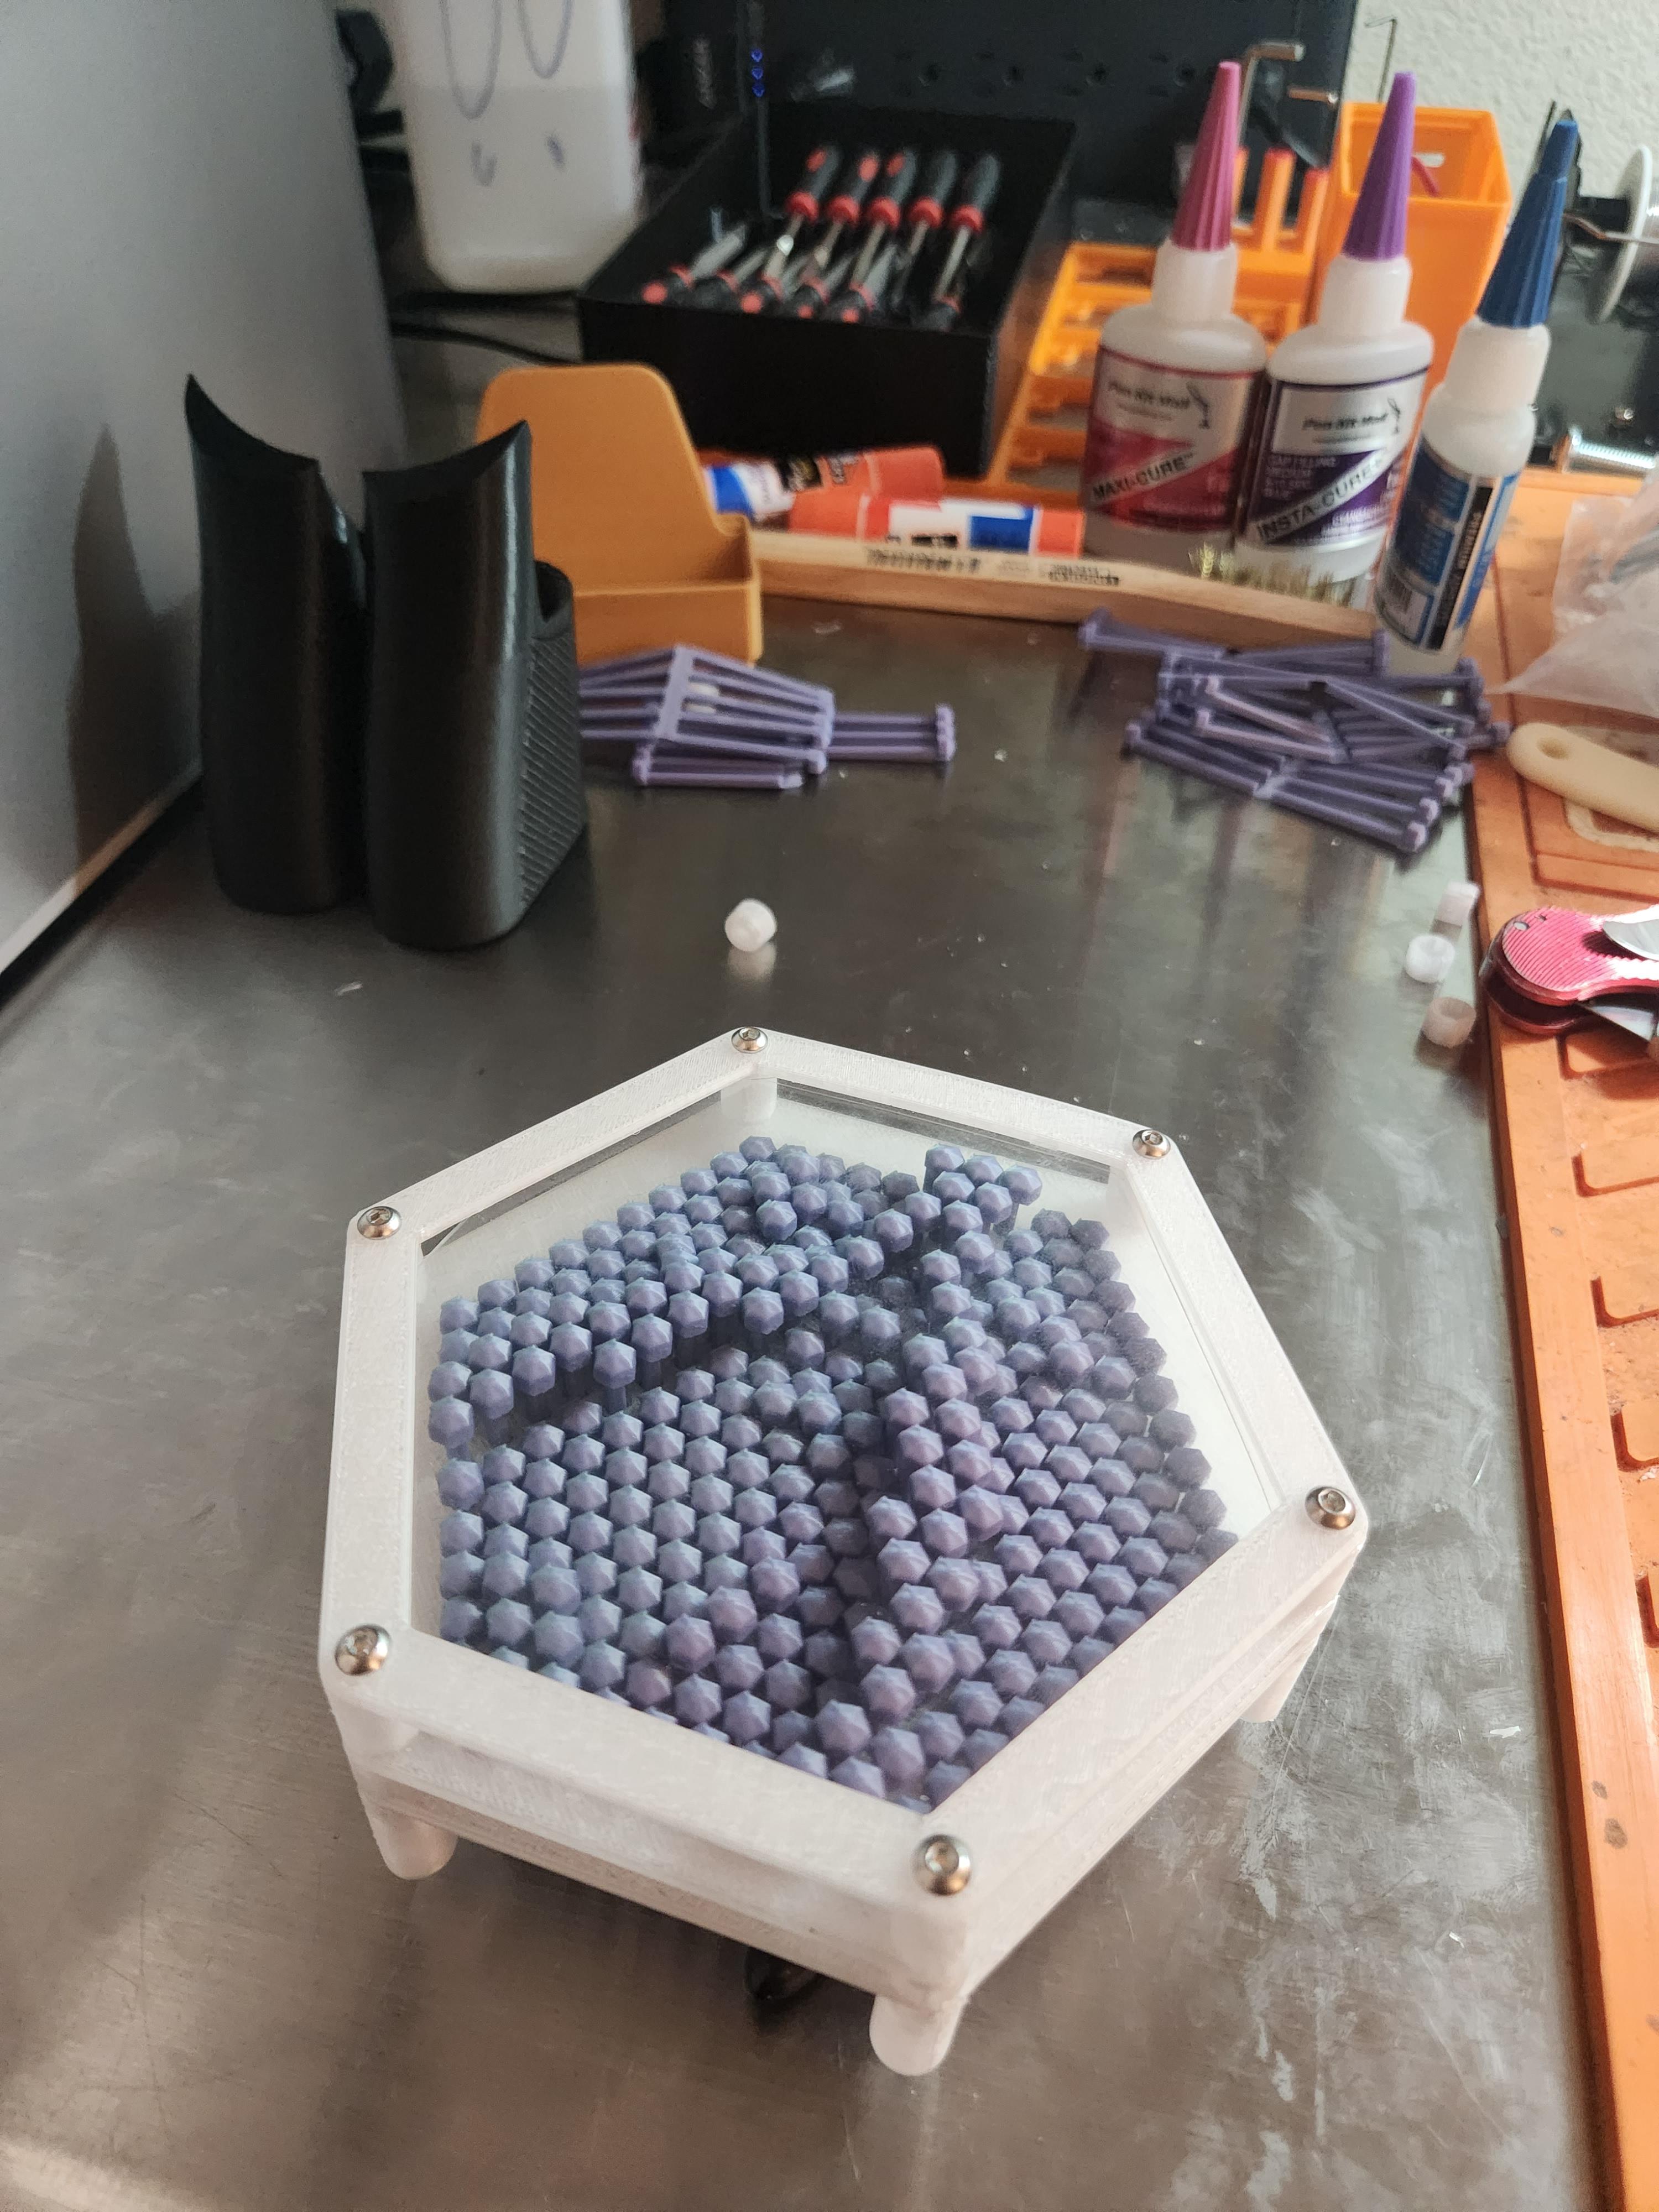
This challenging print is a take on the classic pin screen toy.
Place an item below the pins and they'll move to mimic the contours of the object!
Printing
Test printing only a few pins at a time to make sure your they'll stick well to your print bed. If they do, slowly increase the quantity per print.
This project includes a 10 pin option that holds the thin end of each pin down to limit curling.
Required Parts
- 271 pins
- 2 Grids
- 6 Spacers (use 6mm for a compact design or 12mm for more stability)
- 12 M3 nuts.
- 6 M3 bolts that are long enough to pass through the nuts, grids, and the spacers you chose.
Assembly
Align both grid pieces so their holes match up. There's a tiny circular indent on one side to help orient these pieces.
Insert an m3 nut into each of the 6 spacers. Place 6 spacers between both grid pieces and secure with the 6 m3 bolts. It does not matter if the bolt head faces up or down, so choose the direction that looks good to you.
If no optional parts are being added, secure the bolt with the remaining 6 m3 nuts.
How I Designed This This was a lesson in getting around the limits of 3D printing! Printing tall and thin items (like a pin) vertically is normally torture on a printer.
This required a new pin design - one which could be printed sideways, and still have no overhangs. By placing the long neck of the pin on one side, and changing the head to a hexagon, each pin is now much easier to print!
Can I sell copies of this?
Yes! This project was shared under the Creative Commons - Attribution license.
This license allows selling copies, but you must provide proper attribution, as detailed in the license itself.
Please note that any other projects linked here (remixes or related projects) may have a different license. Please respect those licenses.
This license applies only to the model files (STL, 3MF, STEP, F3D) included in this project. It does not apply to photos, videos, my logo, or other supplemental graphics attached to or displayed with this project.


