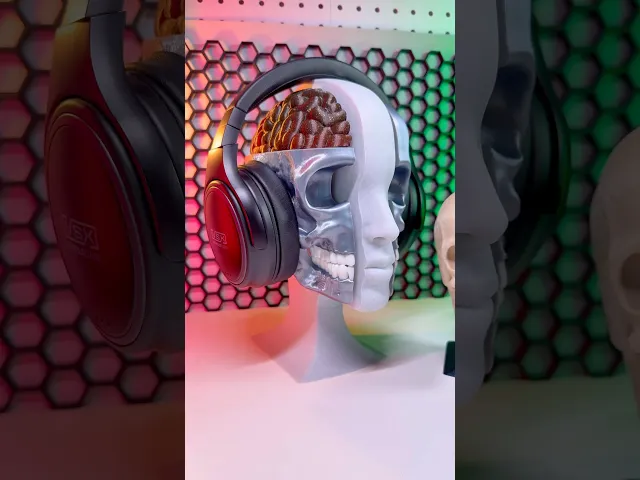

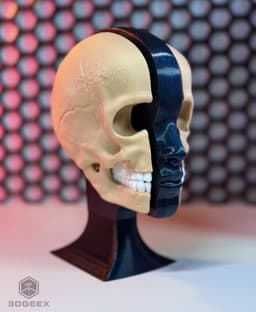


Anatomy
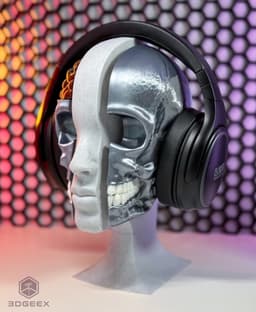
We haven't had a skull for quite some time! This one is called "Anatomy" It's technically a Headphones Stand but totally works as a cool decorative piece as well. Default size is quite small and meant to be used for decor so:
Please read instructions before printing!
Scale:
Default size is small and is for decoration purposes - To use as a Headphones Stand scale up all the parts to 150%!
Assembly:
Assembly is easy and all parts connect together - If something is a bot too lose use some glue. If any of the connectors are too tight reduce size by 1%-2%.
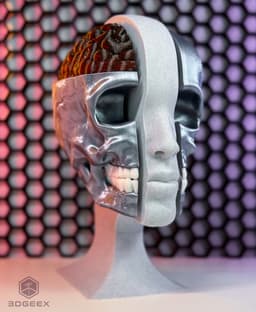
There are 2 connector types - Tight & Gap - The _Gap will leave a gap between the face and the skull while the _Tight will have the skull attached to the face.
There are 2 skull halves with & without brain. You can mirror the Brain & Skull_Brain parts if you want a brain on both sides, but I like the looks of one side.
Printing:
Supports: Skulls & Head require supports - Use tree/organic supports. Almost all supports for skulls are in invisible areas so don't worry about any marks they leave.
_Orientation: _
This one is important - the skulls are laying down which means there will be some visible layer lines at the top of these parts! If you wanna go crazy you can change the alignment so the skulls stand but then you have a ton of supports + AMS will double/triple the poop waste.
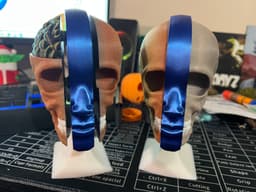
_Filament type: _
This one is also important - Due to the potentially visible lines on the skulls using a matte PLA will hide them way better than using a silk one - With that being said you can still use silk without issues (see my photos).
For the Head + Base - if you use Silk you might end up with slightly different feel and color as the base is printed upwards and the head is laying down and then flipped up.

Anatomy

Freddy’s Ice Cream Pint Holder

Slimer Ice Cream Holder
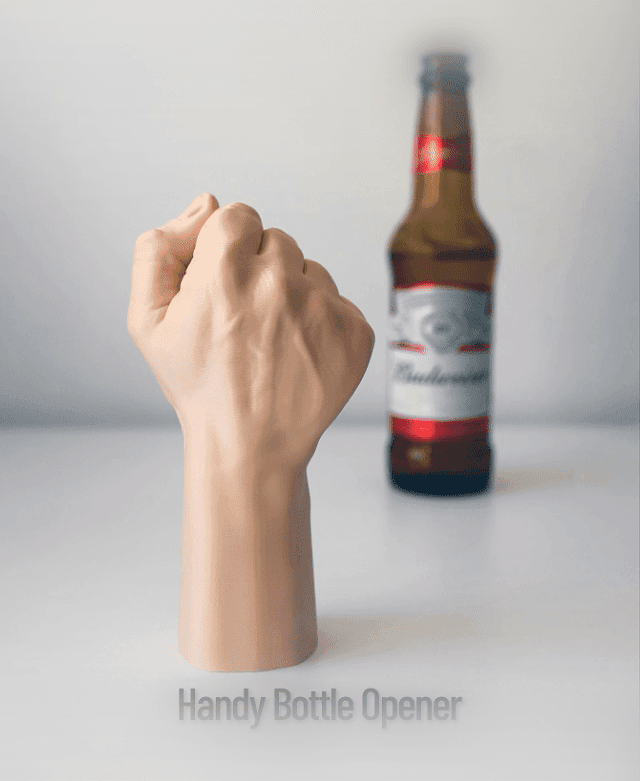
Handy Bottle Opener

Pillar Tray
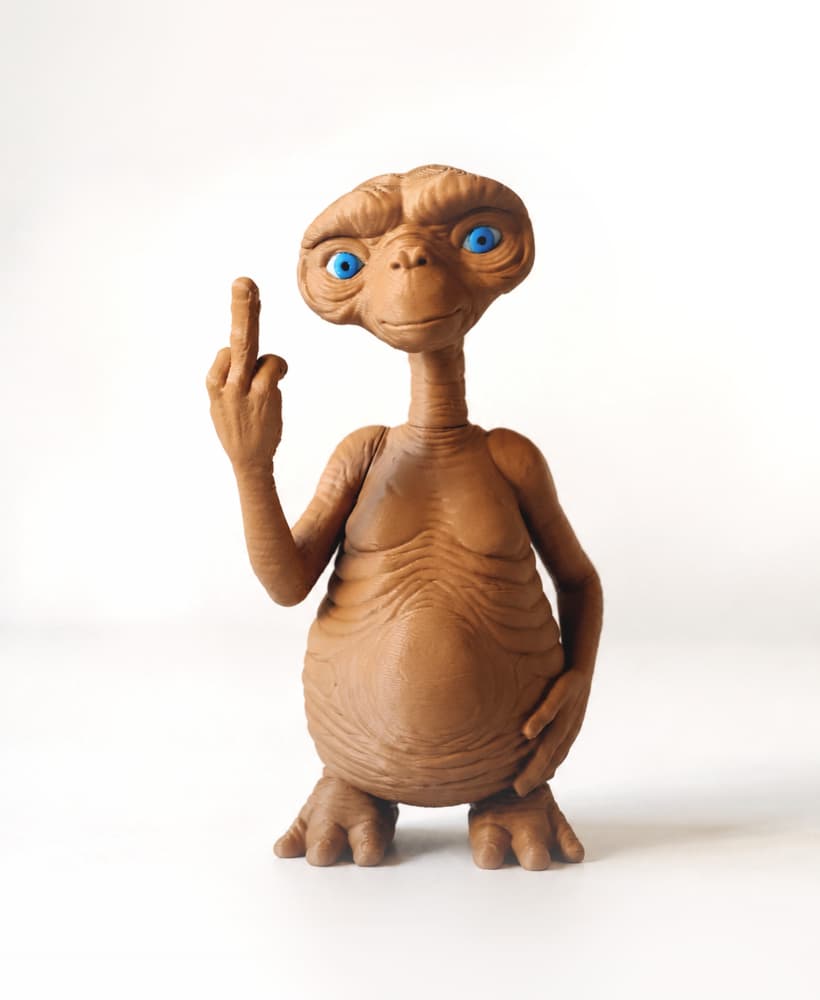
E.T - the Extra Testy

Beerboard

Screaming Cactuses - Part II
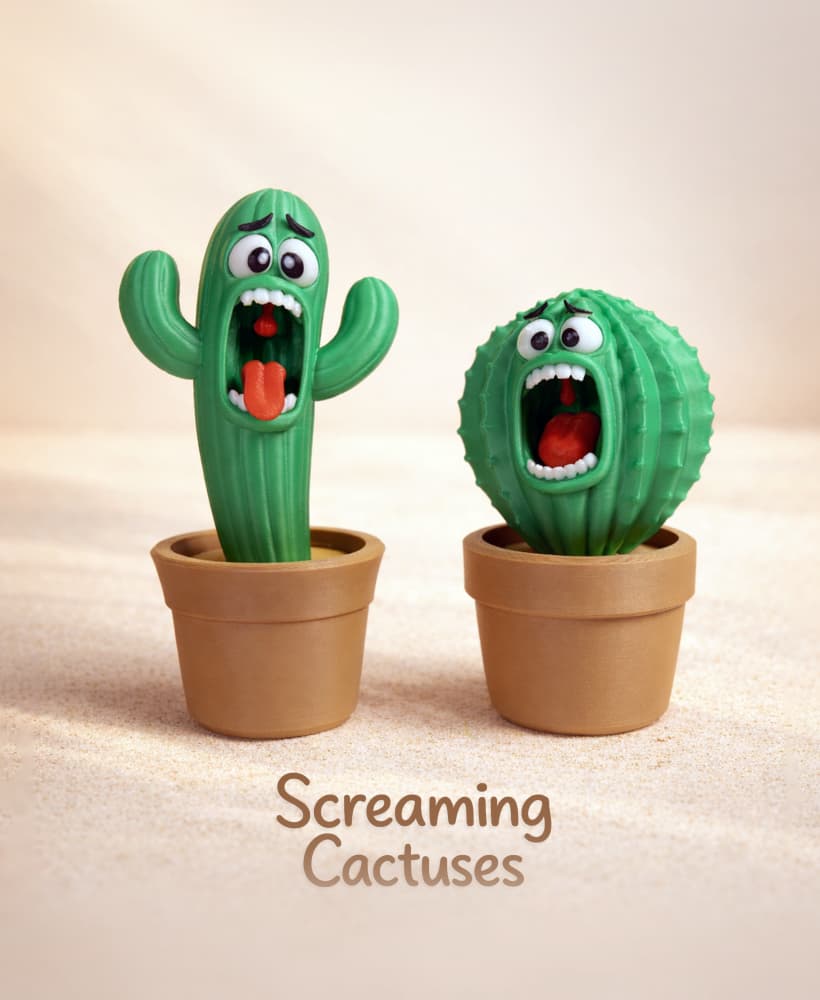
Screaming Cactuses - Part I
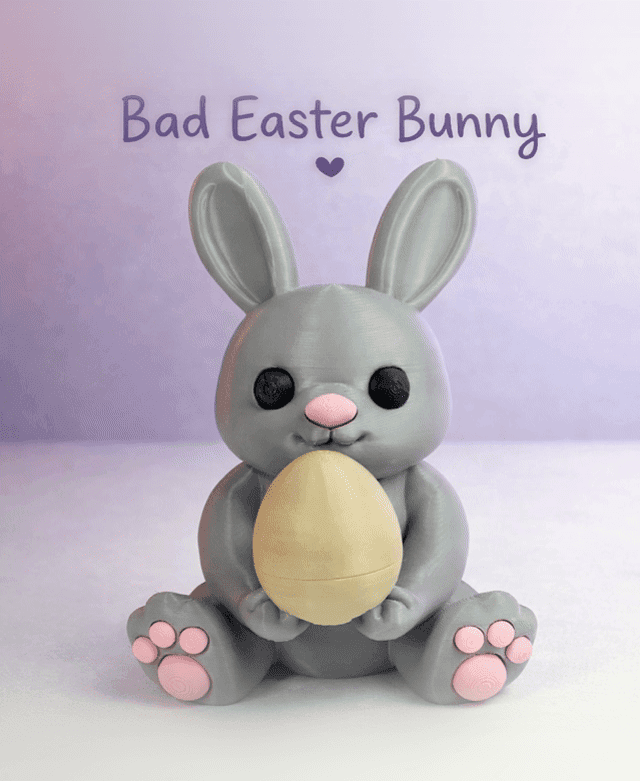
Bad Easter Bunny
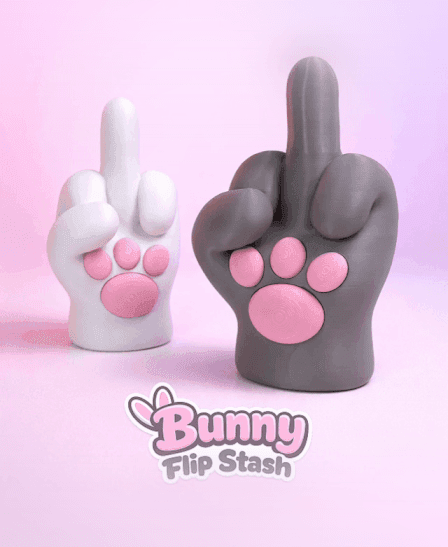
Bunny Flip Stash
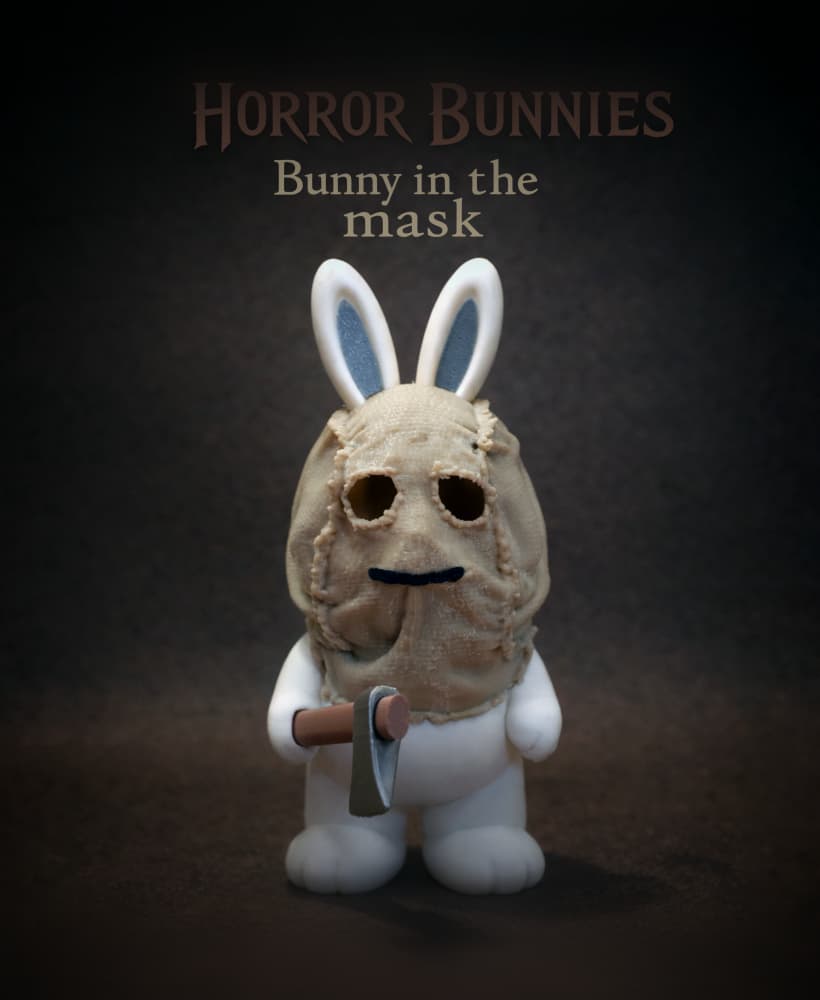
Horror Bunnies - The Bunny In The Mask
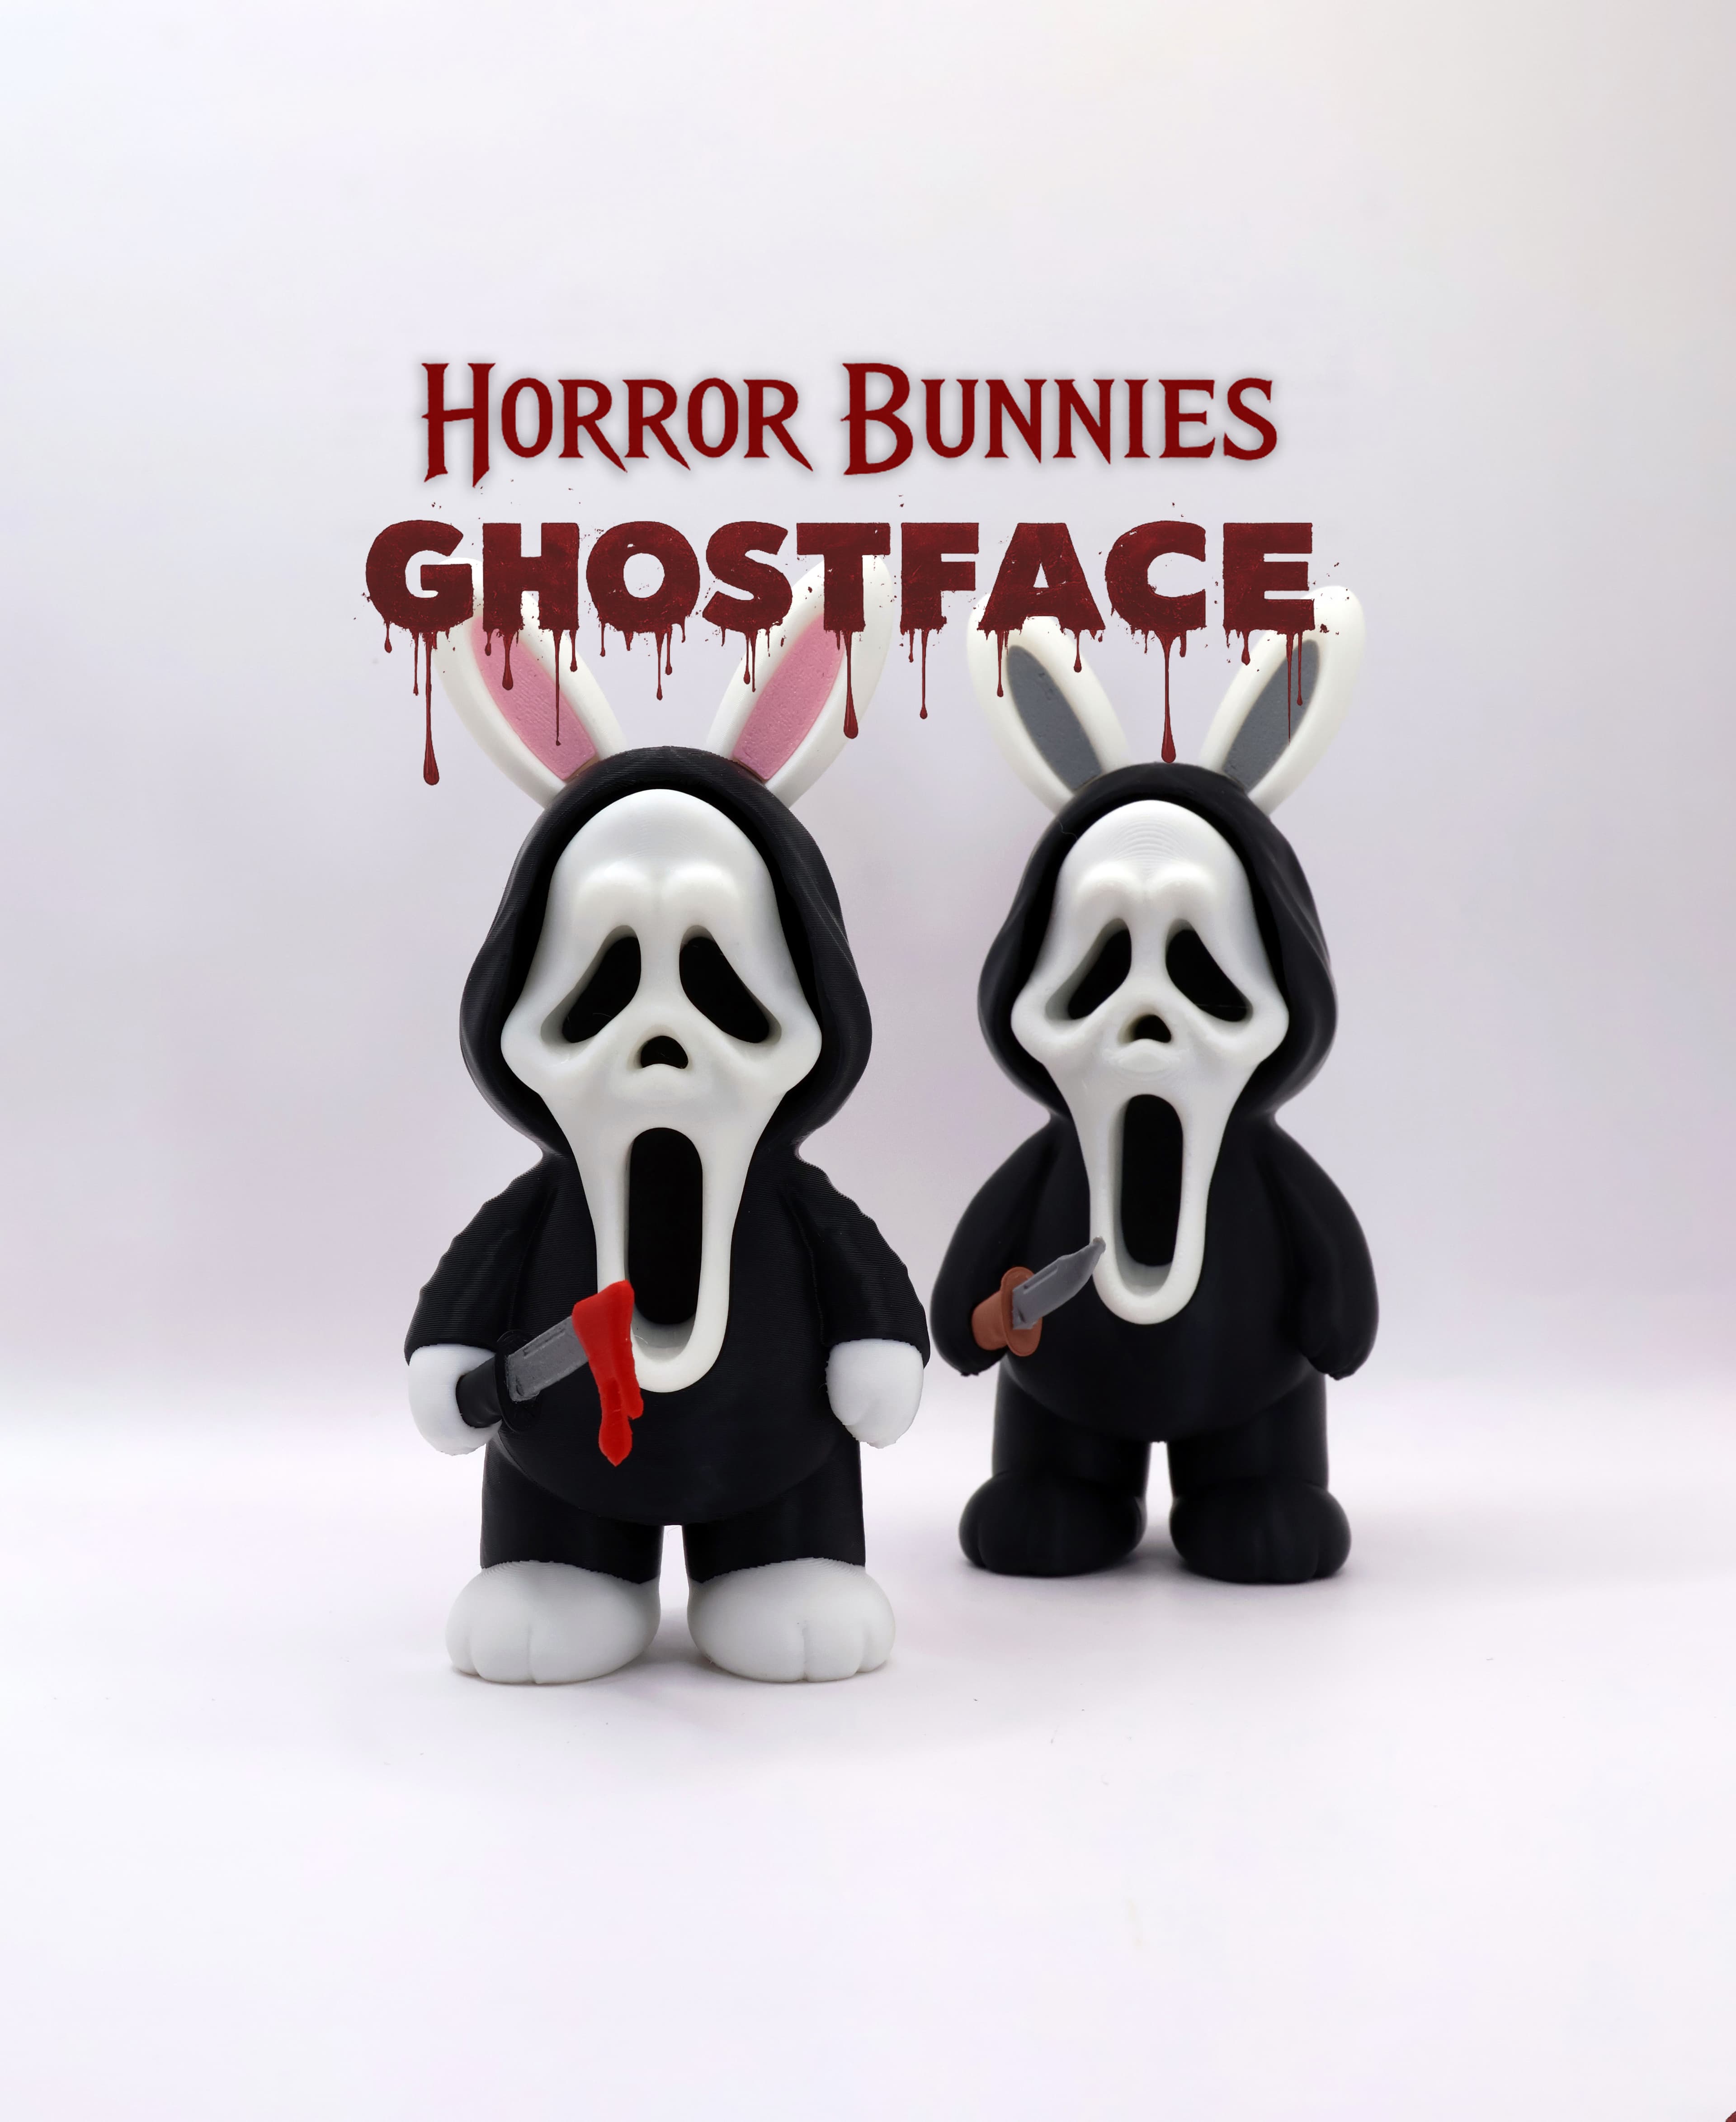
Horror Bunnies - Ghostface
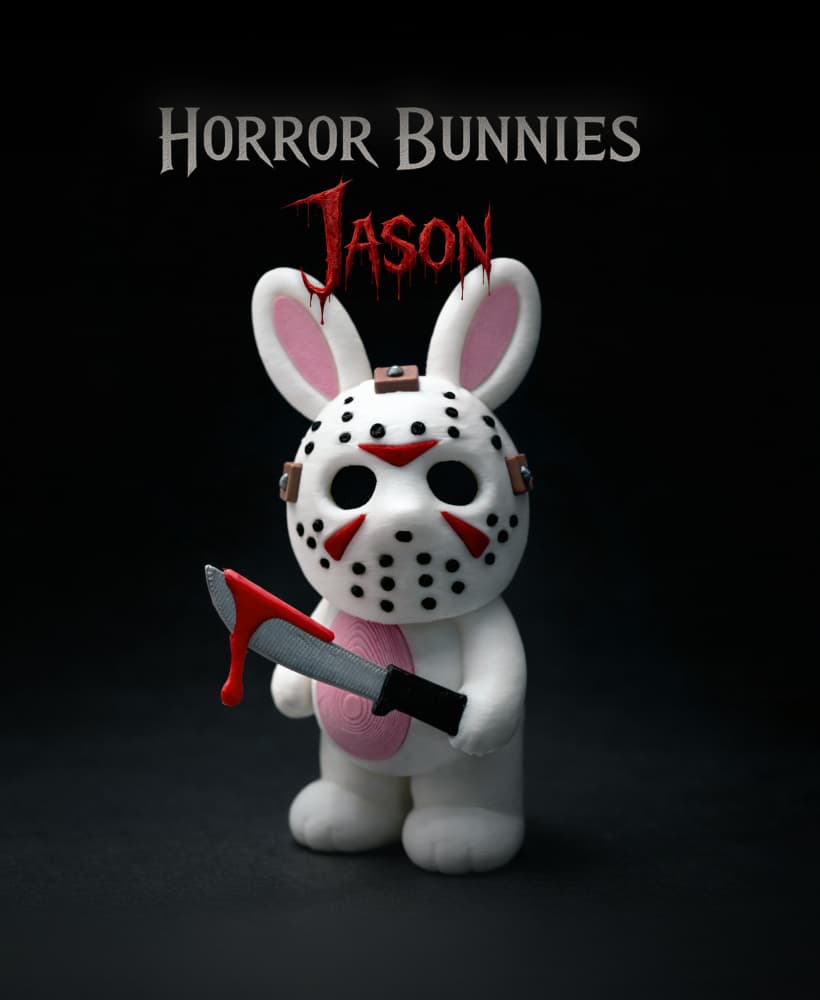
Horror Bunnies - Jason
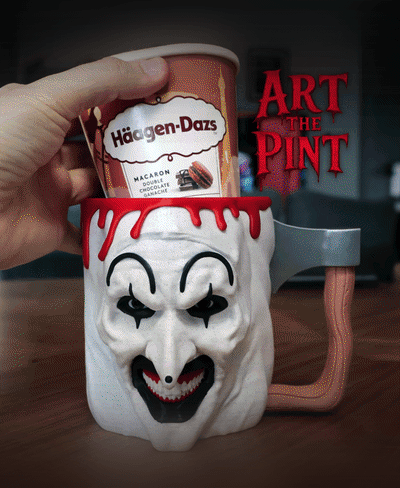
Art The Pint
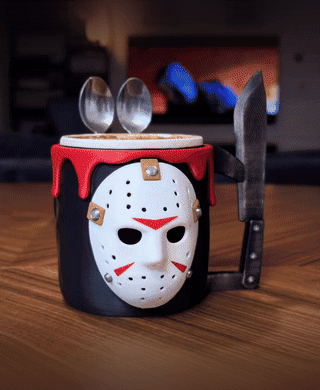
Jason Voorhees Ice Cream Pint Holder
Tree Trunk Lamp
Bad Leprechaun
Armored Banana Case
Bad Penguin