
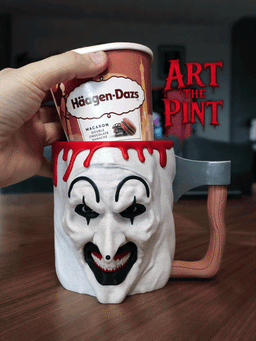
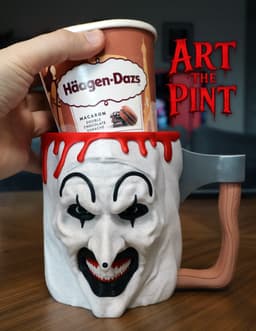

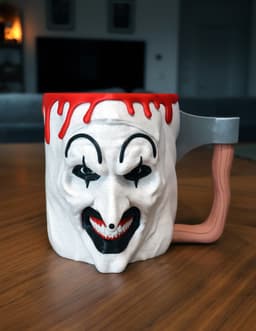

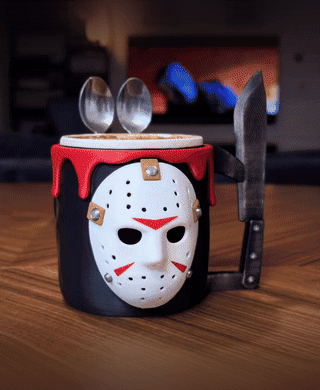
Art The Pint
Update 21/03 /26:
The ZIP file was updated with the Blood_Spoons.stl which was missing from the archive - The Blood.stl does not have the spoon holes and is intended if you prefer a "spoonless" version
This has been a highly requested design and after quite lot of work I'm happy to present you - Art The Pint. The entire design is partially multi-part, but the main cup was not really possible to do in multi-part due to the realistic and complex face. So your options for the cup are either multicolor printer, good old hand painting or just printing in a single color.
Please read the instructions and information before printing!
Important: The model is currently right handed, to print it left handed just mirror all the parts accordingly!
The holder has been tested with Ben & Jerry’s and Haagen-Dazs pints, but you may need to rescale it for your preferred brand. To help with that, I included a Size_Tester.stl - print it first to check the fit. If it’s off, just scale Ghostface accordingly.
There are multiple variations for the cup:
Handles: There are 2 handle types a simple one that is printed as part of the cup and the Axe handle which requires assembly - Each file describes which one it is (Normal/Axe) - Pick the one you like
Multicolor: To slightly reduce waste and print time I created a version for each cup where the eyebrows can be printed separately - Those are the _(Separate_Eyebrows) files. It will save you approx. 2 hours in multicolor print time and about 50 grams of waste.
Each version has a ready Pre_Colored file - a total 4: 2 Handle types. 2 Handle types without eyebrows.
The print you see in my photos is the Pre_Colored_Pint_Axe_Handle_(Separate_Eyebrows).3mf version and I printed the eyebrows separately.
Multicolor Printing:
- Set your purging volumes to no less than 1! This is required because of the changes from Black to White, If you set it less than that you will have significant color bleeding resulting in grey lines in those areas.
- Do not disable the purge tower.
- Use Grid infill and not Gyroid, this is because gyroid will let light through the walls while grid will create a much sealed look not allowing light through the walls.
- Use tree supports, I added additional support for the nose as this is a critical part that if fails you need to start over.
- If you print the Separate_Eyebrows version, print the eyebrows and use some glue to connect them together.
Suggestion - If you don't trust your supports you can print it upside down which will not require supports for the nose part which is the most critical area.
This model has a lot of color changes so it generates a lot of waste. My settings: Purge Volumes = 1.0 Infill = Grid 5% Walls = 2 Leyer Height = 0.2
Model weight: 155g | Waste (purge + tower): 235g | supports: 7g Print time: 20h
Assembly:
Print both parts of the axe and glue them together, Then push the entire axe to the cup - Use some force for this until the axe head snaps into place. Use glue in both the Axe Head and Axe Handle designated areas on the cup to make sure it stays firmly connected. Print the Blood and push it on the top - Use glue as well so it doesn't wobble.
Art The Pint

Freddy’s Ice Cream Pint Holder

Slimer Ice Cream Holder
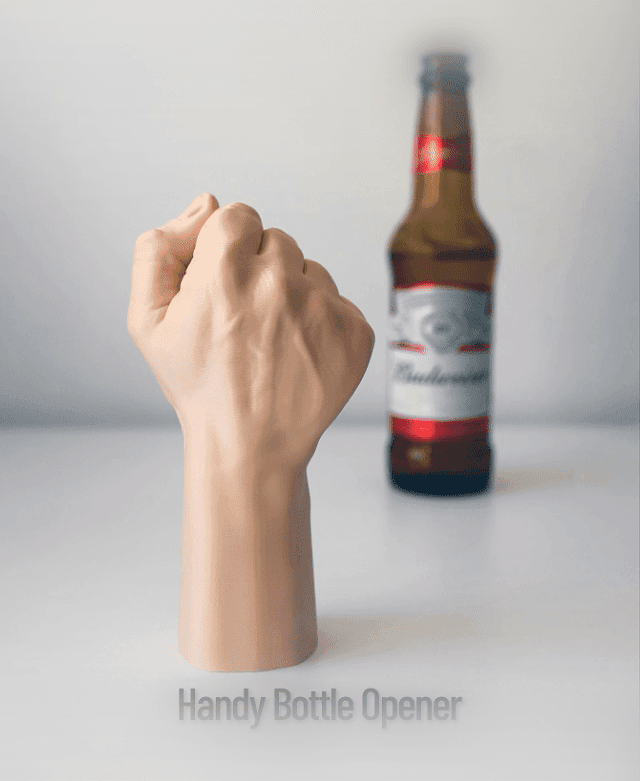
Handy Bottle Opener

Pillar Tray
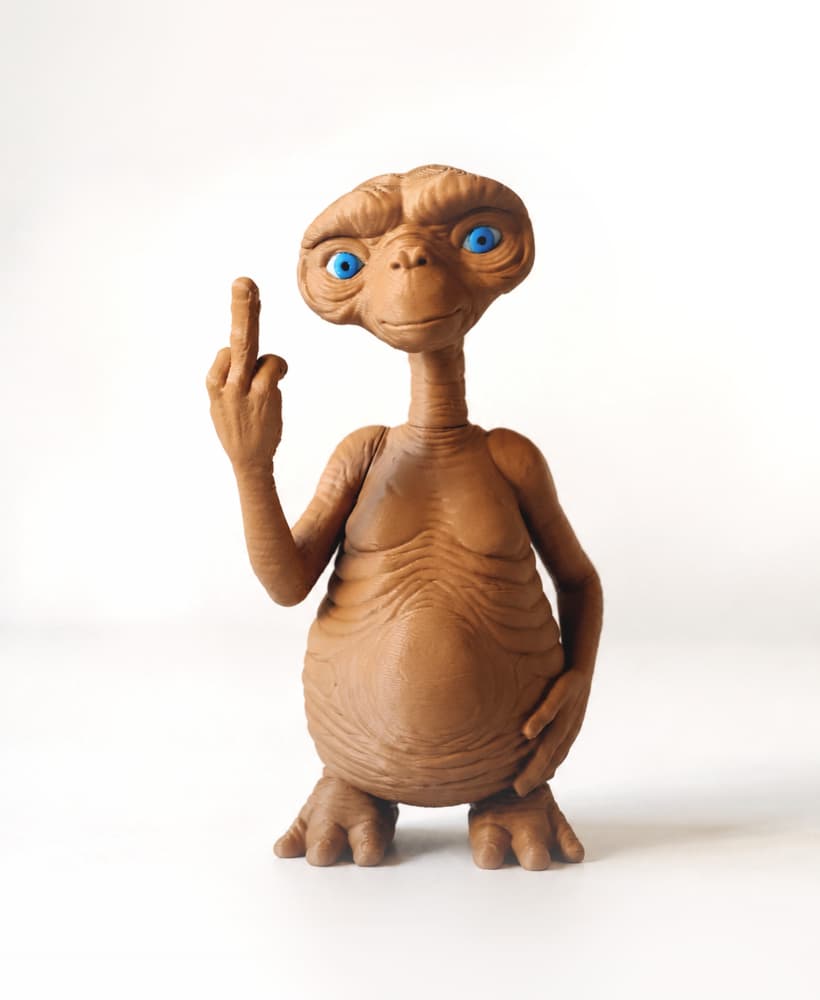
E.T - the Extra Testy

Beerboard

Screaming Cactuses - Part II
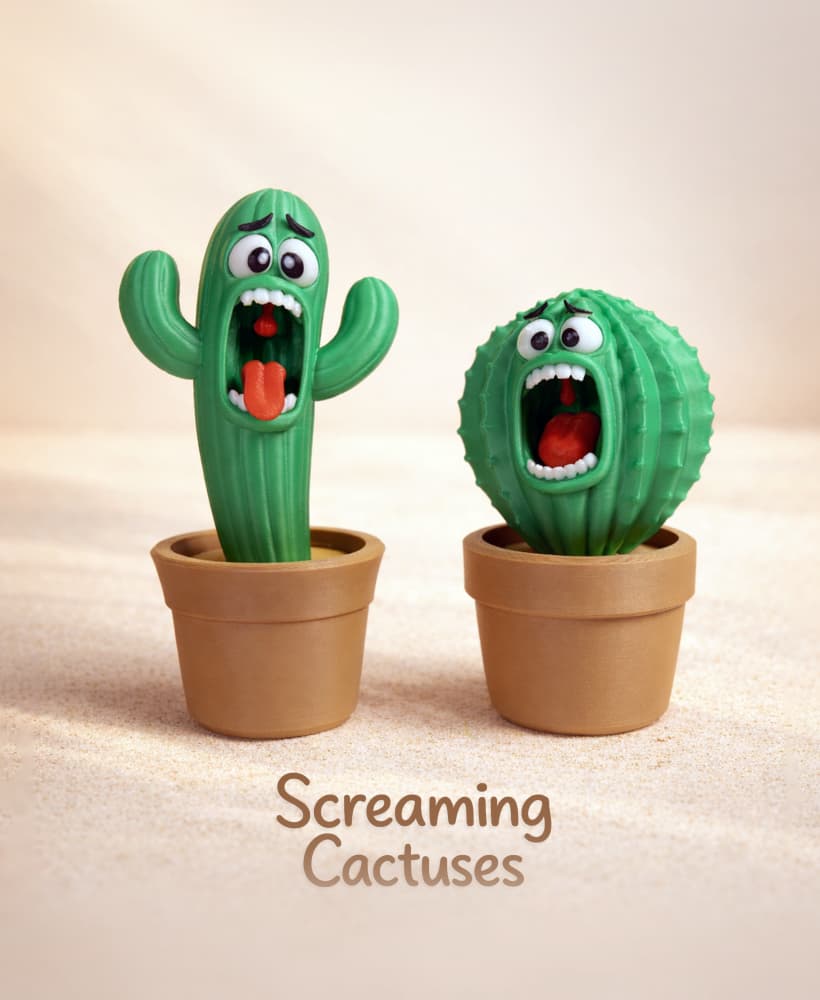
Screaming Cactuses - Part I
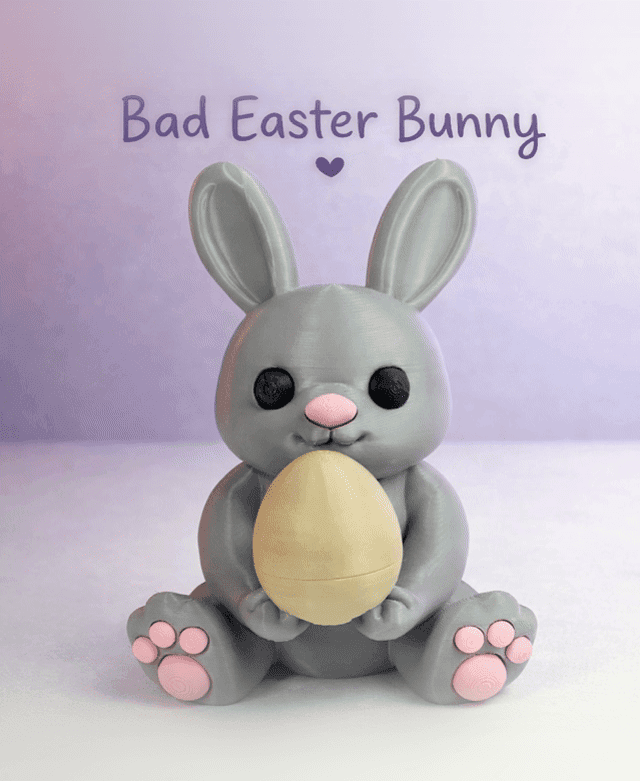
Bad Easter Bunny
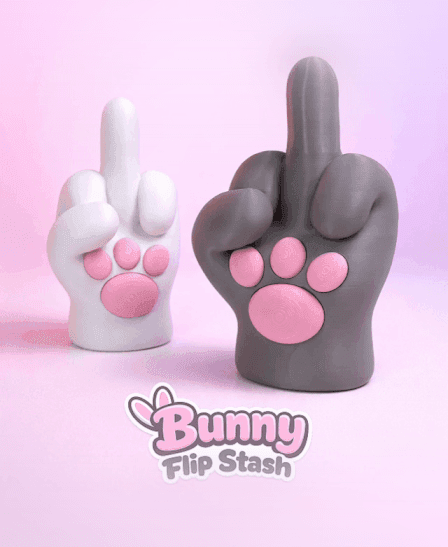
Bunny Flip Stash
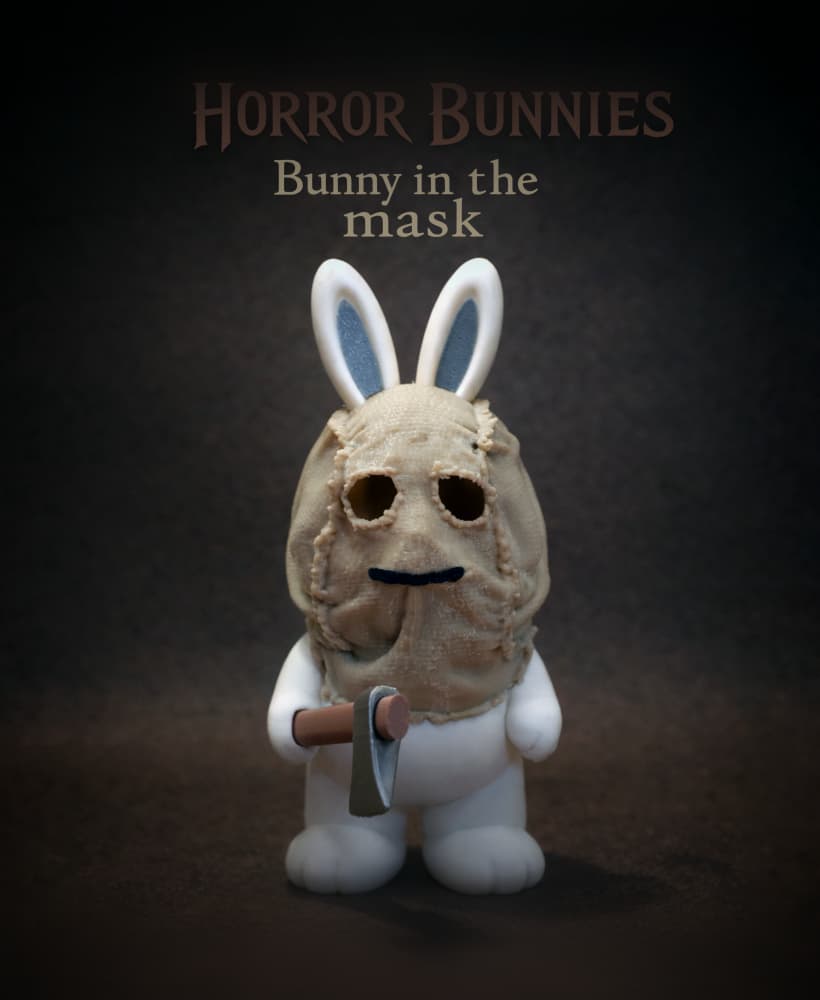
Horror Bunnies - The Bunny In The Mask
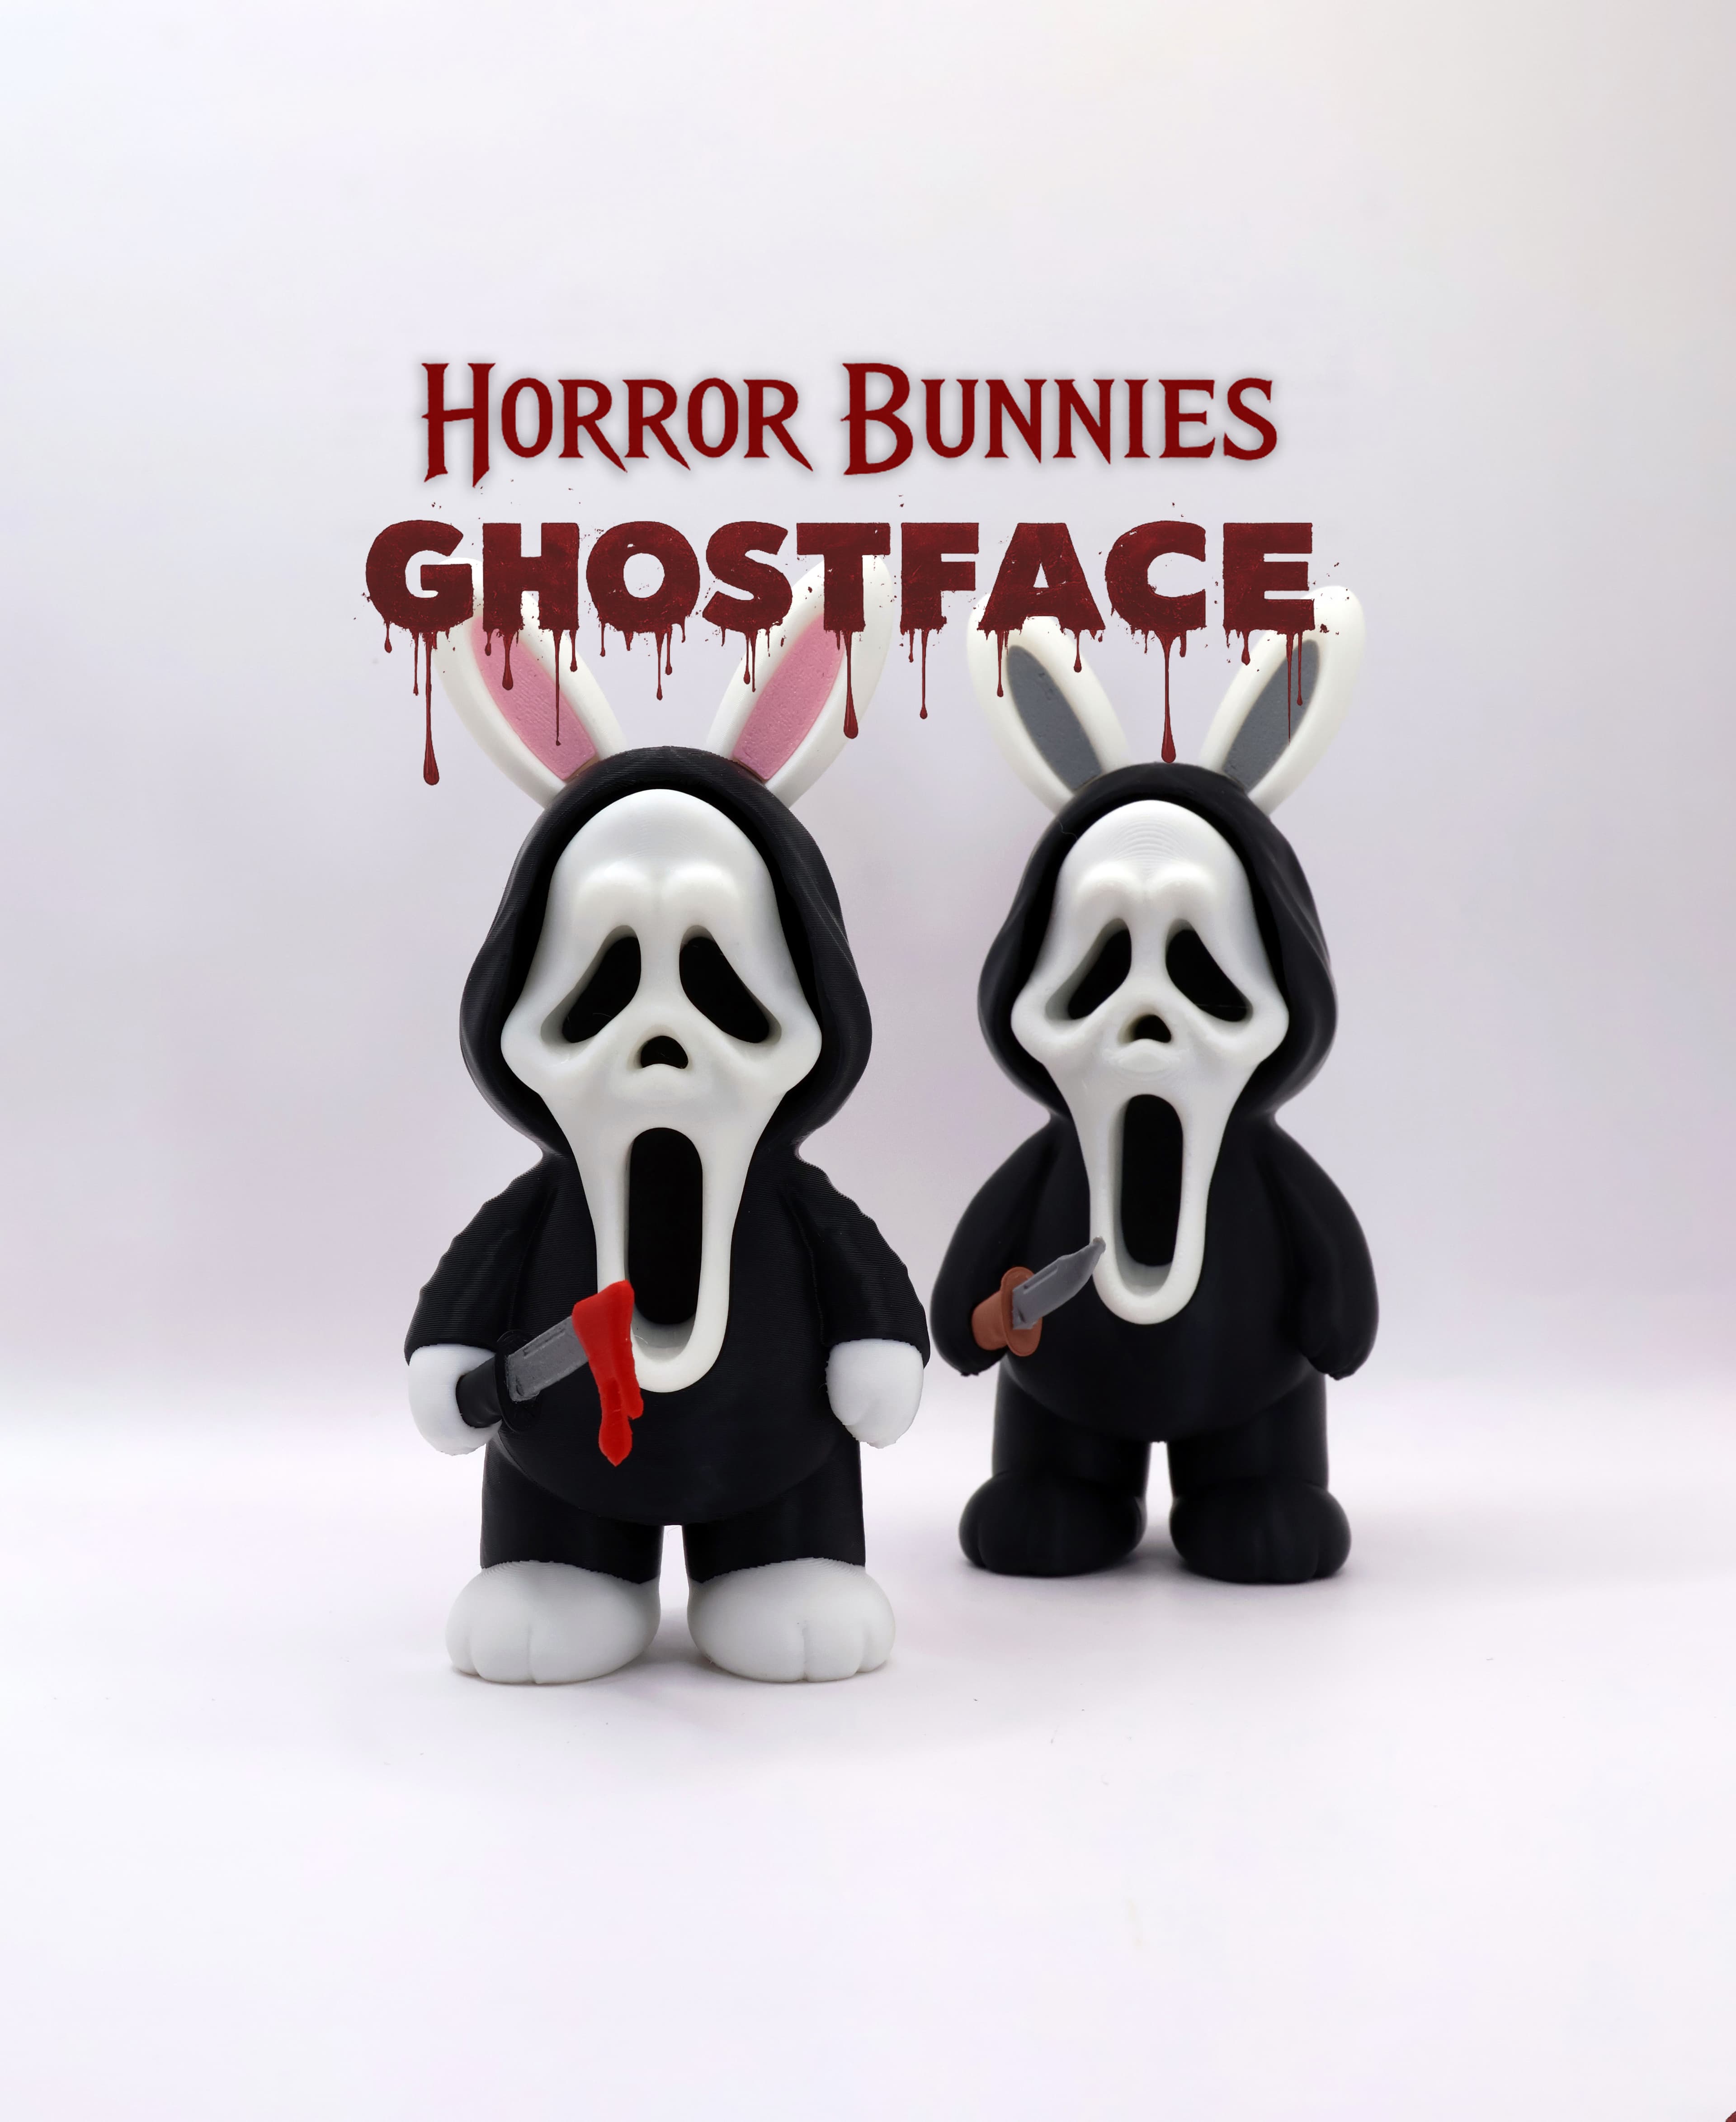
Horror Bunnies - Ghostface
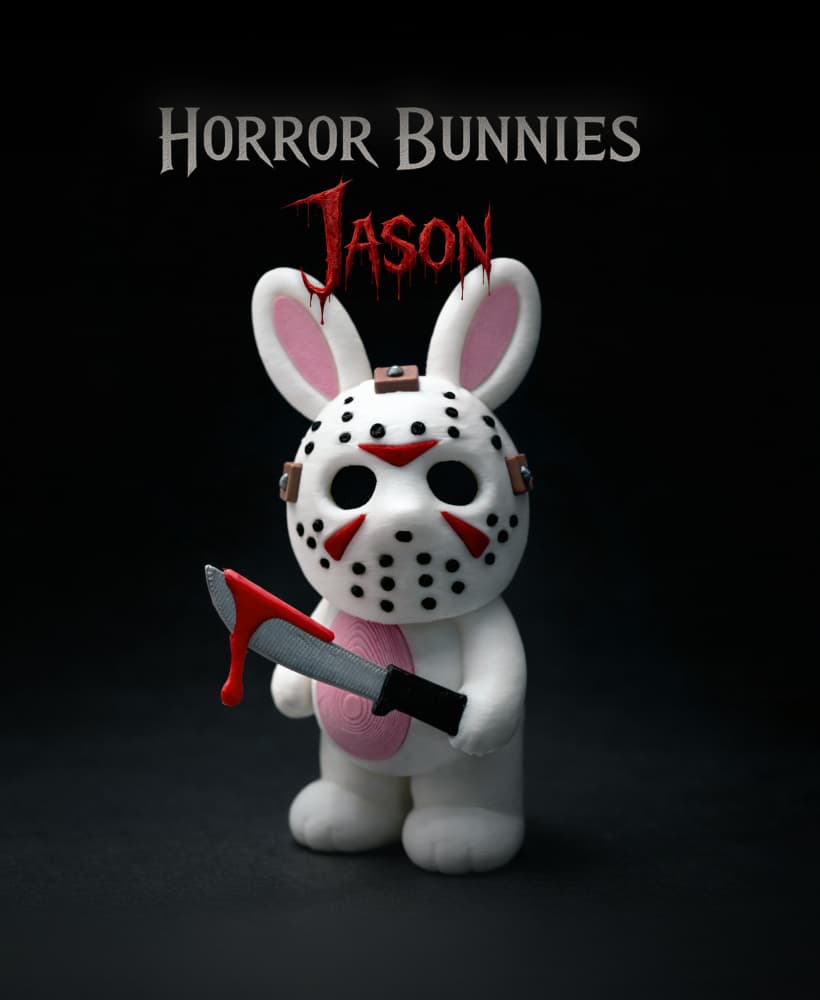
Horror Bunnies - Jason
Jason Voorhees Ice Cream Pint Holder
Tree Trunk Lamp
Bad Leprechaun
Armored Banana Case
Bad Penguin
Bad Teddy
Love your designs!! For the ice cream holders, do you recommend using PETG or is PLA ok?
Thanks! PLA is just fine - I never used PETG for mine and they are 100% functional after many many uses
oh yay because I already started in PLA haha thank you 💜 💜
I love this file! I did notice that the blood does not have the holes for the spoons so if you add the blood, it covers the spoon holes.
Sorry about that! I just added Blood_Spoons - the Blood.stl was meant for anyone not interested in the spoons but I forgot to add the spoons one
Just a heads up, in the above you mention not disabling the prime tower, however in the print profile in the Pre Colored Pint Axe Handle Separate Eyebrows file it's set as disabled.
Thanks for letting me know - I updated the file!
I’m new to 3d printing but what settings do you recommend when printing Bambu has its default settings and it says it’s going to take 1day5 hrs to make. Am I doing something wrong?
Hey, With this model I wrote every setting I used including the purge settings - You can see it in the description. With my settings print time was 20 hours.