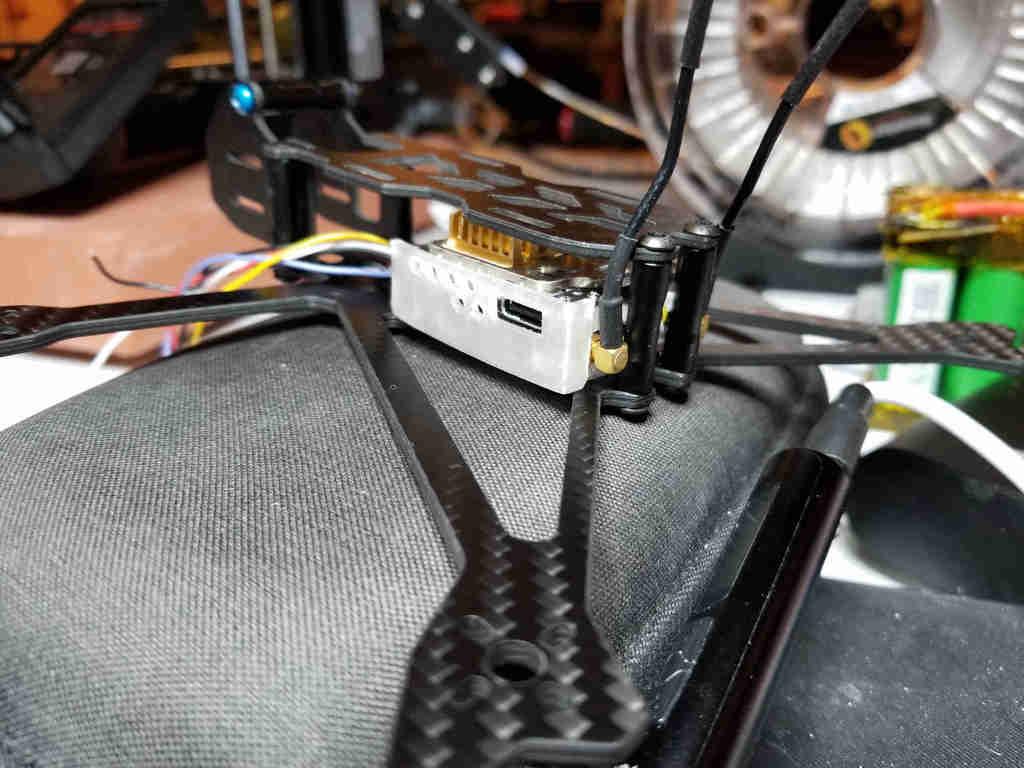
Model originally uploaded to Thingiverse at https://www.thingiverse.com/thing:4645790.
Get the matching GPS and dual SMA mount here: https://www.thingiverse.com/thing:4656176
This print provides for mounting a de-cased, "naked," full size DJI Air Unit to a 20mm x 20mm mount pattern. With 4 traditional M2 nuts installed in the shaped receptacles, 4 short M2 screws inserted up through the bottom plate will secure the unit to the frame. For my installation, I used 4 hot-insert nuts instead. While this works reasonably well, I plan to add a variation of the design specifically for hot-insert nuts.
I modified the design so the RF board is located on the bottom, and the HD video processing board is on top. This allows me to place heat sinks on the video board, since this board is the hotter of the two. This fits the Airblade Transformer (4" Mid Range FPV quadcopter,) without even a mm to spare, forward, or back. On the Transformer, your best bet will be to spec a 16 x 16 stack in the front, though if you have just the right 20 x 20 stack, and know how to get creative with your installation, a 20 x 20 just might work too. Depending on how it goes with the Transformer, this Air Unit may ultimately end up on a 5" Mini Long Range, by Dave_C.


